Gary Jackson: Fire When Ready Pottery
A Chicago potter’s somewhat slanted view of clay & play
Categories: classes, friends, lillstreet

Well, I was out of town last week… so I missed teaching my pottery class on Tuesday.
Which just so happened to be Halloween!
Kind of a bummer because I had HUGE Halloween plans for my class… maybe next year?!
Anyway, apparently some of my students had Halloween plans also.
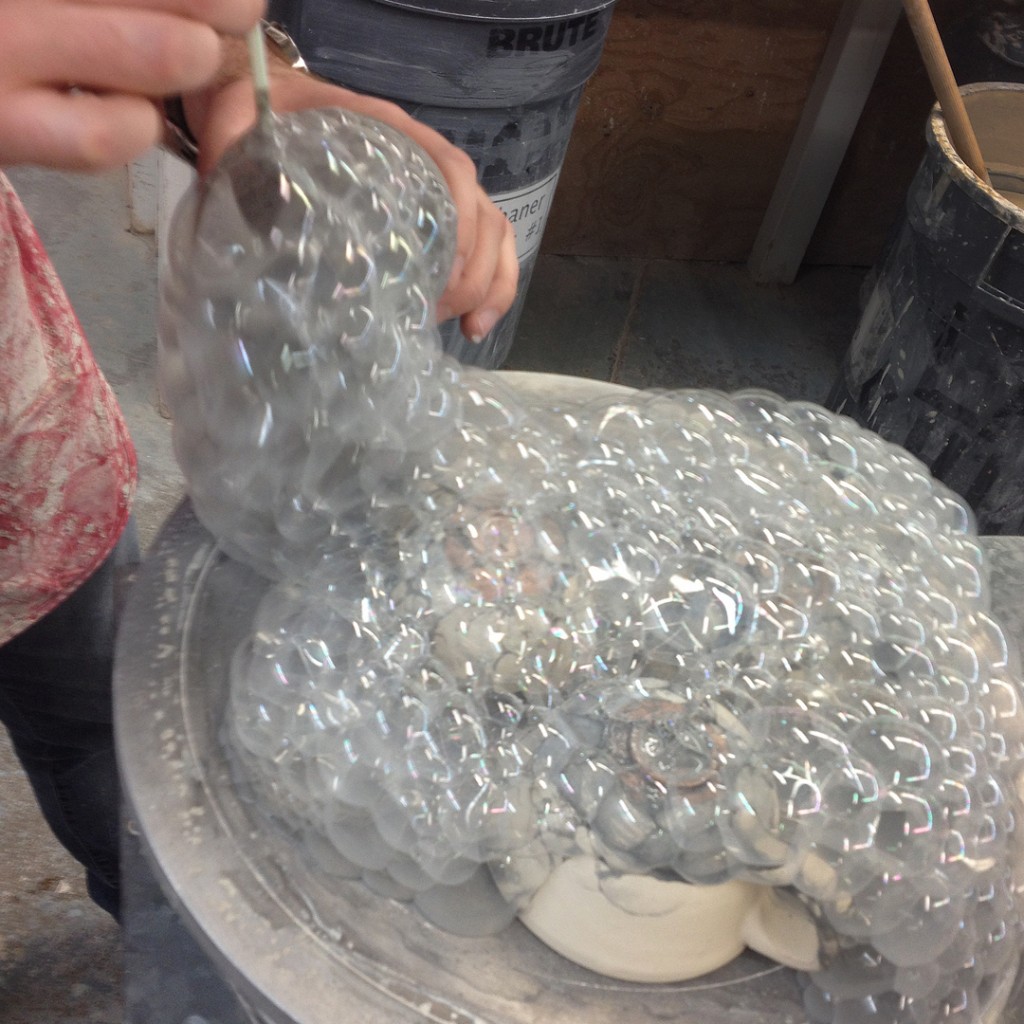
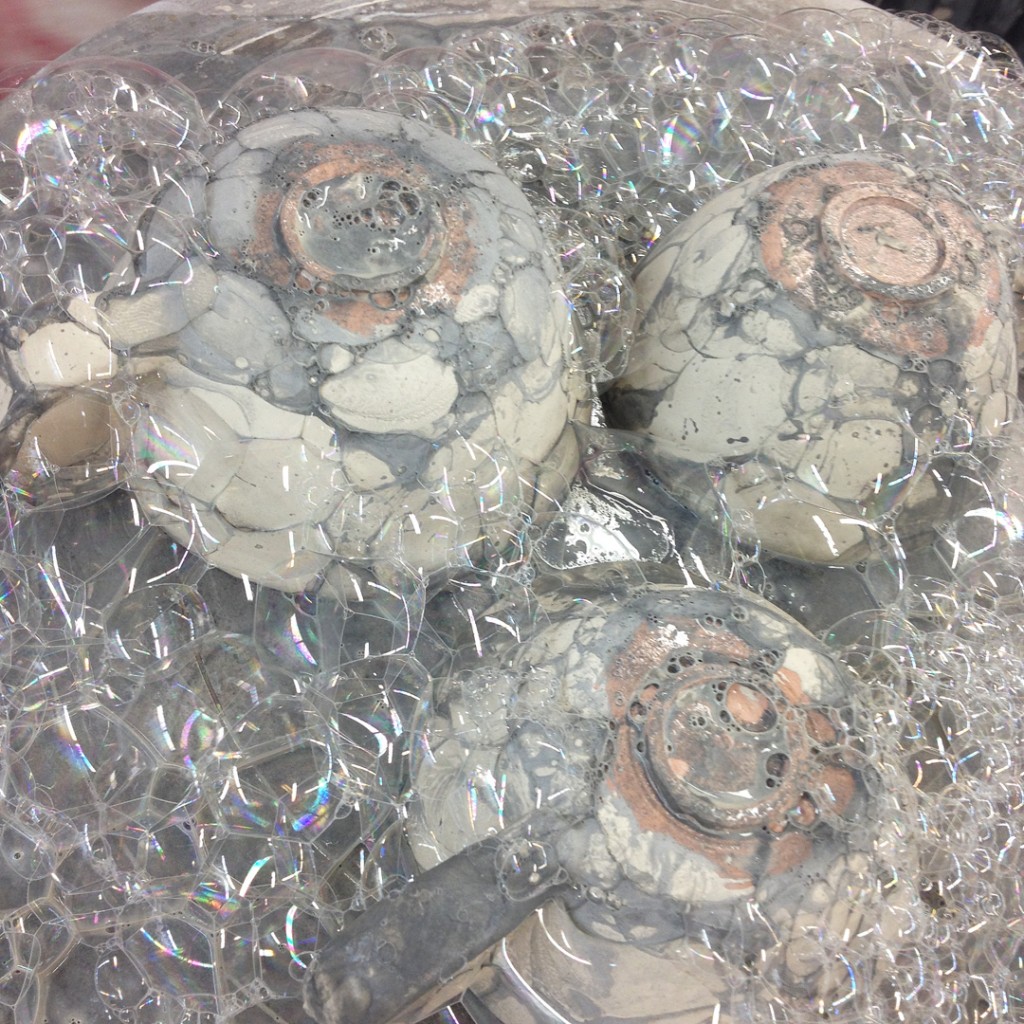
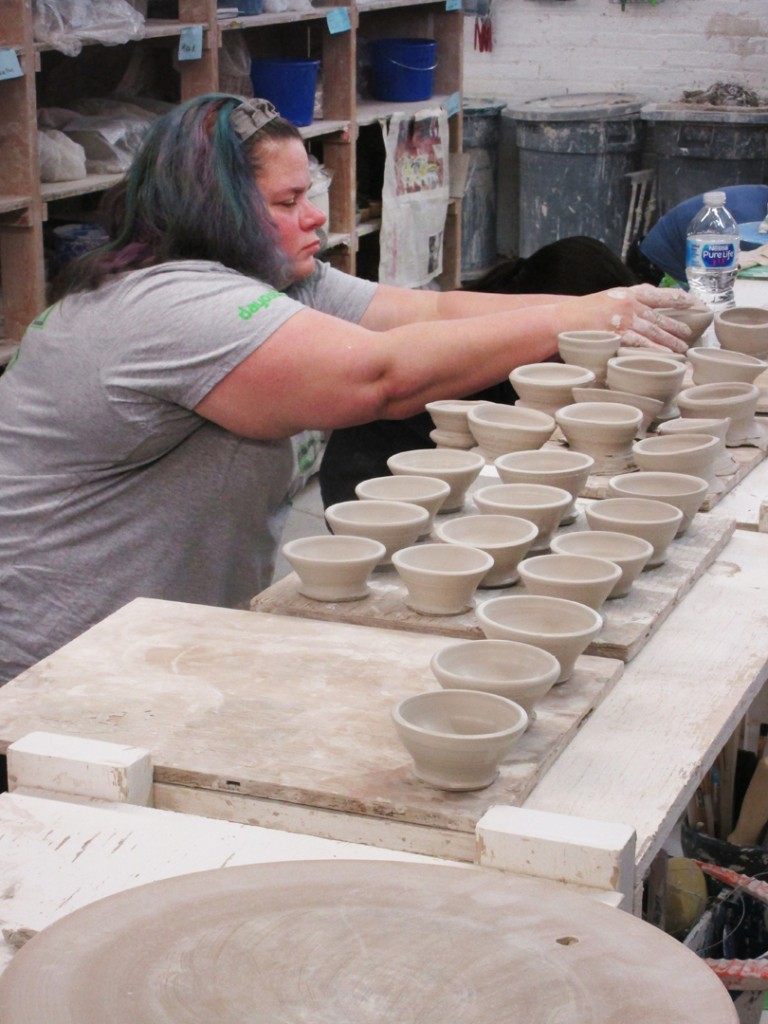
And when they found out I was going to miss our Halloween class, they decided to push their Halloween costume back a week for when I returned. So funny when you wee them all working at the sink…

Yes, I “think” this is flattering?!     I hope…
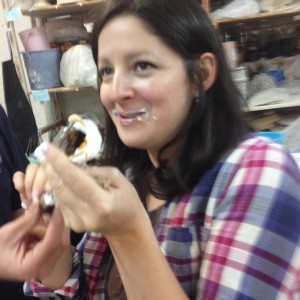
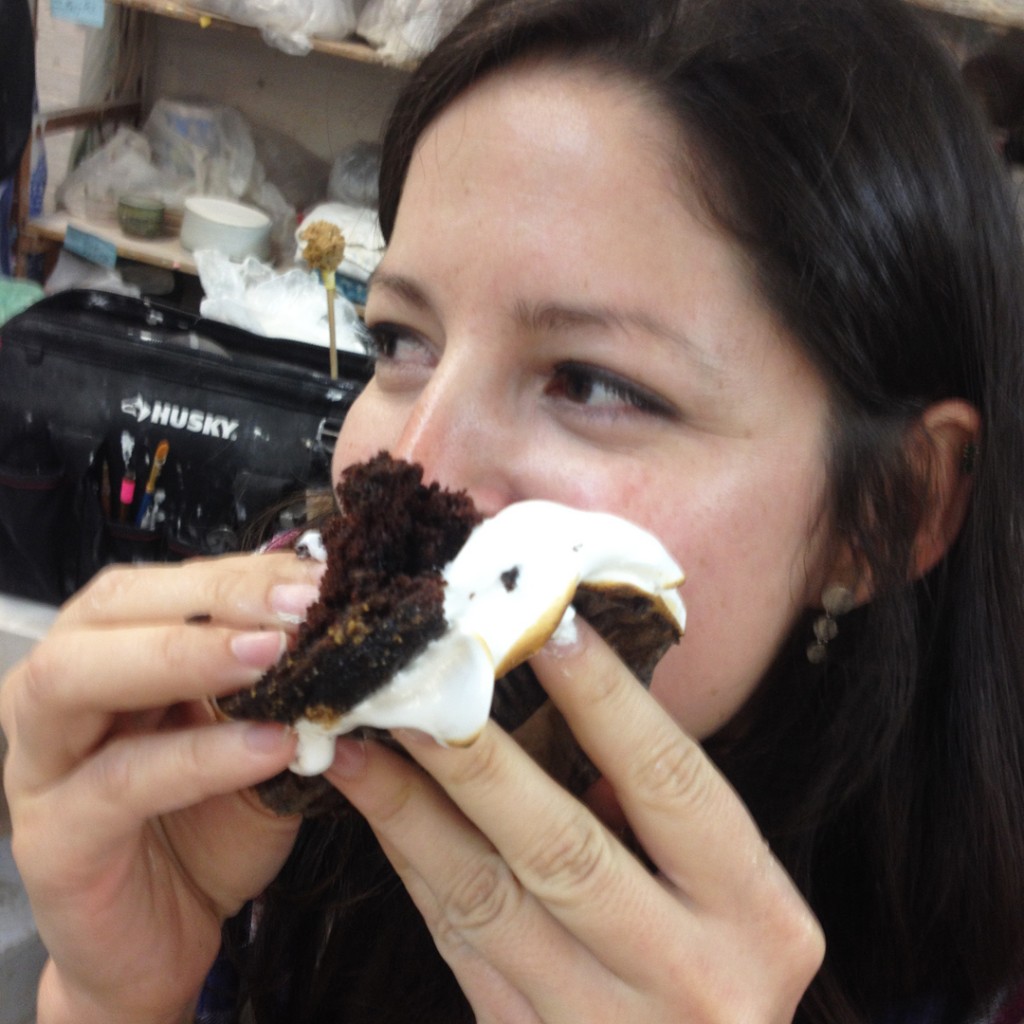
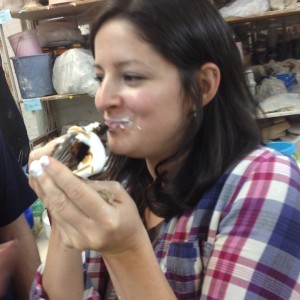
But they decided for Halloween to dress up as ME!!!
Complete with my shorts, tie-dyed shirt, sandals or Crocs, my IRONMAN tattoo!
They even took it to the smallest of details with a smattering of glitter. Long story…

But here’s the test… can you pick out the REAL IRONMAN???

So much fun in class… I HAVE THE BEST STUDENTS EVER!!!

Save

Save

Categories: bowls, classes

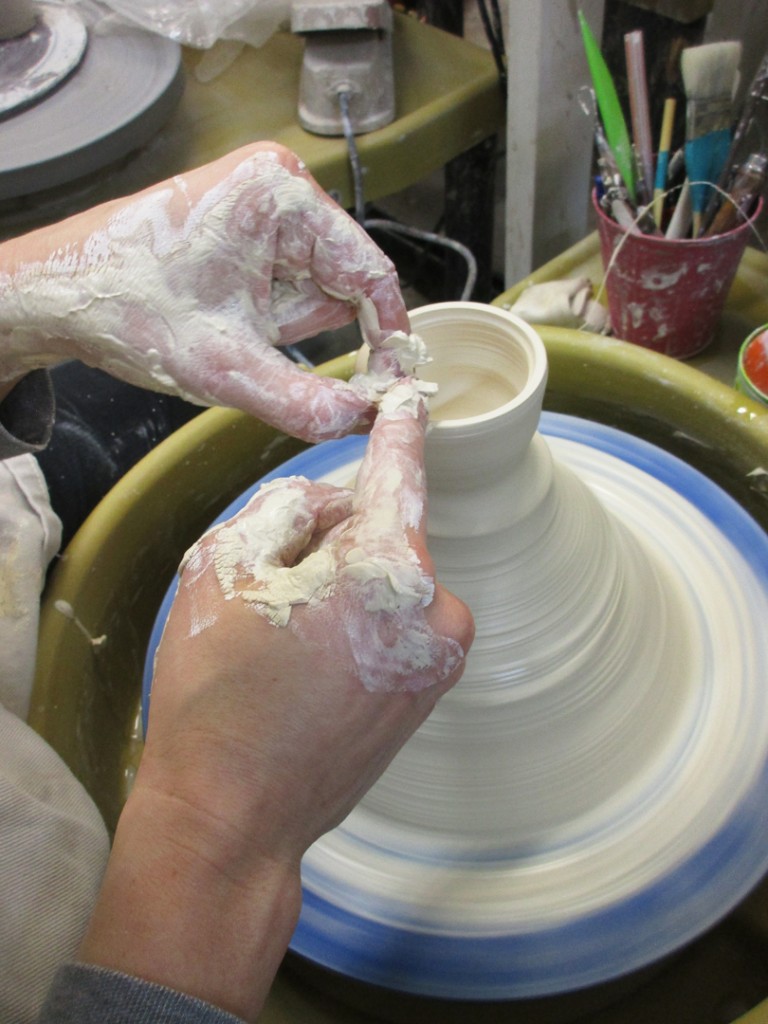
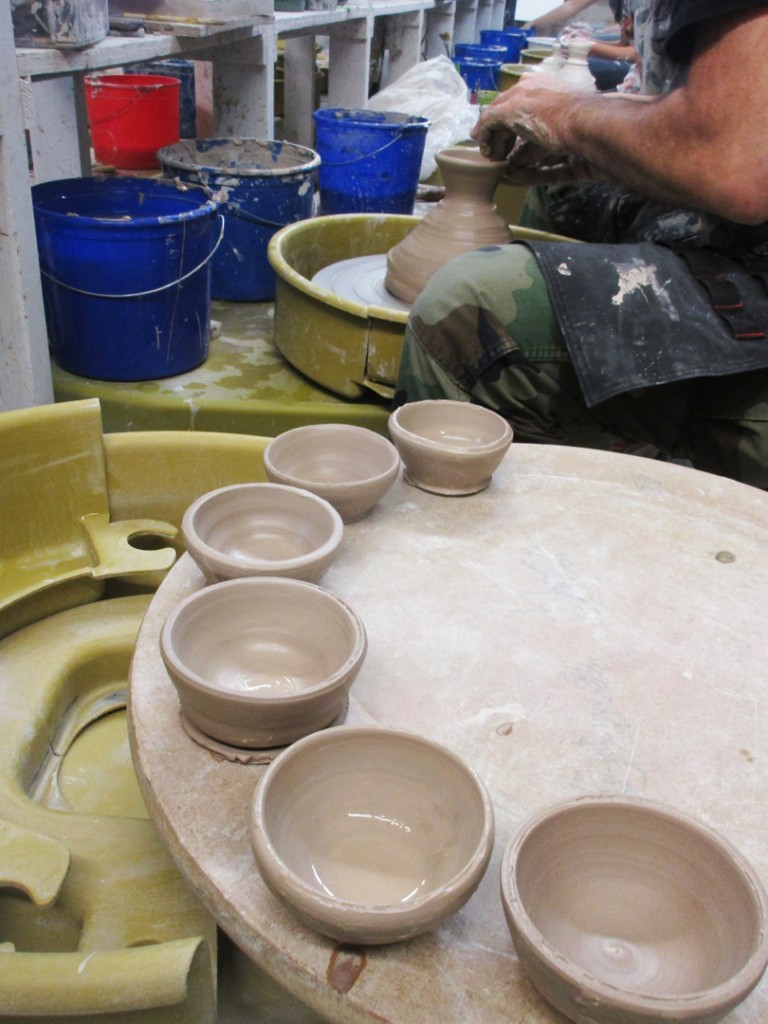
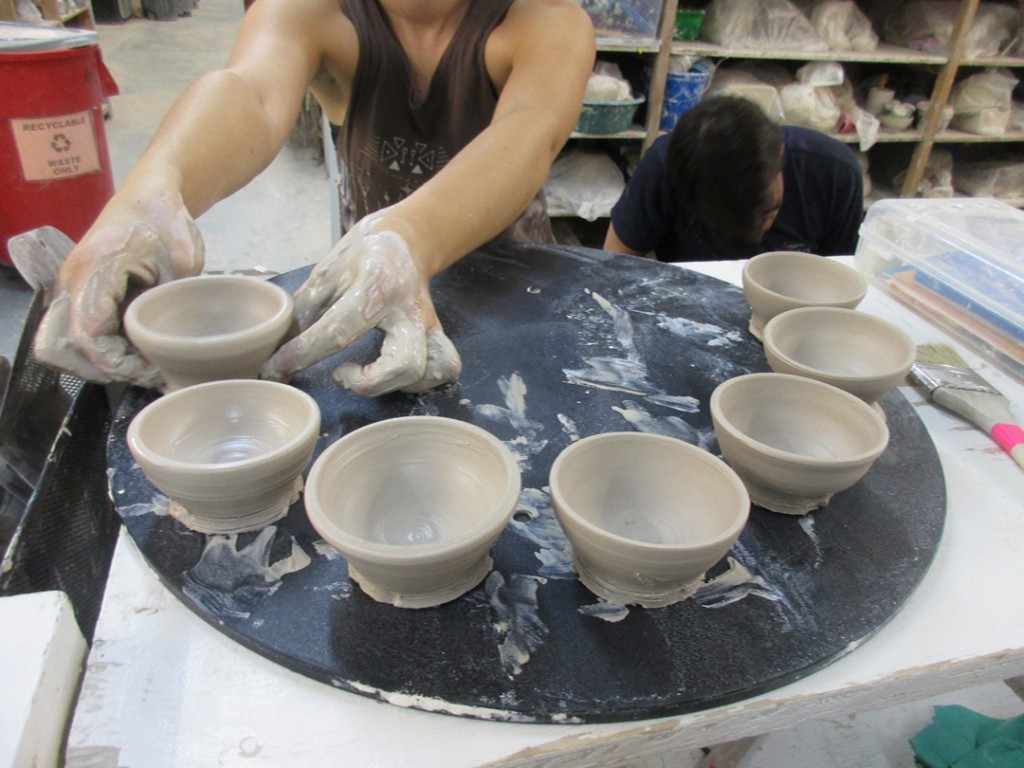
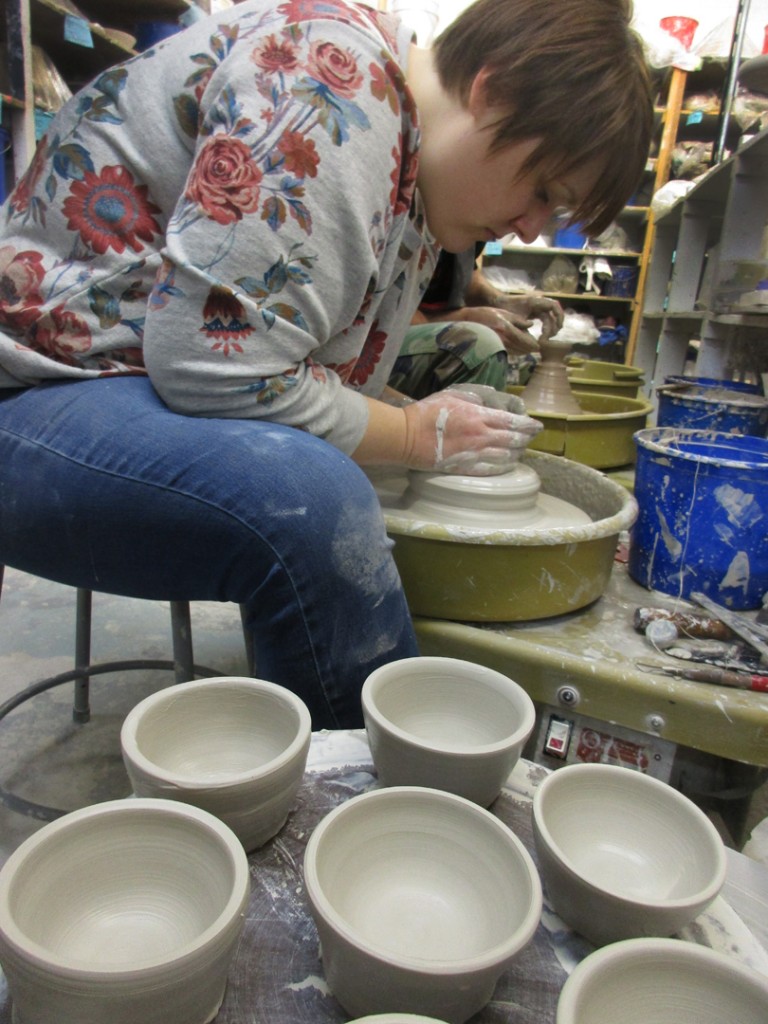
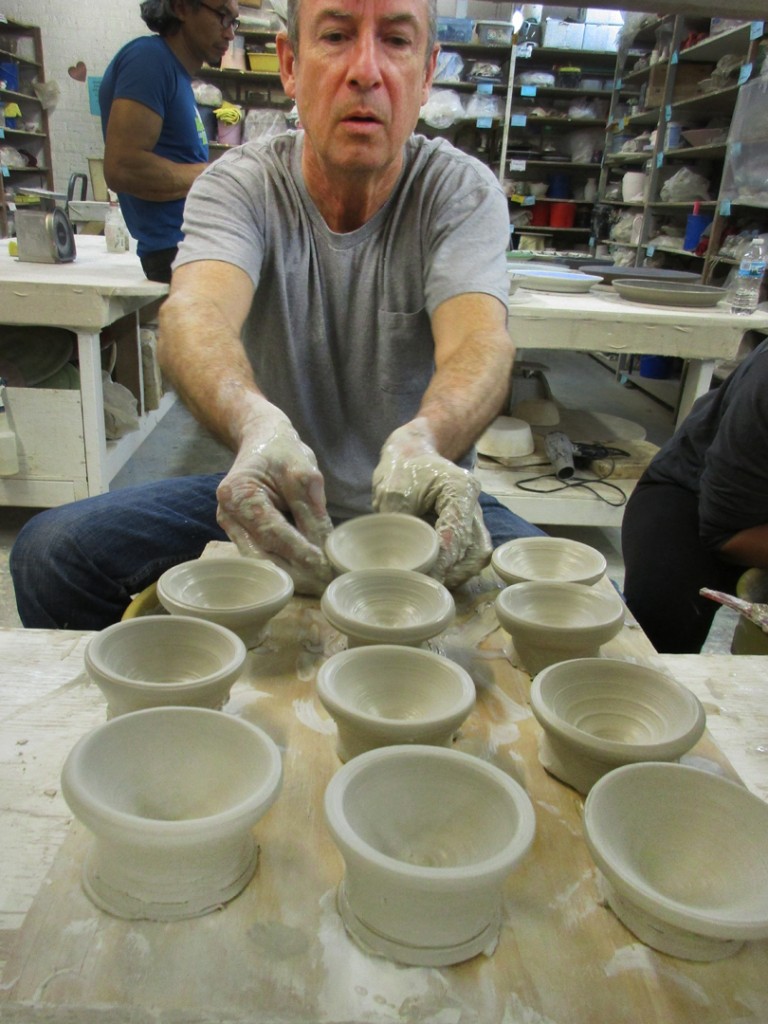
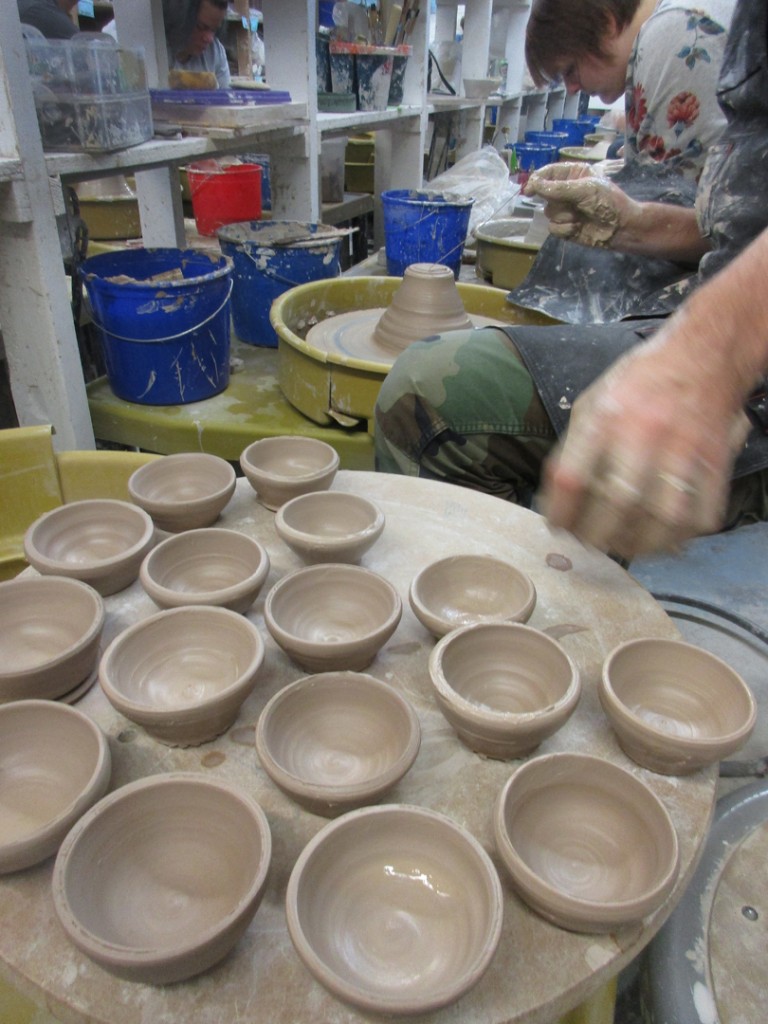
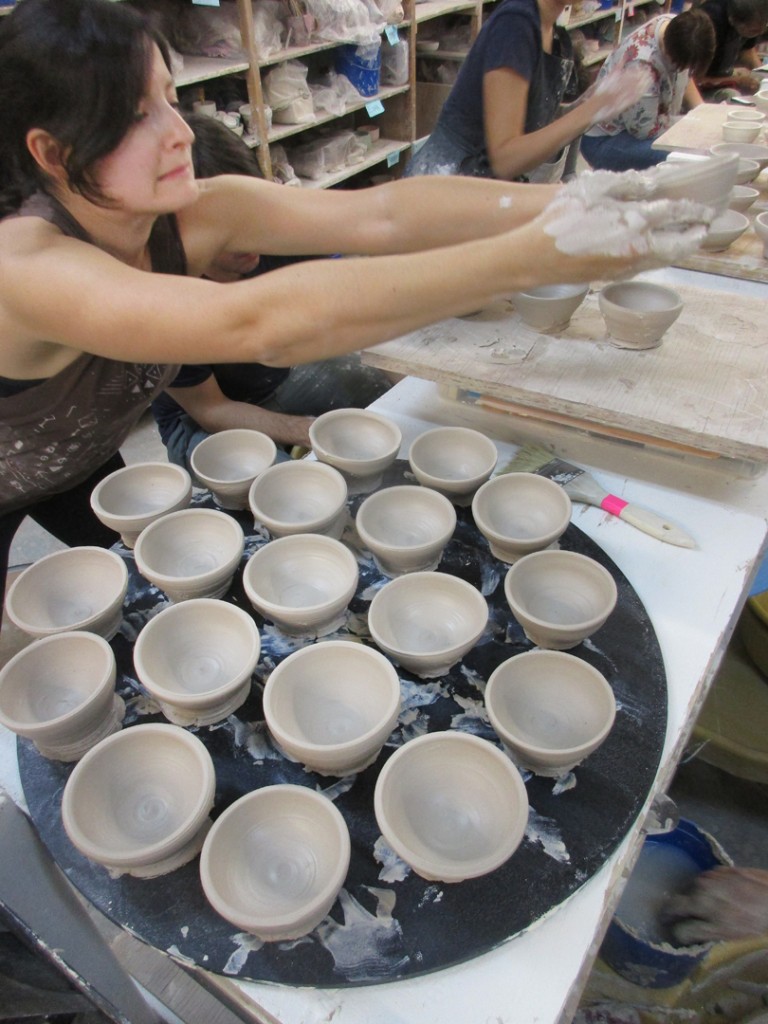
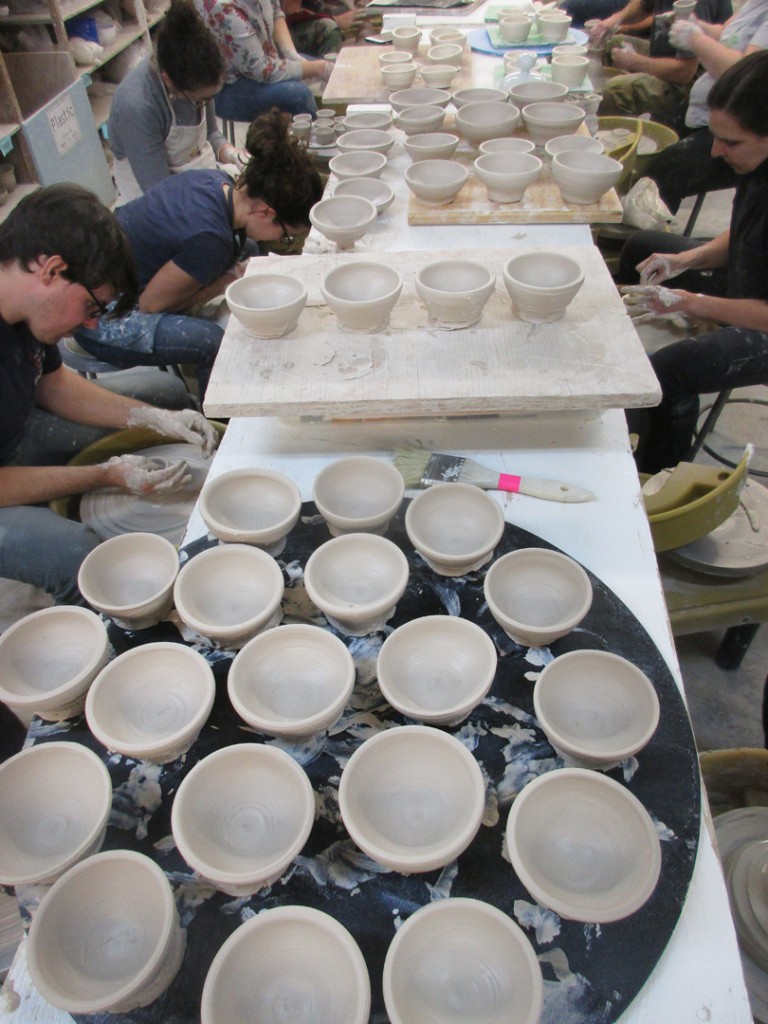
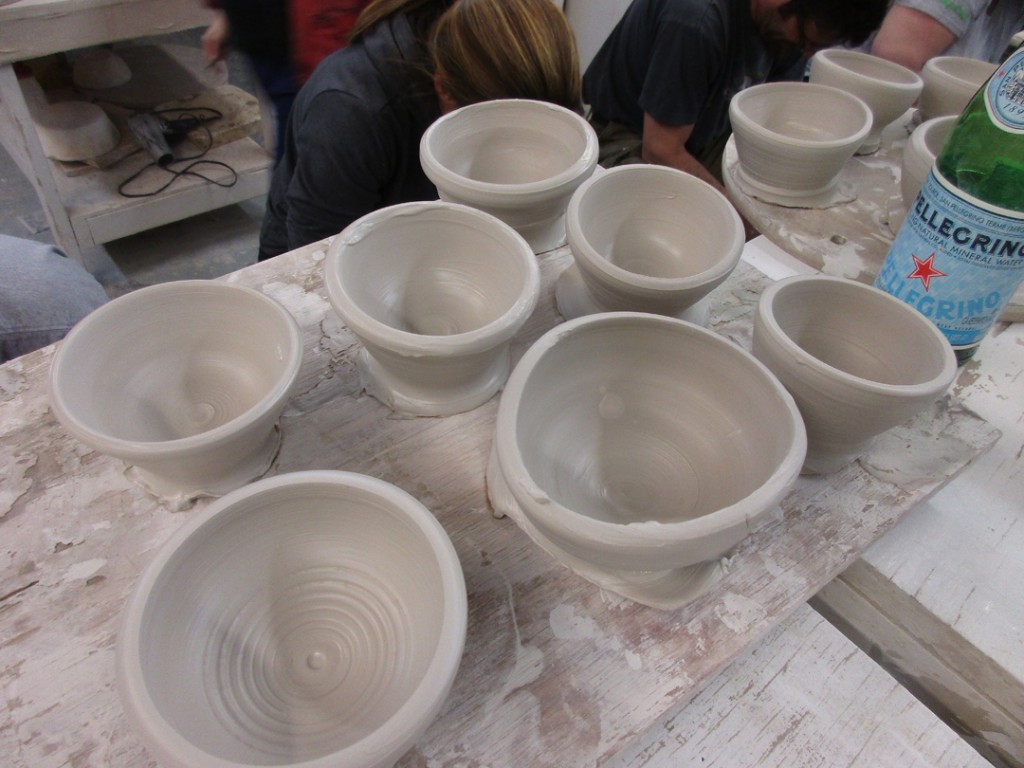
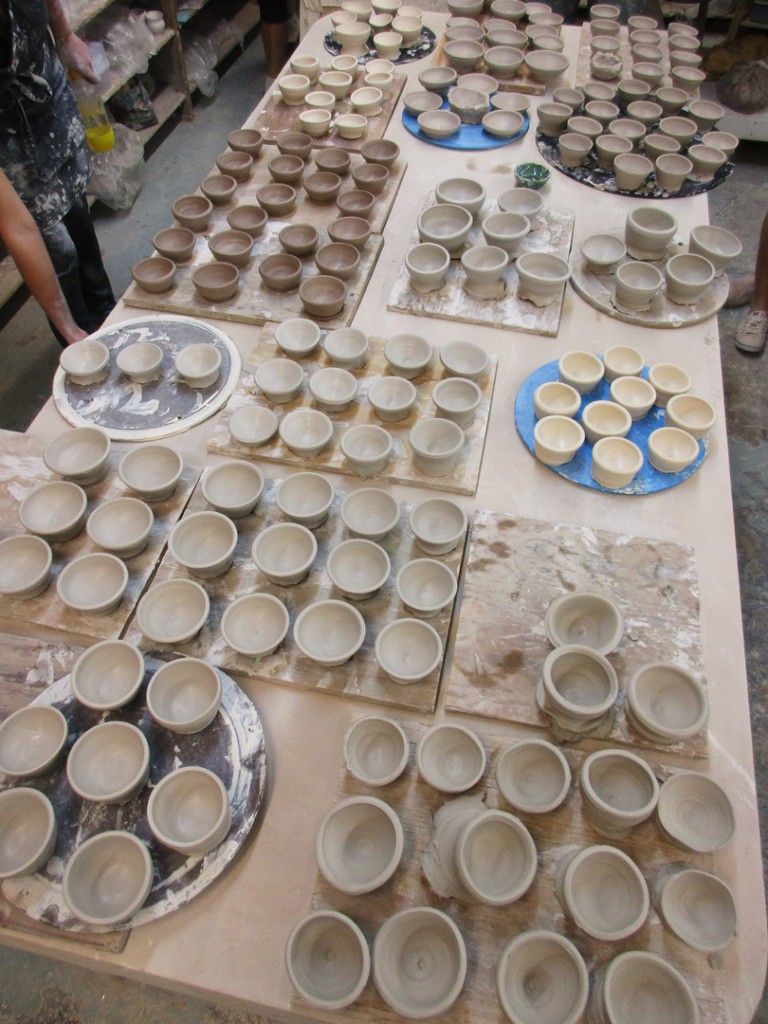
Every session I do this demo mfor my class. I first teach them how to make a “bowl on purpose”, instead of a cylinder gone bad. We discuss the smooth curve inside by using a plastic rib, and not having that “ledge” indentation that you get with a cylinder-gone-bad. After we make it though the first bowl, I send them back to their wheels to try making better bowls on purpose.

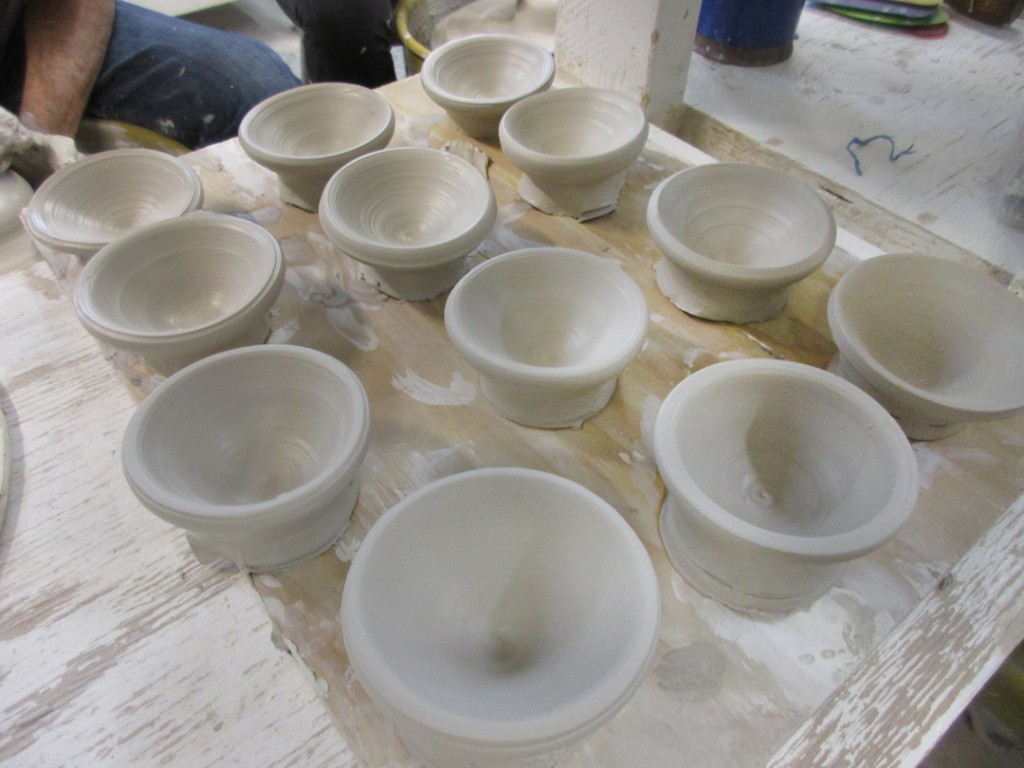
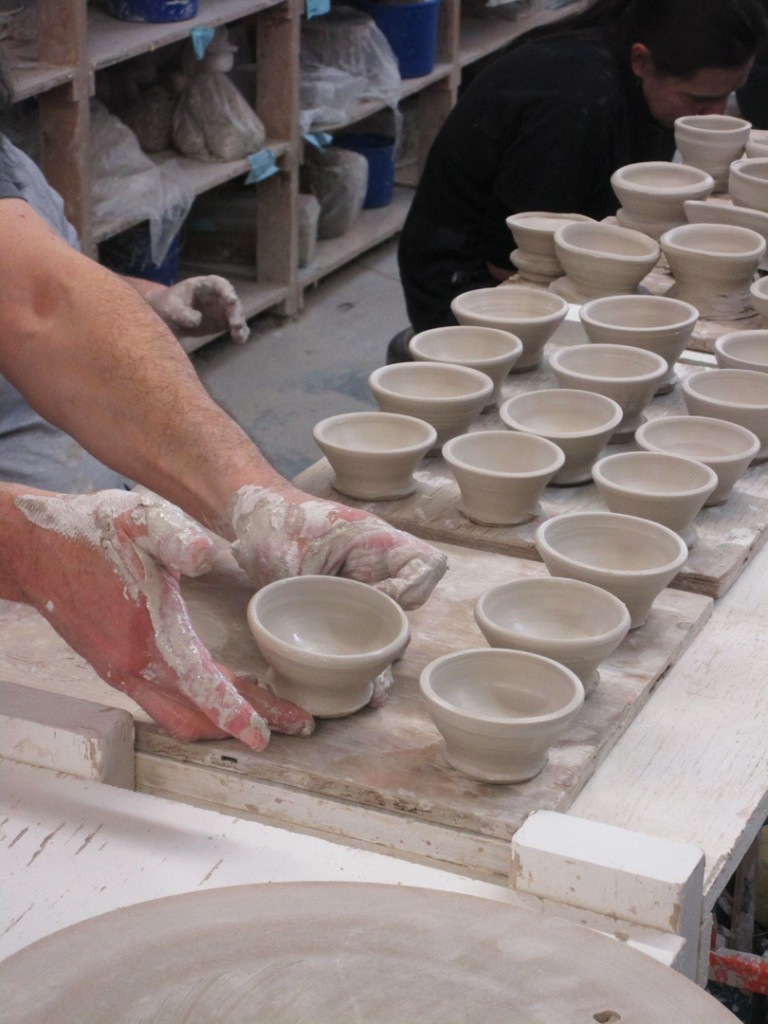
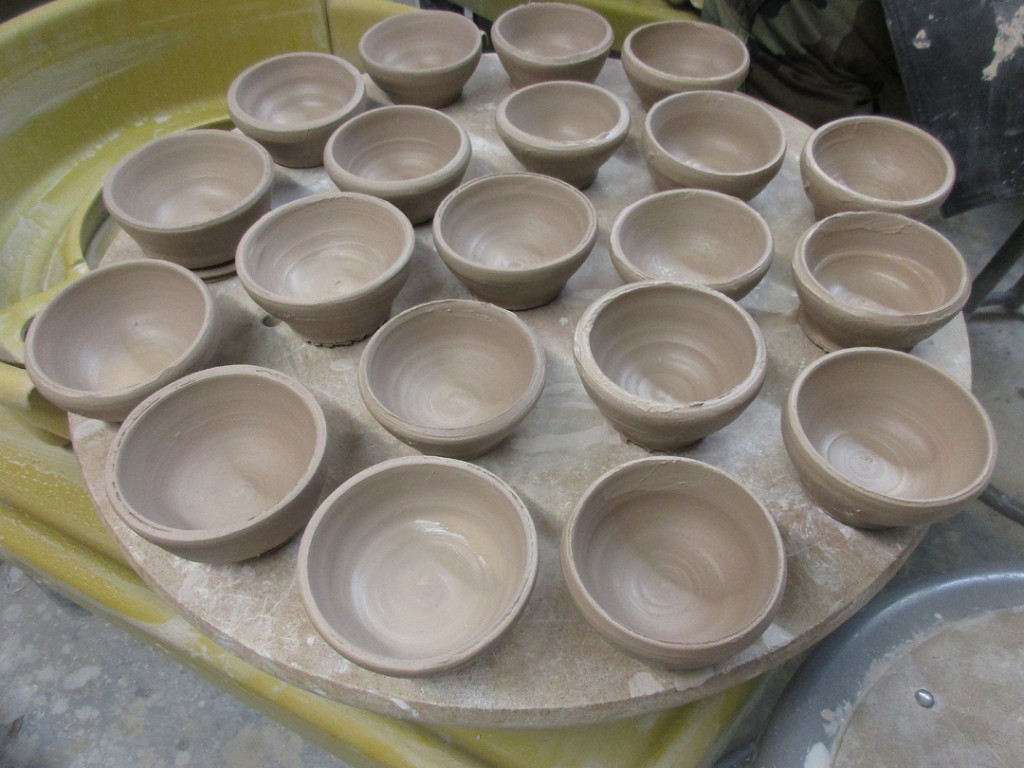
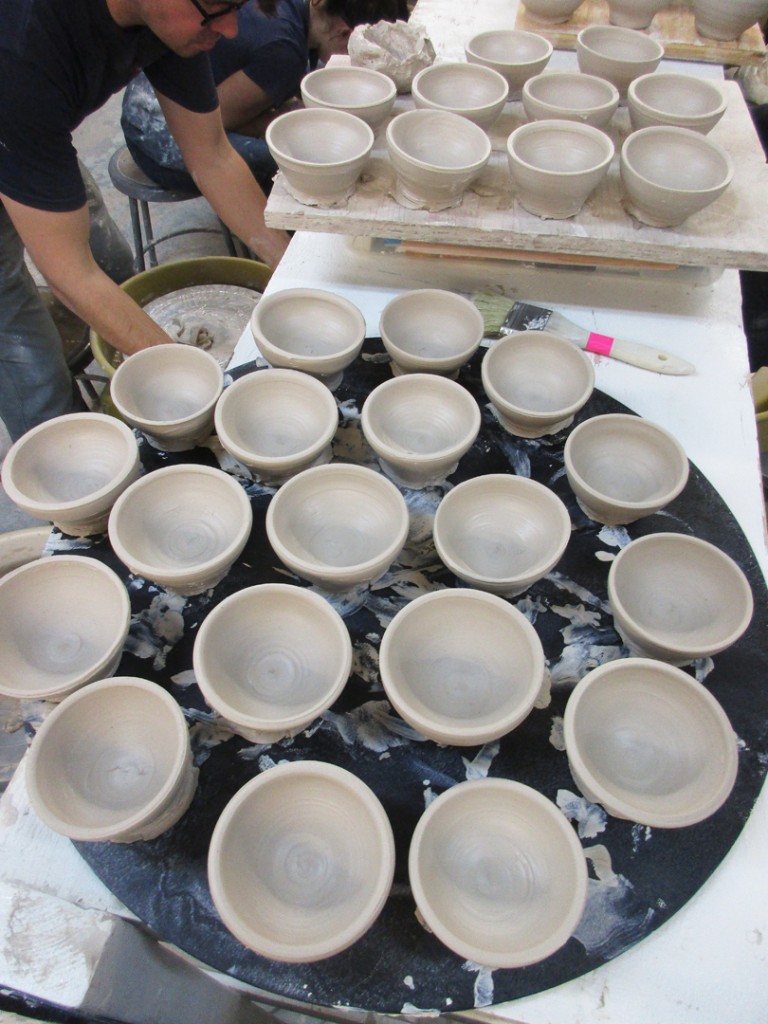
While they’re making their bowls, I continue throwing a bunch of bowls that are “almost” the same. When I get them all thrown, we reassemble at my demo wheel so I can do some quick decorative tricks to make the bowls all different. I try to encourage “playing” with their clay and trying some new tricks. The wheel can make it round, but it’s up to them to make it special. So this time I made nineteen bowls for our demo… all basically the same to start out, but then all different by the end of the demo!

Bowl A – Two flip-twists to make a simple fluted edge.

Bowl B – And if two fluted edges are good, eight might be better.

Bowl C – A simple flared out rim.

Bowl D – A simple flared out rim with four fluted edges.

Bowl E – A wide flared out rim with some concentric indentaitons in the center.

Bowl F – A split rim with four “pinched” accent points.

Bowl G – The same split rim with four pinches, but then squished and altered into a new shape. Who says bowls need to be round?

Bowl H – And if altering the shape of a split rim bowl is your thing, take it a bit further by going inwards with four, and outwards with the other four to create a lotus-type shaped bowl.

Bowl I – A simple flower indentation using a dragonscale tool.

Bowl J – While I was doing the demo, Ryan asked if I ever do any that are asymetrical. I pondered it for a bit… and then came up with this one. I cut it, and then bent it, and rolled it in a bit. Just playing… experimenting… accepting the challenge… and I kinda like what came out of it.

Bowl K – Then we switched to slip decoration as another option. So I painted the entire interior with thick white slip and then dragged a rounded stick through it to get the spiral effect.

Bowl L – Again, the thick slip is painted in to cover the interior, and then I used the rounded tool to make incised bands. Using slip like this creates a nice color-contrast to the clay body, as well as a bit of a textural change where the grooves are.

Bowl M – Sure, you can use the rounded wood tool… but you can also squiggle your finger tip through the thick slip. Squiggle, spin and move up all at the same time.

Bowl N – Then instead of covering the entire interior, we filled a small squeeze bottle and squirted out a thin spiral of a contrasting color.

Bowl O – Again, Ryan was right there ready to give me another challenge. And he asked if we could do two different colors of slip spirals… and make one go the opposite direction too!!!

Bowl P – A simple ombre effect with a green slip blended down to a white slip.

Bowl Q – Then I filled the interior with thick green slip and did a rhythmic chattering technique to create this bowl.

Bowl R – And since slip is just liquid clay, why not use it a bit thicker than normal… in a pastry bag squeezing it through a cake decorating nib. I like the concept… I like the look of it… but I’m still not quite sure that I’ll like the final result. Not quite sure how to resolve the sharp points???

Bowl S – Then we tackled another colored slip trick. I layered some slip on newspaper and transfered it onto the bowl. I started by squeezing some white onto the newspaper. I let it stifffen up for a few minutes and then I squirted on some black lines. When that set-up, I painted over it with a couple layers of green slip. As the news paper draws the moisture out of the slip, the slip stiffens up. I put another piece of newspaper on top and presses it together to flatten it out a bit. When it was stiff enough to move, but still wet, I cut out circles with a small cookie cutter and adhered them to the bowl. Again, not sure that I like this final bowl, but I’m intrigued by the process. I’m thinking a more thoughtful plan might work great on the right form.

So that’s nineteen quite bowl alterations. Remember, they all started out looking the same…. but don’t any more after a few quick tricks. Remember to play with your clay to make it your own! Anyone can make a “round” bowl… now it’s time to make it your own!!!


Save

Save

Save

Save

Save

Categories: bowls, classes, glaze

Since we’re in-between class sessions, I thought this morning might be a good chance to glaze my past class demo pieces. My students know all-too-well how much I “love” glazing and how my pots tend to pile up! Too many glazes. Too many options. Too many ways for the glaze to “ruin” my pots after I’ve employed some of my “control issues” to get them to this point.

Categories: bowls, classes

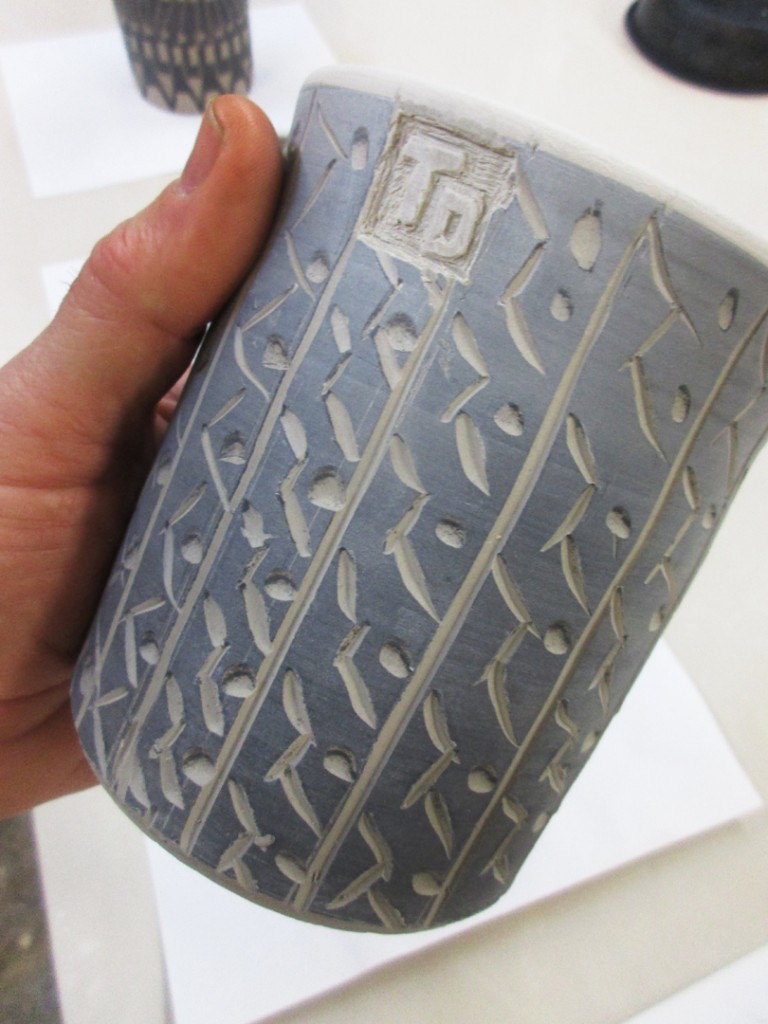
Tonight was the last class for Beginning & Advanced Beginning Wheeltrowing class.  We ended with a great potluck and a fun “White Elephant” trading-exchanging-stealing game. Everyone brought in a bowl they had made, and then went home with someone else’s. I was excited to come home with this beauty by Kit… a charming stoneware bowl that she carved using my new Zebra Wood Carving Tools from CI Industries.

Categories: classes, garden, pottery, soda-fired, stamped

Tonight was the final class for my “Simply Soda” students. Ten weeks of classes and soda-firing fun with mixed results. They’ve enjoyed the challenge and learned a lot about the variables of soda-firing. To finish off our final class, we had a fun potluck feast along with our “Plant & Planter Trading-Exchange Game.” So each student brought in some food… and the planter they made during class with a plant they chose to coordinate with their flower pot.

So here are the plant participants in our fun little trading-exchanging-stealing game!

A beautiful orchid & flower pot by Stacey…

A charming small duo of an African violet & succulent twosome by Taylore…

A ponytail palm and ridged planter by Katie…

Some “unknown plant” in a beautiful flower pot by Jackie…

A round disc succulent and soda-fired flower pot by Ed…

A recently pruned, and soon to bloom? plant in a flower pot by Cecelia…

A sleek wall vase with a miniature mum plant inside by Emily…

A small orchid in a water-erosion-relief pattern flower pot by Patty…

And my stamped & soda-fired planter with beautiful variegated low-light plant…

And then Ryan, Taylore’s better-half, didn’t want to be left out of the fun. So even though he’s not really part of this class (he’s actually in my Tuesday night class), he decided to bring his own “plants” to trade in the game. So he worked up a batch of “dirt” for the potluck! Yummy gummy worms in chocolate pudding and chocolate cookie crumbled “dirt.”


Save

Save

Save

Save

Categories: classes, garden, soda-fired, stamped

Tomorrow night my “Simply Soda” class is wrapping up and we’ve got a little challenge going on! For our final class this session, we decided to do a “White Elephant” trading swapping game for handmade planters. So the plan is that each student had to make a soda-fired planter during this session, bring it to the last class and trade it for another one. It was my students who went one step further and decided we should add a plant our planters BEFORE the trade!!! So I just planted mine for tomorrow’s class…

Save

Categories: classes, mugs, textures

This past Saturday, I substituted for another wheelthrowing intermediate class…
and showed them all how to make the textured slab & wheelthrown combo mugs.
So here’s another batch from class that I will dip in a thin flashing slip, dry, bisque fire
and then send through my next soda kiln!


Categories: bowls, classes, wheelthrowing

This week in class was my favorite demo of the entire session!!!
Making bowls on purpose instead of a cylinder gone bad… and then altering & decorating.

My bowl demo has a three-part approach.
First, to show them how to make nice, smoothly rounded bowls instead of settling for a cylinder gone bad. So we have a nice curve in the interior instead of a flat bottom and corners like a cylinder.

Second, to introduce them to colored slips as another “tool” for surface decoration to make their pots more special & fun.

Third, to get them to play with their clay more. To realize that is not as “precious” as they think it is. To get over it. Pinch, flute, flare, squish, whatever. Do something fun with your pot to make it your own!!! Any one can make a plain round both. Make it special. Make it yours!

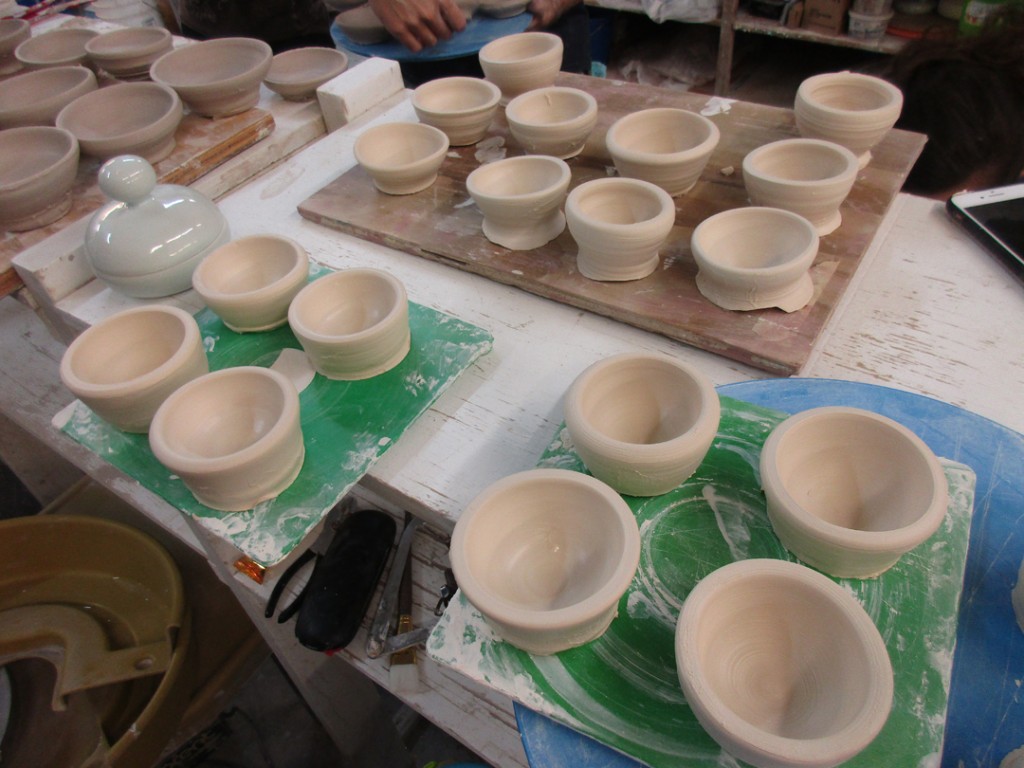
So we did the throwing demo… and then my students went back to their wheels to start practicing. While they were away, I threw the rest of the bowls… a full bag of clay to make 16 bowls! When I finished throwing them all, we reconvened to do some altering. All of the bowls started out pretty much the same… but after some quick changes, each one was different from the others!!!

Bowl #1 – two simple twisted flutes

Bowl #2 – and if two twisted flutes are good, eight might be better?!

Bowl #3 – a simple flared flange of a rim.

Bowl #4 – a much deeper flared flange… kinda like that bowl you get a very fancy expensive restaurant where the give you the big bowl with a teeny-tiny nugget of food in the bottom for a very high price!

Bowl #5 – then we combined fluted twists on the flared flange.

Bowl #6 – a simple split rim… pinched back together in four places.

Bowl #7 – another split rim, dented in in four places, and then dented outwards too!

Bowl #8 – a fun little “surprise” flower in the bottom of the bowl made with a metal dragonscaling tool.

Bowl #9 – For this one, my students were excited to have me try a new style. My plan was to cut the rim off in with decorative curves. I started with four curved incisions… and I tossed the cut-off parts into the splash pan. But then someone suggested I use the cut-off parts somehow. So I pulled them out, rolled them a bit and decided to add them on as handles. Unfortunately, the clay cut-outs were a bit gooey, and I didn’t score & slip them on… so I will be peeling them off and adding better handles later.

And then I introduced colored slip as a decorative accent…

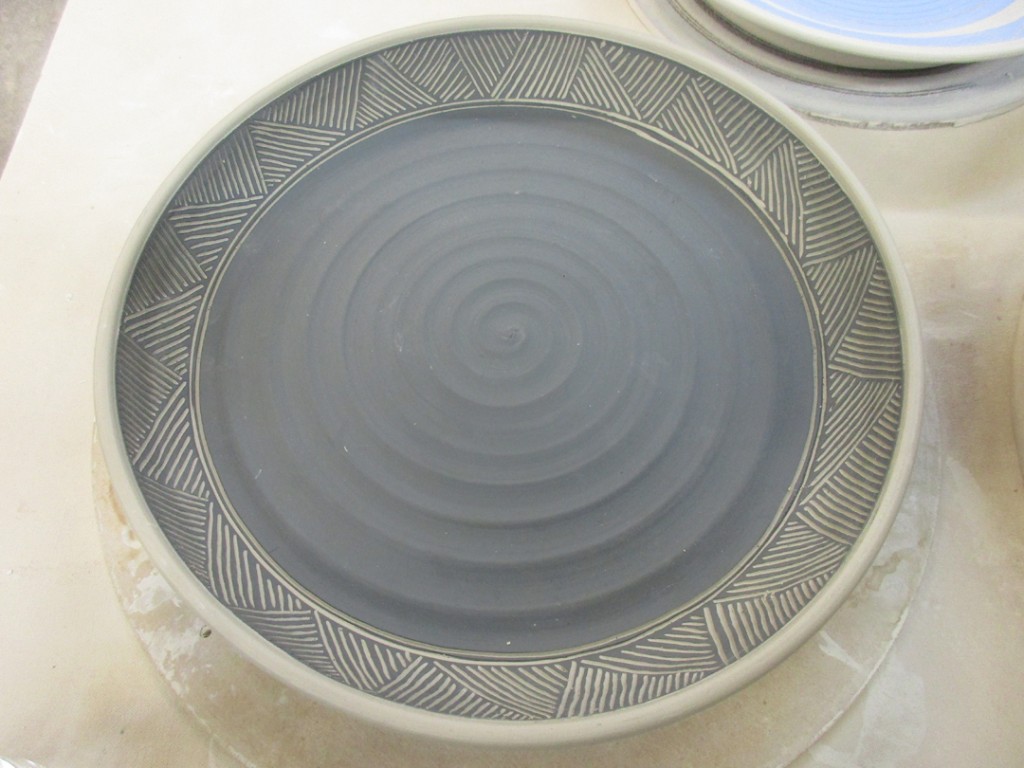
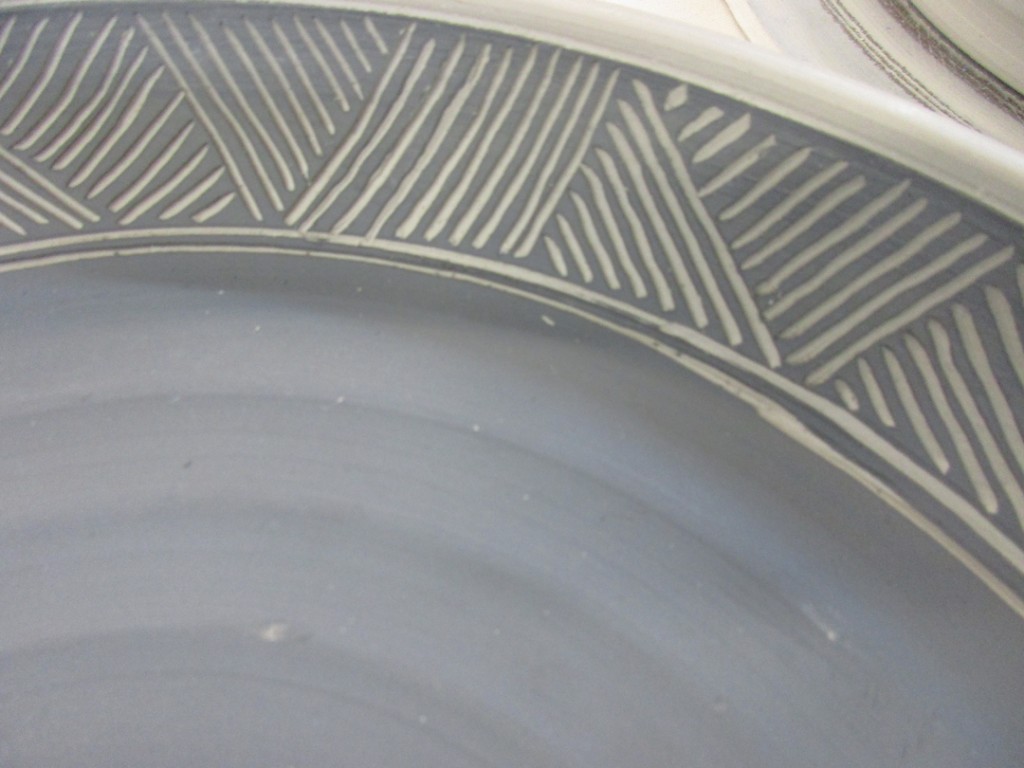
Bowl #10 – a simple coating of thick white slip on the interior of the bowl. My plan for later is to do some decorative carving through the slip to reveal the darker clay in the design.

Bowl #11 – a simple layer of thick white slip and a rounded tool dragged through while the wheel was spinning to get this mesmerizing spiral effect.

Bowl #12 – another layer of thick white slip and some “finger painting” squiggles while the wheel was still spinning.

Bowl #13 – thick white slip with a spiral and some simple banding.

Bowl #14 – thick white slip with some chattering through the slip. Steady rhythmic tapping of a plastic rib through the slip to show the darker clay. Tapping, spinning and moving up all at the same time to get this great design.

Bowl #15 – a flared flange covered with thick white slip… and then some simple finger drags through it to create a patterned rim.

Bowl #16 – a layer of white slip, and then a layer of blue mazzerine slip over part of it for a groovy ombre effect.

So for now they’re wrapped up under plastic… soon to be stamped, carved, detailed and more!

Save

Categories: classes, lillstreet, summer camp, terra cotta

CHESS CAMP at LILLSTREET  :  Monday, July 10 – Friday, July 14  :  9:00am-3:30pm

Are your kids looking for a fun Summer Camp for the week after 4th of July??
Well, we will once again tackling thematic Chess Sets with one of my favorite Summer Camps at Lillstreet Art Center. We’ll spend the week making thematic chess sets… handbuilt chess pieces with whatever theme the kids want!!! That’s a LOT of pieces to design & build… all building up to the big climax of actually playing chess with the complete set they’ve designed & built all by themselves! And they get to play with ME!!! How cool is that?!

Click here for more information or to register your kids!!! Only a few spots left!

Categories: classes, mugs

Tonight was the second class for some of my Beginning Wheelthrowing students…
and they’ve already finished up their first batch of mugs! We’re off to a great start!!!

Save

Save