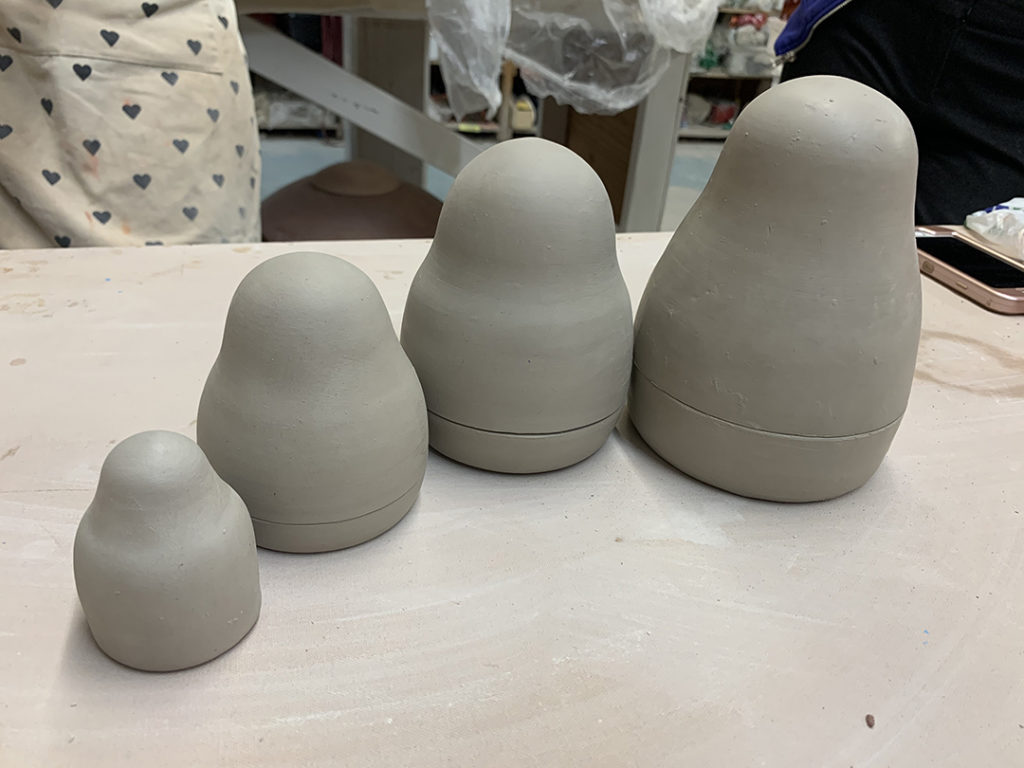
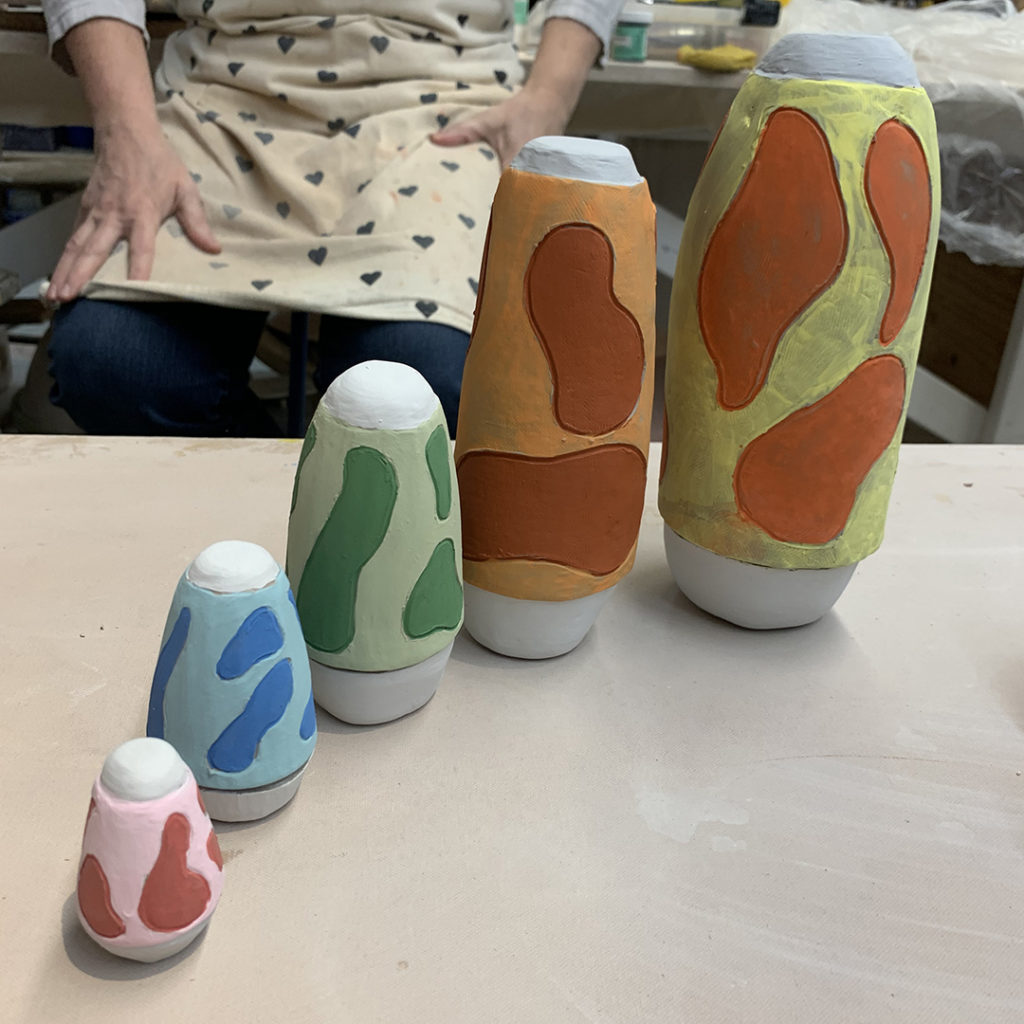
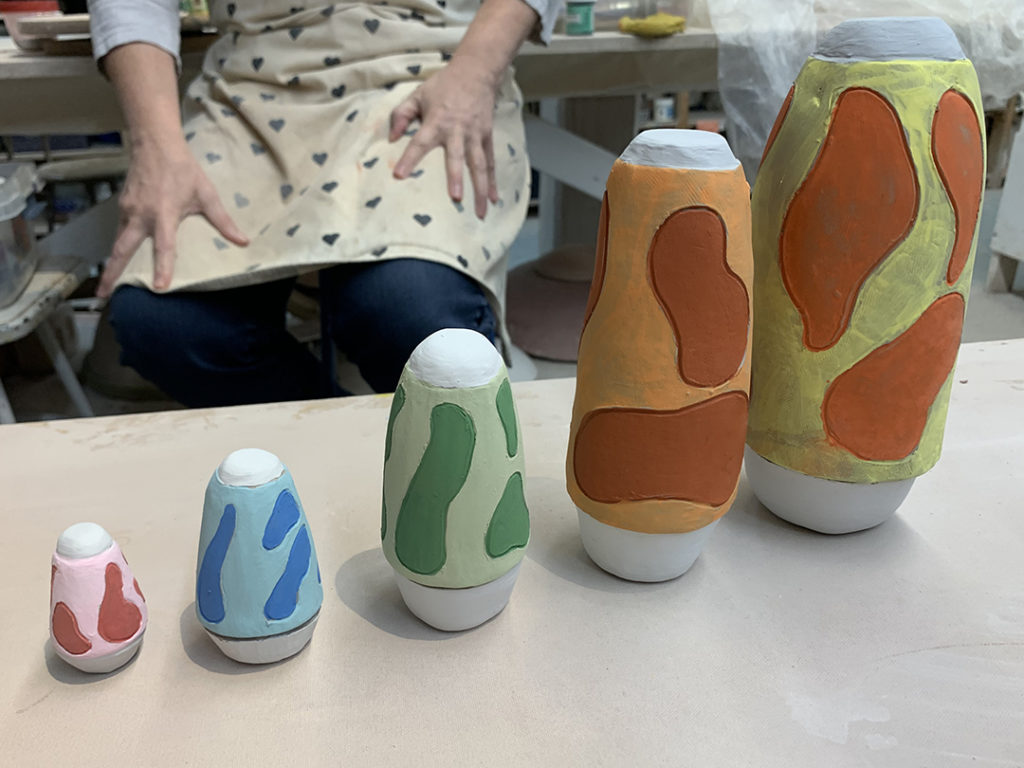
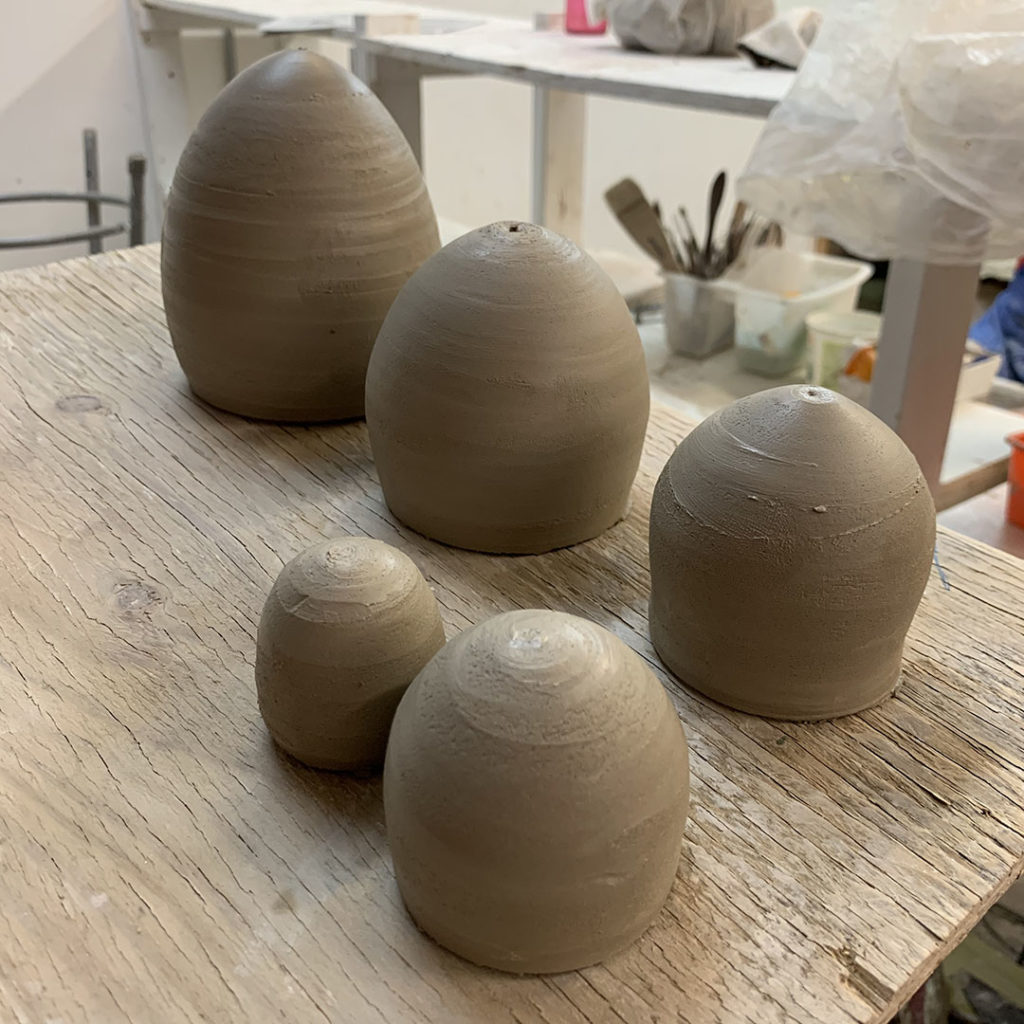
Probably the toughest challenge put to my LILLSTREET THROWDOWN students… a full set of five Matryoshka!!! Yes, five pieces of Russian Nesting Dolls that all fit together, nestle amongst themselves & carry a consistent design. This was a tough challenge for all of them to tackle in just one week – both technically & artistically! Some squeaked by, while others full-on KILLED IT!!!
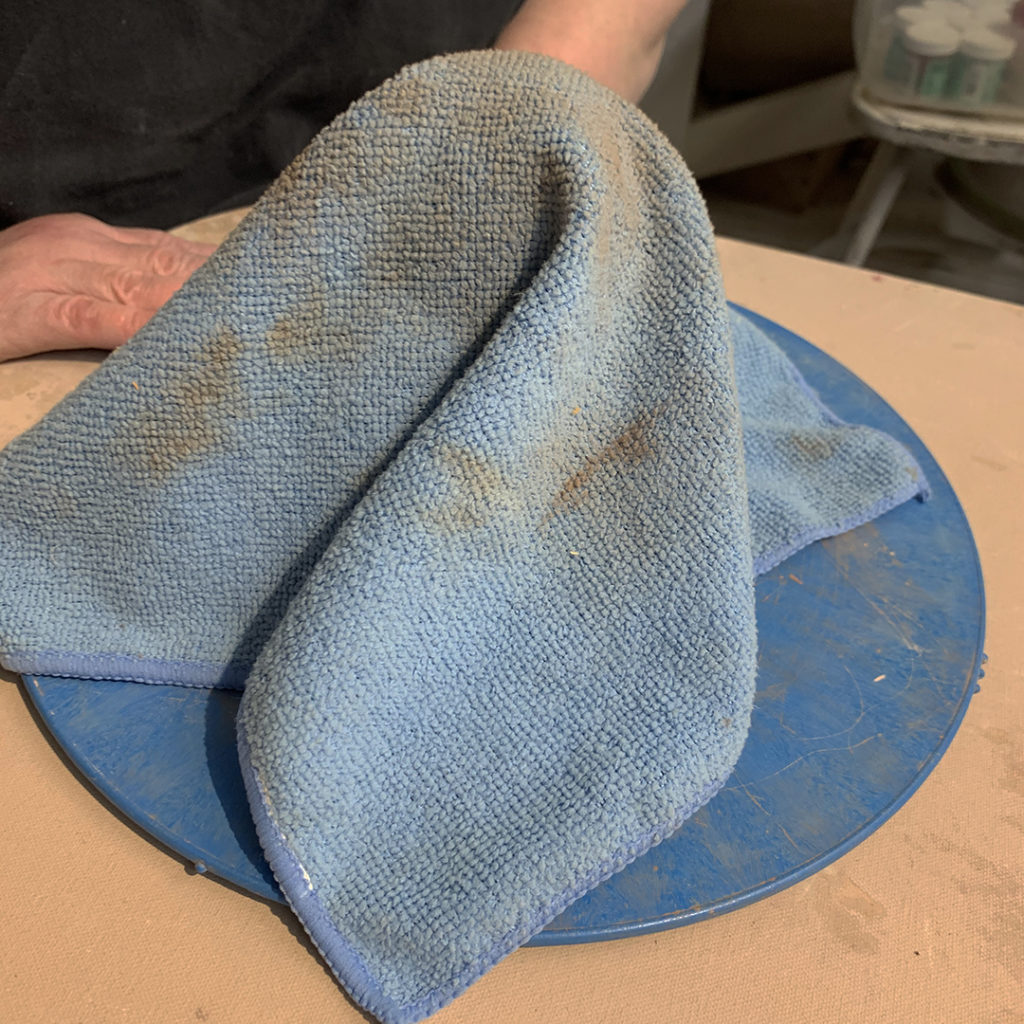
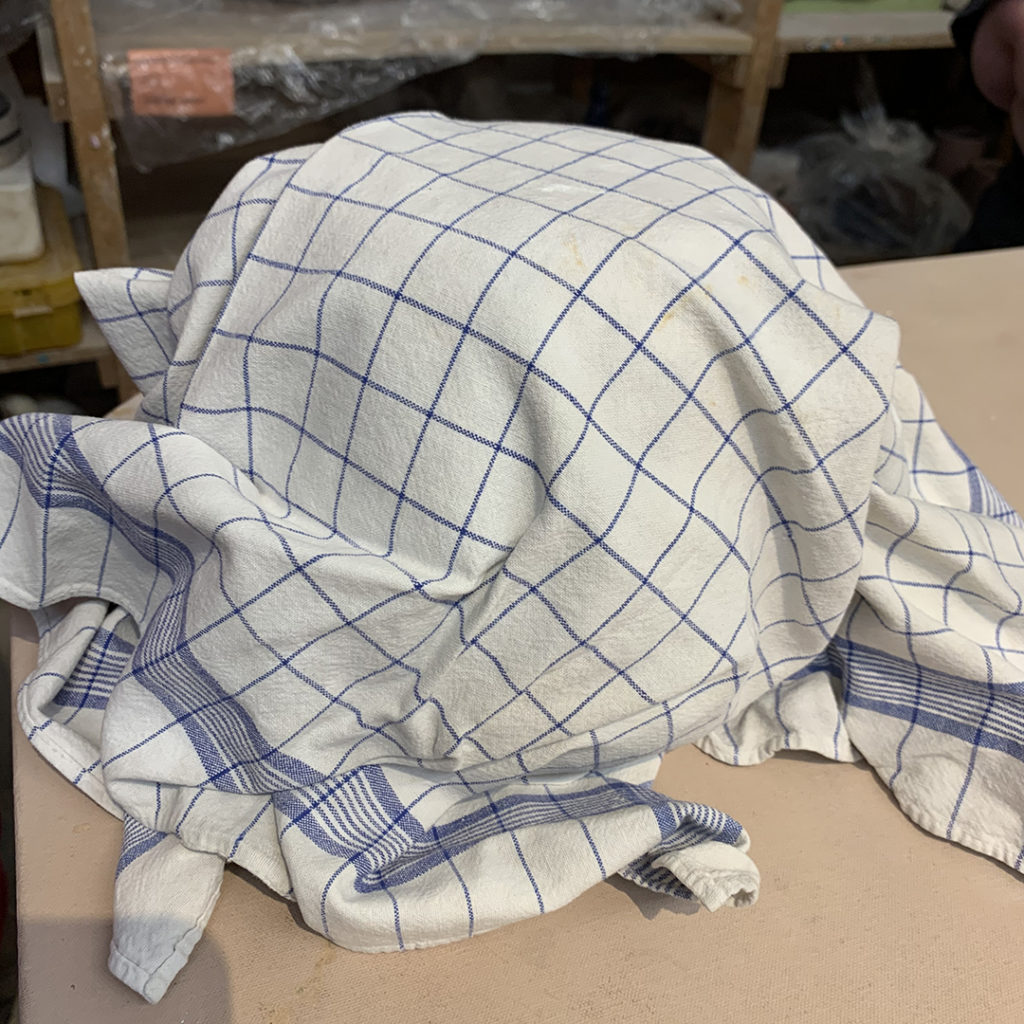
They decided to keep their sets under-wraps… ready for the BIG REVEAL as we went around the table. The anticipation was killing me!
Dana’s set… that unfortunately only had four pieces, instead of five! They looked spot-on with the traditional matryoshka shape. But she ran out of time for the fifth one… let alone any decorating of her set!
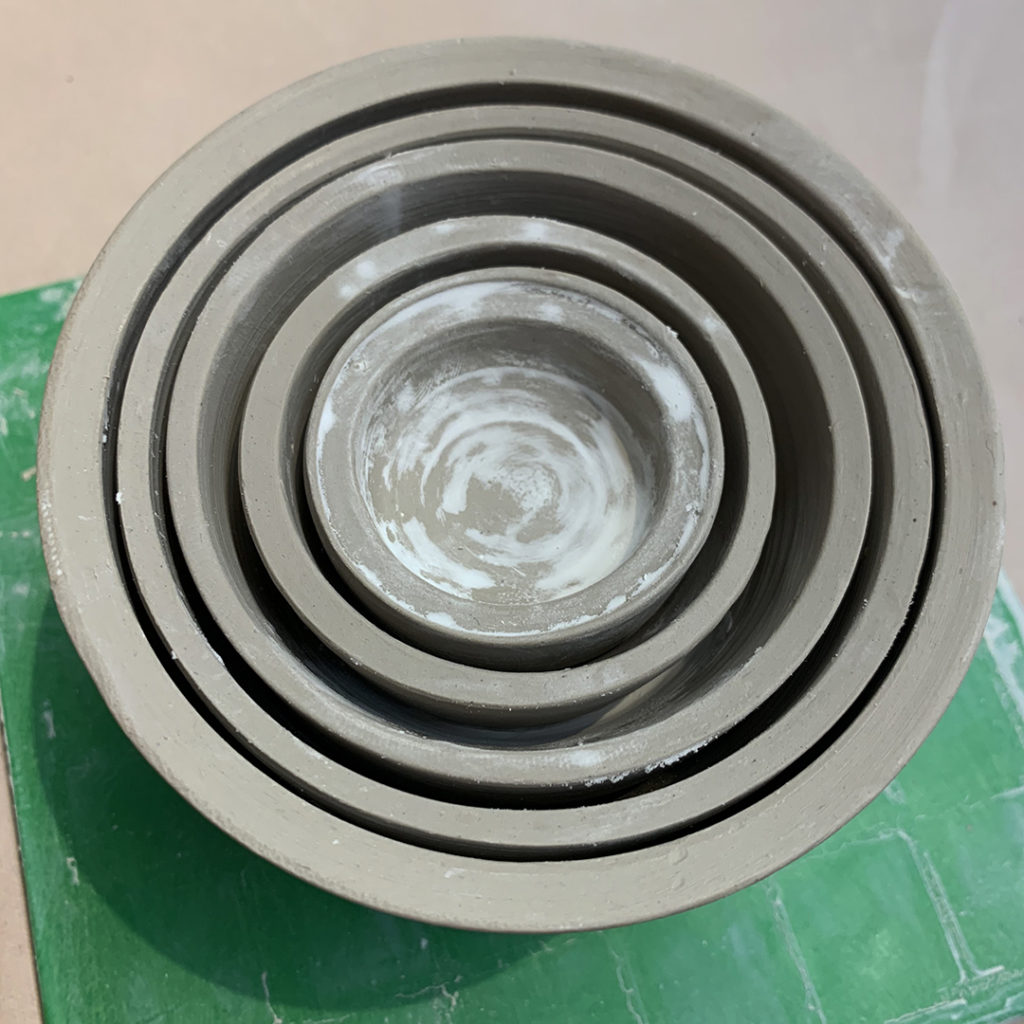
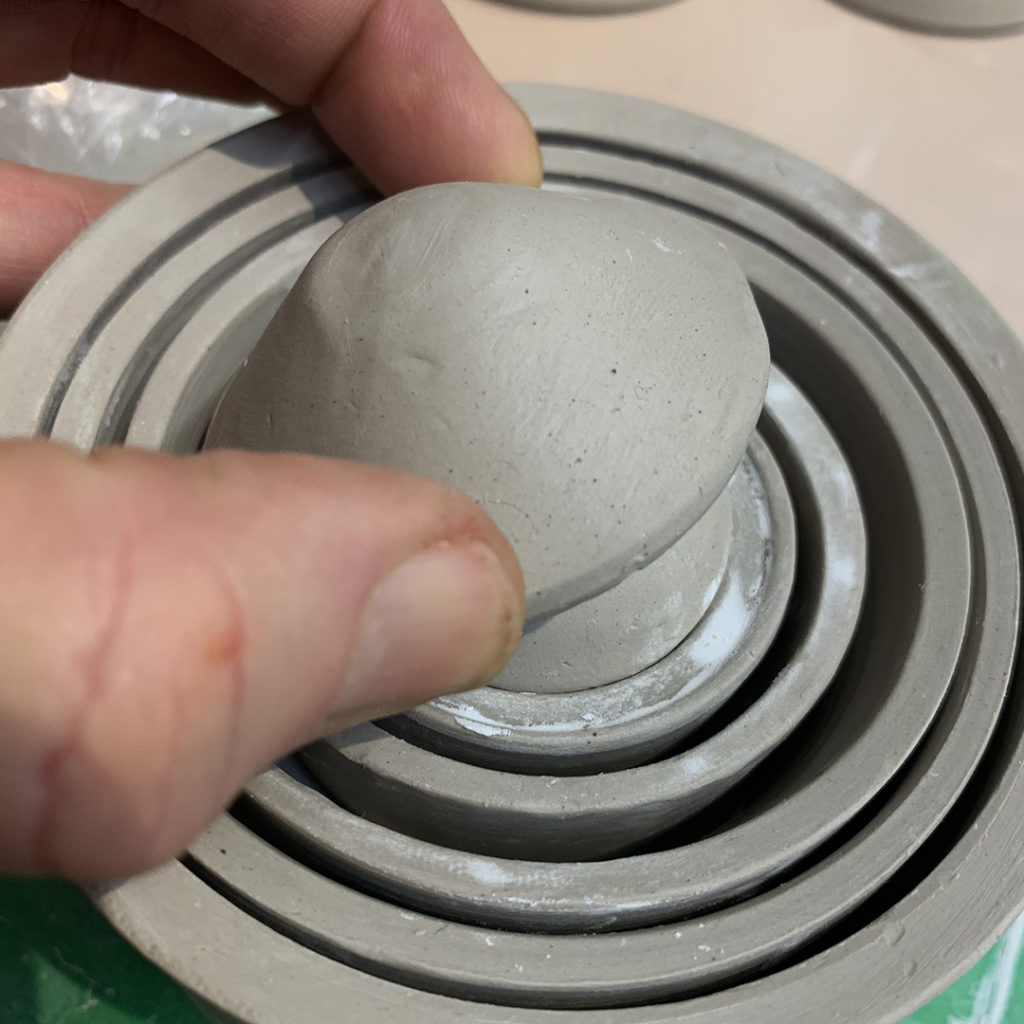
Jacob’s set… which was unbelievable tight when the pieces all fit together. Amazing craftsmanship to throw them so perfectly. So tight that he decided on a little “strategy” to wait until after they were bisque fired just in case he needed to do a little sanding or grinding to keep them fitting so well. When they were all stacked together they looked perfect! However, when they were unstacked and laid out on the table… it was only then tjat you saw that the last two didn’t have fitting lids. They looked great nestled together inside… but didn’t fit when they were apart!
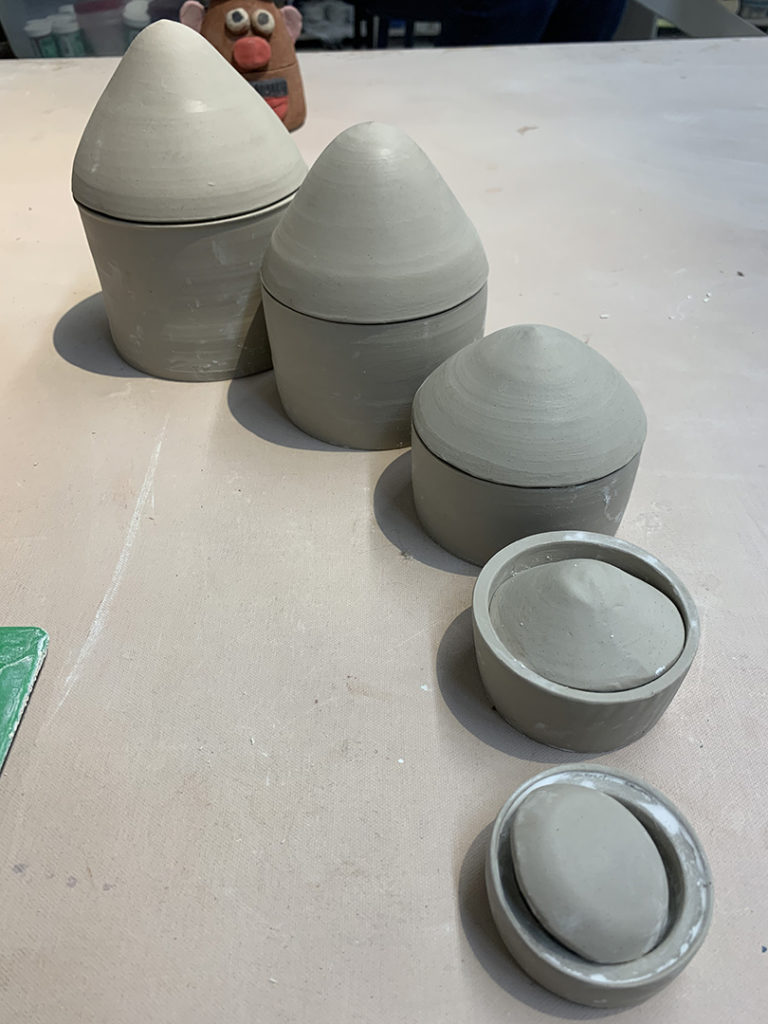
Helen’s set… which unfortunately was unfinished… it din’;t quite have the requisite number of pieces inside! But with all that has been going on thses days, she did sculpt a COVID-19 cell of bacteria to it inside Mr. Potato Head!
Even Donna got into the challenge! Donna was the winner from “Season Two” from last year’s LILLSTREET THROWDOWN. She was missing all the fun, just happened to be around and decided =she was going to play along with. us!
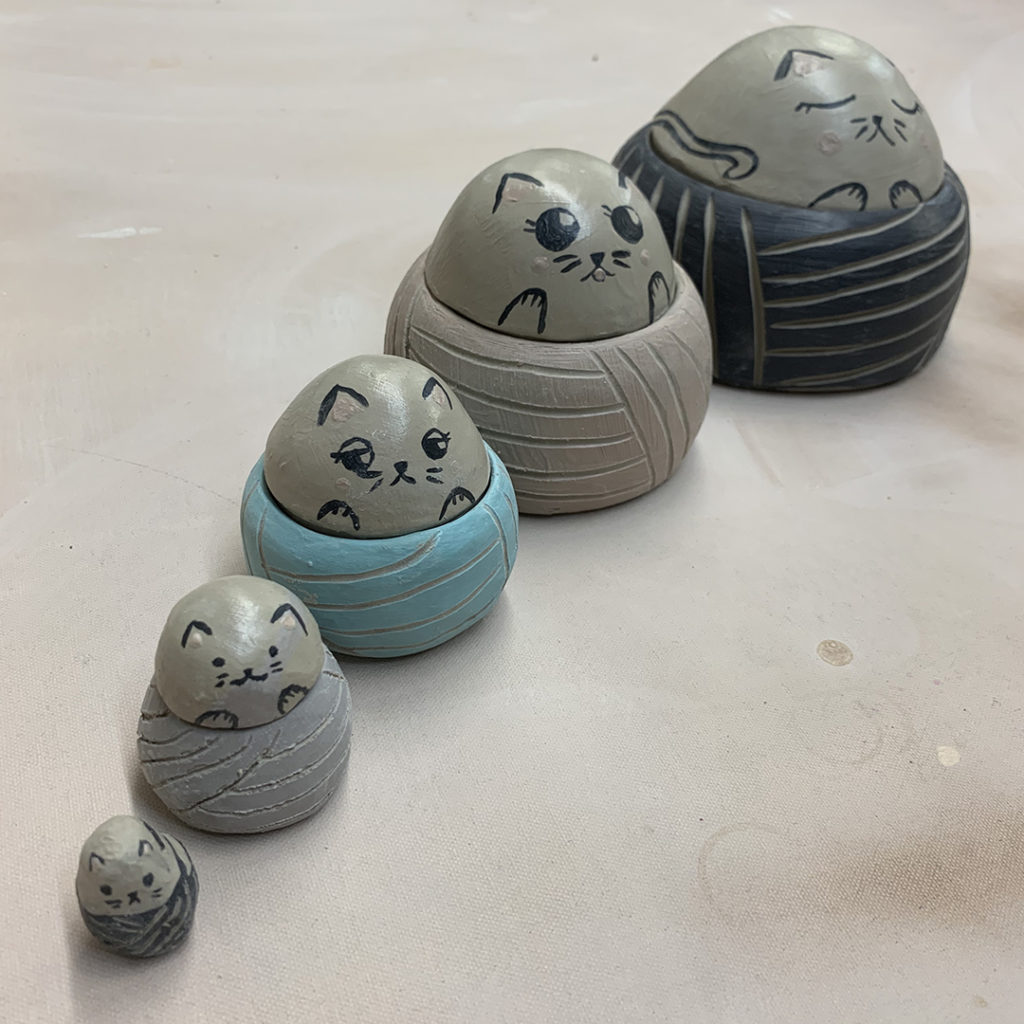
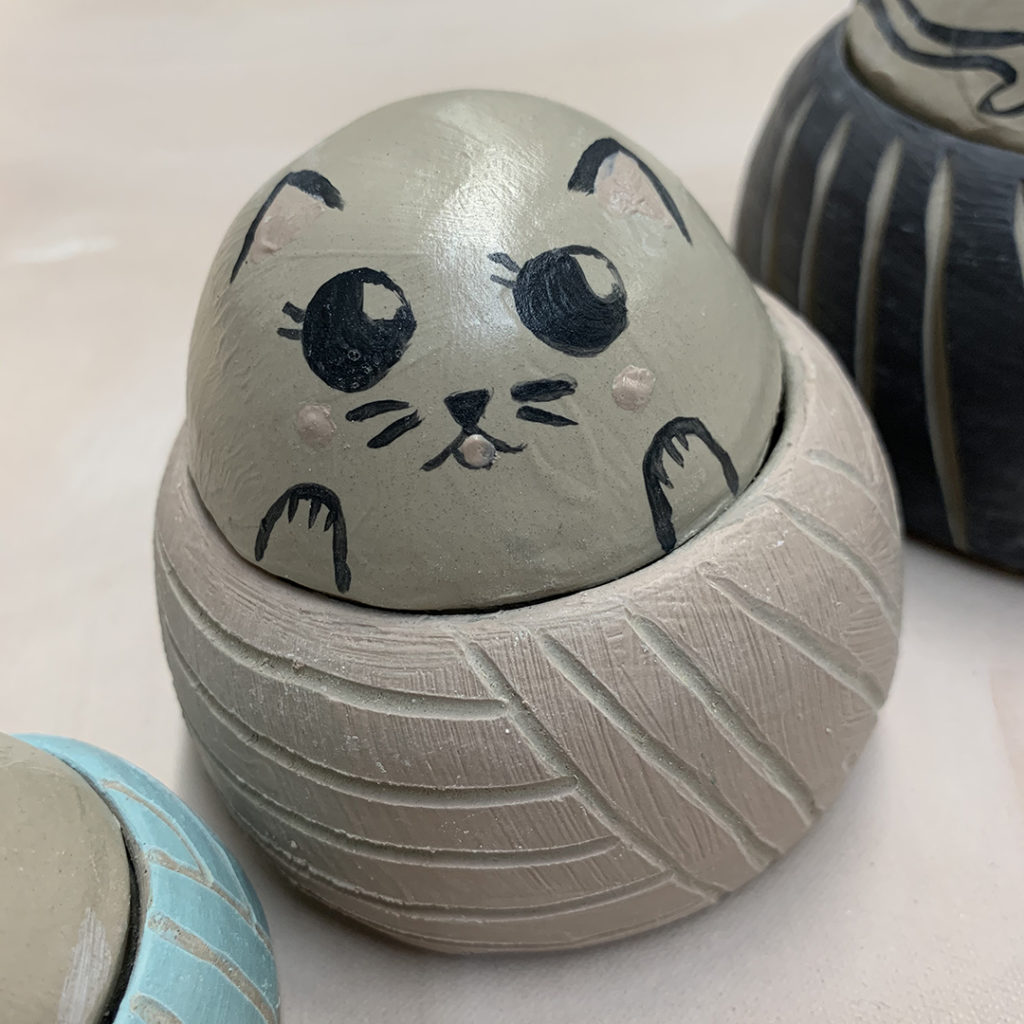
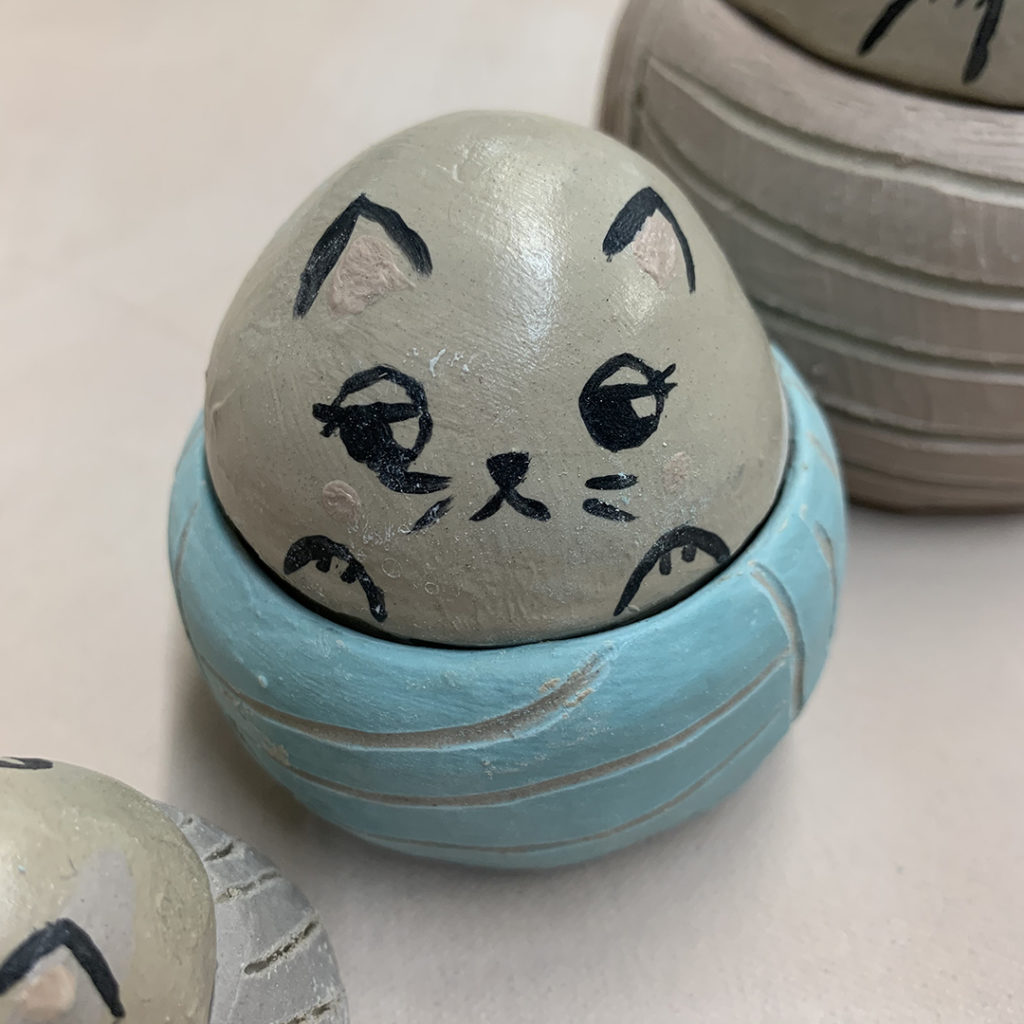
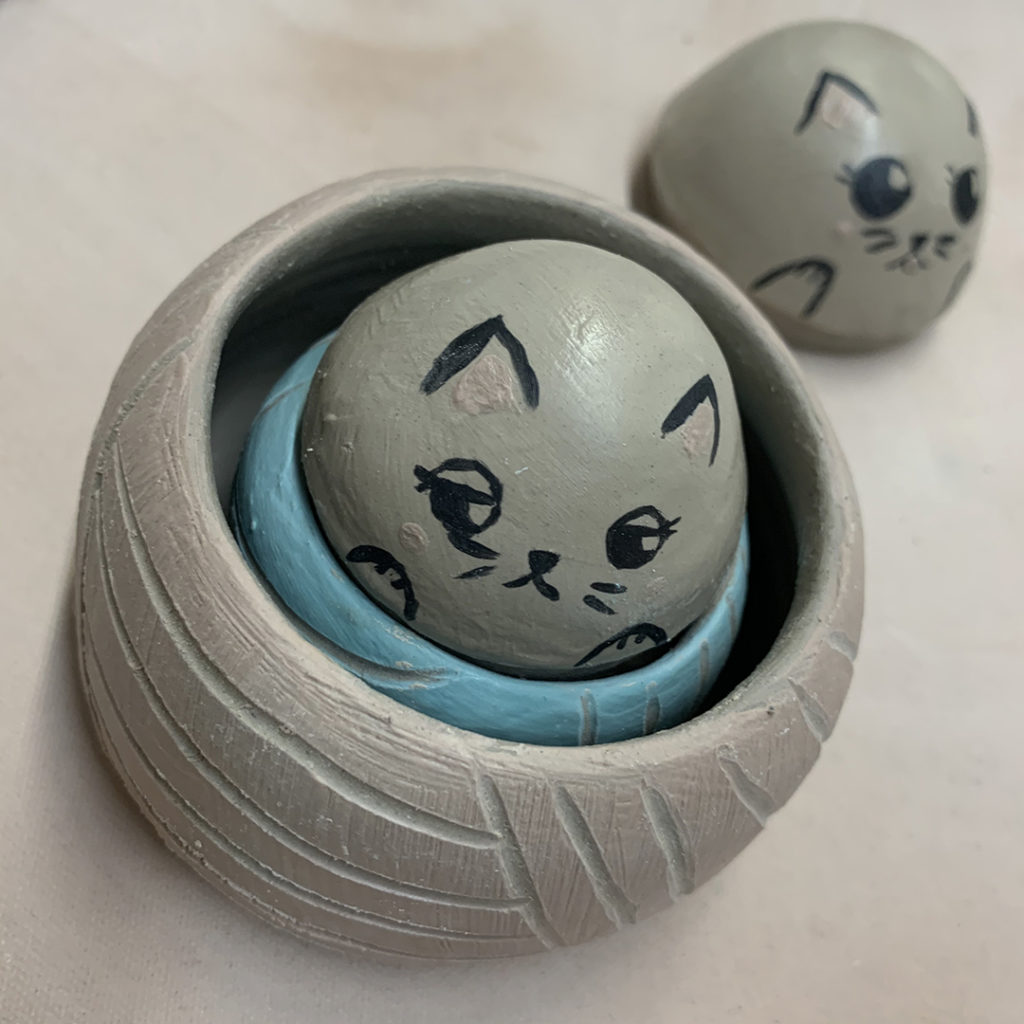
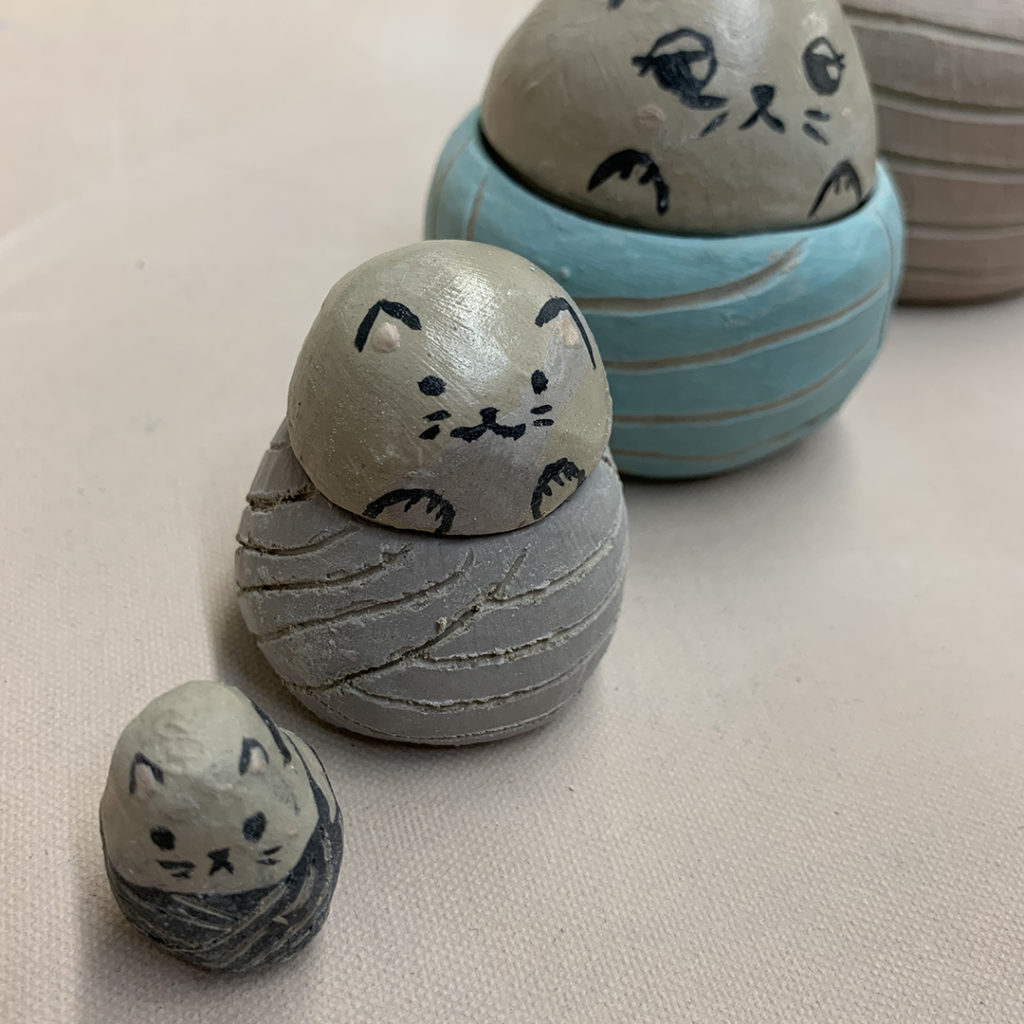
Here’s Melanie’s THIRD PLACE set… compete with several cats sitting in their balls of yarn!
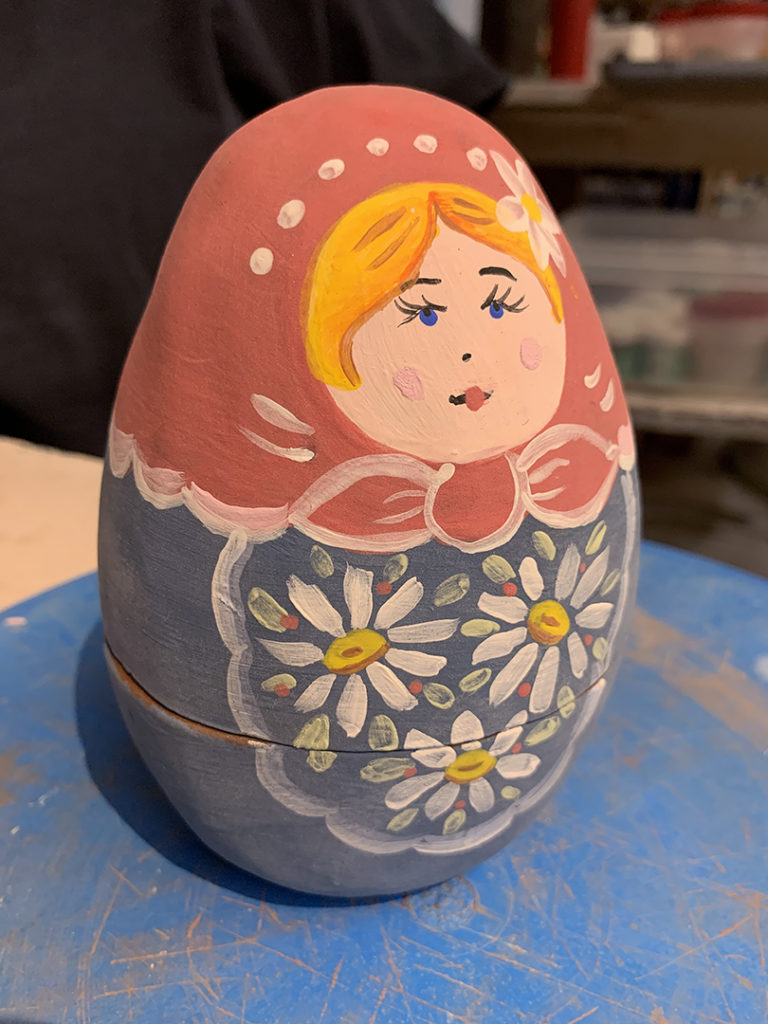
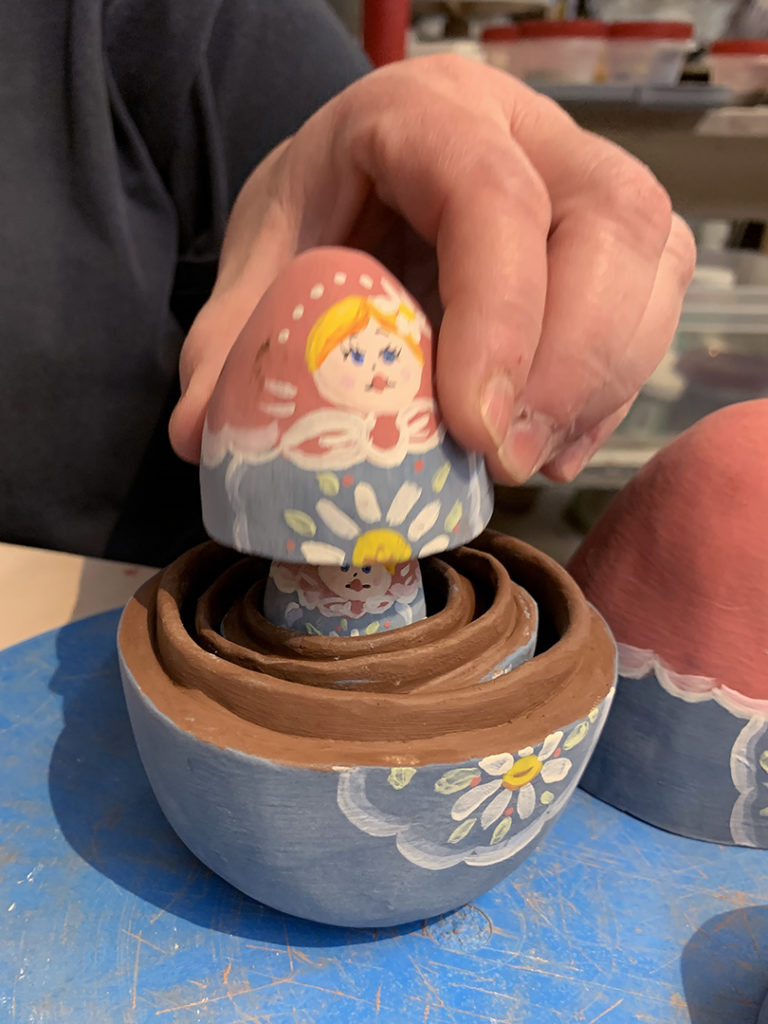
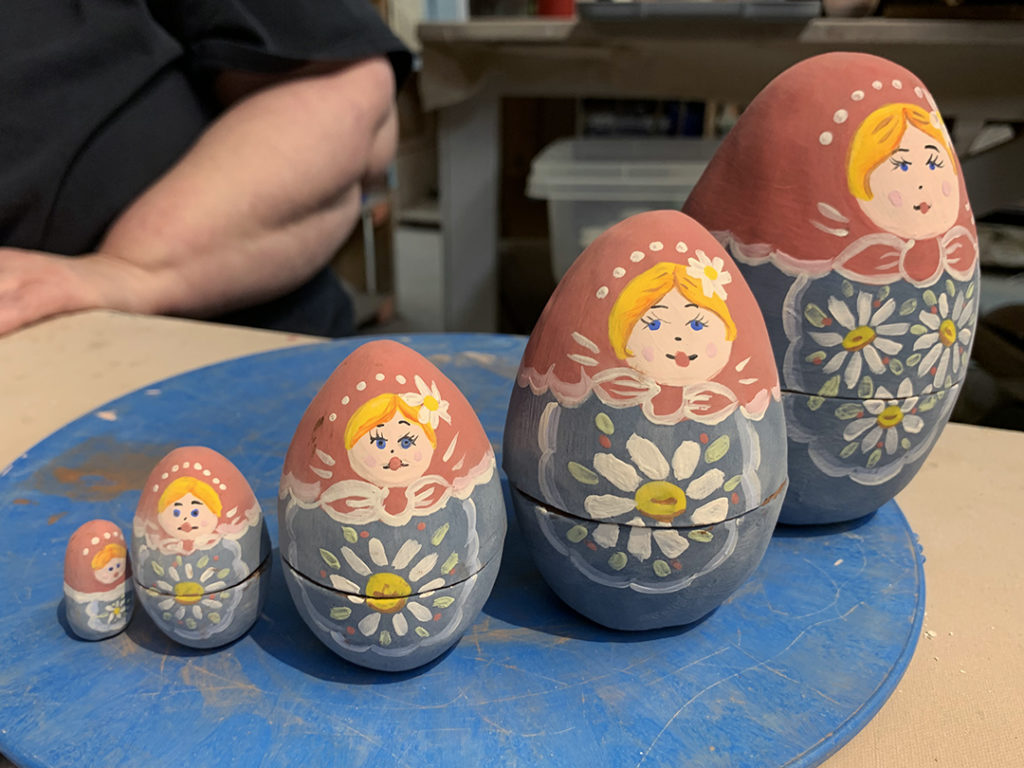
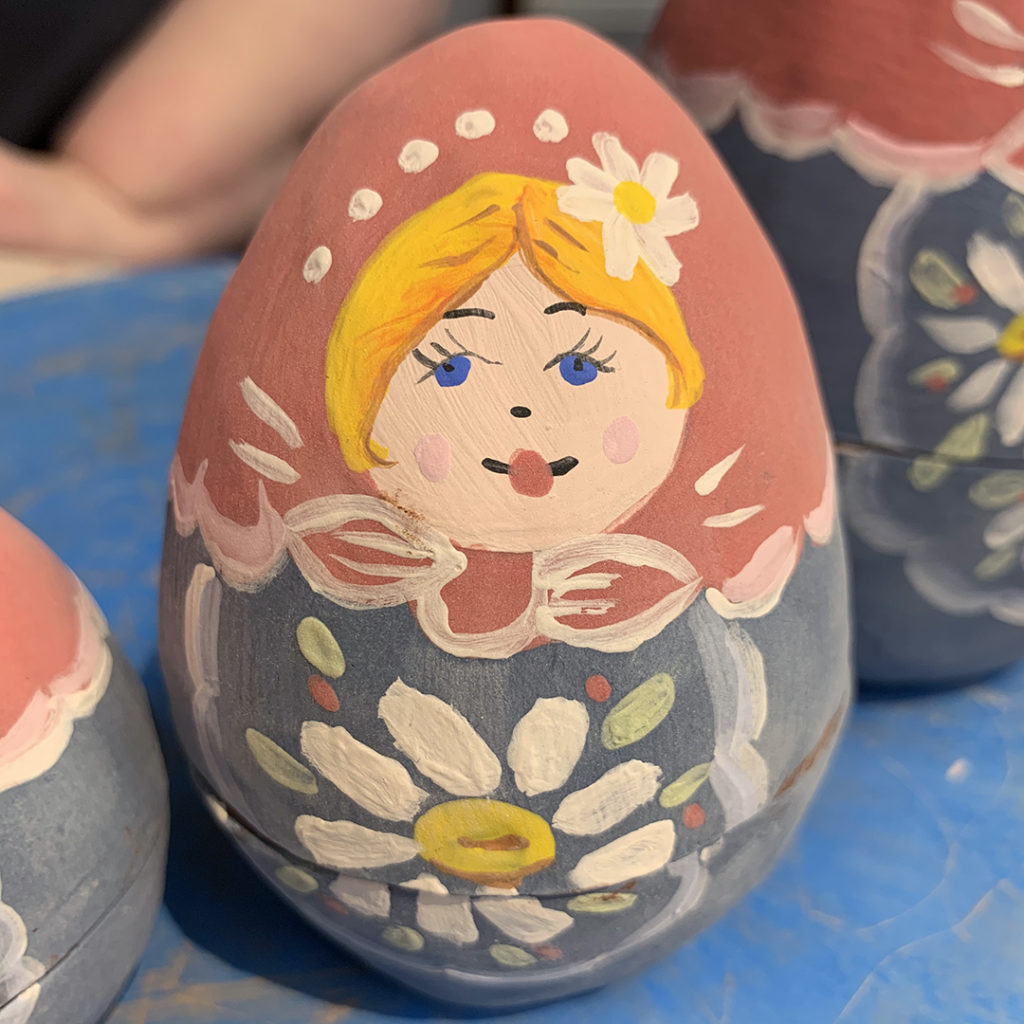
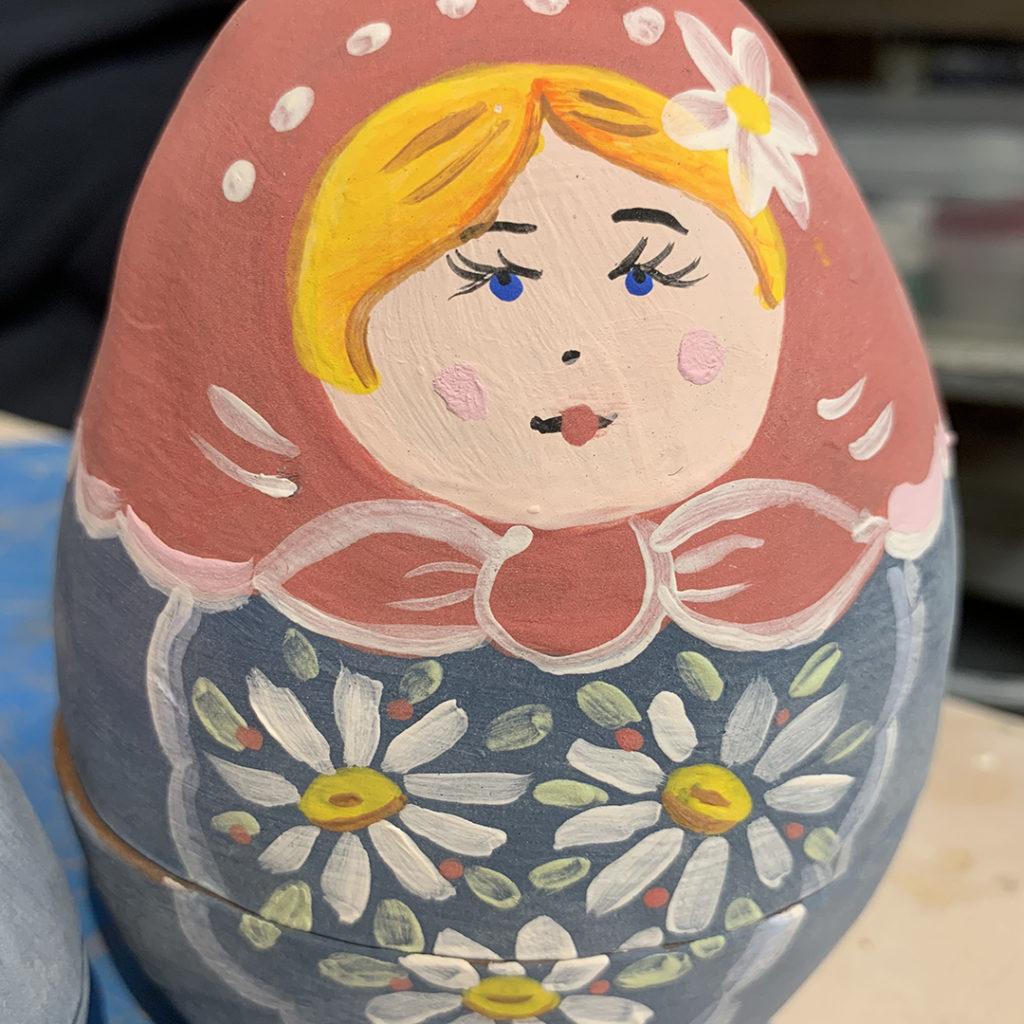
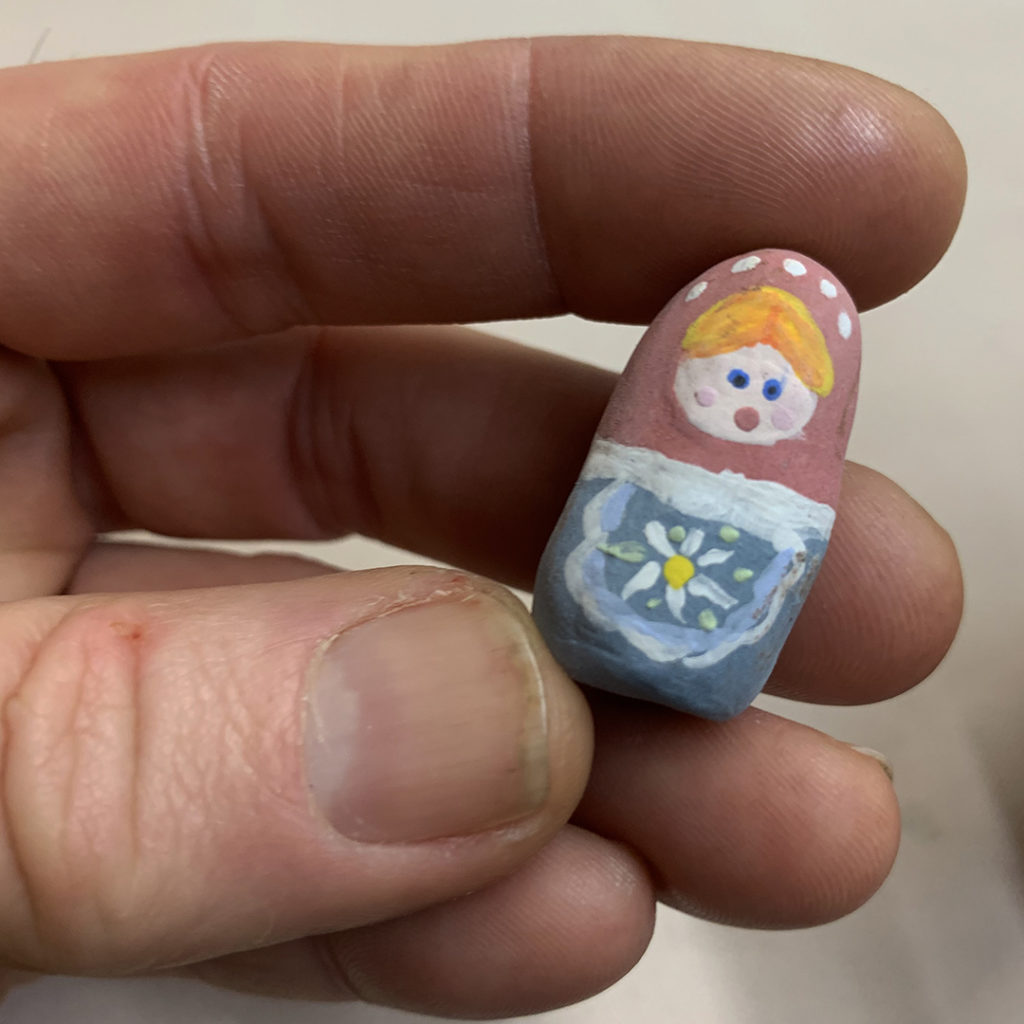
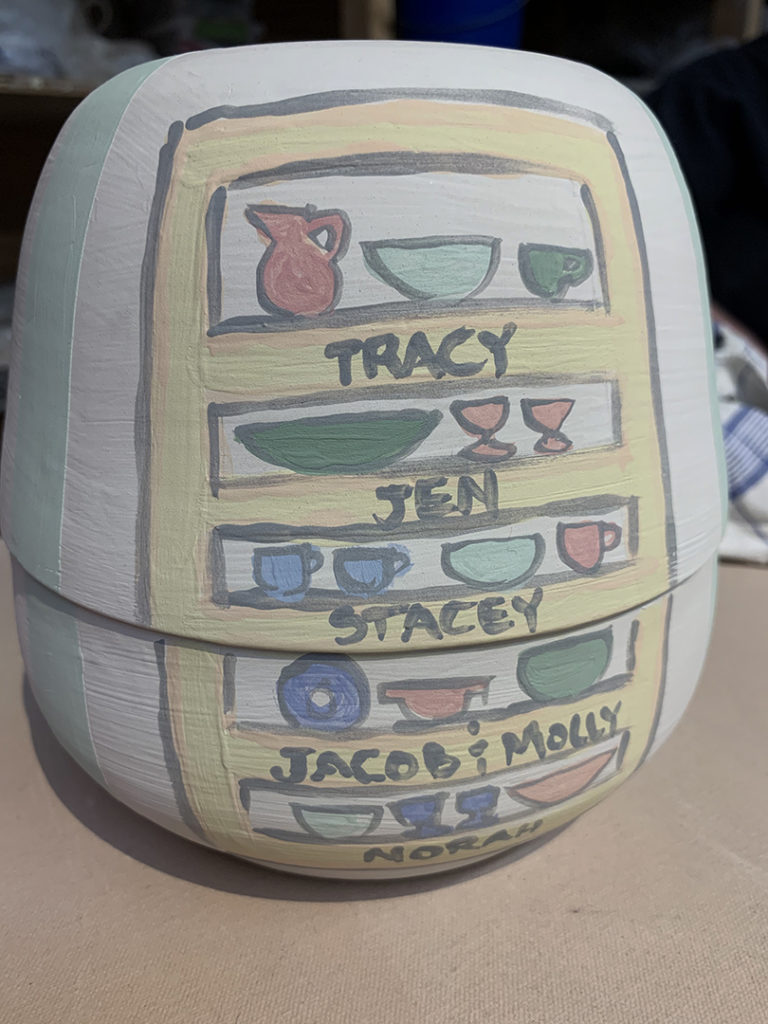
Here’s Tracy’s SECOND PLACE entry… a very traditional take om the Russian nesting dolls. Complete with traditional tole painting in traditional colors!
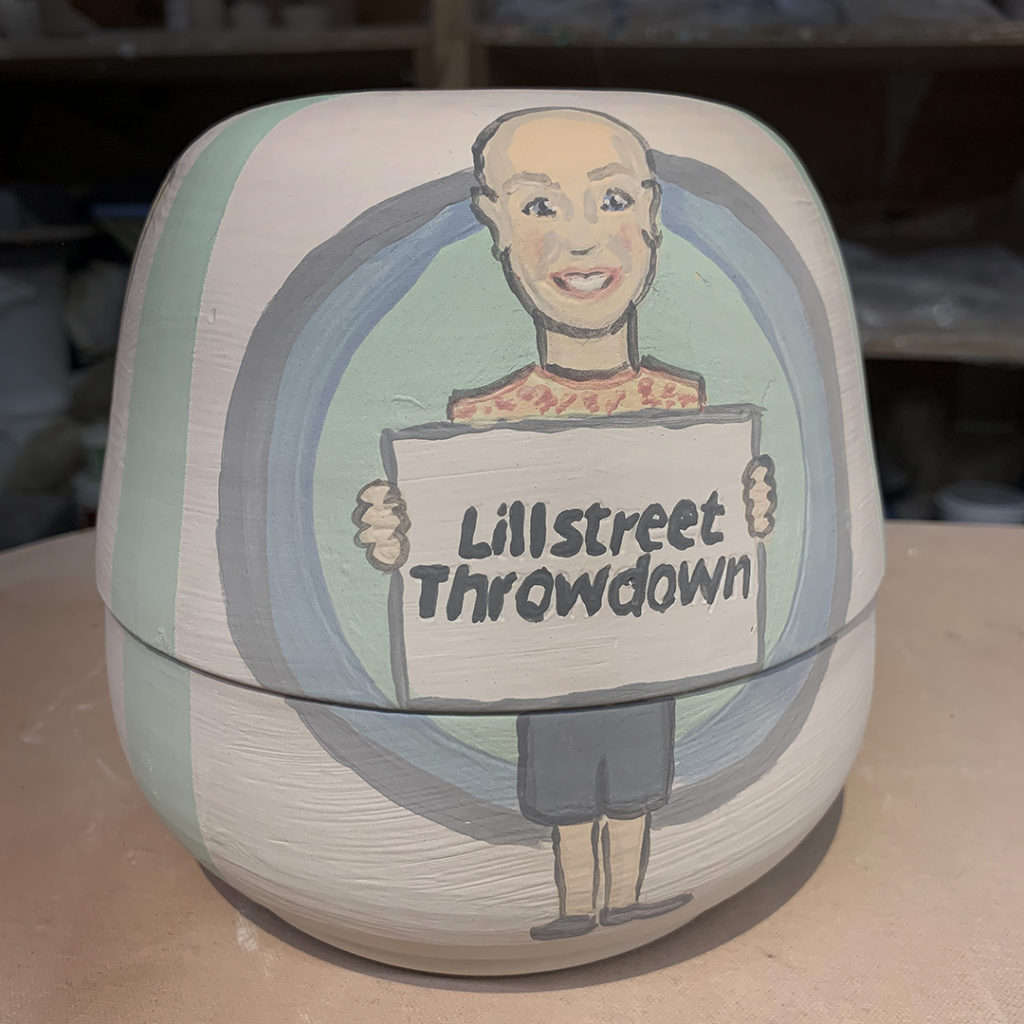
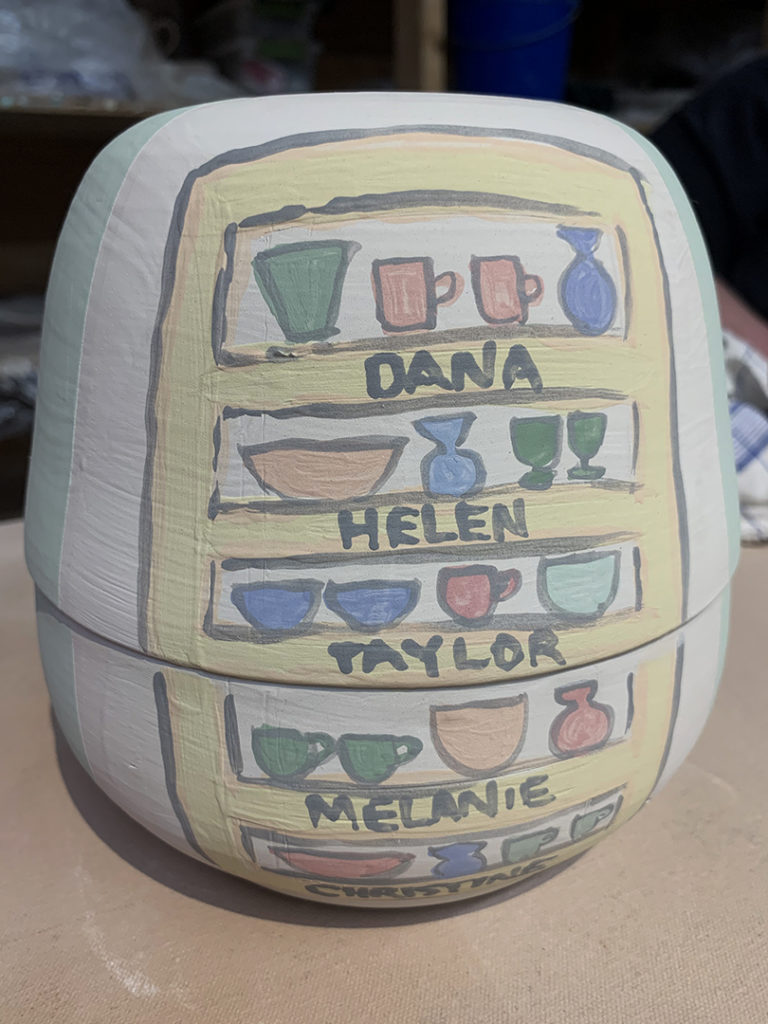
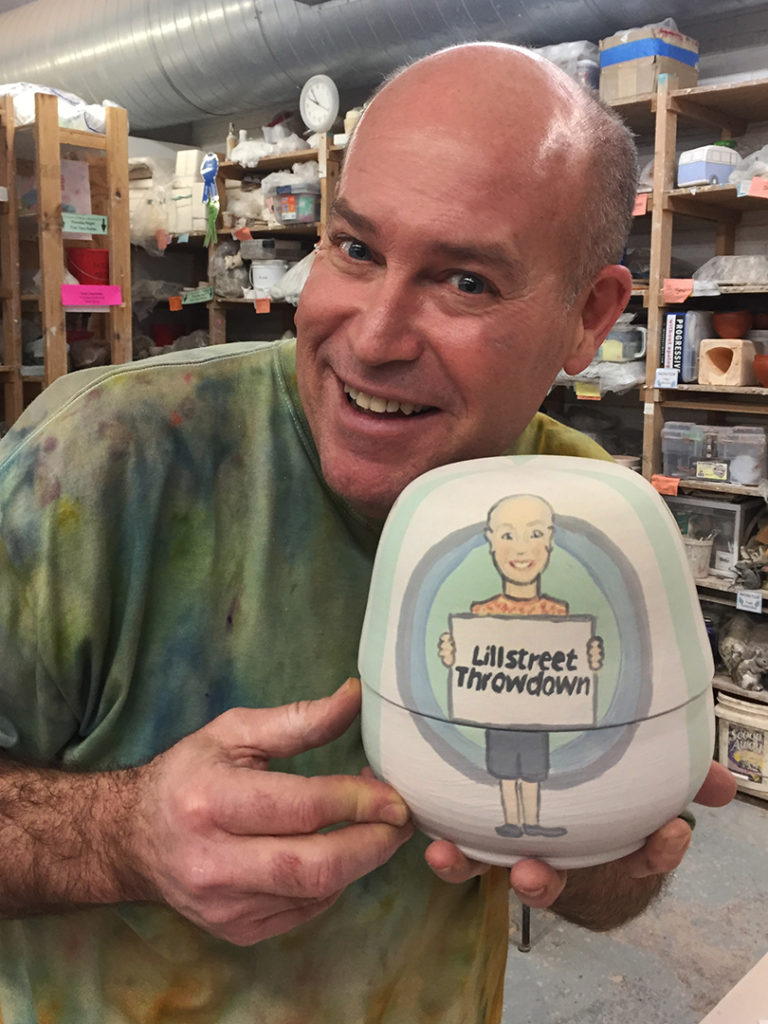
And Christine’s FIRST PLACE winning entry! As soon as she “revealed” her set… it was the hands-down winner! She creatively honored each of our previous THROWDOWN homework challenges in her set… as well as immortalizing little old me… complete with tie-dye shirt, black shorts & Crocs!
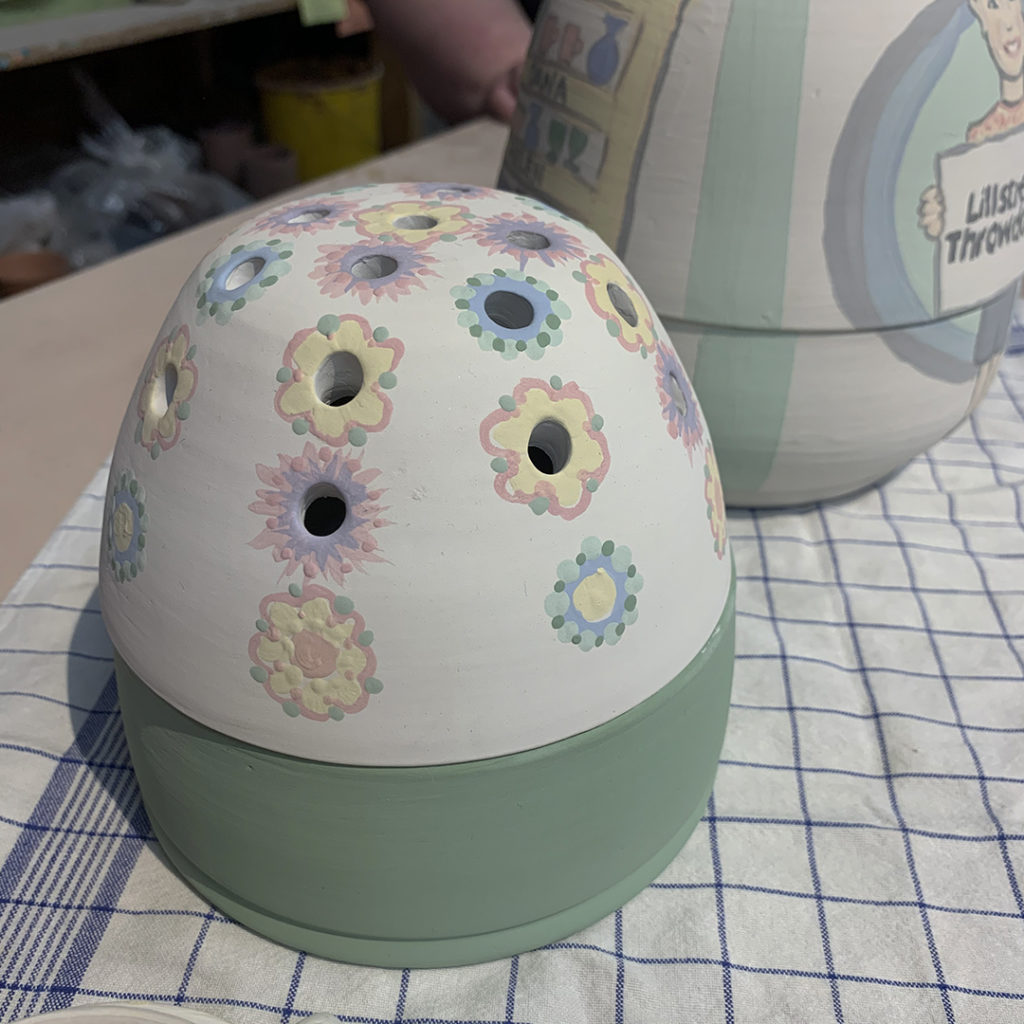
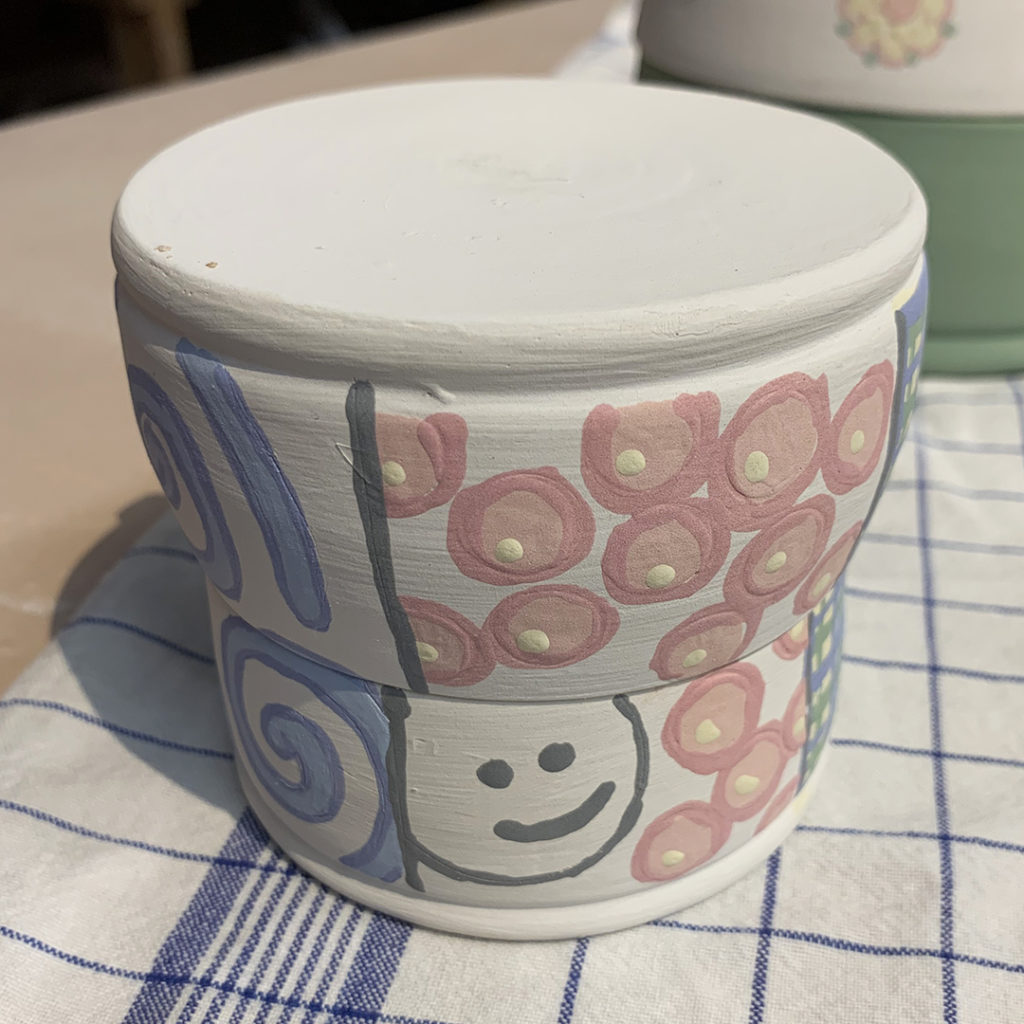
The second layer was an ode to the challenge where they made Flower Bricks!
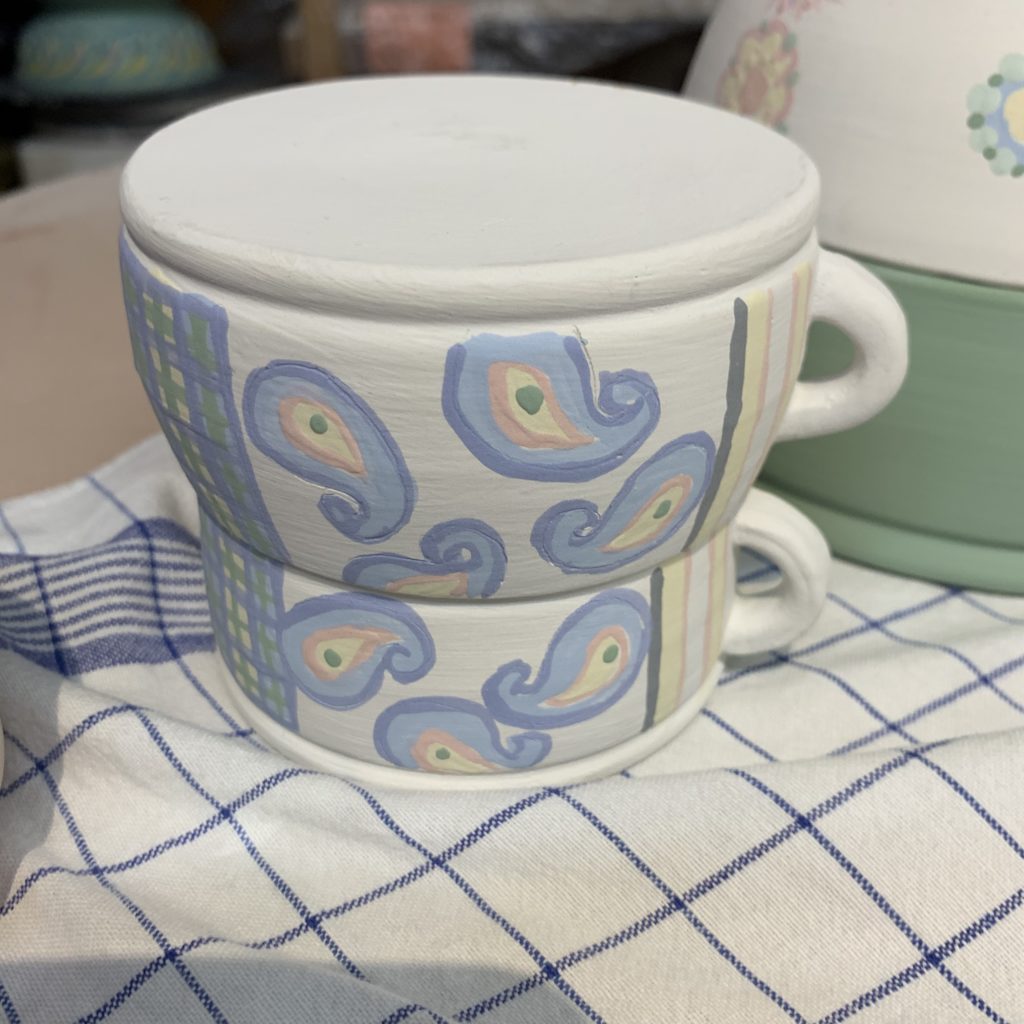
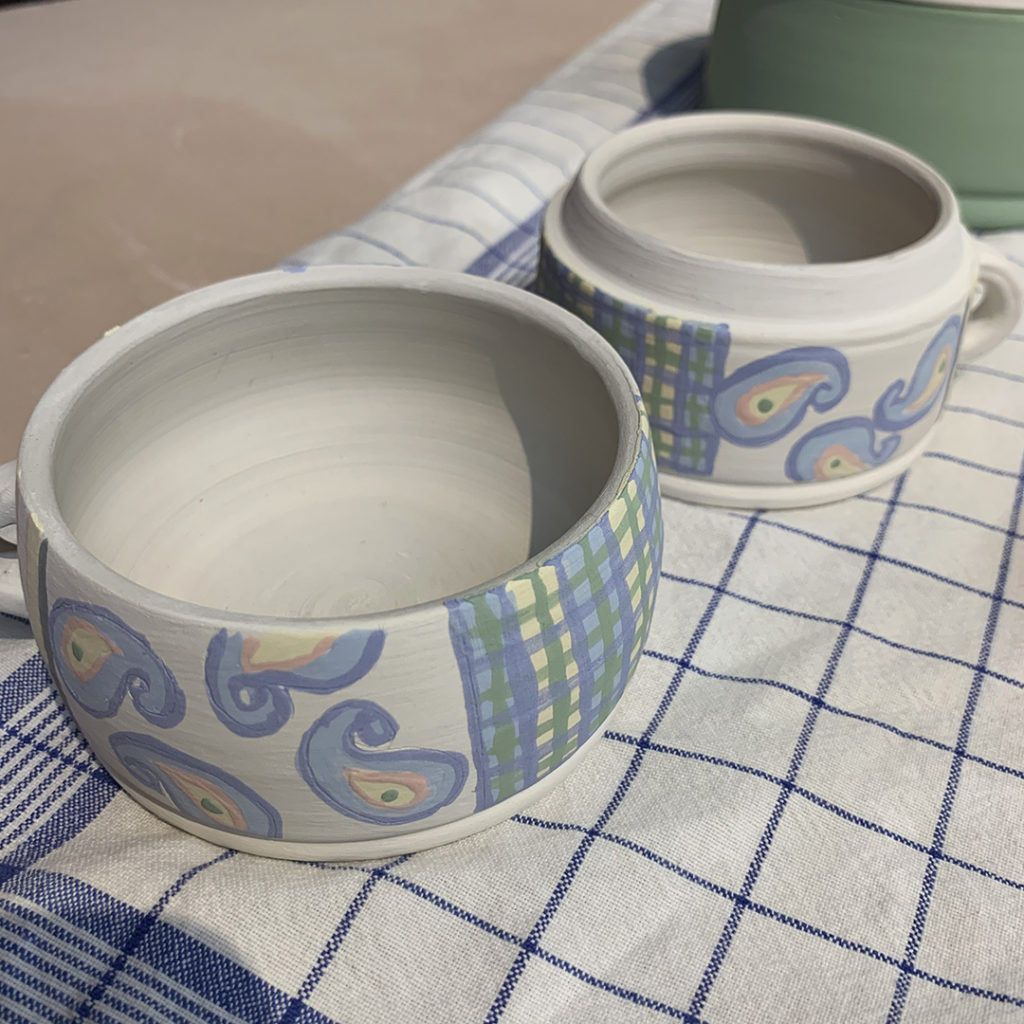
The third layer was for the challenge when they made Matching Mugs with four patterns… dots, stripes, plaid & paisley!
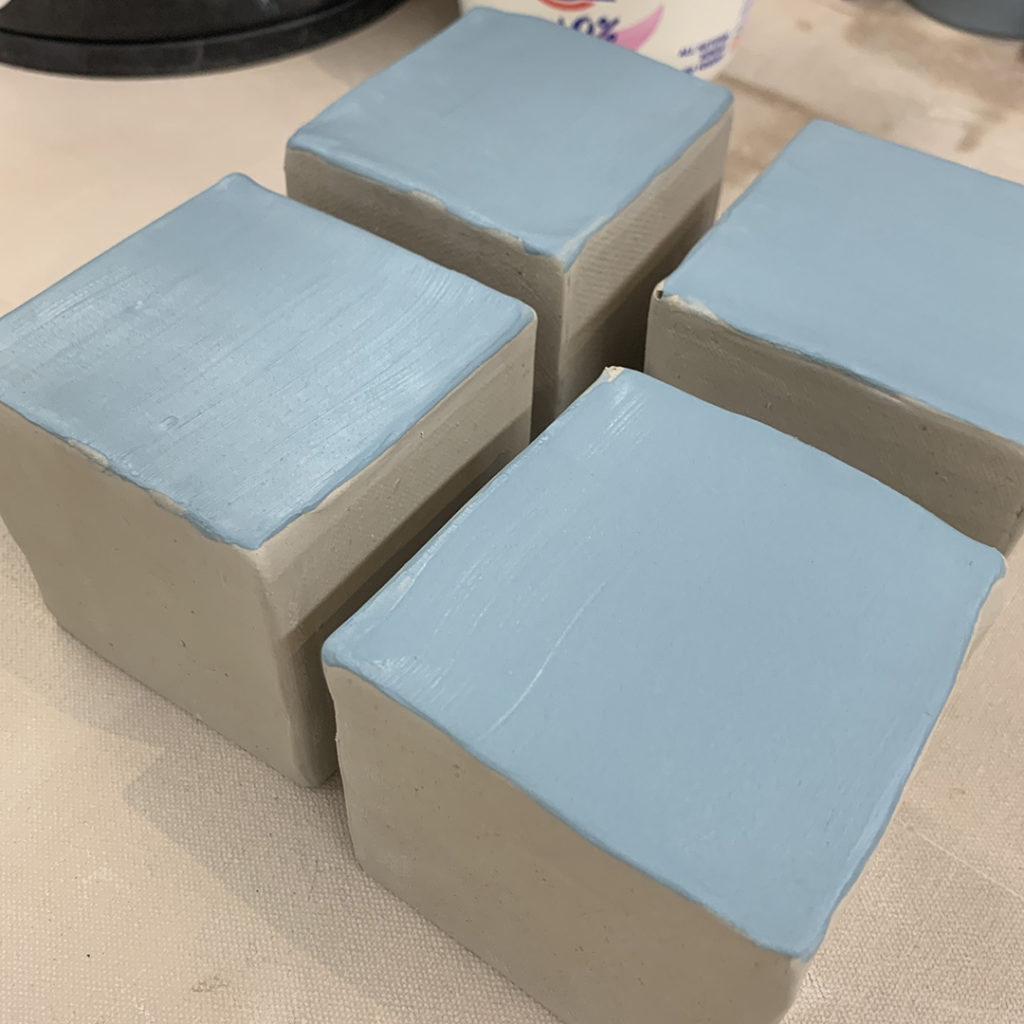
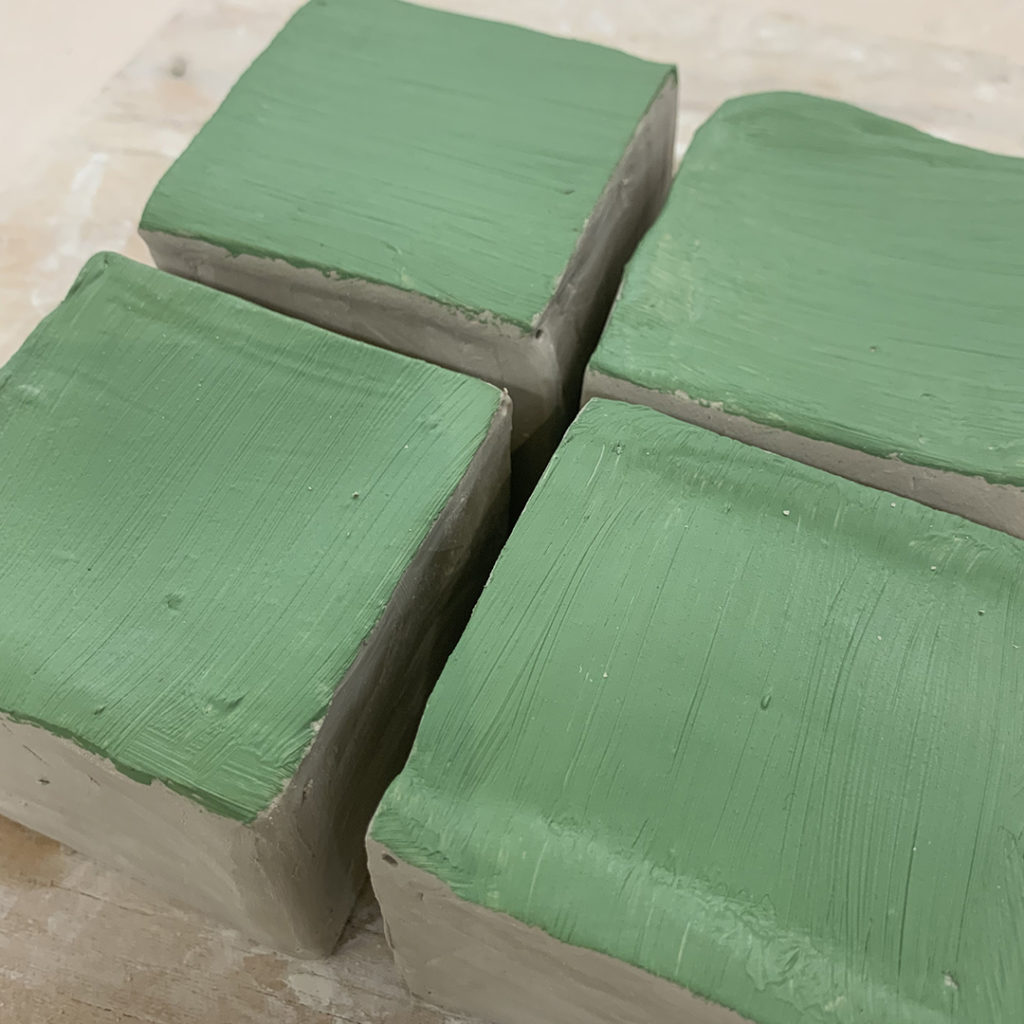
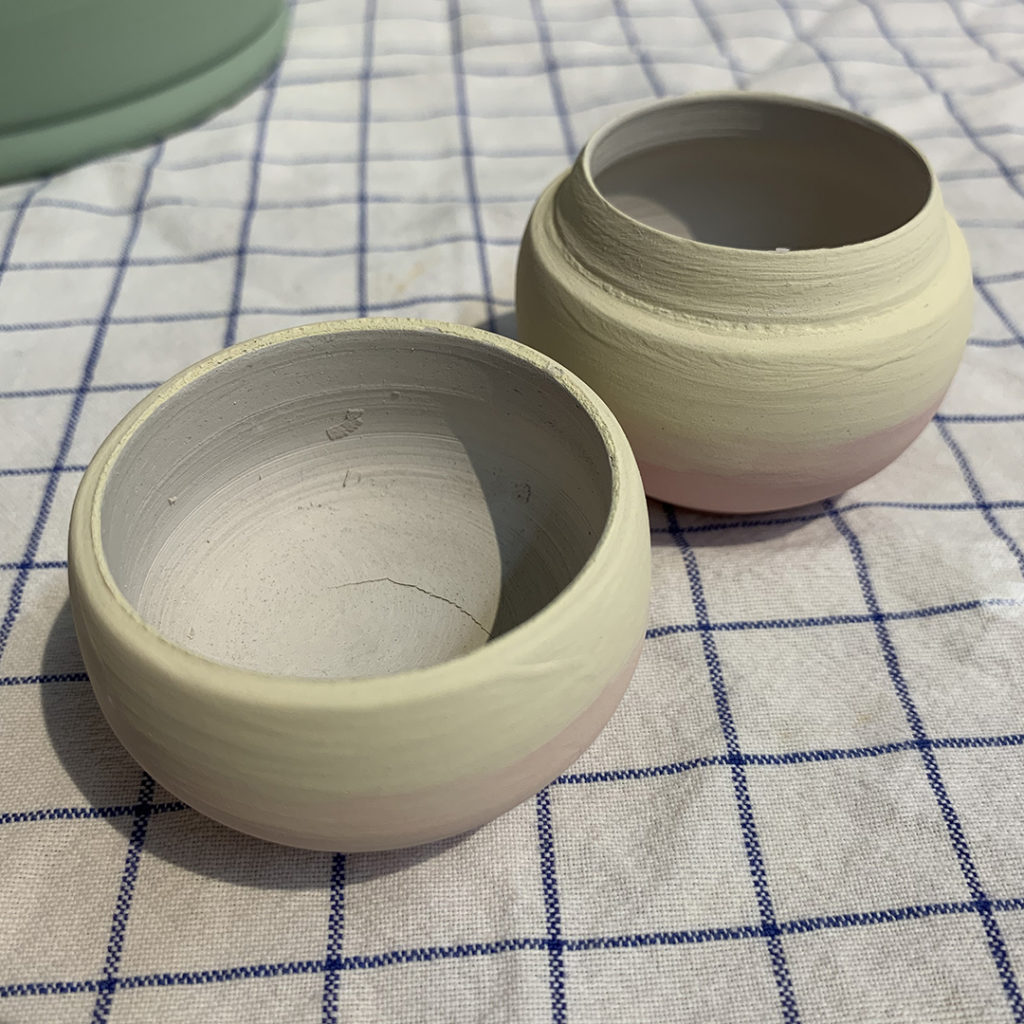
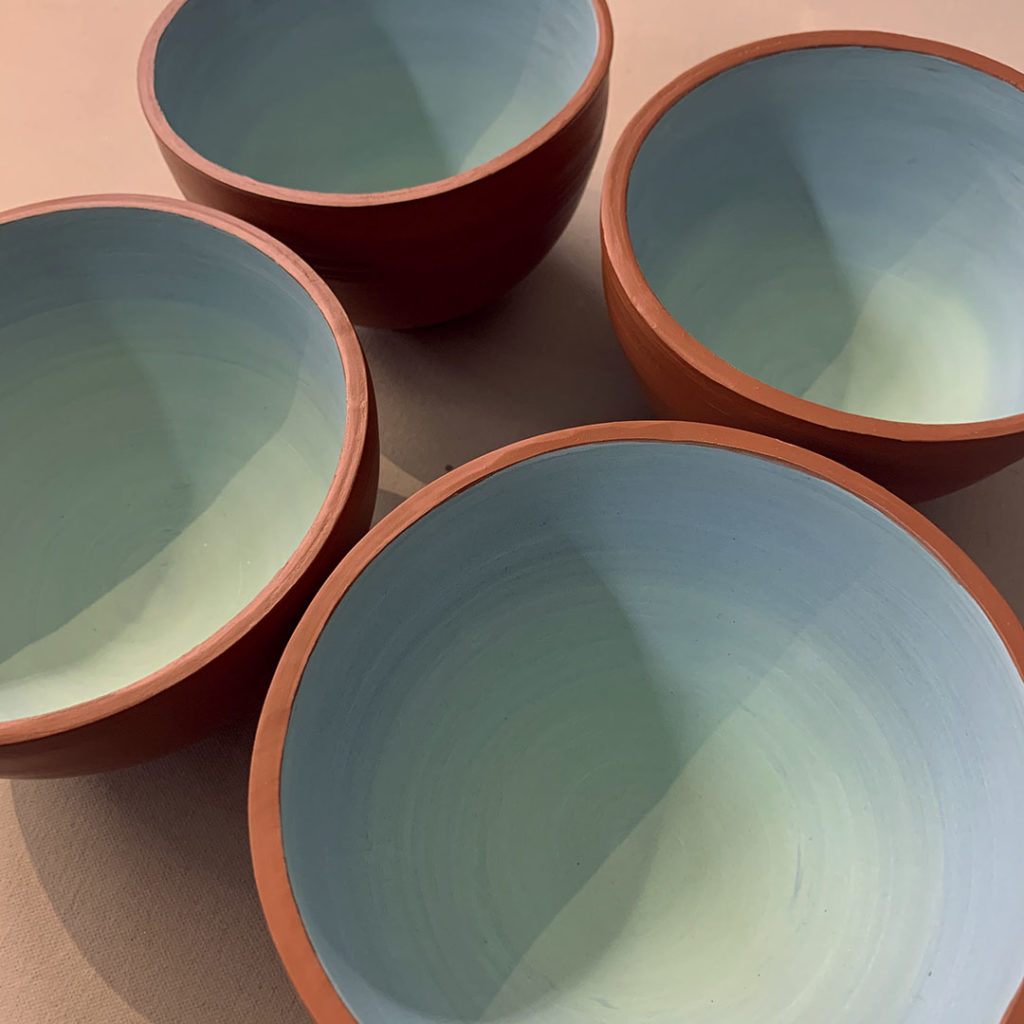
The fourth layer was for the Matching Bowls and colored slip challenge…
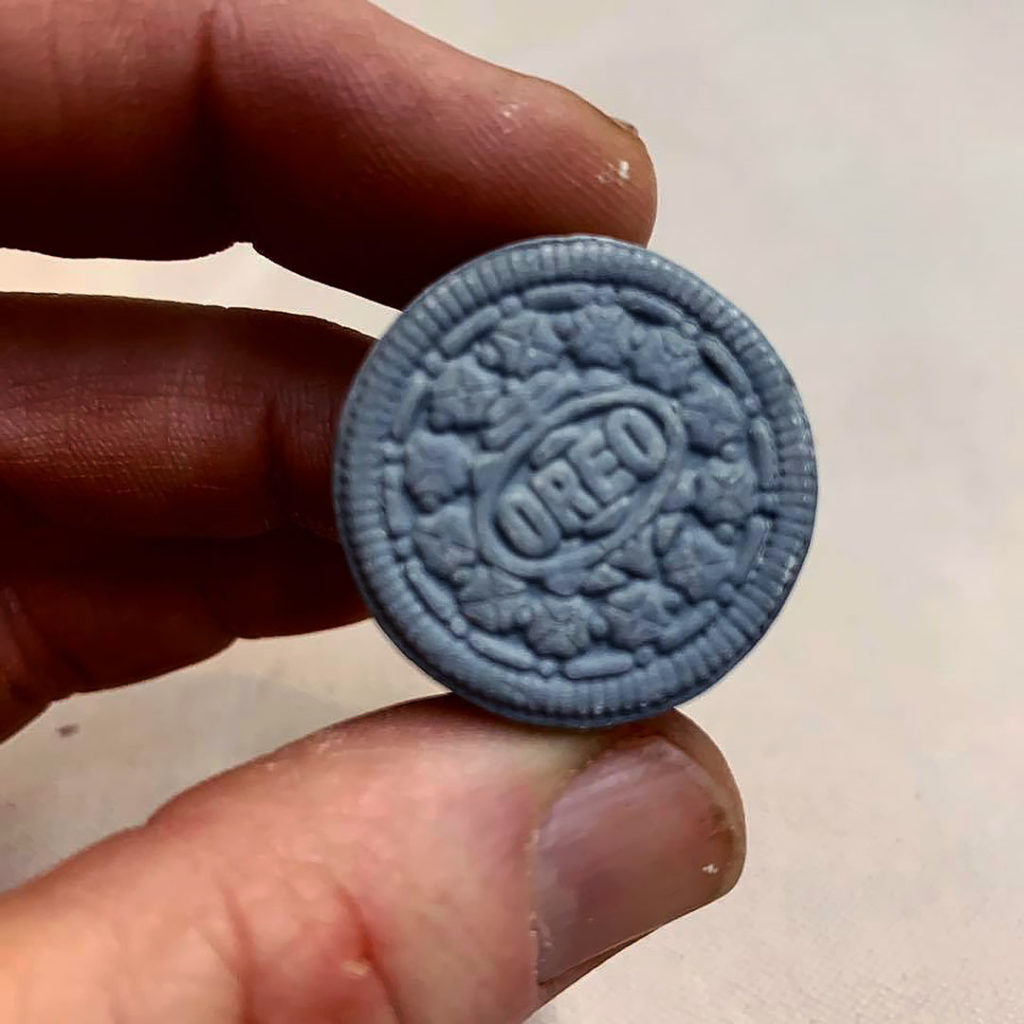
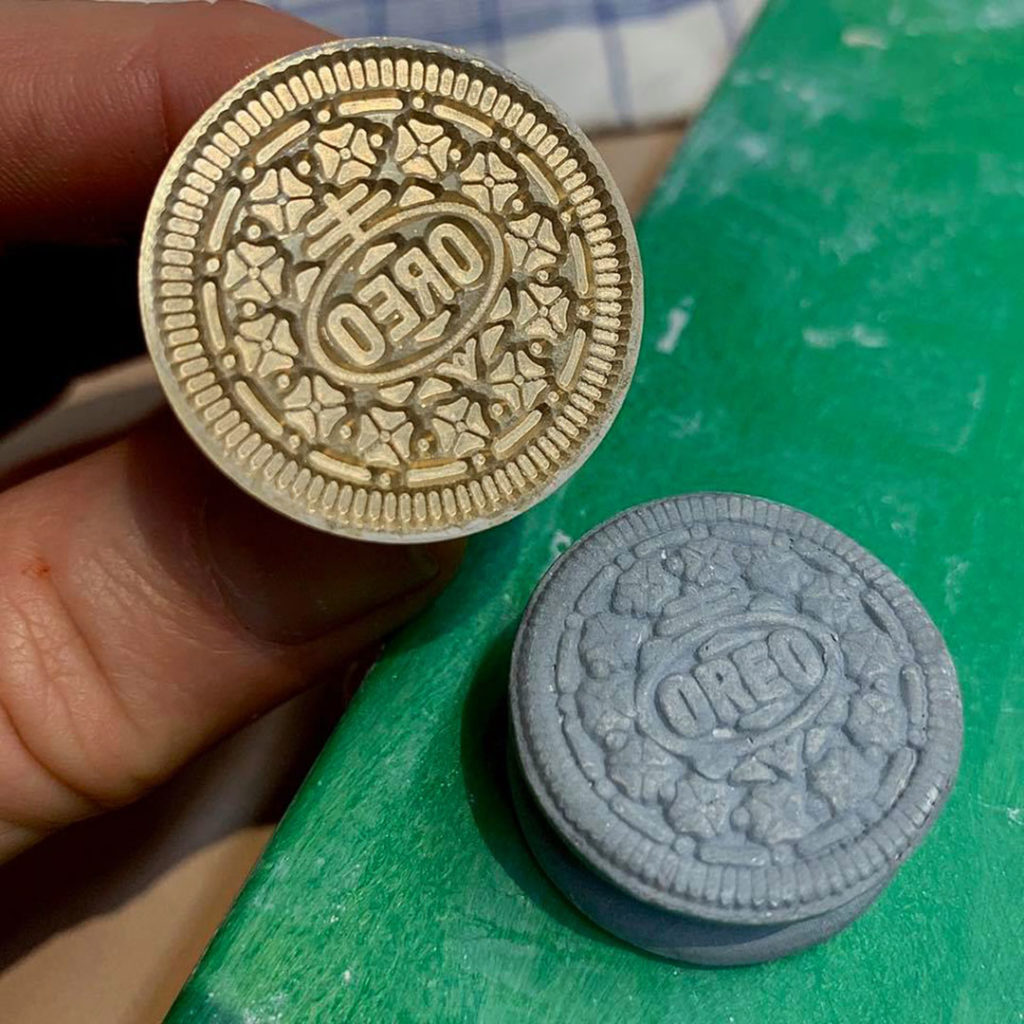
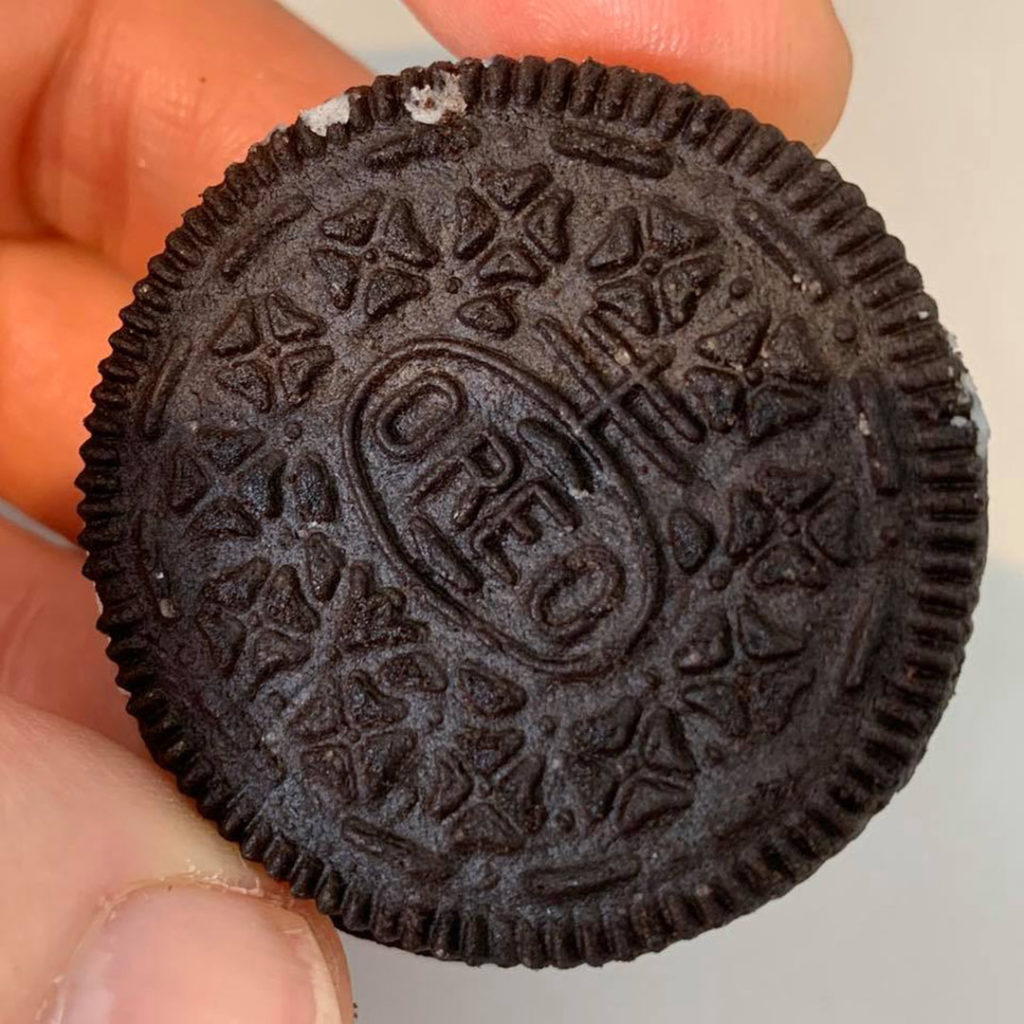
The final piece inside… a SWEET little hidden treasure… and so perfectly suited for this class & me!!! A perfect little OREO made entirely out of clay!