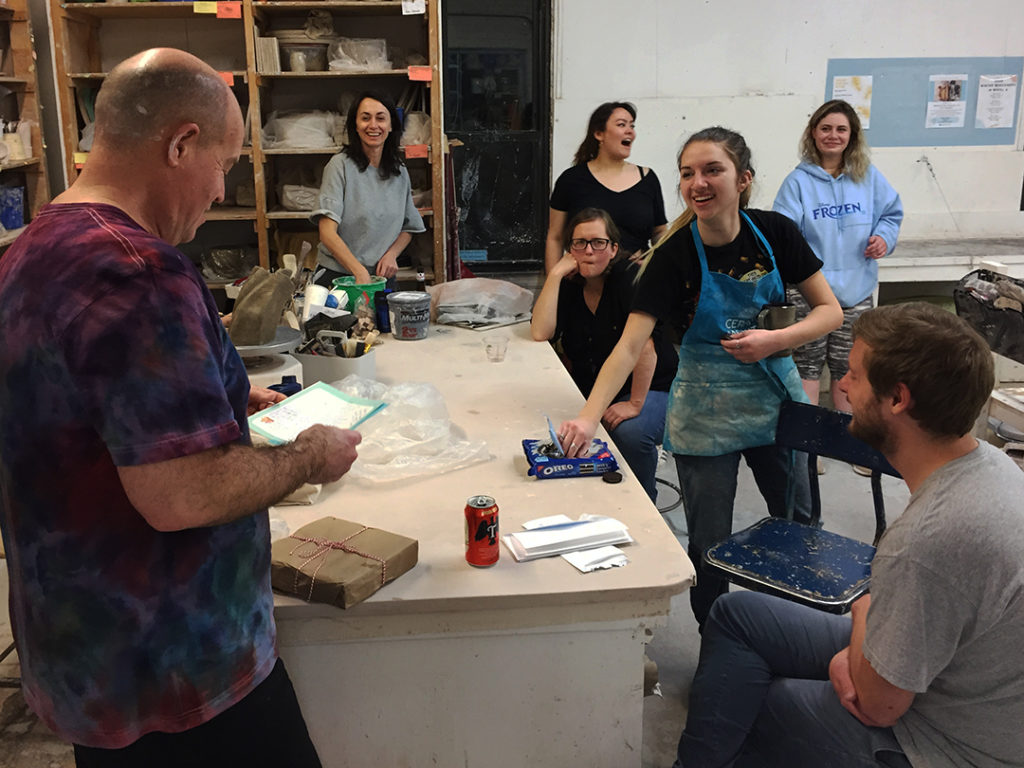
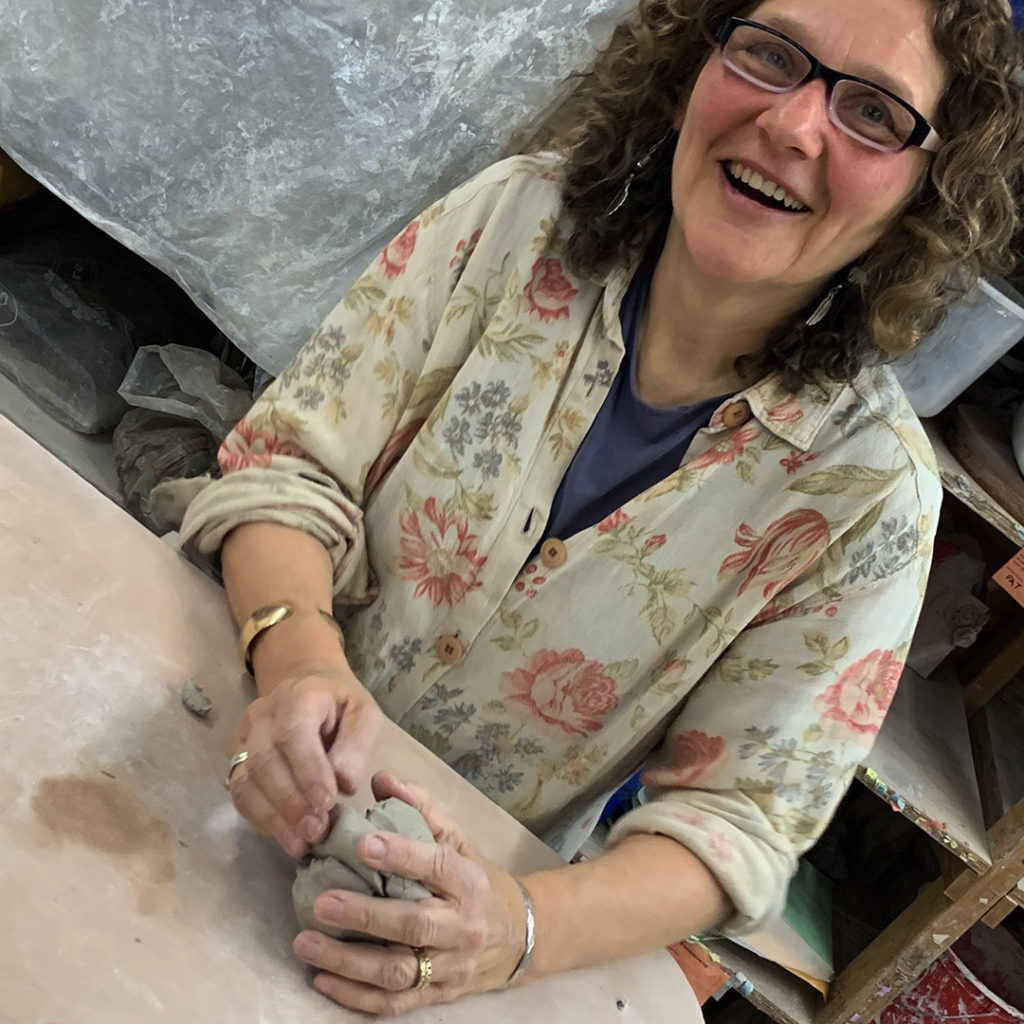
Towards
the end of our final LILLSTREET THROWDOWN class, there was a twist!!!
My students had “ganged up on me” and created their own set of
challenges & contests for ME!!!… you know how I love a good twist
& a good challenge!!!
Starting with blindly weighing clay, and then throwing two pots. You can see that I didn’t do so well on the blind “guessing” of weight. The ball on the bottom was my guess… everything on top of it is how far off I was!!!
First up was the throwing tall challenge… where I had to throw a cylinder over 12-inches tall with the five-pound ball of clay.
When I got the cylinder to the necessary 12-inch height… I decided to cut it in half right there in front of my students to see how even my walls were. I didn’t have a wire tool handy… so I just used the side of the ruler to cut with!
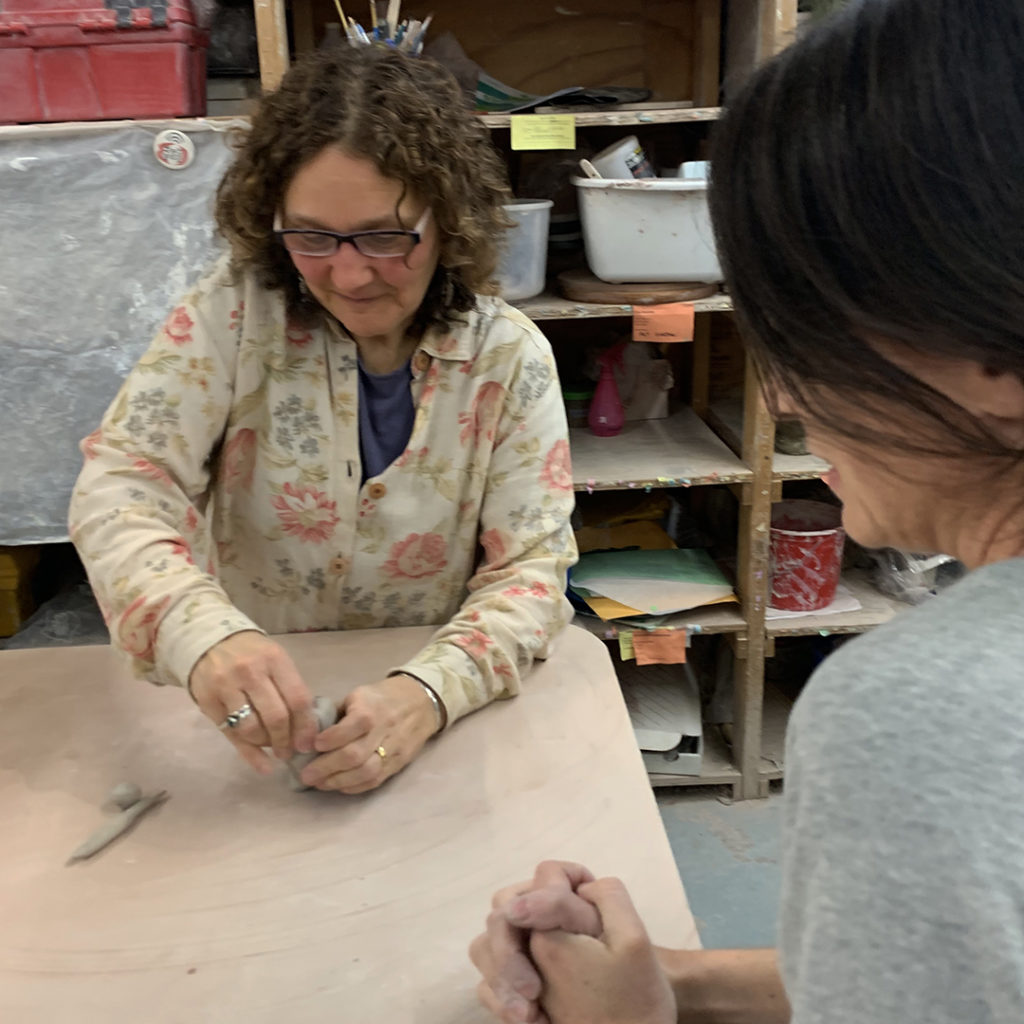
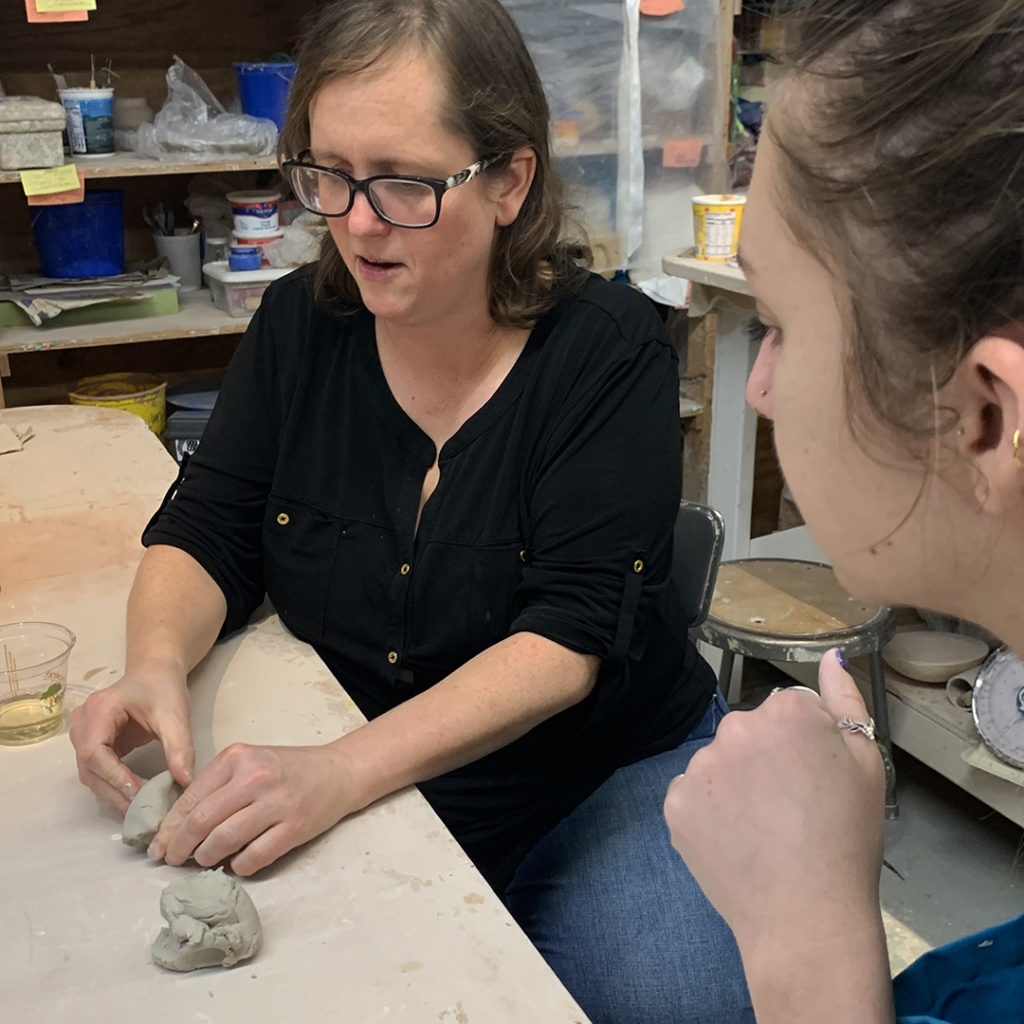
My next challenge was the three-pound ball to throw a bowl… oh yeah, blindfolded!!! I kinda knew that this challenge I did to them would somehow come back to bite me!
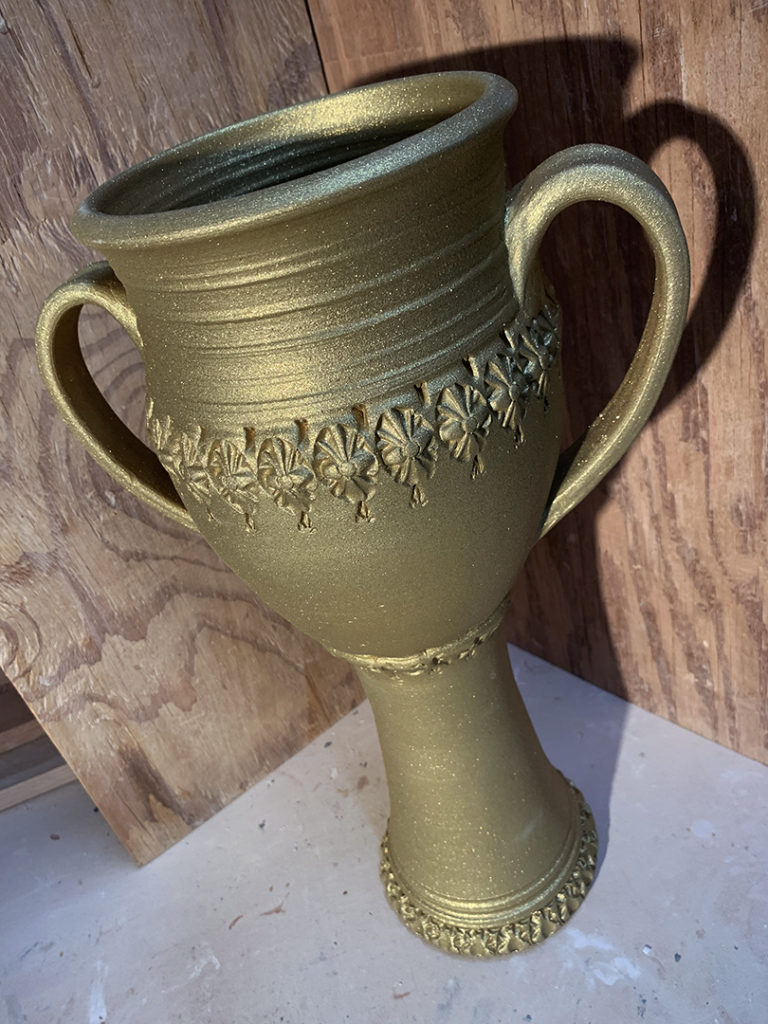
Since I had a little extra time left to my challenge, I decide to “show-off” just a little… and try a split rim pinched back together which is one of my standard bowl demo tricks. The split rim worked okay, but the pinching was a bit harder to do while still blindfolded!
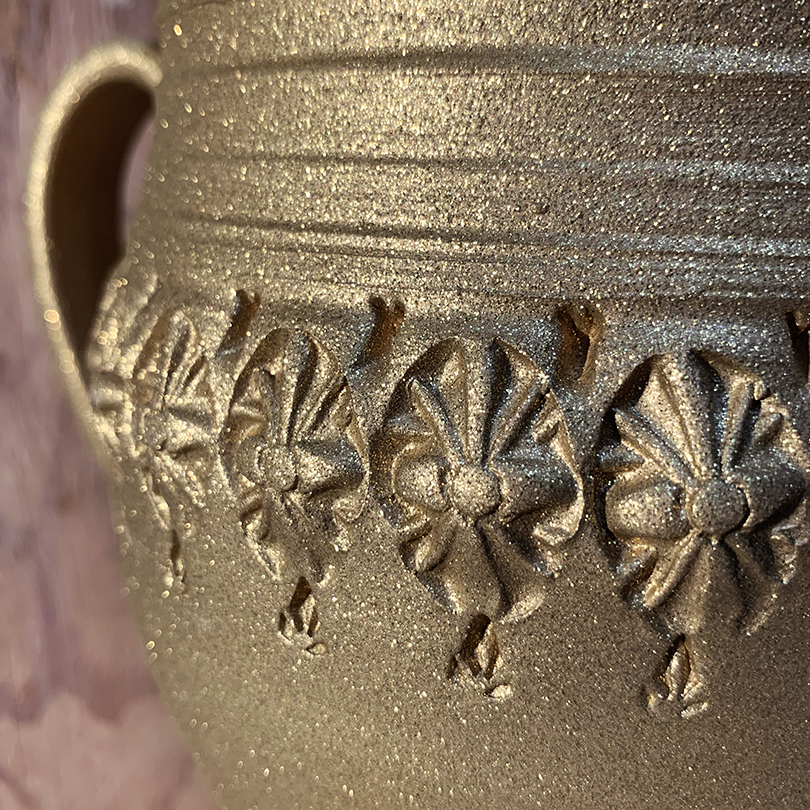
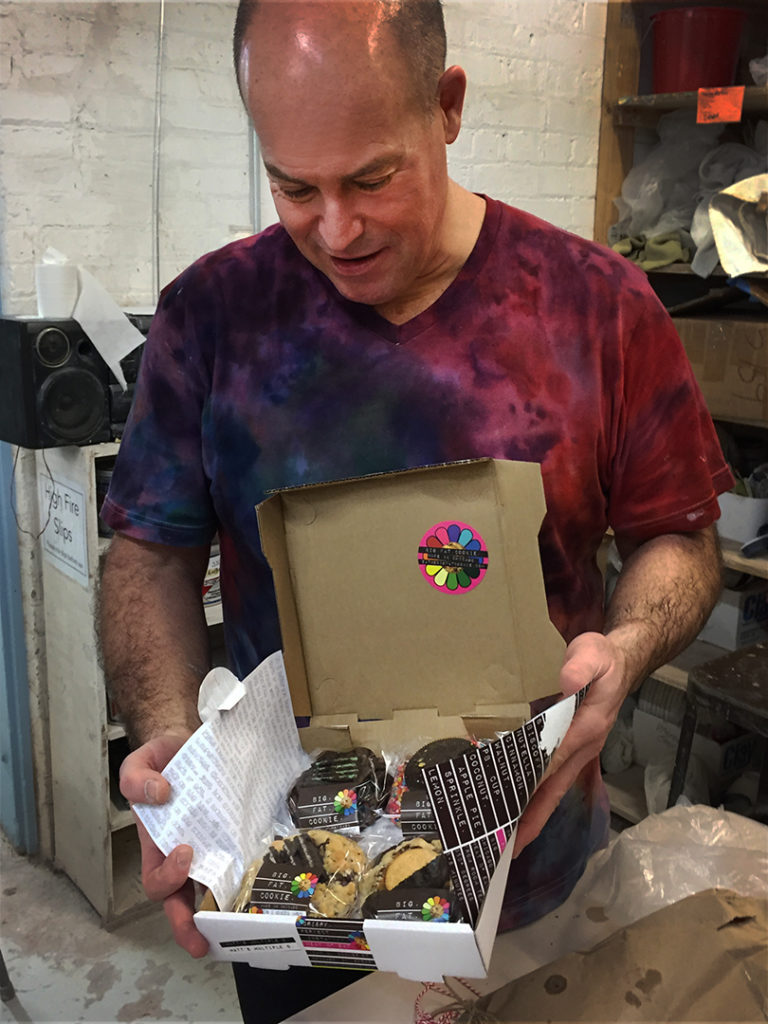
And then I had to decorate my bowl with just one tool…
and their choice of tool???… another challenge I had thrown on them earlier in the season… coming back to bite me yet again!
And quite fittingly, for my single decorating tool… an single OREO!!!
So I started by blending my split-rim back together. And then started texturing the rim, and then adding curved lines in the interior!
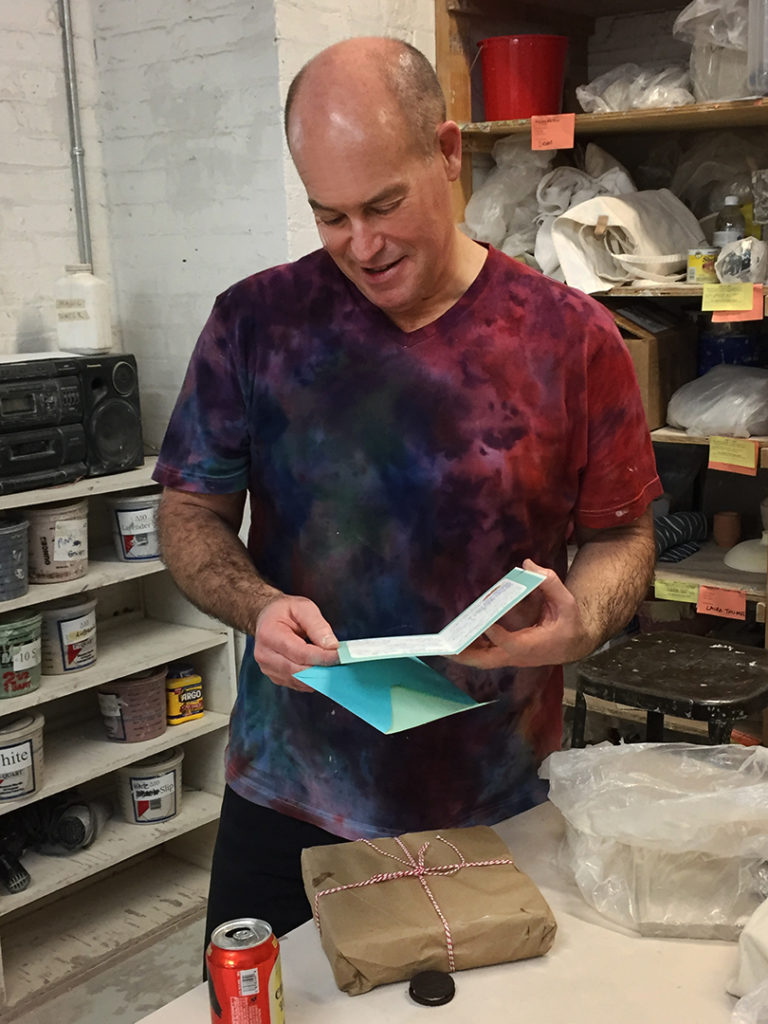
So much fun! You know how I LOVE a good challenge. And the fact that my students came together and planned this whole “game” in advance… so touching & impressive. All the way down to typing out the challenge instructions & placing them in envelopes for the Big Reveal!