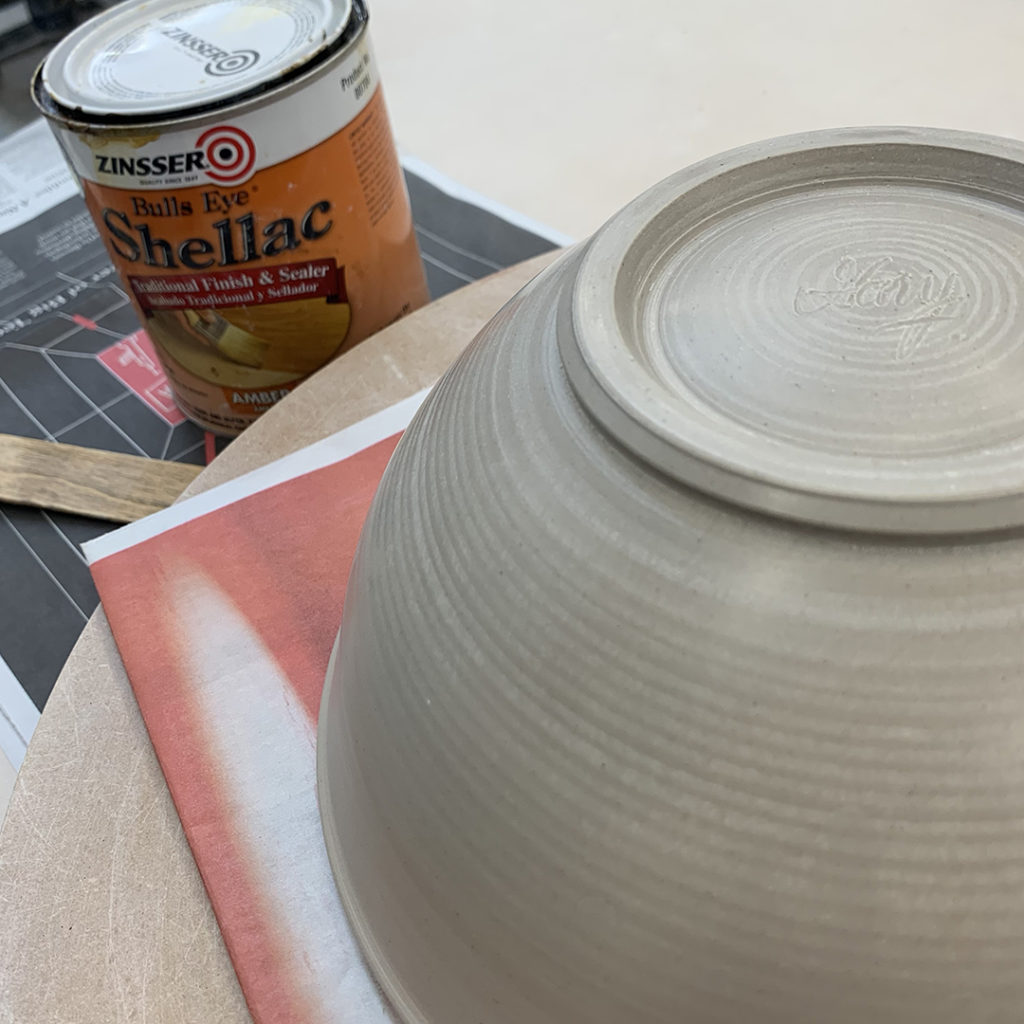
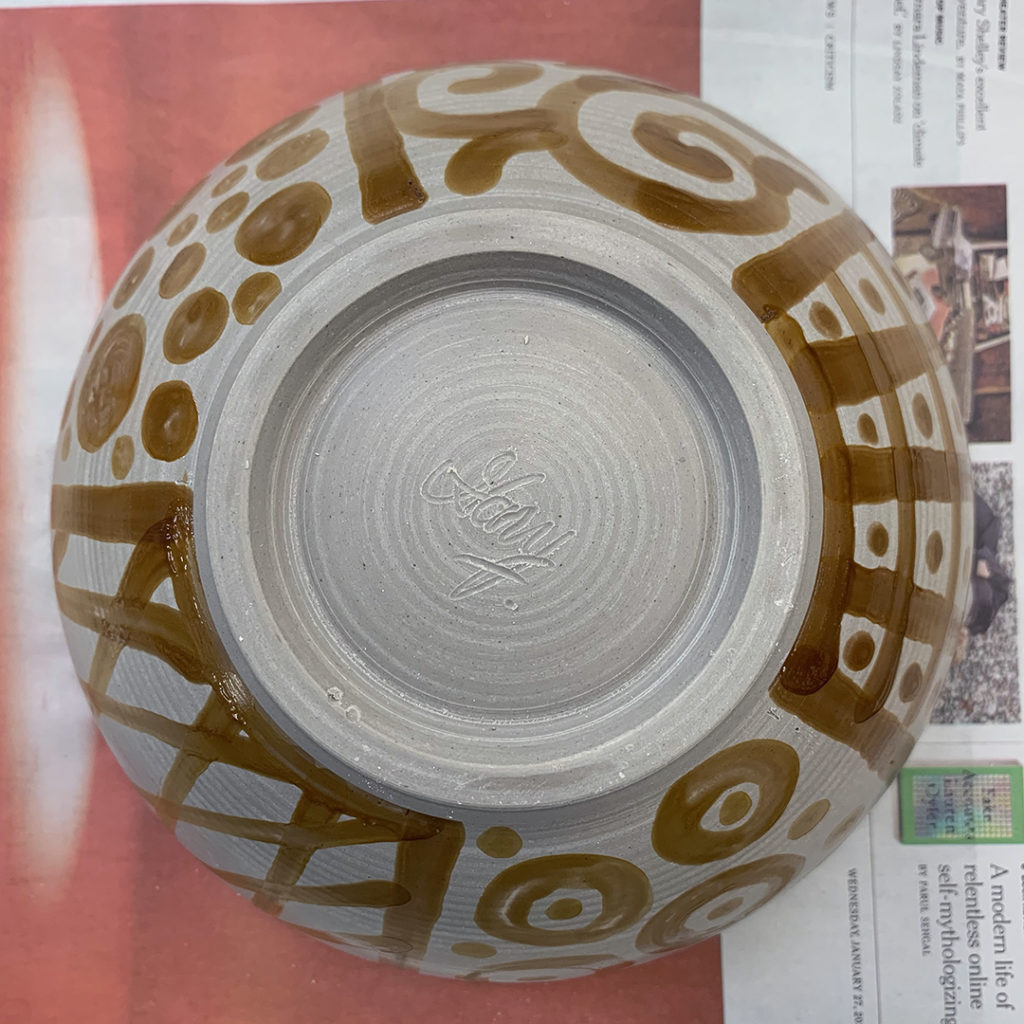
So when one of my students Heidi “challenged me” to do some water etching instead of stamping… I said “Game On!”
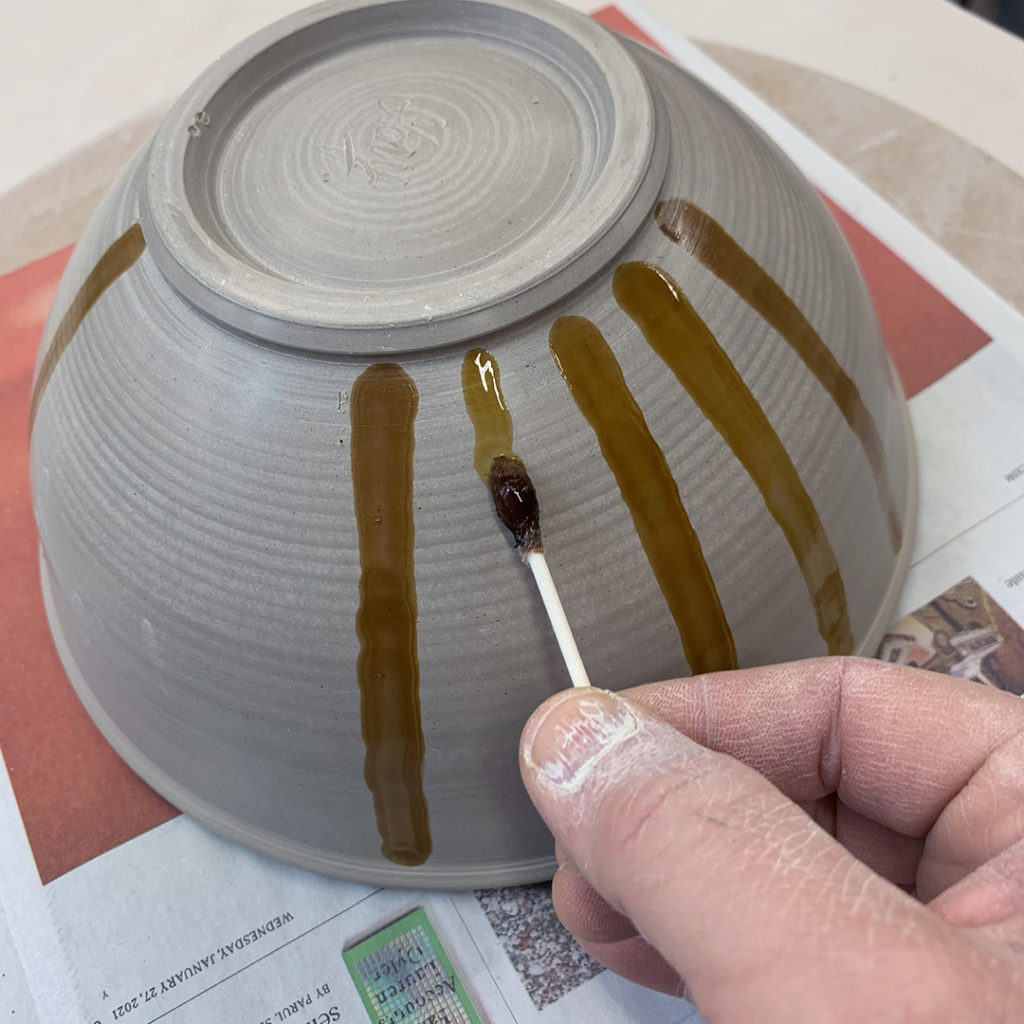
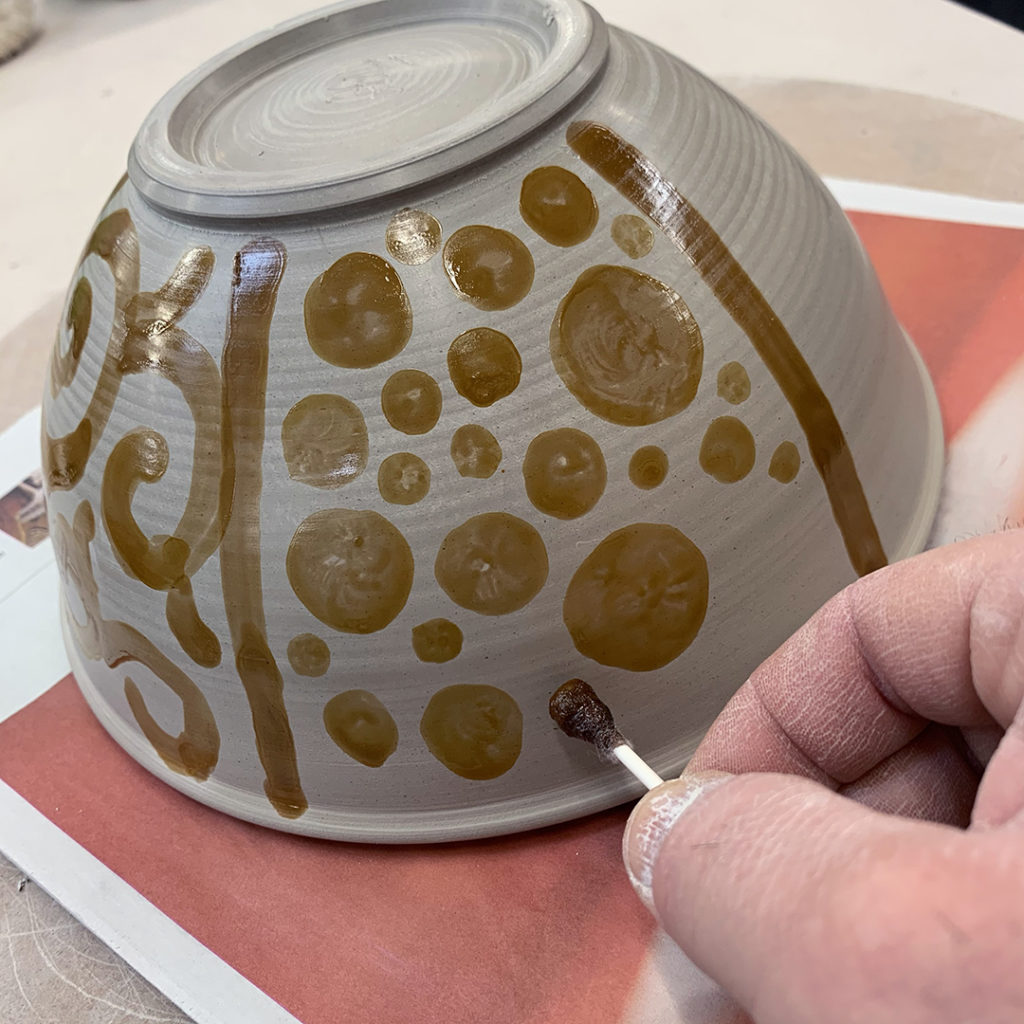
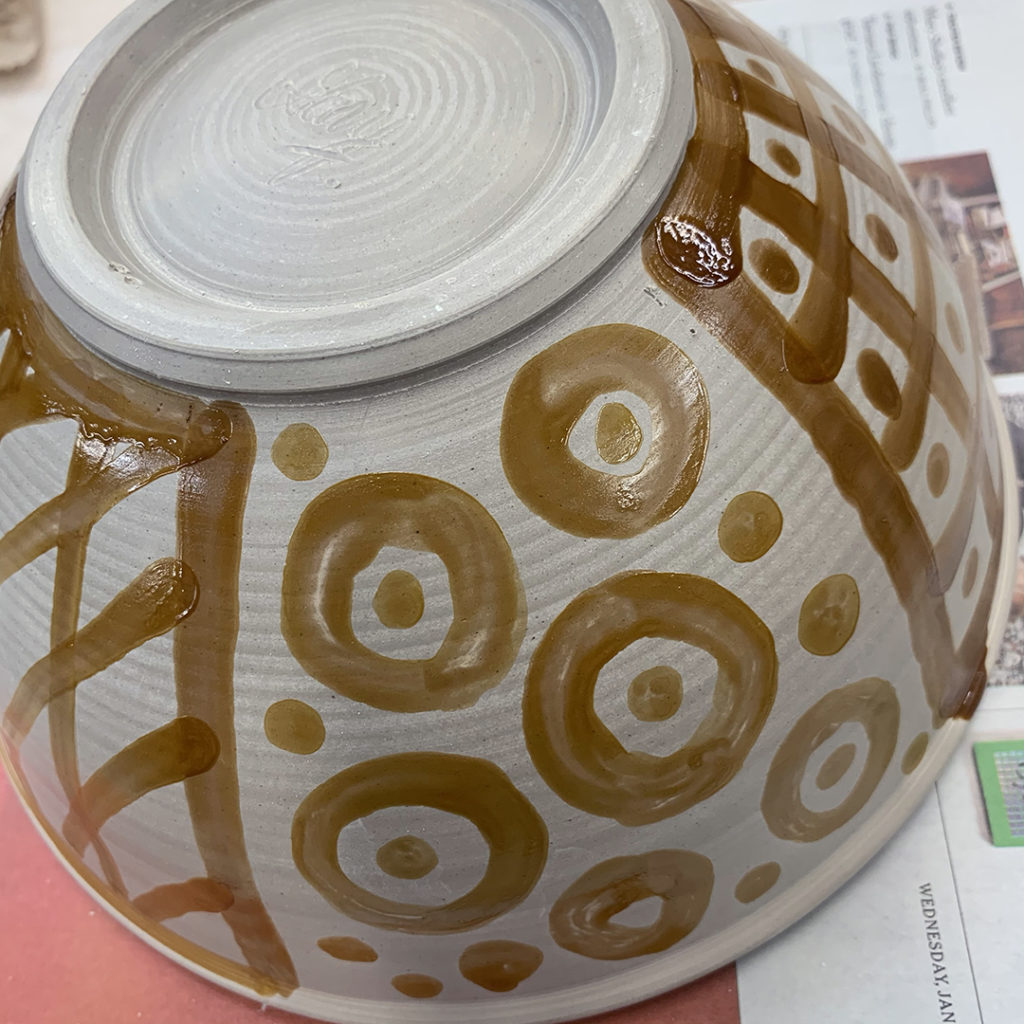
So I threw a bowl, dried it to leatherhard, trimmed it and brought it back to class. I didn’t really have a design plan… so I went more with a “sampler” style bowl. So in class I painted my patterns on the bowl with shellac. I used a Q-Tip instead of a brush because I thought it would have a better edge instead of bristles moving around too much… plus, disposable! I let the shellac dry… and then it was time to start wiping away the background clay! More to come…
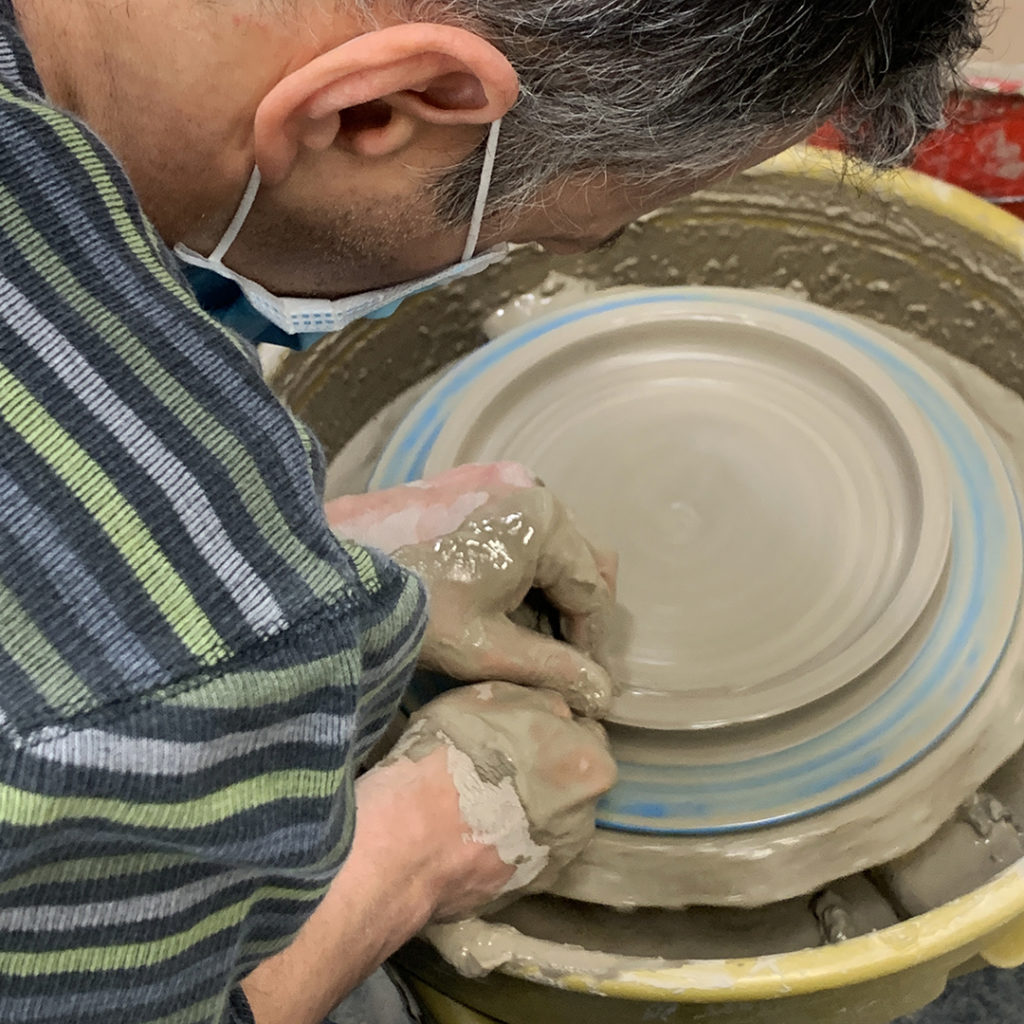
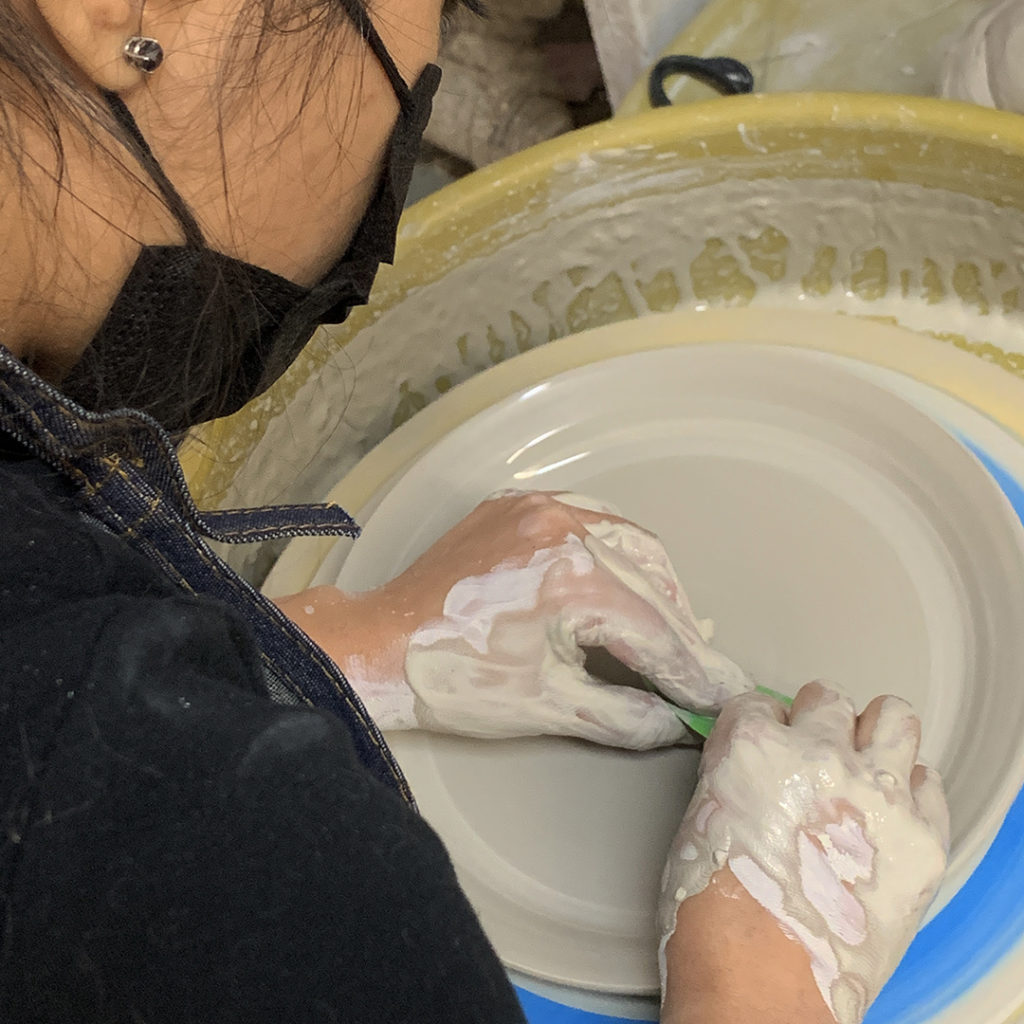
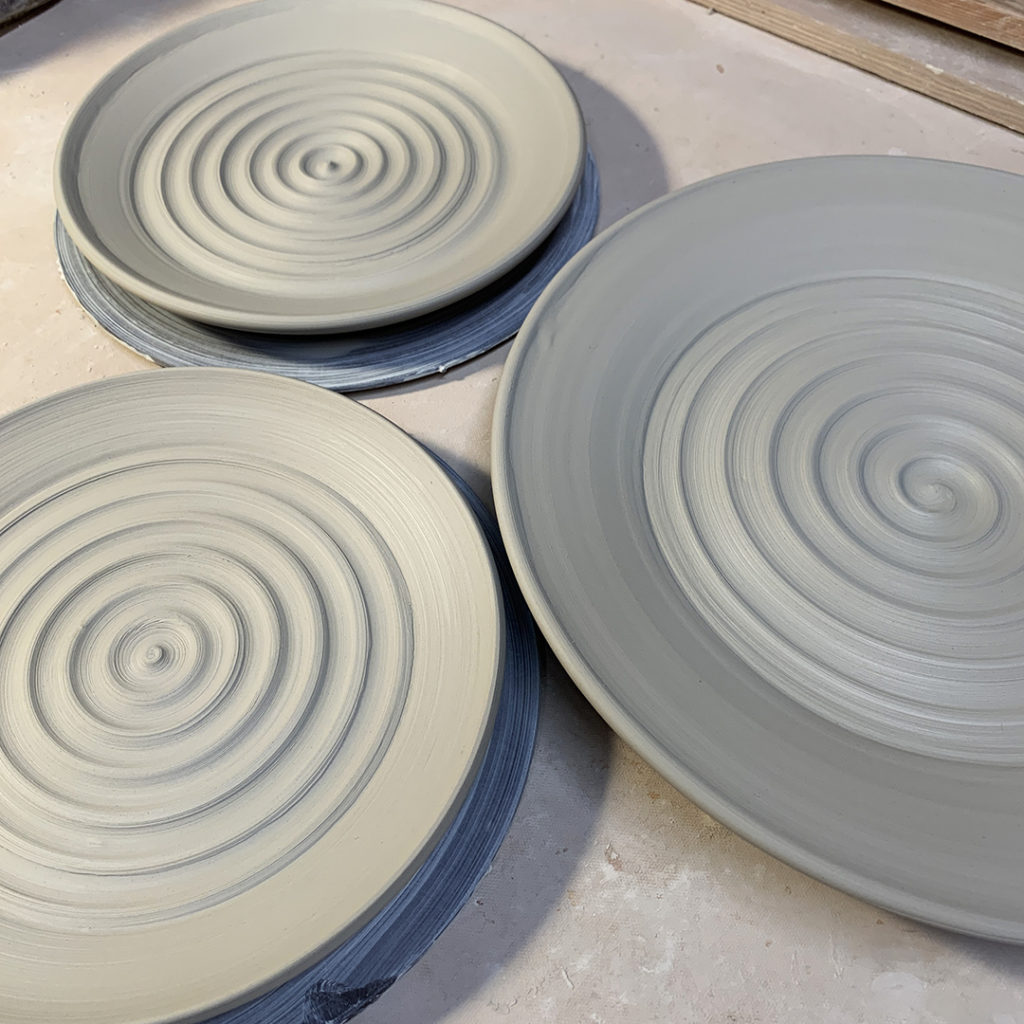
It’s always rewarding as a teacher when you do the demo in class, and then your students actually try the same demo and SUCCEED with their own plates… some of them for the first time ever!!! Yeah Team!!!
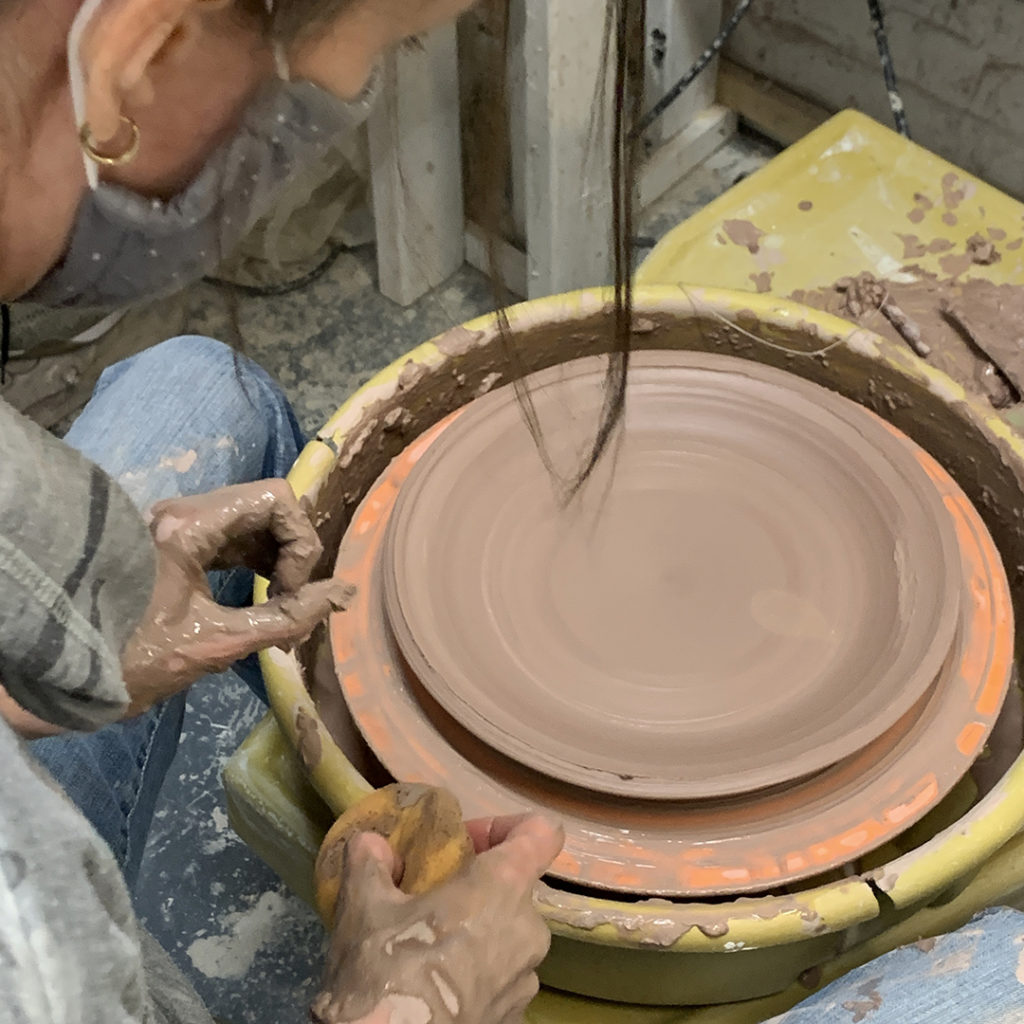
Last night in my pottery class at Lillstreet, we tackled plates & platters with some of my more Advanced Beginners. I showed my students the basics with two plates & one platter. All safely up in my studio now awaiting a bit of stamping activity… hopefully later today!!!
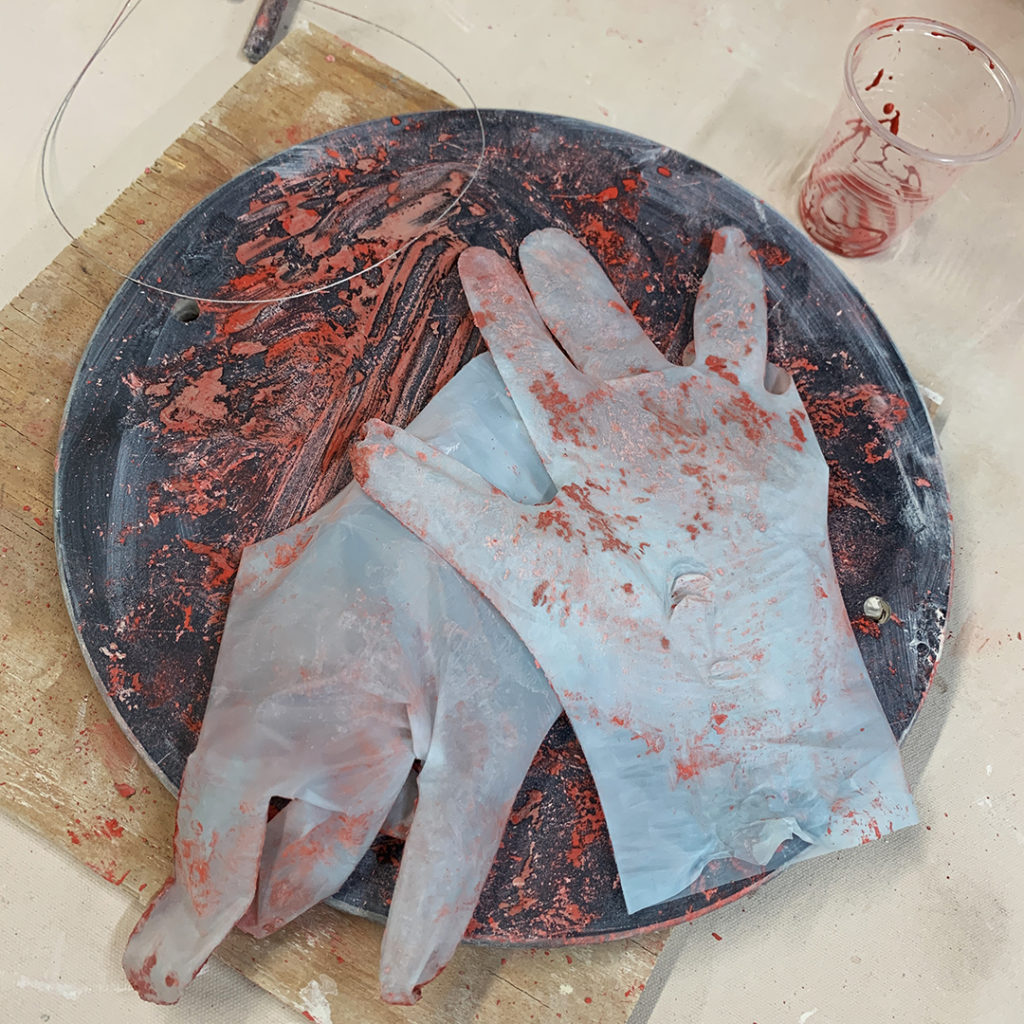
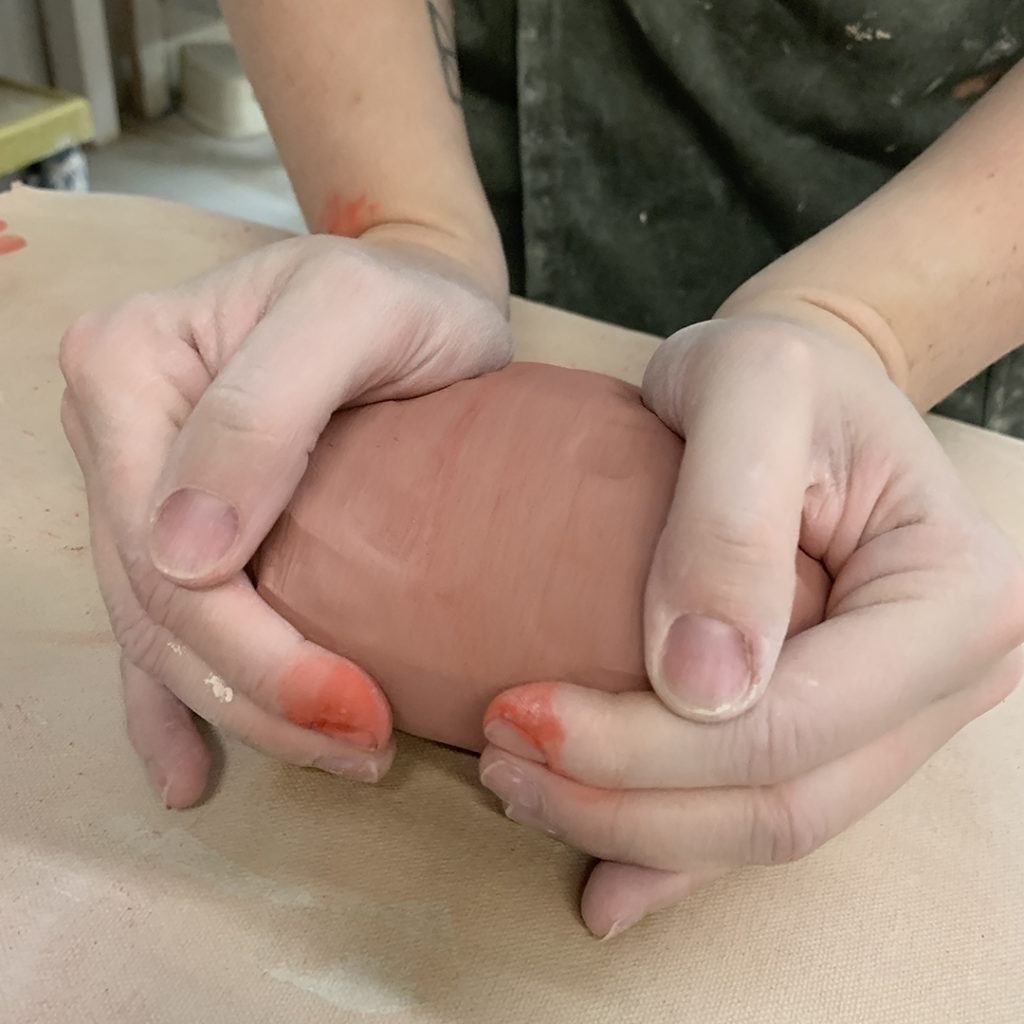
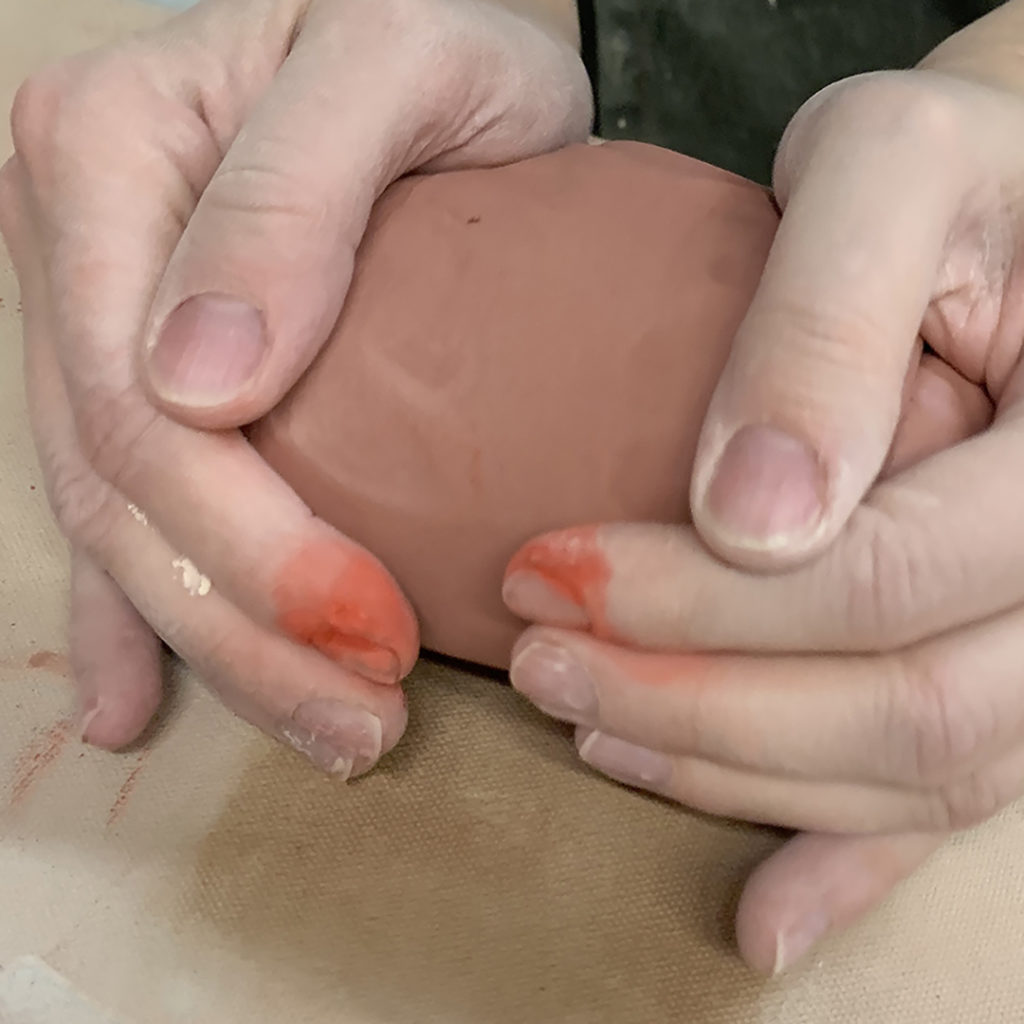
It was just Kelly trying to dye her clay red with some “strawberry red” inclusion stain. She started with gloves but found it easier to wedge it in with bare hands. She’s still planning on adding more pigment to make it even more RED!!! Kinda wondering how long her fingertips will stay that “bloody” red color???
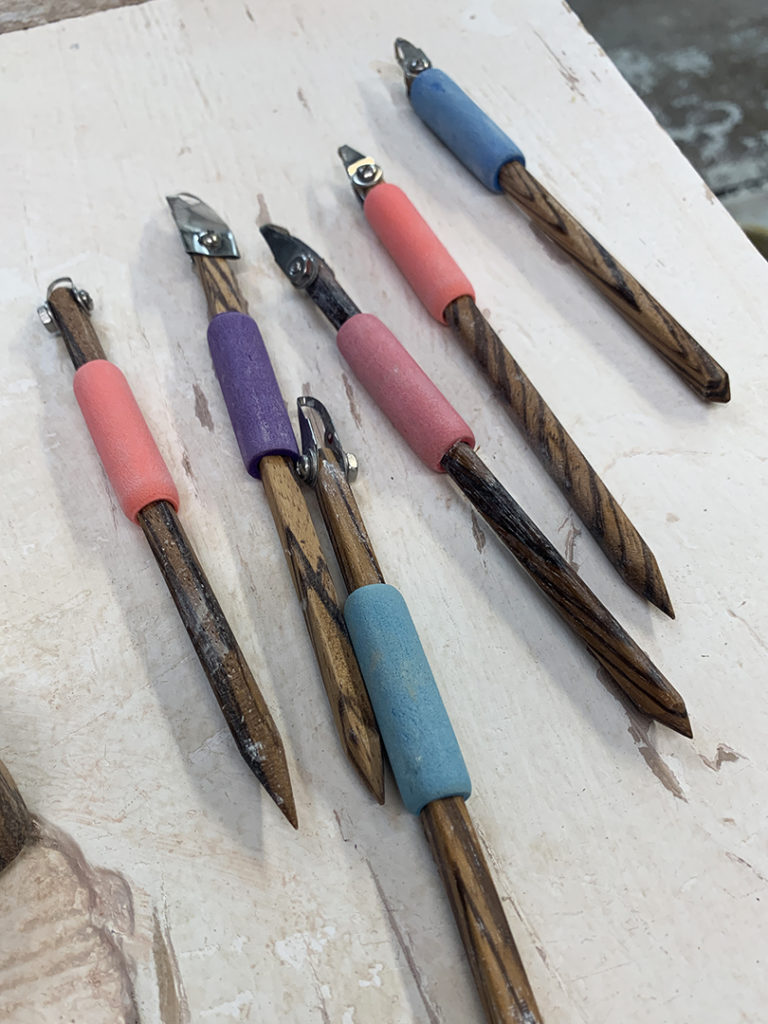
Last night in class, Darcy asked if she could borrow some of my DiamondCore Carving Tools… and of course I said YES!!! She was excited to try some carving on her large vase from last week’s class… and was kind of amazed at how sharp & crisp the lines were!!!
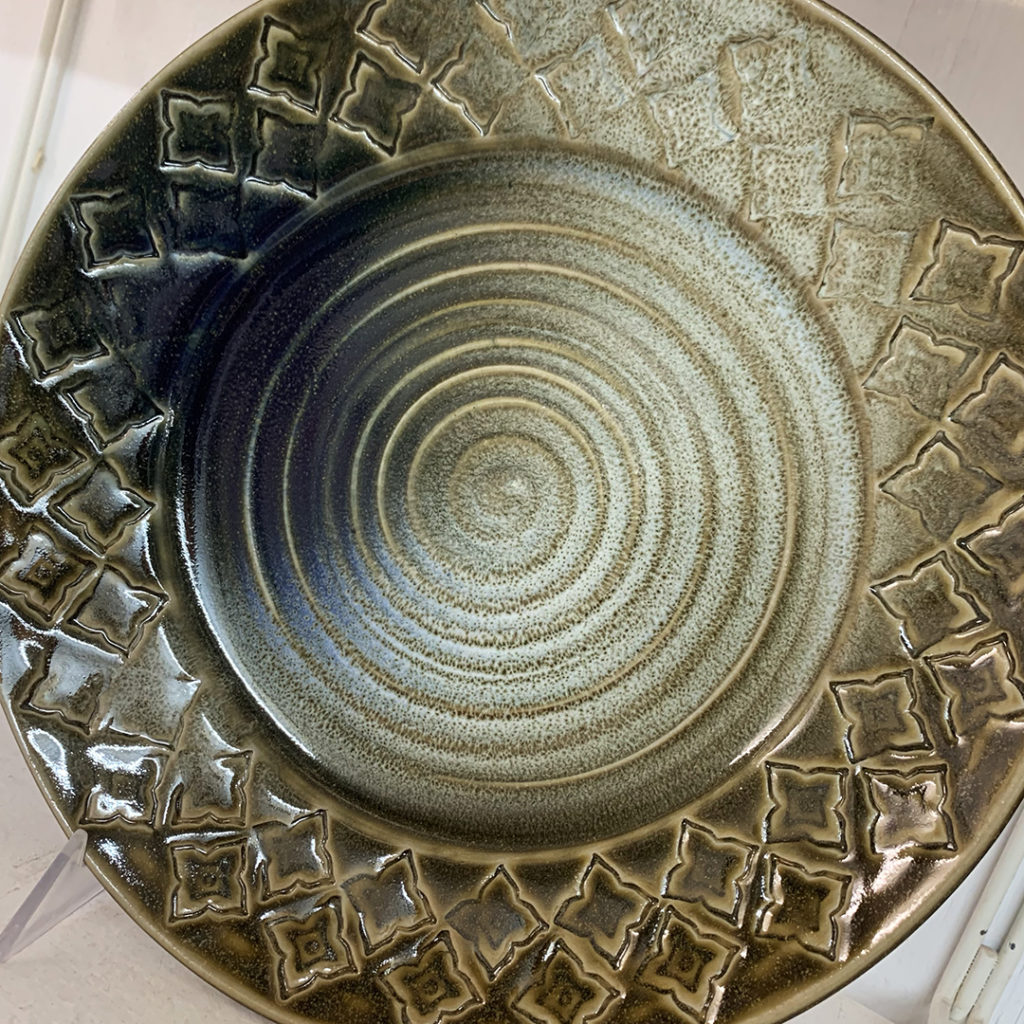
Kudos to my former student Kimberly for making it to the “Show-Off Shelves” at Lillstreet! A couple people have asked me if it was MY platter… to which I proudly said “No”, but she was one of my students! Congrats again Kimberly… your platter turned out GREAT!!!
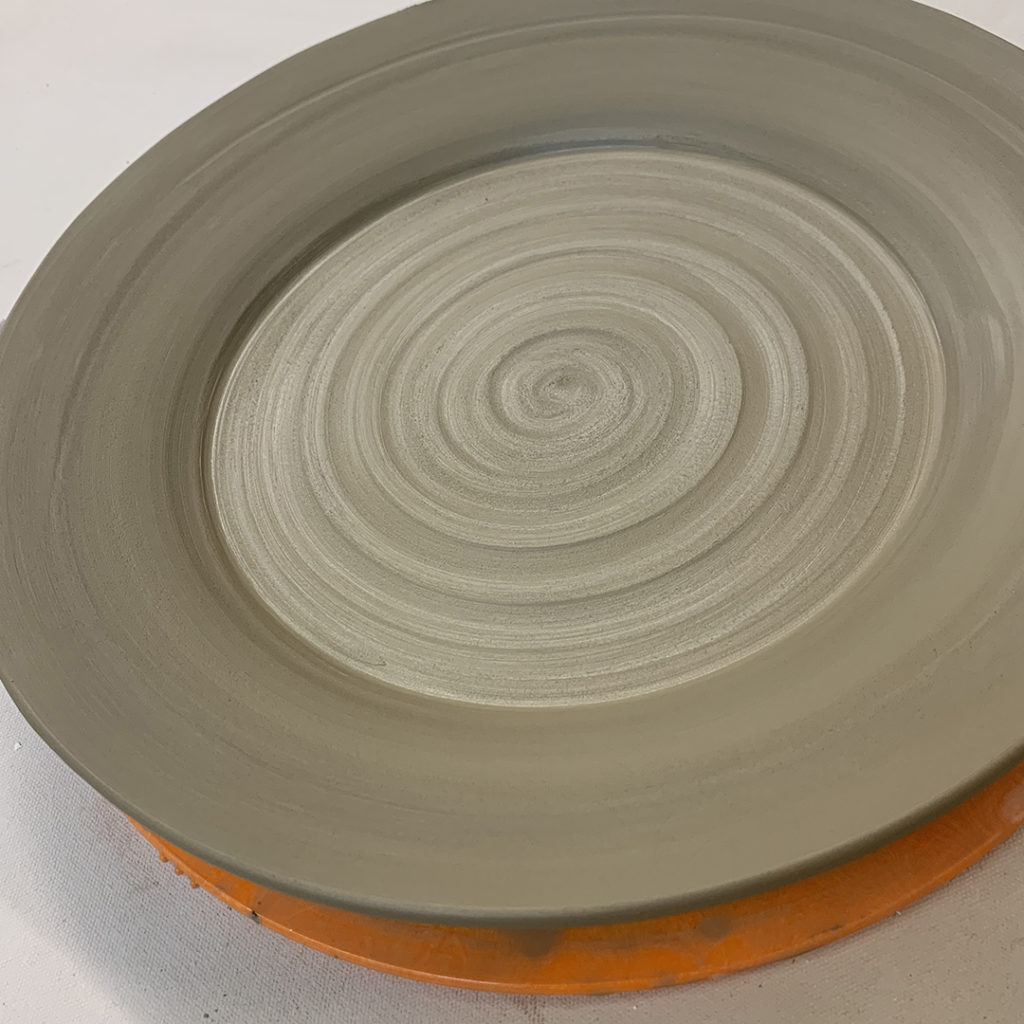
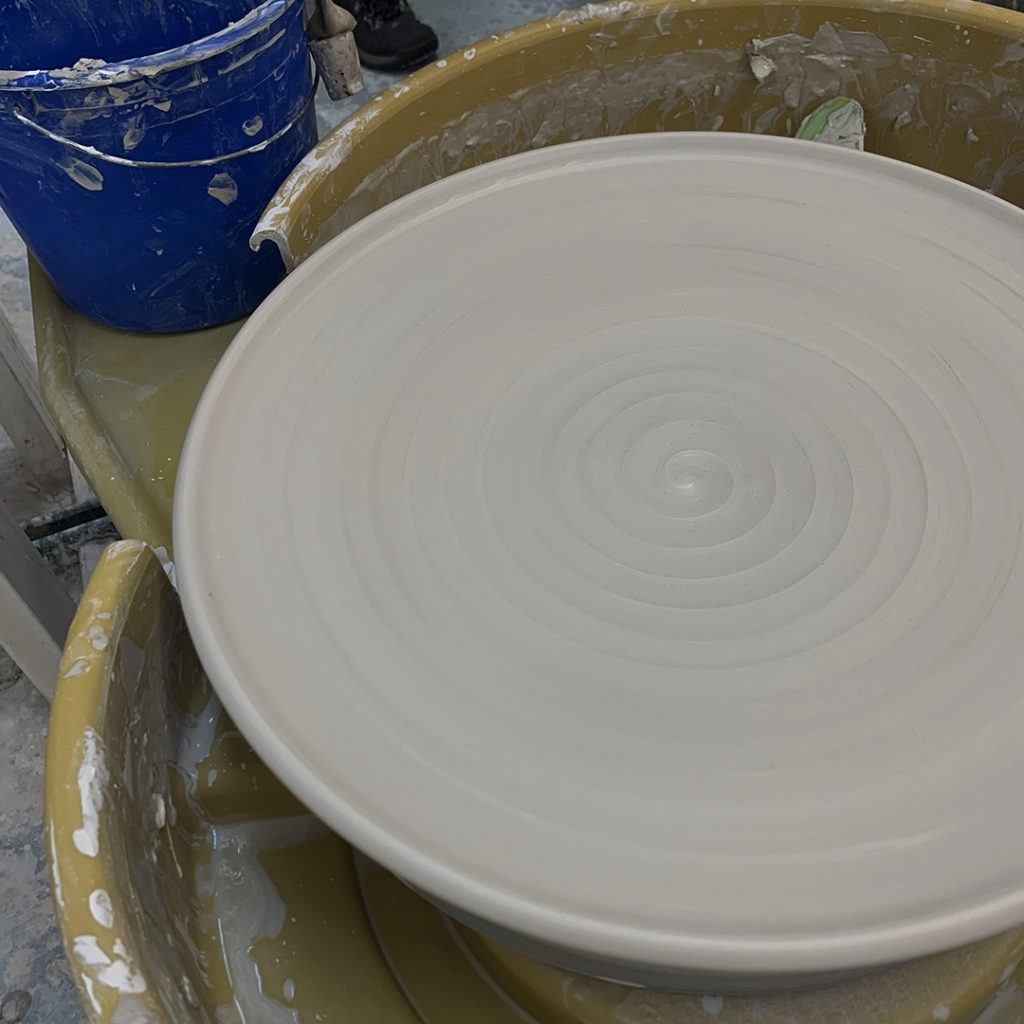
For today’s class demo, we tackled throwing larger platters! Of course I showed my students my “typical” platter with a flat flared-out flange area which ideal for stamping!!!
But then I was “challenged” to do another one with a smoother curve and no delineation between food surface and… I don’t know… the curved “rim” area? The second big challenge might be “where & how” do I stamp this new shape??? Can’t wait to find out…
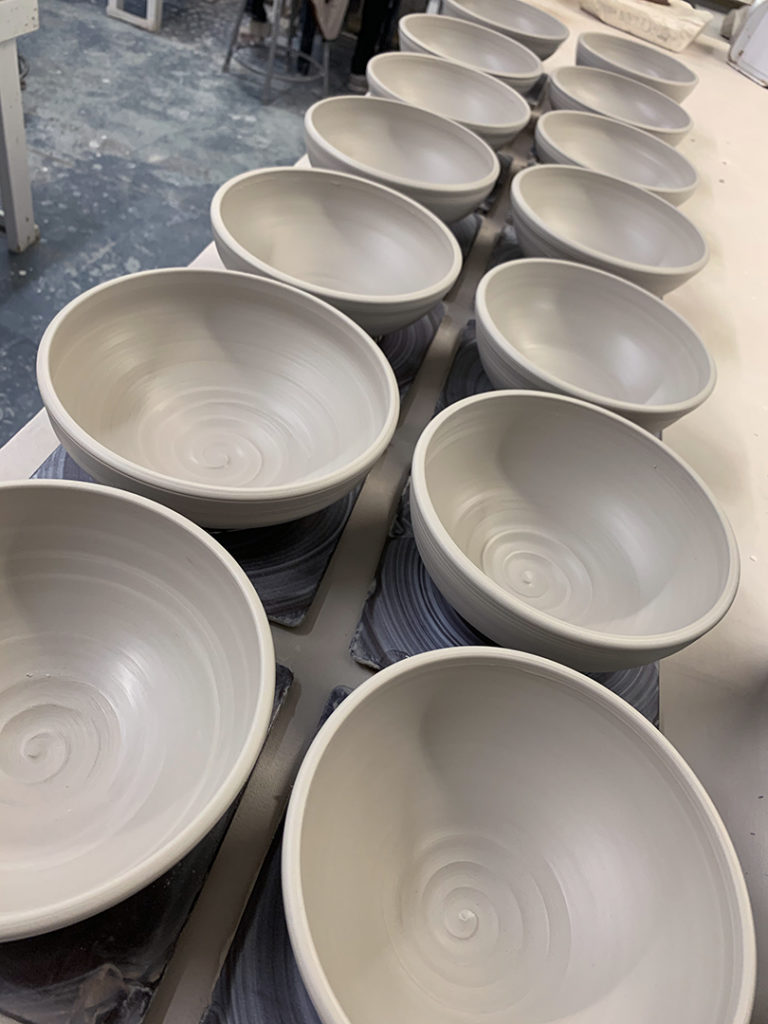
Last night’s class demo how to throw basic bowls. And that’s basic bowls on purpose… and NOT cylinders gone bad. I like to teach my Beginner’s how to throw a bowl from the start with a nice smooth & even curve inside. No flat bottoms. No beginner’s ledge. No divots. So I do a demo for the with one bowl – and then set them off to work on their own bowls!
While they’re throwing their bowls, I continue throwing more basic bowls. After I finish making them all, we re-group for Part Two of the class demo. For this part I like to show them some quick & easy ways to alter & decorate their bowls. I tell them that “The Wheel” pretty much did all of the work making a round bowl. Now it’s up to THEM to do something to it to make it their own! And encourage playing with their clay. To try something new. And if it doesn’t work… no biggie. Just squish it up, wedge it and throw it again!
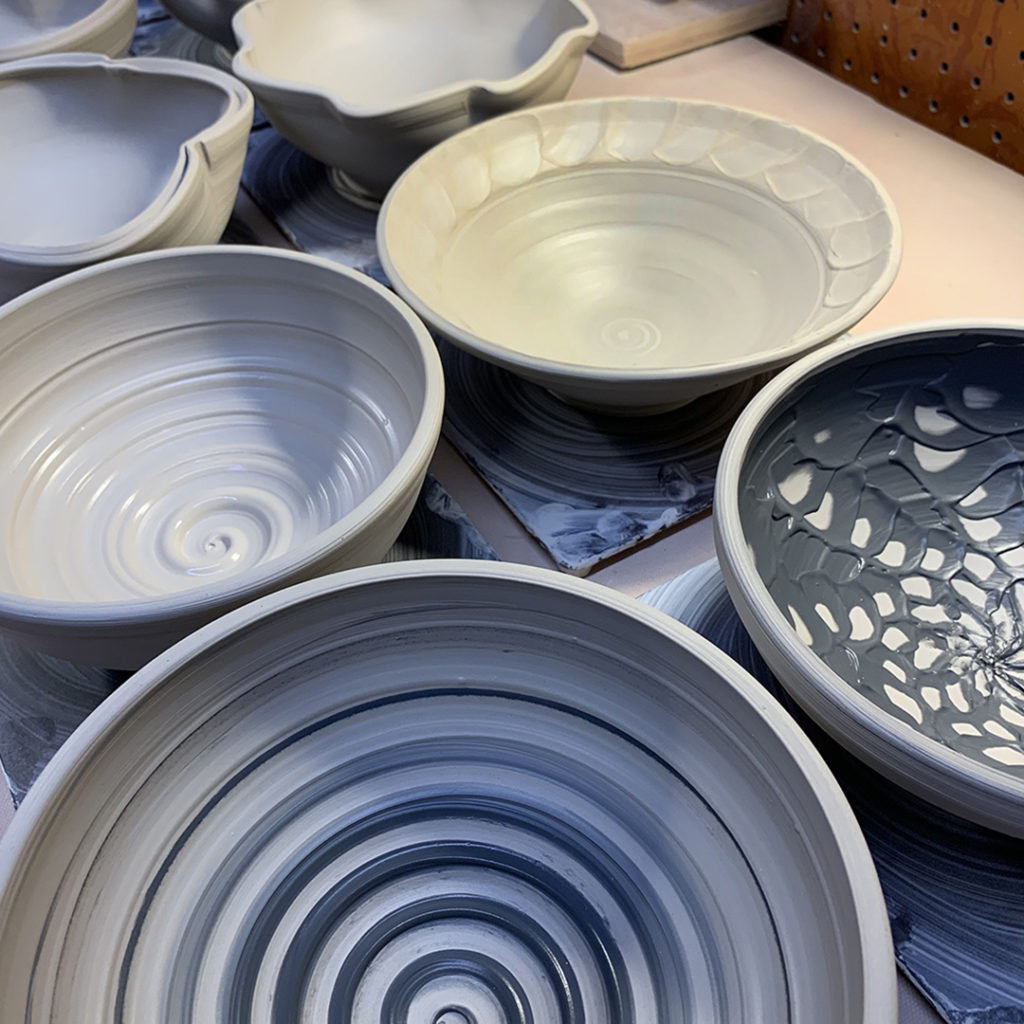
So here are my bowl demos from last night… each with some simple decorative alterations!
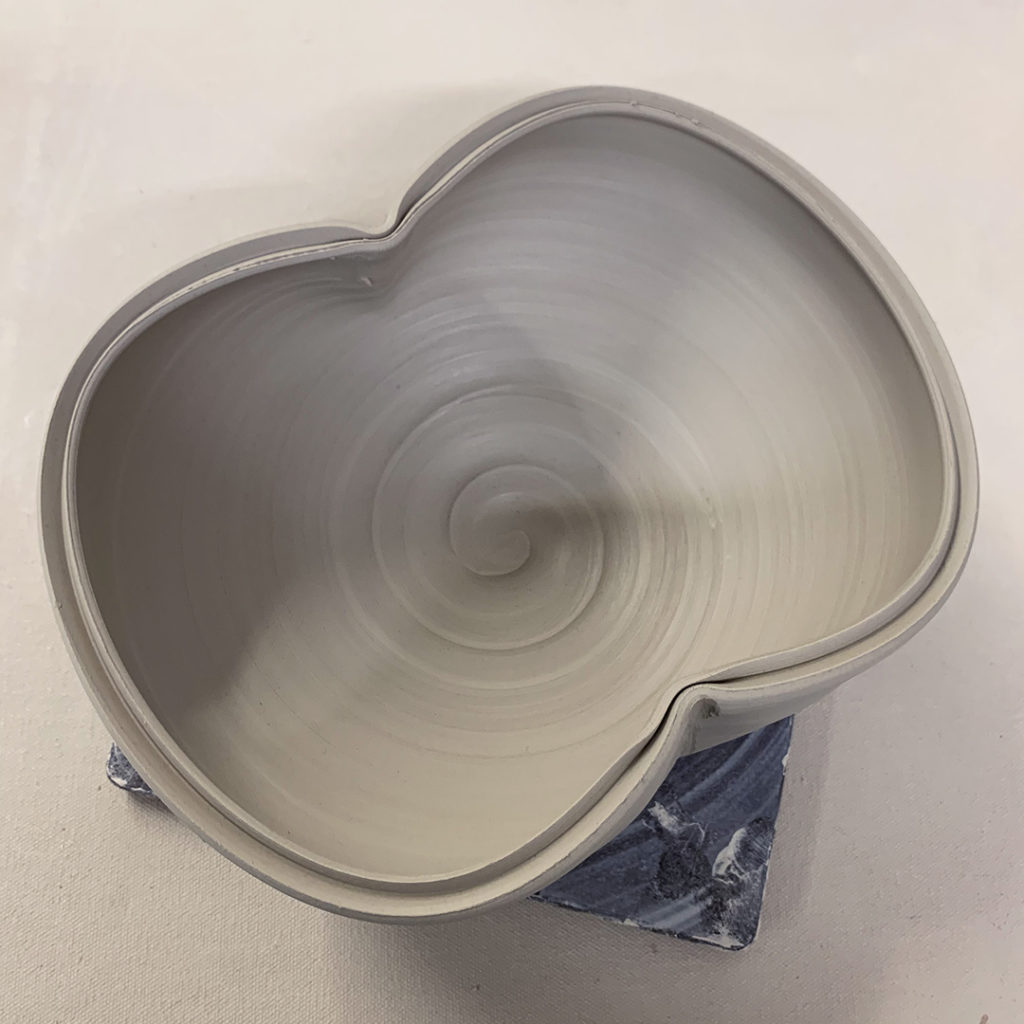
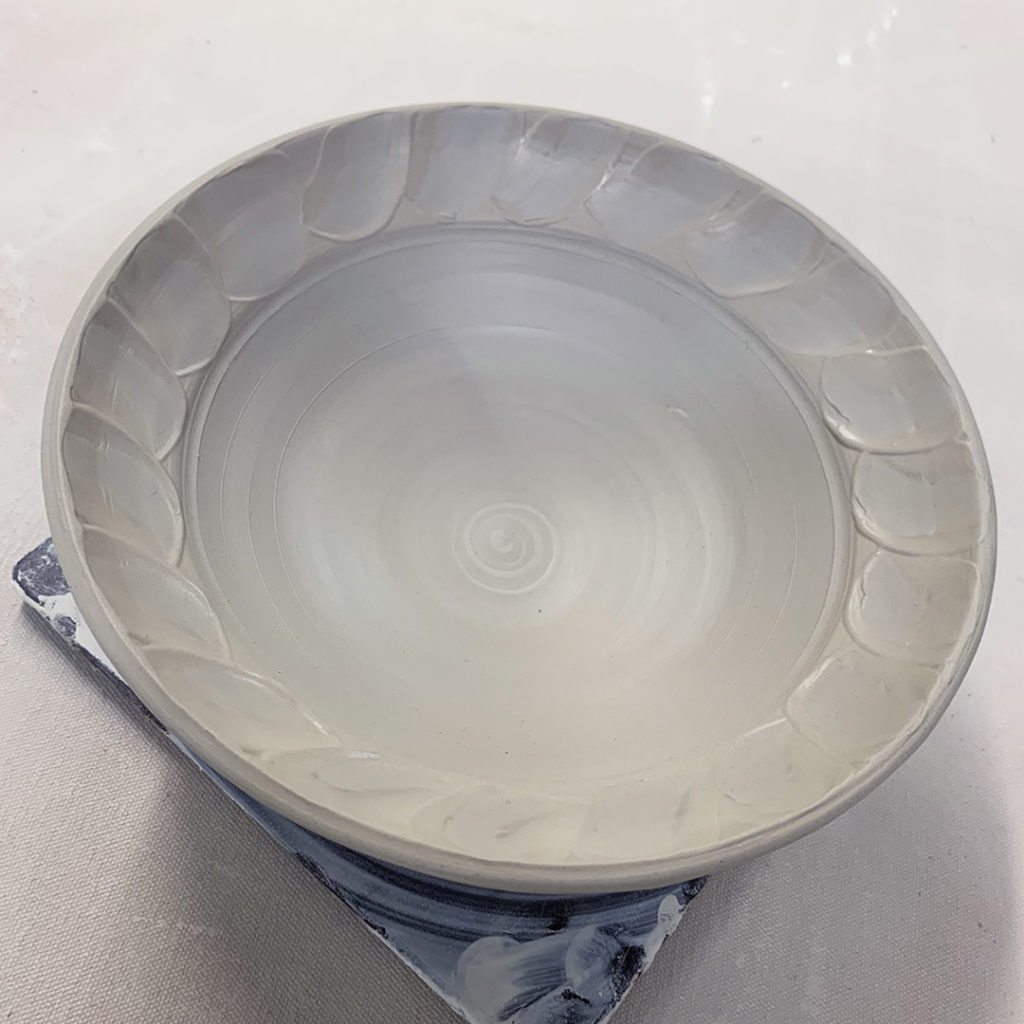
Bowl #1 – Two simple fluted edges
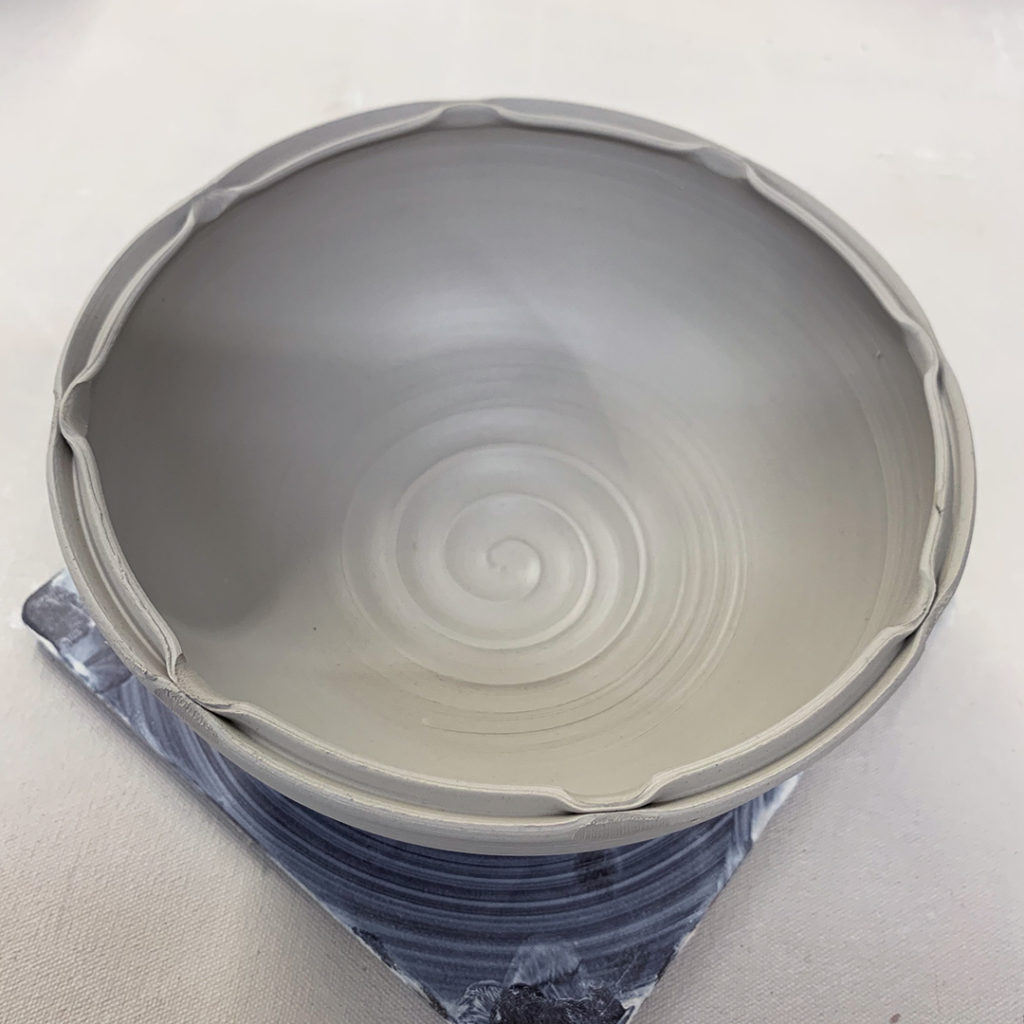
Bowl #2 – Eight fluted edges
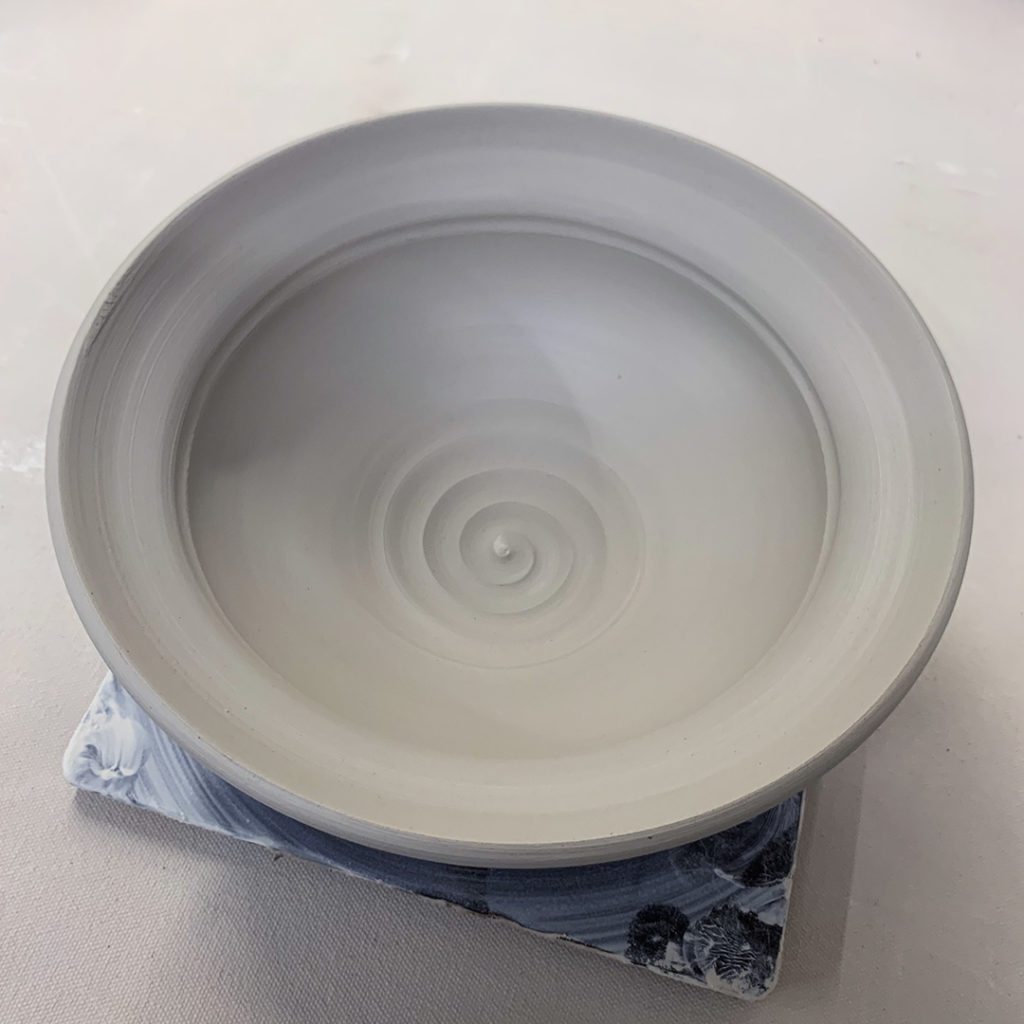
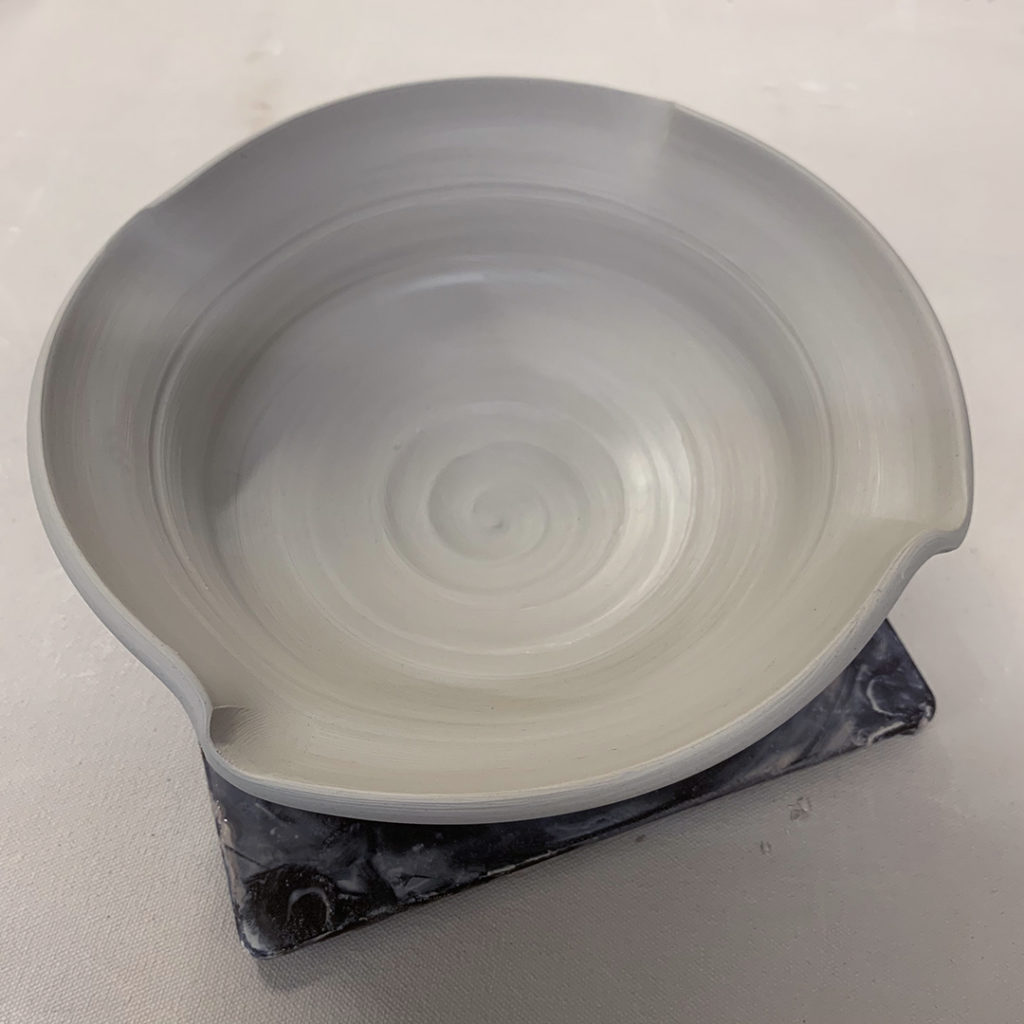
Bowl #3 – Flared-out flange
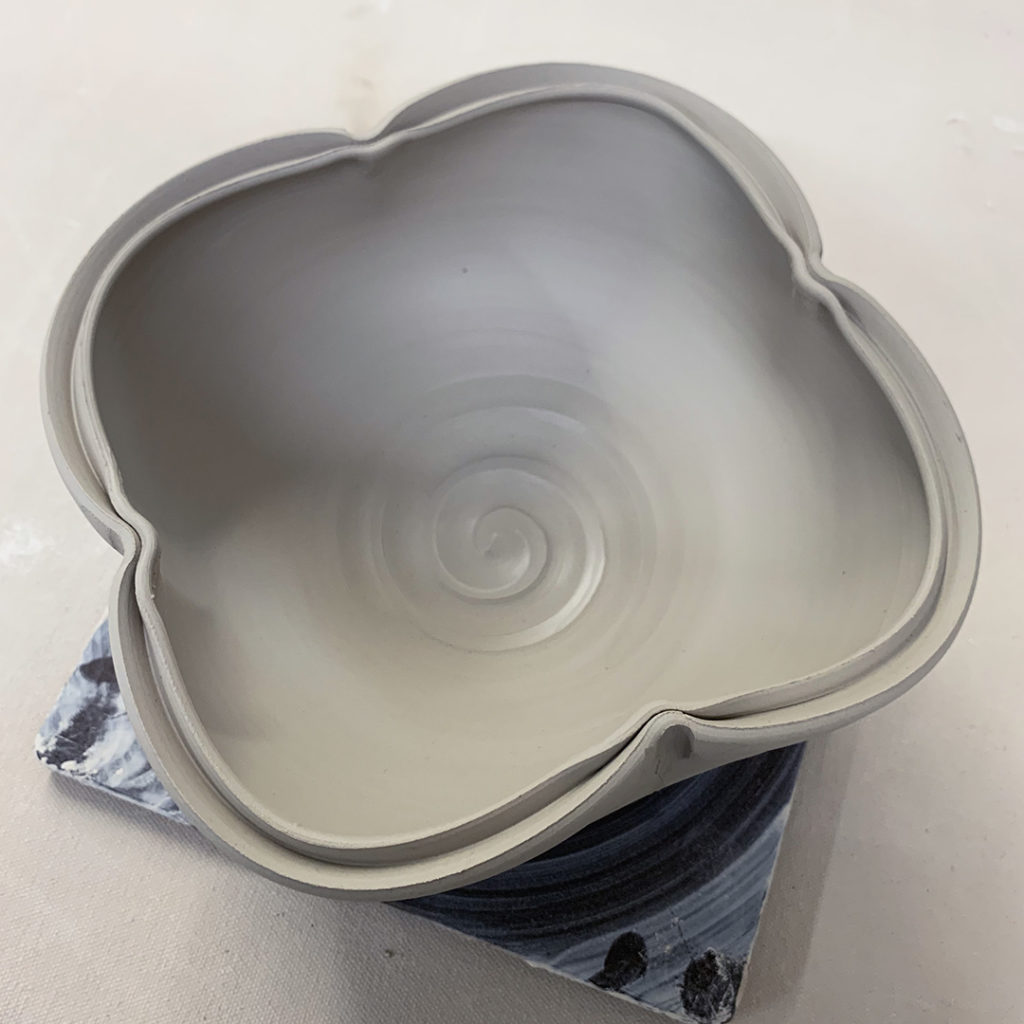
Bowl #4 – Flared flange & four fluted edges
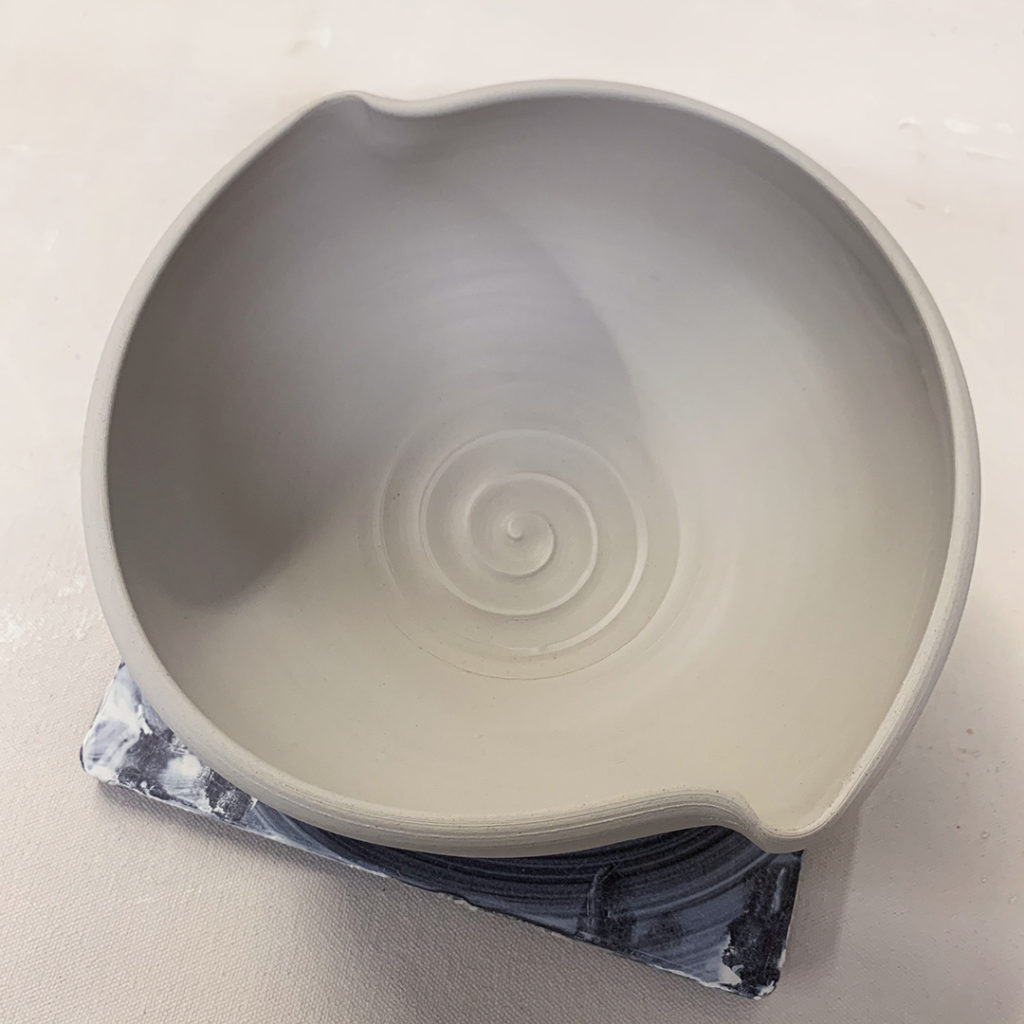
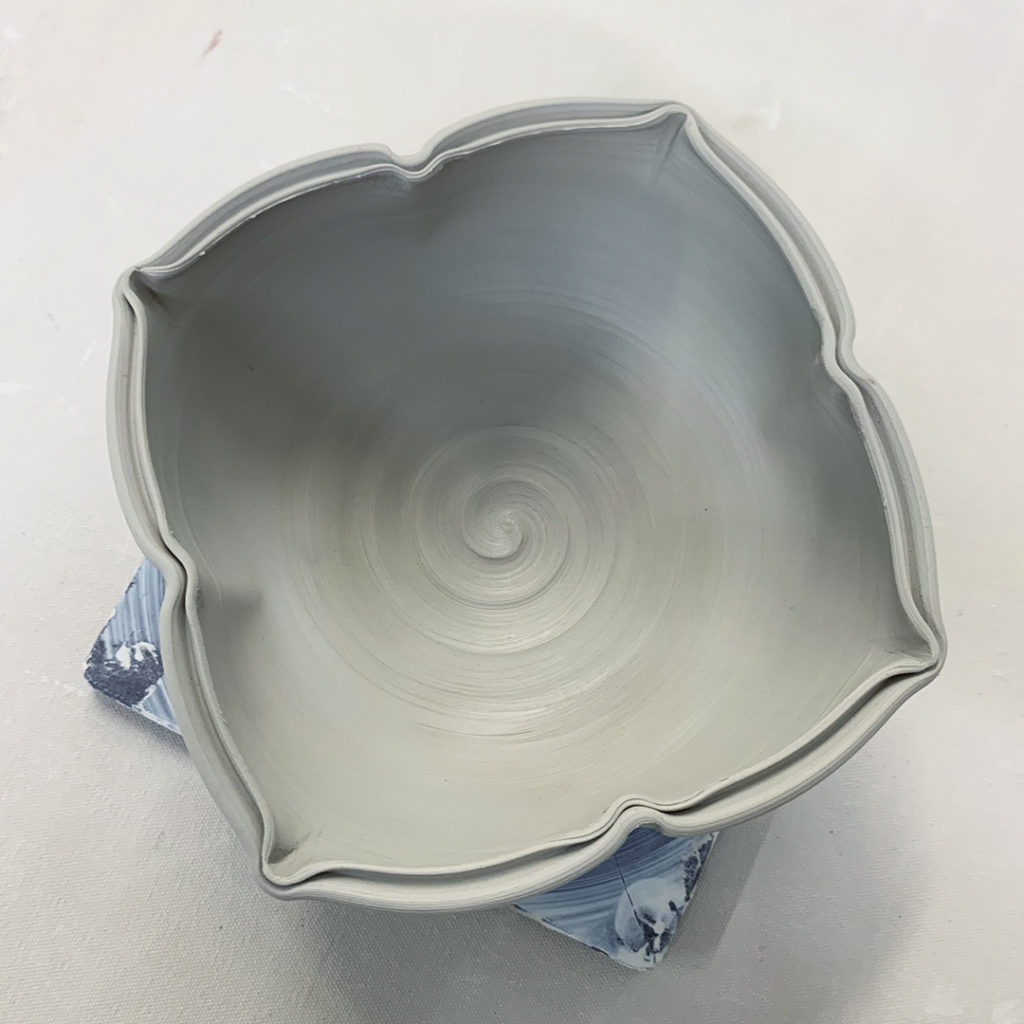
Bowl #5 – Split rim with eight pinches
Bowl #6 – Split rim with two indentations… waiting for an “over the top” handle to make it like a basket.
Bowl #7 – Split rim with four side indentations
Bowl #8 – Split rim with four indentations IN, and four indentations OUT.
Bowl #9 – A thick white slip spiral.
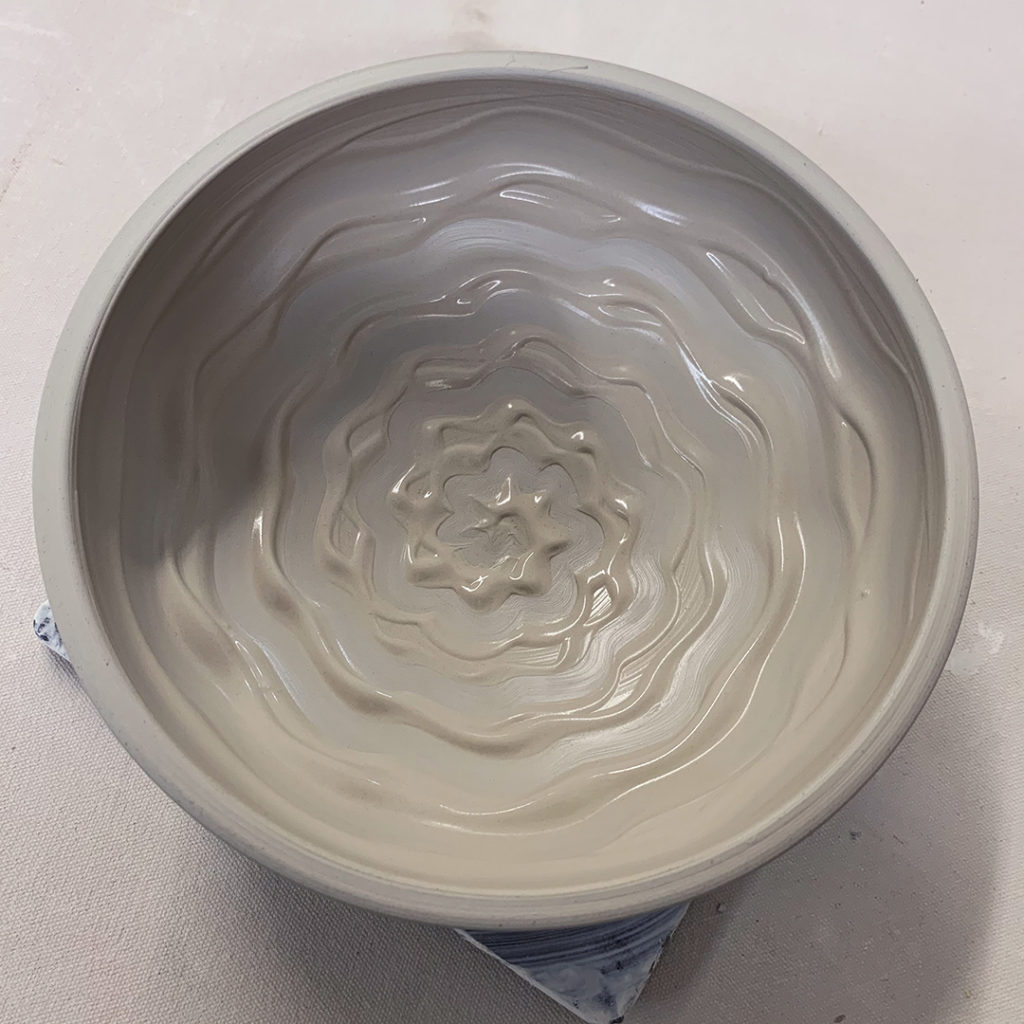
Bowl #10 – Thick white slip finger squiggles.
Bowl #11 – Thick black slip chattering with a rubber rib.
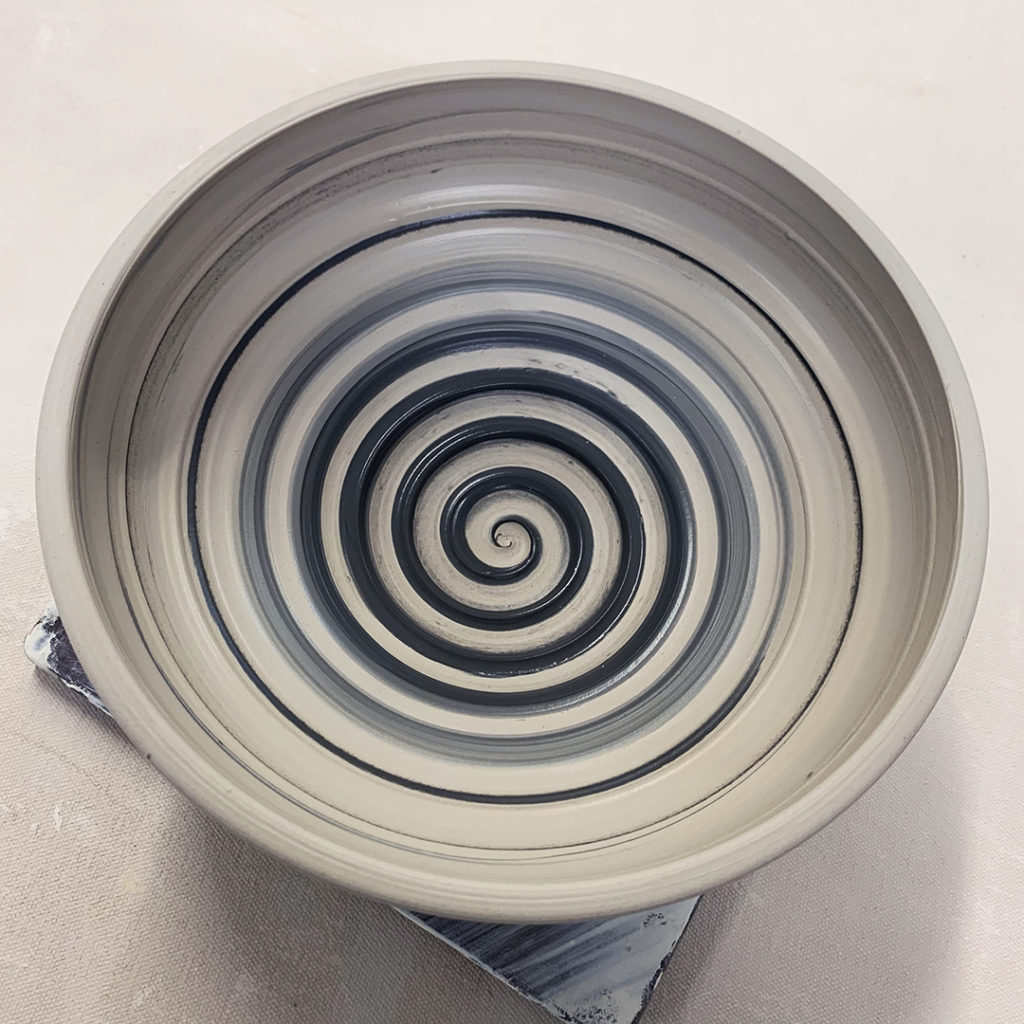
Bowl #12 – Ombre’ black -to-white slip with a spiral dragged through.
Bowl #13 – Thick white slip on a flared flange then wiped through with a rubber rib.
And for now they’re all under plastic… as there’s a “pretty good chance” that there might just be some stamping & detailing of these bowls before I need to start trimming the bottoms.
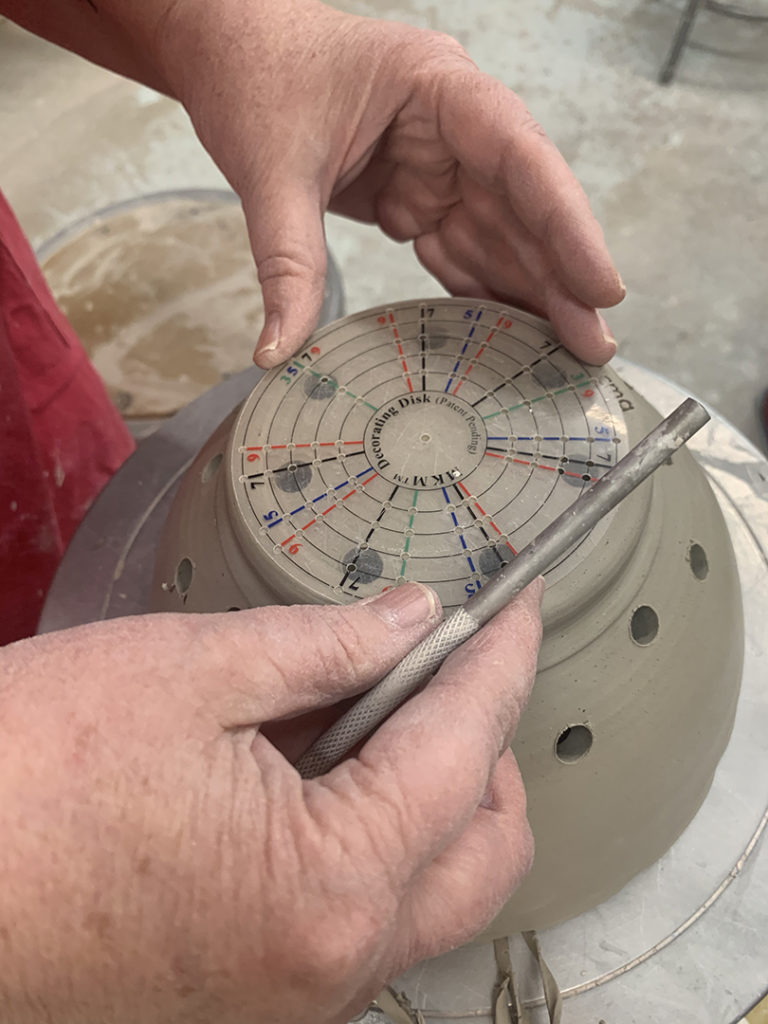
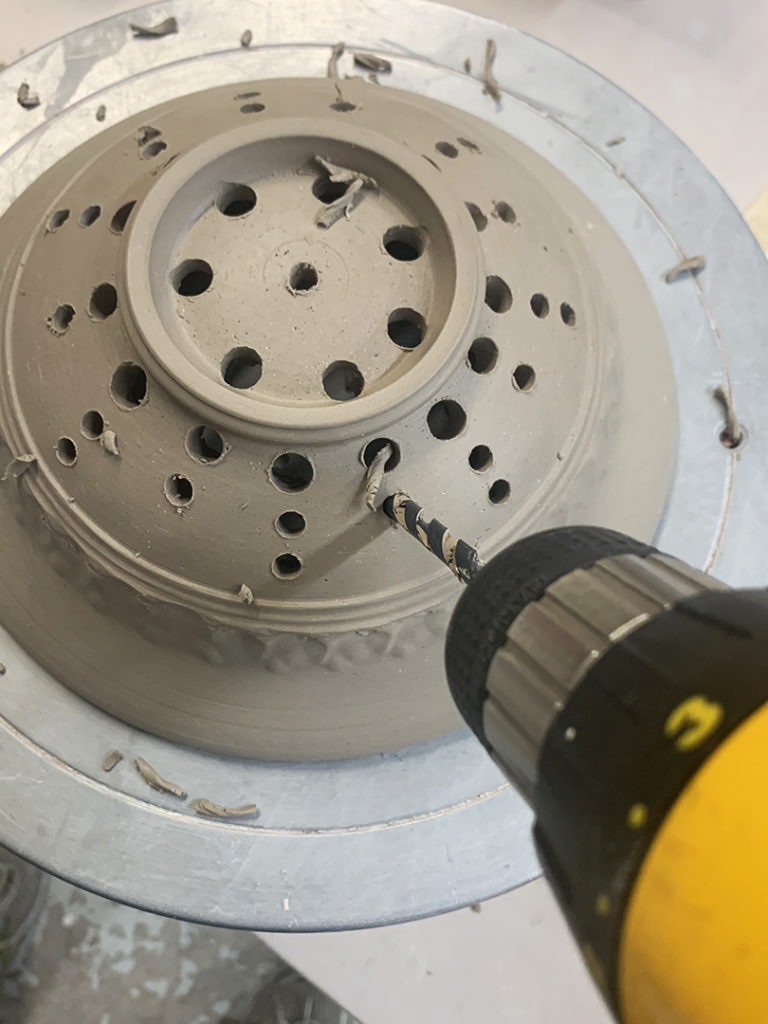
After my class demo last night, Christine stepped up to give it a try. She “struggled” a bit with the spontaneity of it all… not having a plan as she picked up the drill. But my MKM Decorating Discs helped with new “insta-plan” as she pulled the trigger on the power drill.
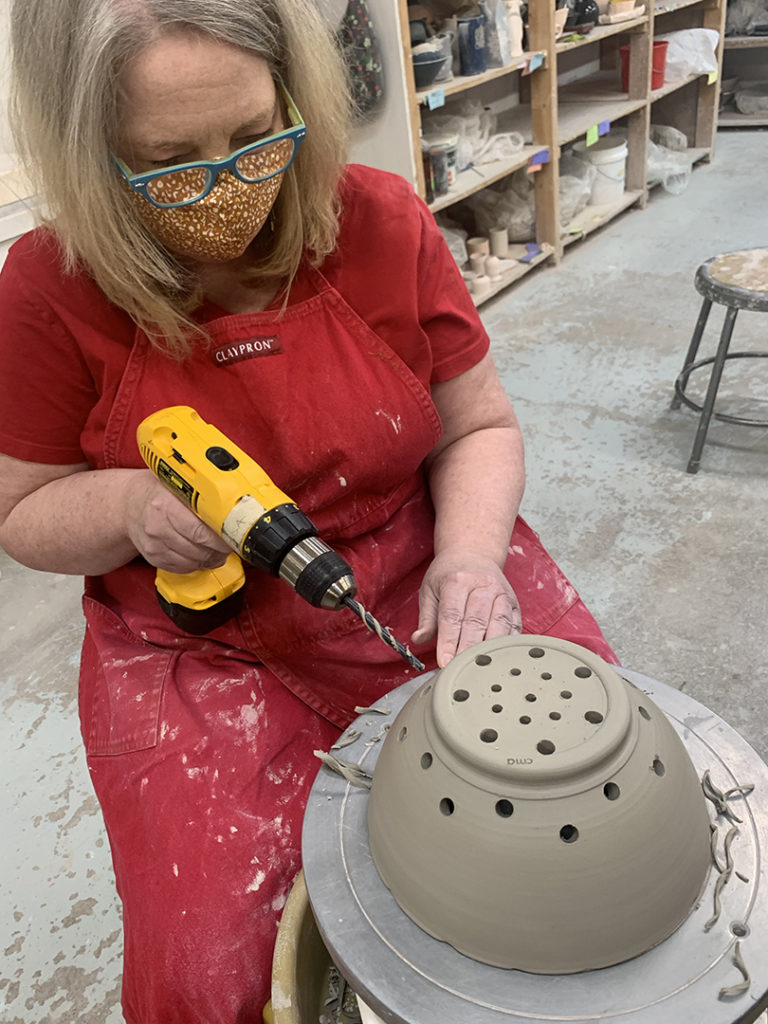
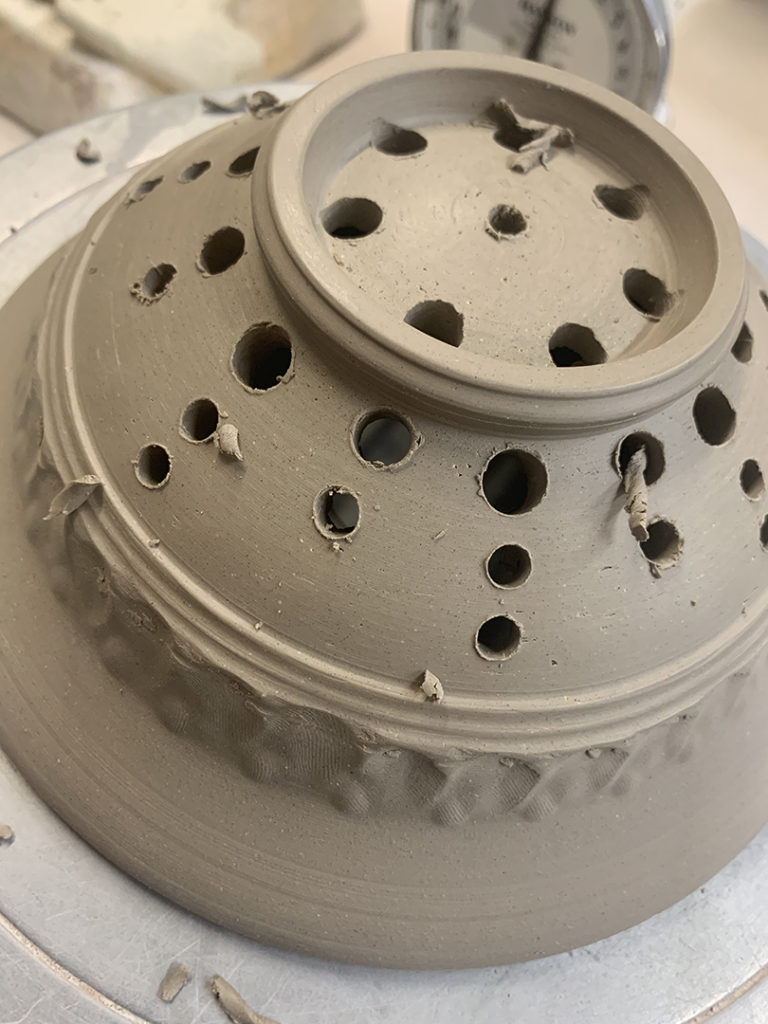
Last night in our pottery class we tackled drilling holes in some berry bowls… and what better way than with a POWER DRILL?! Who doesn’t like mixing pottery & power tools???