05.13.2021
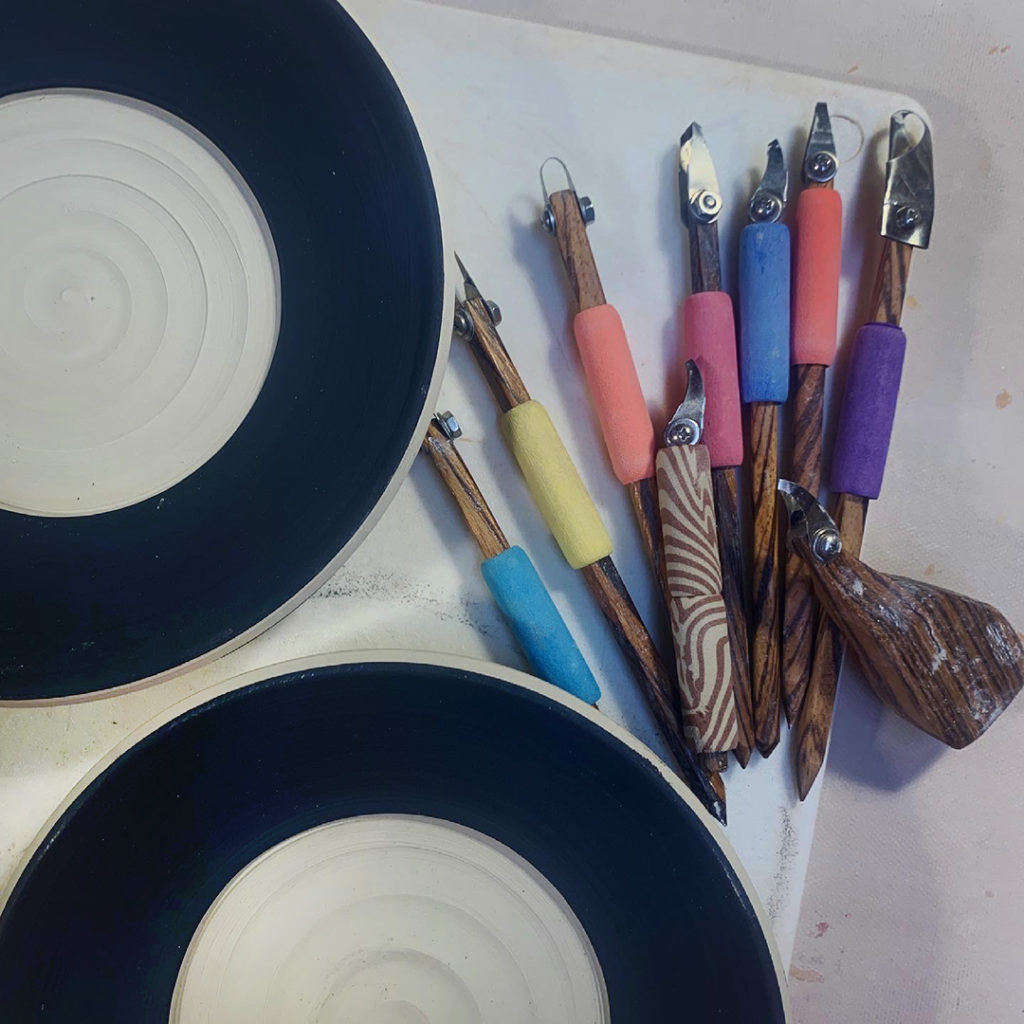
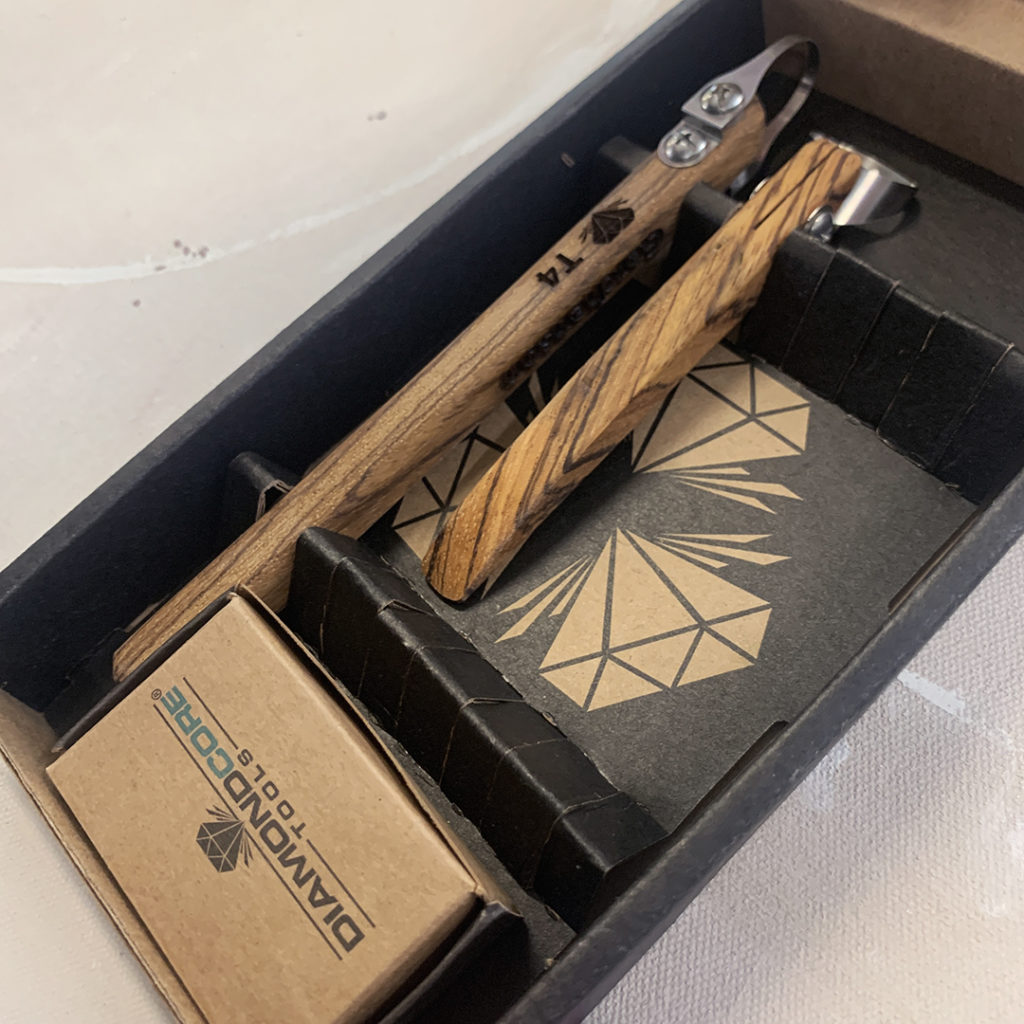
Tonight in my SURFACE DECORATION pottery class, we’re tackling a little sgraffito!!! I’ve got a couple surprises ready for them… and sharing my collection of DiamondCore Carving Tools for them to play with!!!

Gary Jackson: Fire When Ready Pottery
A Chicago potter’s somewhat slanted view of clay & play |
Tonight in my SURFACE DECORATION pottery class, we’re tackling a little sgraffito!!! I’ve got a couple surprises ready for them… and sharing my collection of DiamondCore Carving Tools for them to play with!!!
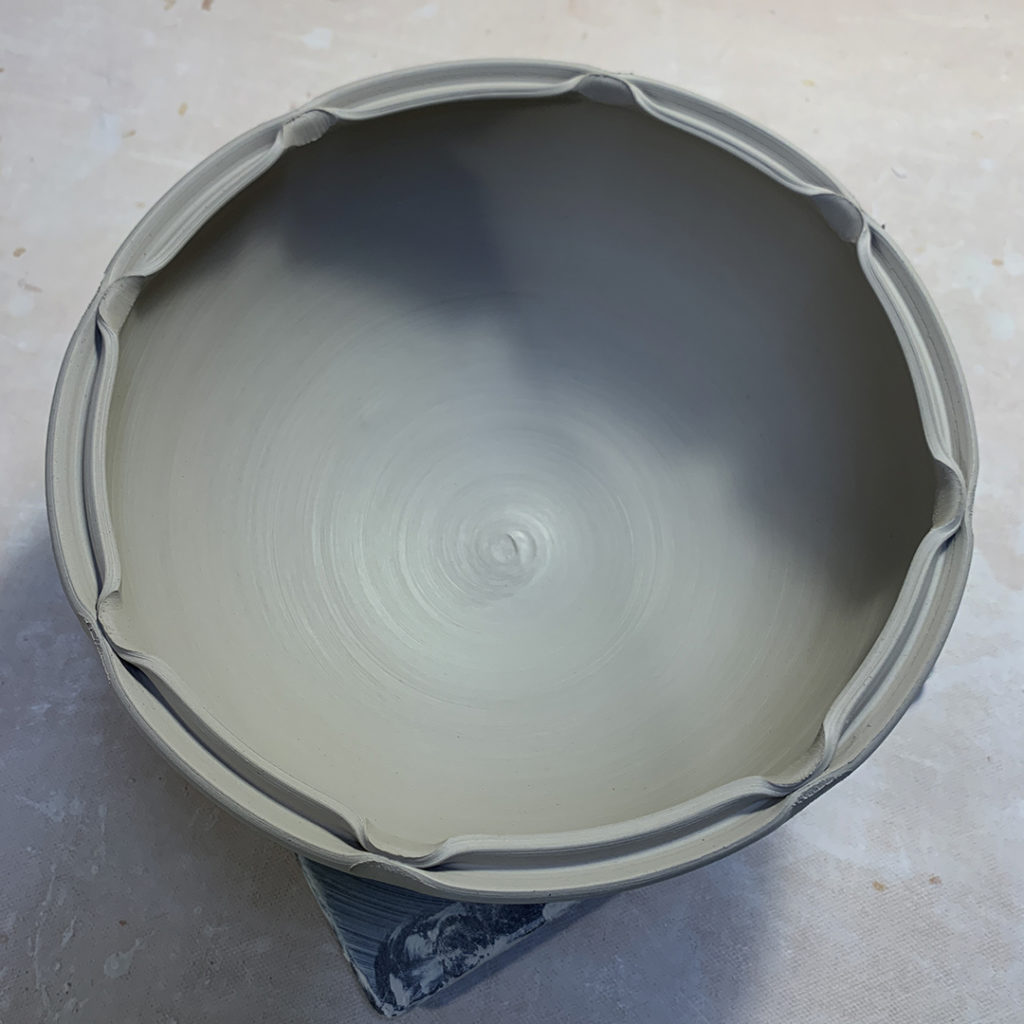
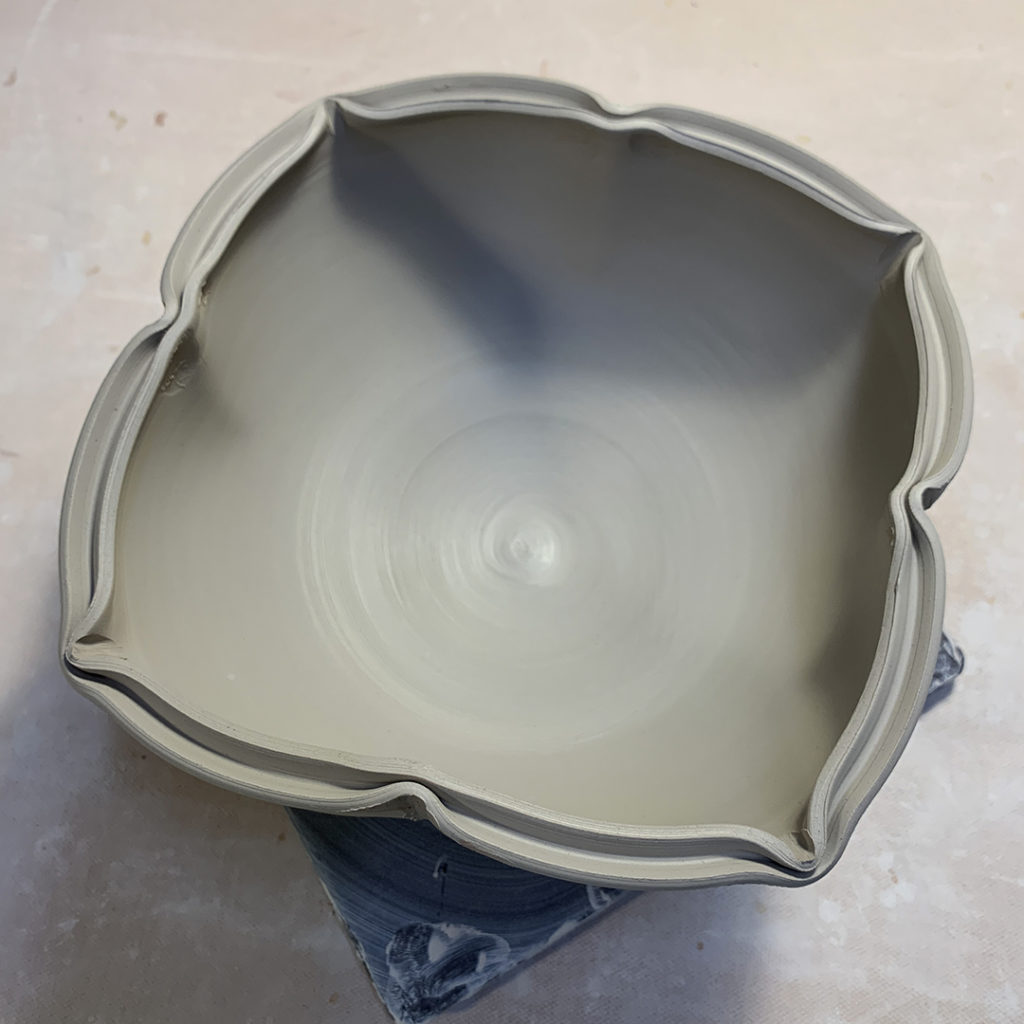
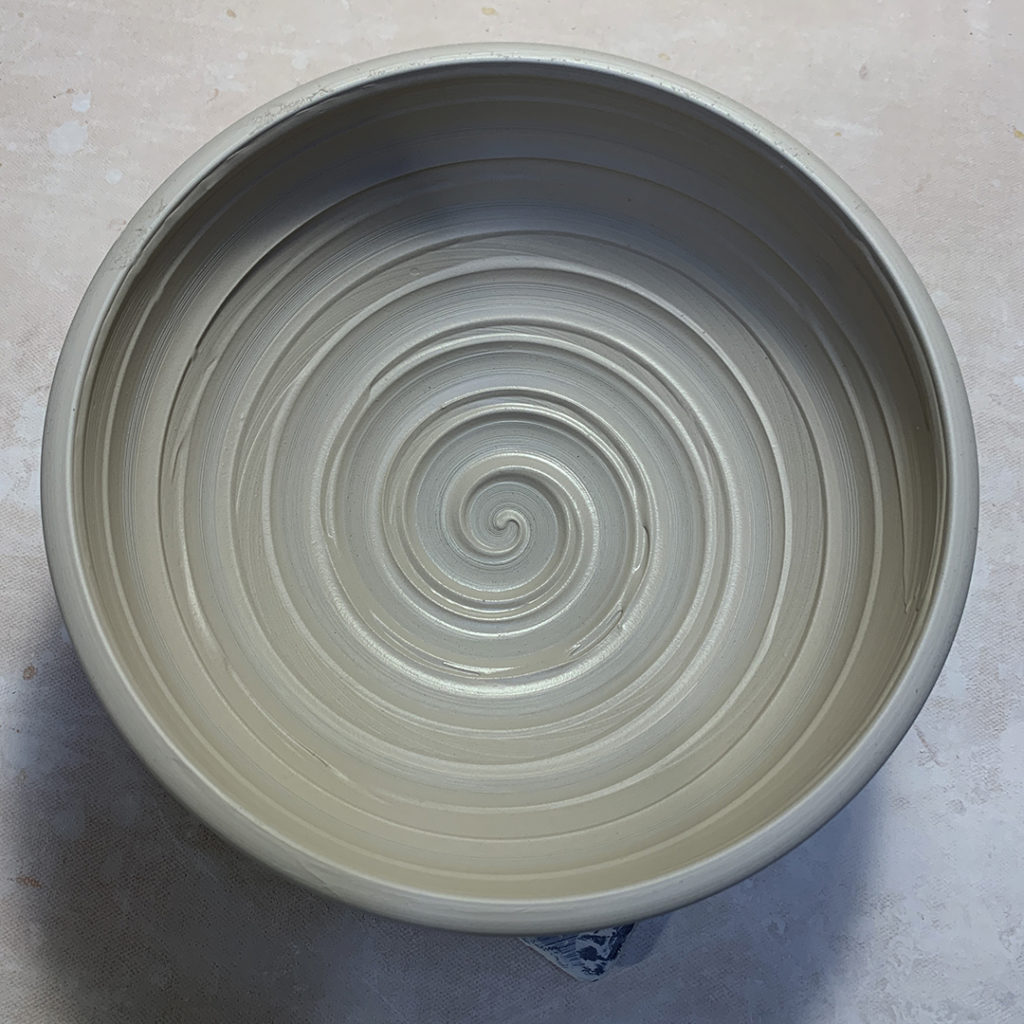
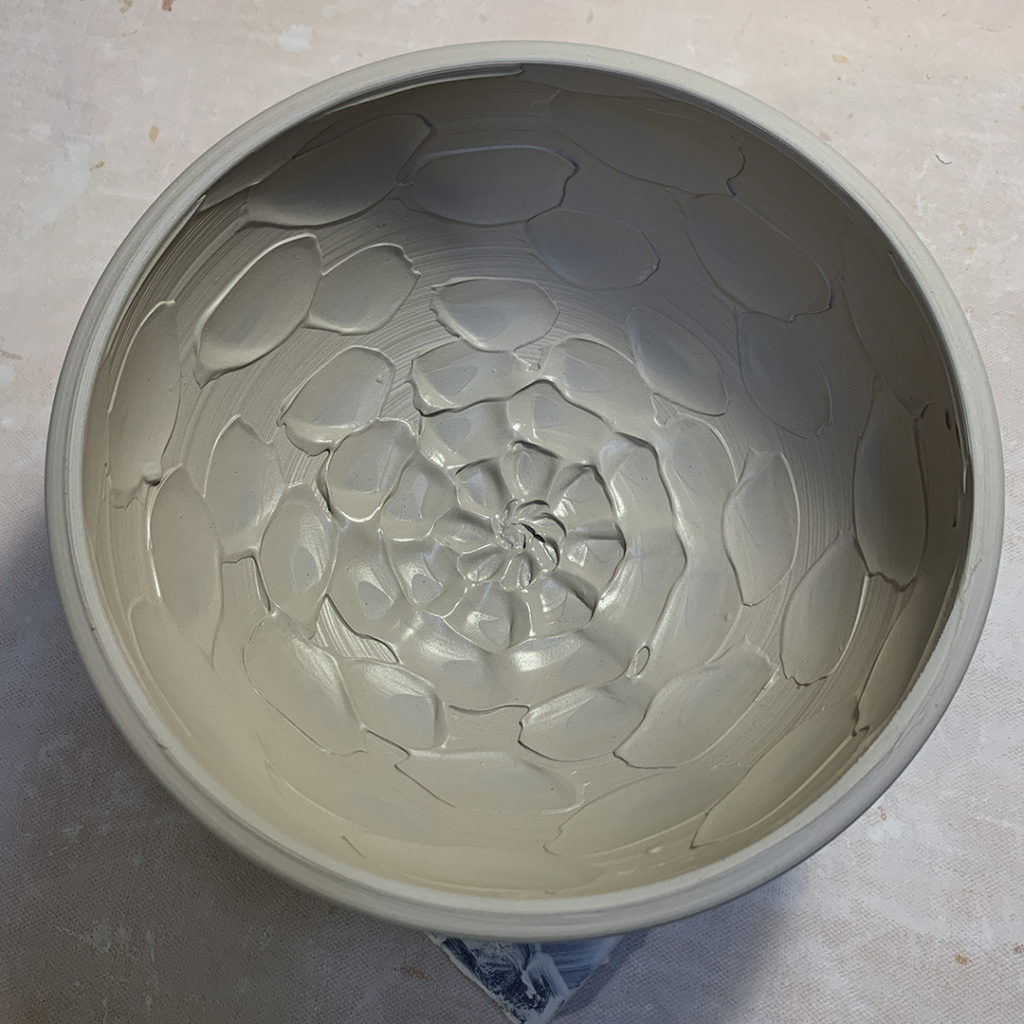
Gotta love playing with some thick slip! This was made as a class demo last night, so I guess it kinda still fits under Texture Tuesday… even though today is Wednesday???
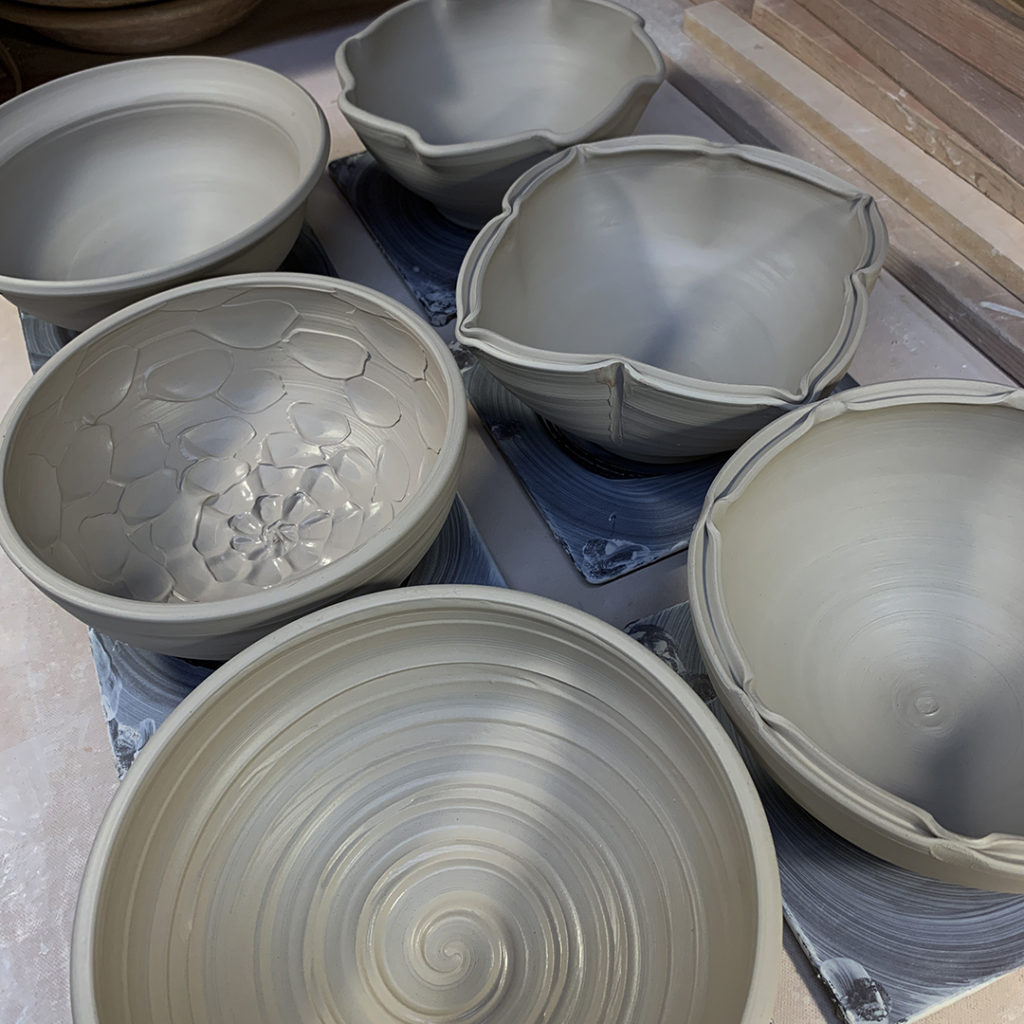
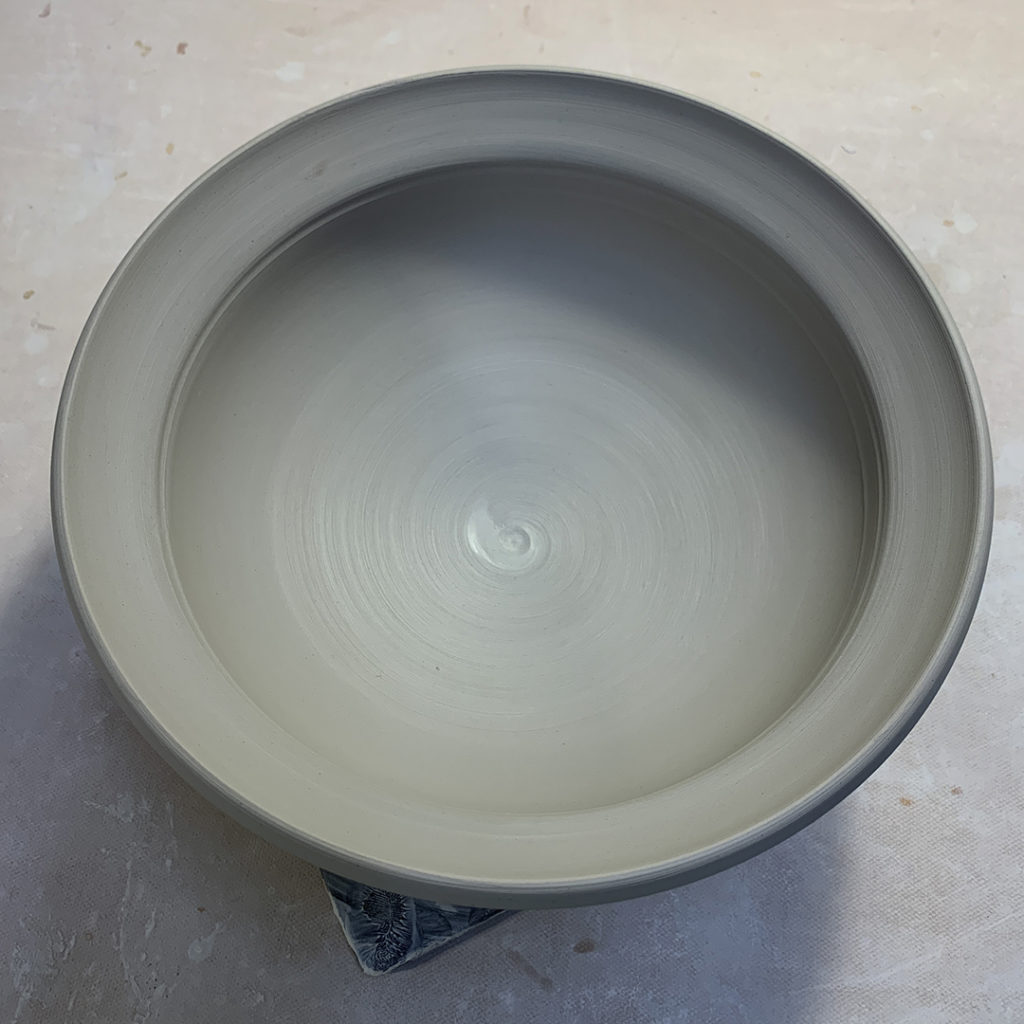
Last night in my Beginner’s wheel class, we glazed for the first half of the class. Followed by a quick not-so-basic-bowls demo! Not enough time for the full-blown bowl demo we’re used to… but we did tackle how to throw “a bowl on purpose” instead of a cylinder gone bad. Followed by some quick decorative techniques to make each one a little more special!


Last night in my SURFACE DECORATIONS class, I did a little “Demo-On-Demand” repeat. They saw my post about the handbuilt textured platter from Tuesday night’s class… and they wanted to see it too!!! So I did it again… this time with a commercial roller from a paint store, and a small grooved rolling pin! These are turning out pretty cool… I may need to make more of these???


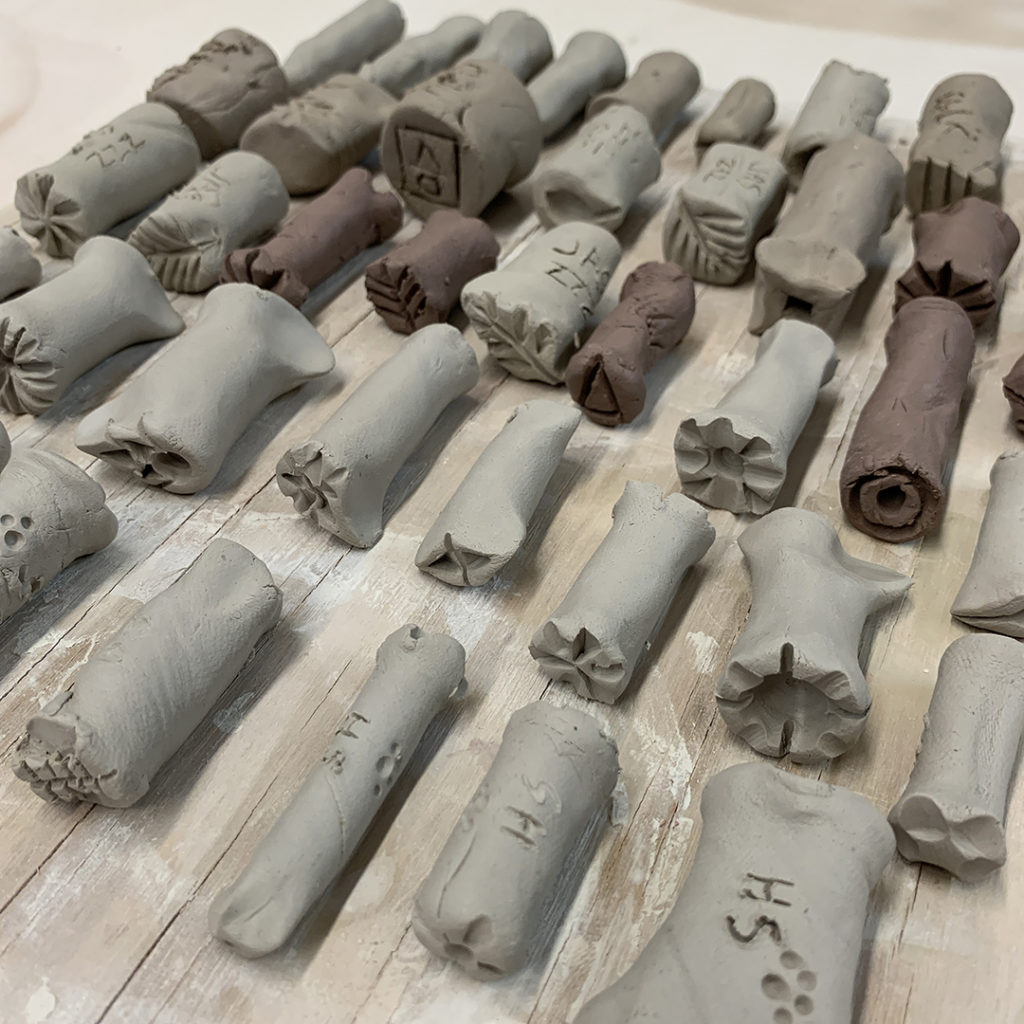
Tonight in my Beginner’s pottery class, we tackled throwing plates again… and then BY POPULAR DEMAND we made some stamps for them to use next week! It was all their idea… really… I was just there to encourage & teach!!! Let the addiction begin…
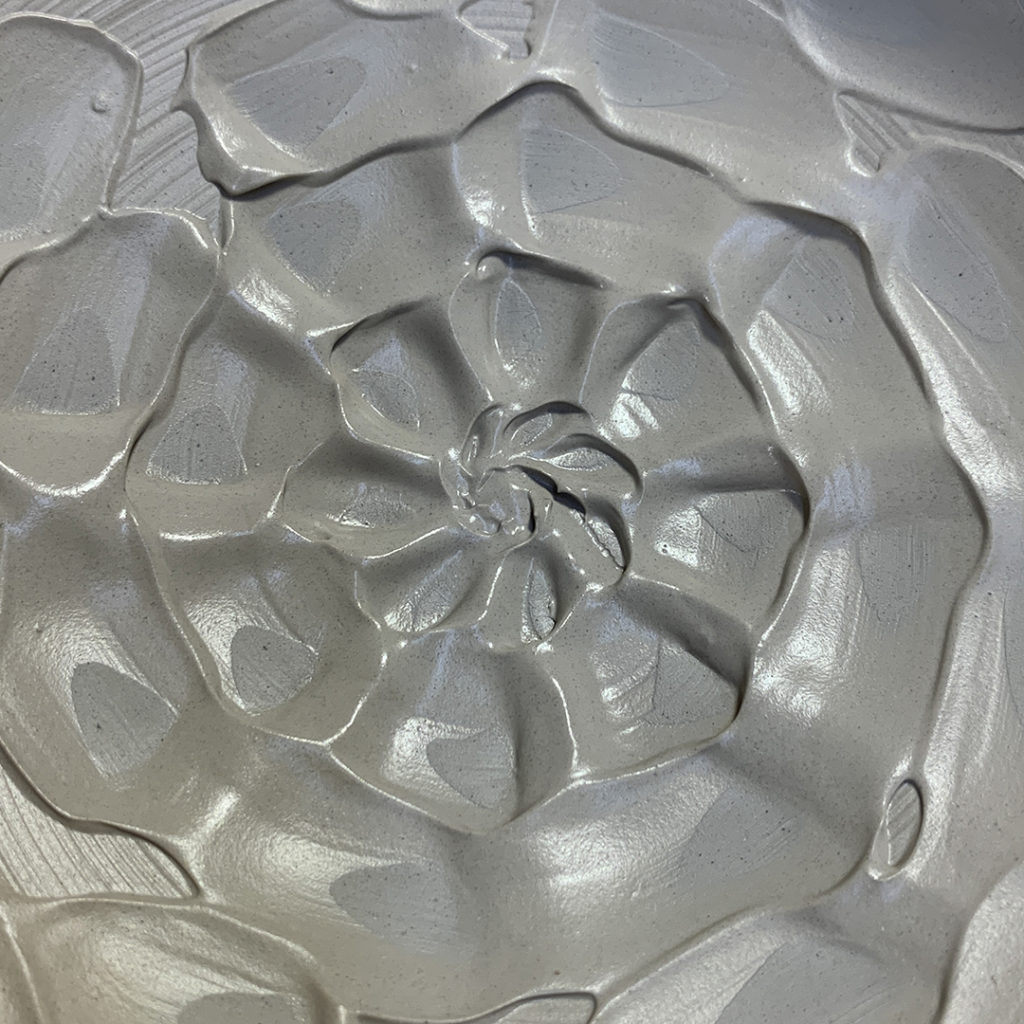
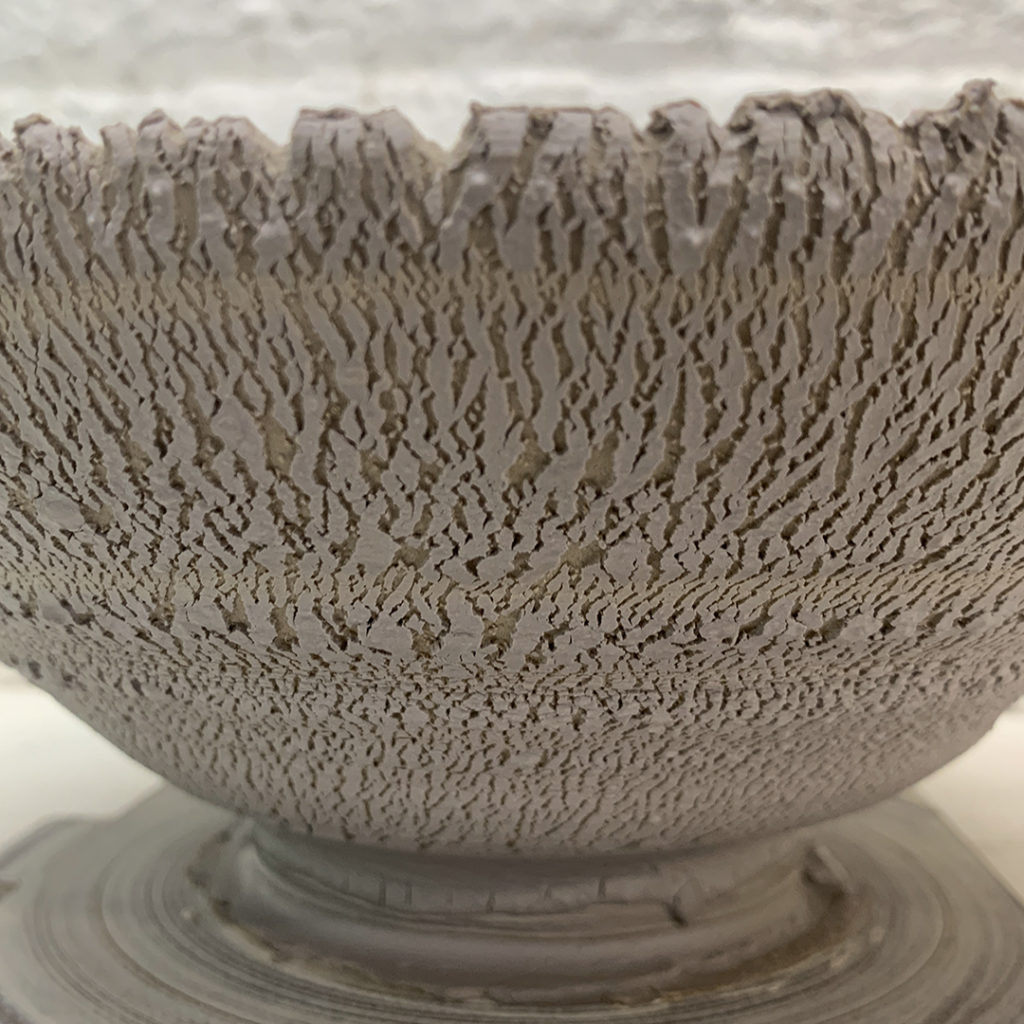
This week in my SURFACE DECORATIONS class, we tackled the fun crackled slip effect using sodium silicate. This was my second demo piece… the first didn’t work out so well… not enough slip, plus I rushed the drying a bit. Not so crackly. So we all “learned” together… and this second one was so much better!!!


After my class demo, the students tried their version of crackled slip as well… throwing in some colored slip too! Some multiple colors & some bowl shapes! The excitement happens when you “bulge” the pot out from the inside – and the expanding of the clay makes the “quick-dried” slip crackled as the clay expands! So much fun!!!


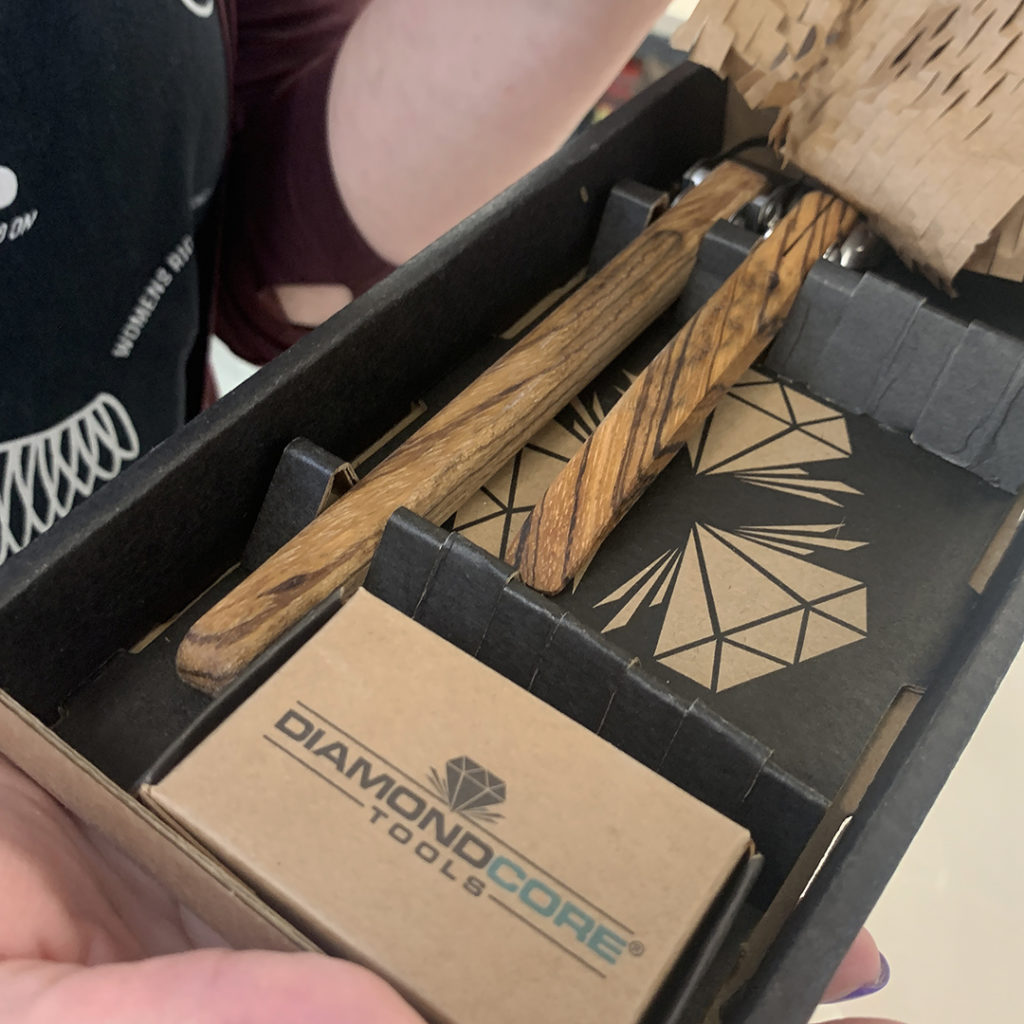
Last night in class, one of my students brought in some cool new pottery tools to play with… more fun from DiamondCore Tools !!!
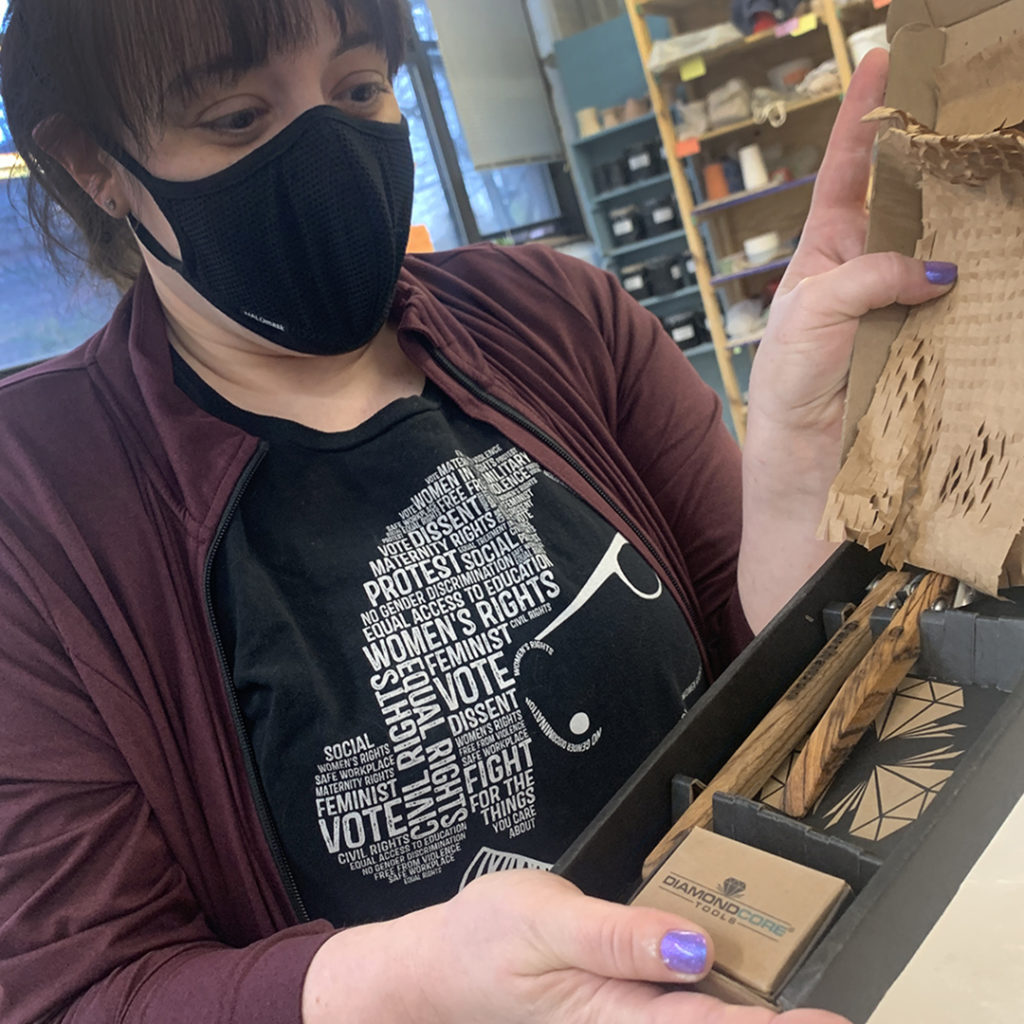
With her new trimming tool… and one of the NEWEST Extruder Tools! We just had to break open that box and give them a little test drive! Thanks for letting us play with your new toys Kate!


Tonight in my pottery class we tackled berry bowls… I showed them how much fun it is to play with power tools & pottery!!! The little burrs left behind will brush off easily when the bowls are totally dry.

After my sprigged demo bowl, my students started with the sprigs to decorate their plain demo bowls. So much fun to watch my SURFACE DECORATION students excited to try new things on the plain bowls I surprised them with… as stamping & sprigs can be quite addictive… I should know – HA!
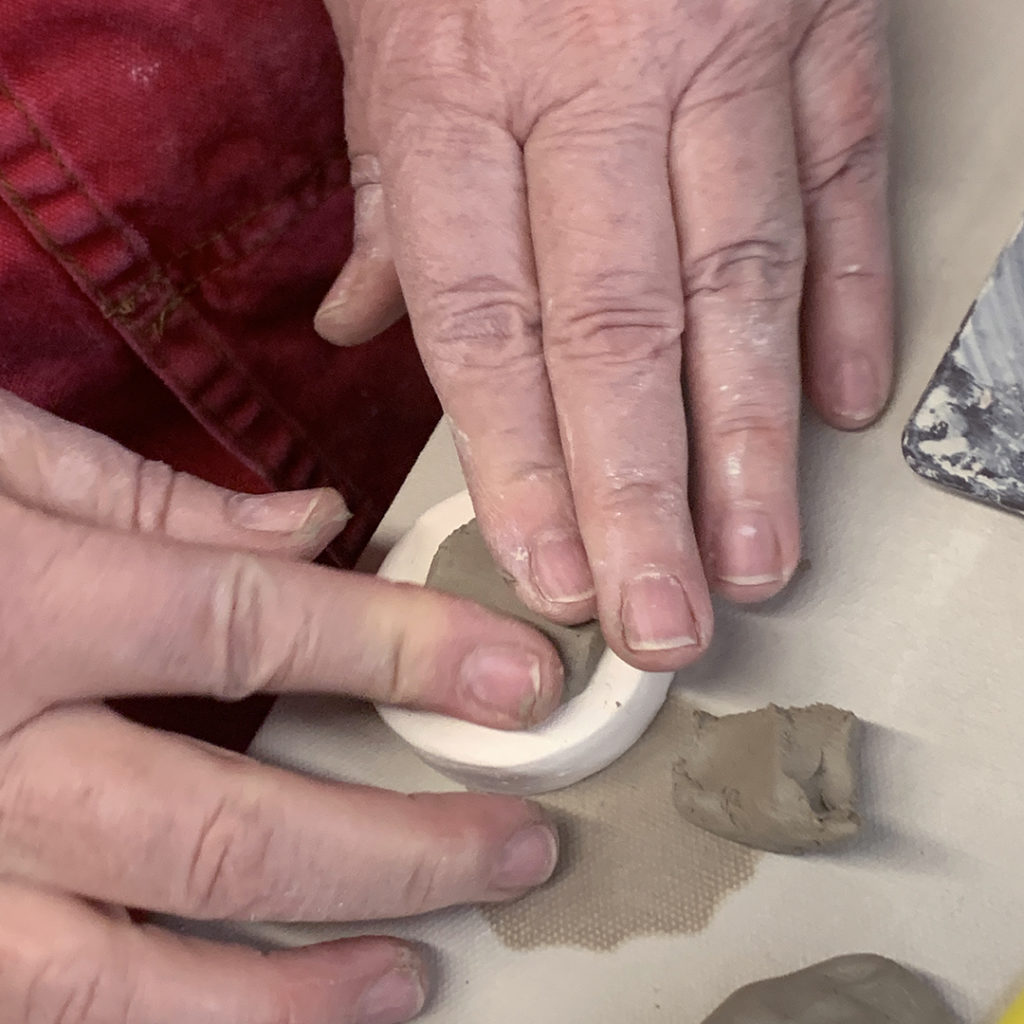
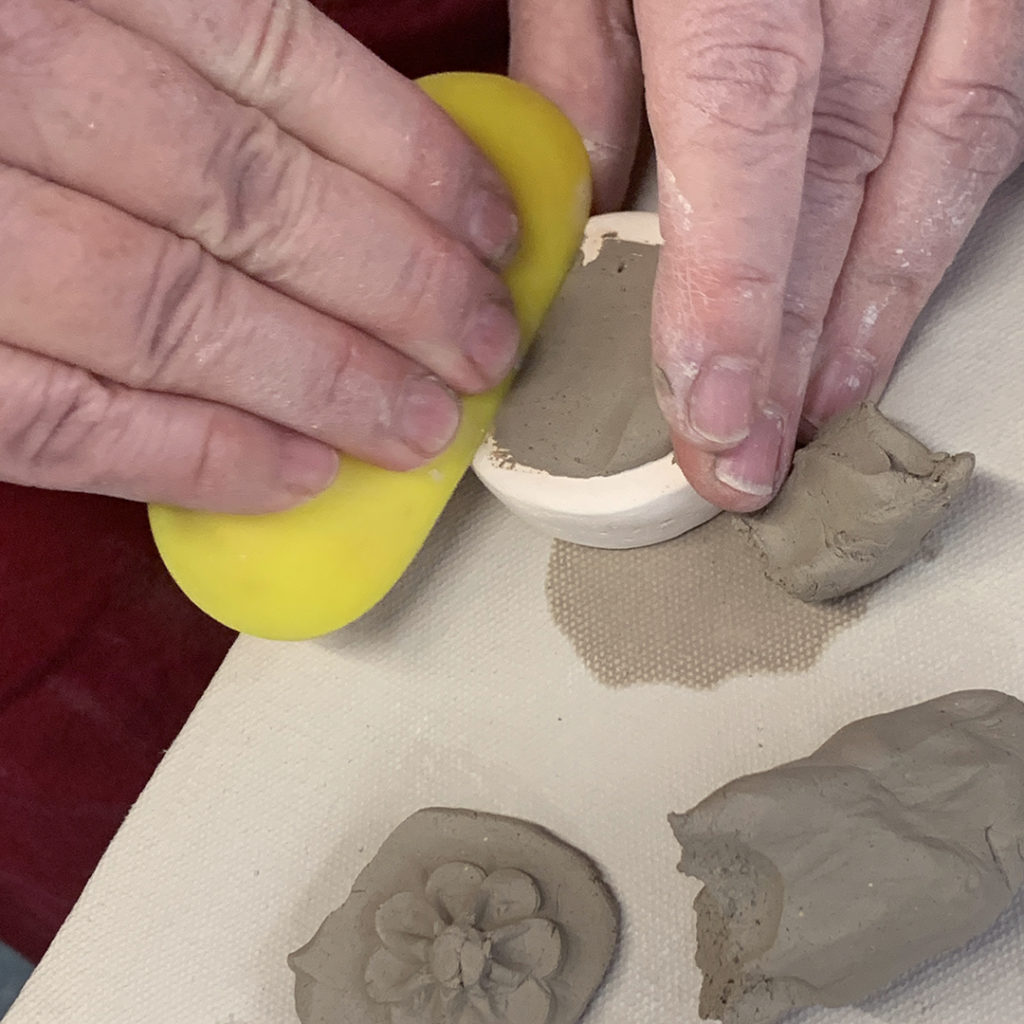

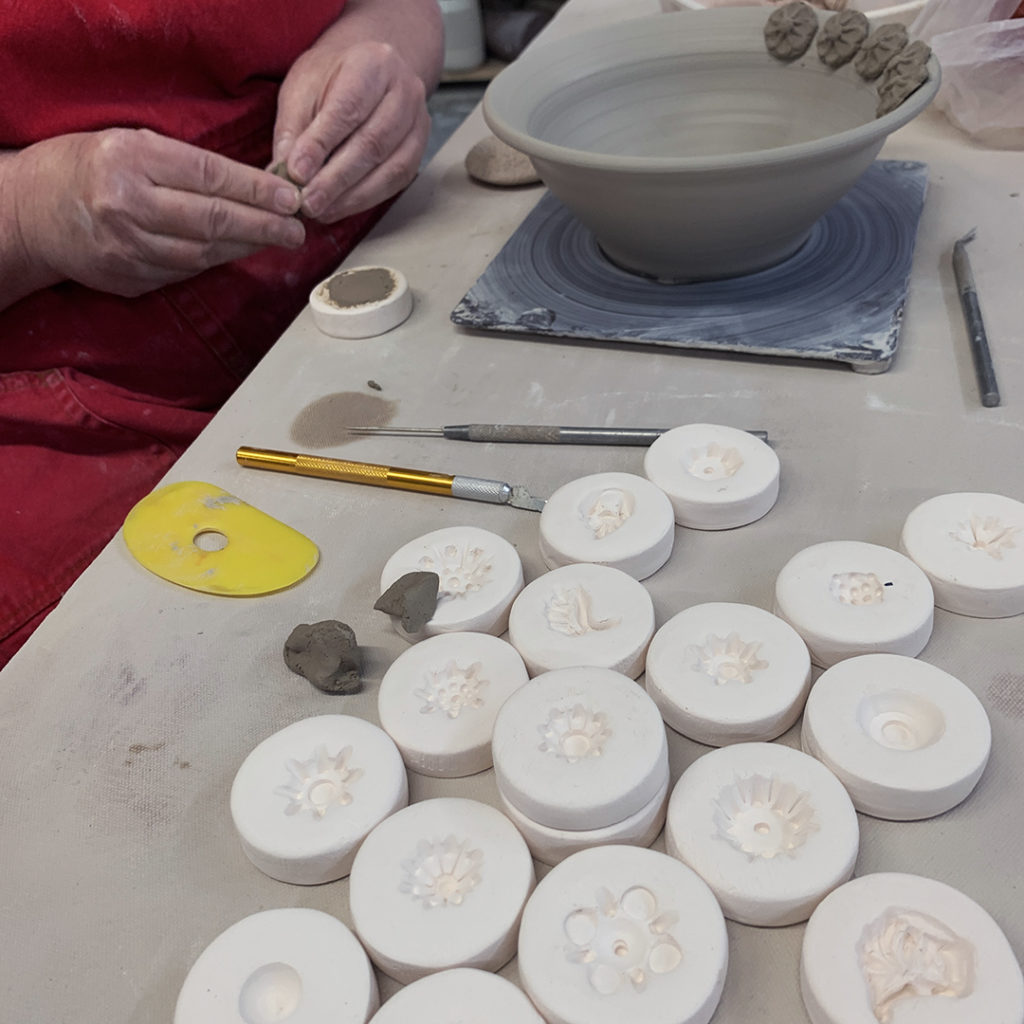
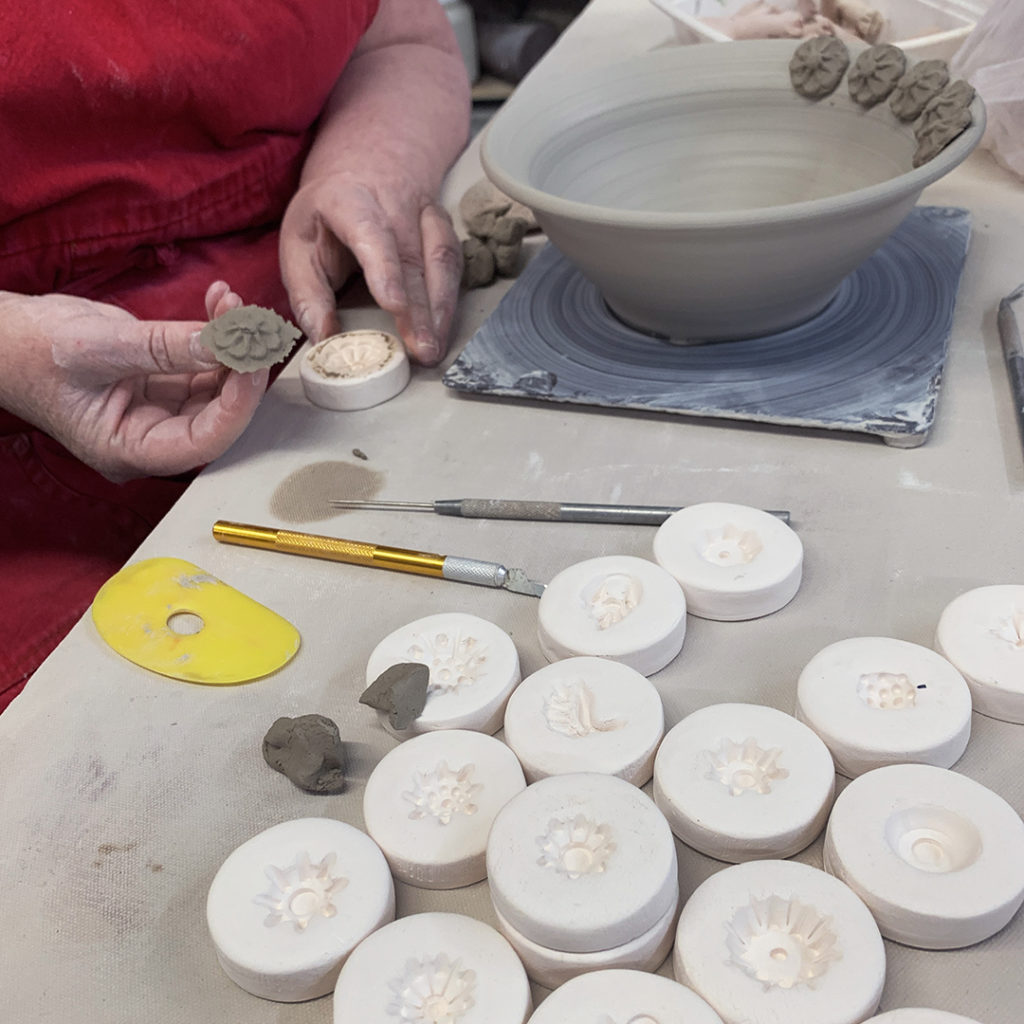

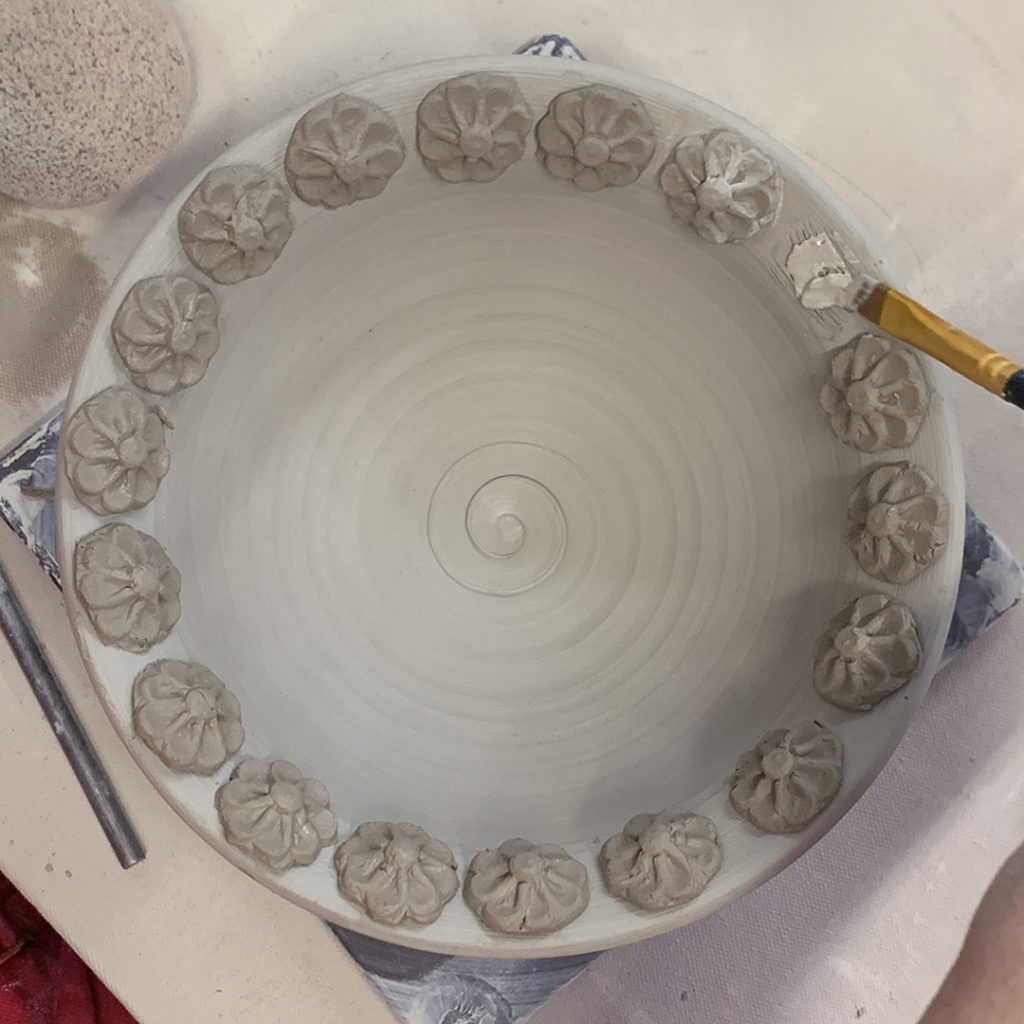


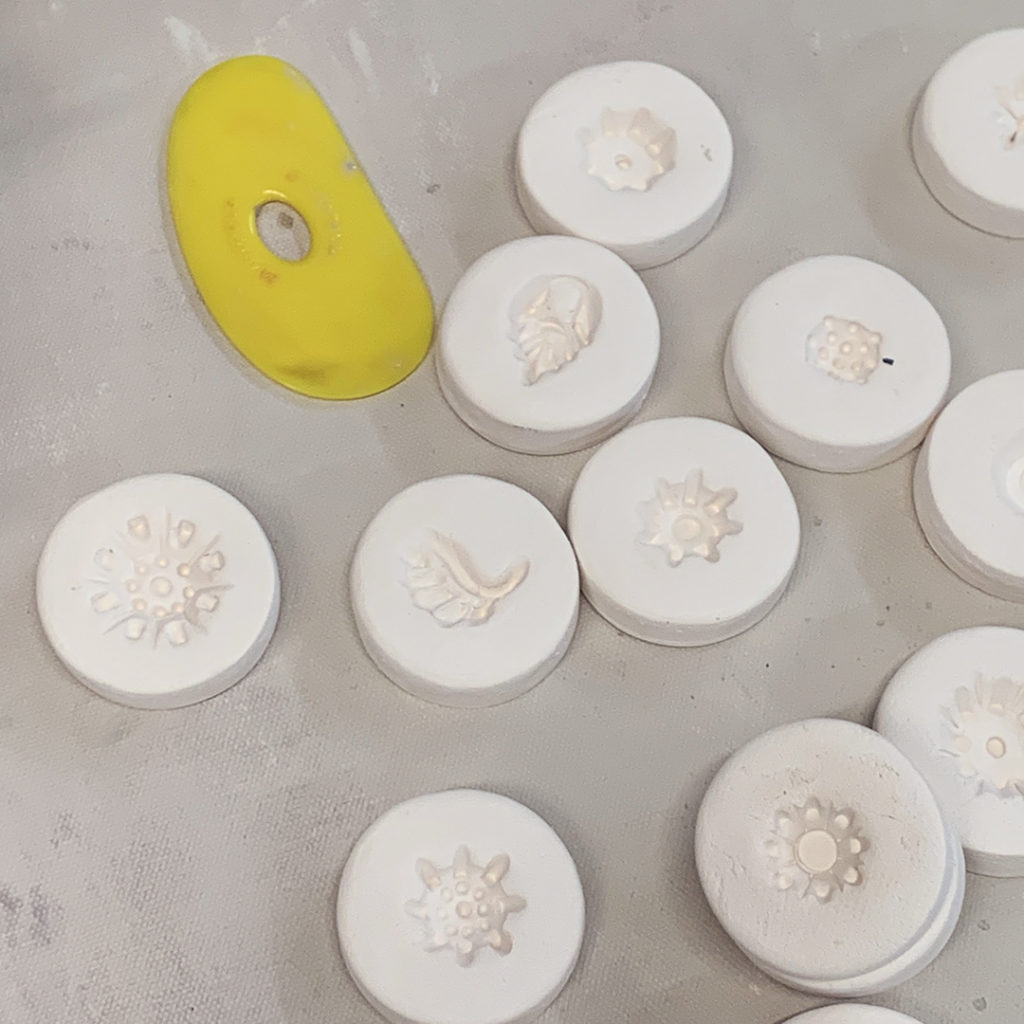
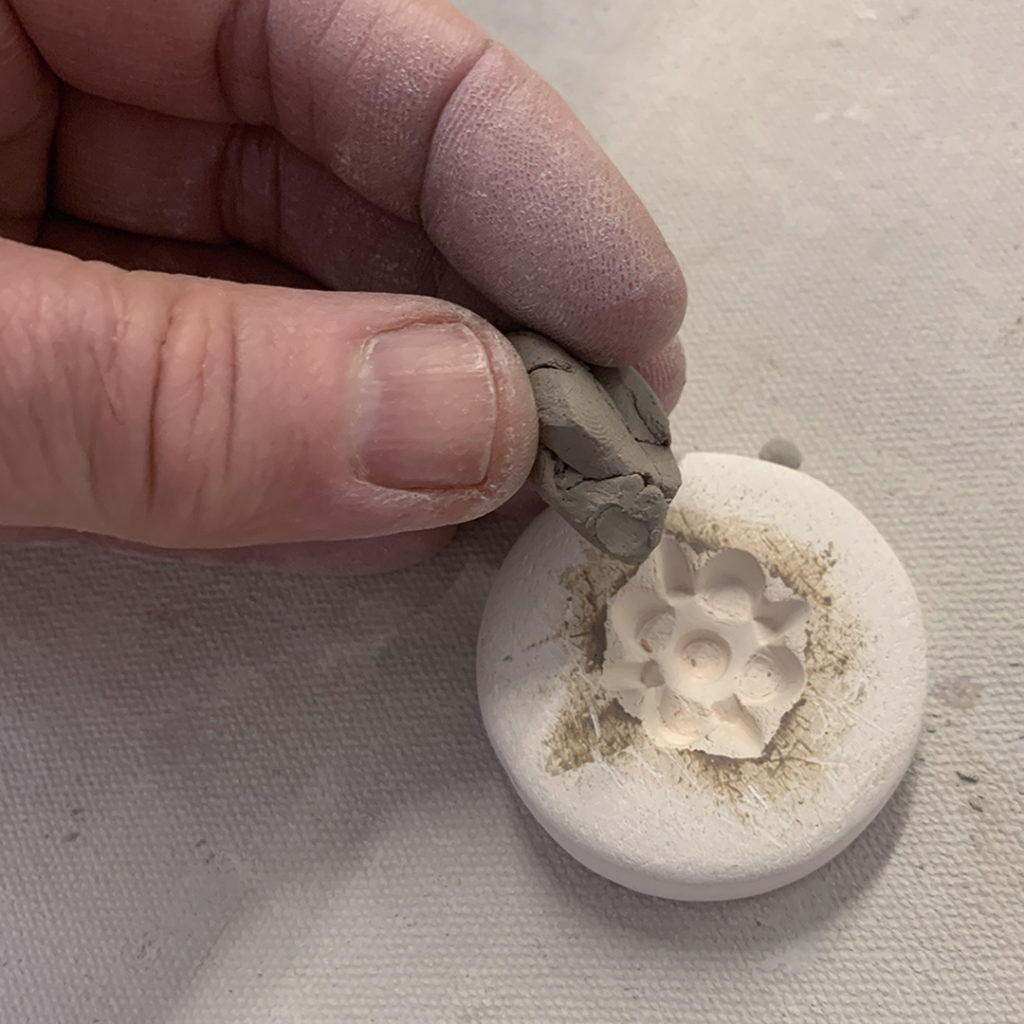
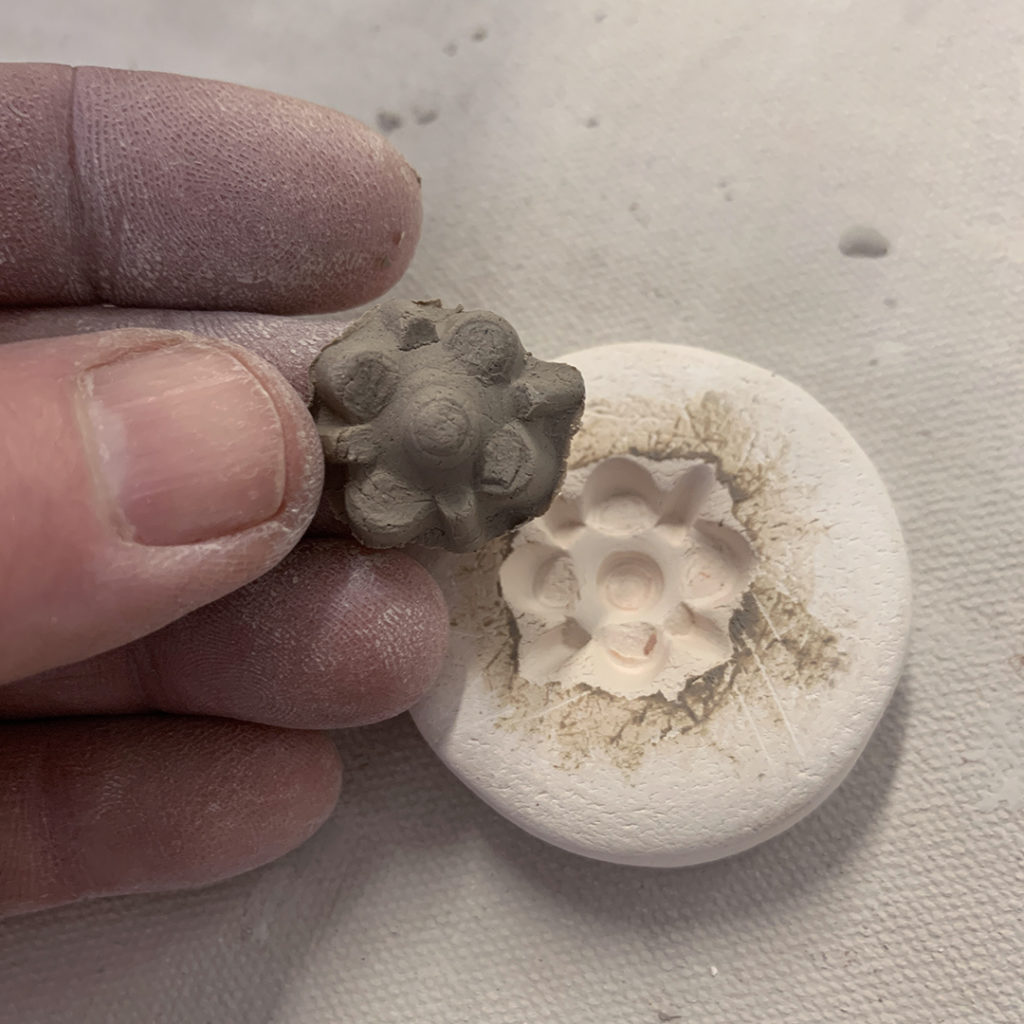
So last night after stamping, my SURFACE DECORATIONS class switched to using sprig molds for their textured decorations. We just pressed clay into the molds, popped them out and then “scored & slipped” them into place! I don’t do a lot of sprig work, so it was kind of fun to watch my demo bowl evolve one layer at a time… a row of sprigs…some stamps… maybe a scalloped edge… some more stamps… and maybe some holes… wait, what?!
I always have trouble knowing when to stop… as MORE IS MORE.
But I do think it’s done – after a bit more cleaning up!


|
Gary Jackson: Fire When Ready Pottery
Lillstreet Studios ∙ 4401 North Ravenswood, Chicago, Illinois 60640 ∙ 773-307-8664 gary@firewhenreadypottery.com |