Sometimes they’re just perfect for that special occasion! We “may have”… “allegedly”… “hypothetically”… “quite possibly” enjoyed these in class tonight… “maybe.”
Shhh… don’t tell anyone, ‘cuz we’re not supposed to have shared snacks in class any more… darn Covid precautions!
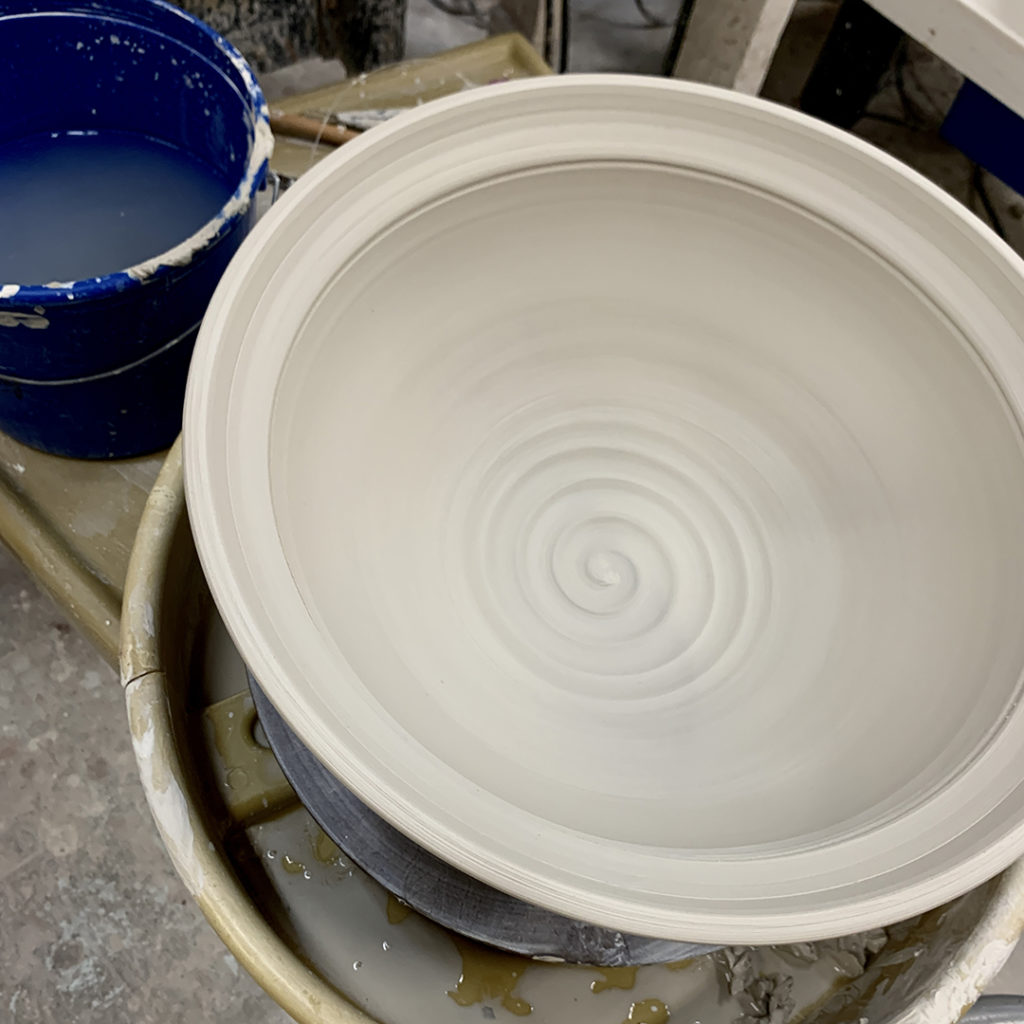
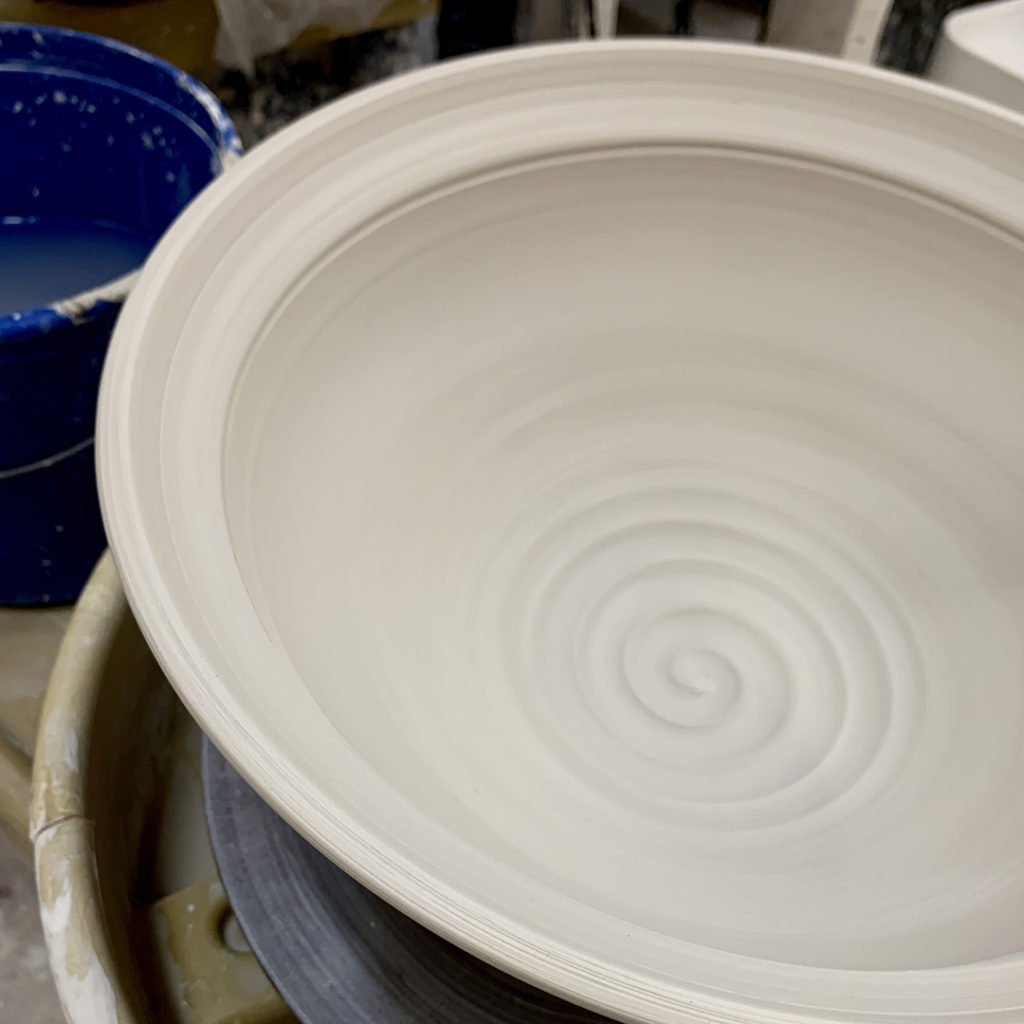
So tonight’s class demo was a large serving bowl… as part of Shannon’s request. She was thinking maybe 10-pounds of clay for a large bowl for making bread?! So we went for it… but decided to go with nine pounds as ten just sounded too big?! HA!!!
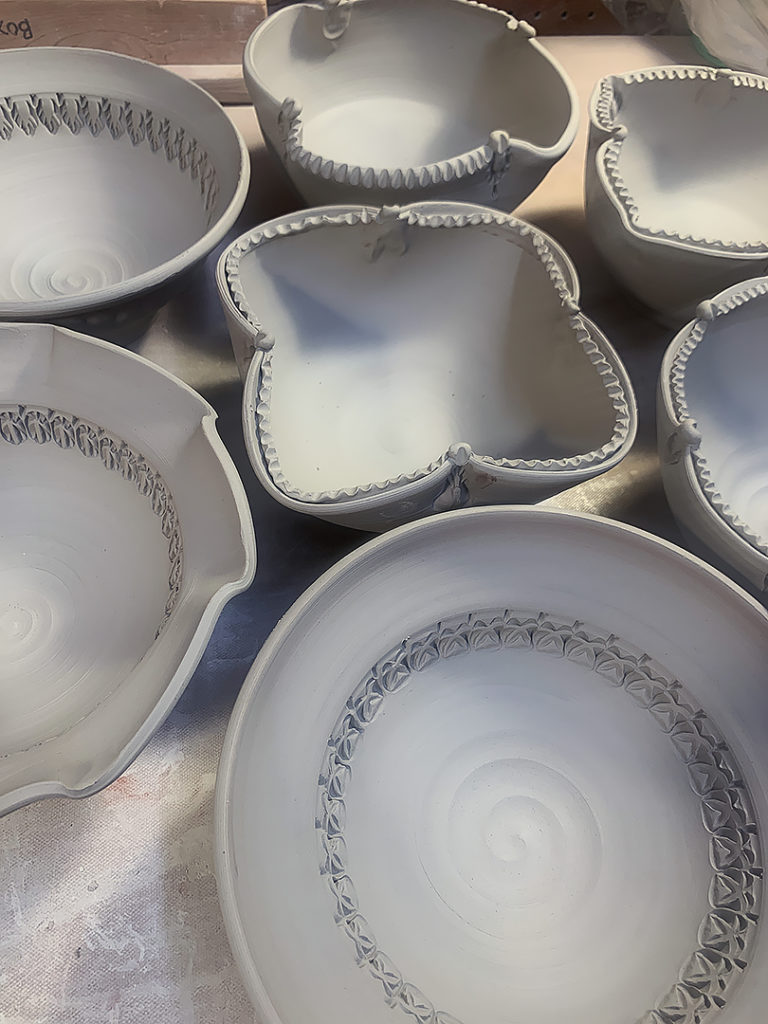
I tried my best to “save” some of the demo bowls from last week for my Tuesday night class… so I could continue the demo with decorating some of them with my students. I tried to wait… I tried to keep a few... but I just couldn’t. The bowls were starting to dry out and I didn’t want to wait too long… I hope they understand that I had to stamp without them! I’ll still bring them to class to show them what I did while they were gone!
After showing my Beginners how to make a “bowl on purpose” instead of a cylinder gone bad, I then proceeded to throw a bunch more during class for us to “play” with later!
When I had all twelve bowls thrown, we re-grouped and I showed them some quick tricks & techniques to make their bowls more personal & more stylish… and a little less-basic!!!
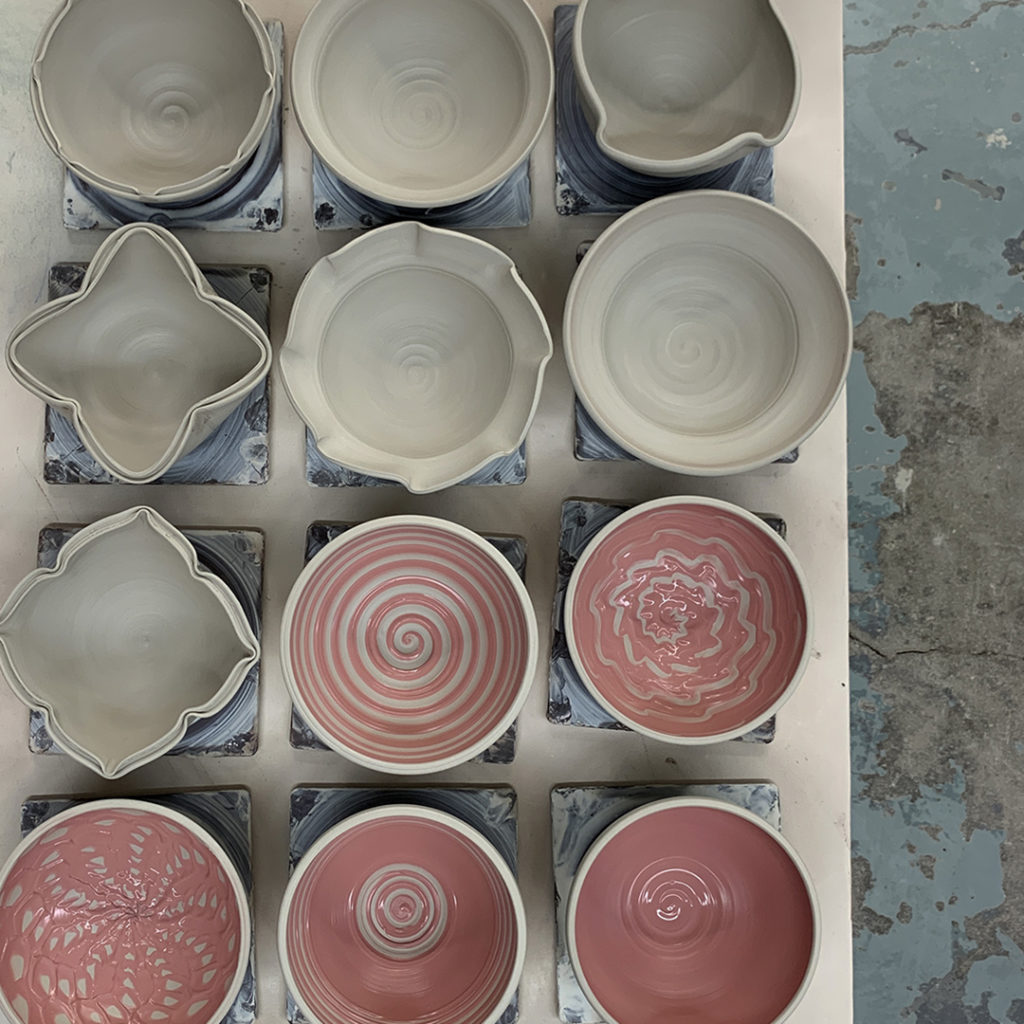
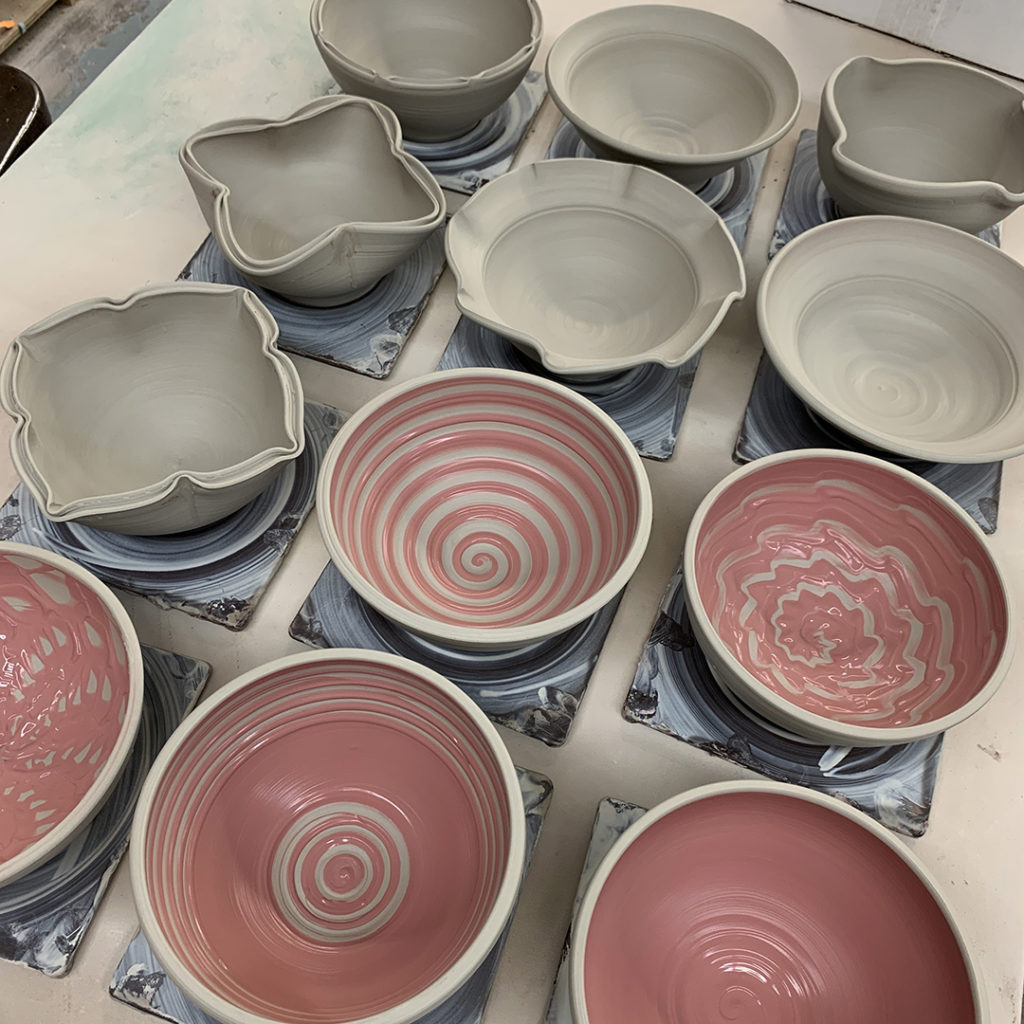
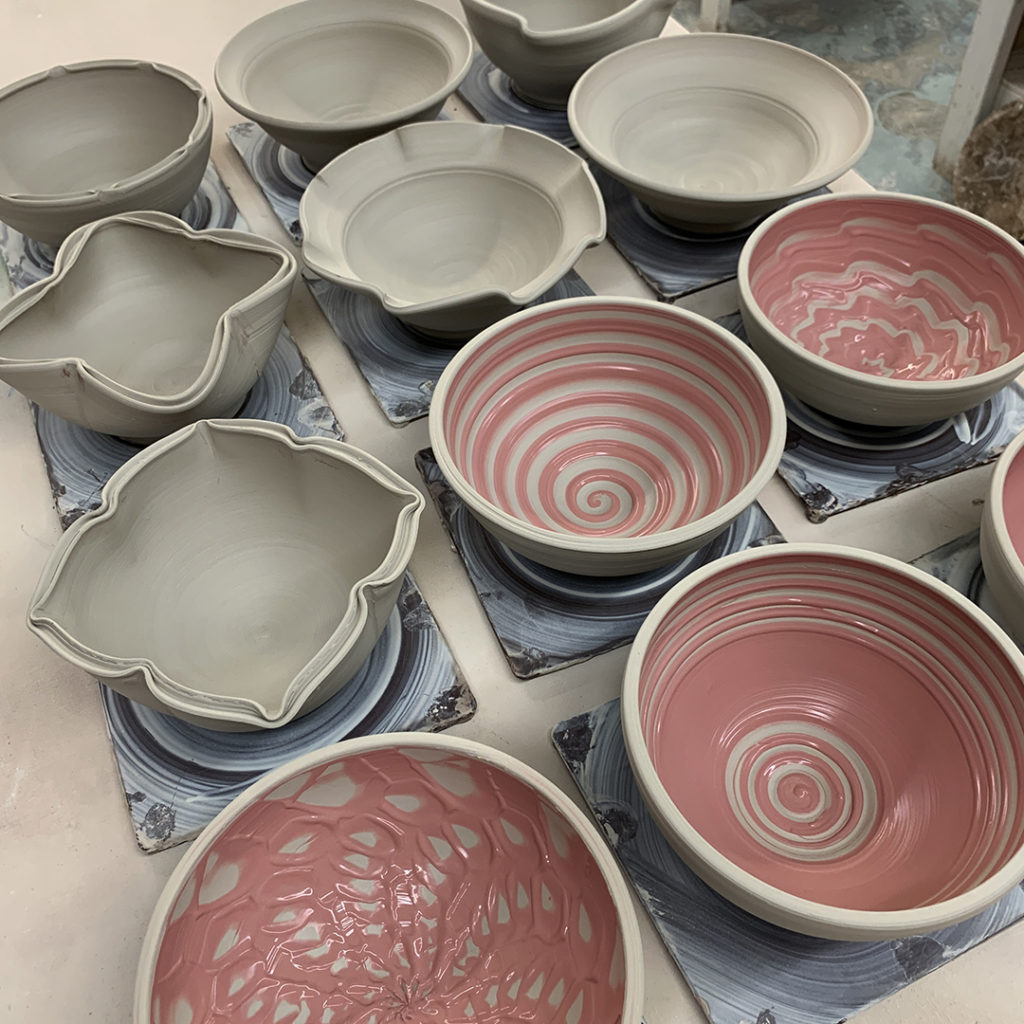
And here they are… in the sequence that we made them! You can kinda see the progression along the way!
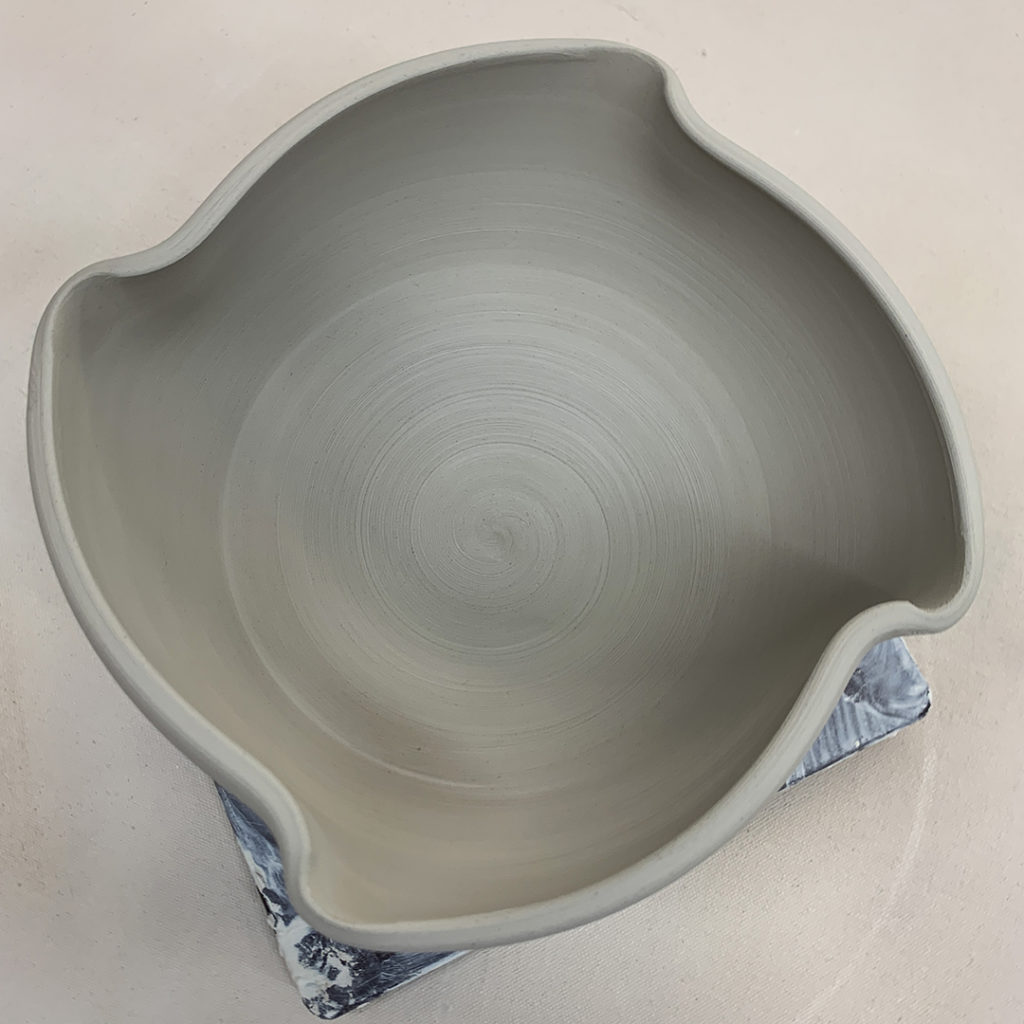
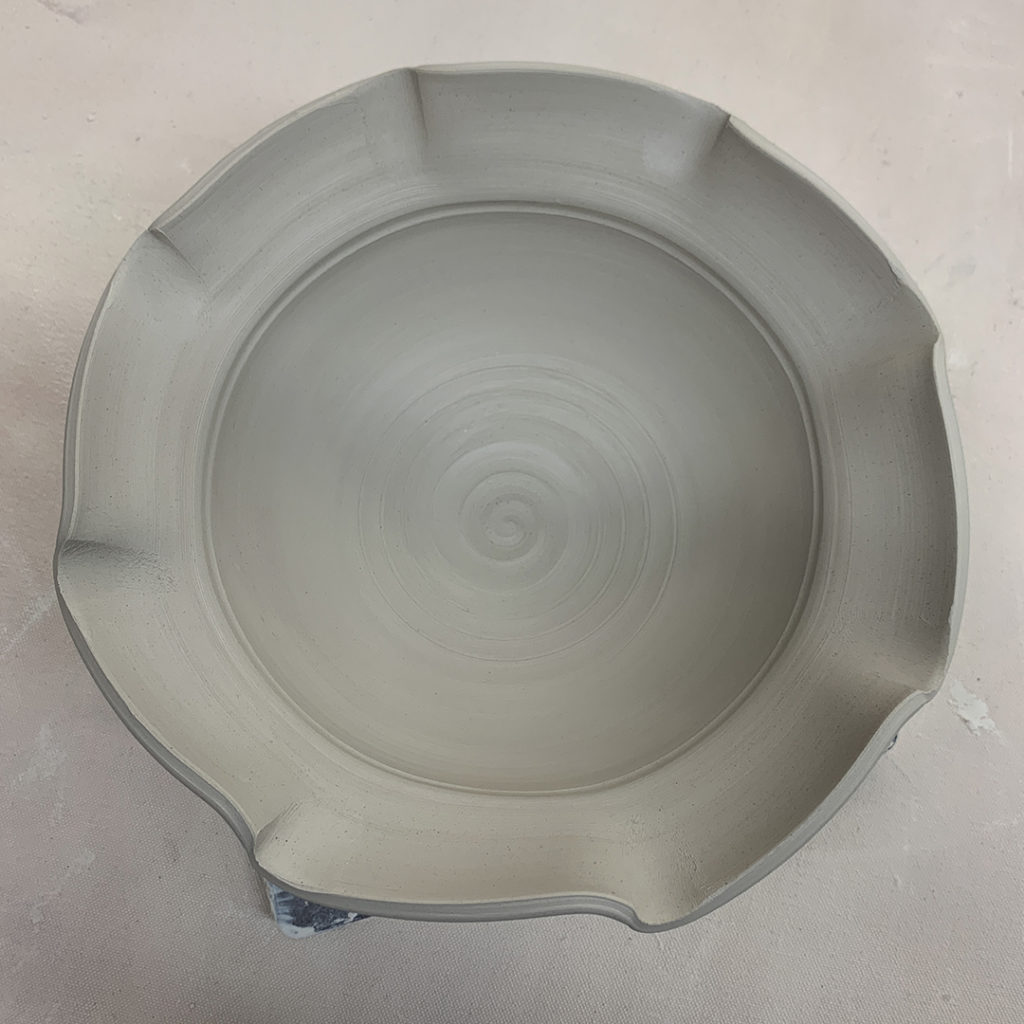
Bowl #1 – Four fluted edges
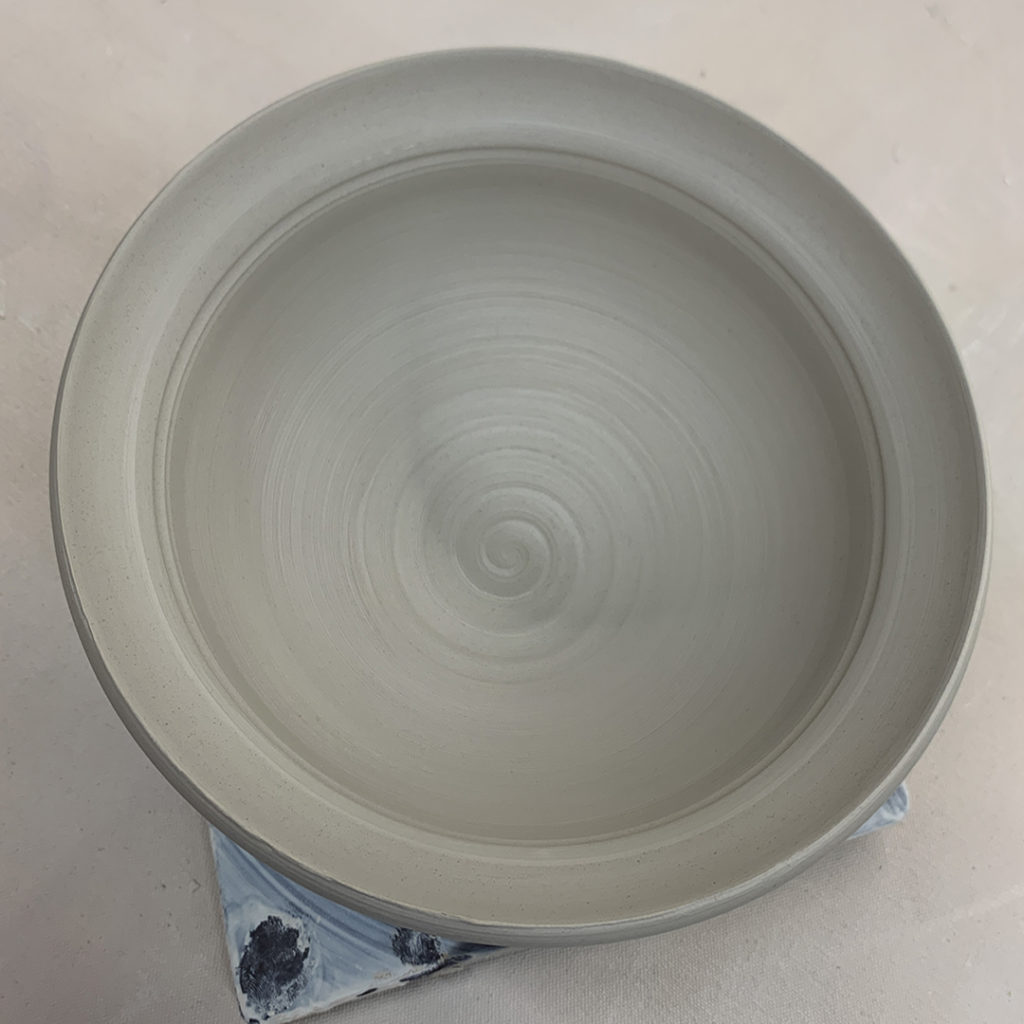
Bowl #2 – Flared flange
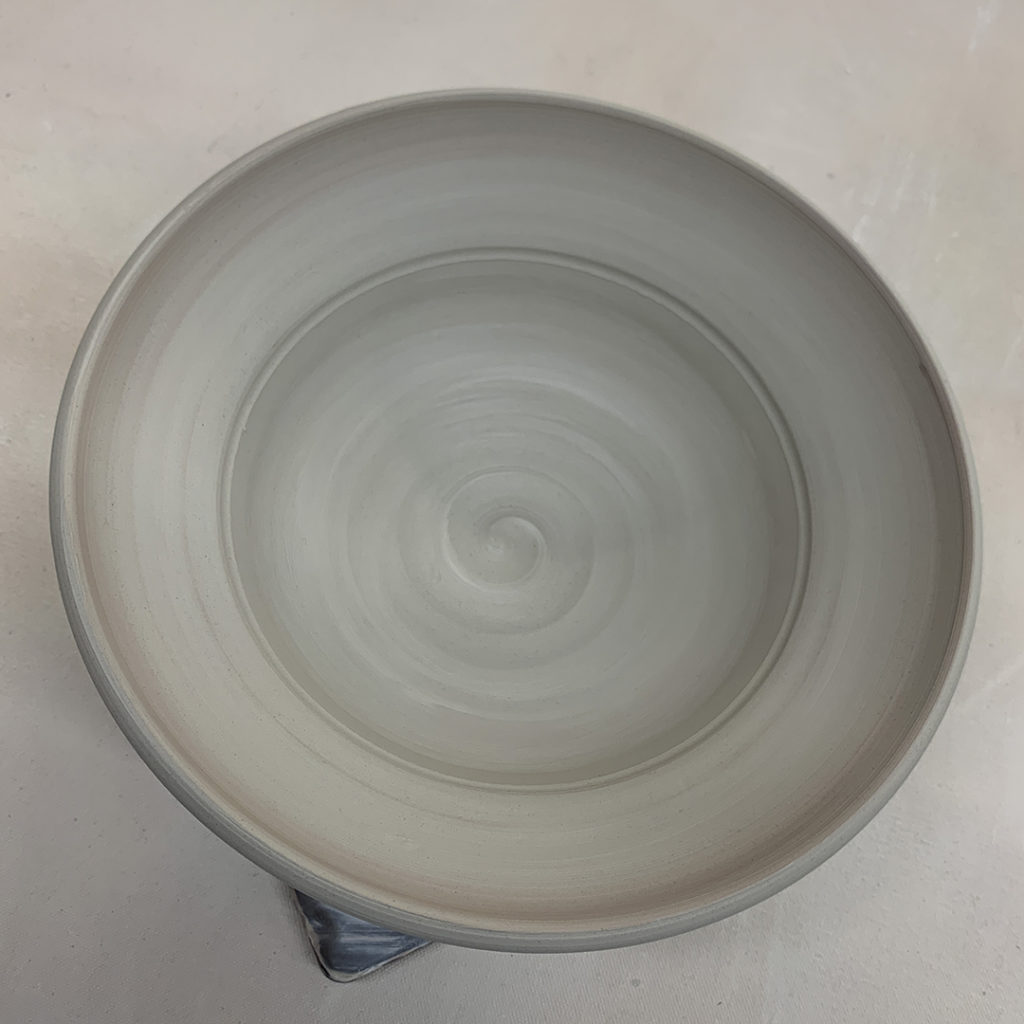
Bowl #3 – Wider flared flange
Bowl #4 – Flared flange with fluted edges
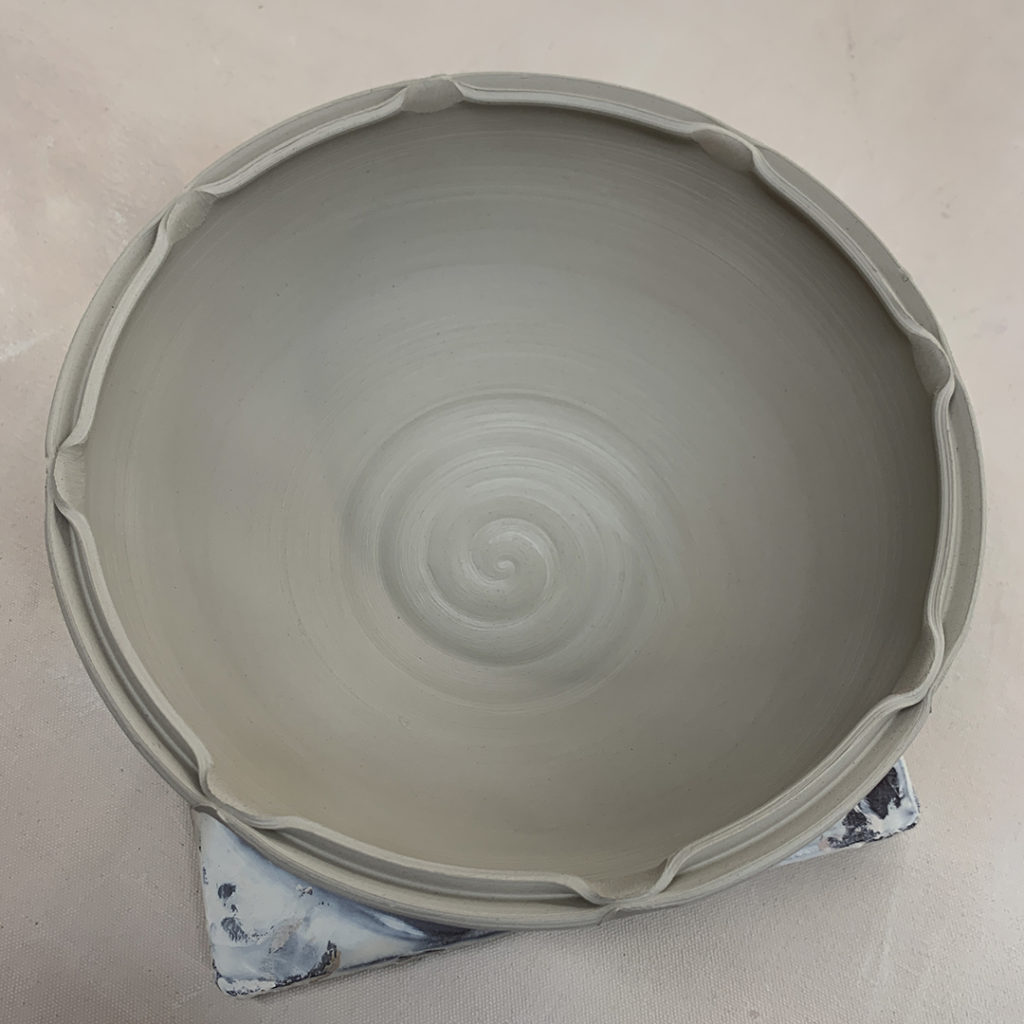
Bowl #5 – Split-rim with pinched accents
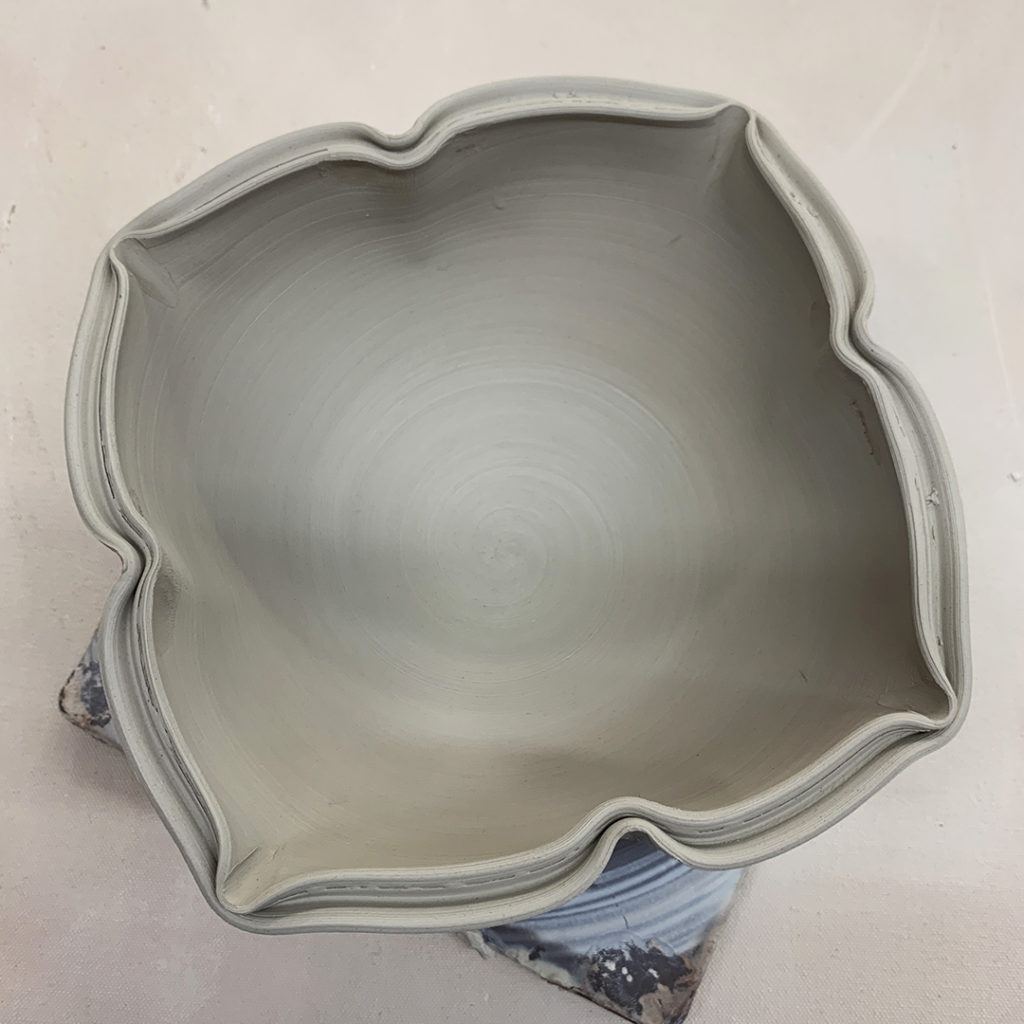
Bowl #6 – Split-rim with dented & squared-off perimeter
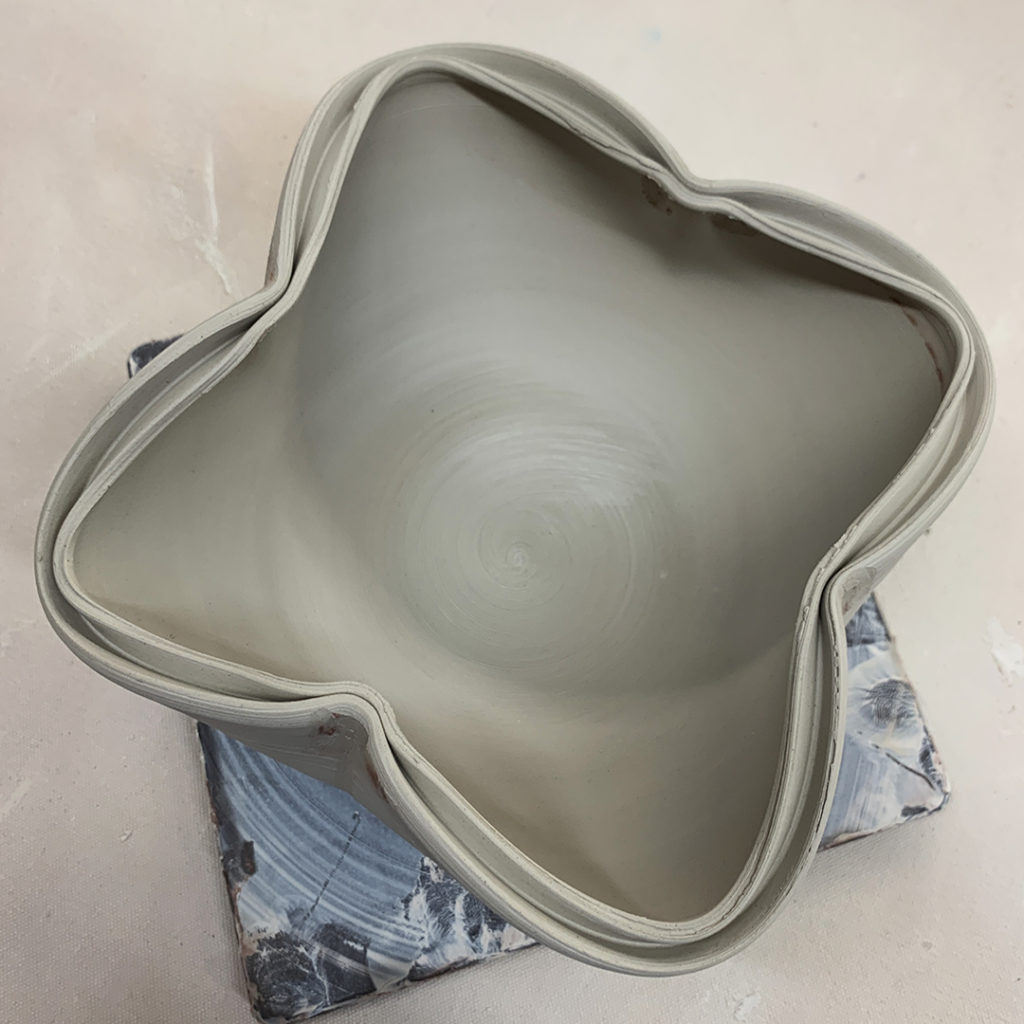
Bowl #7 – Split-rim with pinched dents in & out
And then I introduced my new students to colored slips as an option for surface decoration! I explained to them that colored slip is clay… and basically a colored “skin” that you paint on the outside of your thrown pot. I was EXCITED to try out the new Holiday Red slip we have at Lillstreet. It was introduced towards the end of Summer Camp… and this is the first time I’ve really gotten around to trying it on a “real” pot of any kind!
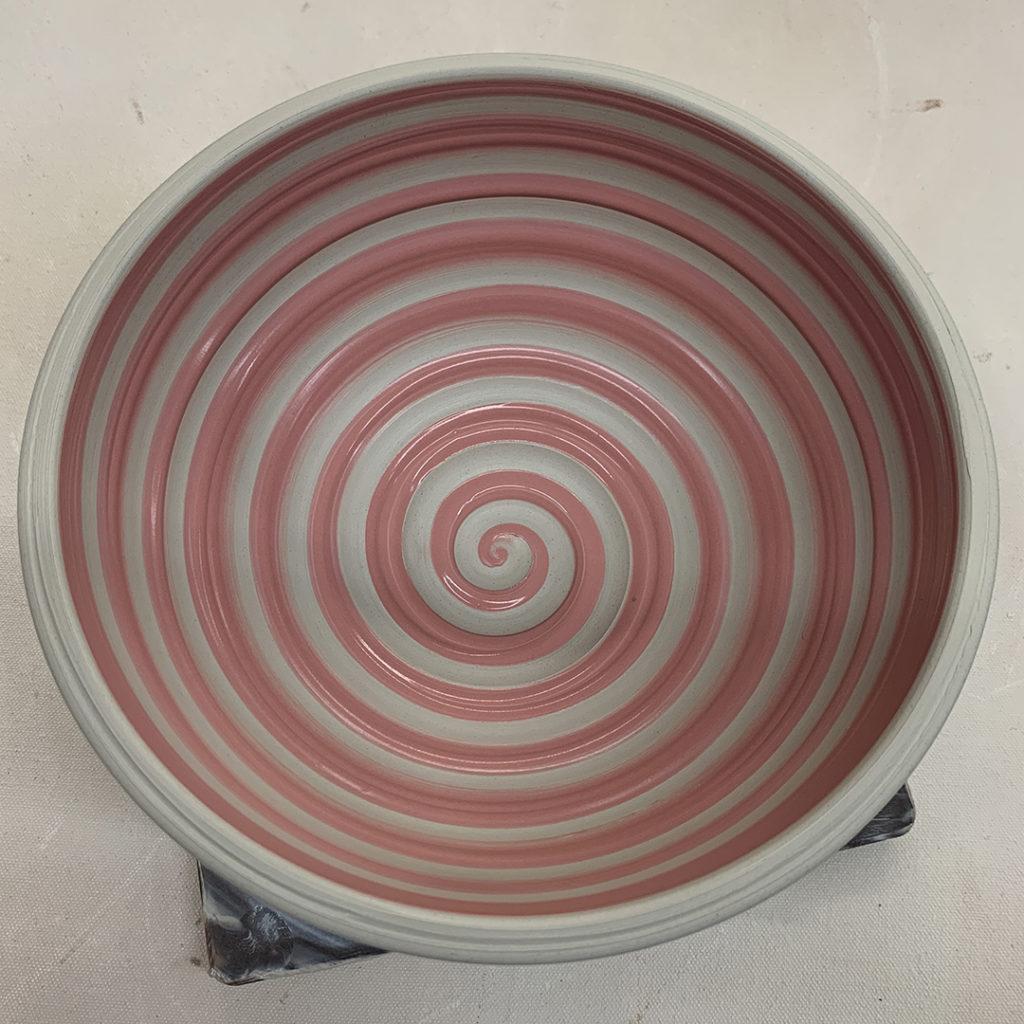
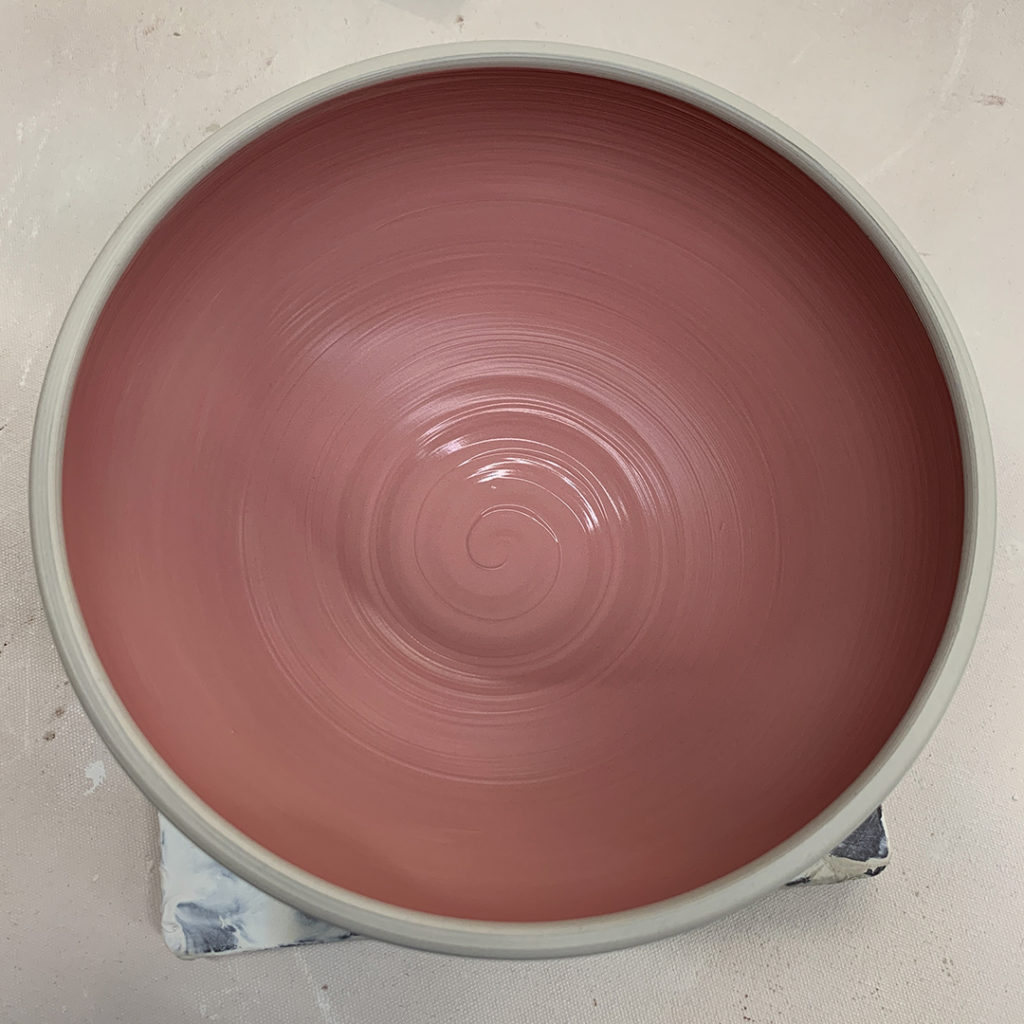
Bowl #8 – Plain bowl with a colored slip spiral
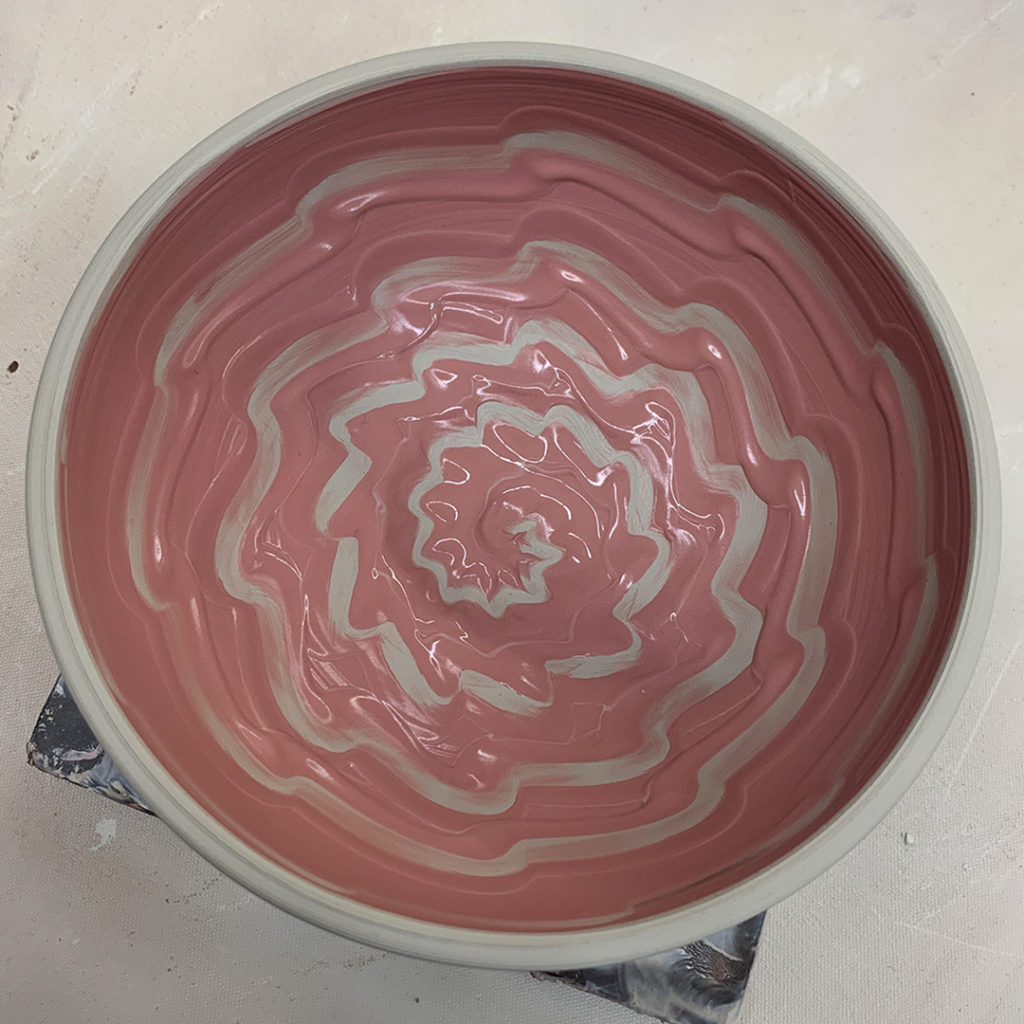
Bowl #9 – Plain bowl with a squiggles with the wheel spinning… ala finger-painting!!!
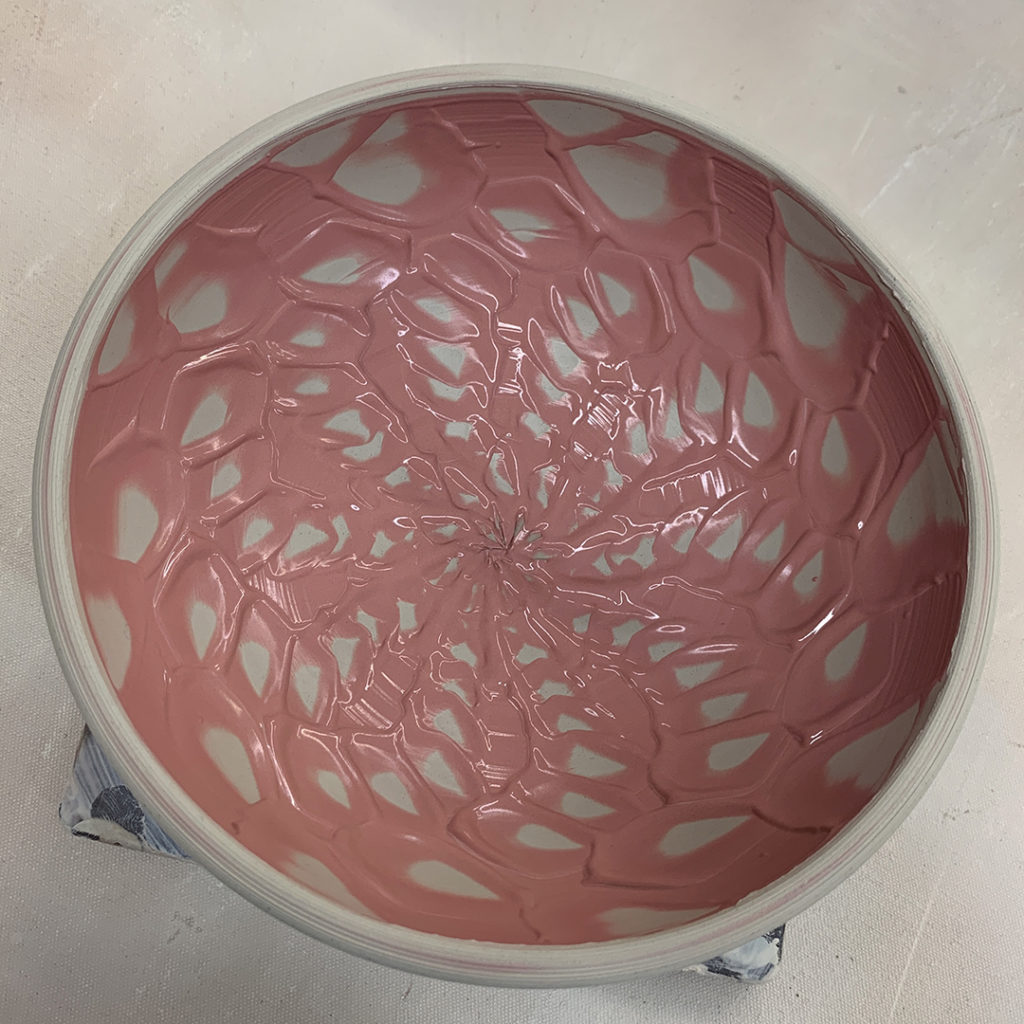
Bowl #10 – Plain bowl with decorative chattering… rhythmic tapping of a rubber rib through the slip as the wheel was spinning.
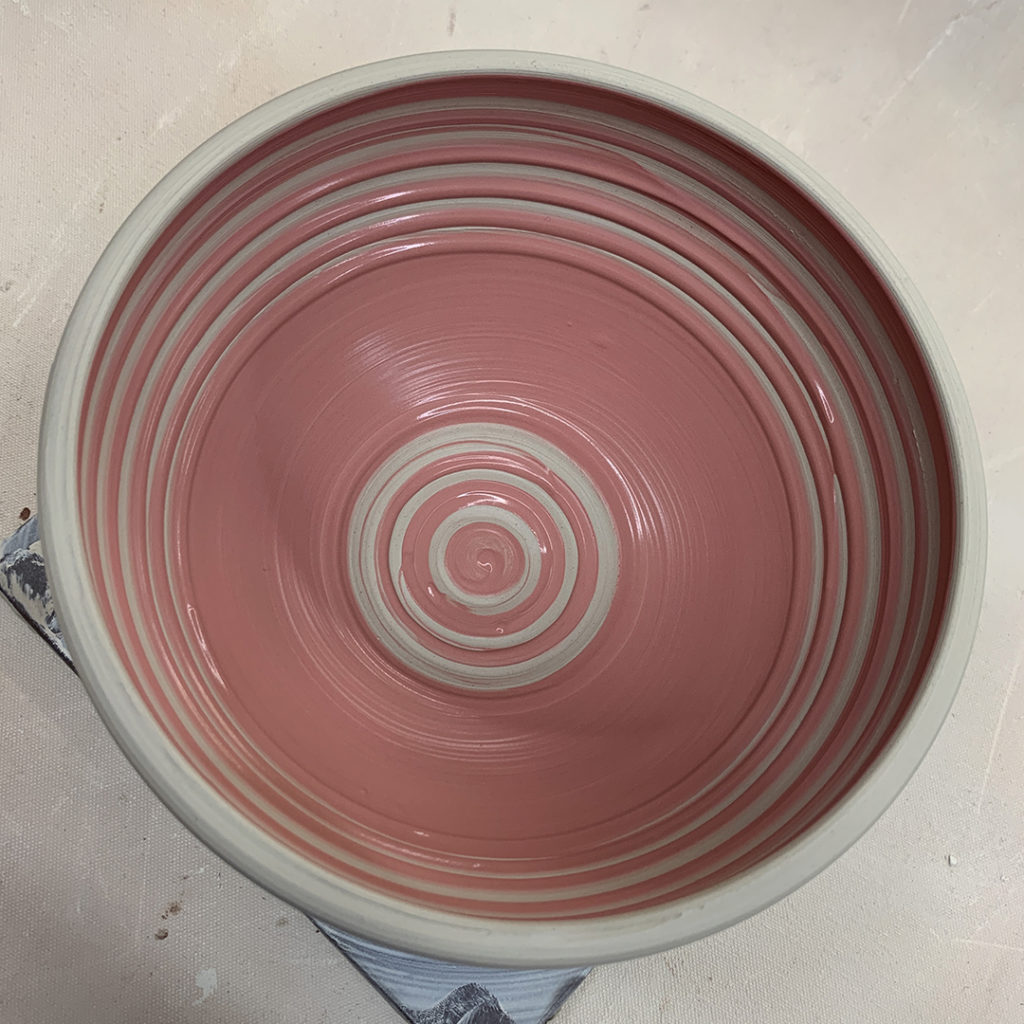
Bowl #11 – Another plain bowl with bands of colored slip… I left the thick band in the center so I can do some carving in that area later when the slip dries up a bit.
Bowl #12 – The last bowl we left plain with a simple coat of red slip. The plan is that my teaching assistant Susan will do a demo next week of how she does her sgraffito technique.
So here the are… all done for the night! Twelve bowls with twelve different techniques to make them each a bit more special.
And then I covered them with plastic up in my studio for the night. I told my students I would try to keep these bowls “viable” and ready for some stamping & detailing in class next week. I hope I can wait long enough… you know how I like to stamp everything!
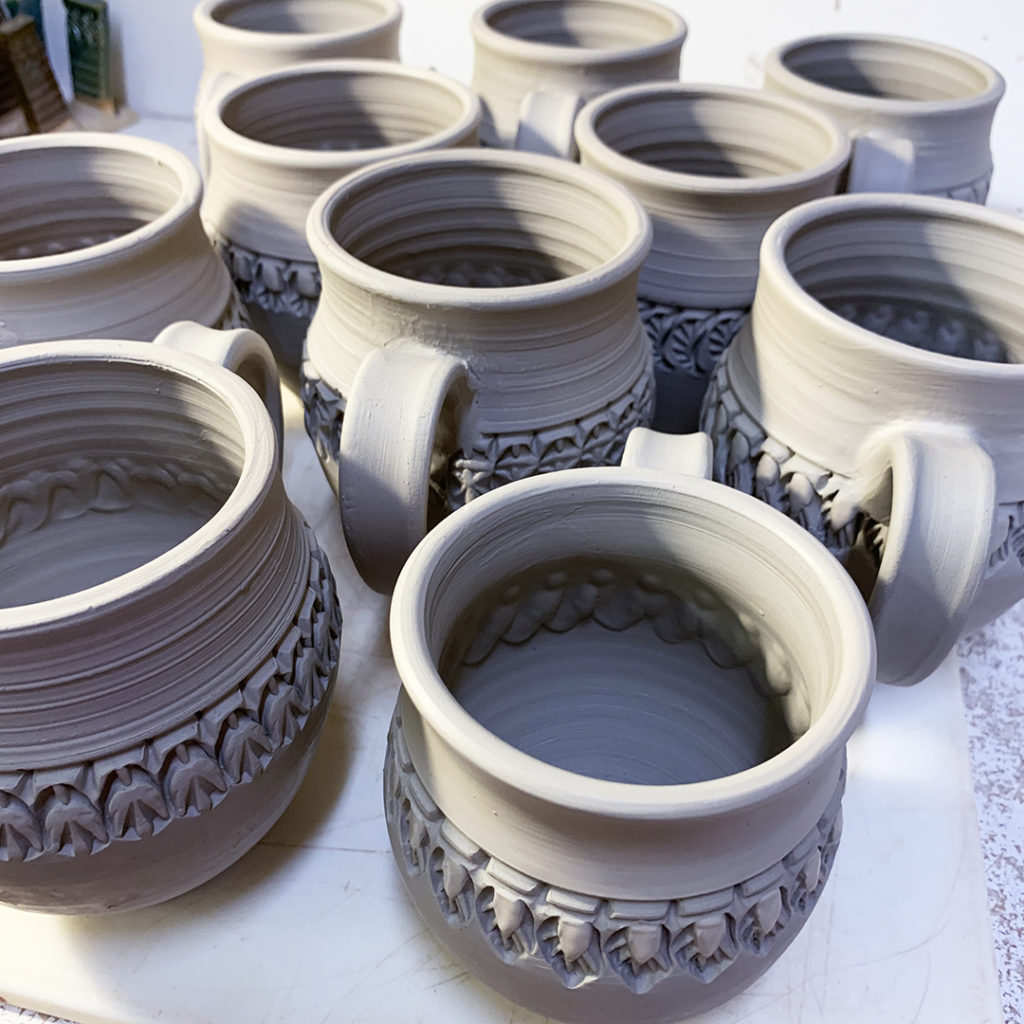
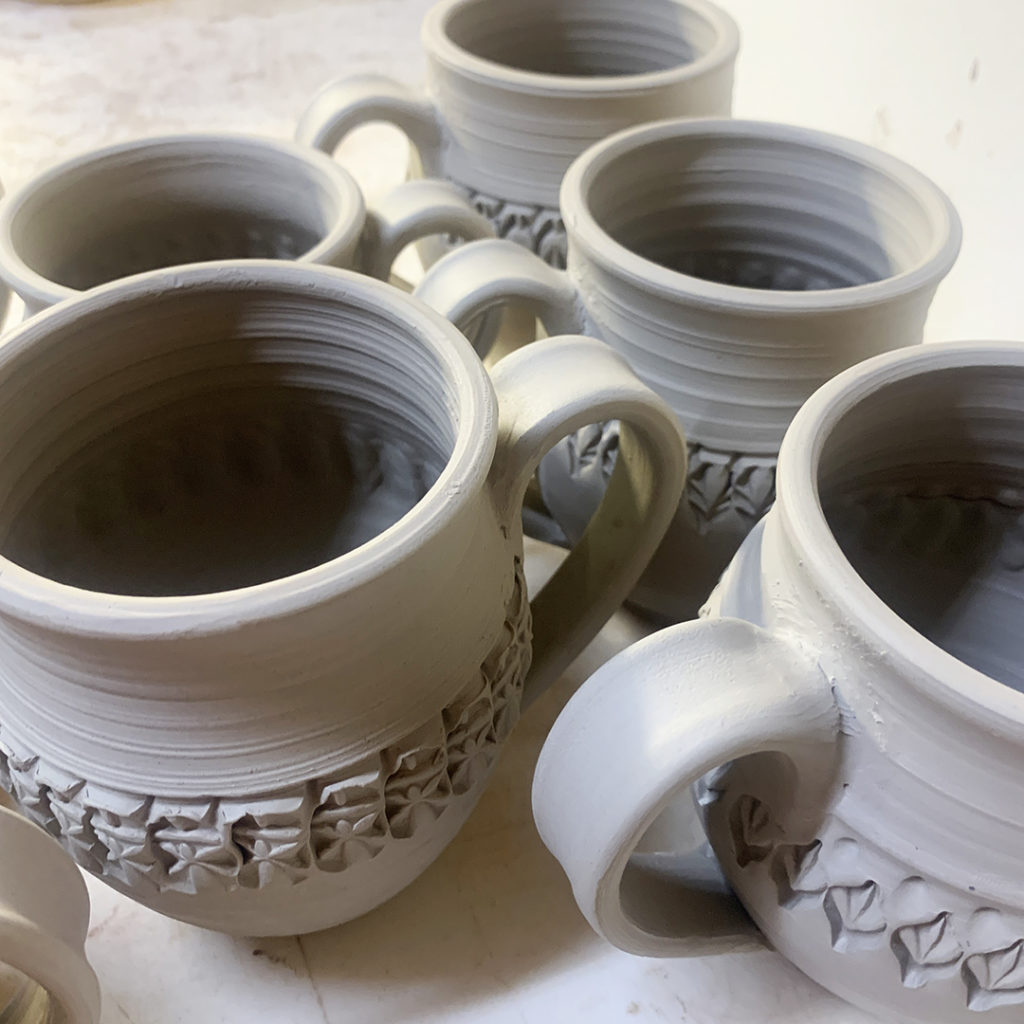
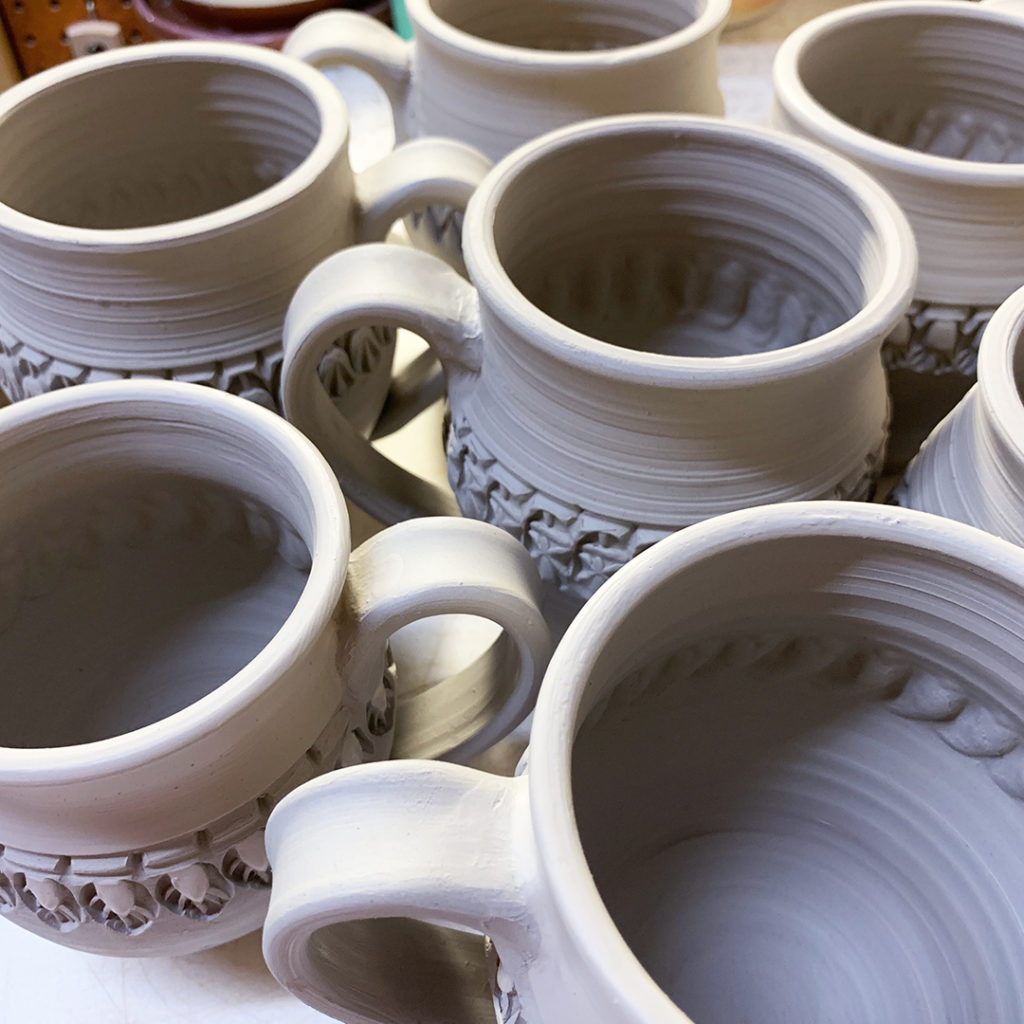
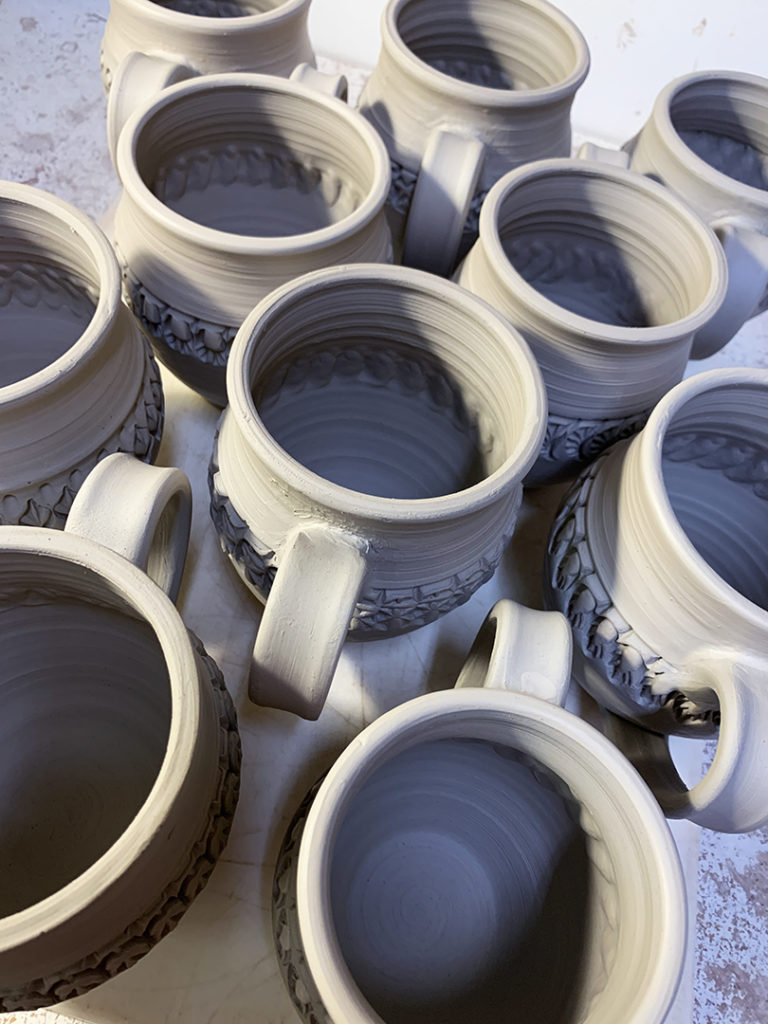
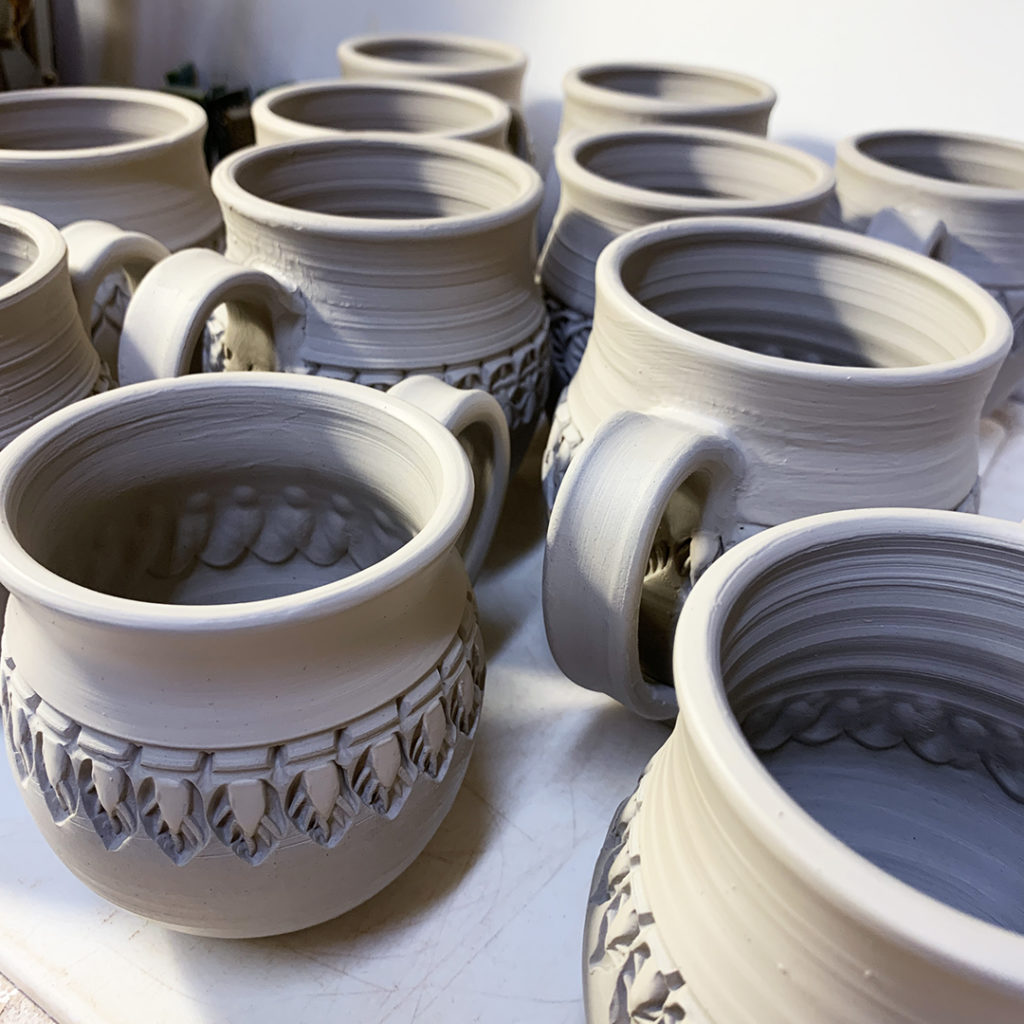
Just finishing up another batch of mugs! I’ve encouraged my Monday night class to make MORE mugs! To not sweat over just making one “precious” one that takes up all of their time & focus. Make MORE of them and they’ll learn faster, practice more & not be so scared to try something new when glazing! This pottery thing isn’t supposed to be “precious”… IT’S JUST CLAY!!!
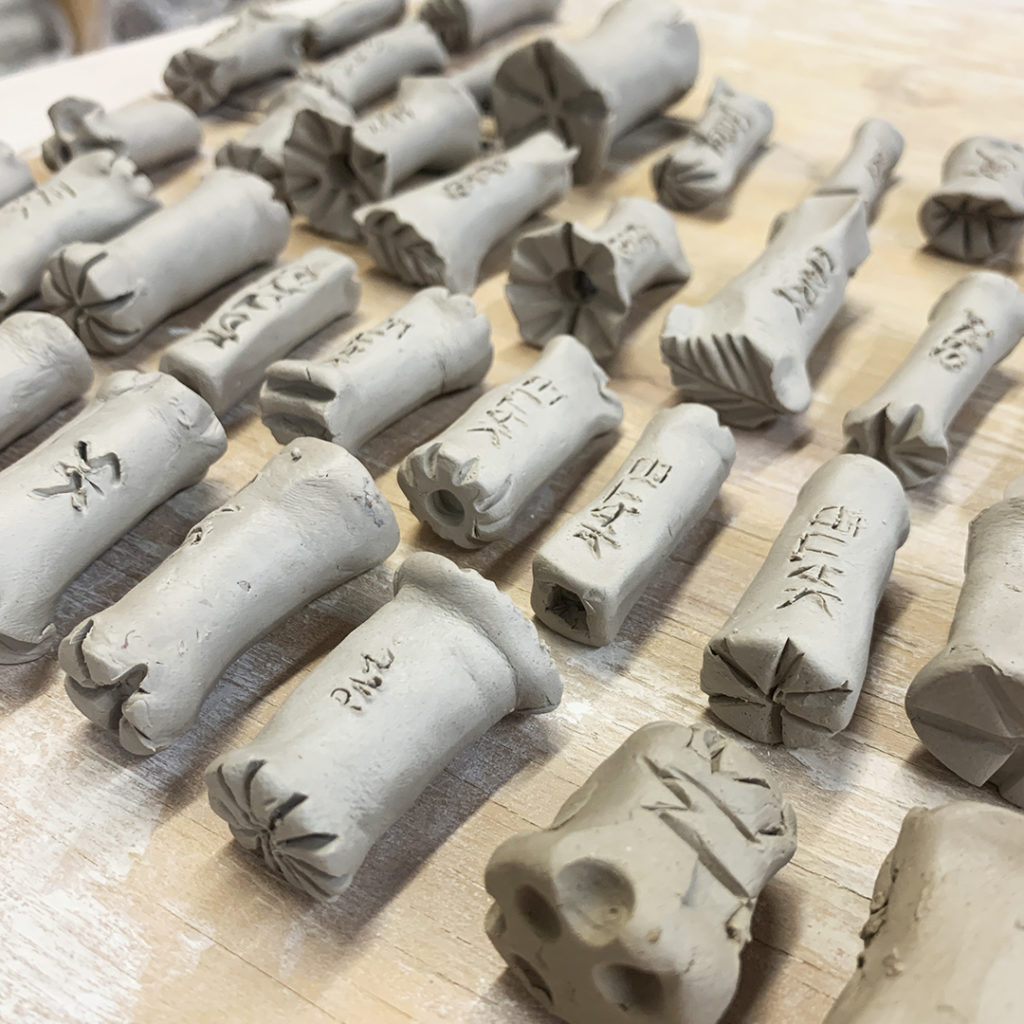
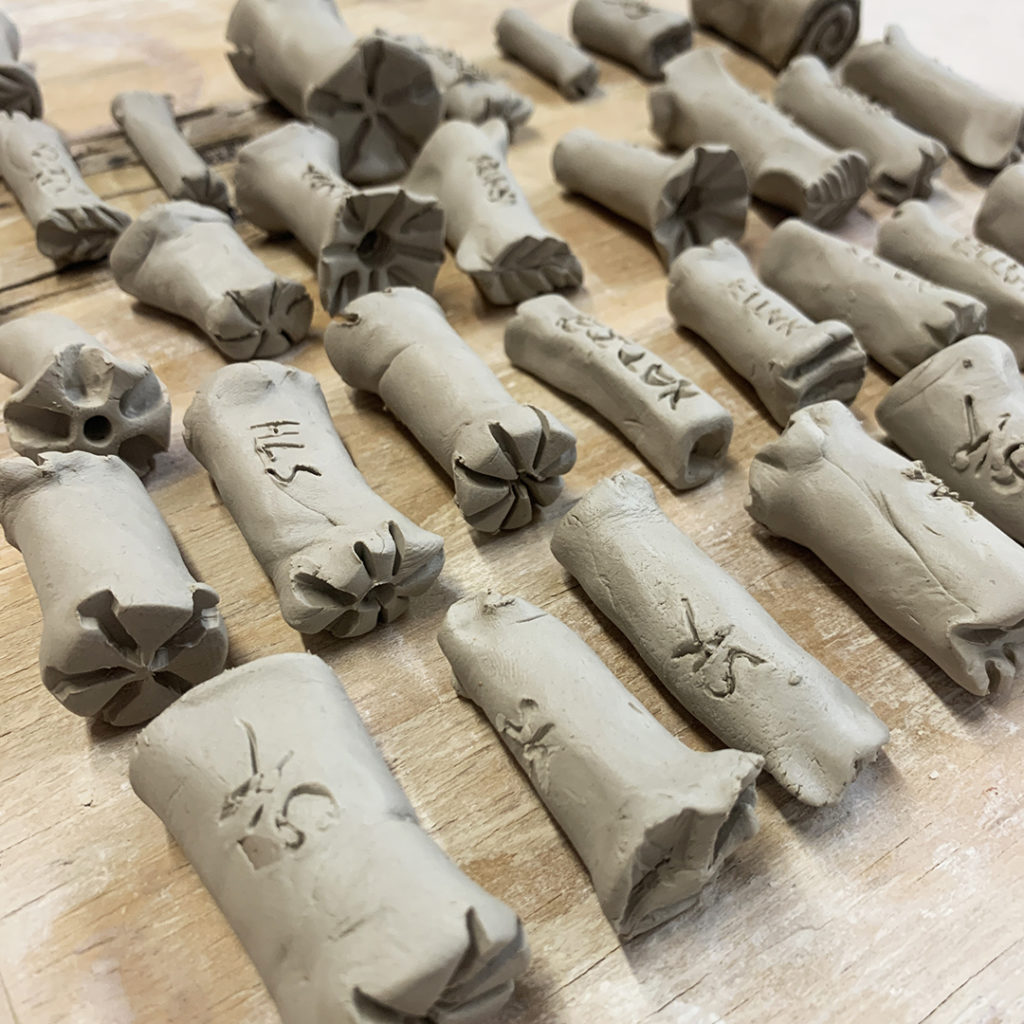
Both of my classes have been busy making batches of stamps to use on future pots… they still need to be bisqued before the can use them. I wonder where they got this fantastic idea???
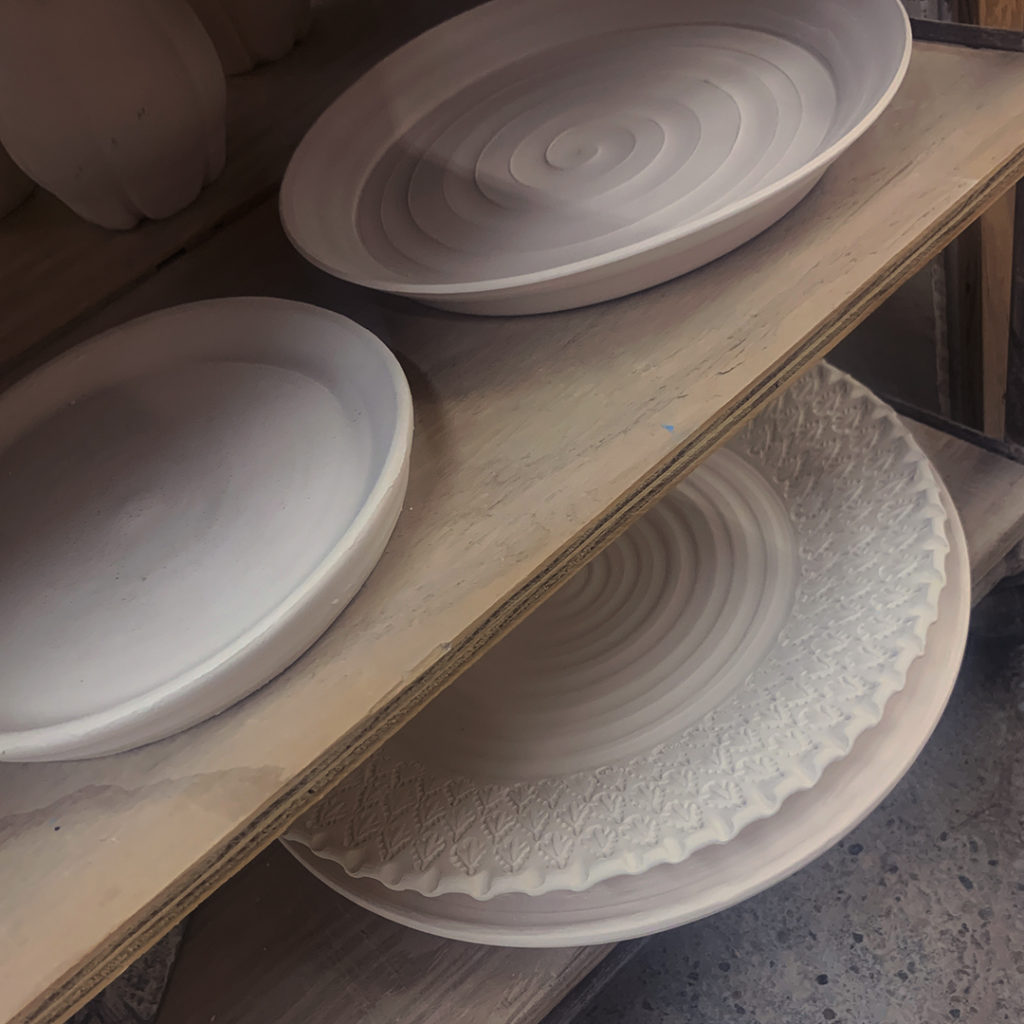
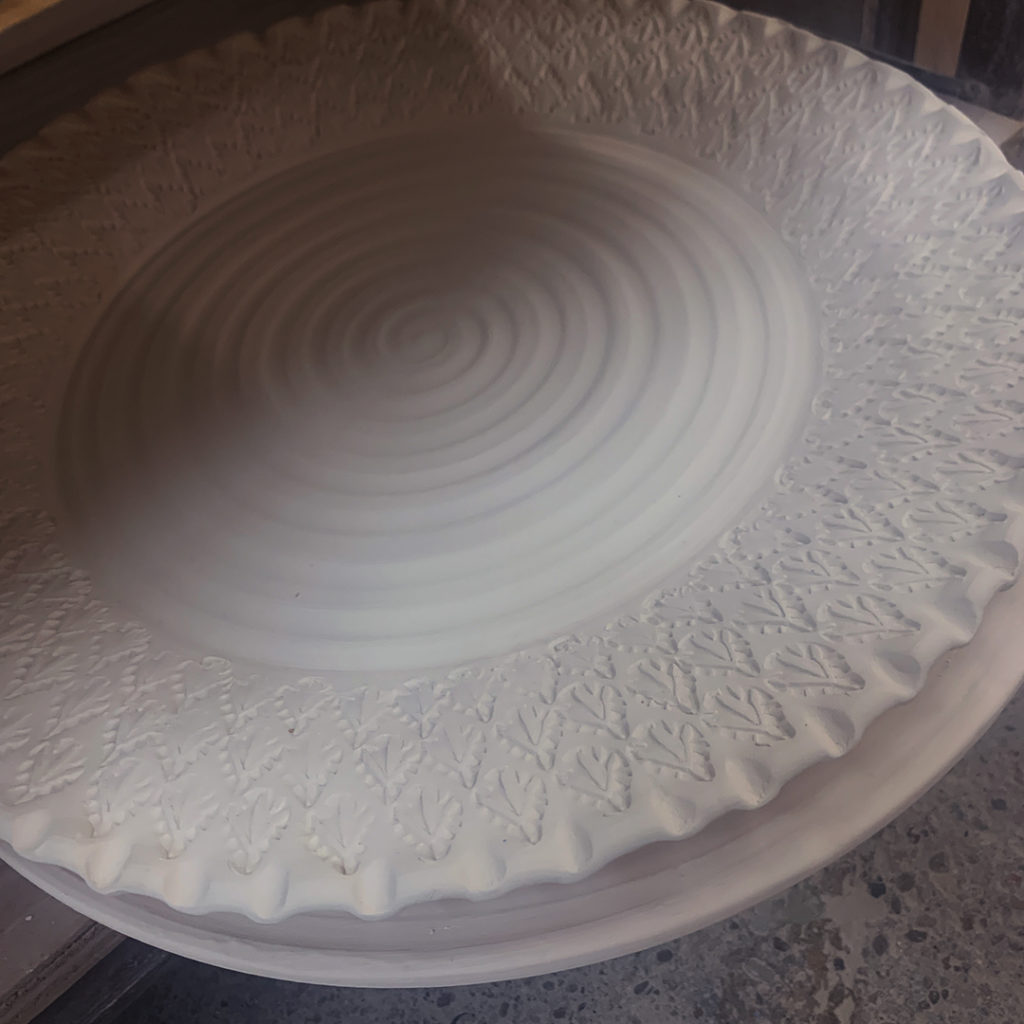
Looks like my pottery doppelganger is at it again… and I’ve already had three people mention to me that “one of my platters” is on the bisque cart. It’s not mine… it just one of my students!!!
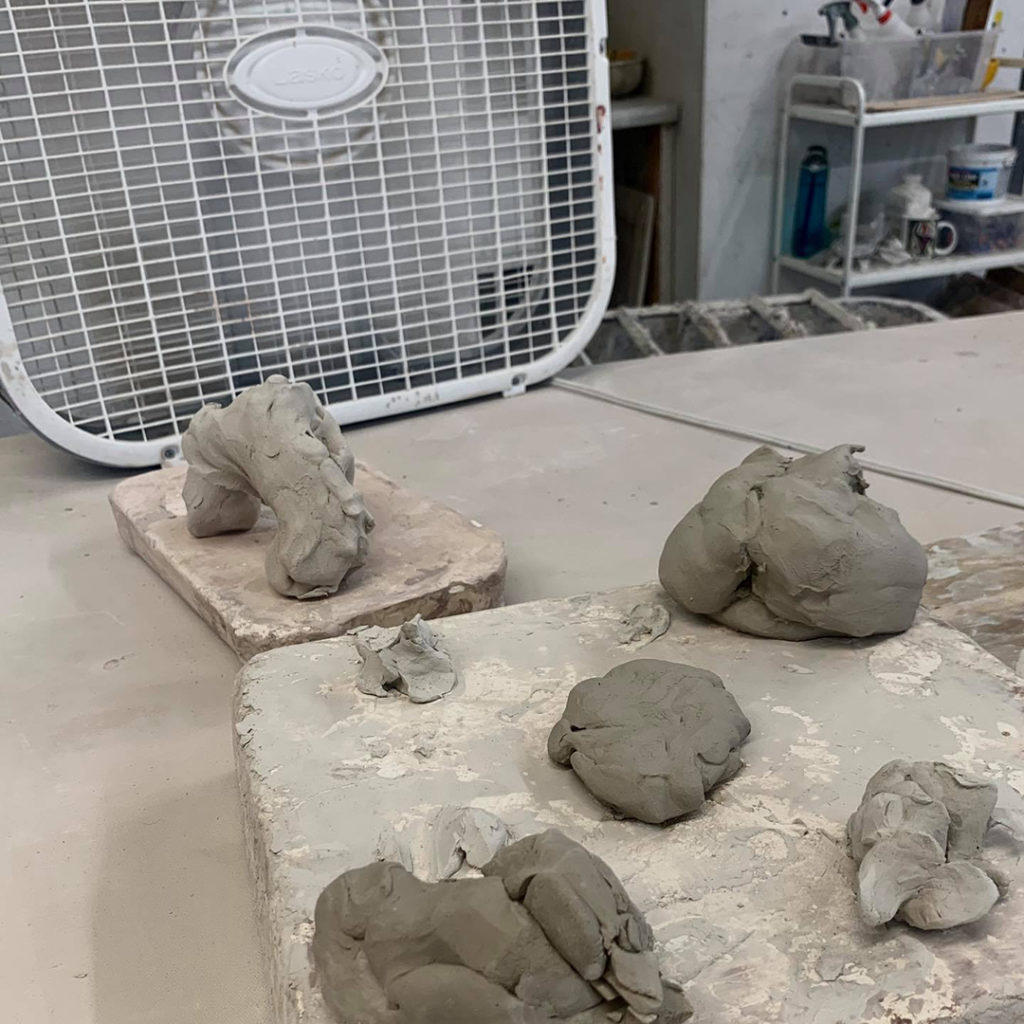
In one of my recent wheelthrowing classes, we were focused on “throwing-off-the-hump.” And somehow, these mini trees came along… part of a “demo-on-demand” by my students. We had made larger trees a week before… so it was only a matter of time until we went a bit smaller. I’m thinking I might need to make more?!
And apparently THIS is something new?… I guess the class last night thought it was a good idea to dry their clay in front of a fan??? Too bad it was still there this morning with the fan still going!!!! My campers would never let this happen! Just sayin’…
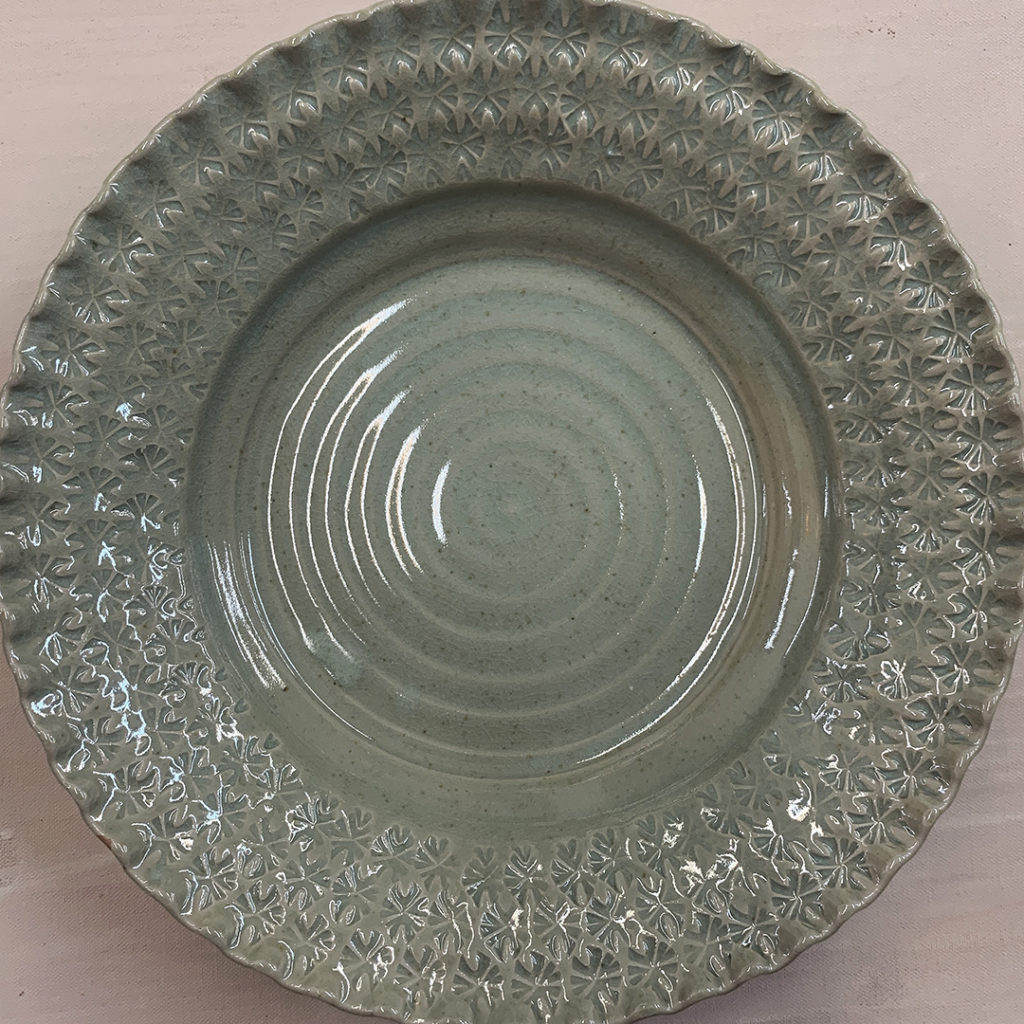
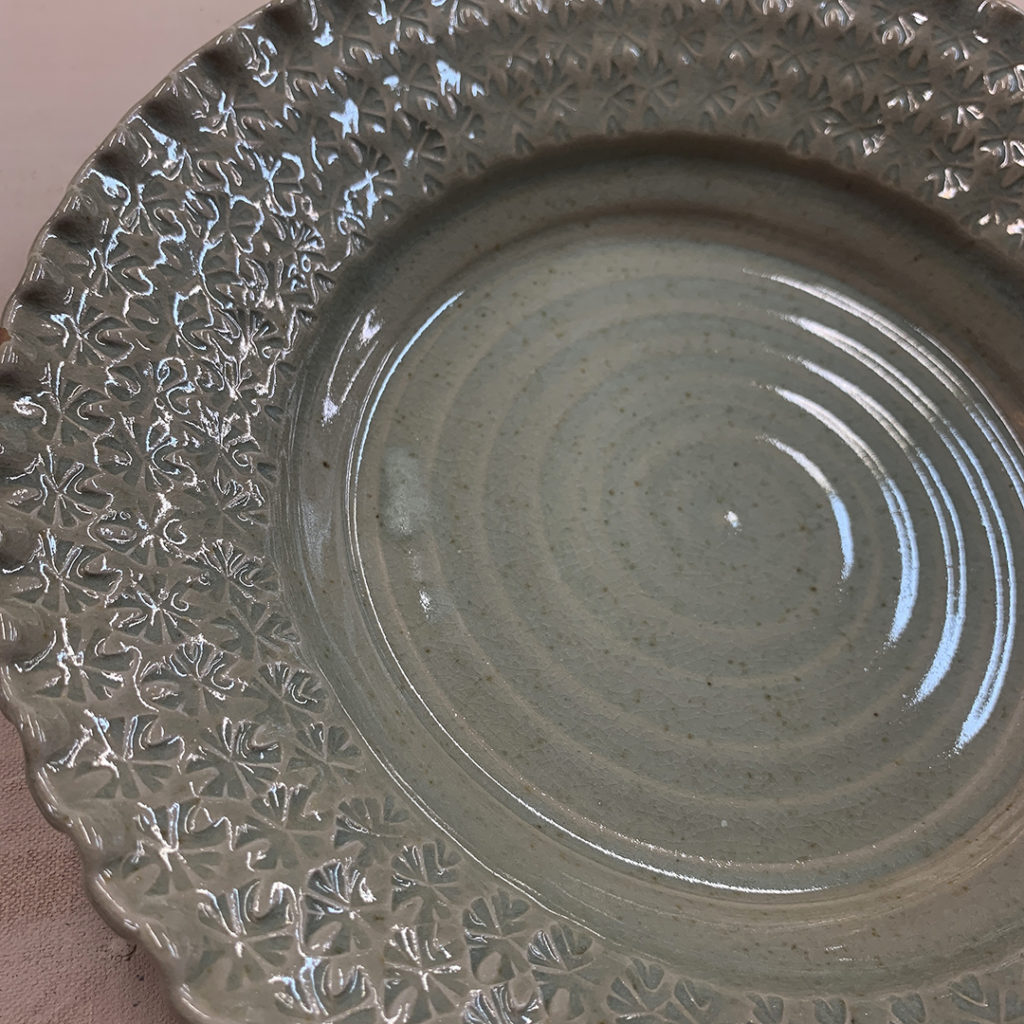
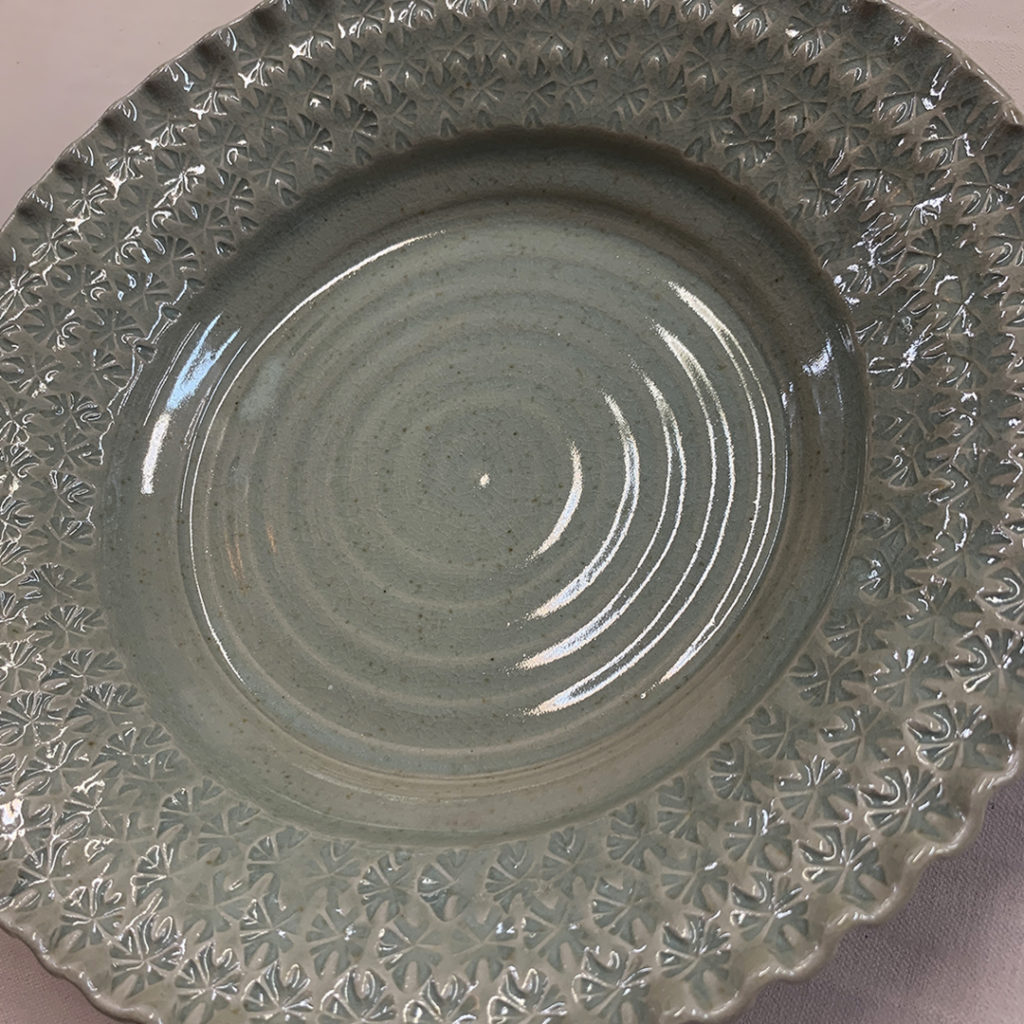
So when the latest glaze kiln was unloaded at Lillstreet, I had SO many people stop by to tell me that one of my stamped platters was on the glaze cart. When I went to look for it… all I saw was this one… which was NOT mine!
Turns out it is one of my students who has truly taken my demos to heart. They say “imitation is the sincerest form of flattery”… but we also discuss how to take a technique and alter it a bit to make it your own “new” style! She was the first one to admit that she is not a creative person, but can see something & she can make it. The rest of the class dubbed her as “The Replicator.”