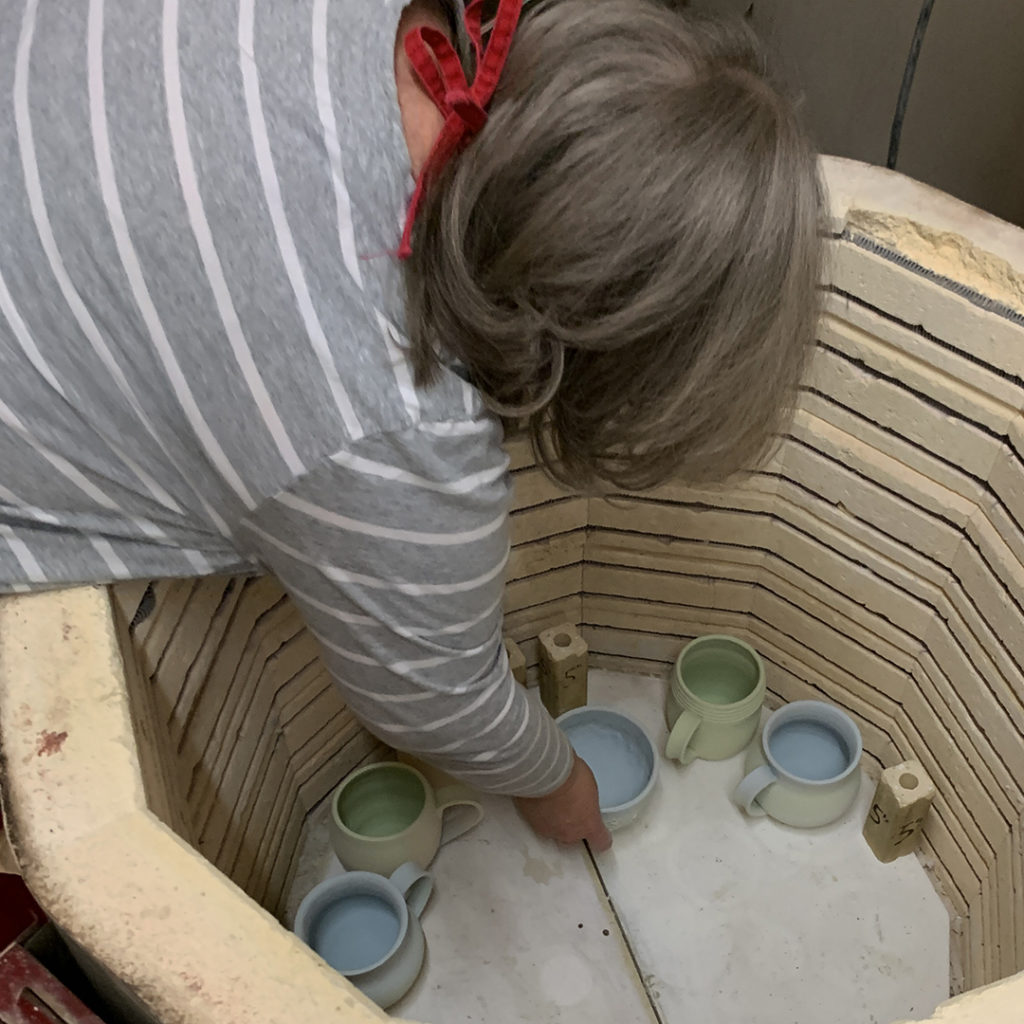
For the final class of my Intermediate Wheelthrowing class, we decided to up-the-game by going with THREE “matching” mugs. We started with all of the mugs in brown lunch bags. Then we drew numbers to randomize the choosing of mugs… followed by some fun trading, stealing & switching games! No mug was “safe” until the mug trading hijinks were over!
As the bags were opened, we all got to see each other’s creations… along with a little discussion of technique & glazes… combined with a little bit of critique & the appropriate amount of gushing!
Somewhere along the way, someone picked the brown bag that had Christine’s first mug for the game. Tina opened it up… and the game went crazy! Suddenly the game took a turn… as it suddenly became all about ME… and one of my favorite mottos!!!
Gotta love it!!!
So excited that my pottery mantra has been forever memorialized in clay!!! The fact that “my mug” graces the other side of Christine’s mug is just crazy!!!
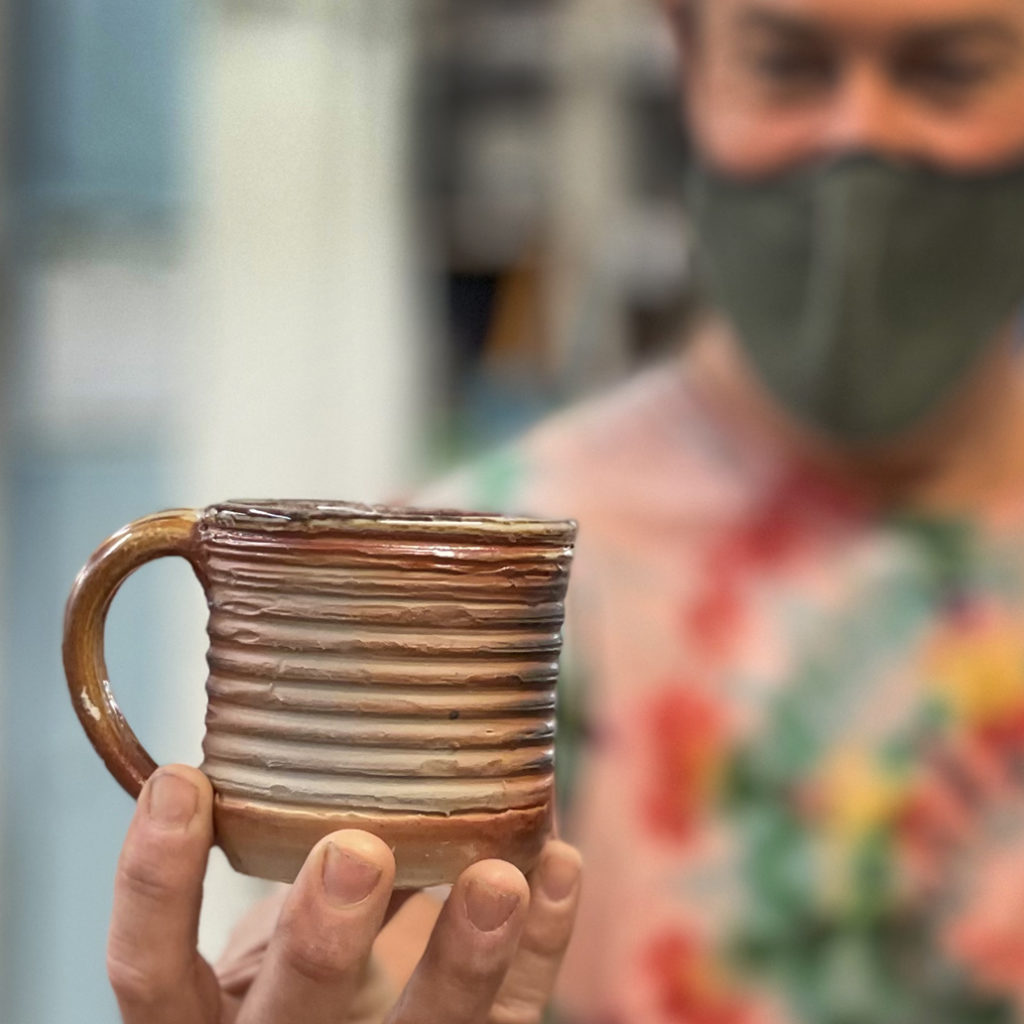
We each ended up with a nice trio of mugs! Such a fun way to share & trade… and start-off everyone’s Mug Collection!