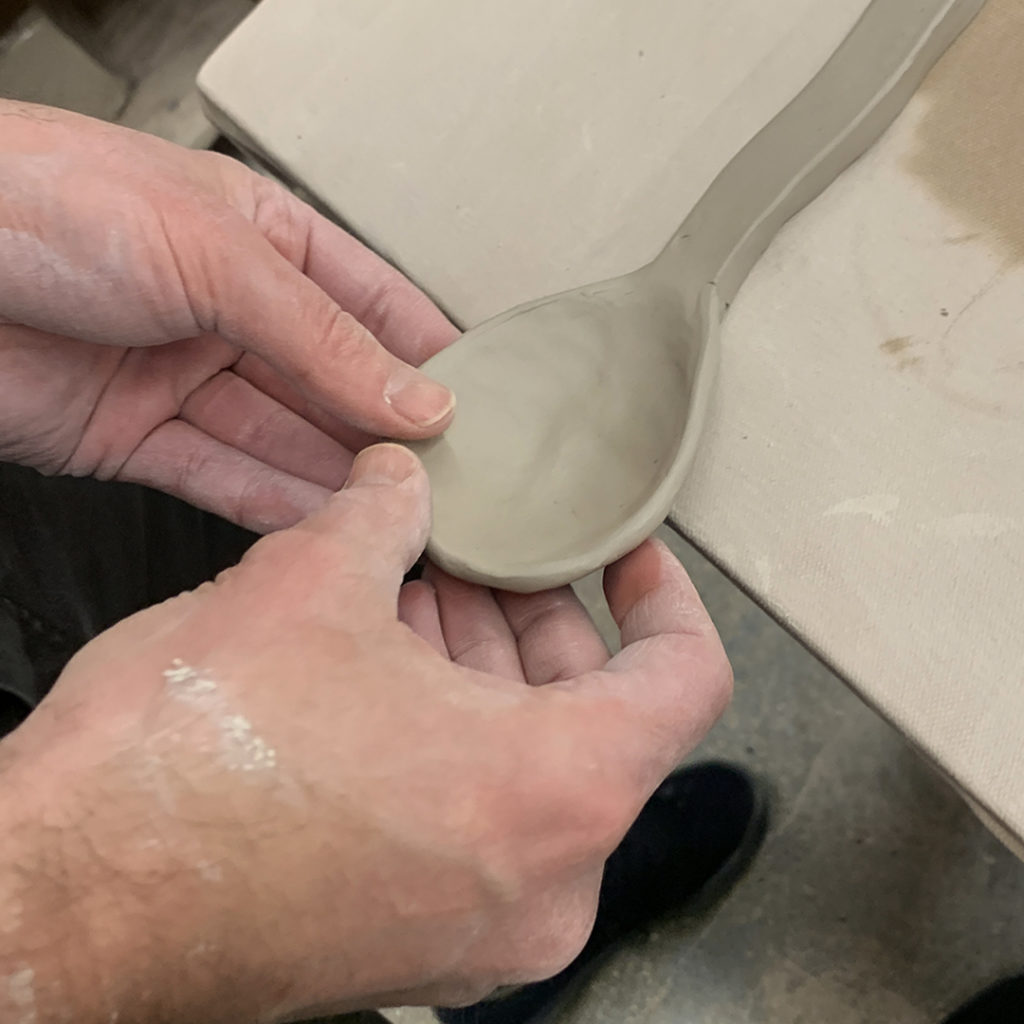
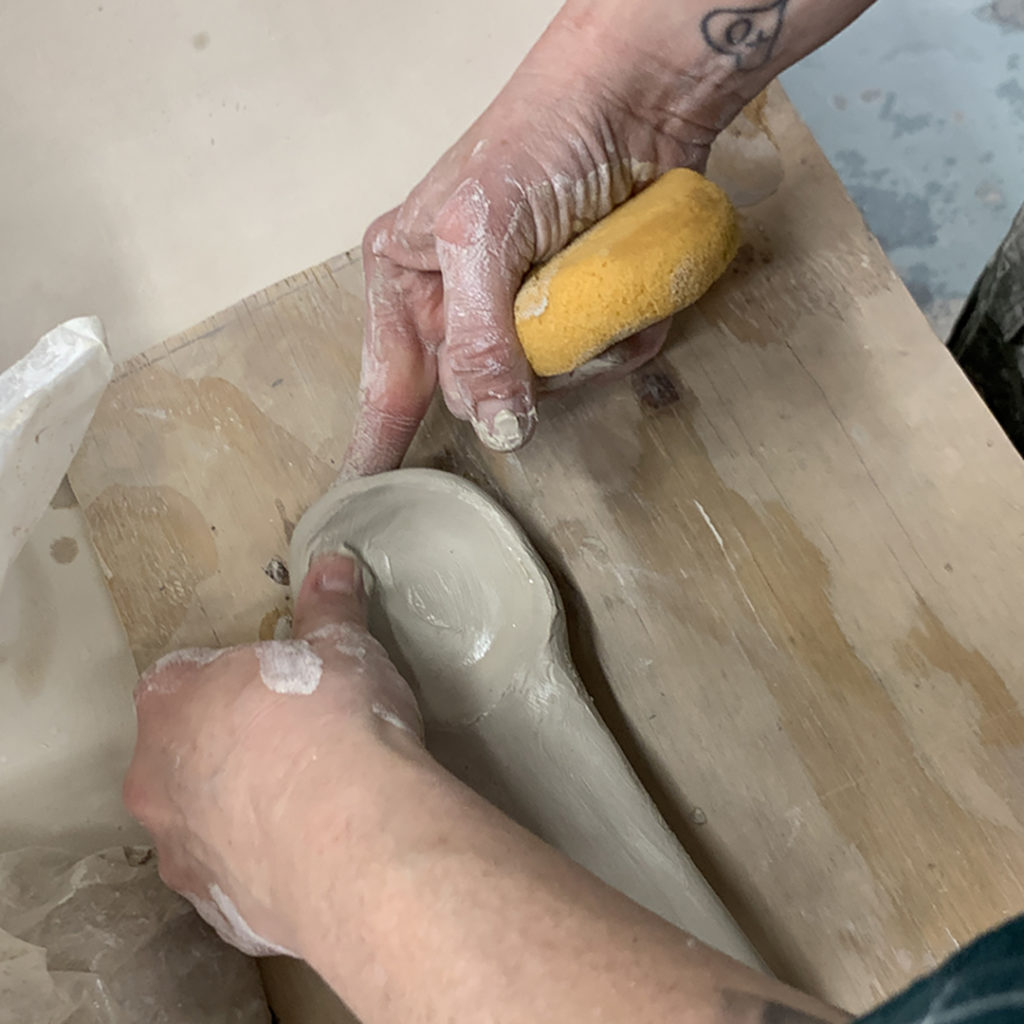
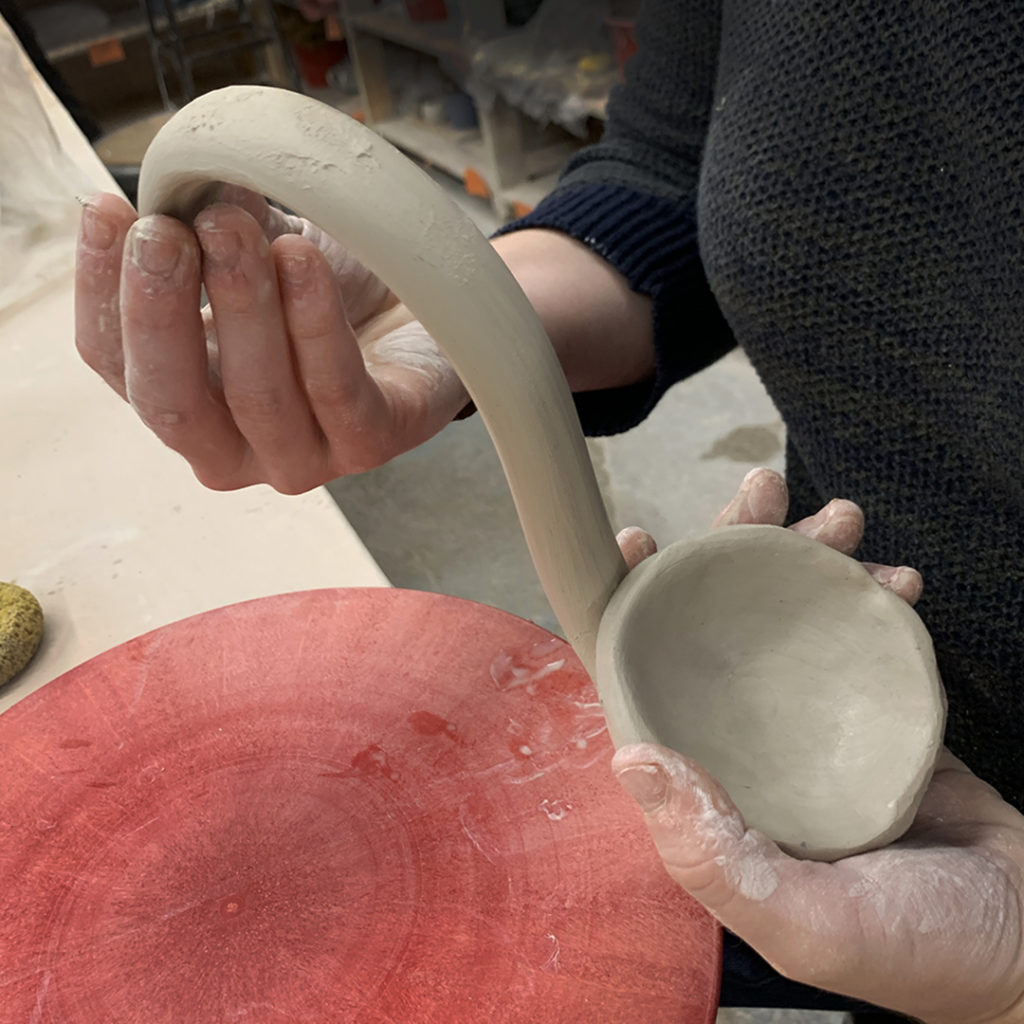
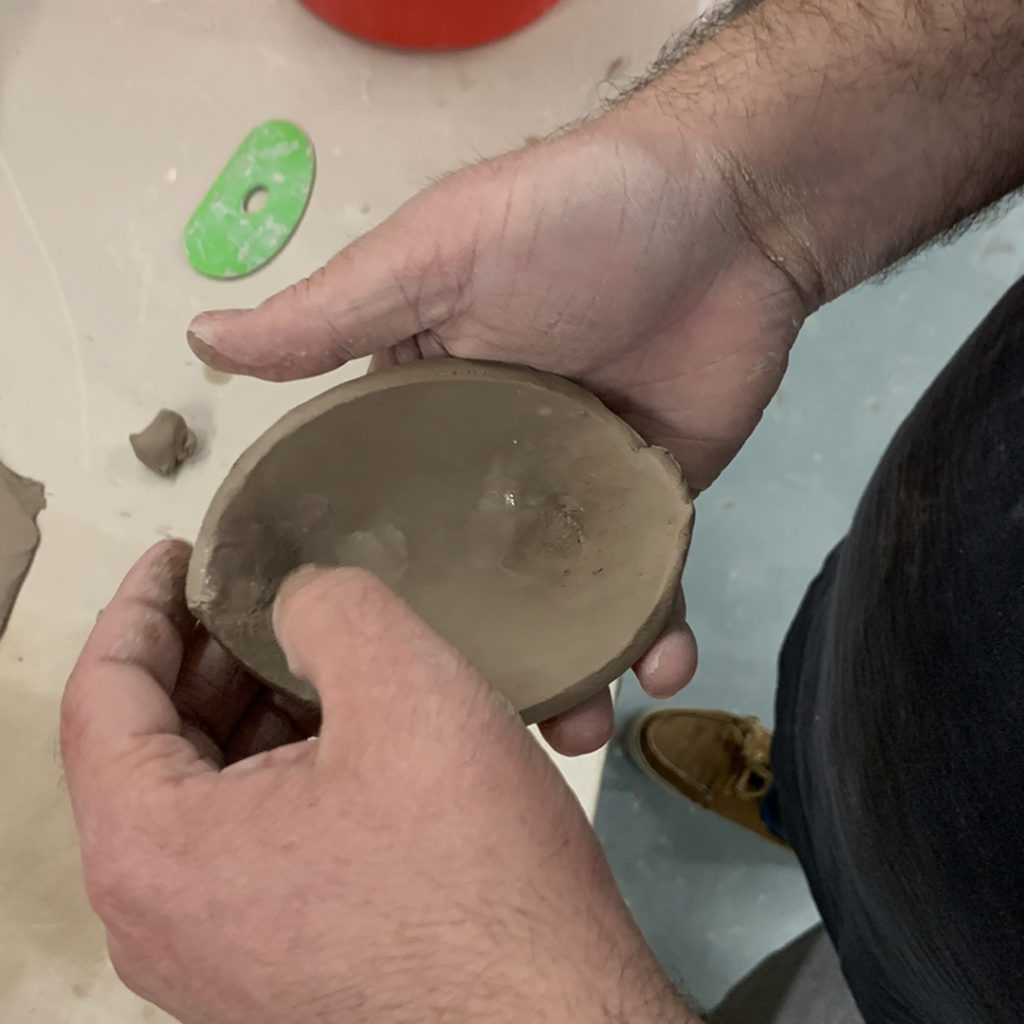
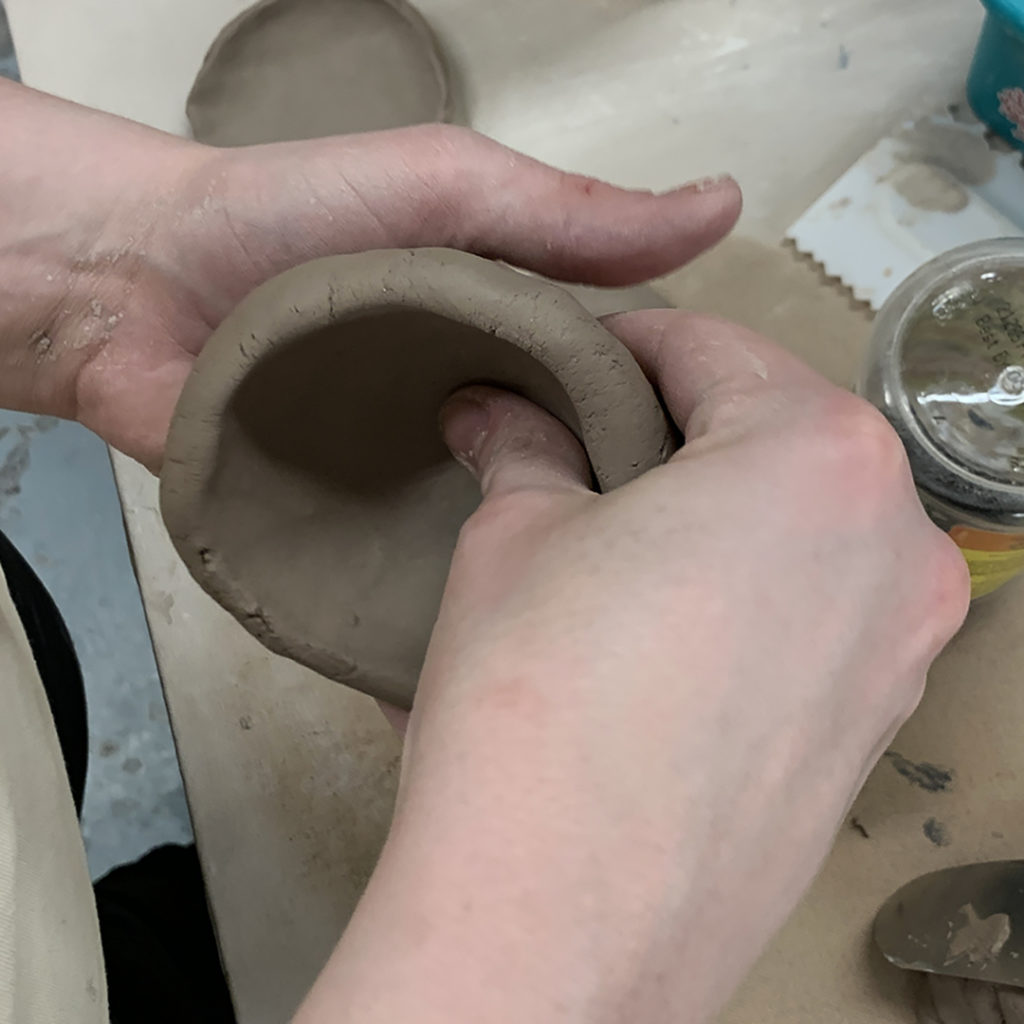
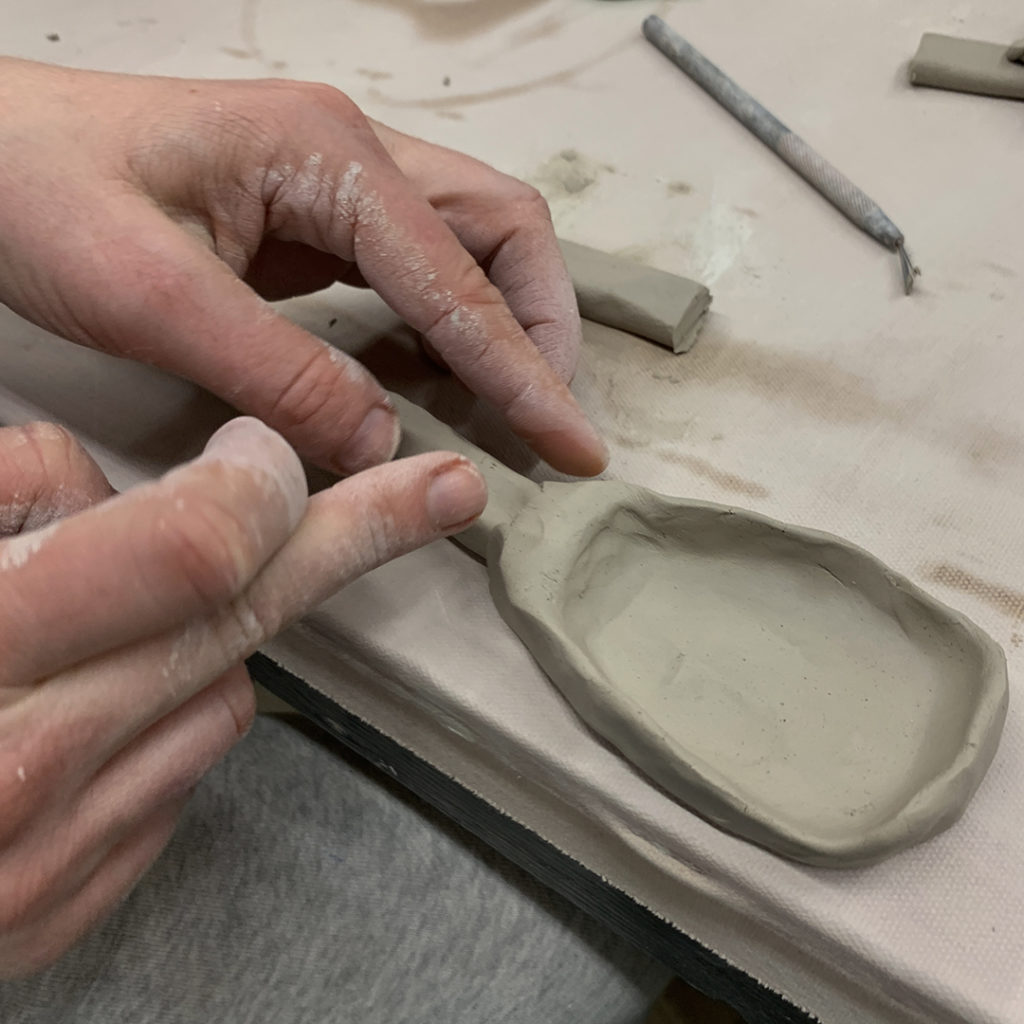
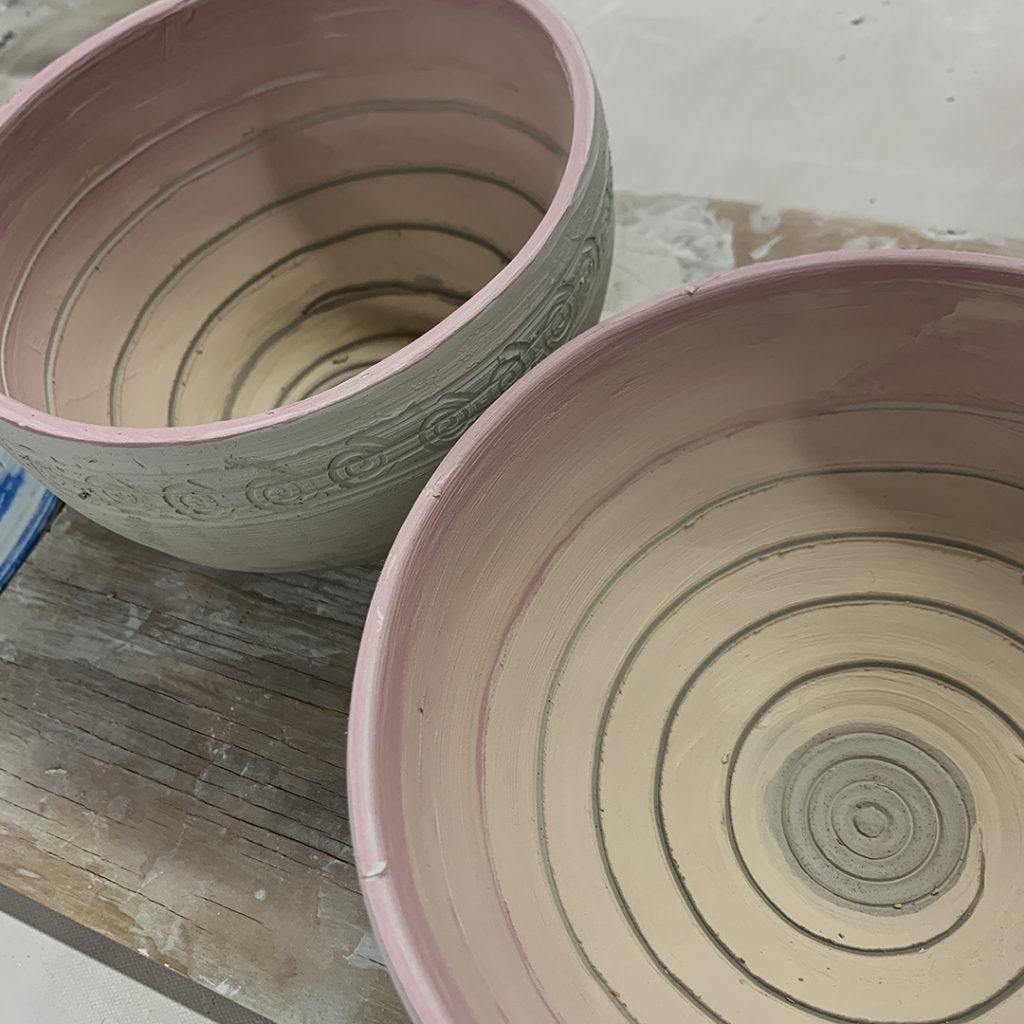
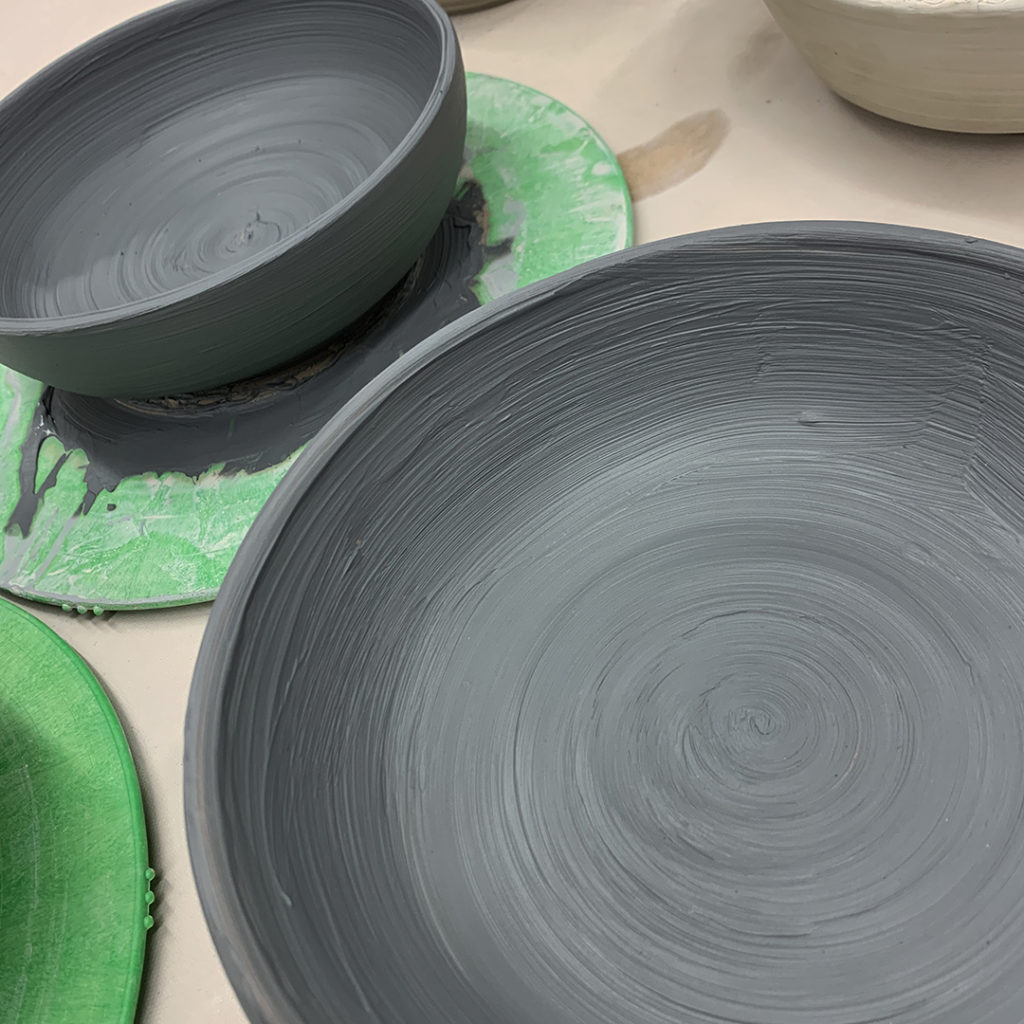
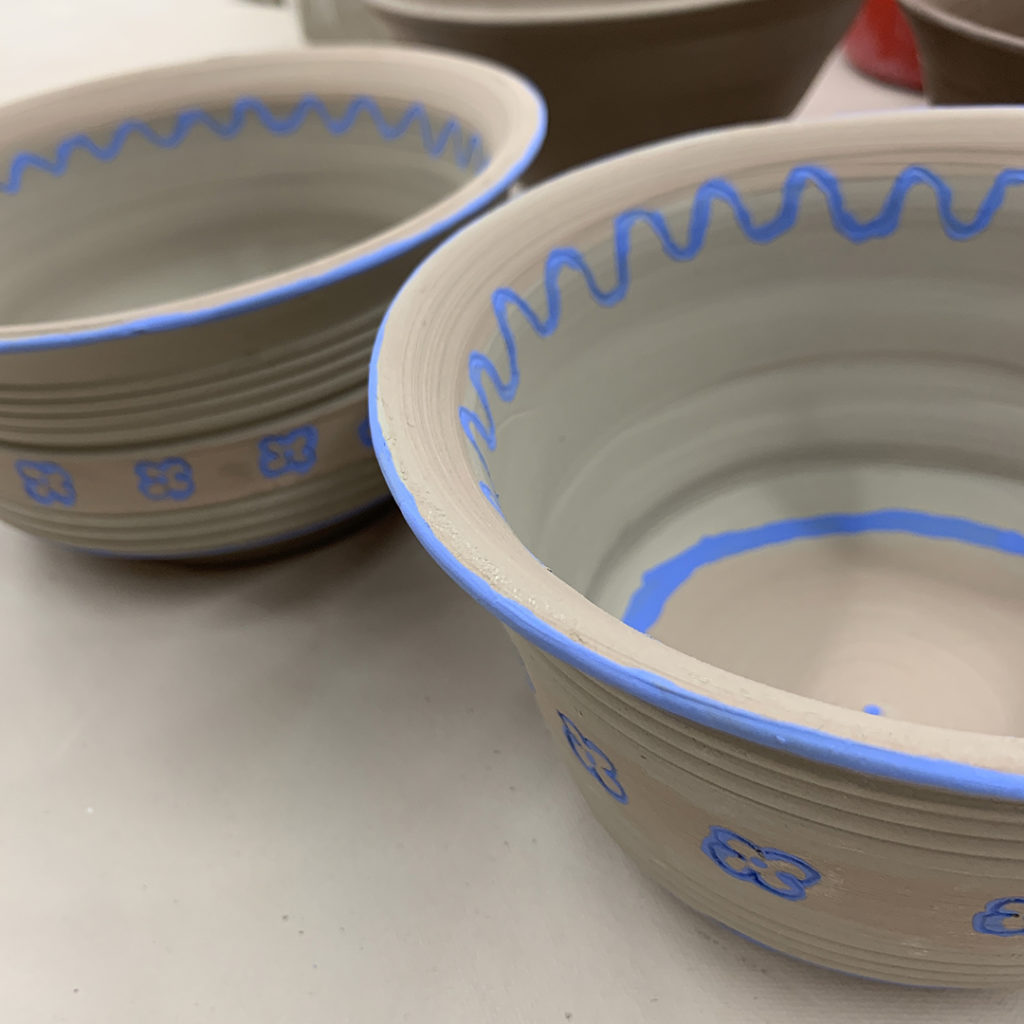
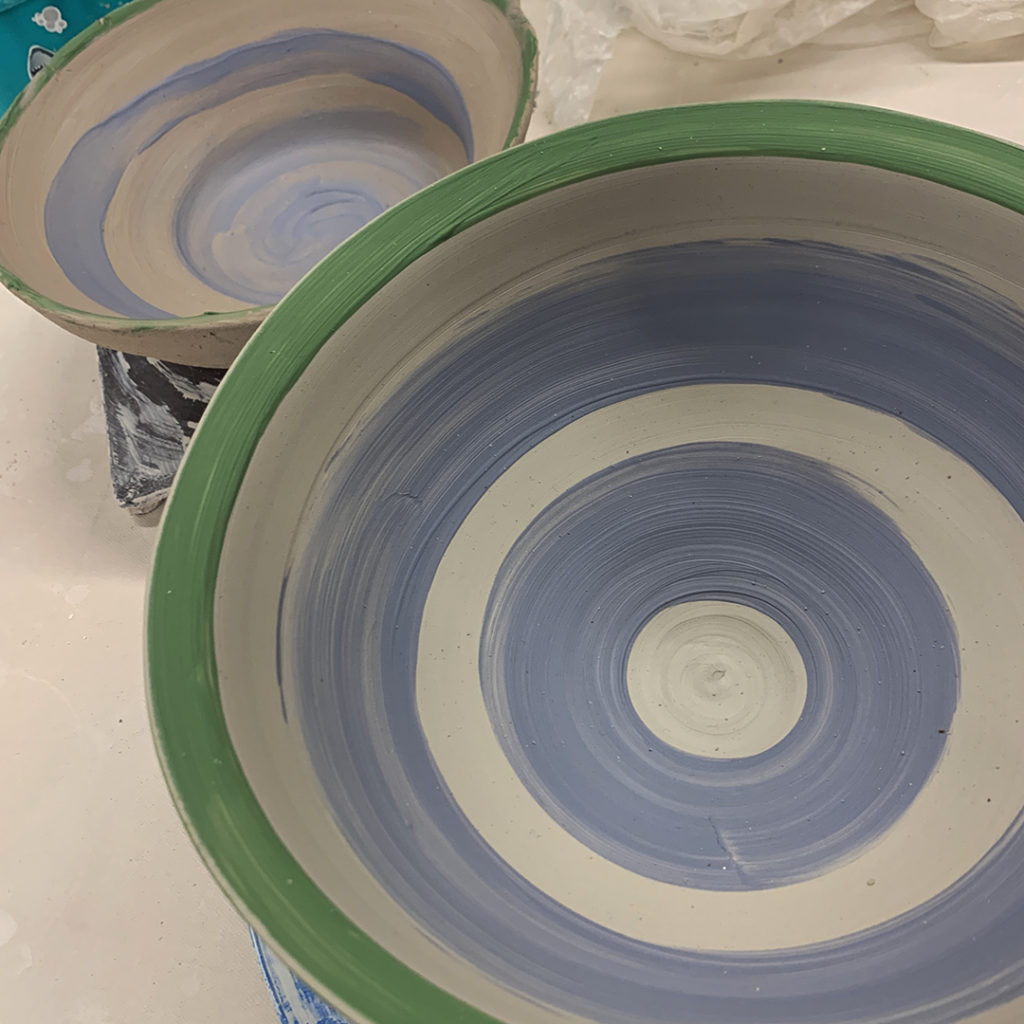
Gary Jackson: Fire When Ready Pottery
A Chicago potter’s somewhat slanted view of clay & play
Categories: classes, food

This week we may have had a couple “yellow towel” moments… celebrating diversity with our favorite cookies! However… we all kind of agreed that they may have missed the mark… as we were all hoping for some rainbow colored filling, edible glitter, or something else a bit more FABULOUS!!!

Categories: bowls, challenge, classes

Things are coming out of the kiln… like this beautiful bowl that Kristen made in my Tuesday night class last session!

During Week 9 of that class, we did a bowl carving challenge… where they had to take away at least half of the clay weight of the bowl… and THIS is Kristen’s bowl that separated into two parts. Luckily, the patching fix we did in class held together and it has survived the glaze firing… and it’s STUNNING!!! Well done Kristen… good save!

Categories: bowls, classes, surface decoration

A few weeks back, during my SURFACE DECORATION class, my students tackled Water Etching with Catherine Tweedie! I was out-of-town for the Minnesota Pottery Tour… and Catherine is always my number one choice for a class sub. And in this case, it worked out perfect. As she was available to sub for me when I needed her to… AND she is the master of water etching so she was the perfect replacement to fill-in while I was gone.

Prior to class, I had pre-made several bowls for my students to play with. I threw them, trimmed them, and added a layer of colored slip on the exterior of most of them.

Catherine brought the bowls down to class as a surprise for them to work on… GIDDY-UP!

Catherine started by showing them how to paint wax resist patterns on the bone-dry bowls.

And then when the wax resist is dry, they started to wipe-away the unprotected surfaces with COLD water! Gently wiping the colored slip away… leaving the wax protected areas intact. The more you wipe away, the more difference in depth you start to see. Eventually you can see and feel a crisp edge around the waxed patterns.

I kinda feel bad that I missed such a great water etching demo by Catherine!… but I will say, it was more than worth it with the Minnesota Pottery Tour! Looks like I left my students in good hands… and they made some really cool patterns on the bowls.

Categories: classes, process, surface decoration

In my SURFACE DECORATION class last session, we focused on a different technique each week. One of the projects was MISHIMA… a great technique for “illustrating” on your clay. Leaving fine-line illustrations or geometric lines on your pots.

Of course it helped a bit that I had made a batch of cylinders, trimmed them, and dried them to leather heard just for the demo. You know my students LOVE when I come to class with pre-made class demo pieces for them to work on!!!

After making a plan, my students started by painting a layer of wax resist over the entire outer surface. Once that was layer of wax was hard & no longer sticky, they started to carve through the wax, deep enough to carve into the clay was well. The idea being that the carved lines will be filled with a dark underglaze later… filling in the lines, but the wax will keep it off of the other areas. Some people just worked on a blank cylinder, while others painted an underglaze image first, and then painted the wax over the top of that.

Once they finished carving, they painted the top surface with an underglaze. Most people used black, by Christy decided to get a little “crazy” and went for yellow under glaze to “pop” off of her black painted cylinder.

After filling in all of the carved groove lines, we carefully washed off the top surface… revealing the picture as the underglaze remains in the carved crevasses.

We had some pretty amazing illustrations come out during this process. I love how the designs kinda “disappear” while carving, but then the underglaze filling the patterns makes them “pop”… and kinda looks like a carved wood print.

And who would have thought… that Christine’s carved mishima pattern would pretty much end up being a splittin’ image for my mask?!!!

Categories: bowls, challenge, classes

When I started the last session with my Beginners & Advanced Beginners, there was a request for a “challenge project” of some sort. We discussed some options… and I added a challenge to the syllabus for Week 9.

The project turned out to be a “carved cut-out” challenge to take out parts of their bowls. They had to start with a well-trimmed leatherhard bowl. We then weighed their bowls and wrote down the weights. And then I threw out the “real” challenge…

They had to take their bowl and carve away some of the sides to make a “basket-like” bowl… that weighs LESS THAN HALF of the original weight. Keeping in mind that they needed to keep the rim & foot ring intact. I suggested a few tips, and offered them a few tools to borrow… even some of my cherished DiamondCore Carving Tools!… and then they just jumped right in. I LOVED seeing them tackle the challenge with such zeal & enthusiasm… you would never know that this group are still considered “beginner” wheelthrowers!

However…
One of my students got a little too focused on the pattern… and not enough on the actual structure of the bowl. Carving… carving… carving… until the two pieces just came apart. The top came right off of the bottom. Luckily, with a bit of scoring & slipping…. and some well-placed “dots”… I think Kristen saved it to live another day! Fingers crossed…

And I’m COMPLETELY enamored with the shadows that these bowls are making! Most of them came pretty close to the “half-of-the-weight” carved away challenge… just a few ounces away. But it was the excitement & adventure they all went through that really made my night!!!

Categories: bowls, classes, tools

During last week’s SURFACE DECORATION class, I was getting ready to do some carving on my marbled demo bowl… when I noticed that my DiamondCore Tools was pretty much matching the bowl!!! Like a bit of camouflage for the carving tool?!

Categories: classes, platters, surface decoration, textures

Last week in my SURFACE DECORATION class, we celebrated the end of the session with another “trading game”… and I came home with this wonderful plate from Christine. The rim of the plate is textured slip “squiggles” with a variety of stains & glazes at work to make this fantastic result!

Categories: classes, flower pots, flowers

What a fun trading game we had last week in my Tuesday night class… category theme of flowerpots with a plant in it! My students rocked it out… and brought their A-game to the trade. I was lucky enough to come home with a cute yellow orchid in a beautiful rutile blue pot!

Categories: classes, flower pots

Last week in my Beginning & Advanced Beginner Wheel class, we celebrated the end of the session with a fun “white elephant trading-stealing-exchanging game”… with a category of handmade flowerpot with a plant inside! I prepped mine the day before… so my variegated ivy would be happy to head-off to its new home!!!

Categories: artists, classes, textures

When passing the shelves of student’s glazed works last night, I was taken by this beautiful plate! Striking details accentuated with a wonderful ombre blend of sprayed glazes. So fun to see that it was made by one of my former students who seems to have succumb to the “more is more” mantra… and is killin’ it!!! This plate is beautiful Kimberly… so pretty that I moved it up to “The Show-Off Shelves”!!! Well done… and make MORE!!!