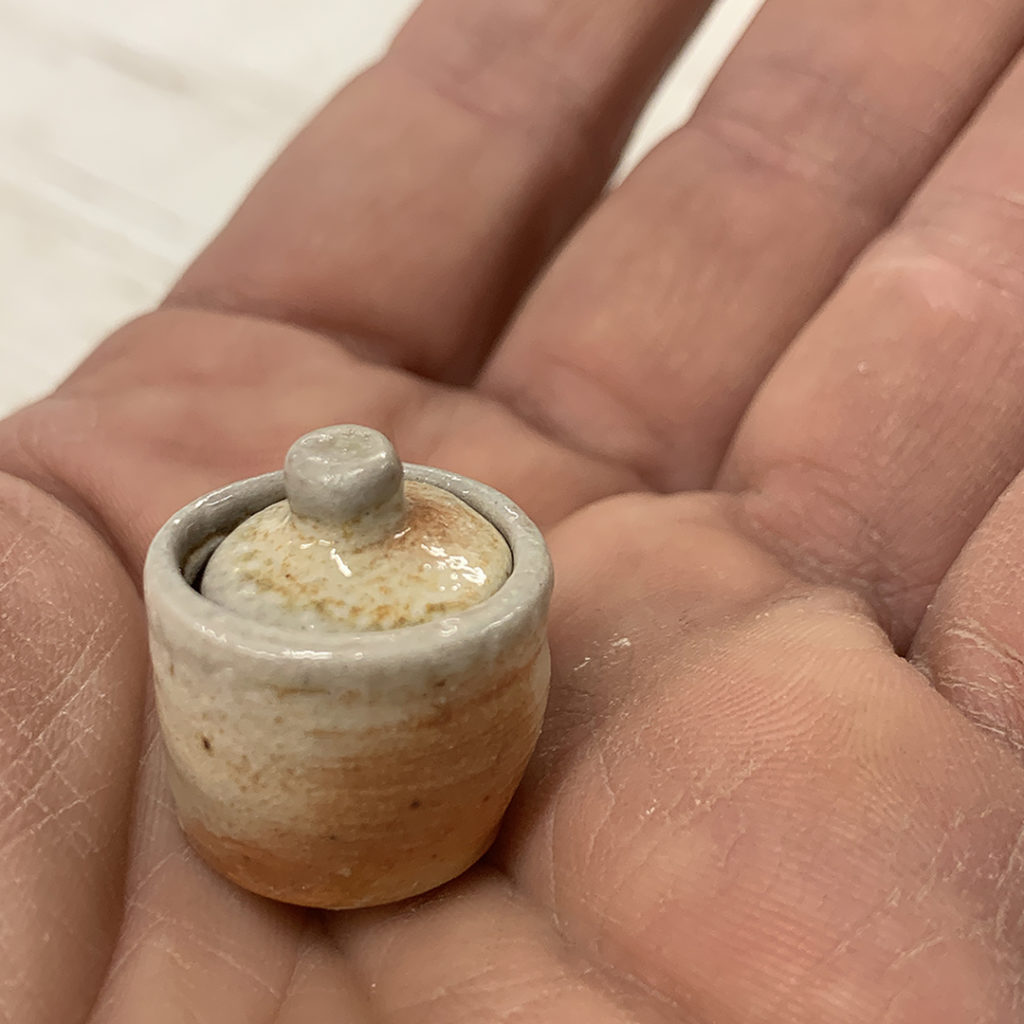
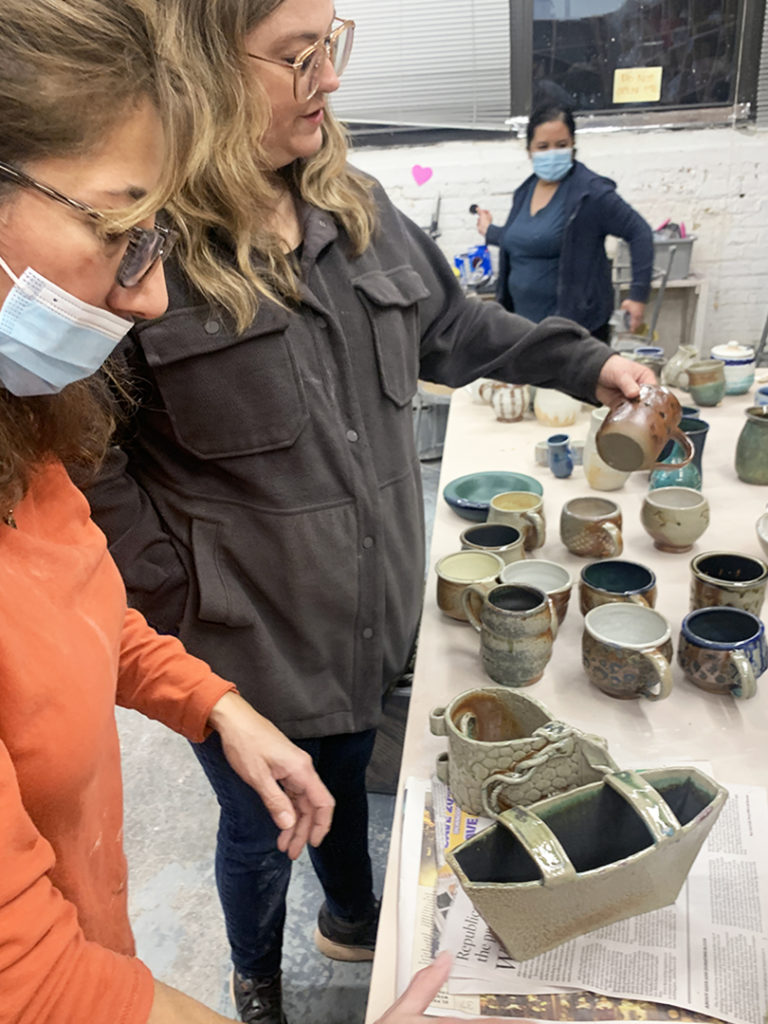
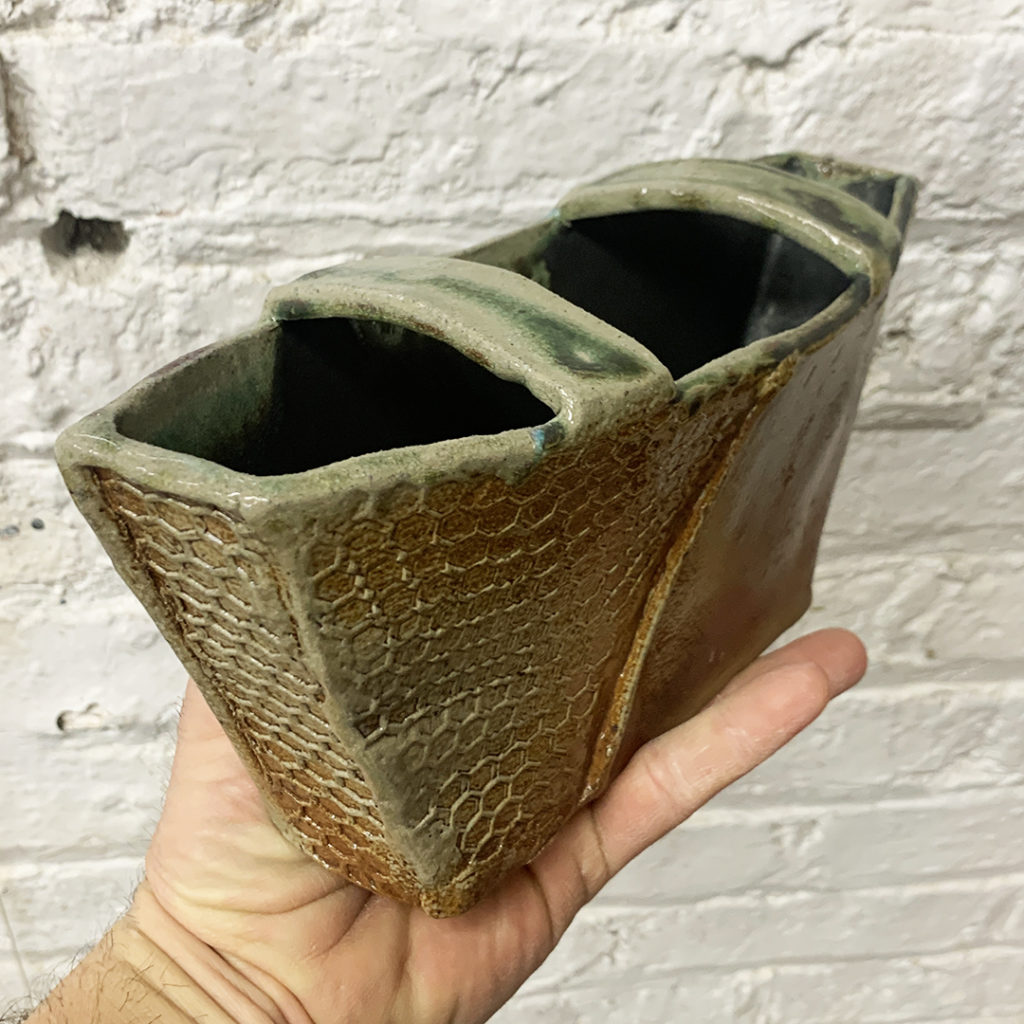
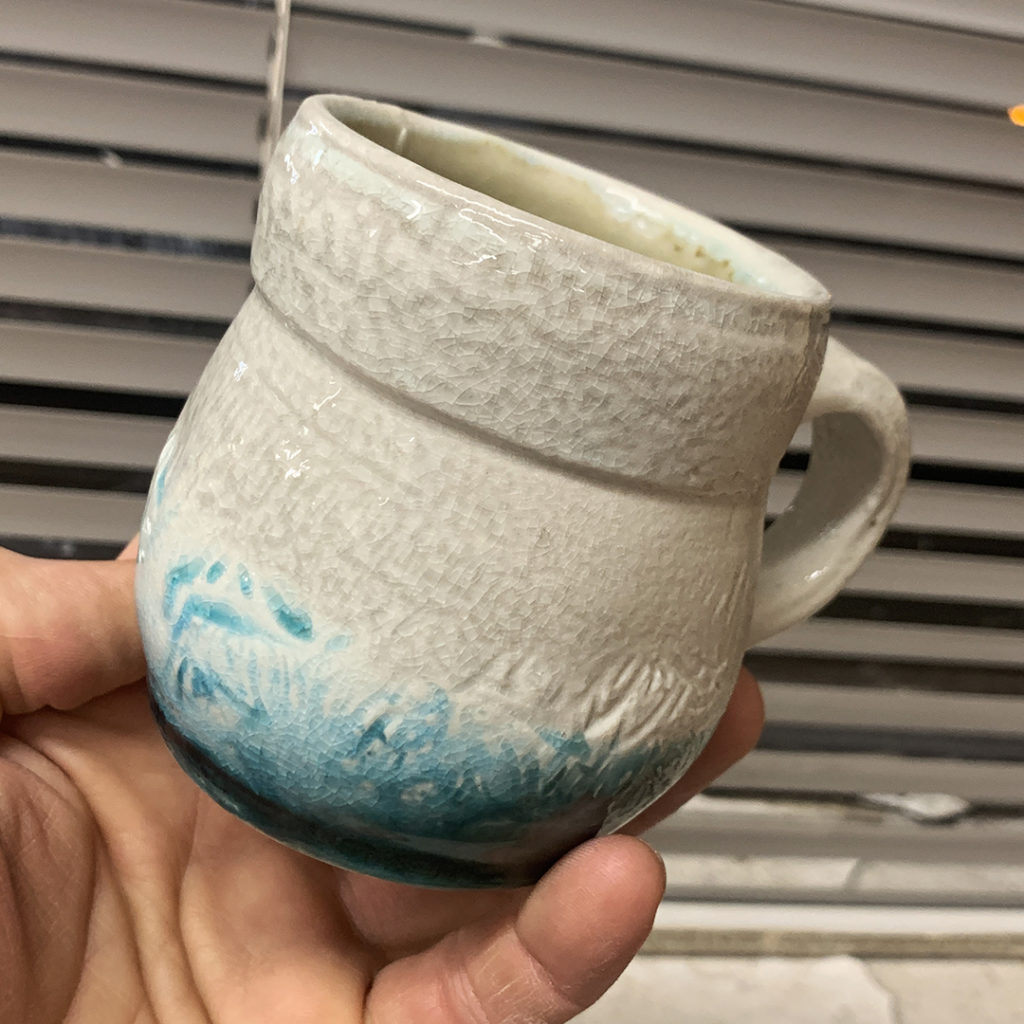
Okay, so this may have been my favorite pot from the entire LILLSTREET SODA-FIRING WORKSHOP… because it comes with a great story!
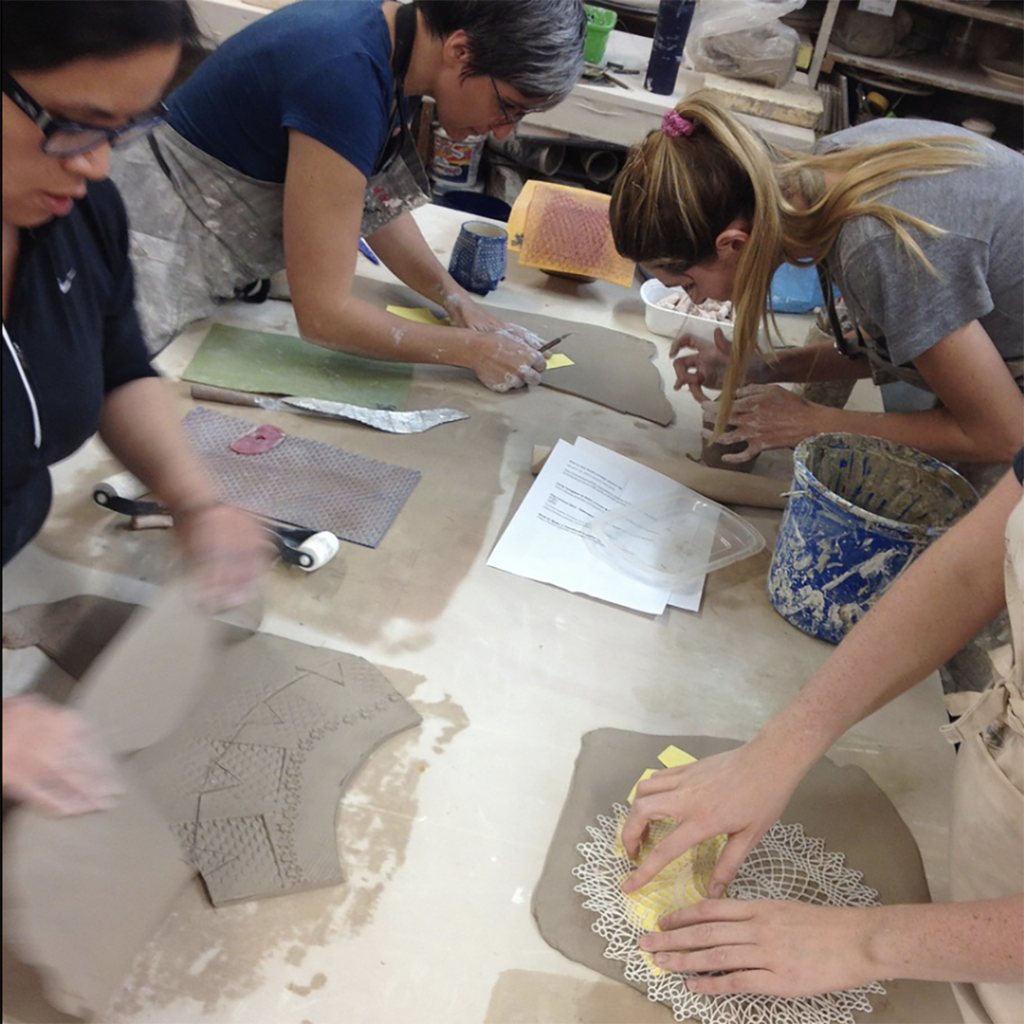
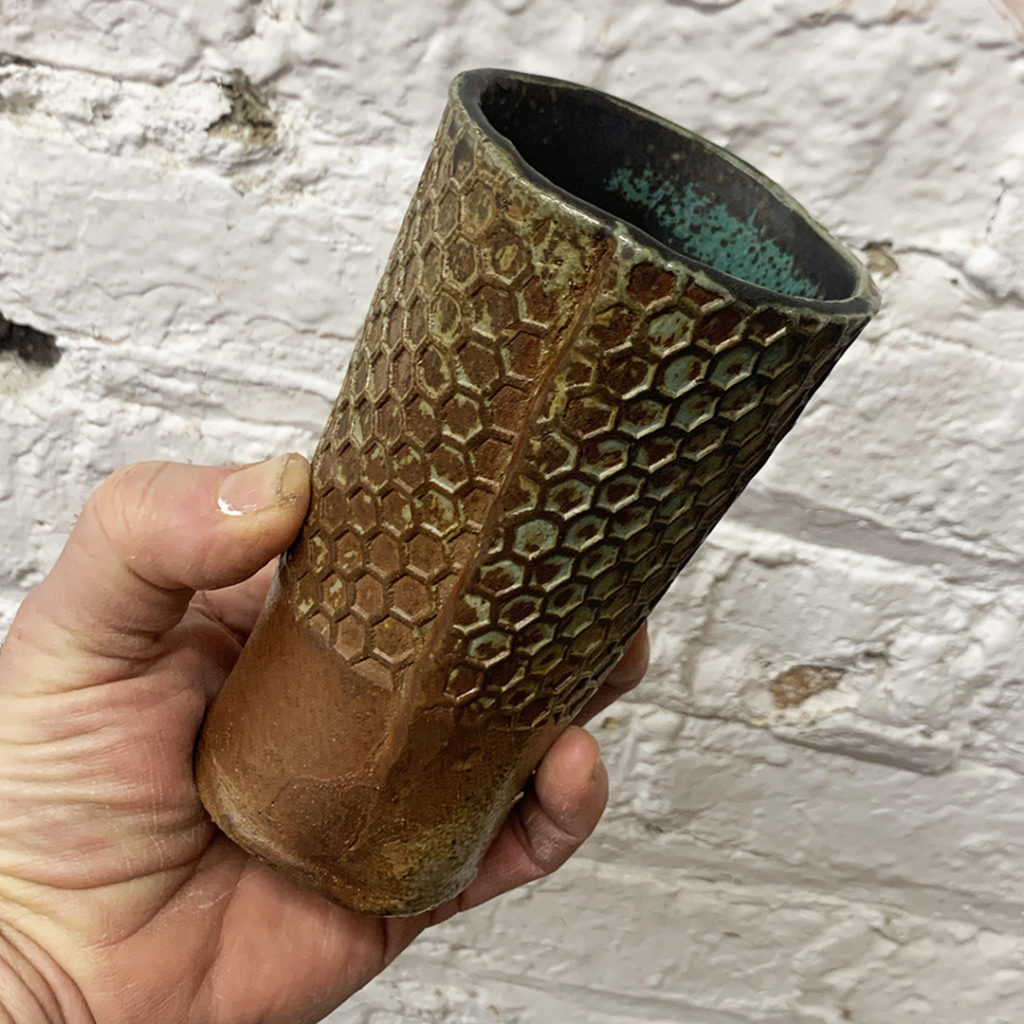
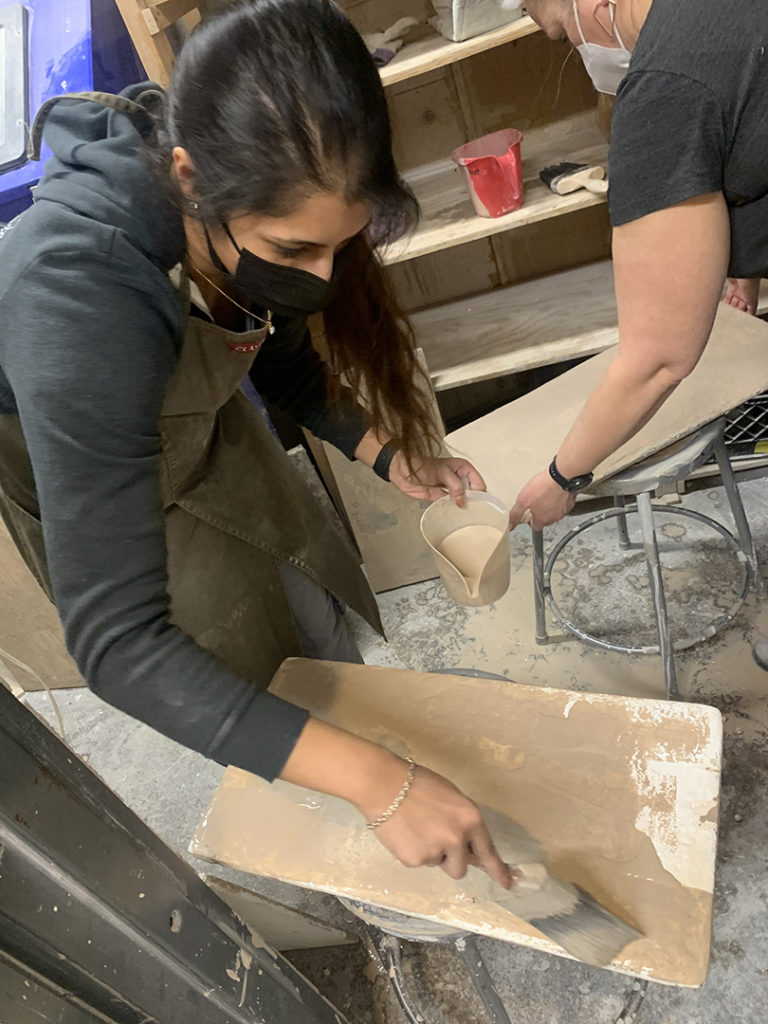
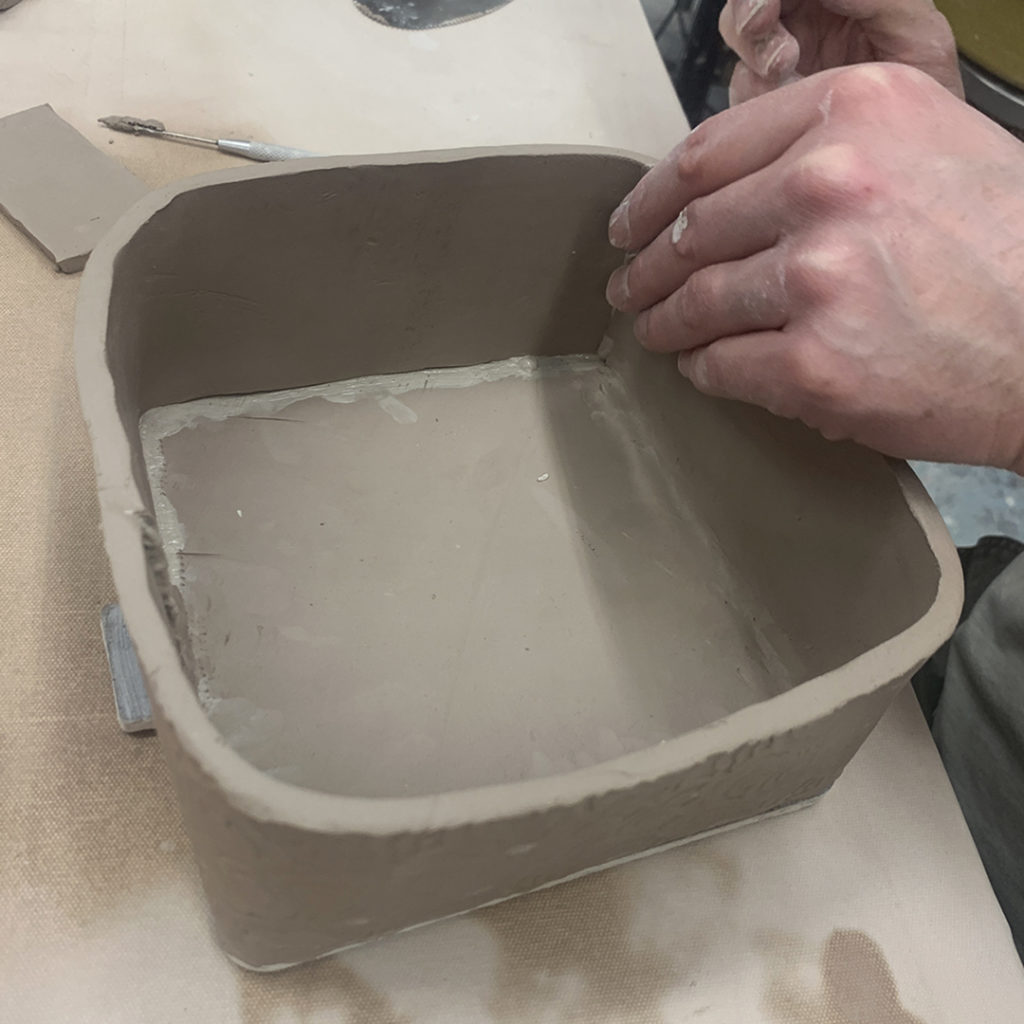
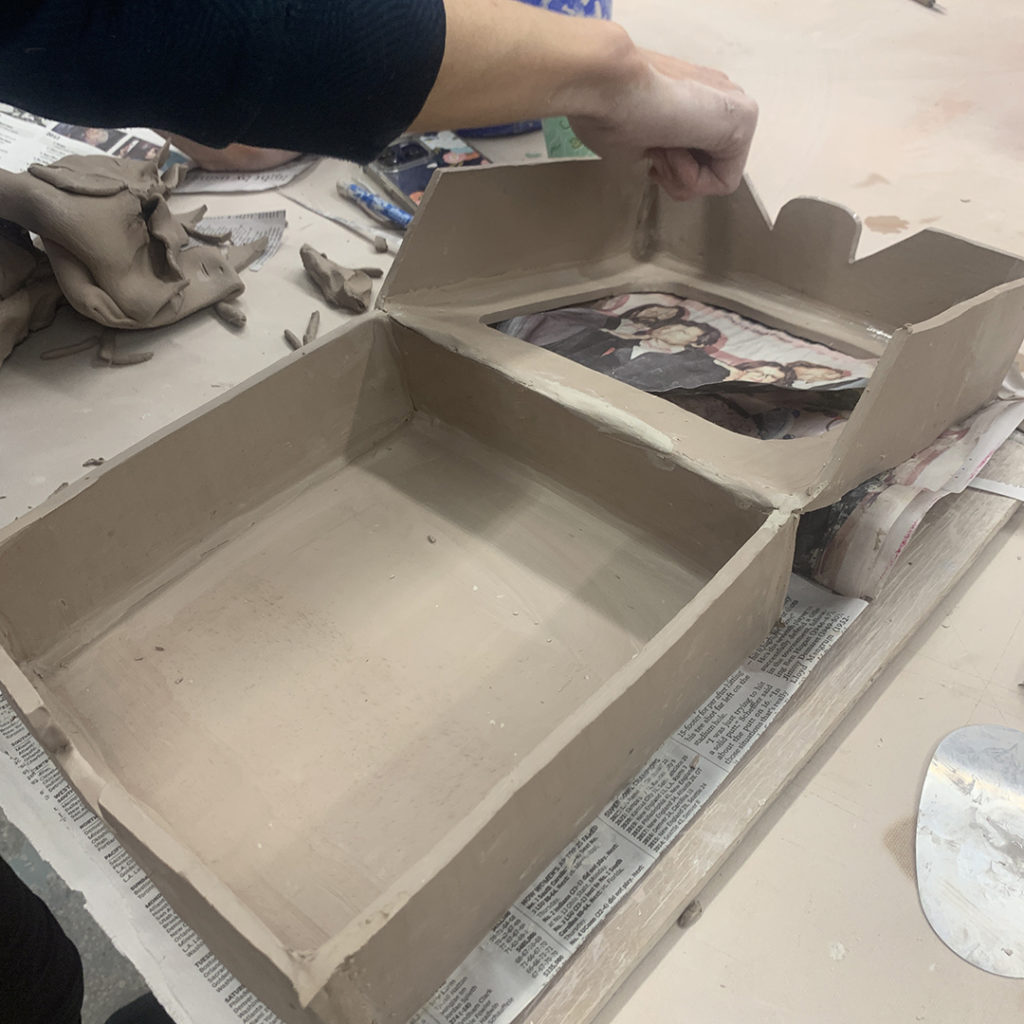
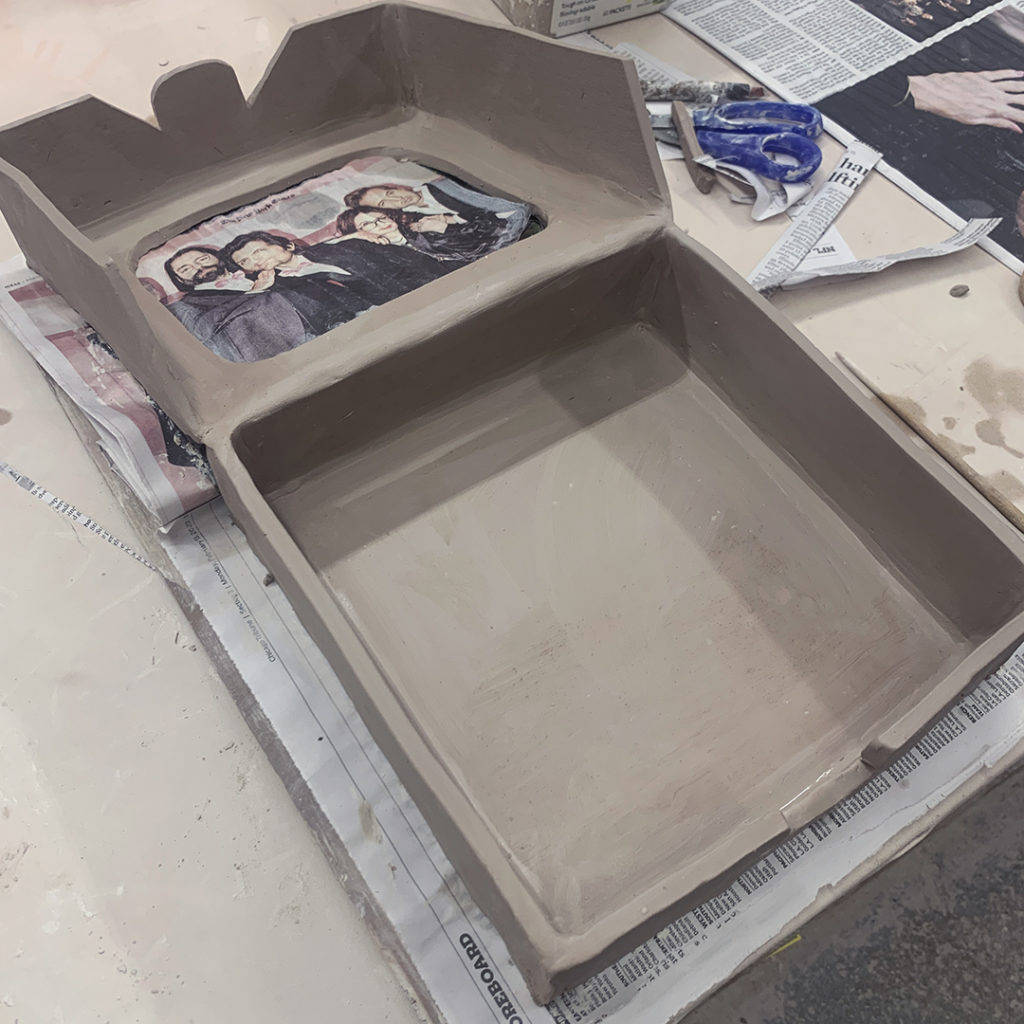
So back in 2017, Carmina was in my beginning wheelthrowing class. But for one of our classes we focused on handbuilding. San Francisco potter Kate Chenok had contacted me as one of my Facebook Fans saying that she was coming to Chicago and asked if she could stop by for a visit… and I said yes, of course… but then I encouraged her to do a class demo while she was here. She was so gracious and did an AMAZING demo for my class. She brought her templates and showed my class how to make these cute textured-slab-darted cups. So the story is… that Carmina made this cup back in 2017… and has been wondering how to glaze it ever since?! Until this workshop…so SIX YEARS LATER it is finally done!!!
Good save Carmina… I’m glad you waited.
To see more about Kate’s visit and the demos she did for my class… click here… http://firewhenreadypottery.com/2017/06/class-demo-by-a-visiting-artist-kate-chenok/
And then be sure to click here to see more of Kate Chenok’s work… https://www.glazedoverceramicsorinda.com/