11.14.2023
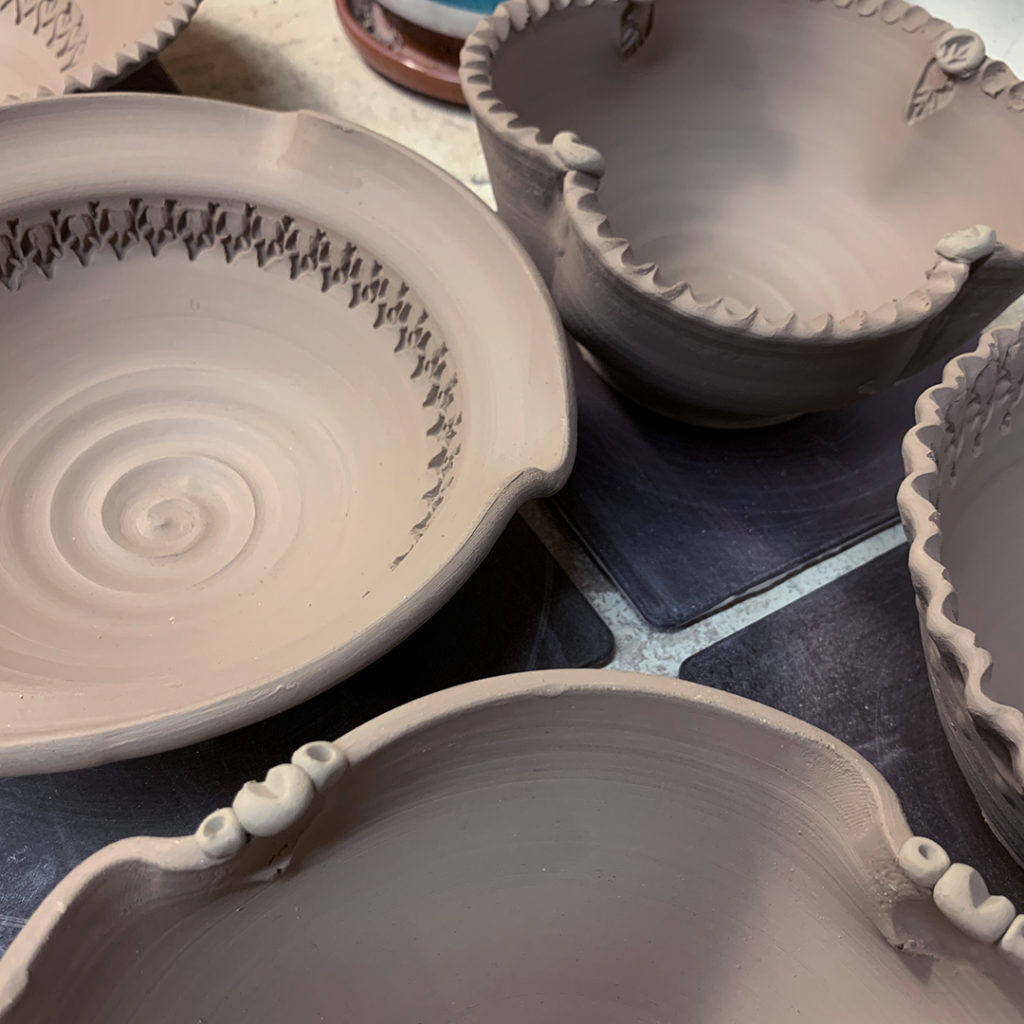
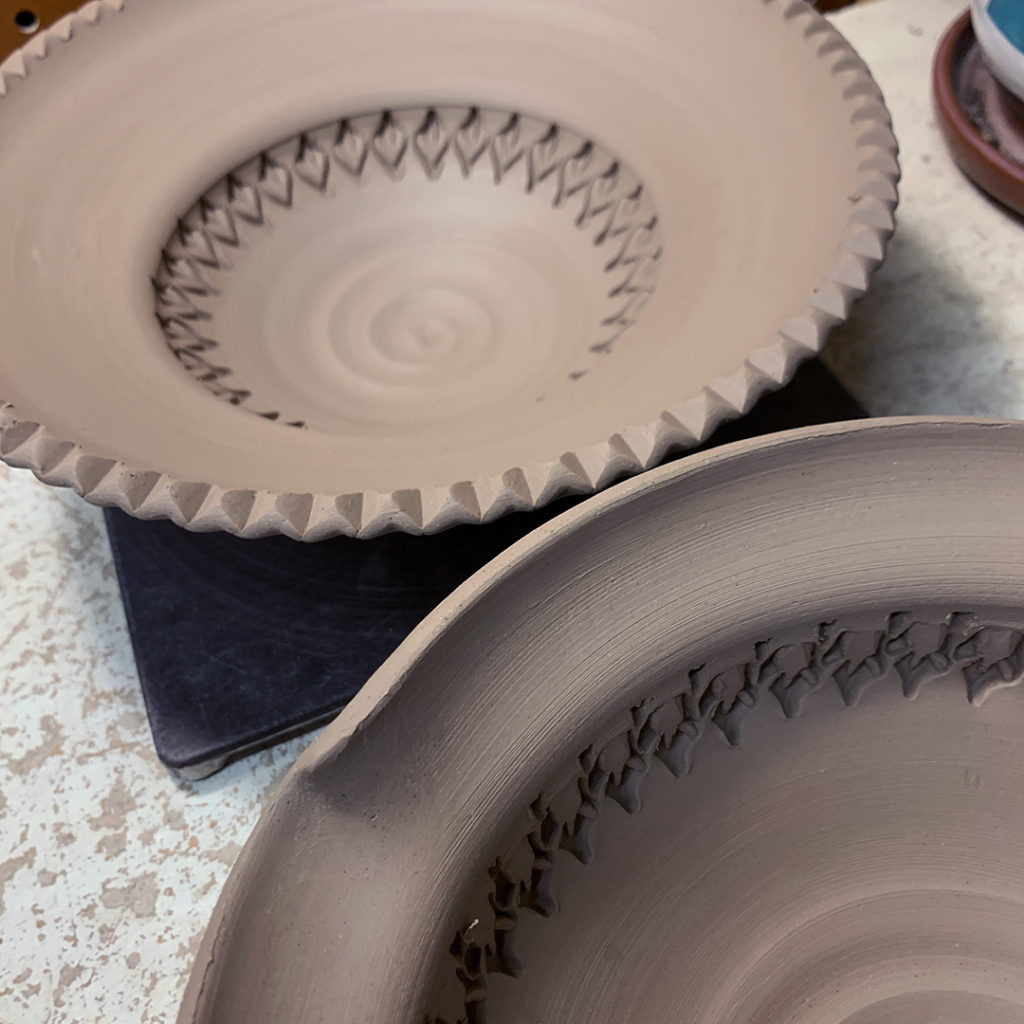
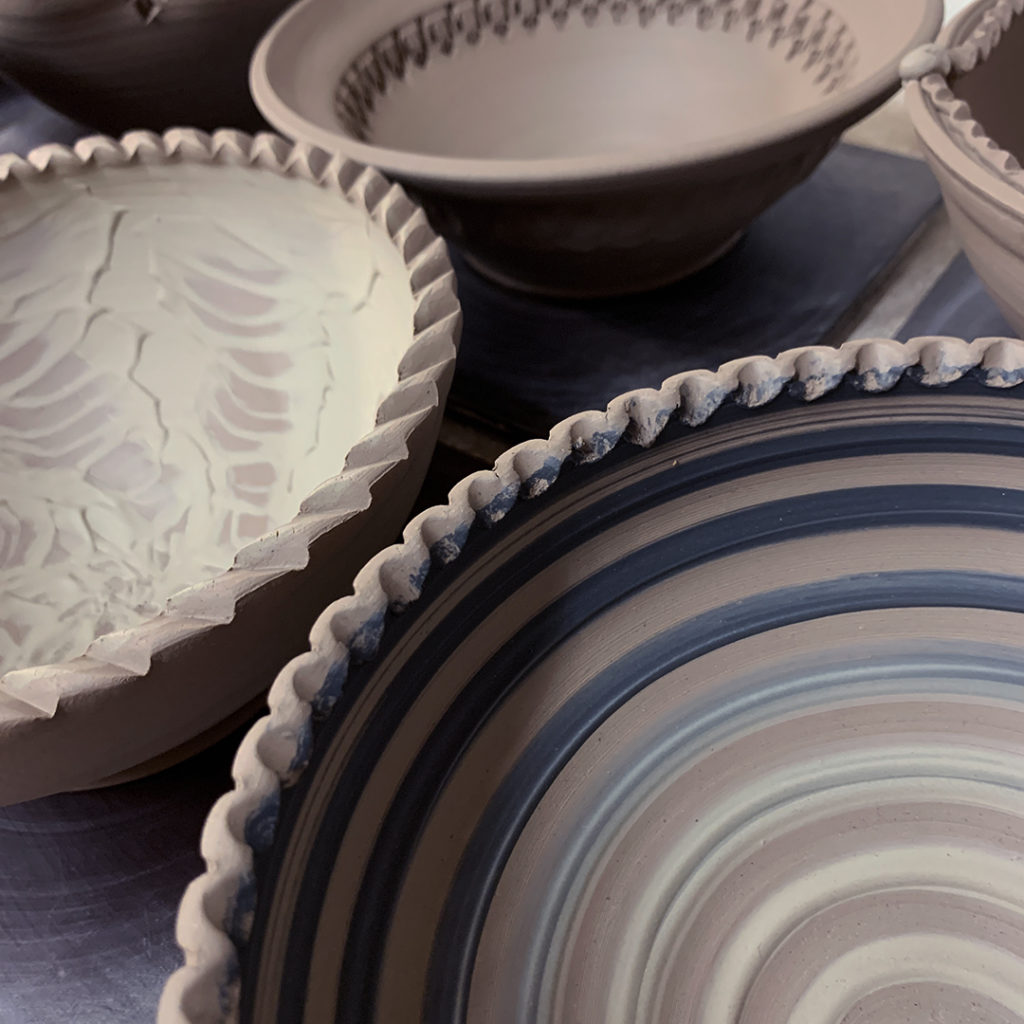
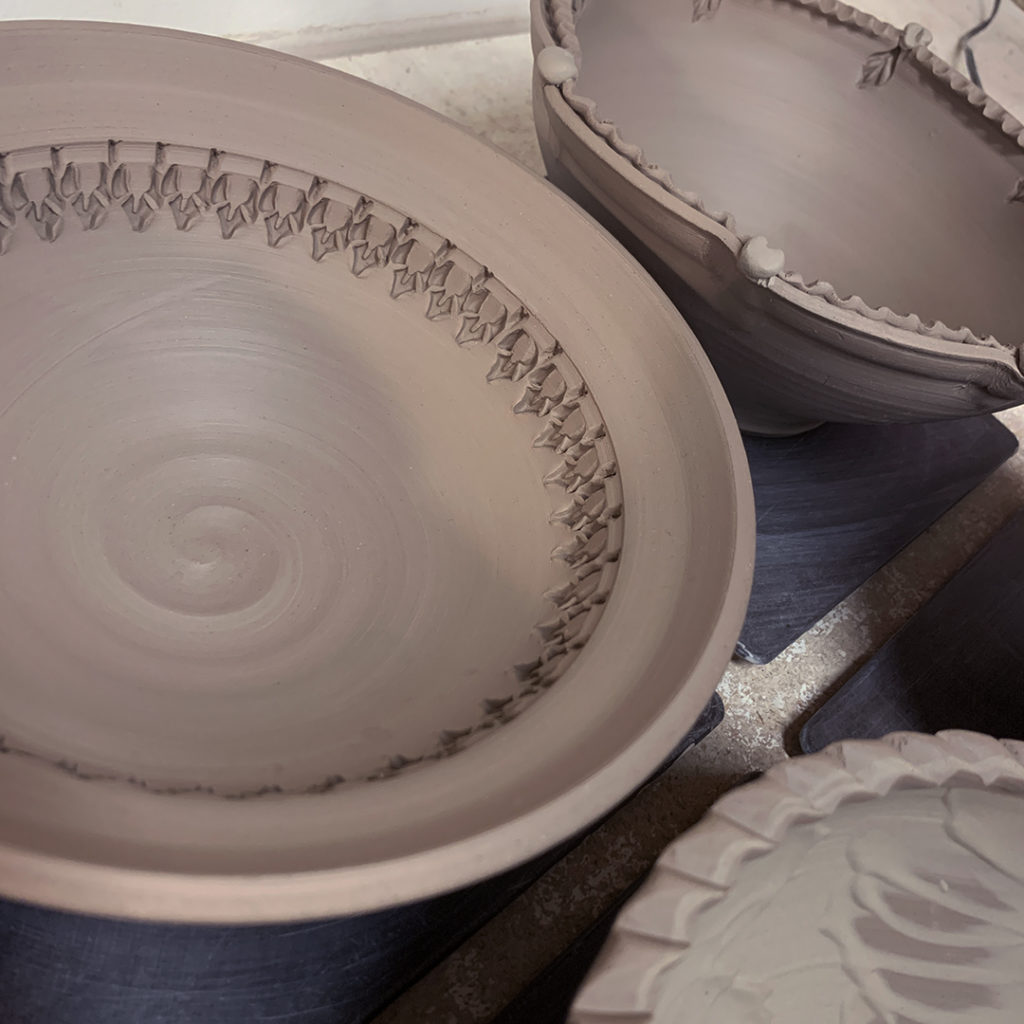
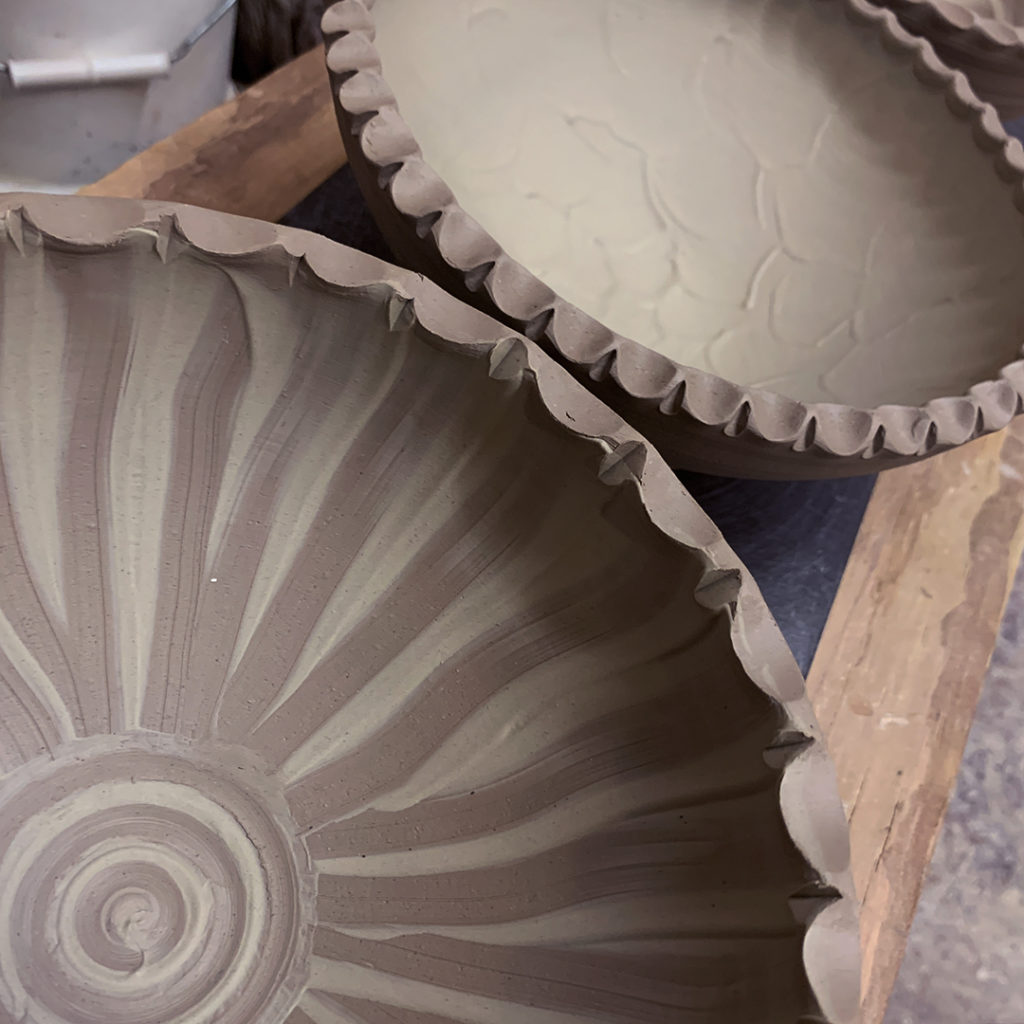
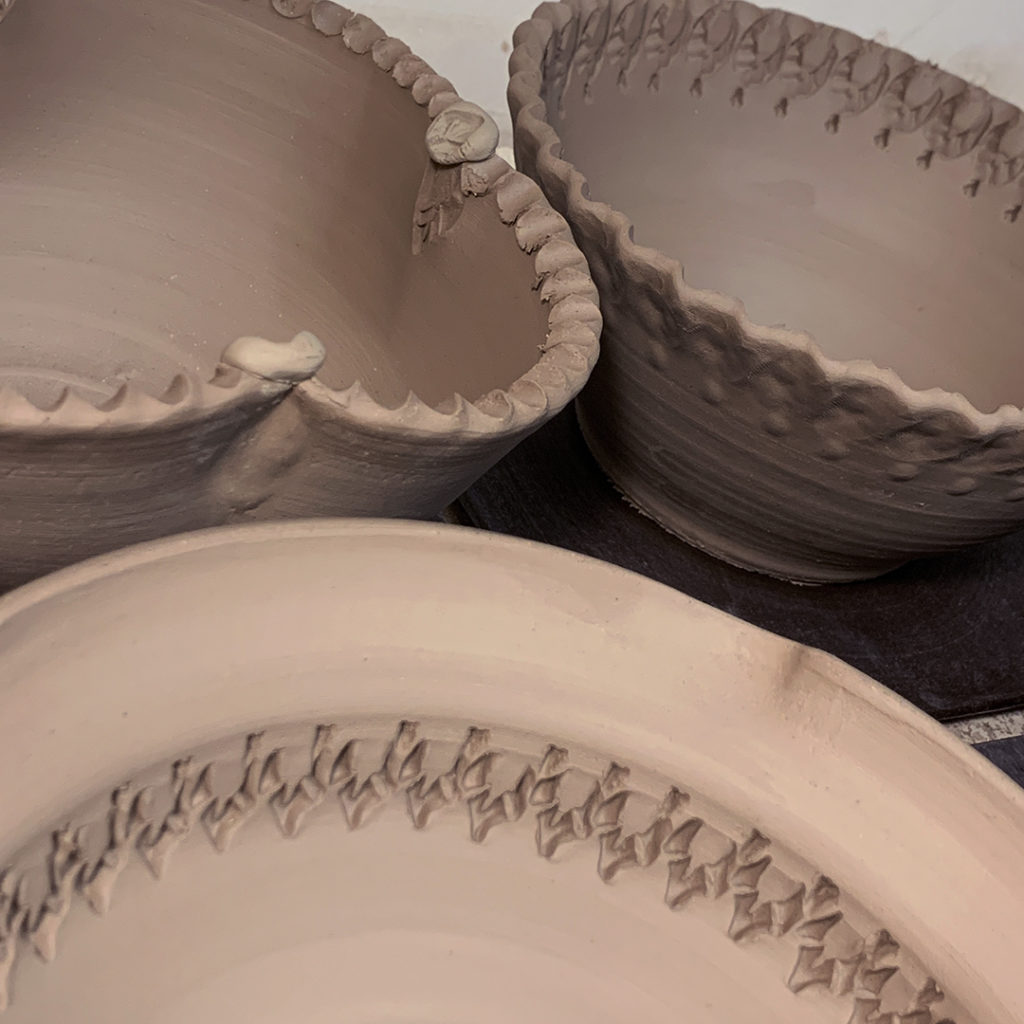
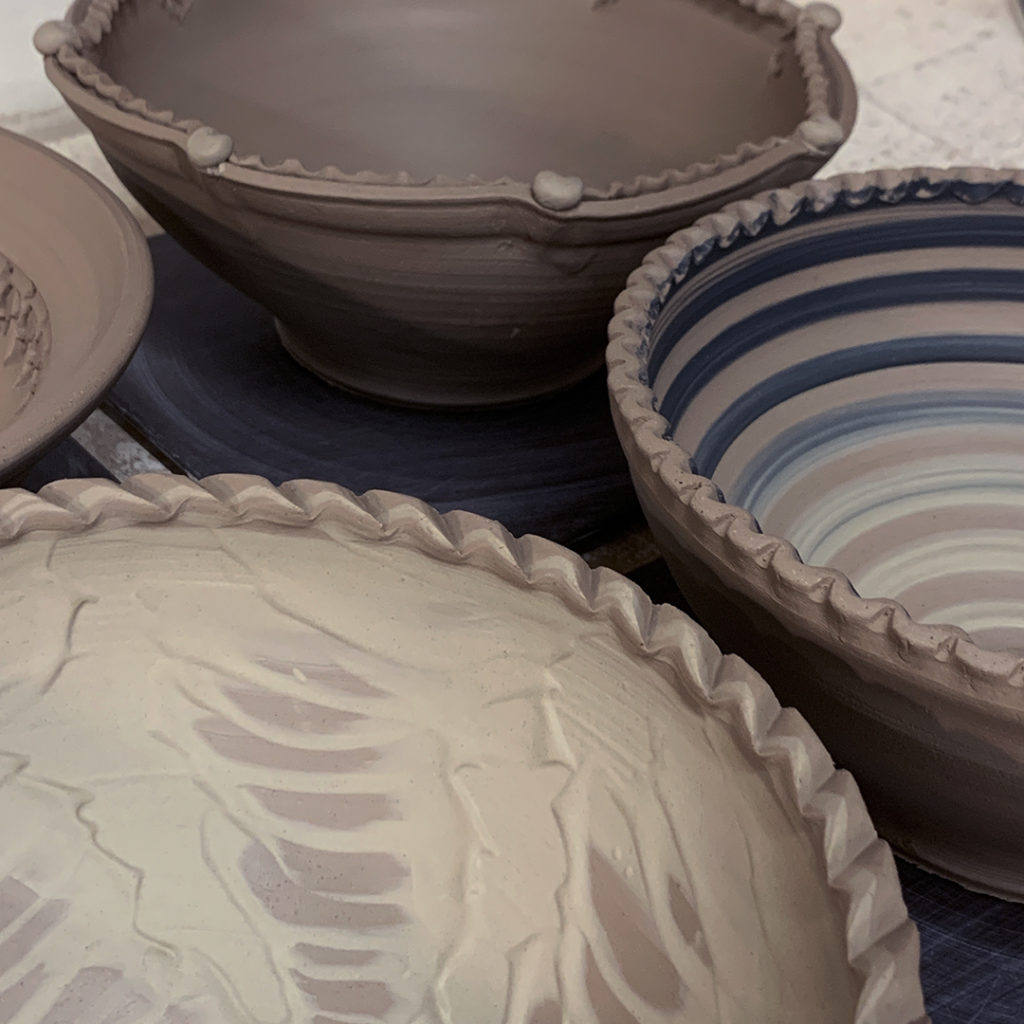
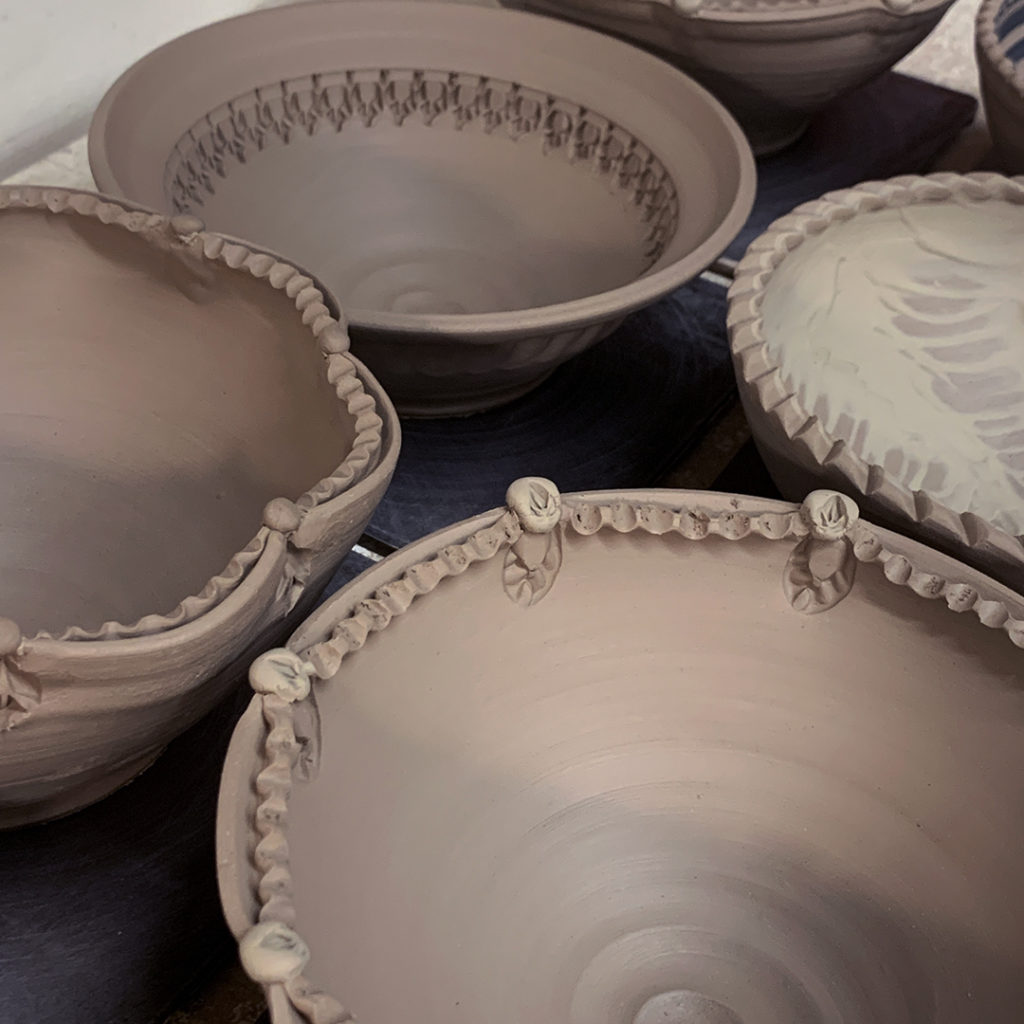
Tonight was the last class for my Beginning Wheelthrowing class… celebrating again with a potluck & a “trading-stealing-exchanging” game. Category for the trade was a “not-so-basic bowl”. While the theme for our potluck was “Dips And The Vehicle To Get Them In Your Mouth .”

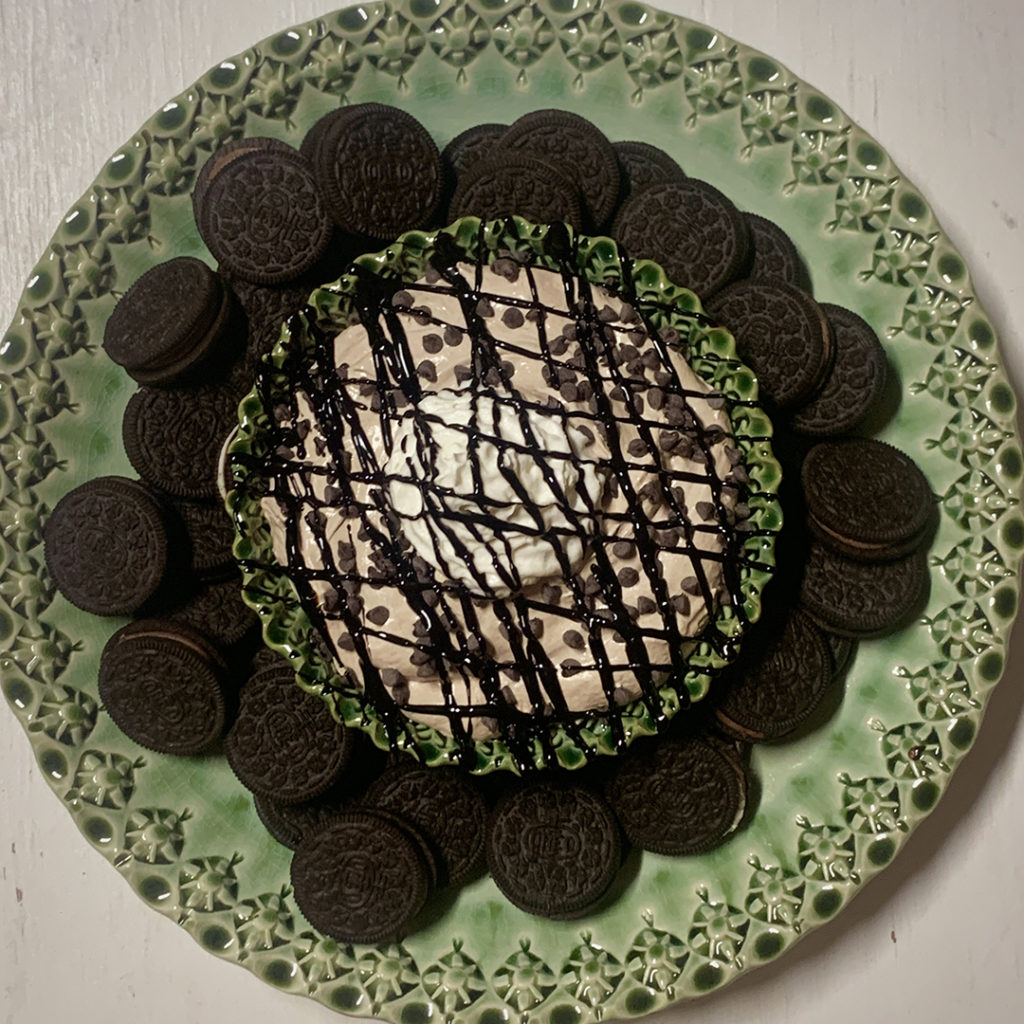
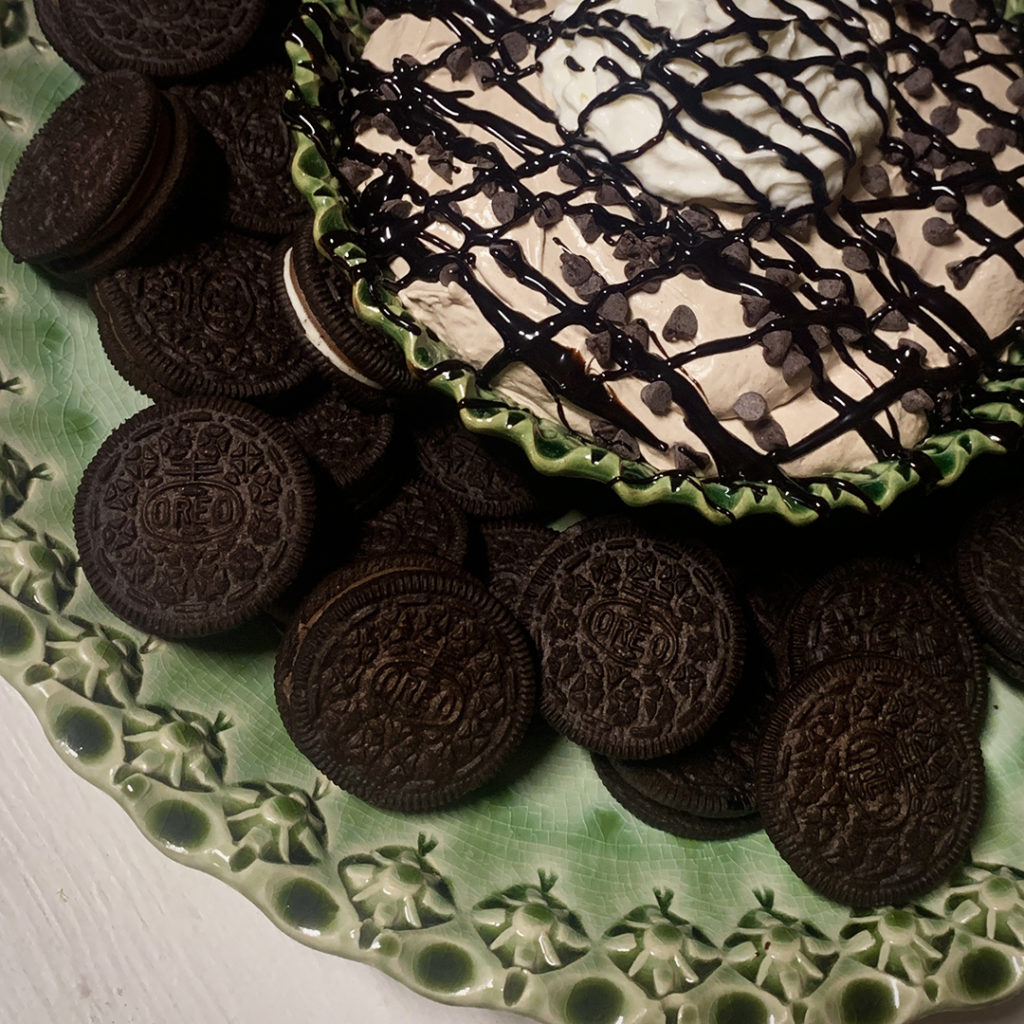
I decided to up-my-game, and yet stay brand loyal… with Hot Cocoa OREO’s and a fluffy Hot Cocoa Dip!!! A double whammy of yummy goodness!!!