01.29.2024
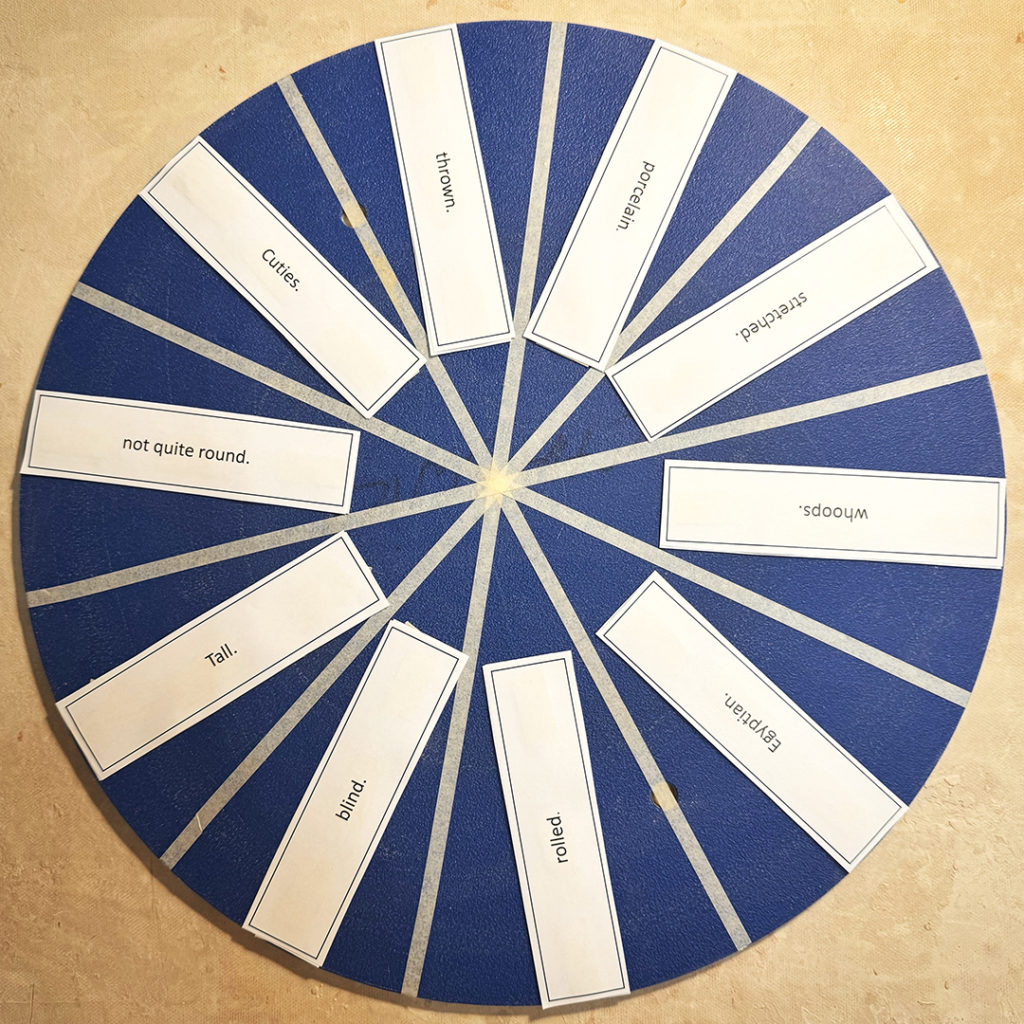
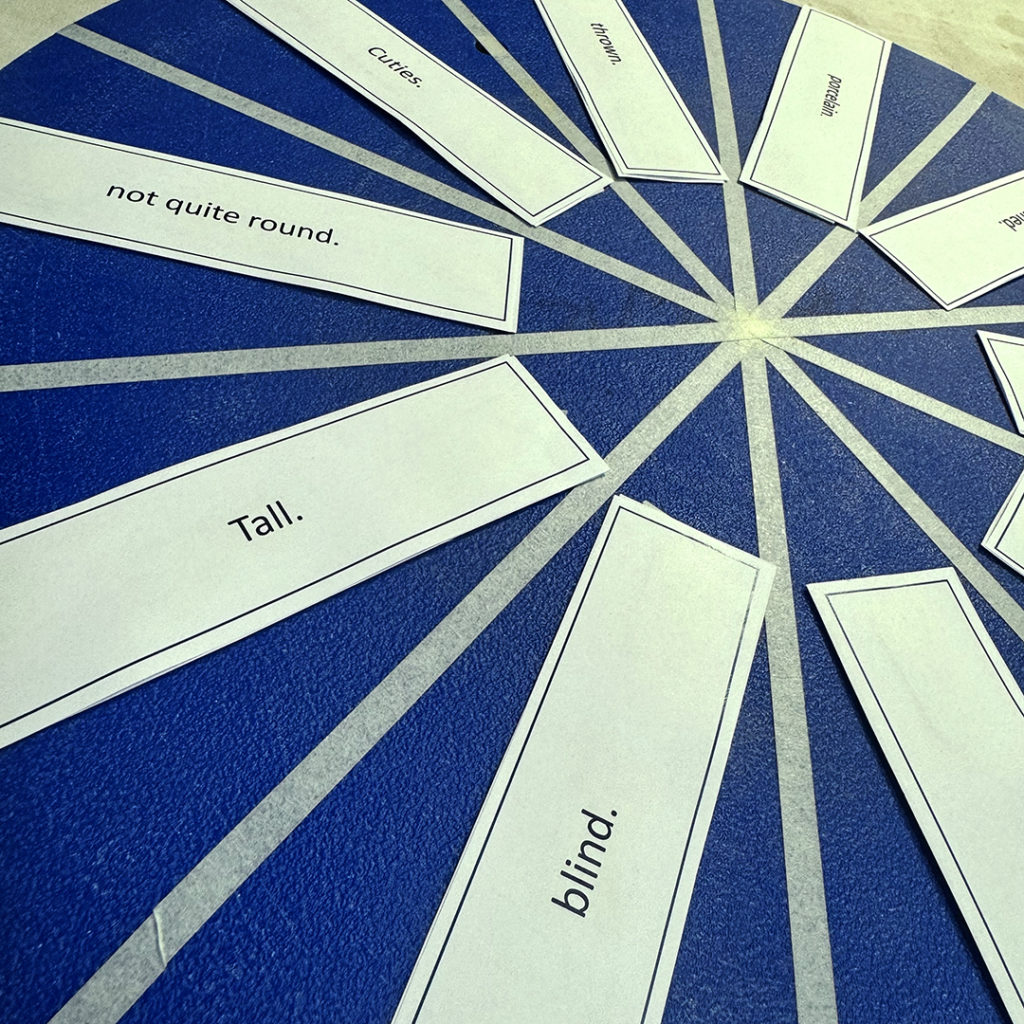
Last week in THE GREAT LILLSTREET THROWDOWN class, I challenged my students
to spin the “Wheel Of Challenges.” And then hilarity ensued… as we let the games begin!!!
Gary Jackson: Fire When Ready Pottery
A Chicago potter’s somewhat slanted view of clay & play |
Last week in THE GREAT LILLSTREET THROWDOWN class, I challenged my students
to spin the “Wheel Of Challenges.” And then hilarity ensued… as we let the games begin!!!

Last night was the kick-off of “season six” of the GREAT LILLSTREET THROWDOWN class! So exciting, as this is my favorite class to teach every year during the Winter session of classes. We started with each student throwing their own version of their “perfect” dinner plate… with some of them making their first plate EVER!!!


Once they finished the first plate, they were then challenged to make a second plate to MATCH!!! They had a great time followed by some good discussions & critiques.


And oh, but wait there’s more... their “homework” is to now decorate two plates to make their “matching” set solely with SLIP TRAILING!!! Again, a technique several of them have never tried before… more to come next week!

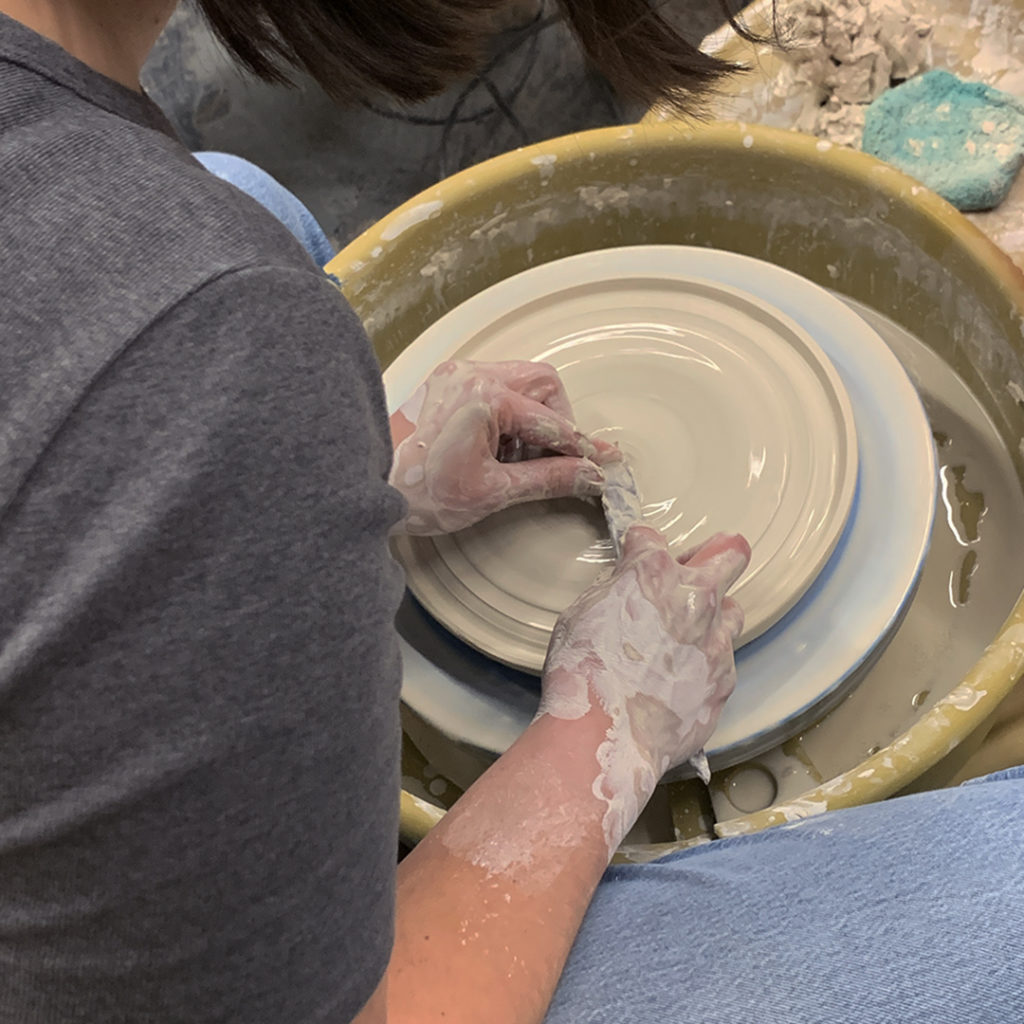
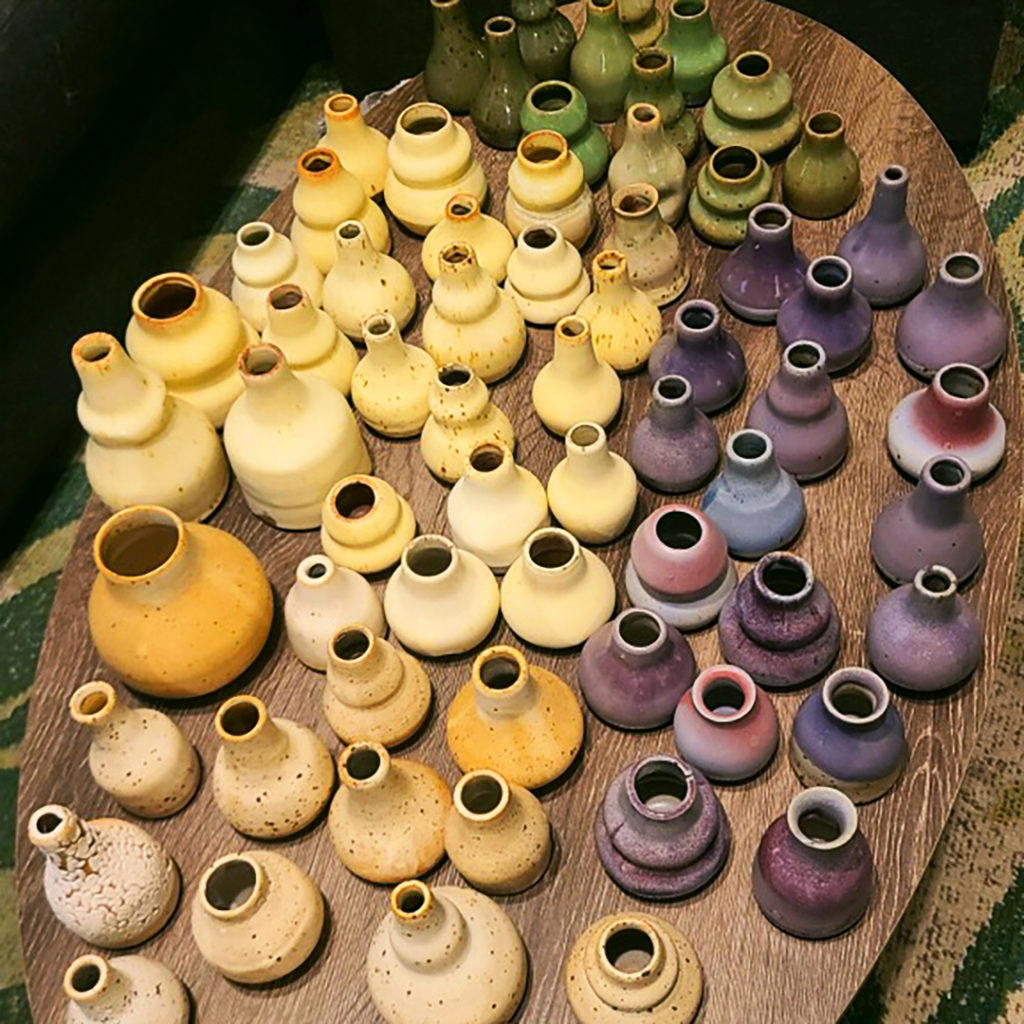
It’s been a long time coming, but one of my Advance Beginning Wheel students is finally coming towards the end of her “challenge.” Tessa is getting married in 2024… and decided in class a couple sessions ago to make a small “cutie-patootie” vase for everyone at her wedding. So Tess has been throwing off-the-hump to make a LOT of little vases. It started with a much smaller goal of a couple per table… but “someone” may have encouraged her to make MORE so everyone could get one! And luckily, Tessa took on my challenge!!!
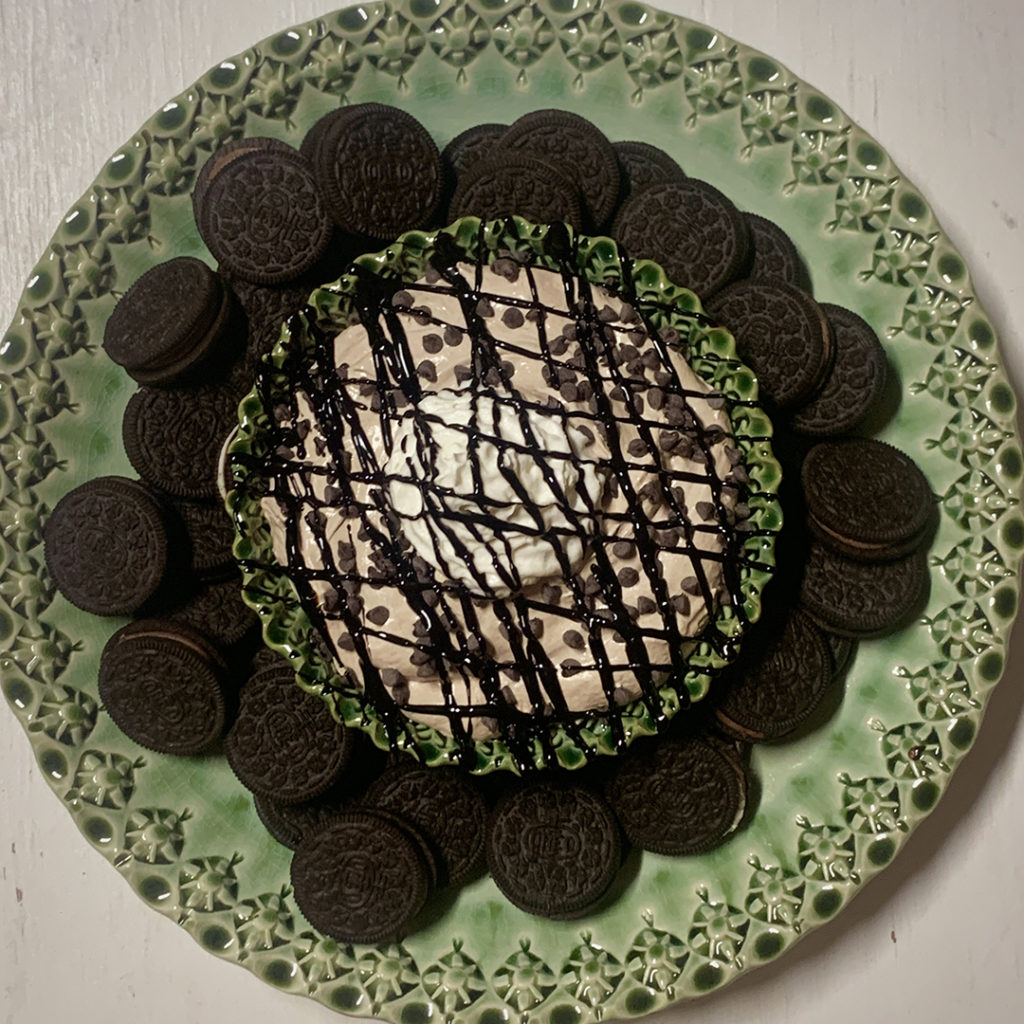
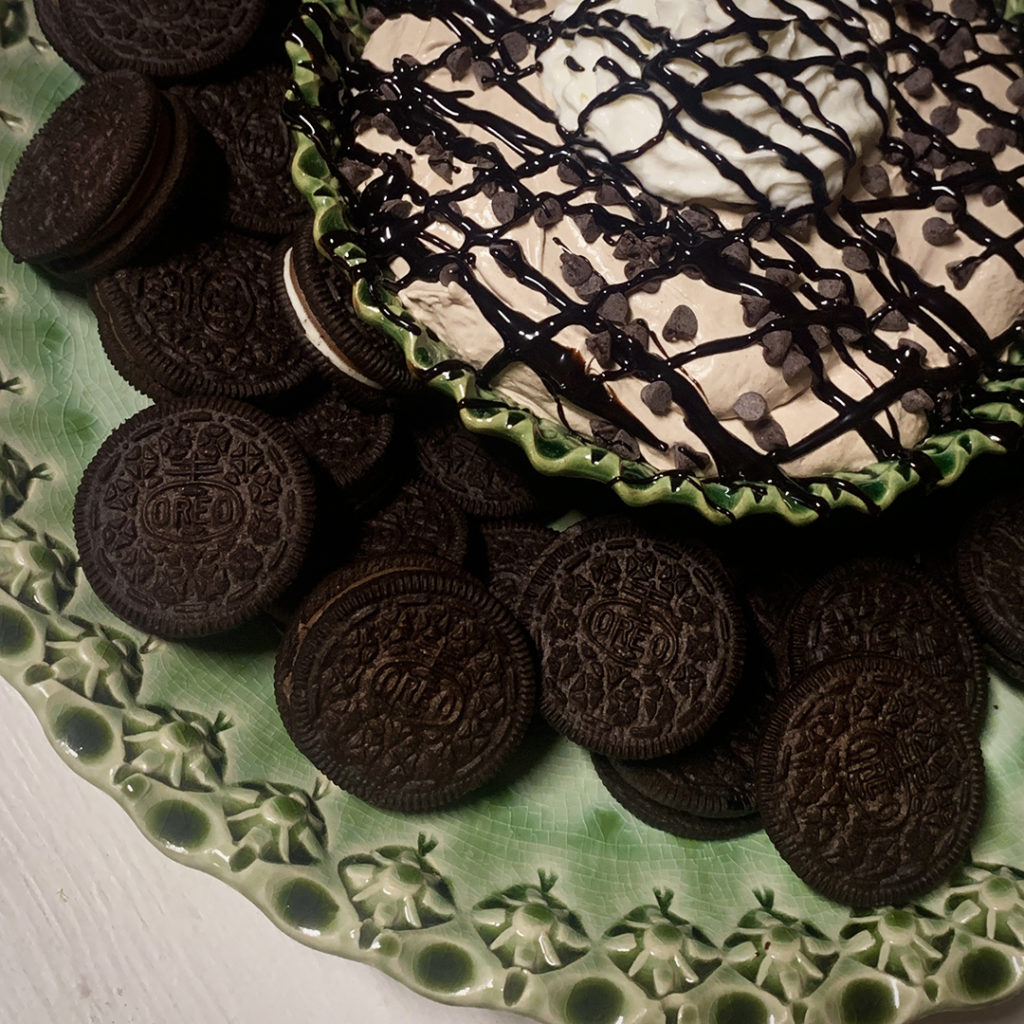
Tonight was the last class for my Beginning Wheelthrowing class… celebrating again with a potluck & a “trading-stealing-exchanging” game. Category for the trade was a “not-so-basic bowl”. While the theme for our potluck was “Dips And The Vehicle To Get Them In Your Mouth .”

I decided to up-my-game, and yet stay brand loyal… with Hot Cocoa OREO’s and a fluffy Hot Cocoa Dip!!! A double whammy of yummy goodness!!!
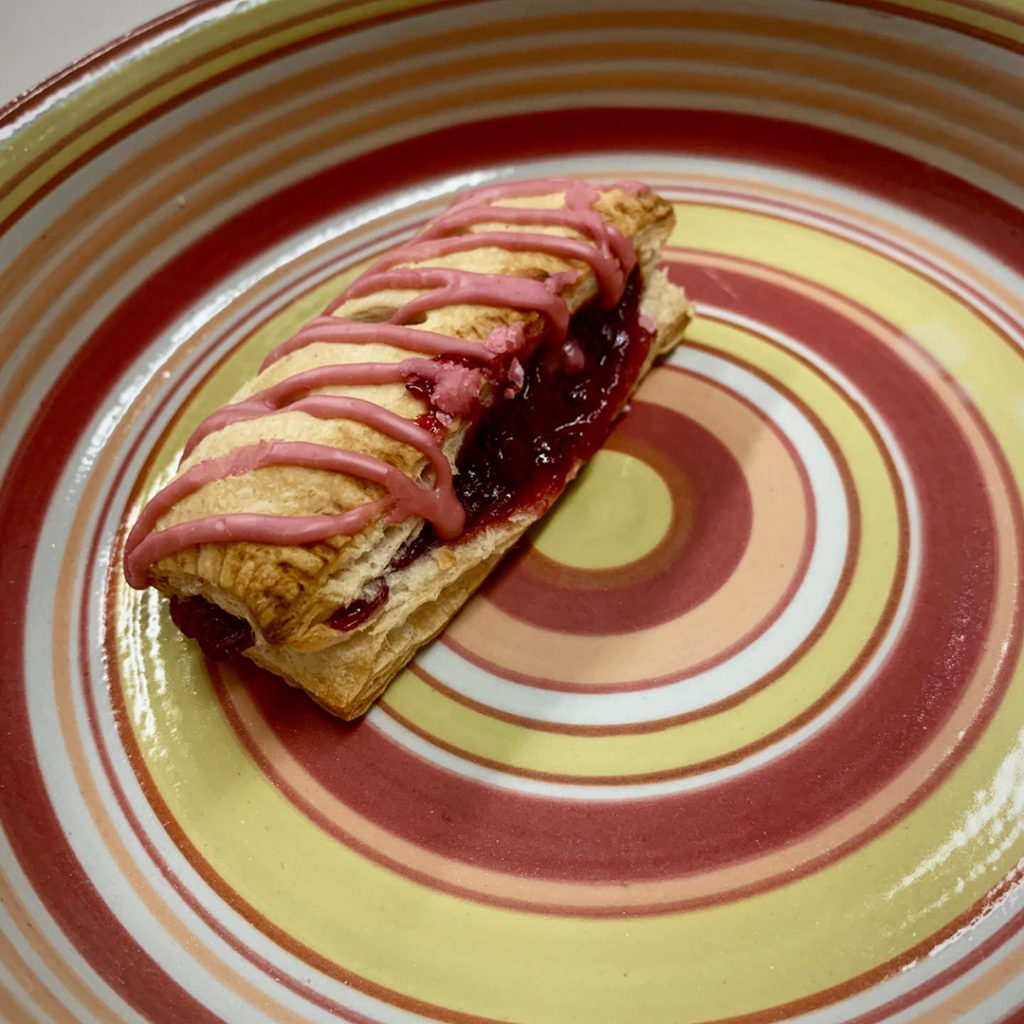
By the end of class tonight, I came away with this beautiful pie plate made by Christine… a former student who just wanted to be part of our game!!! And the last of Martin’s tart cherry pie-lets?… pocket pie?… fold-over… ??? Well, whatever you call them… they were AMAZING!!! And look pretty amazing in Christine’s retro striped pie plate too!!! Great game, great potluck & such talented students this session!!!

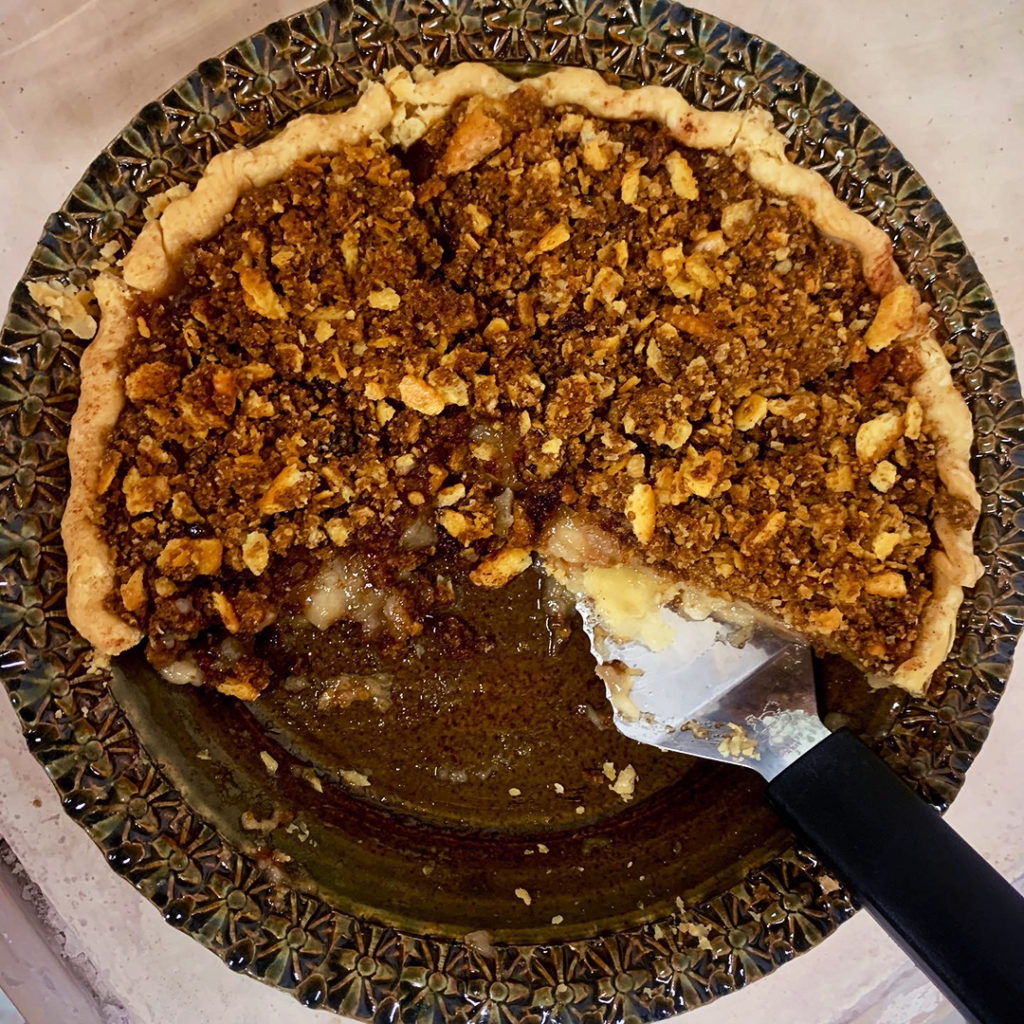
And there it is… hot out of the oven & just in time for the potluck at tonight’s Wheelthrowing class!!! A fun pie that tastes, smells & looks like apple pie… with absolutely NO APPLES!!! No apples, no apple juice, no applesauce… nothing!!! Just a bunch of boiled crackers!!! Go figure… but in a handmade pie dish to make it look a little nicer!
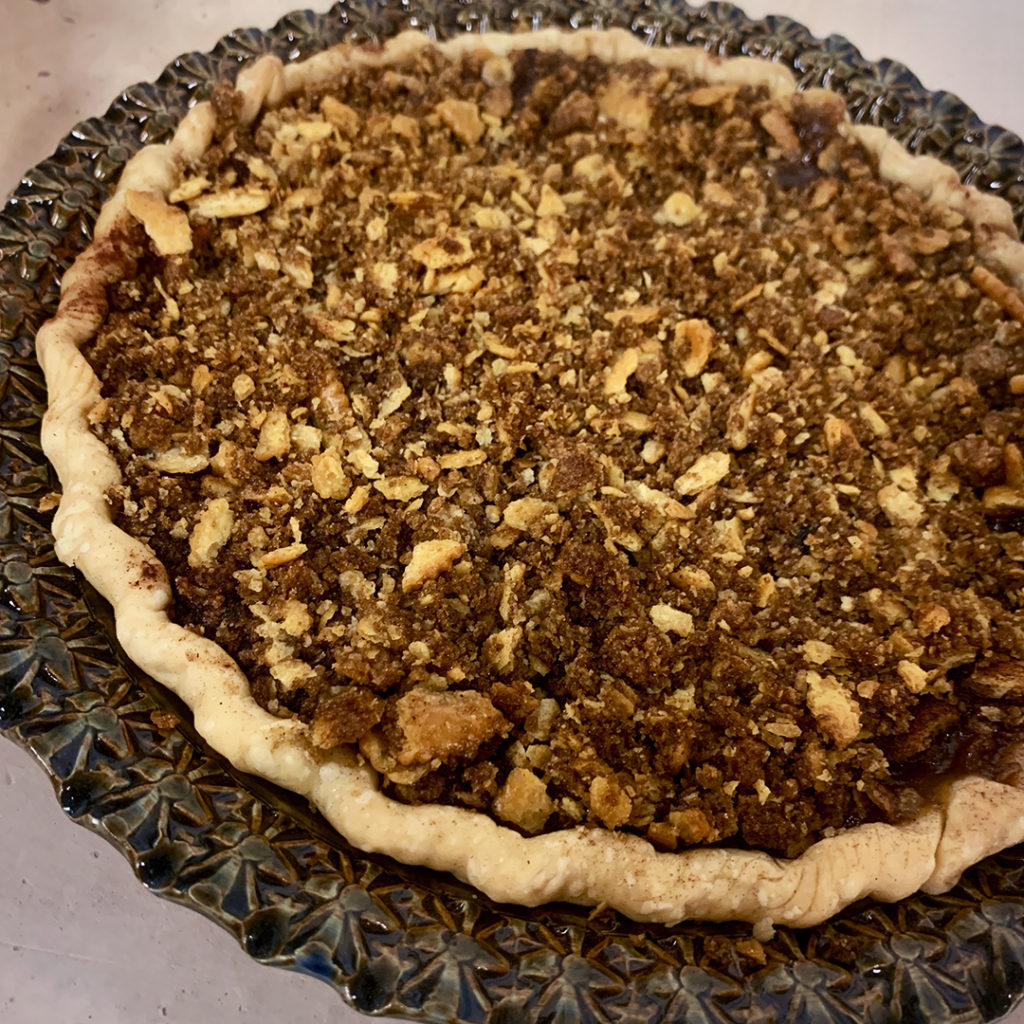
You gotta know the pressure I was under… knowing the Martin our “Top Baker” would be judging my efforts. I figured I could never win with a “real” pie… but maybe some bonus points for this quirky throwback recipe?!
Tonight was the last class for my Intermediate Wheelthrowing class… with a potluck to celebrate!
So I had to step-up and throw something together quick before class!!!
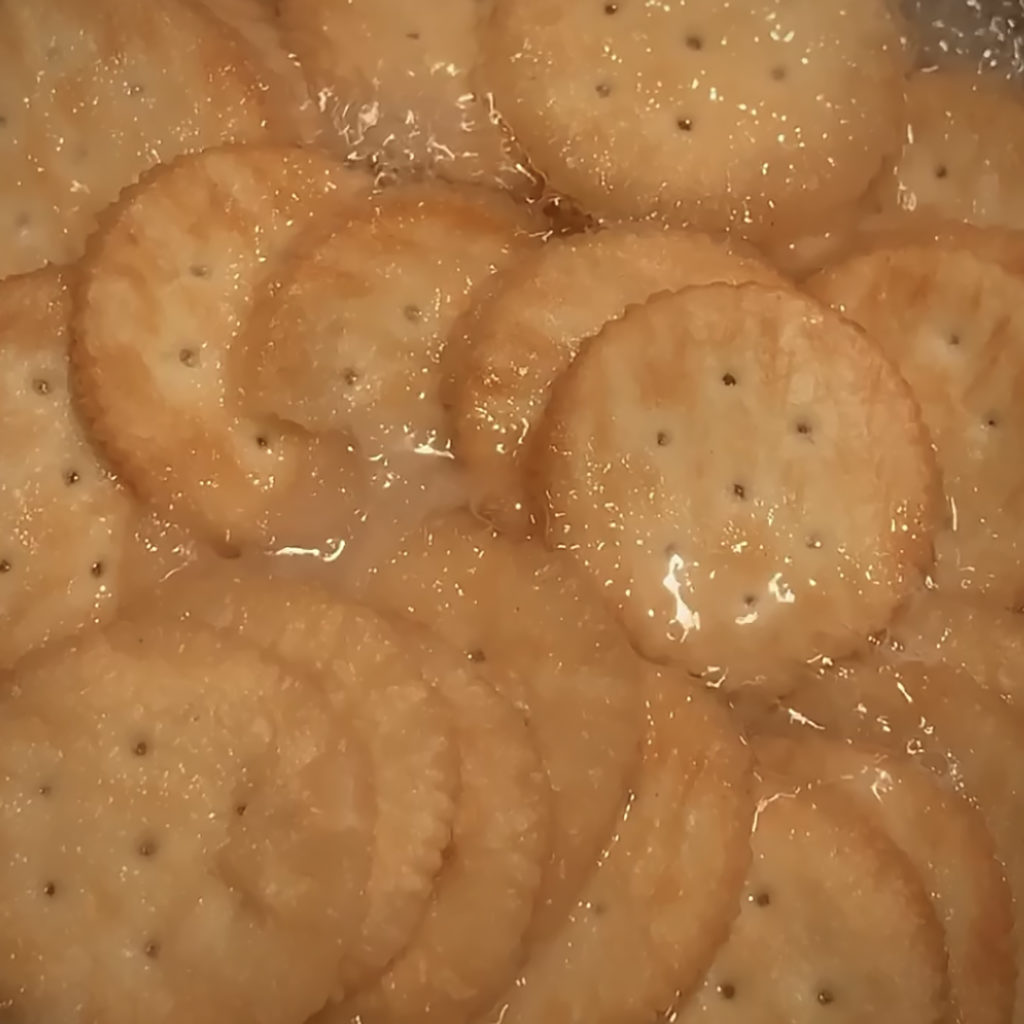
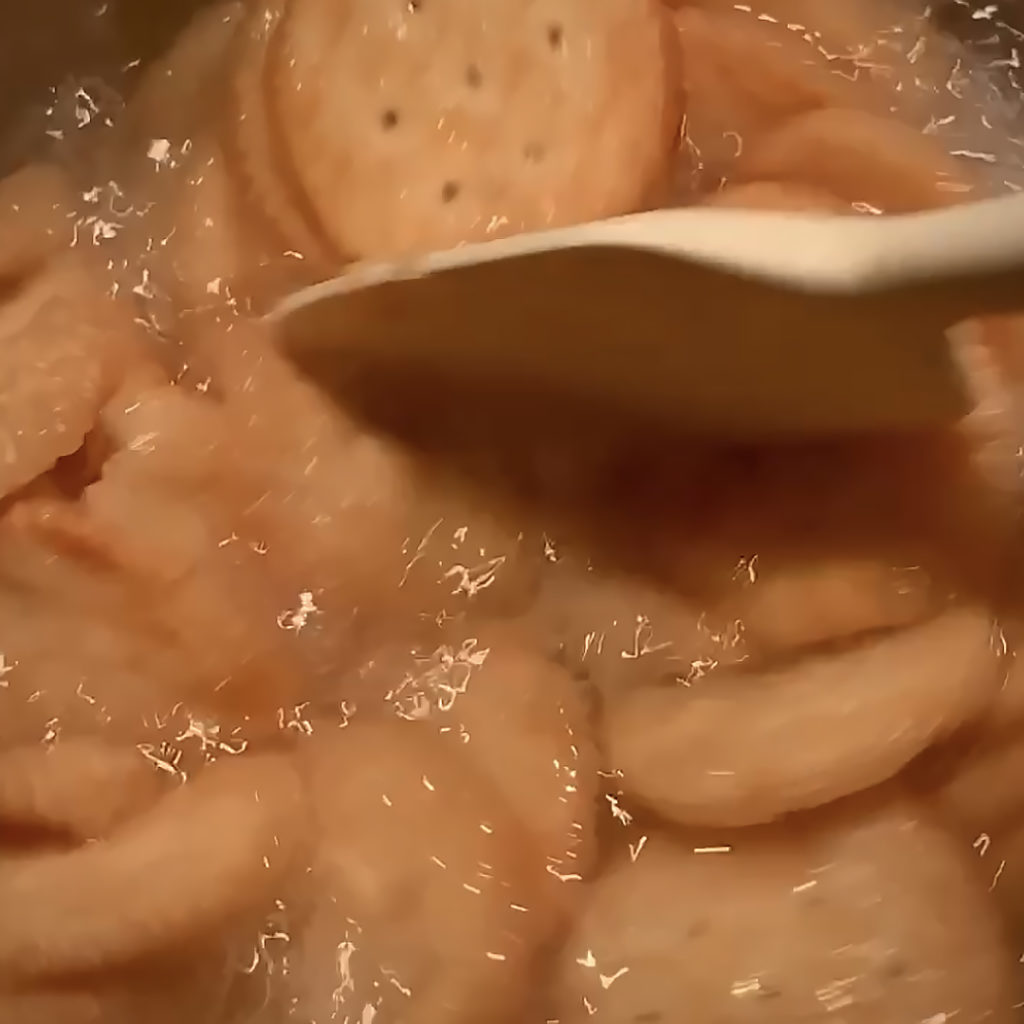
Still boiling… it’s coming together. Soon to be pie filling!!!
While we do get some pottery done in my classes, we do like our sweet treats too! And last night Jen brought a huge bag of “freshly-picked-that-morning” apples to class for all of us! Heirloom & organic from her family’s farm… two varieties… and so many we all left with a bag full! So nice, so yummy… thanks Jen!!! They might just wash down some of the cookies & candies we’ve been eating in class lately! HA!

Last night in class we had some pre-Halloween sweet treats! Yummy mummies from our own “Star Baker” Martin… lemon verbena shortbread complete with his own homegrown lemon verbena!!!


Plus the creamiest-ever peanut-butter buckeyes by Barclay!
A yummy way to kick-off our on-going holiday of Halloween treats!!!


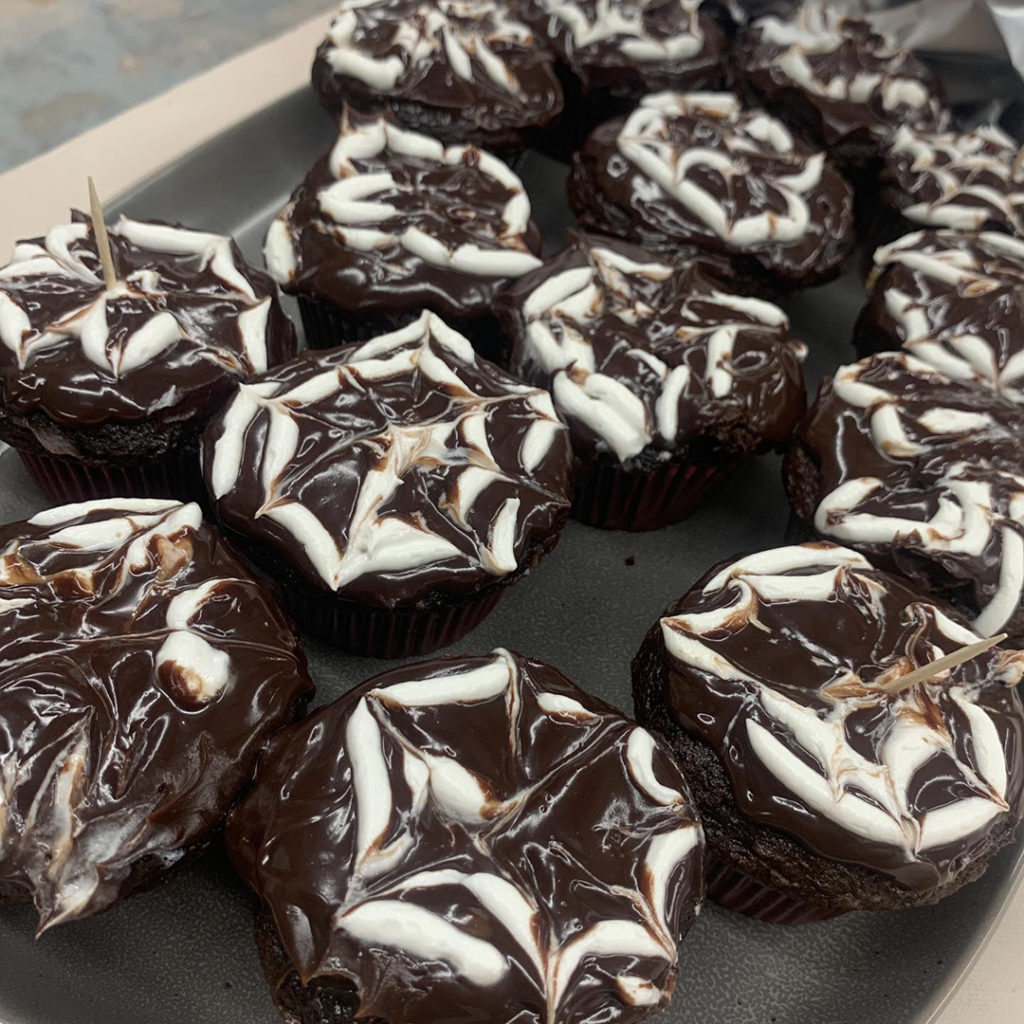
Last night in my pottery class we had some sweet treats again! One of my students made these AMAZING cupcakes as a “test run” for a Halloween Party next week. She was being so hard on herself as she hated how the chocolate ganache & white piping didn’t drag together with a toothpick to form cute spiderweb designs as planned. However… they were full of ooey-gooey chocolatey yumminess! And it didn’t hurt any that there was a hidden marshmallow frosting center inside!!! She hated them so much that she asked me not to mention her name in connection with said cupcakes?! Okay… but her name starts with a P… and rhymes with Riya! HA!!!
|
Gary Jackson: Fire When Ready Pottery
Lillstreet Studios ∙ 4401 North Ravenswood, Chicago, Illinois 60640 ∙ 773-307-8664 gary@firewhenreadypottery.com |