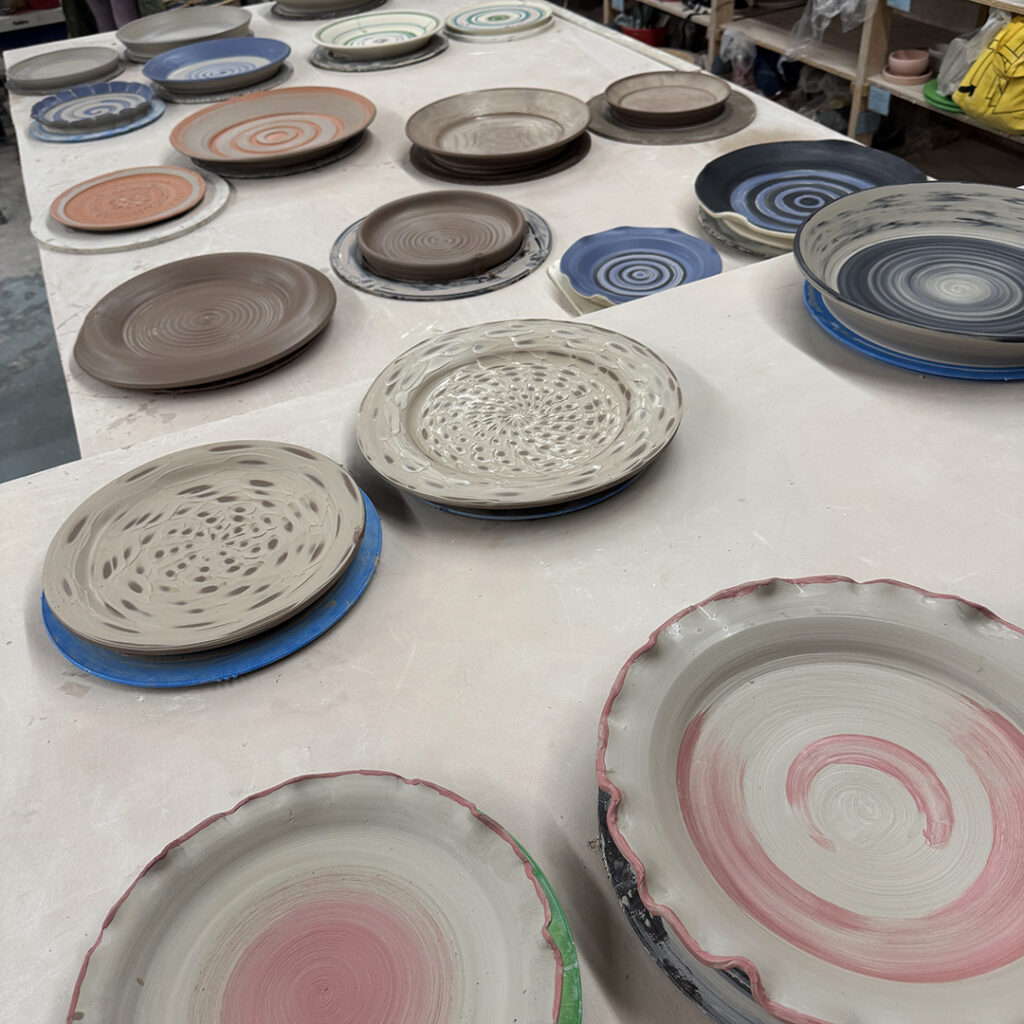
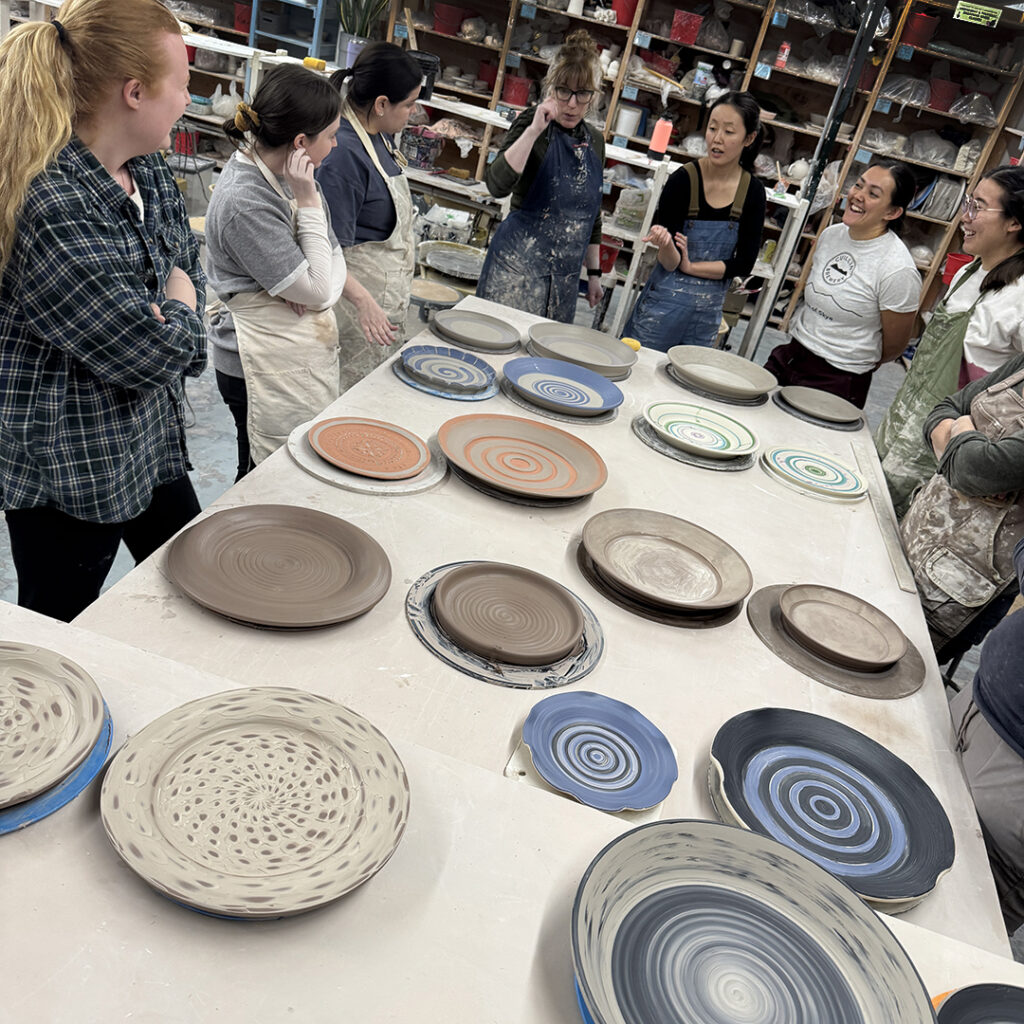
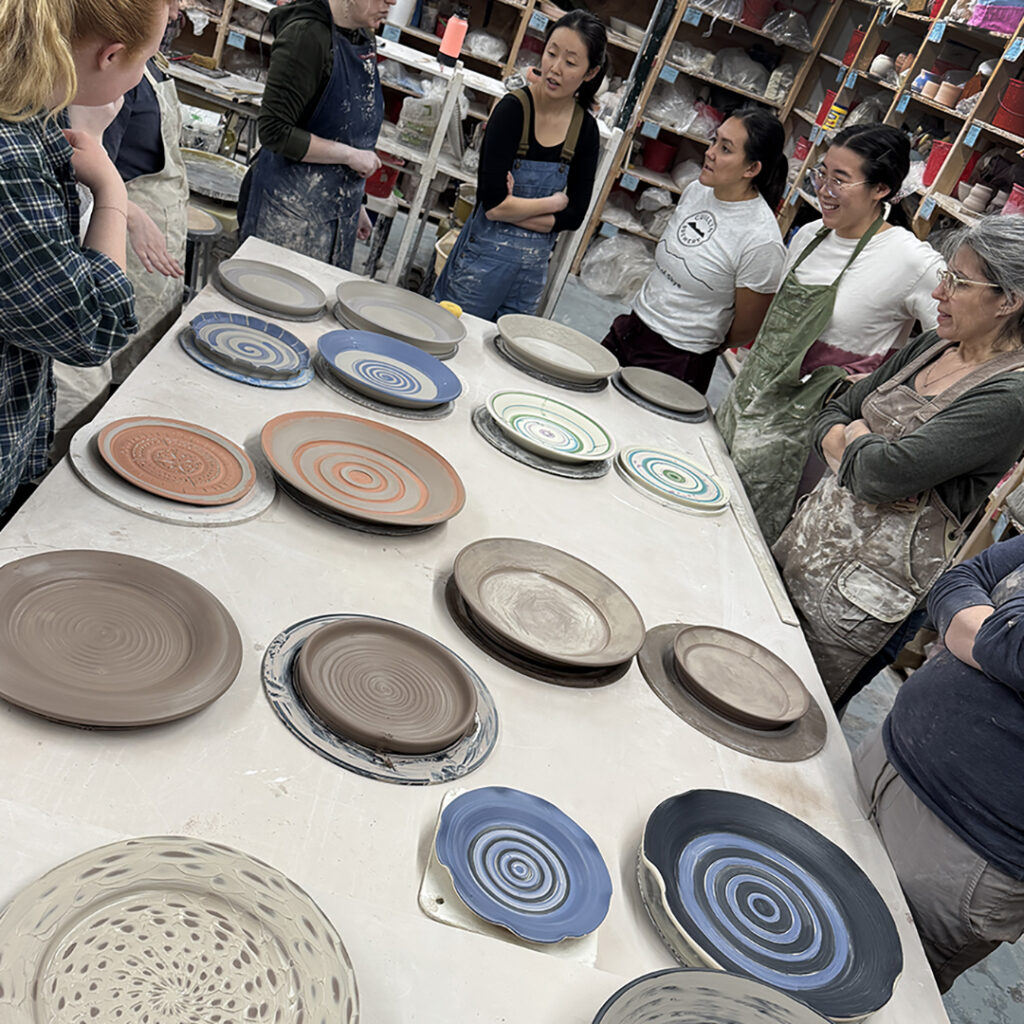
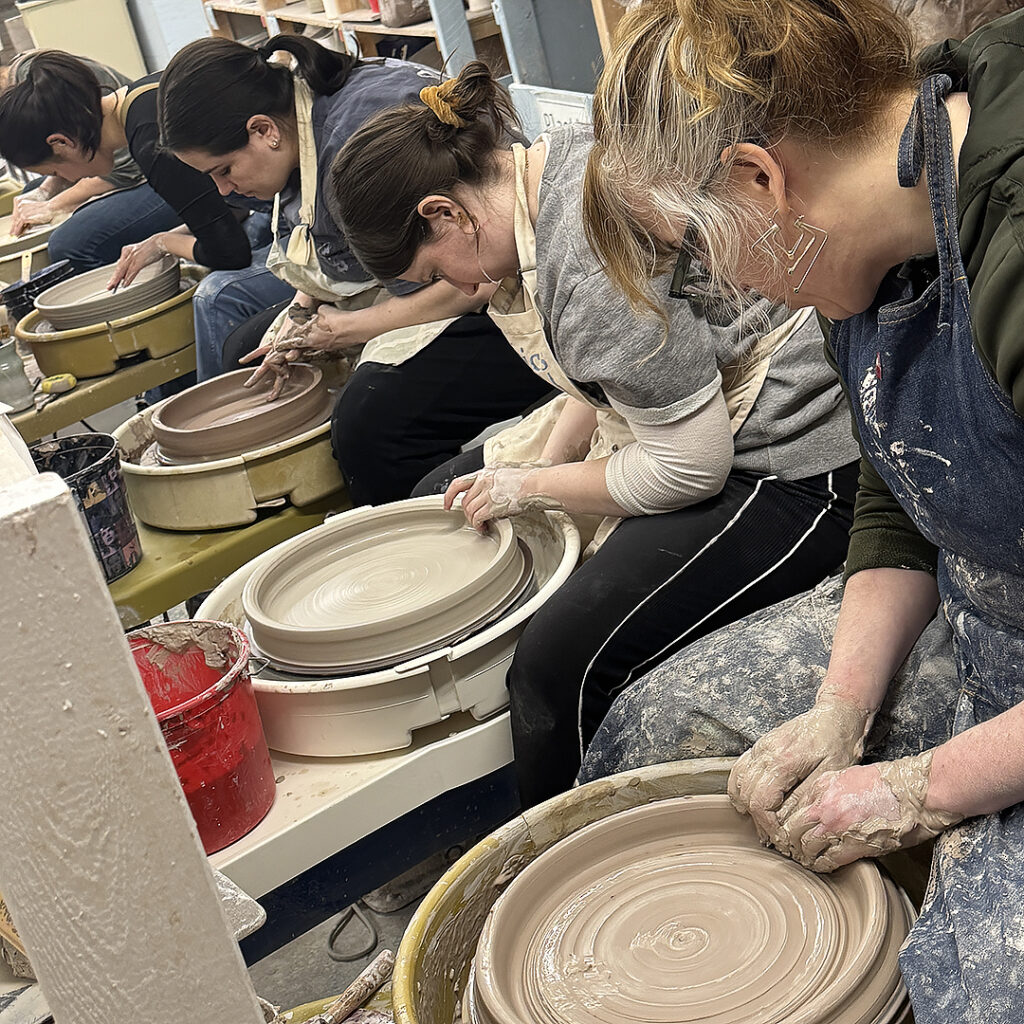
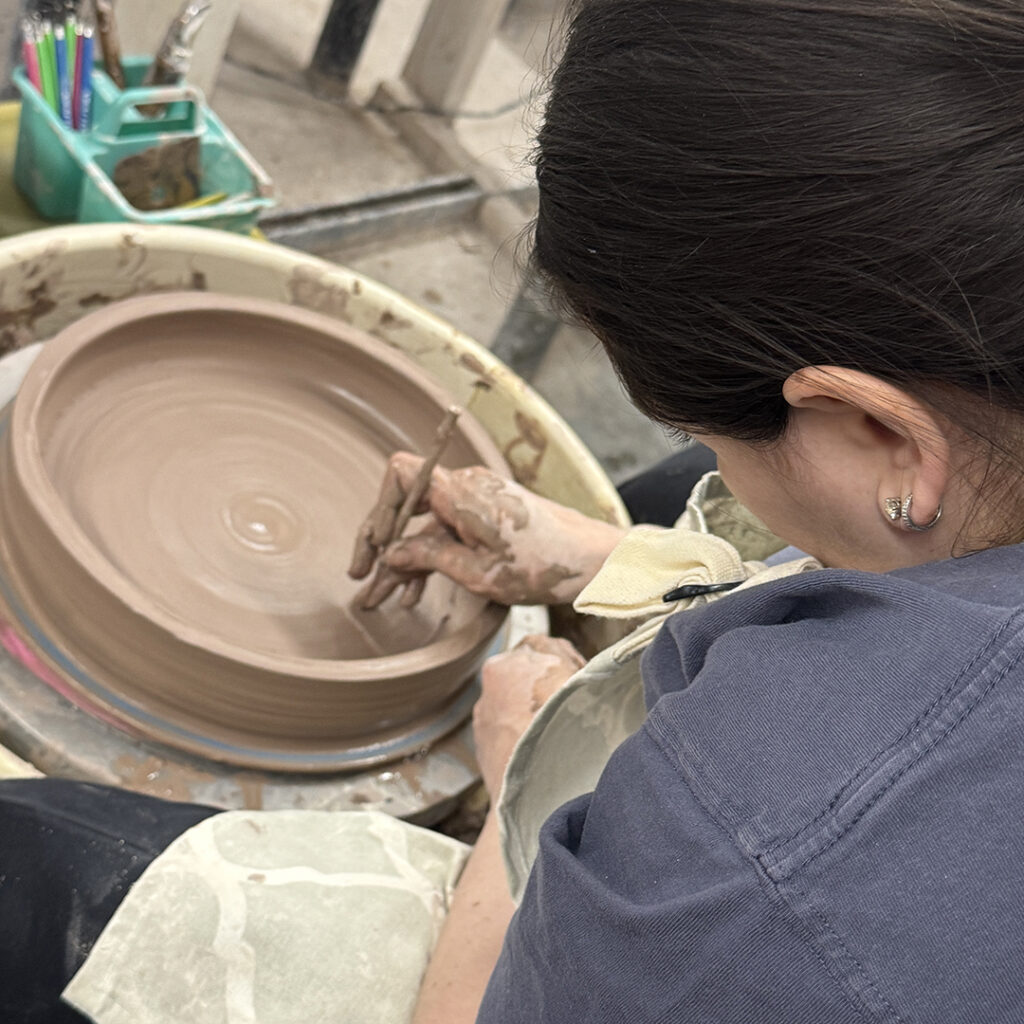
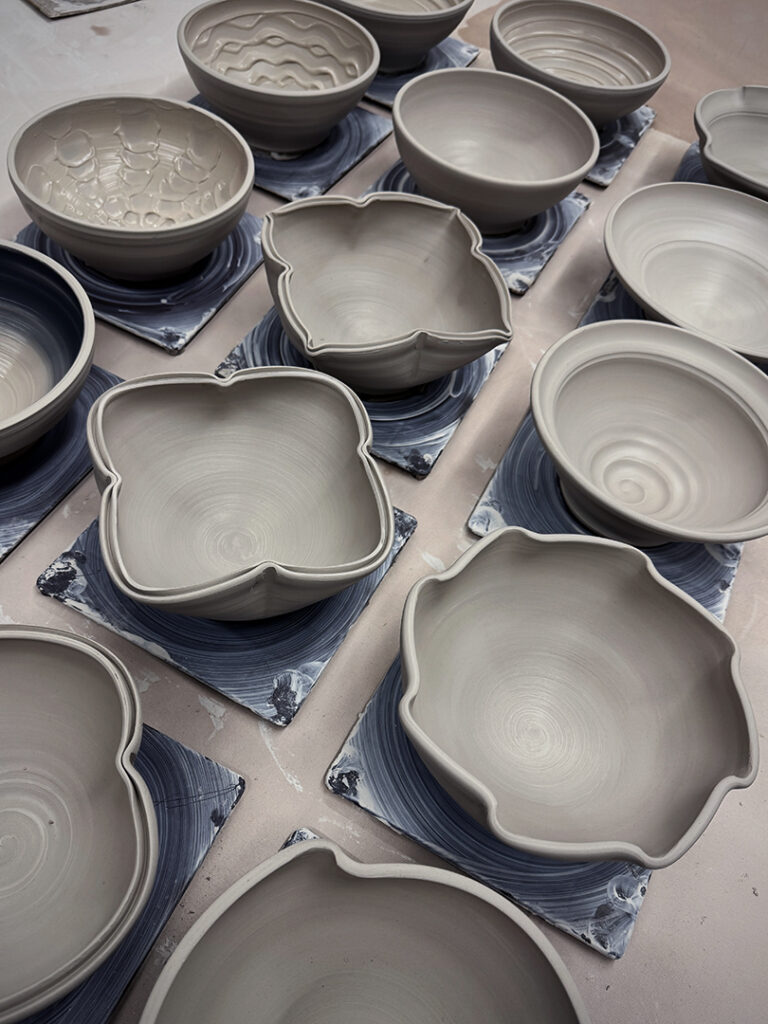
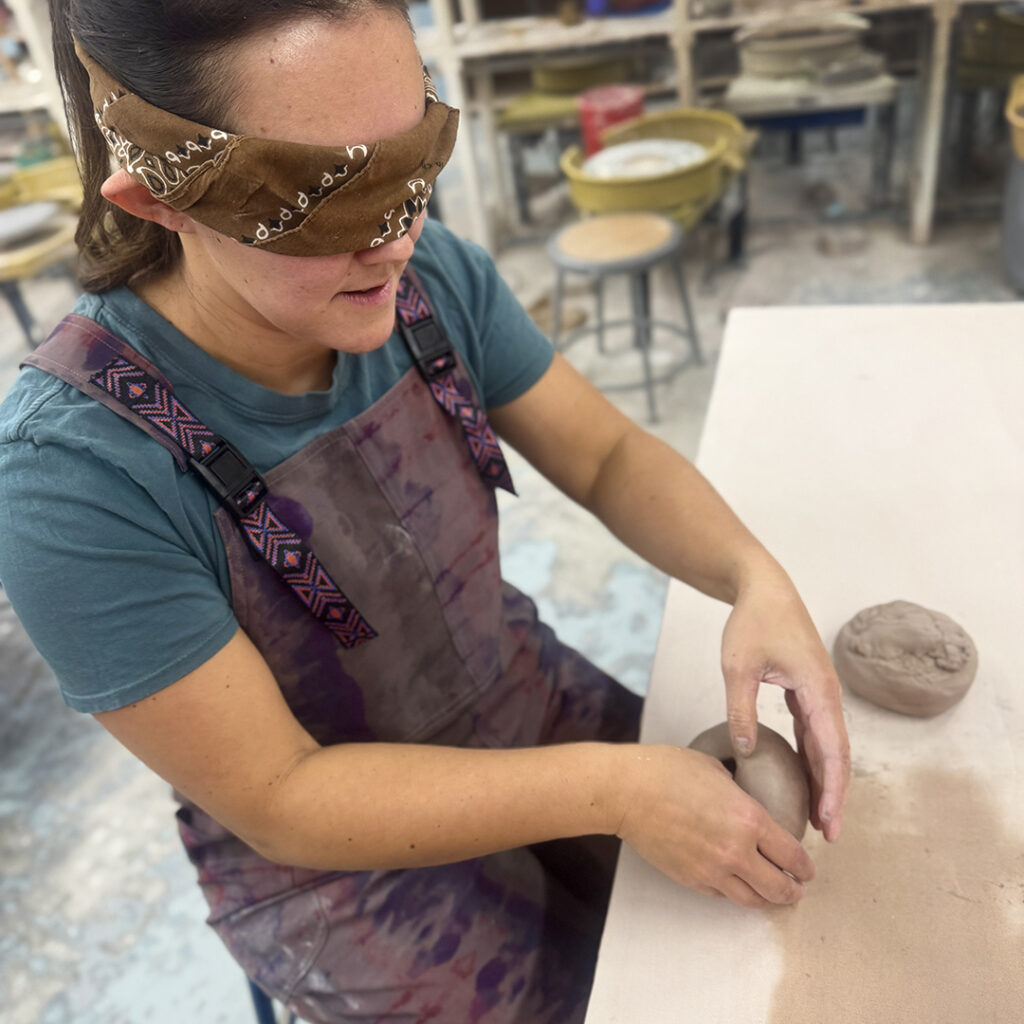
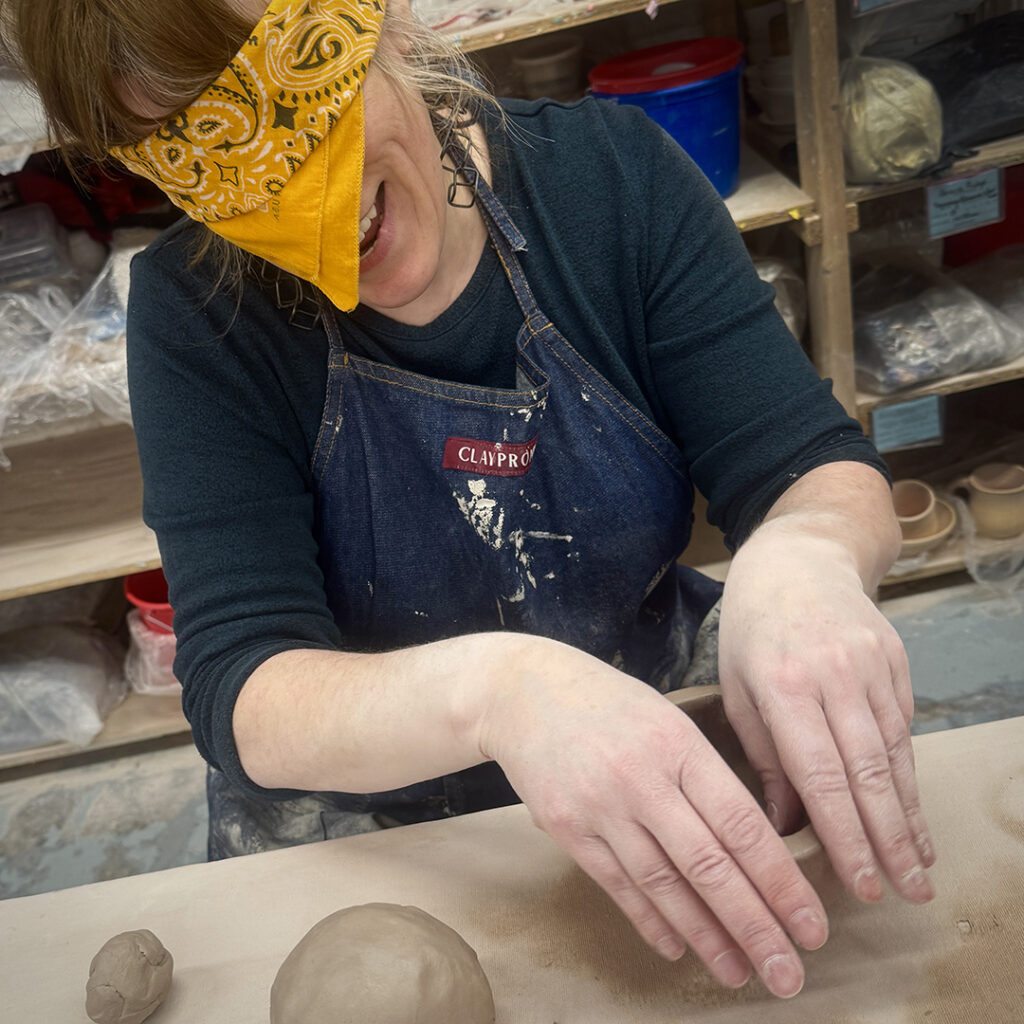
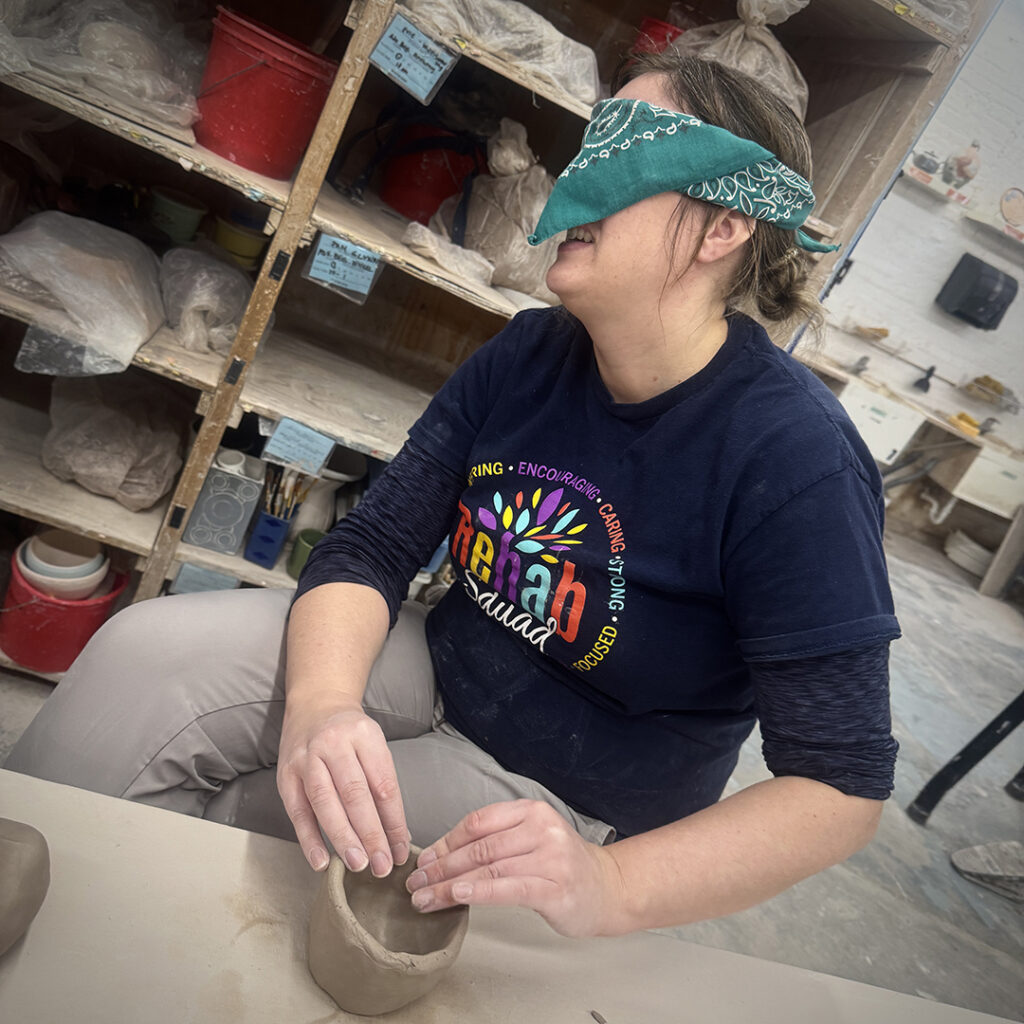
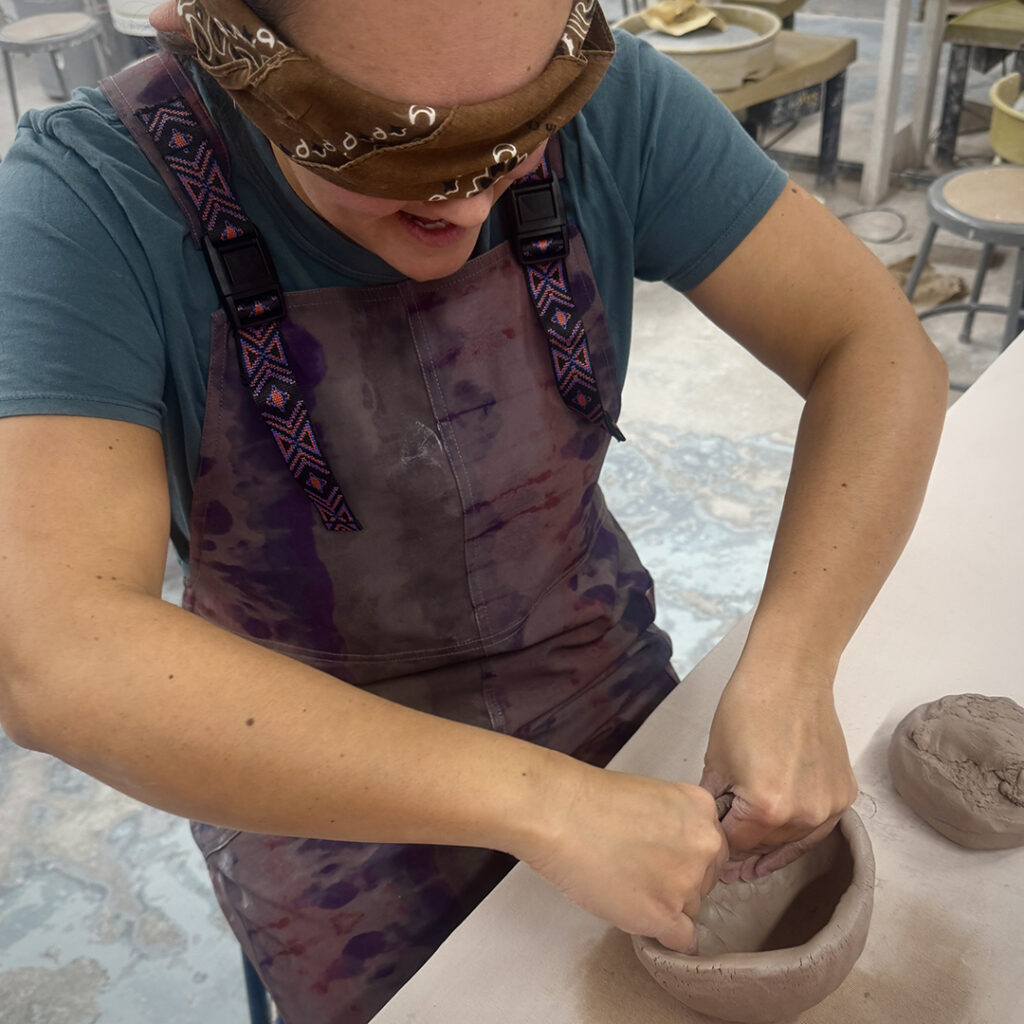
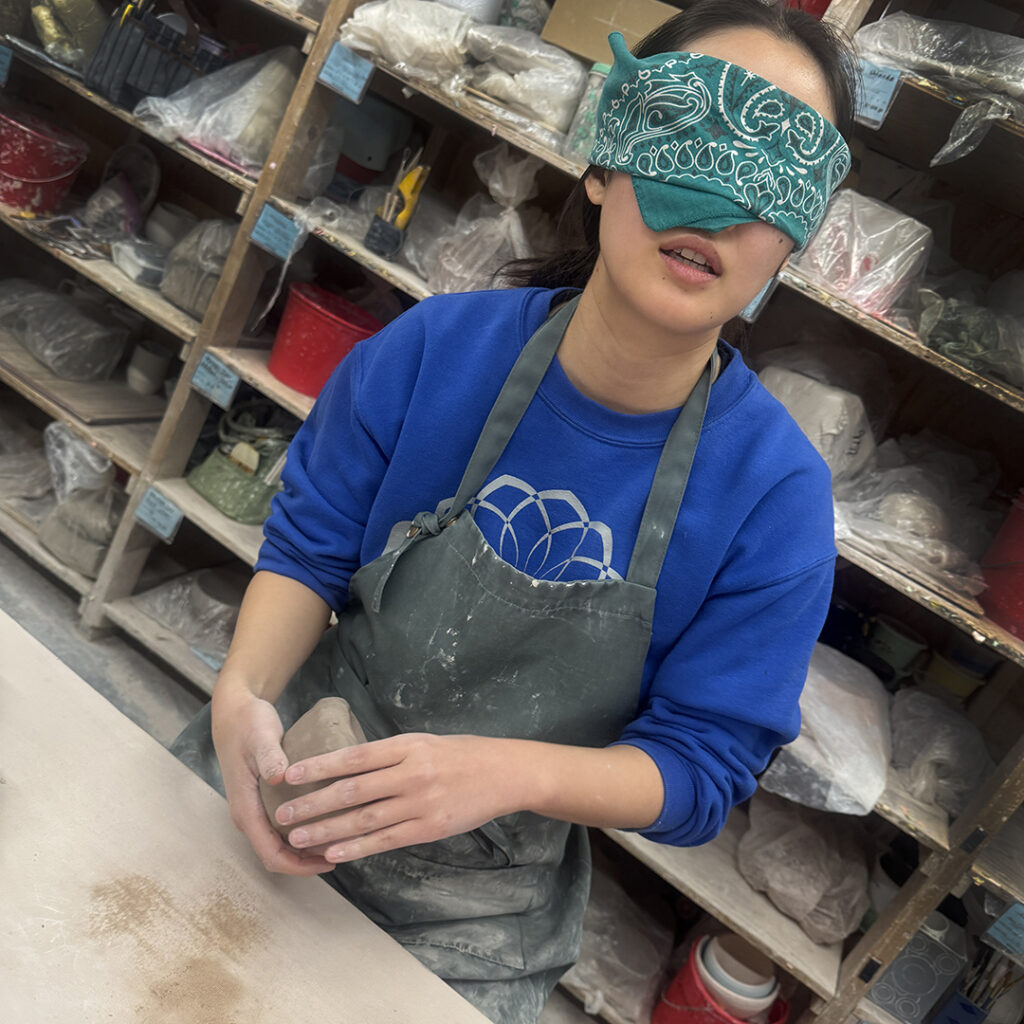
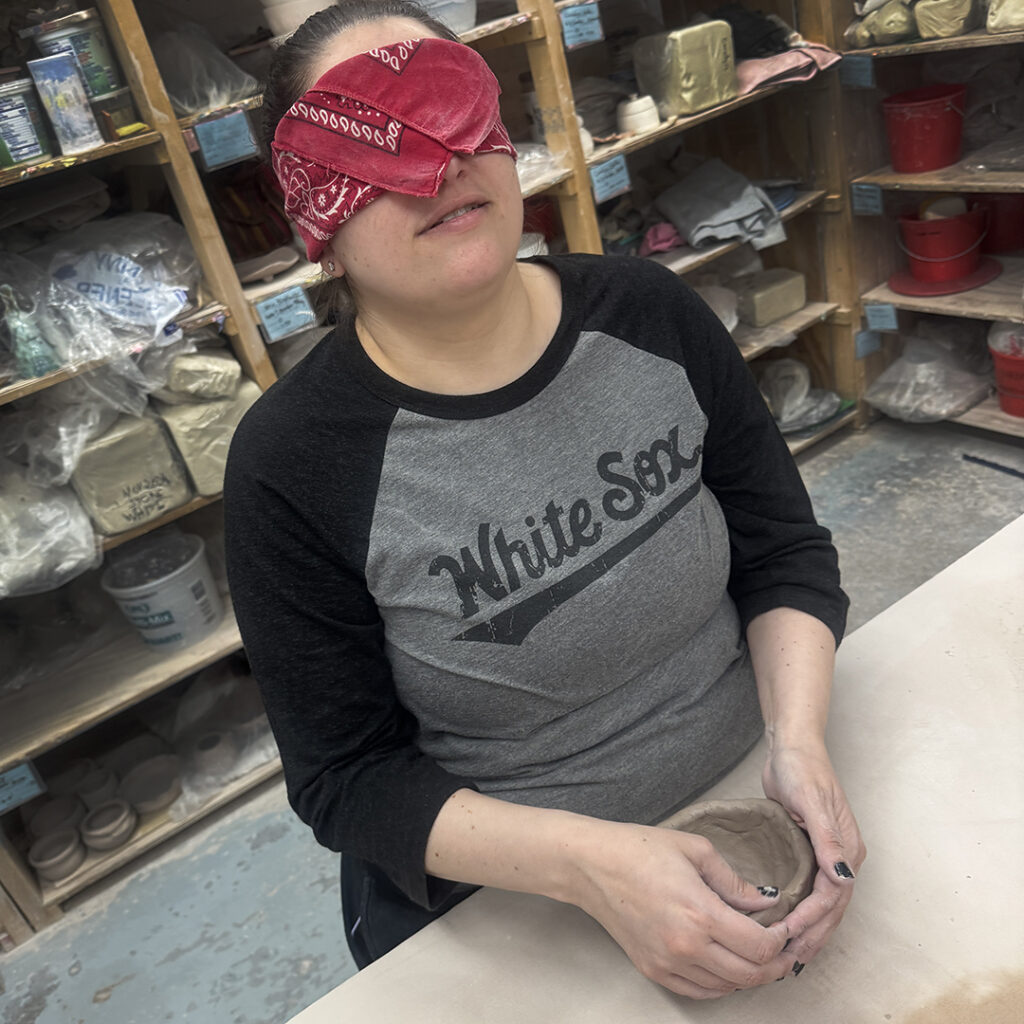
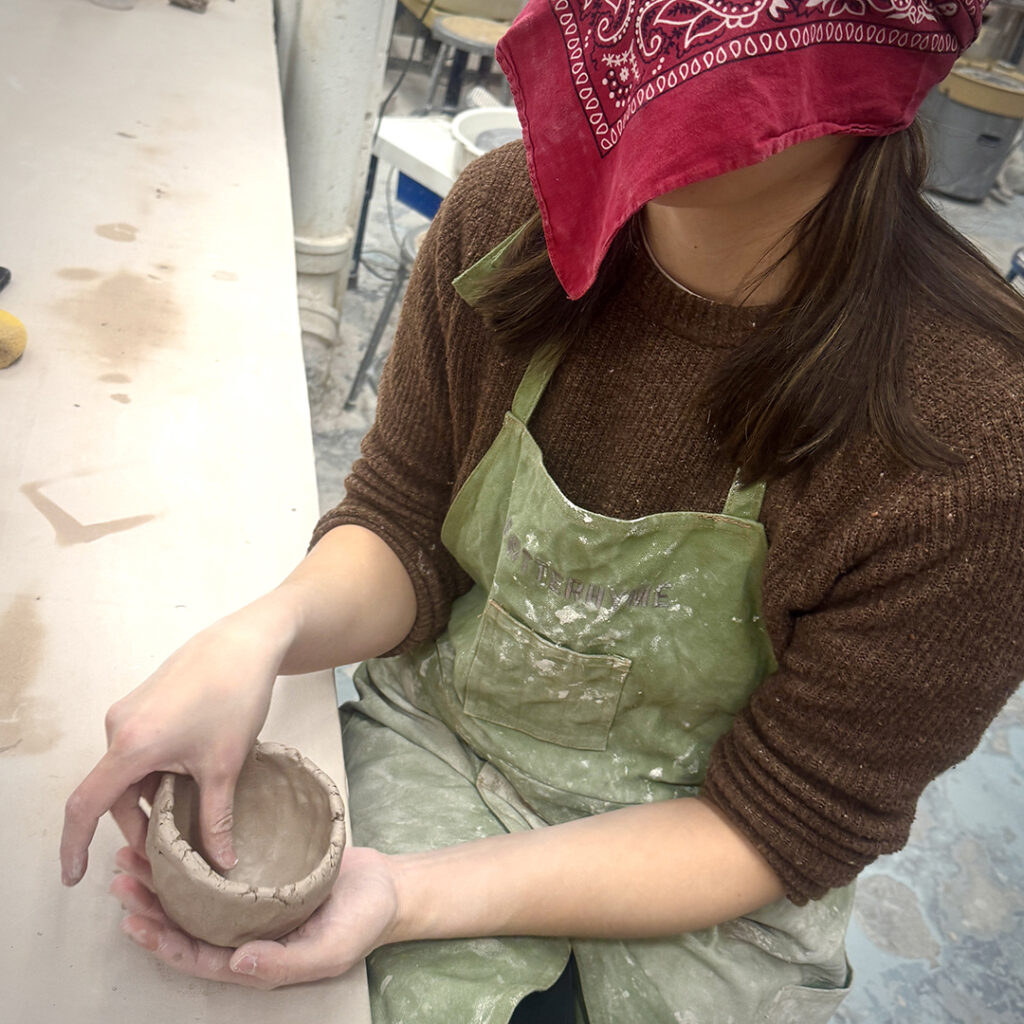
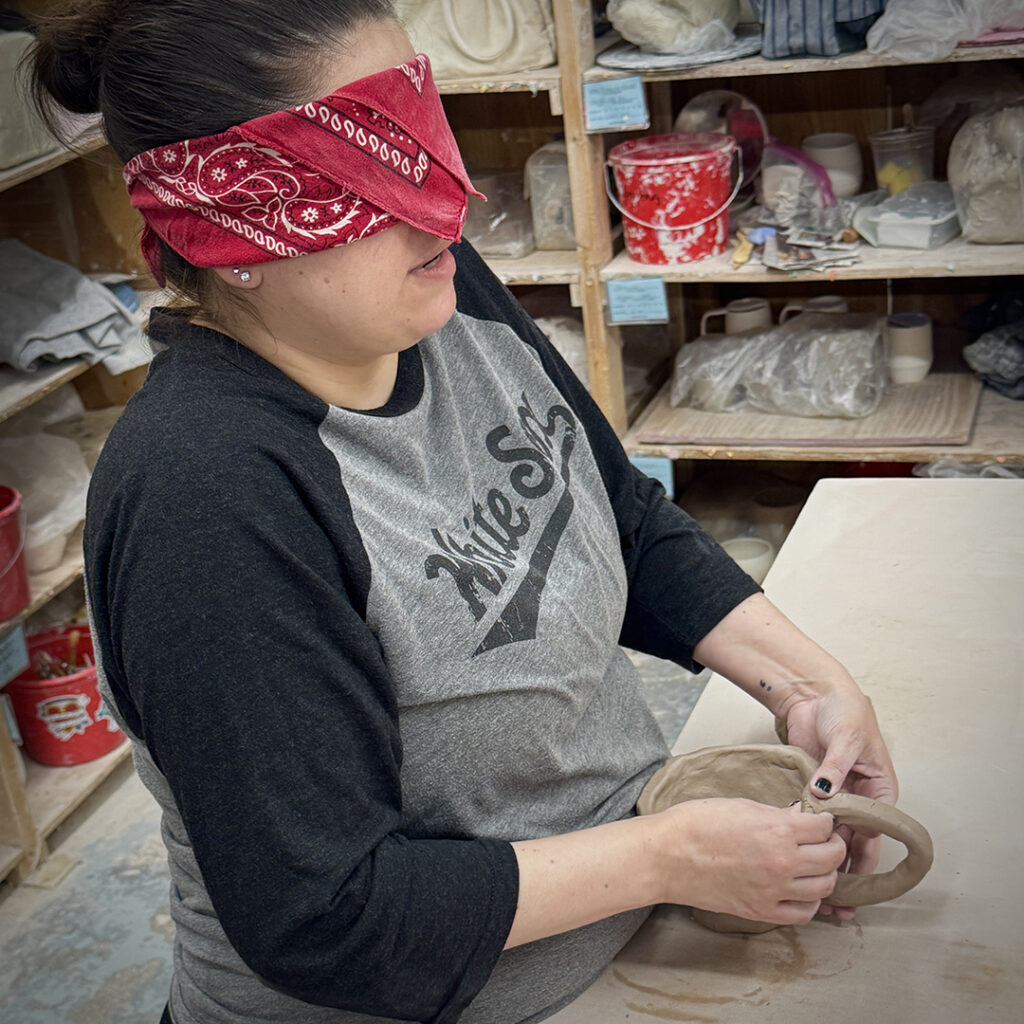
And this is where we ended Tuesday night after my “bowls-bowls-bowls” demo with my Beginners. We talked all about altering shapes & added some decorative flourishes to their pieces not make their pots more unique. Basically… I just want them to have fun, express themselves & PLAY more with their clay!
Here we go…
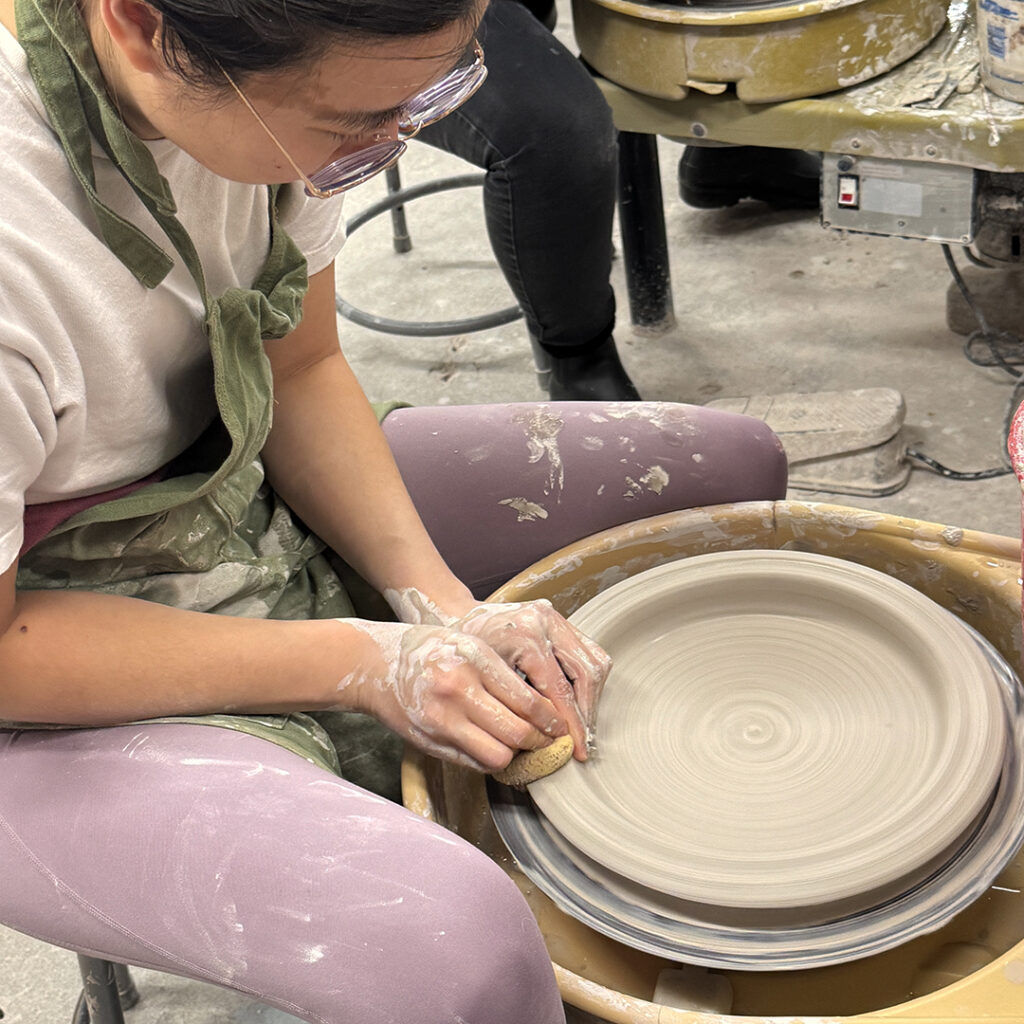
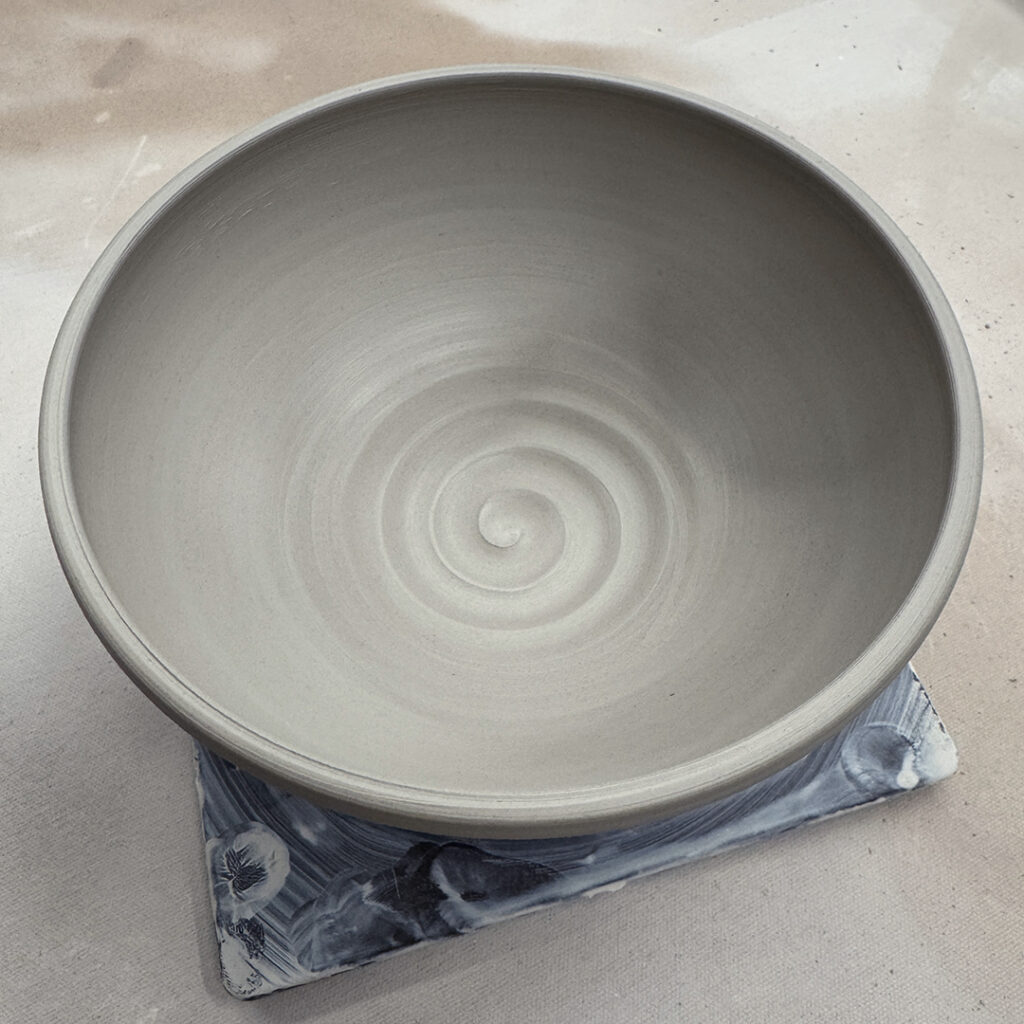
Bowl #1 – Plain… the “BASIC” bowl fresh off the wheel. This is where they all started!
Bowl #2 – Two little fluted flips!
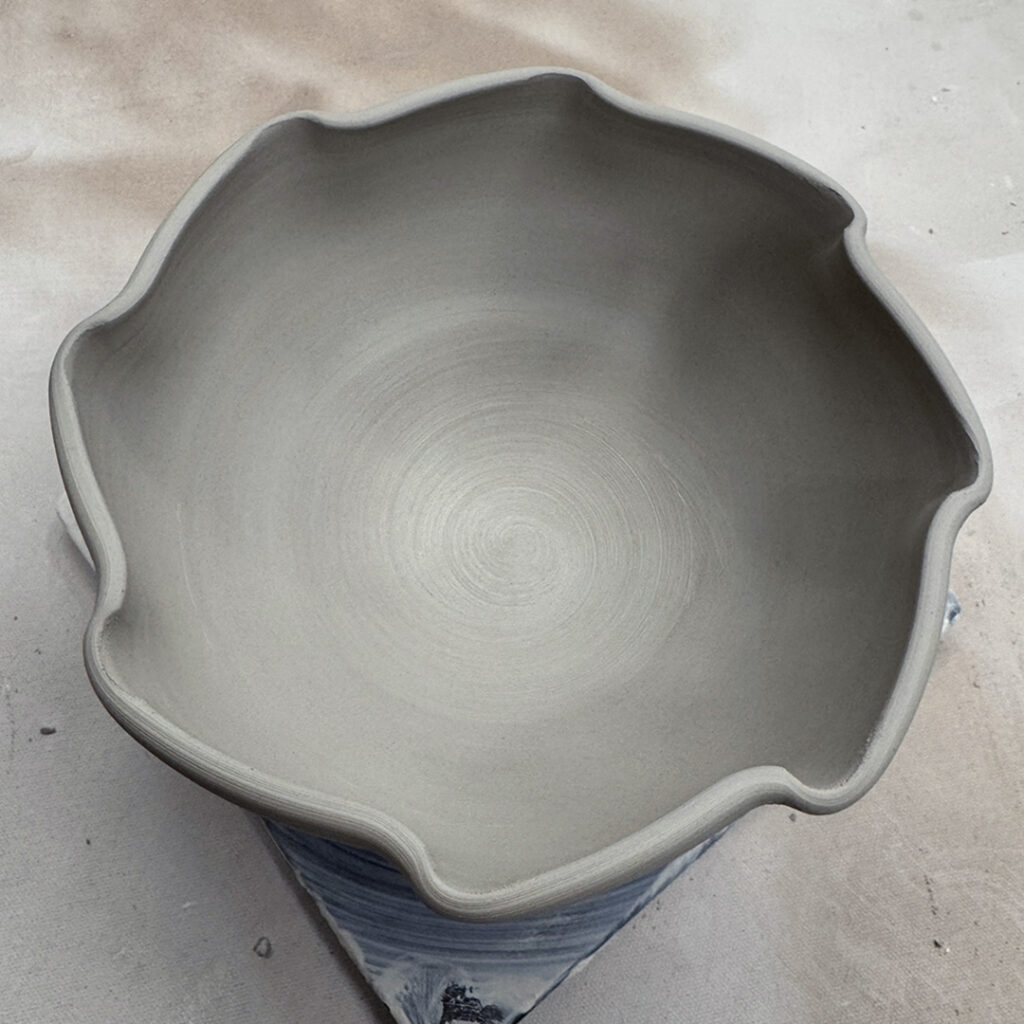
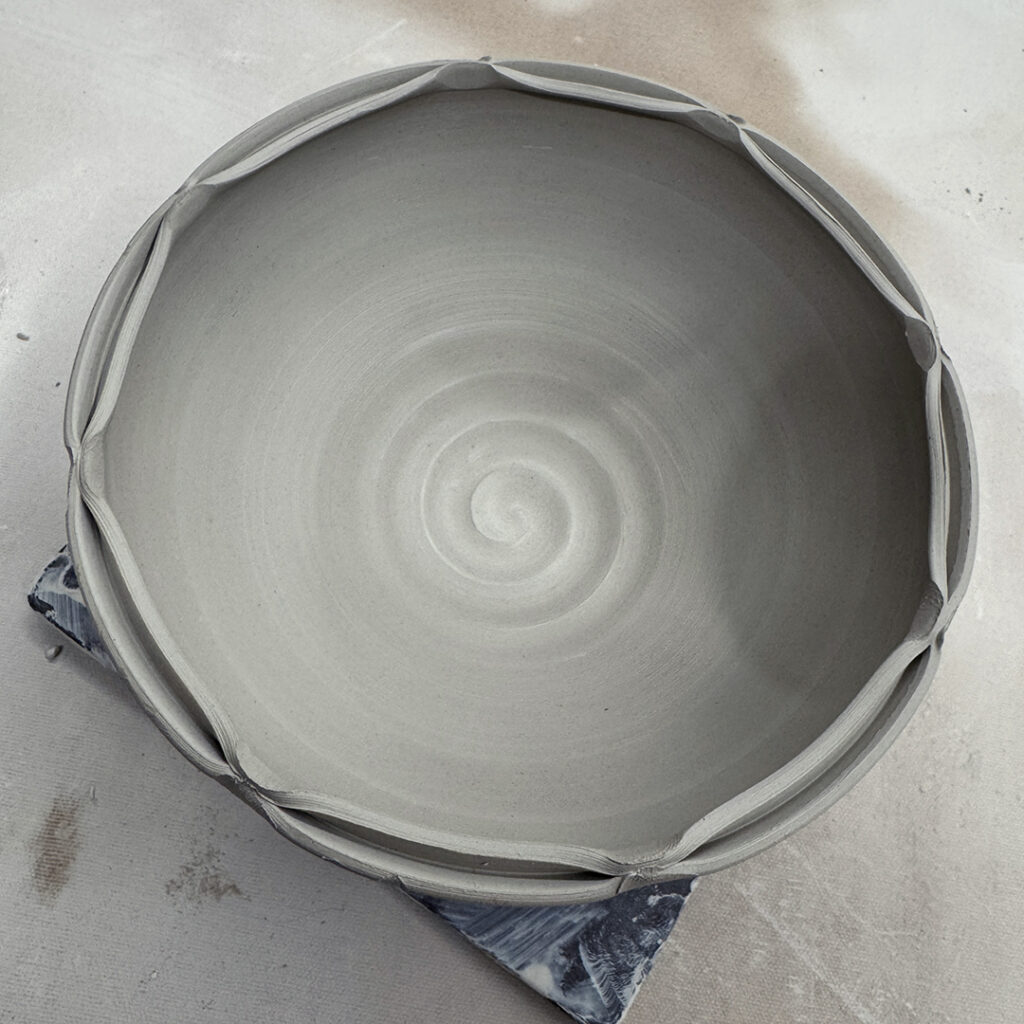
Bowl #3 – If two are nice, maybe eight fluted flips are better?
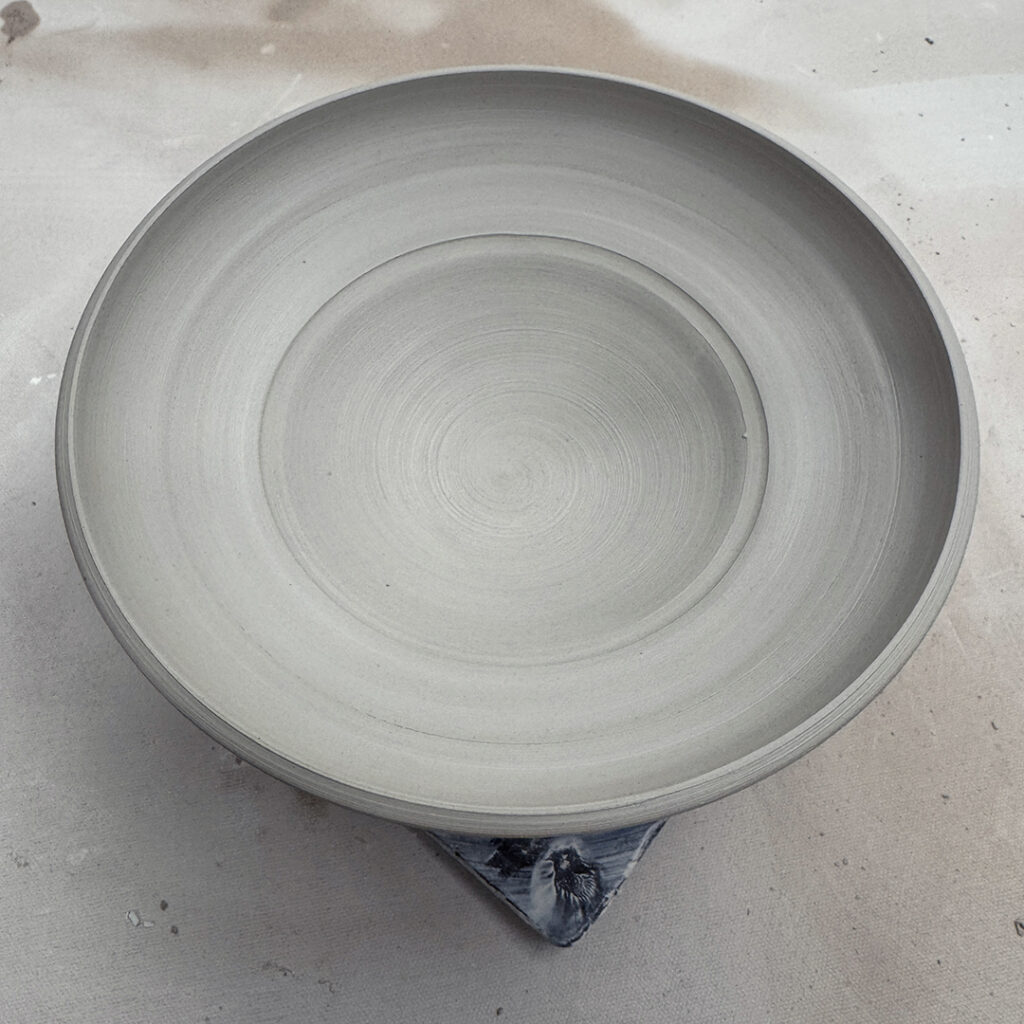
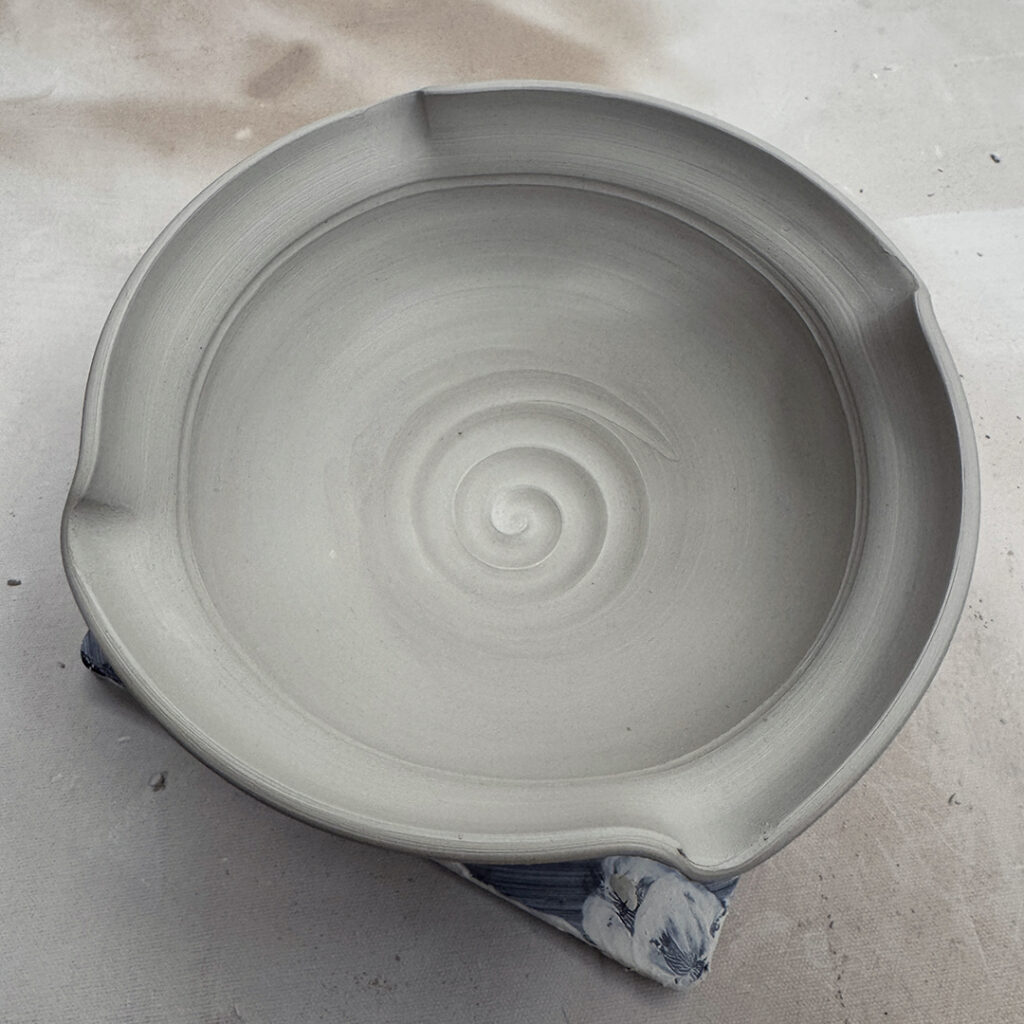
Bowl #4 – A flared flange.
Bowl #5 – A wider flared flange
Bowl #6 – A combination flared flange & fluted edges.
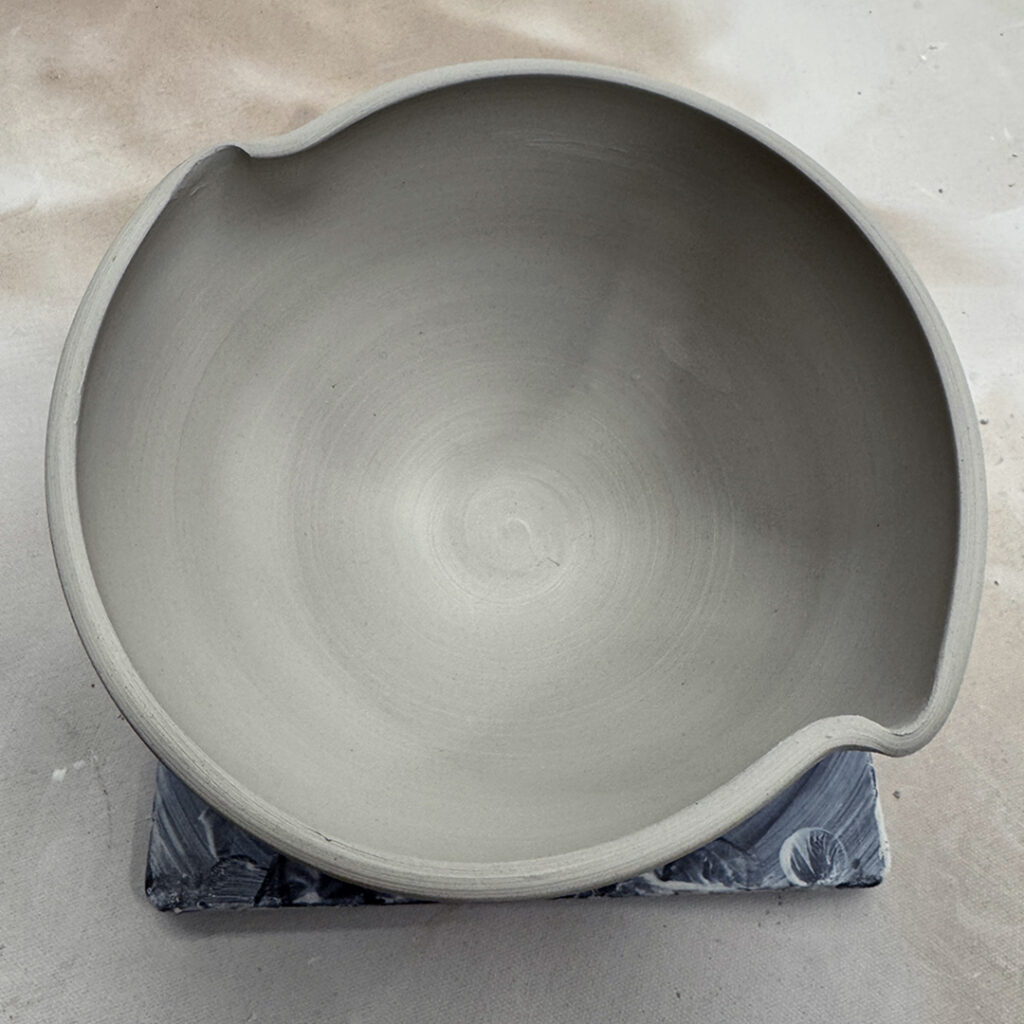
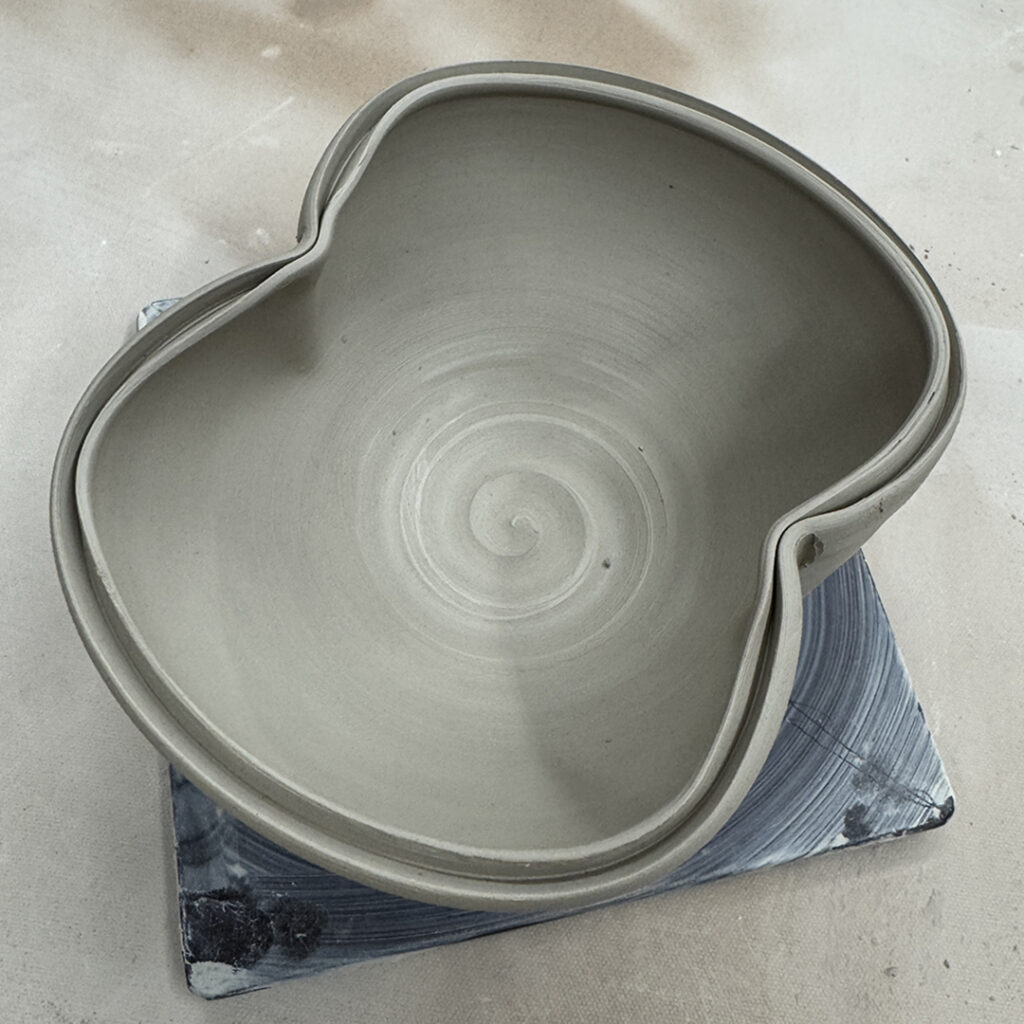
Bowl #7 – A split rim with two dramatic indents.
This one will get a big “up & over’ handle to make a basket-bowl.
Bowl #8 – Another split rim… this time with eight pinches to the rim.
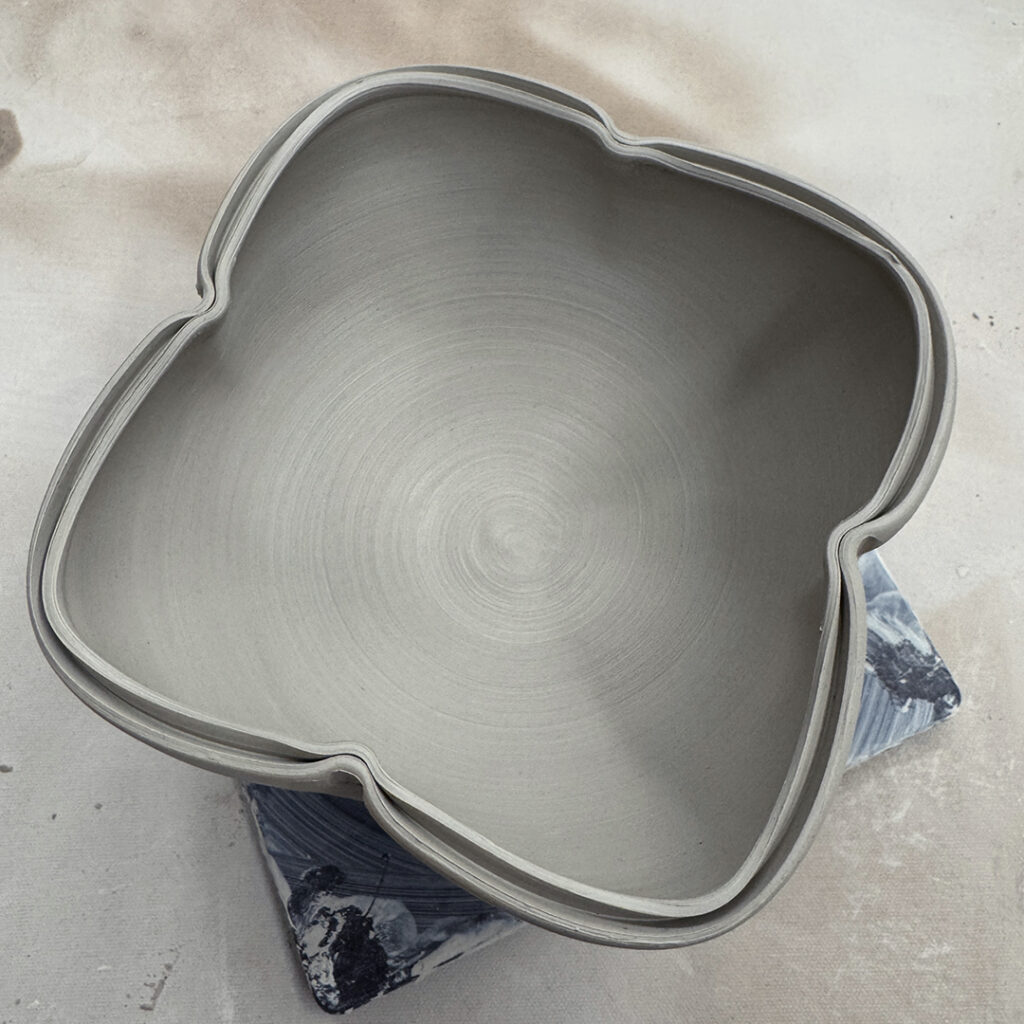
Bowl #9 – A split rim with four indents to “square-up” the bowl a bit.
Bowl #10 – A split rim with four dents in & four dents out… kind of a lotus effect.
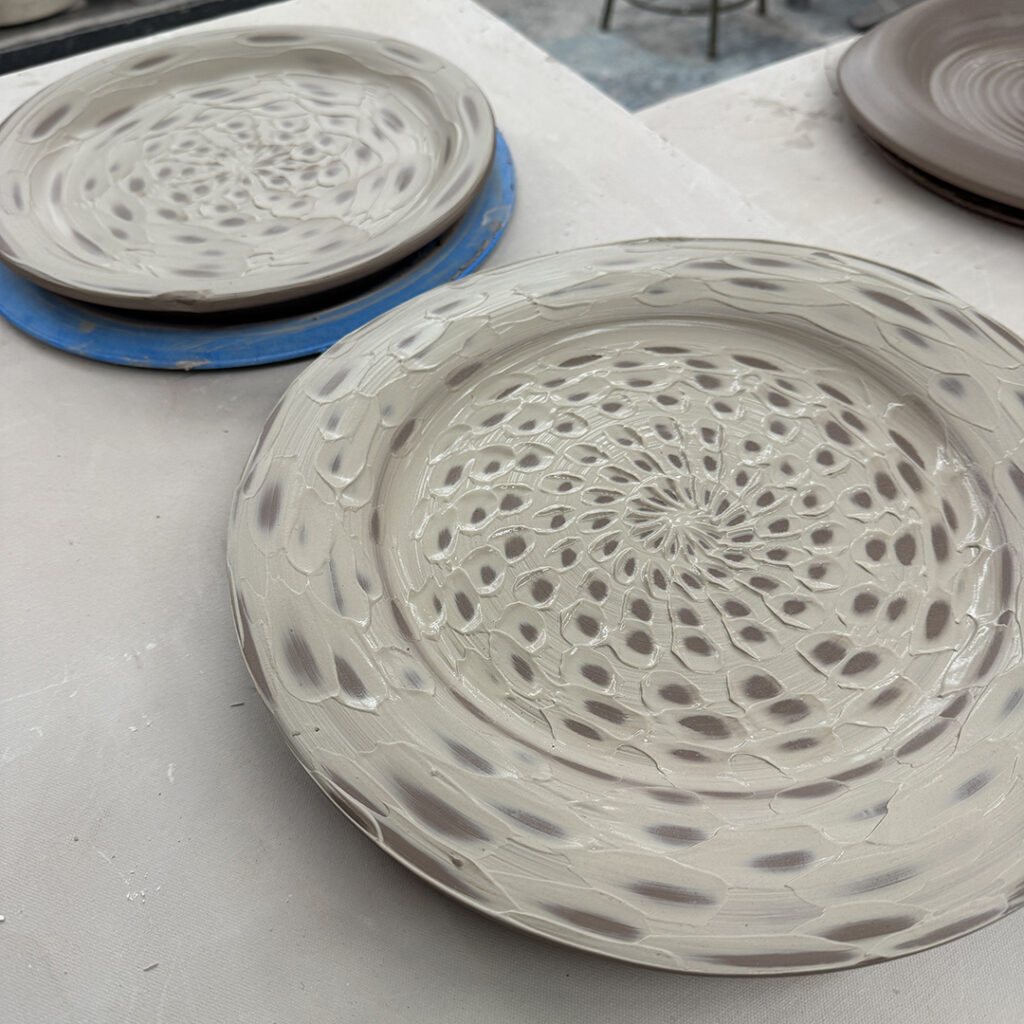
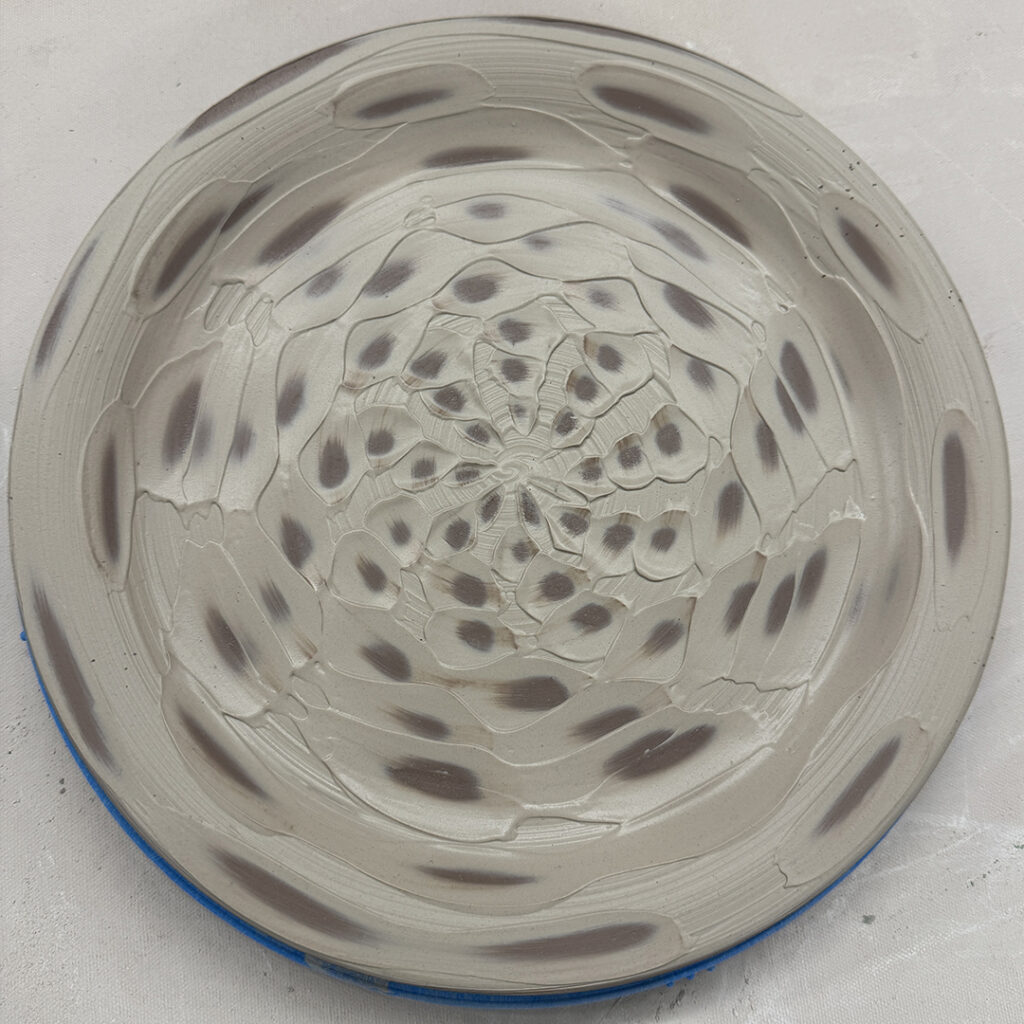
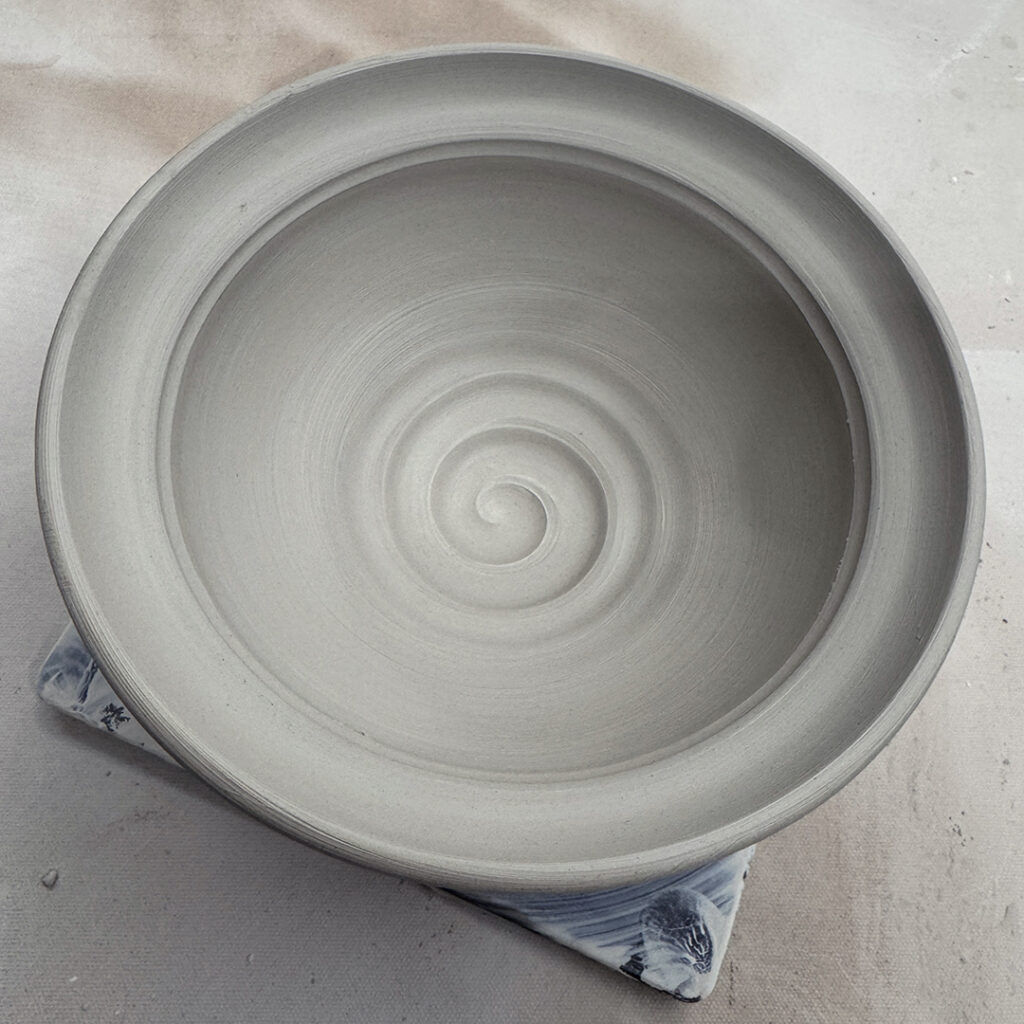
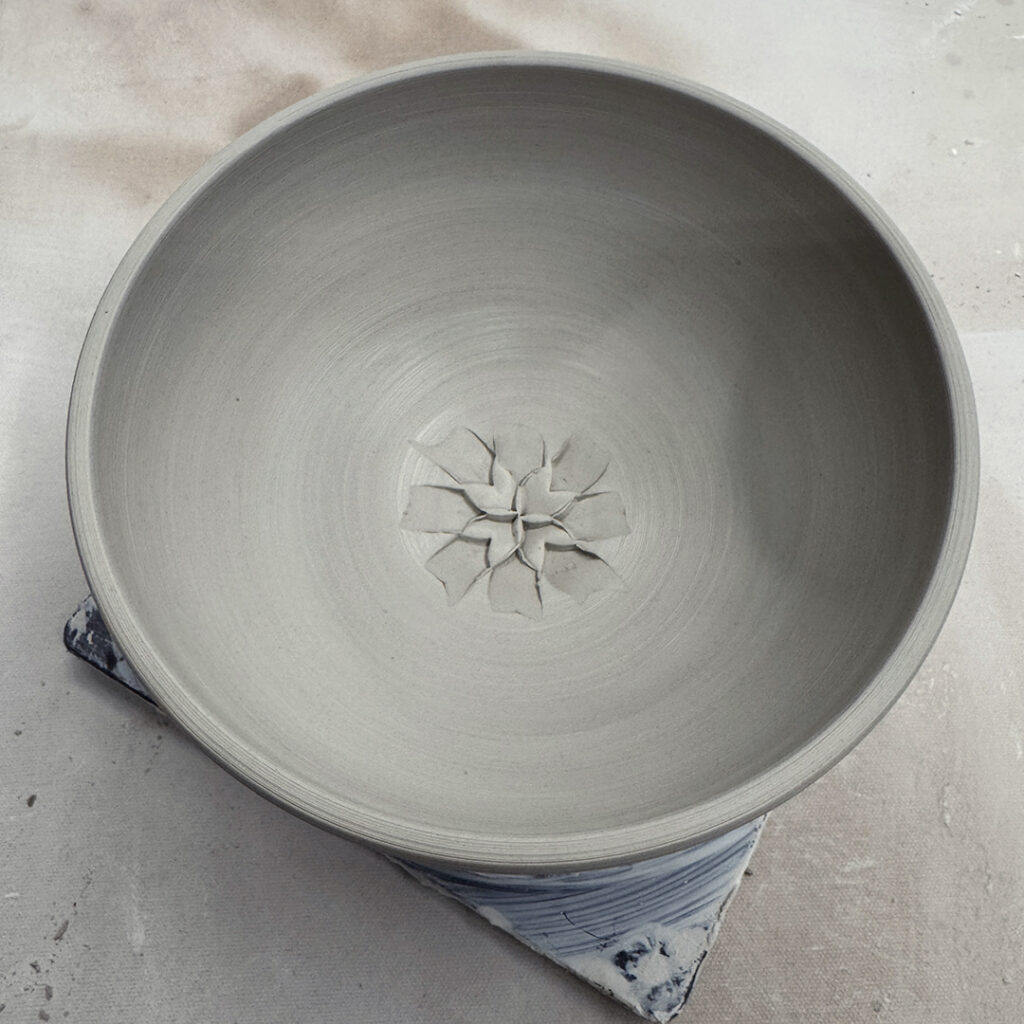
Bowl #11 – A “surprise” flower-snowflake-design in the bottom from a dragonscaler tool.
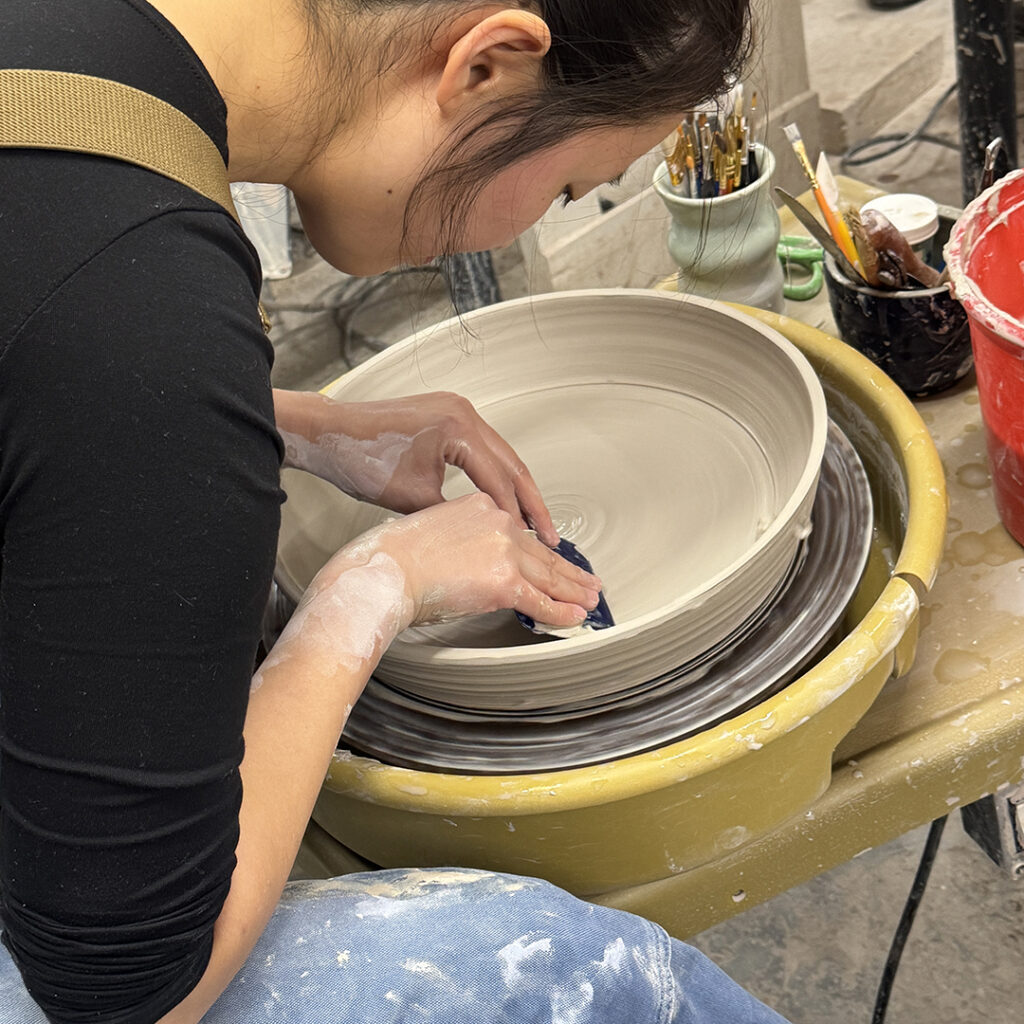
After the first few bowls, we discussed colored slips to add some design & detail to their bowls.
I personally like thick white slip a lot… adding texture & subtle contrast to the clay body.
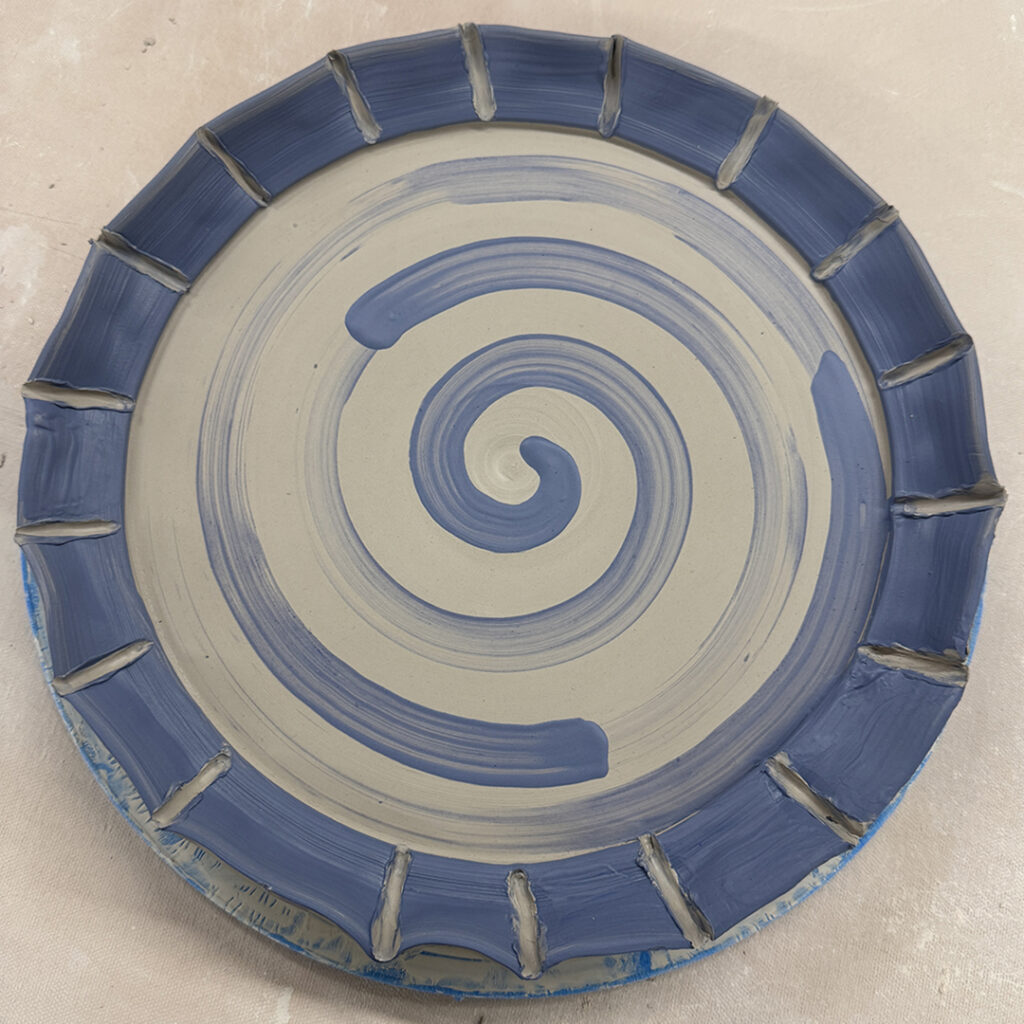
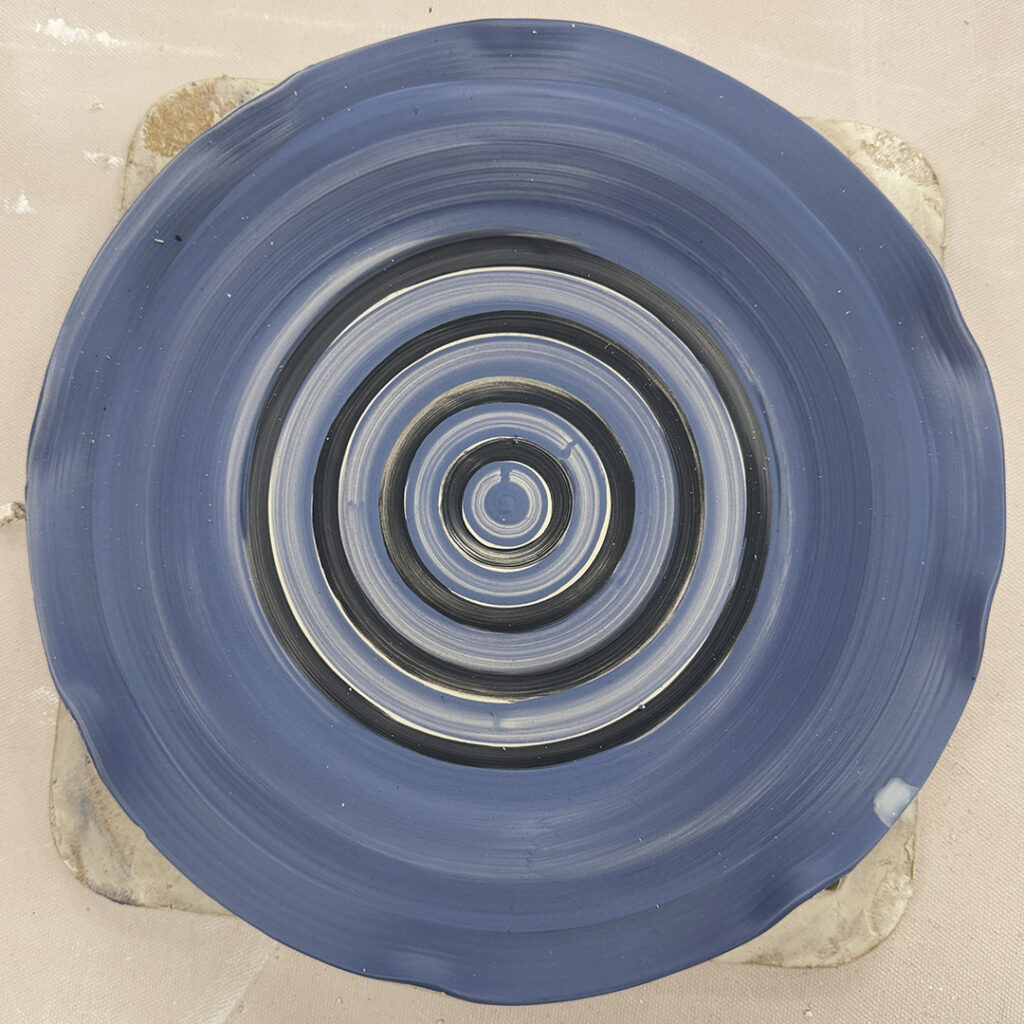
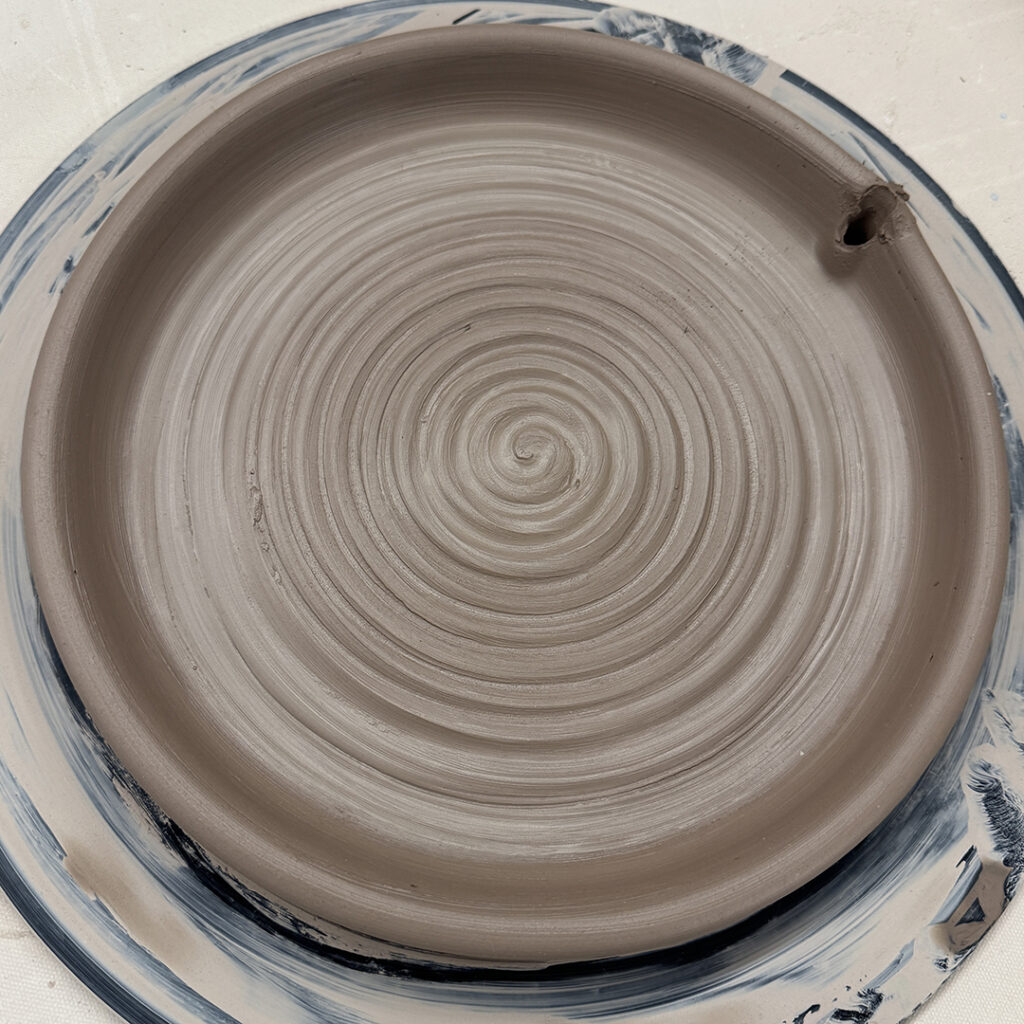
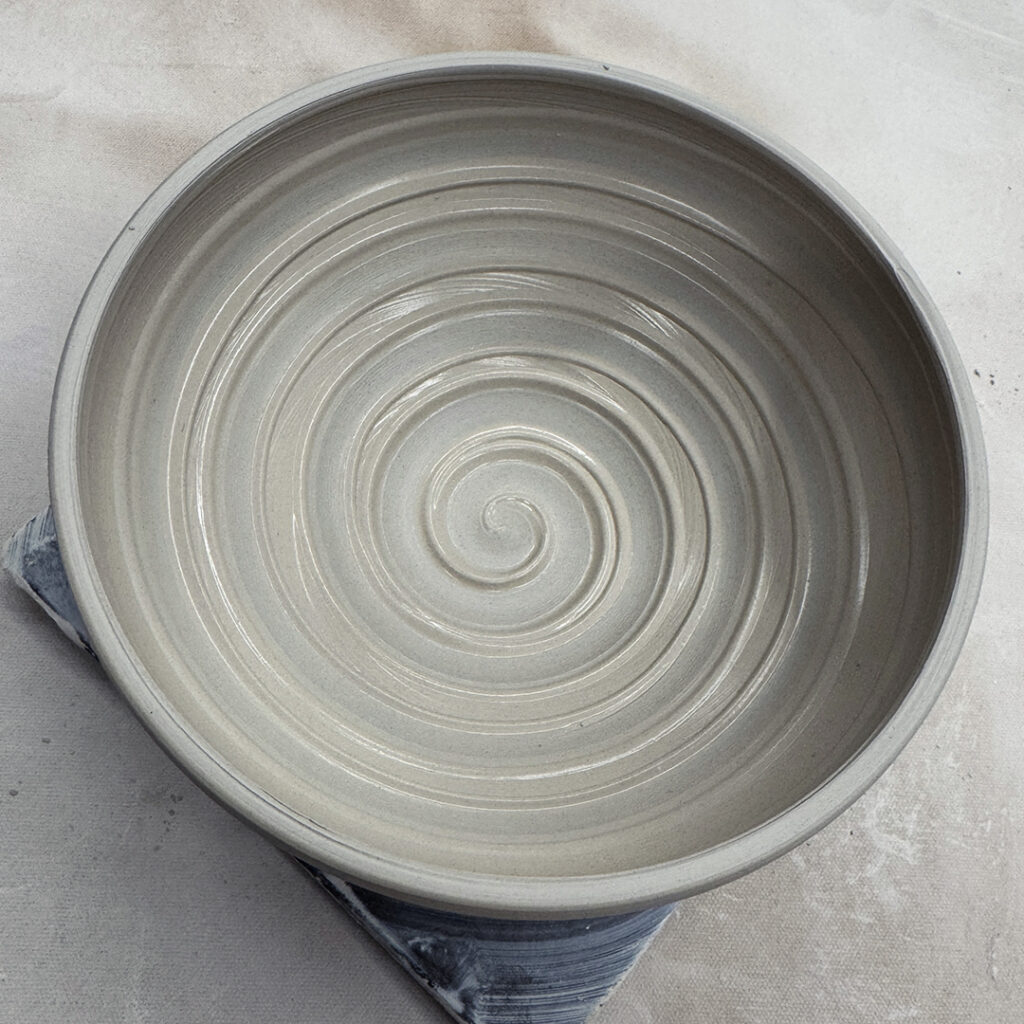
Bowl #12 – Thick white slip with a simple spiral dragged through.
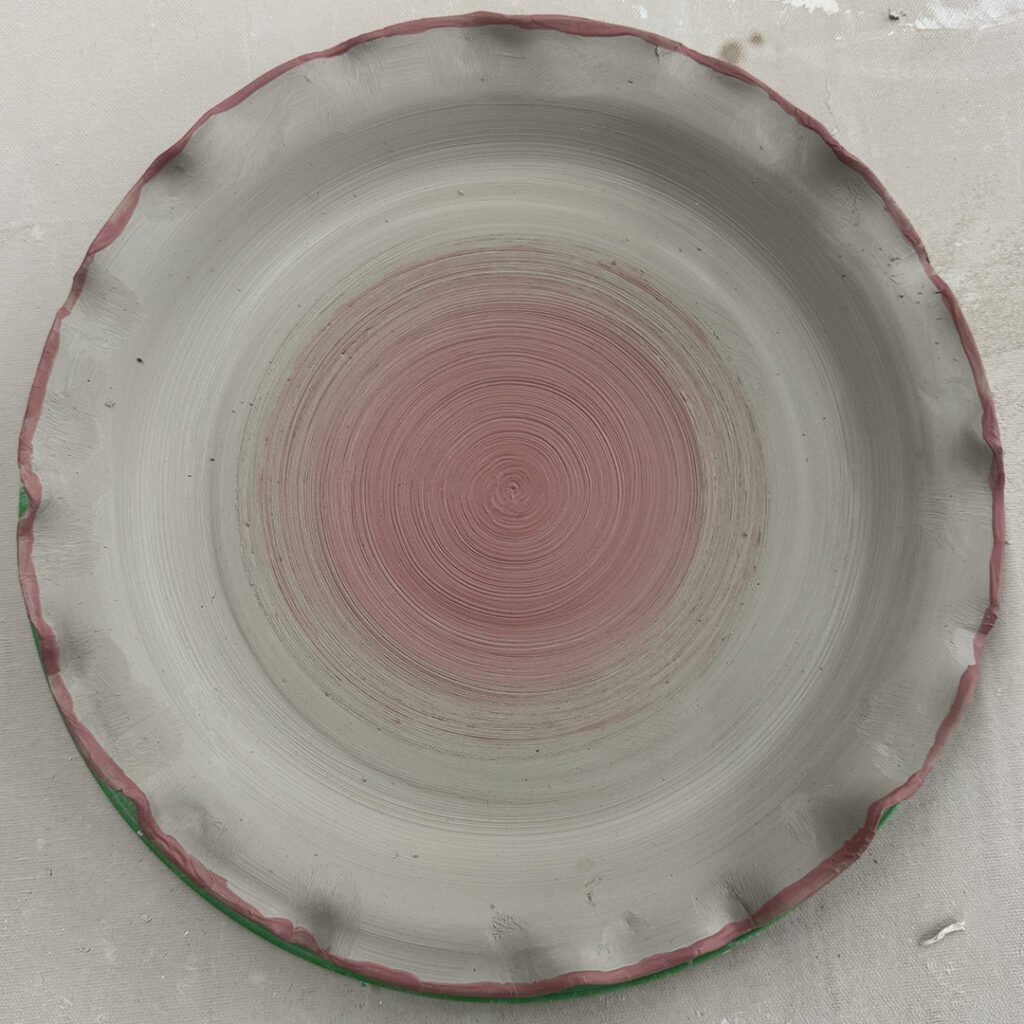
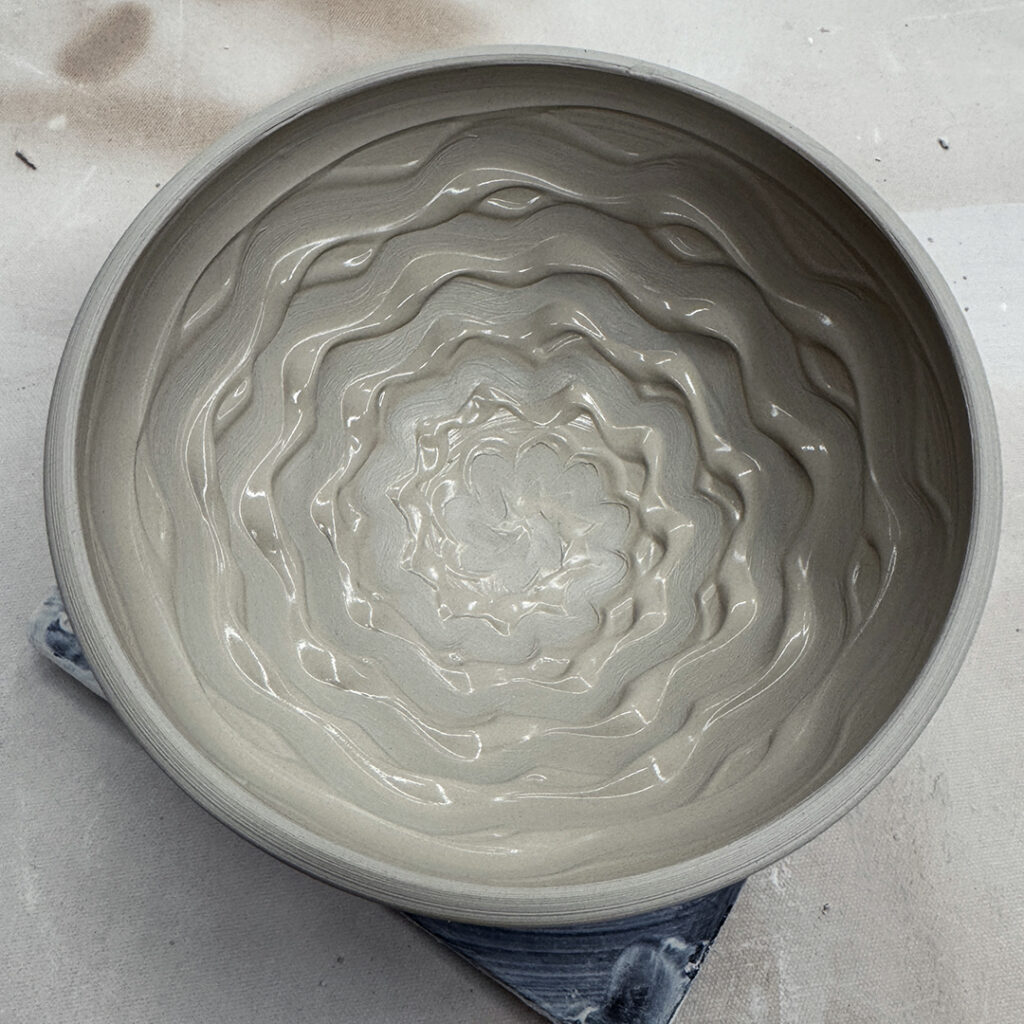
Bowl #13 – Thick white slip with some bands dragged through…
leaving a “canvas” area for carving in the future when the slip dries up a bit.
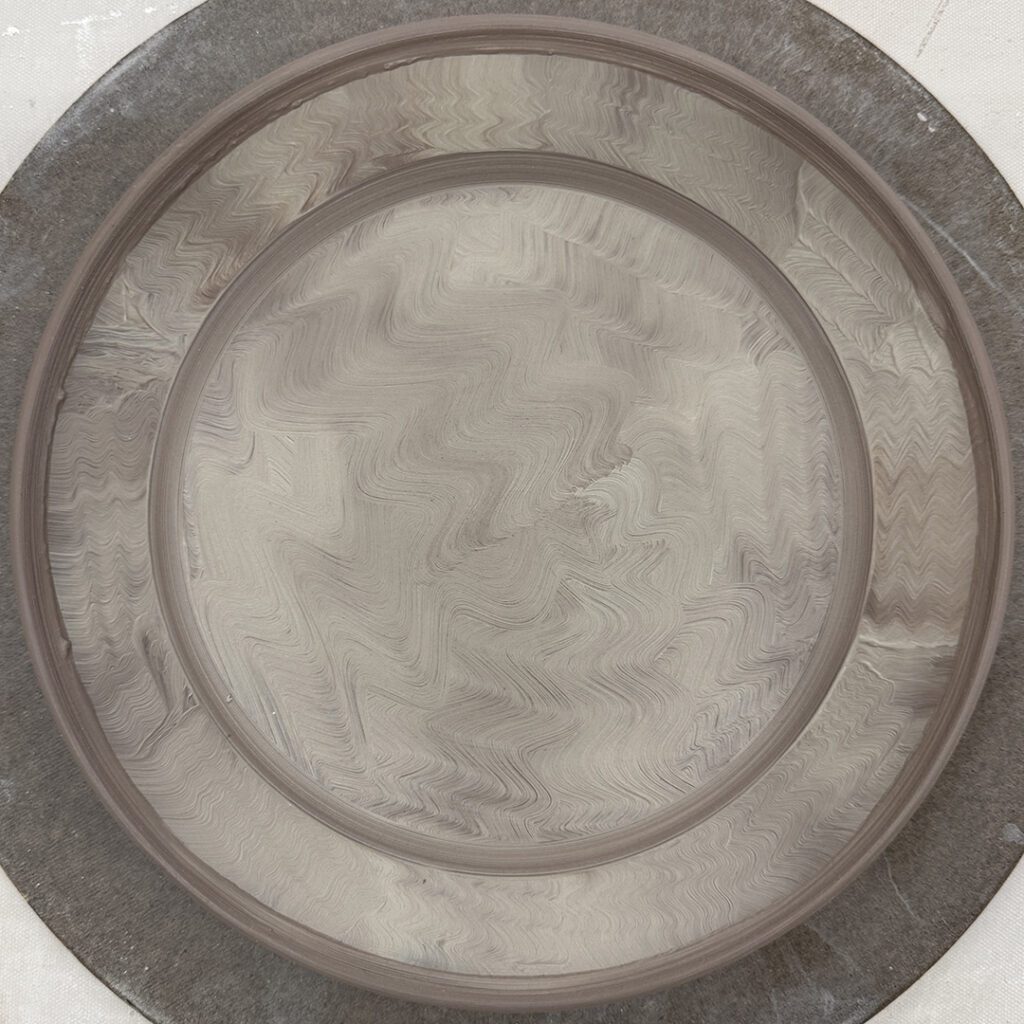
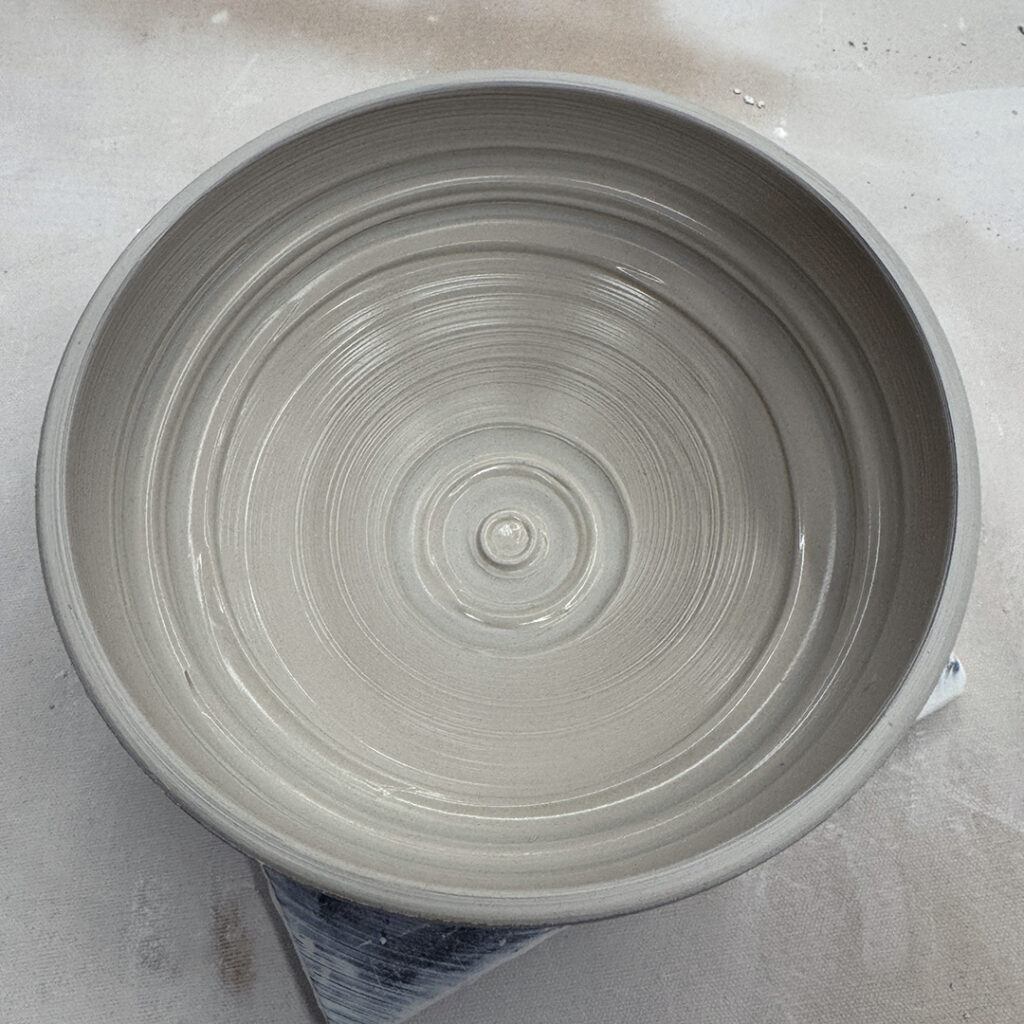
Bowl #14 – Thick white slip with some finger squiggles going through it while spinning on the wheel.
Bowl #15 – Thick white slip with some rhythmic chattering with a rubber rib while spinning on the wheel.
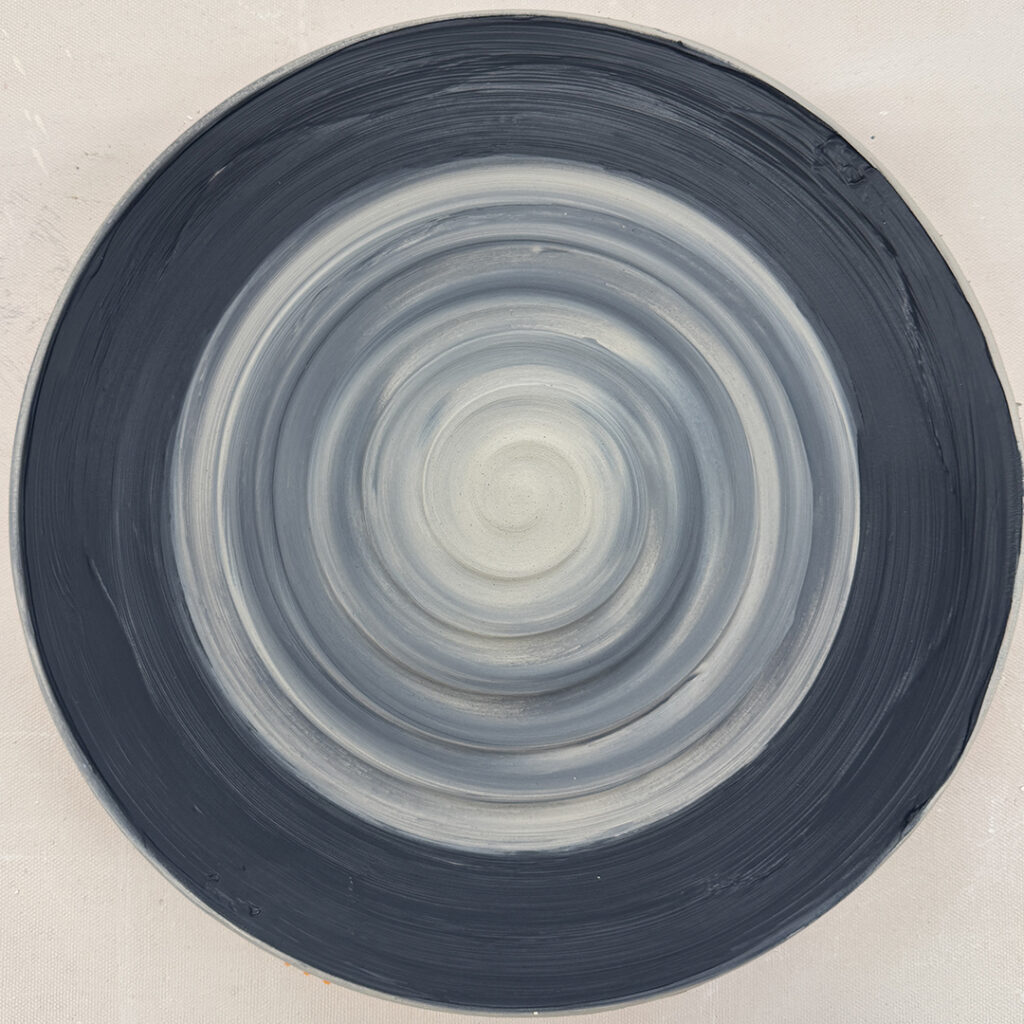
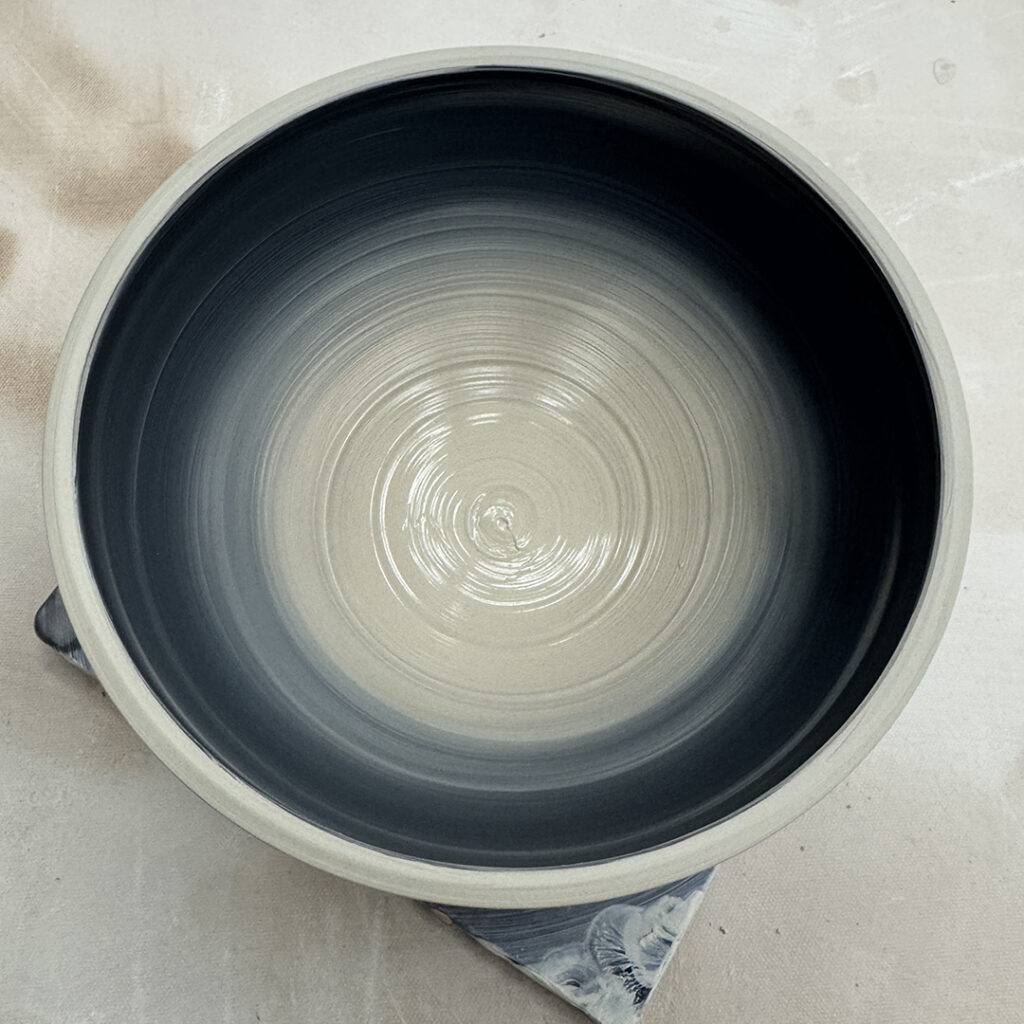
Bowl #16 – An ombre’ blend of white & black slip… which will probably be carved through later!
So for now all of the bowls are under plastic in my studio…
waiting for a little more… perhaps some stamping & detailing???