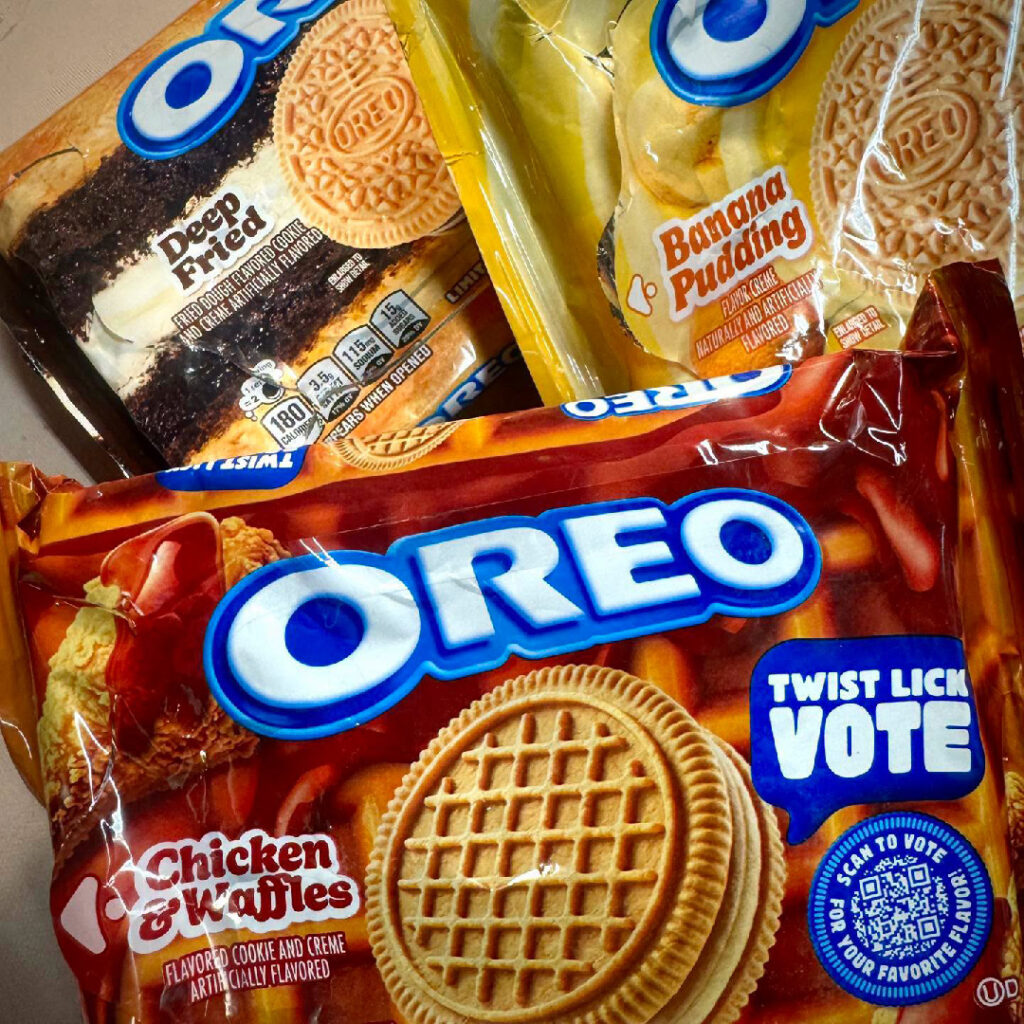
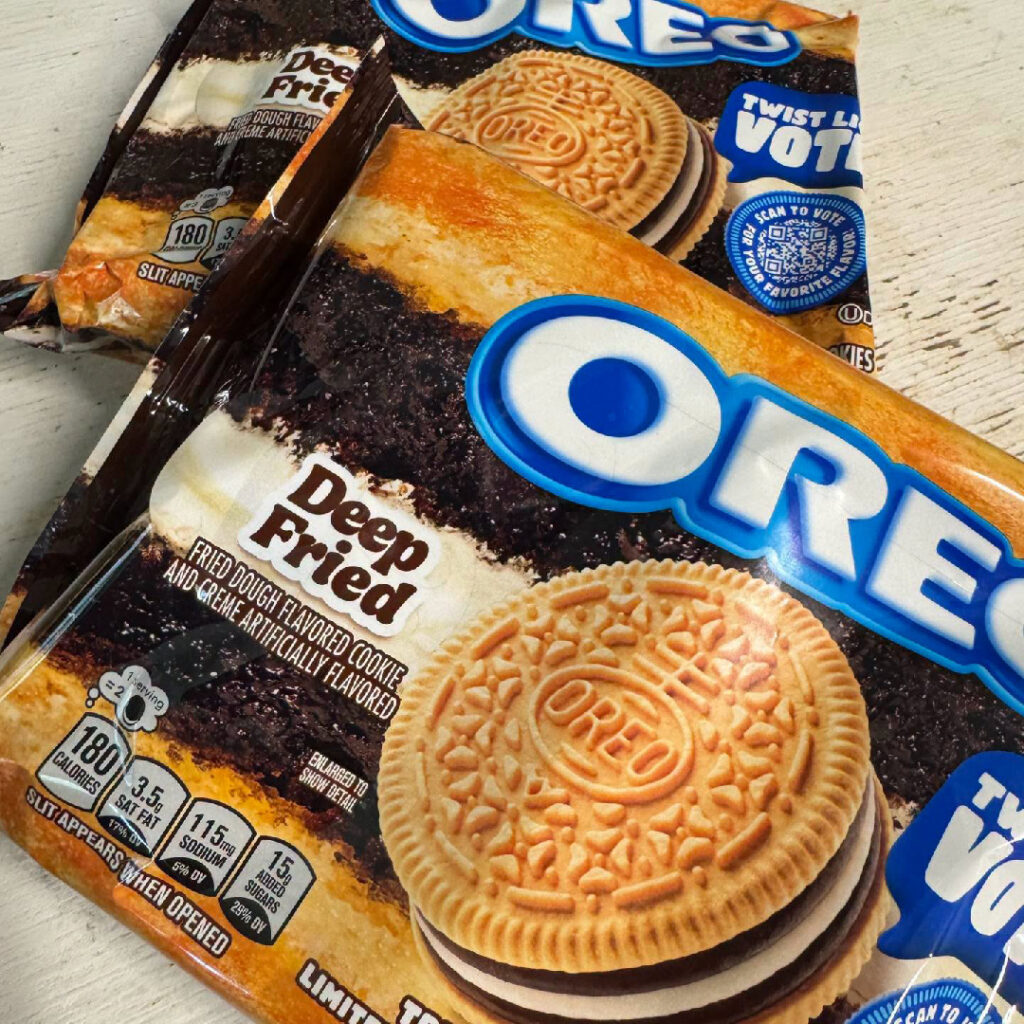
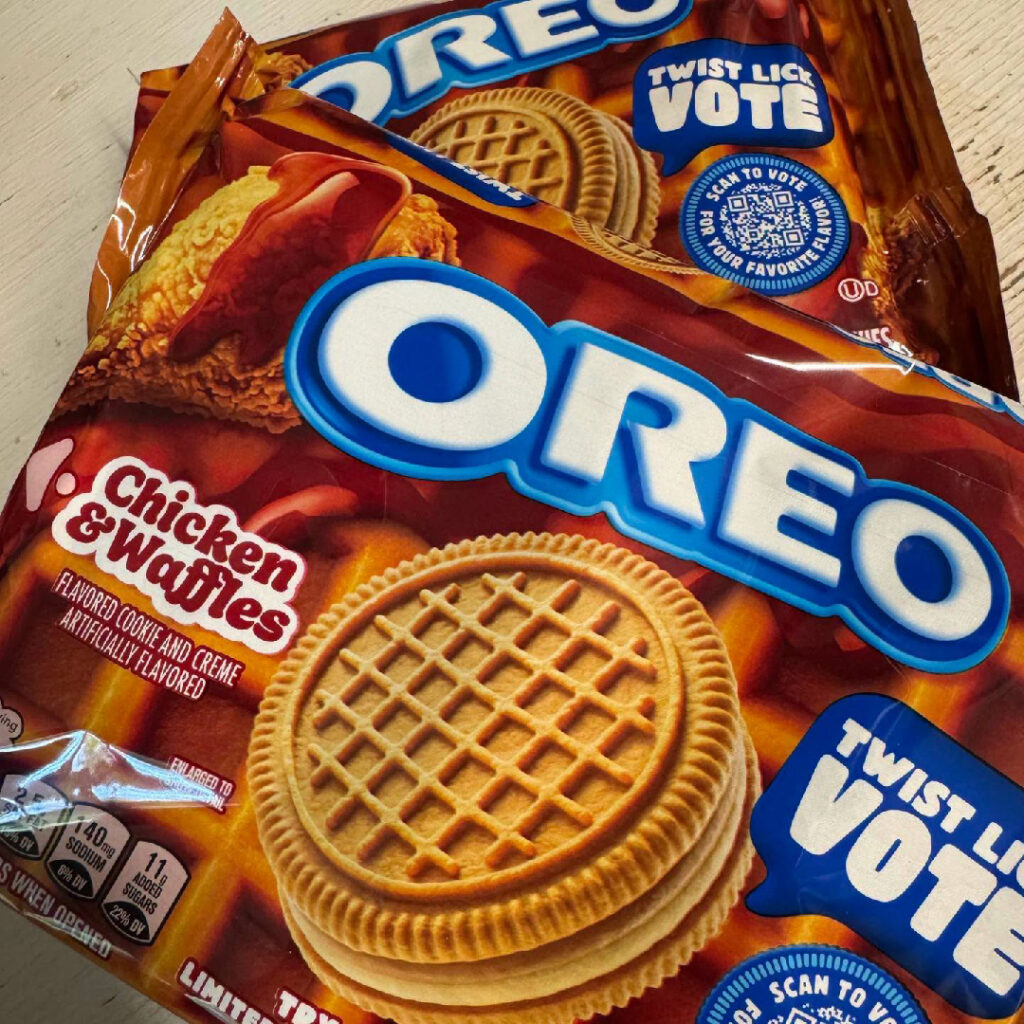
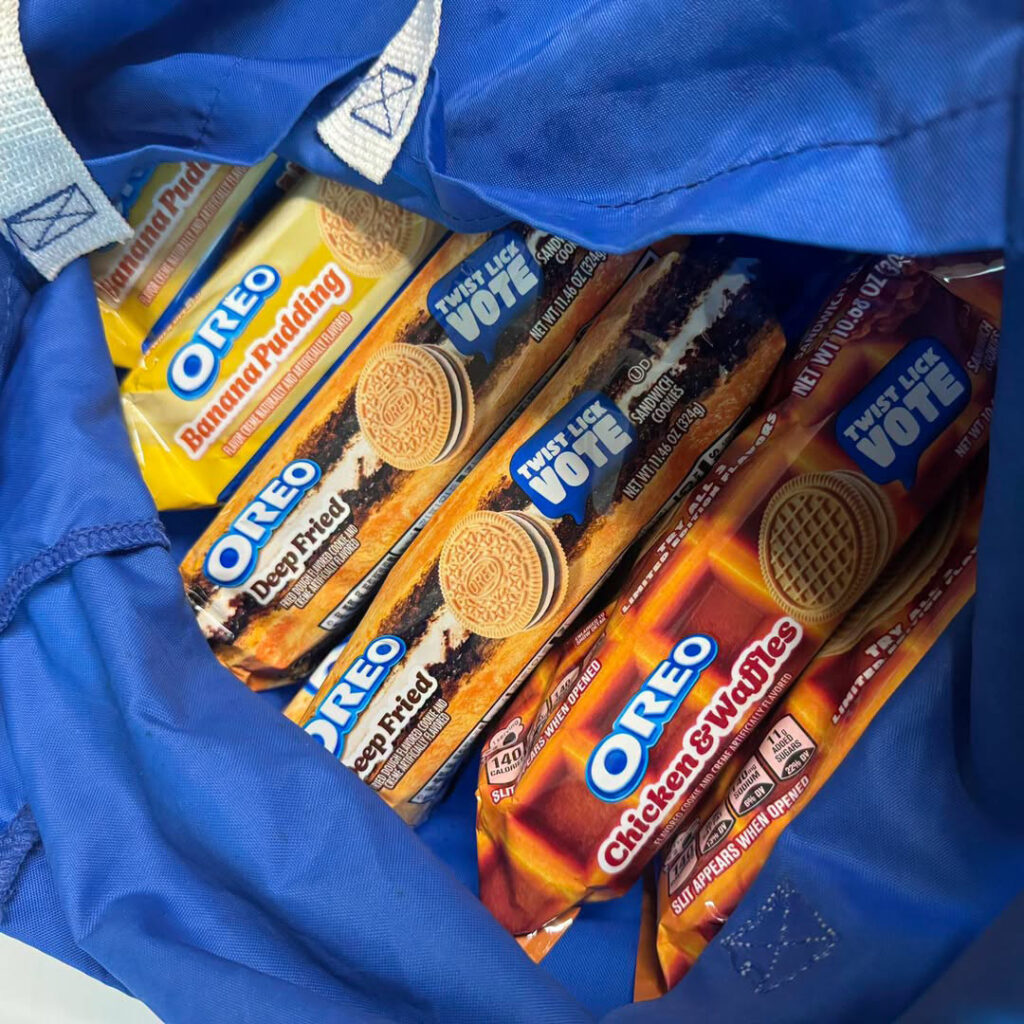
Heading into another new pottery class for Intermediate Wheelthrowing tonight. And a new class means new OREOs, right? Let’s see if this class is as daring as my Beginning students were last week. And if their “reviews” are the same!!!
So tonight was the start of the new session of pottery classes at Lillstreet. And “someone” may have found all three new flavors of OREOs to share with his students!!! Perhaps…. burp.
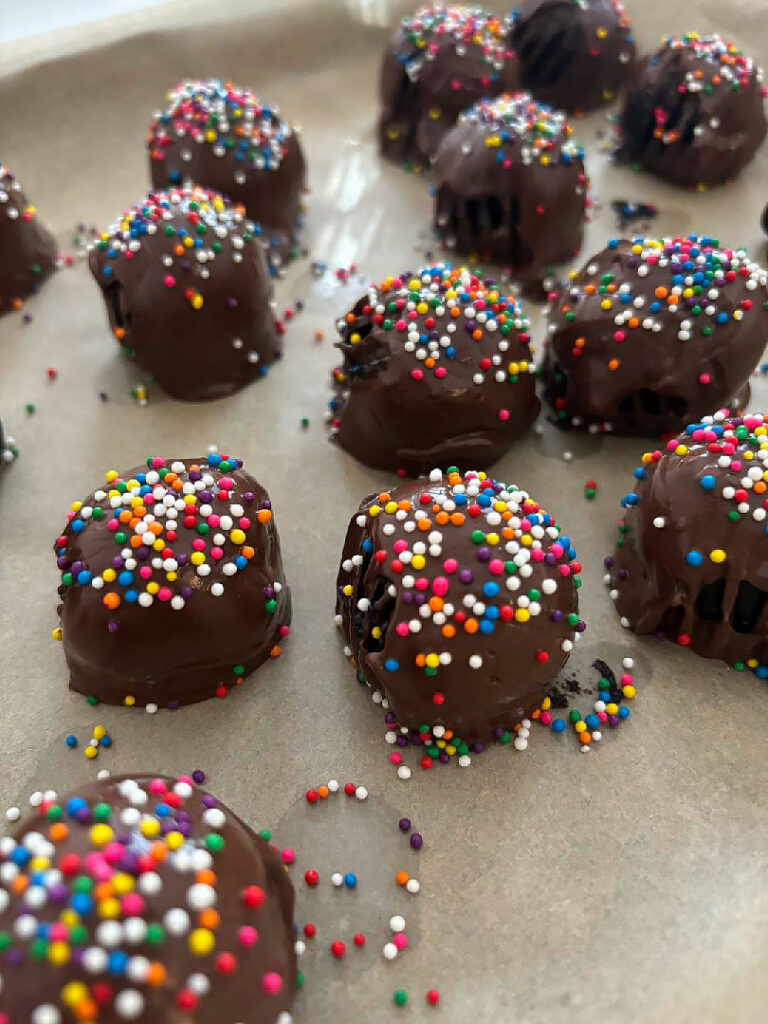
This week was our final week of pottery classes… and we always like to have a potluck to celebrate. So excited to get this “teaser photo” from Sara before class on Monday! Her famously fudgey “cake balls” made with dark chocolate OREOs!!! Yep… don’t threaten me with a good time!!!
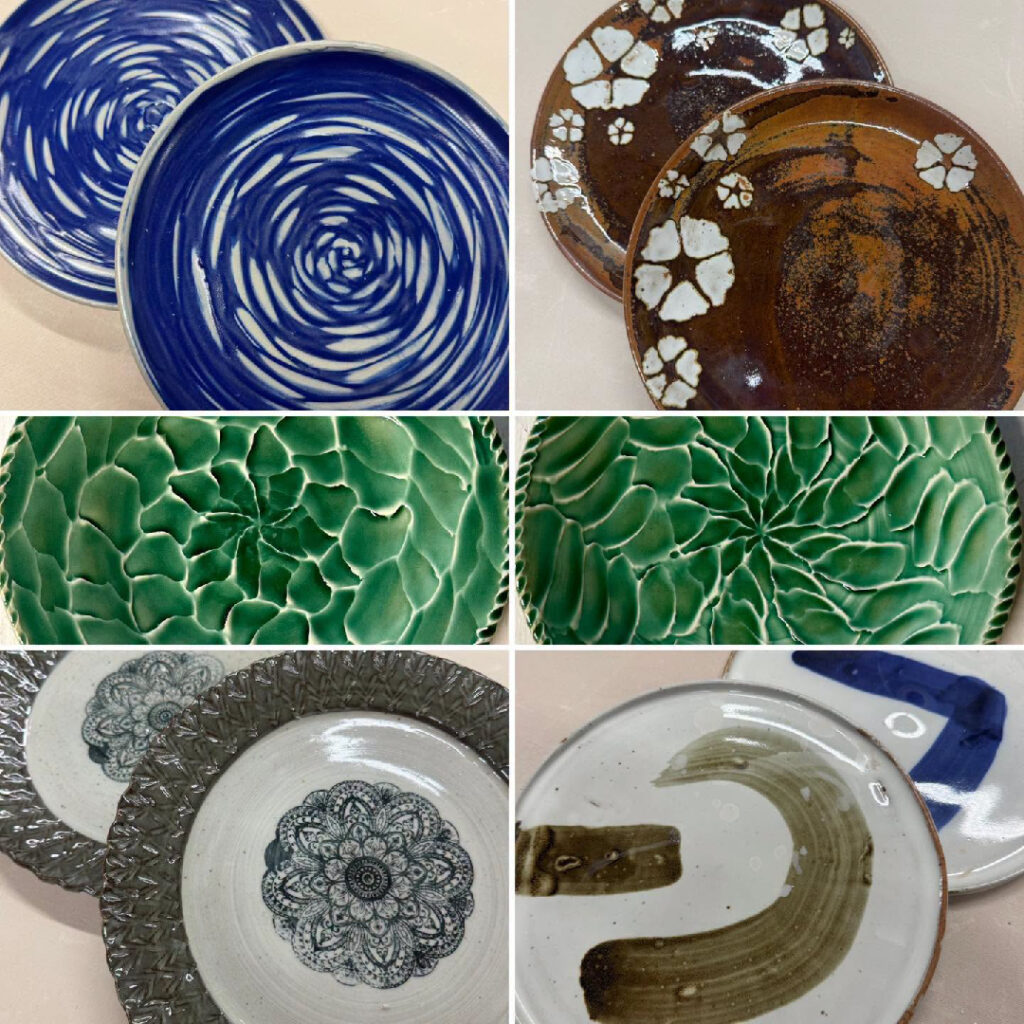
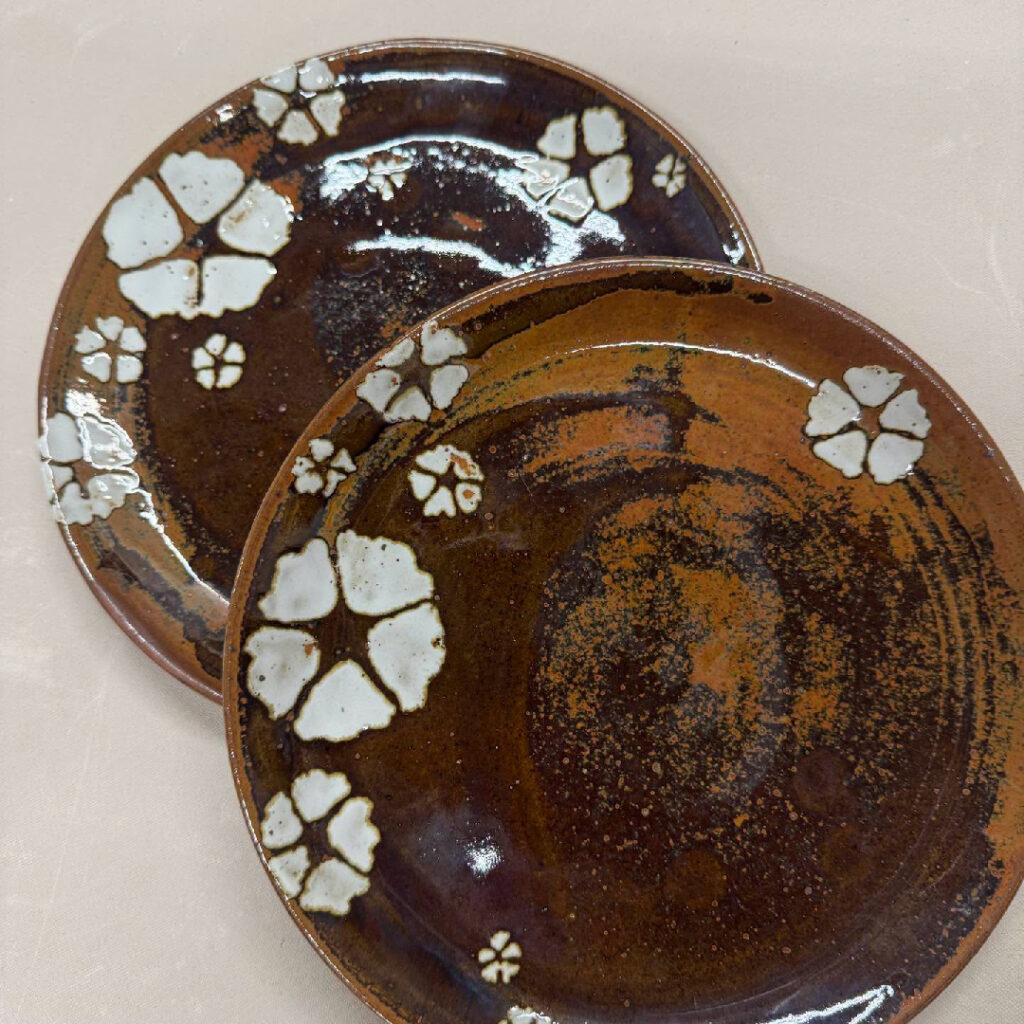
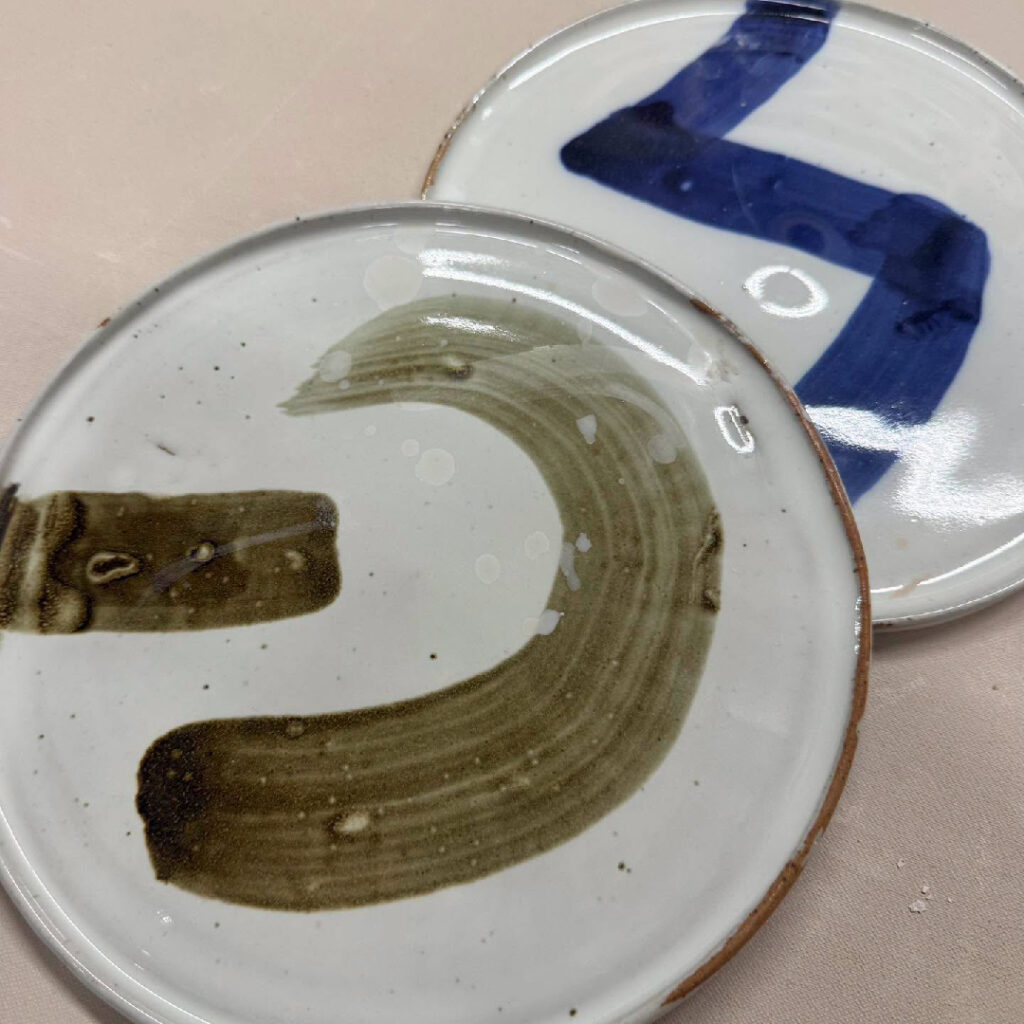
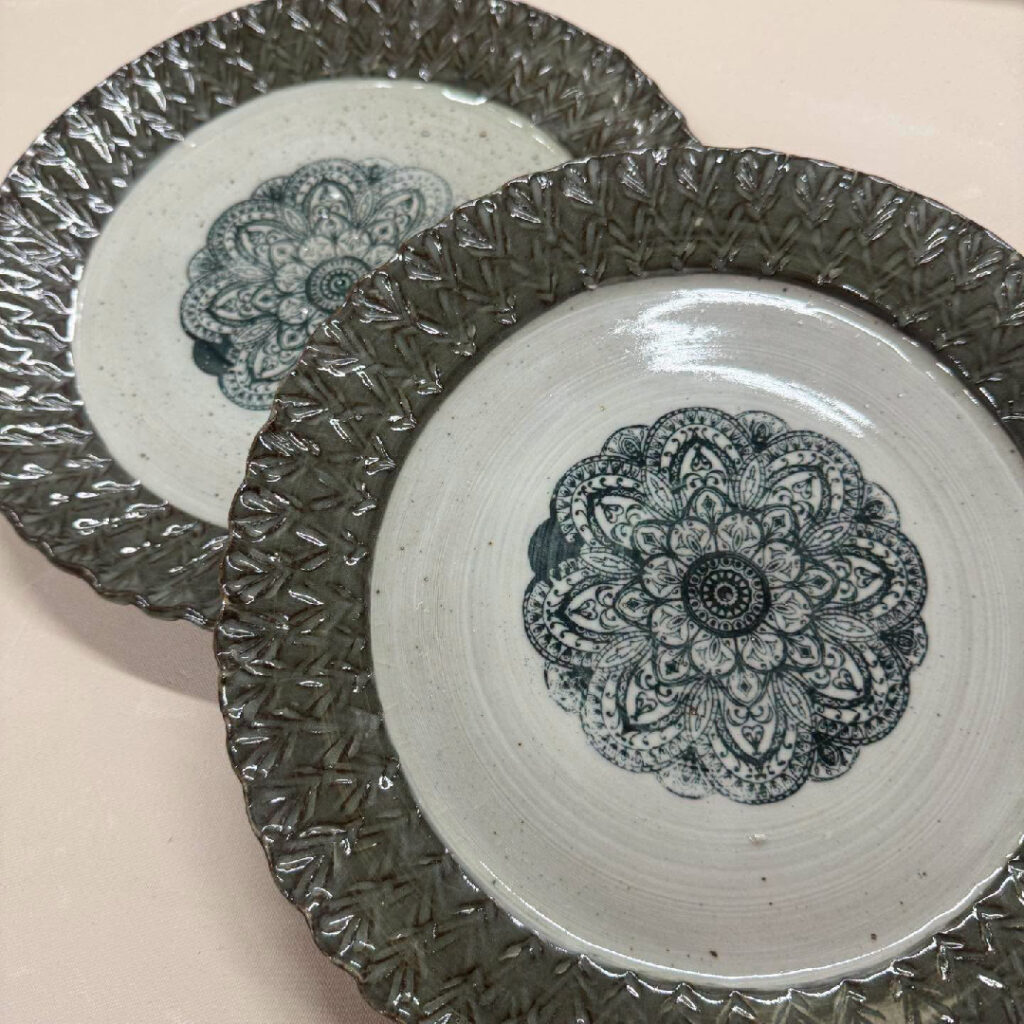
Monday night this week in class, we did our “White Elephant trading-stealing-exchanging game” for two dinner plates. We had some beautiful plates by some very talented students. I was lucky enough to score the two plates by Jackie with the white flowers on a brown background. Very sweet… and they kinda give me some groovy batik vibes!!!
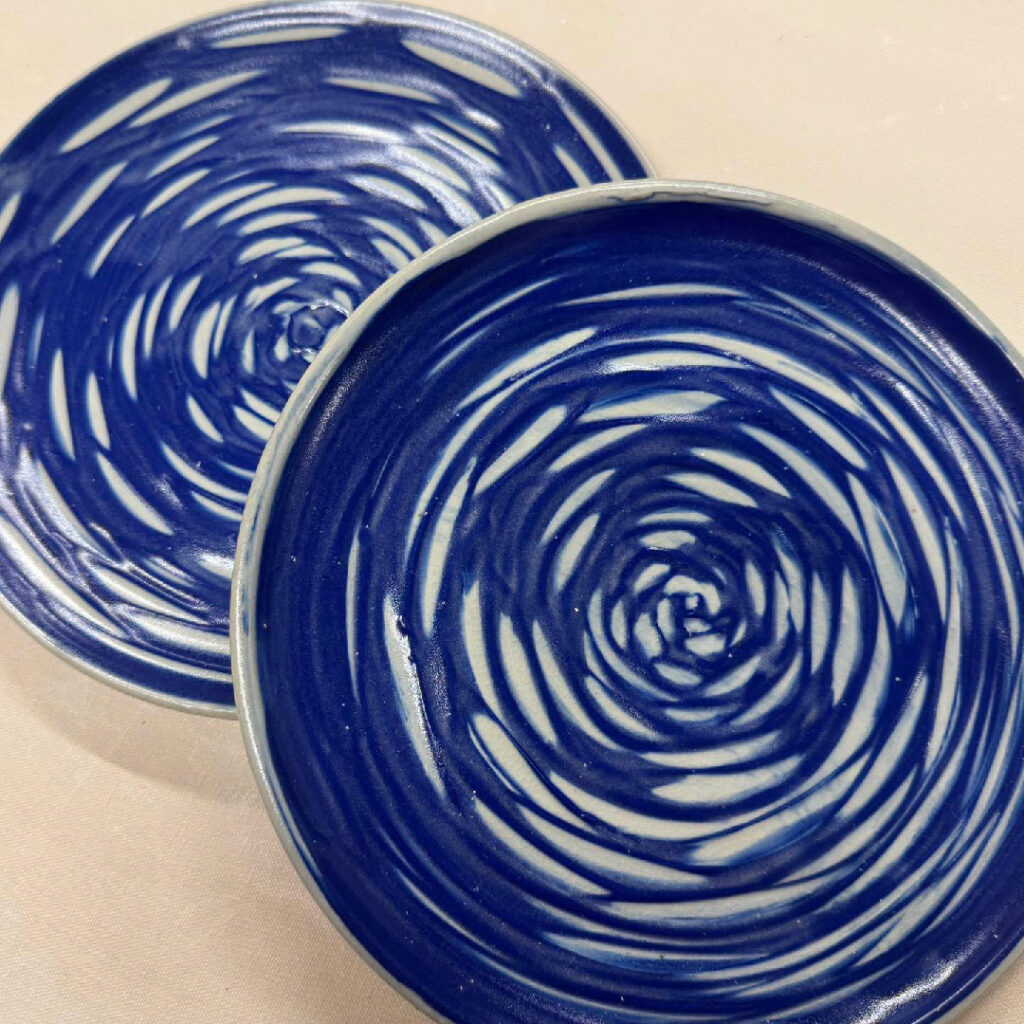
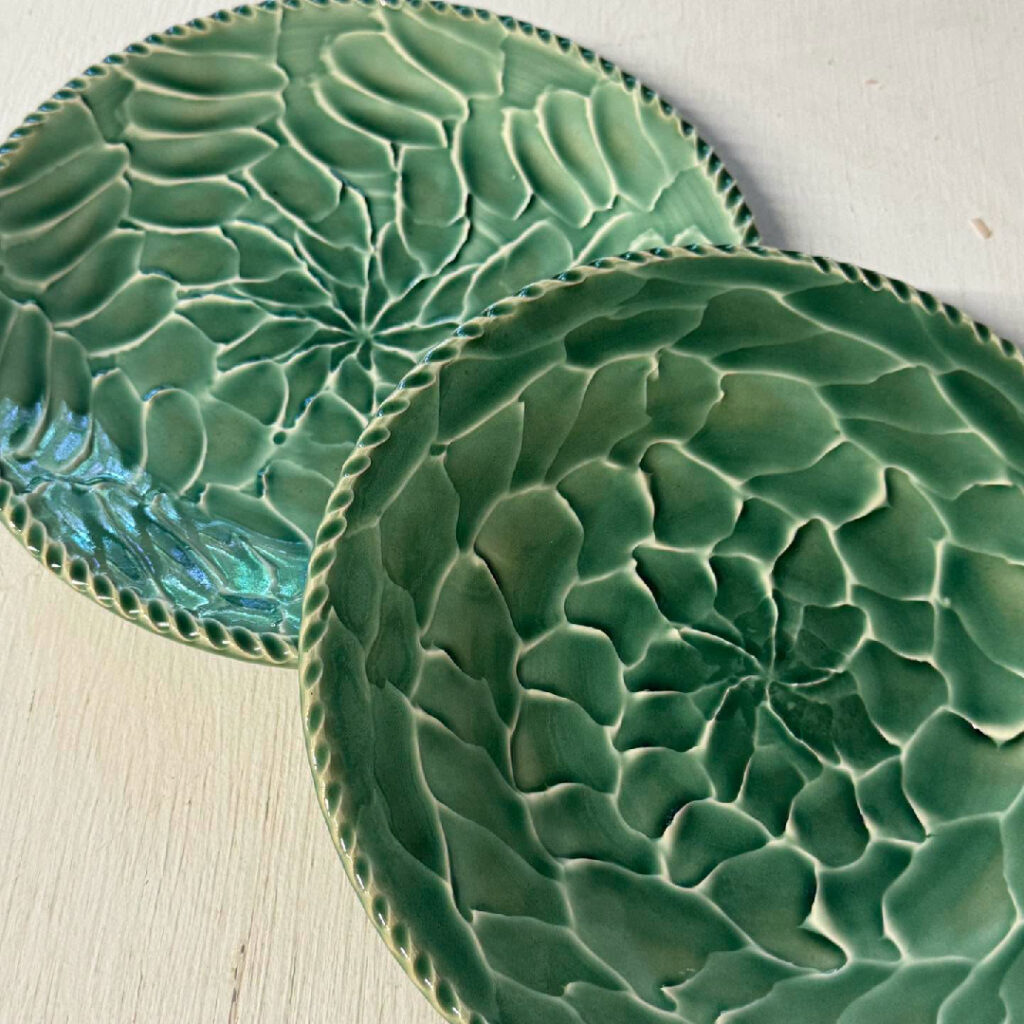
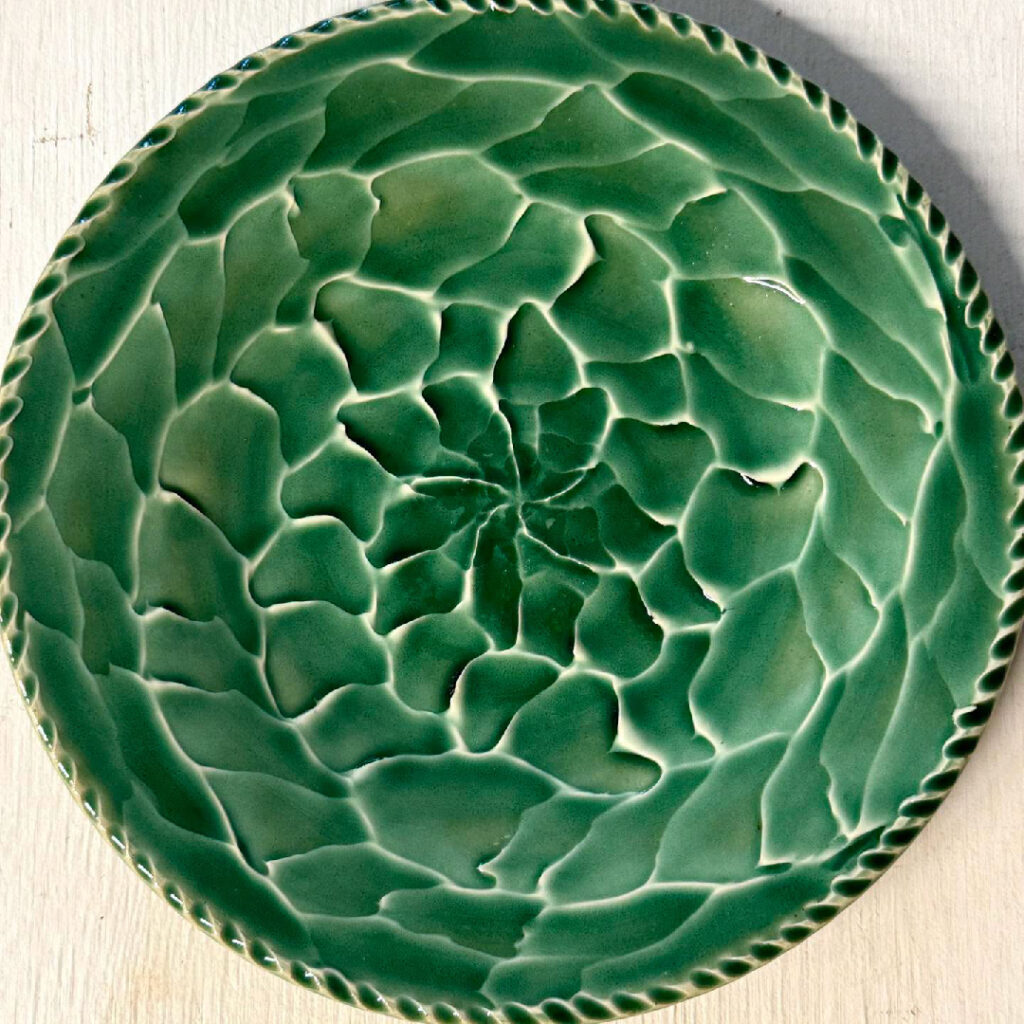
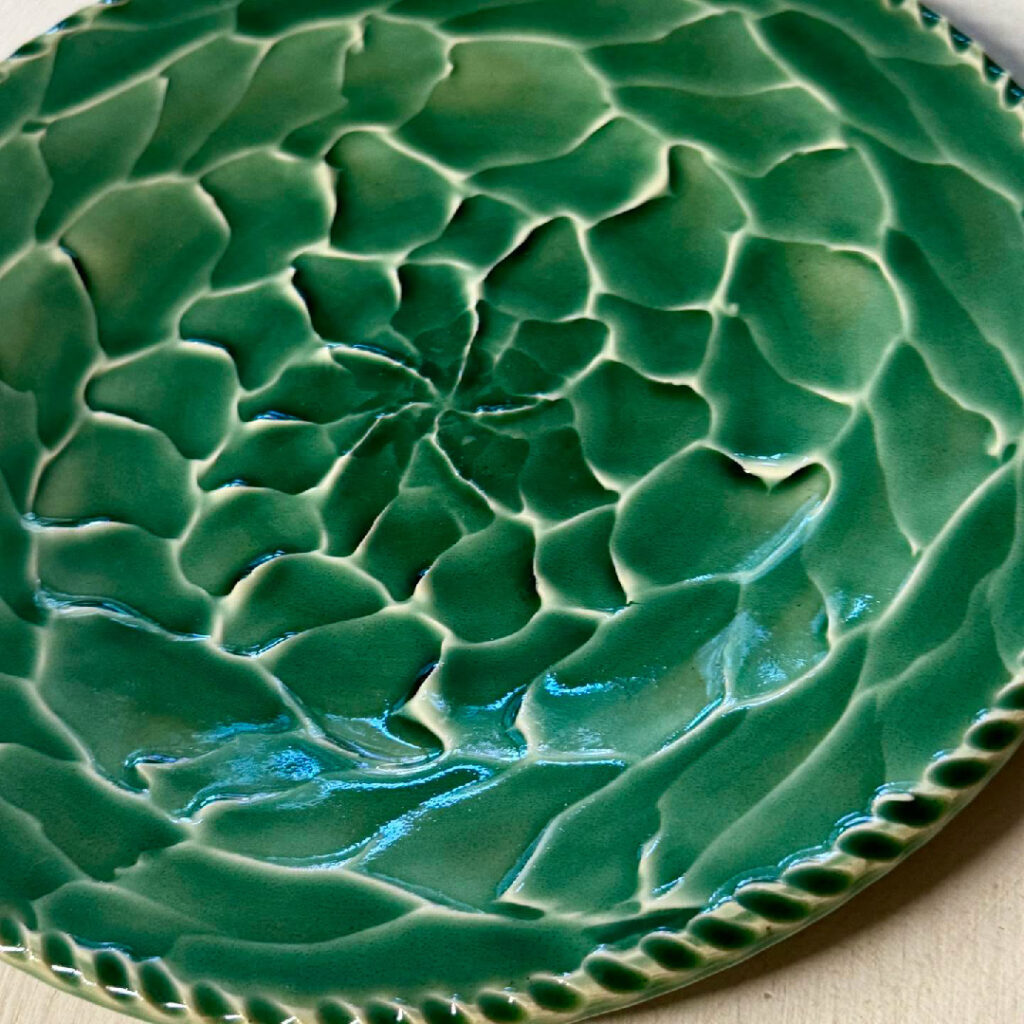
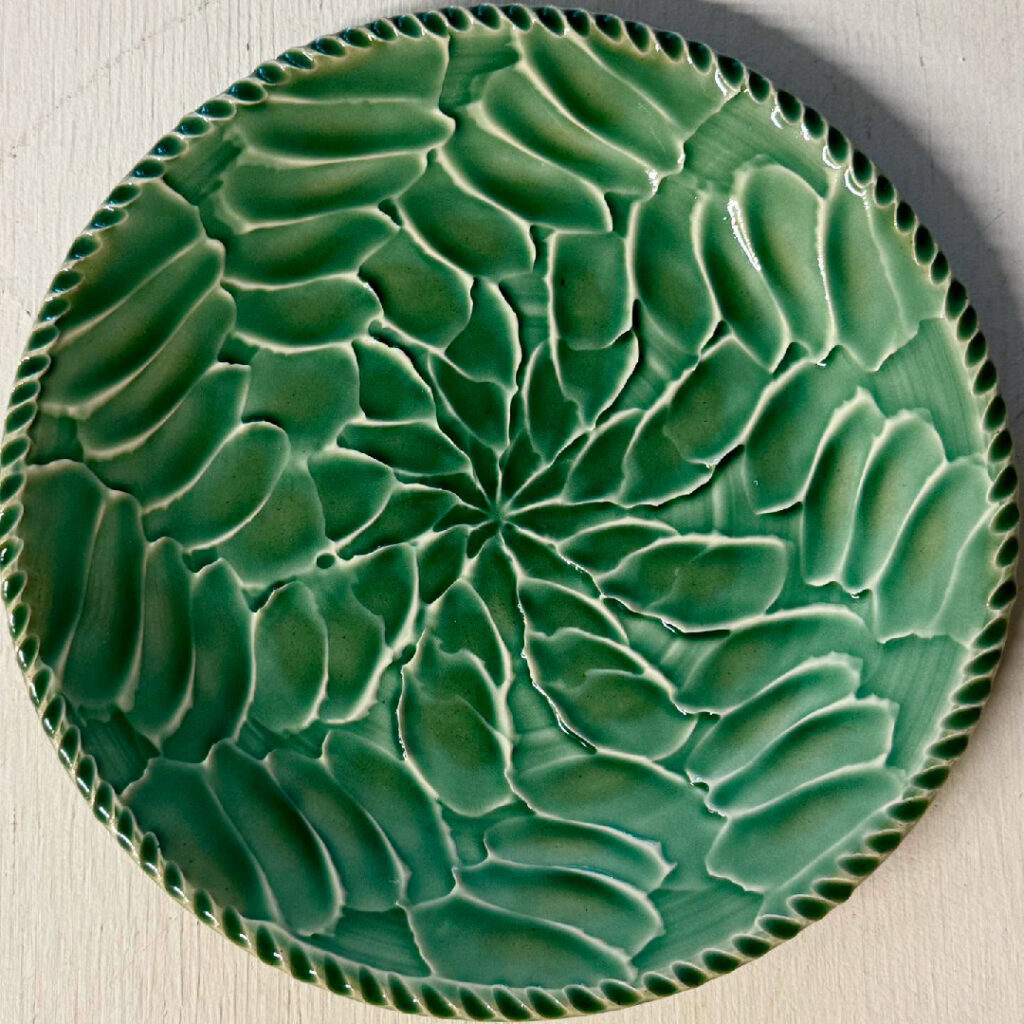
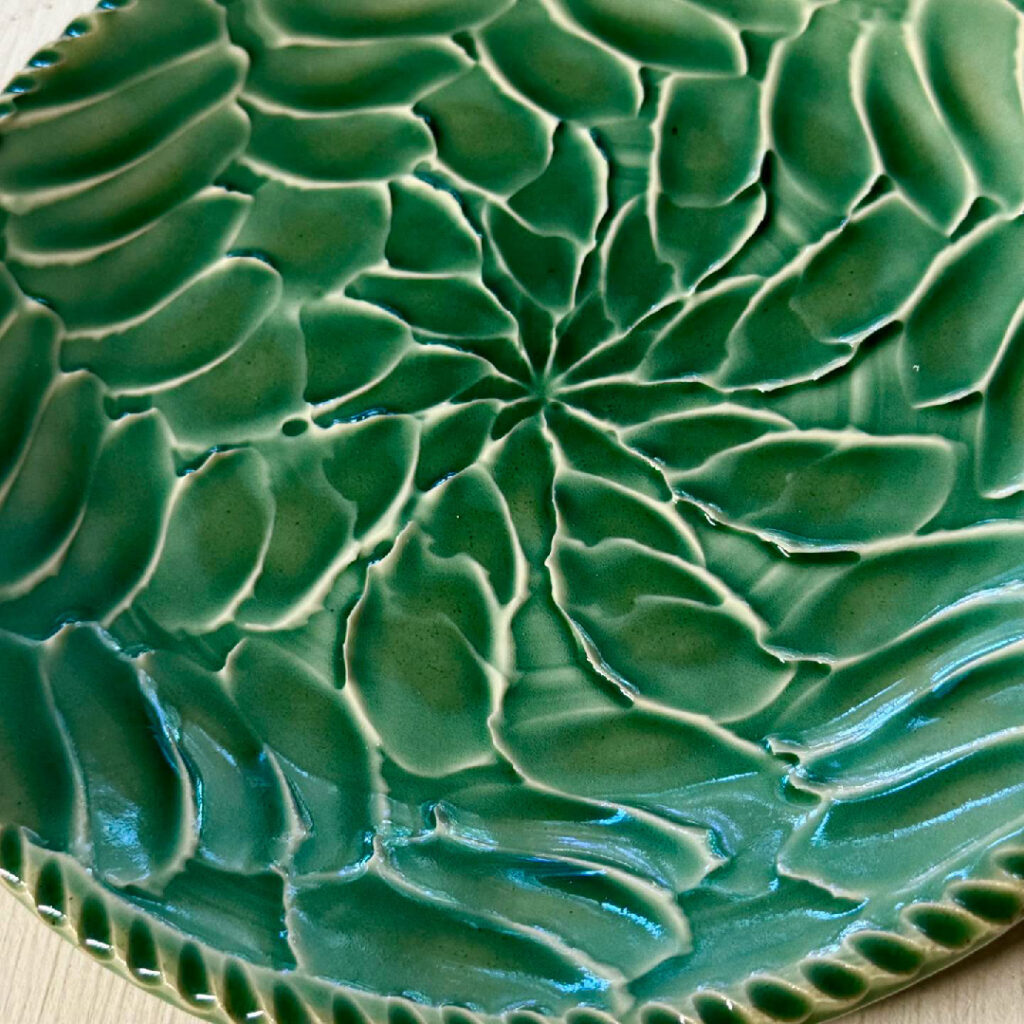
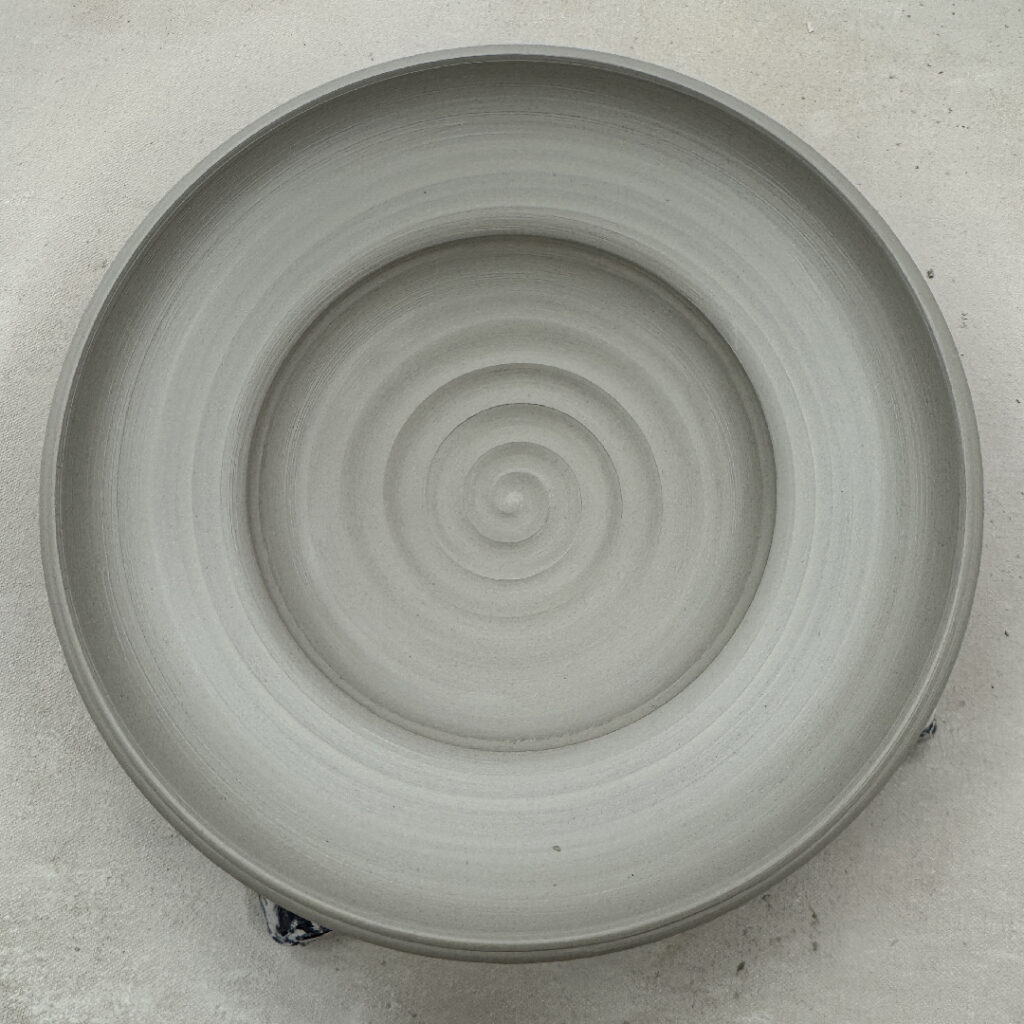
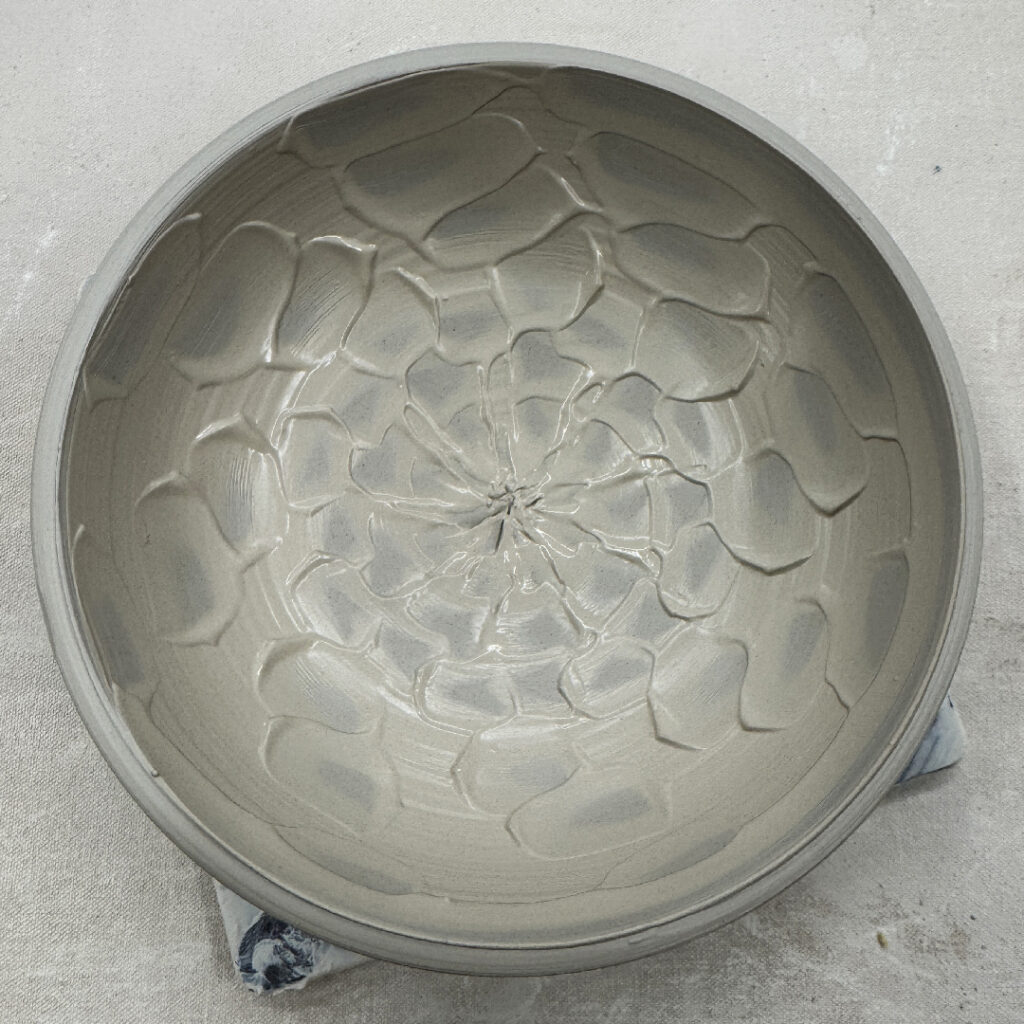
As this has been the final week of adult classes for the Summer Session… my Intermediate Wheelthrowing class was “celebrating” with a fun White Elephant game… and the trade category was two matching dinner plates. These were my plates for the trade… and also one of my first demos for the same class!!! Not my normal style… but I do love some chattered slip patterns & textures!!!
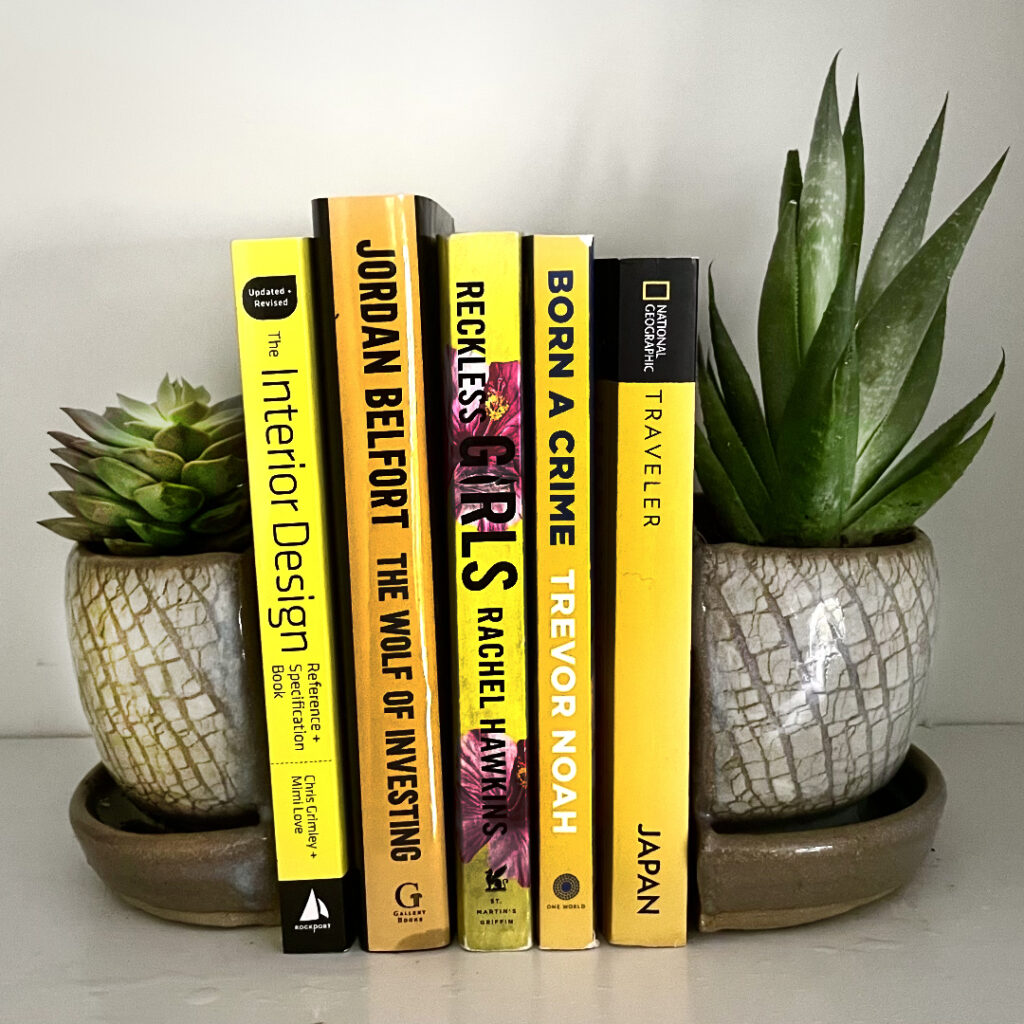
Congrats to Maya in my Monday night class… for making these cool bookend flower pots! She came into class & said that she wanted to focus on making flower pots & planters this session. So she has… including these crackled white slip planters! Very cool… and very successful. Thanks for sharing your work Maya!!!
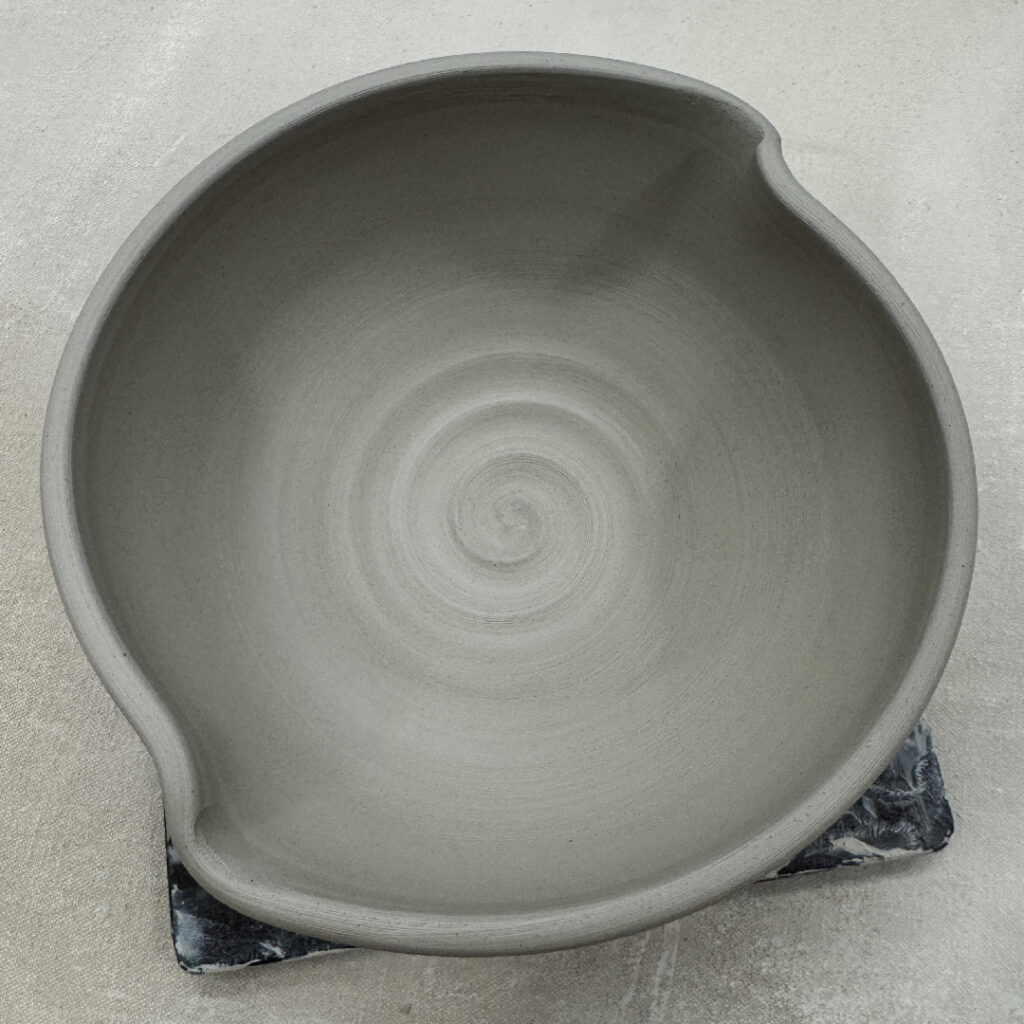
So here are my “not-so-basic bowls” from Tuesday night’s beginner class demo. Again, altering all of my bowls with some quick twists, flicks & slips! Trying to do something to them to make them more fun & more unique. My students really seemed to enjoy the demo… as I saw the “light bulb” go off for many of them as I demo’d. I don’t expect them to “copy” me… but hopefully employ some of the techniques… but twist them somehow to make it their own!
And I’m sure you’ve already guessed… and yes, I will be doing even more to them up in my studio over the next day or two. There might just be a bit of stamping here there… allegedly…
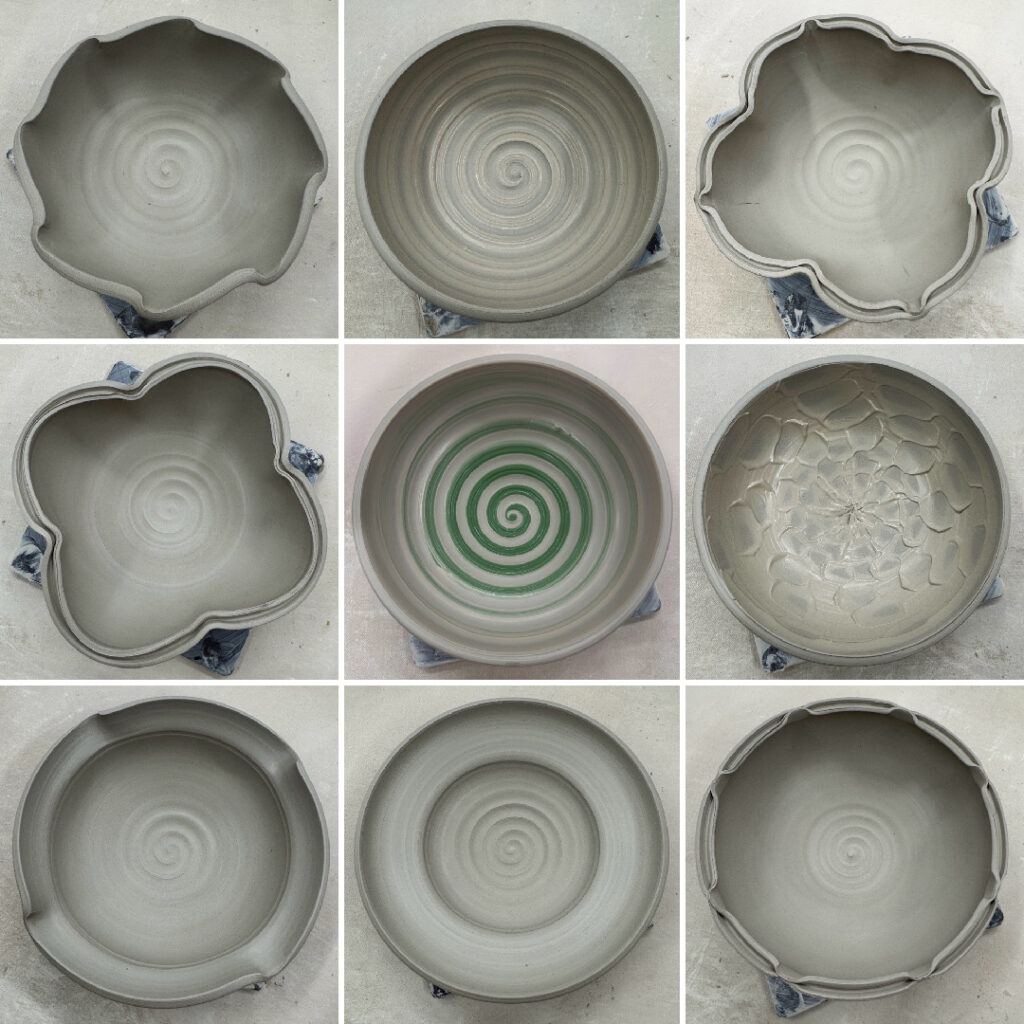
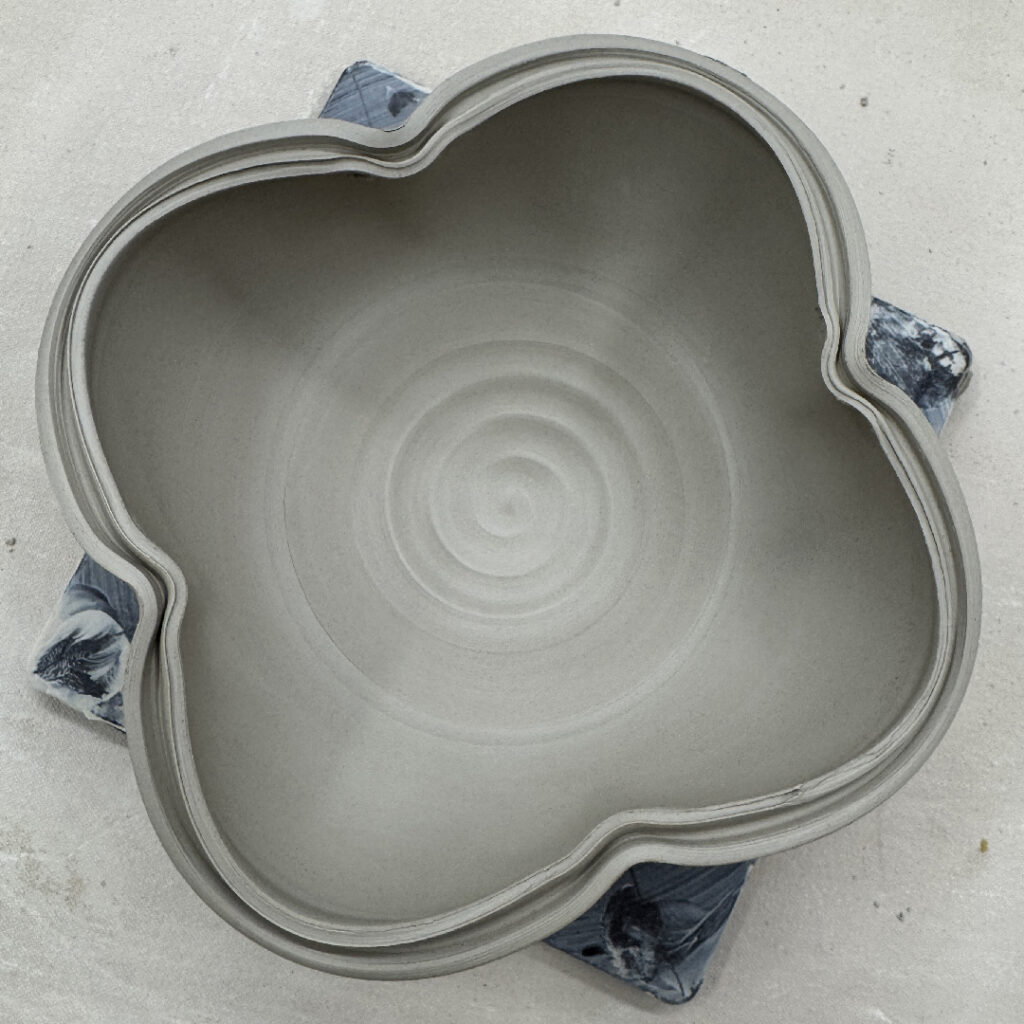
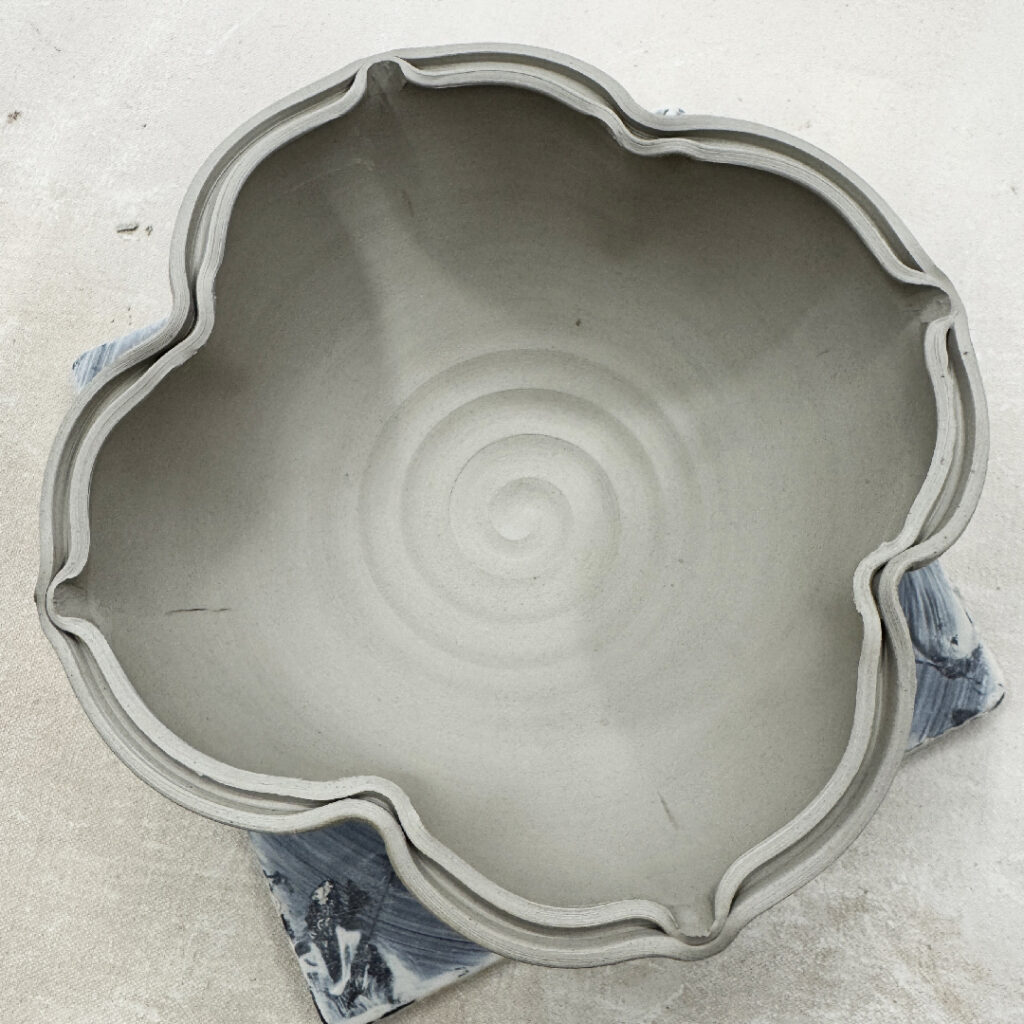
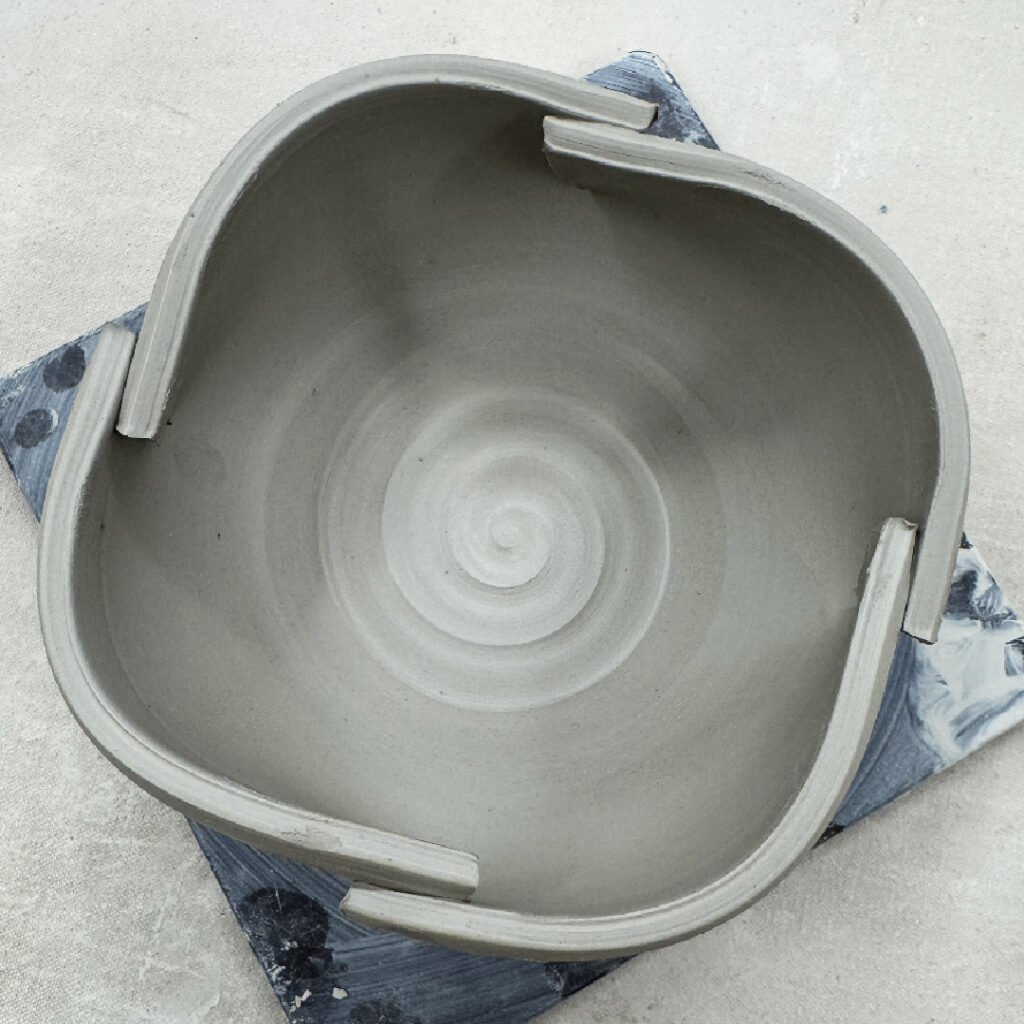
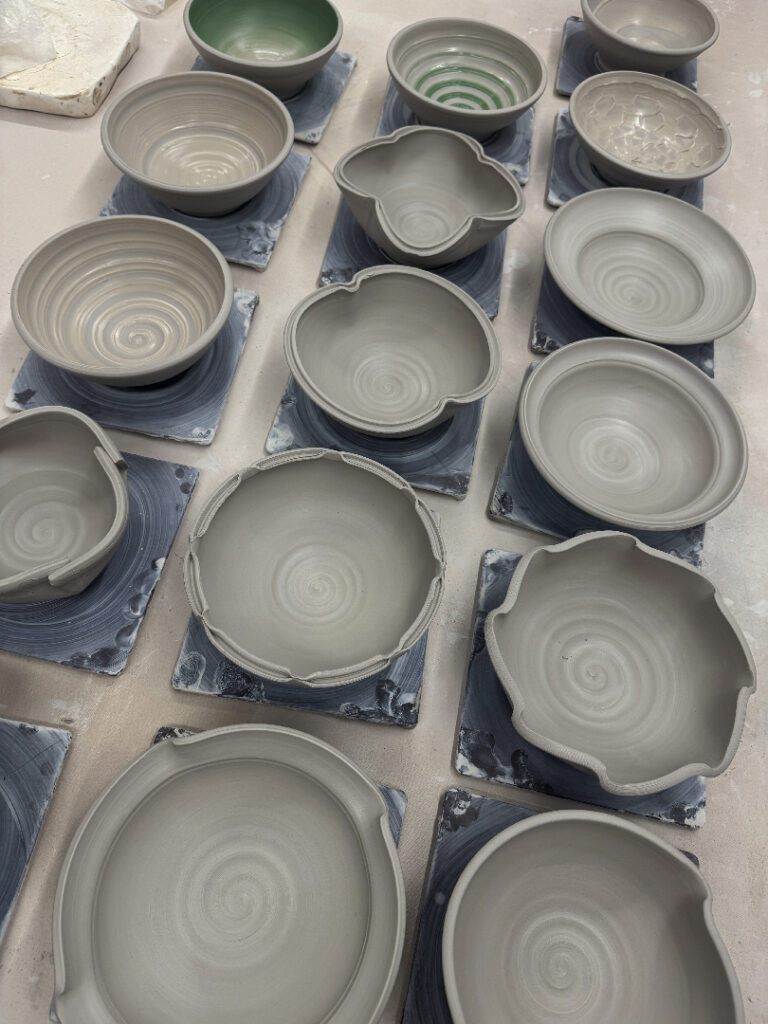
So here are all of my class demo bowls. Keep in mind they all started out as very simple round bowls. Nothing special. Nothing col. Just plain & round… and then I PLAYED with them!!!
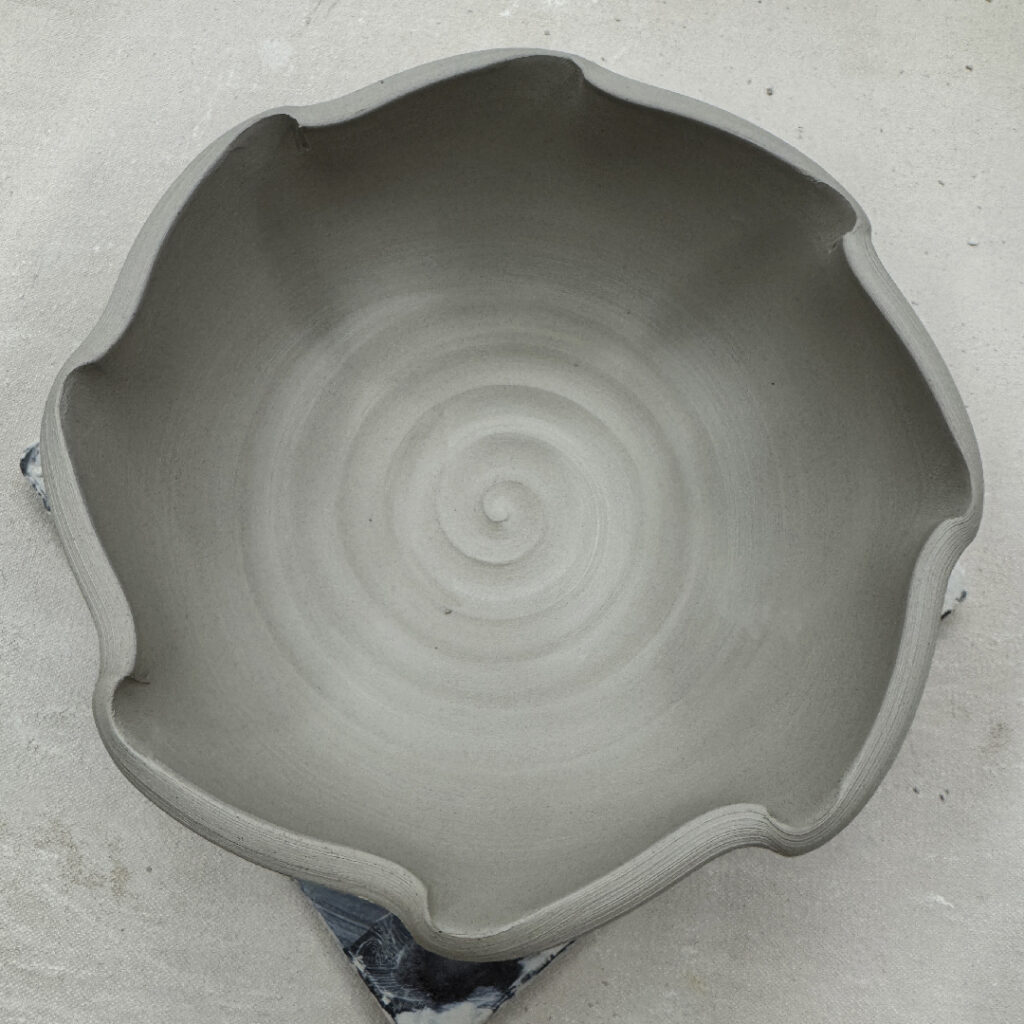
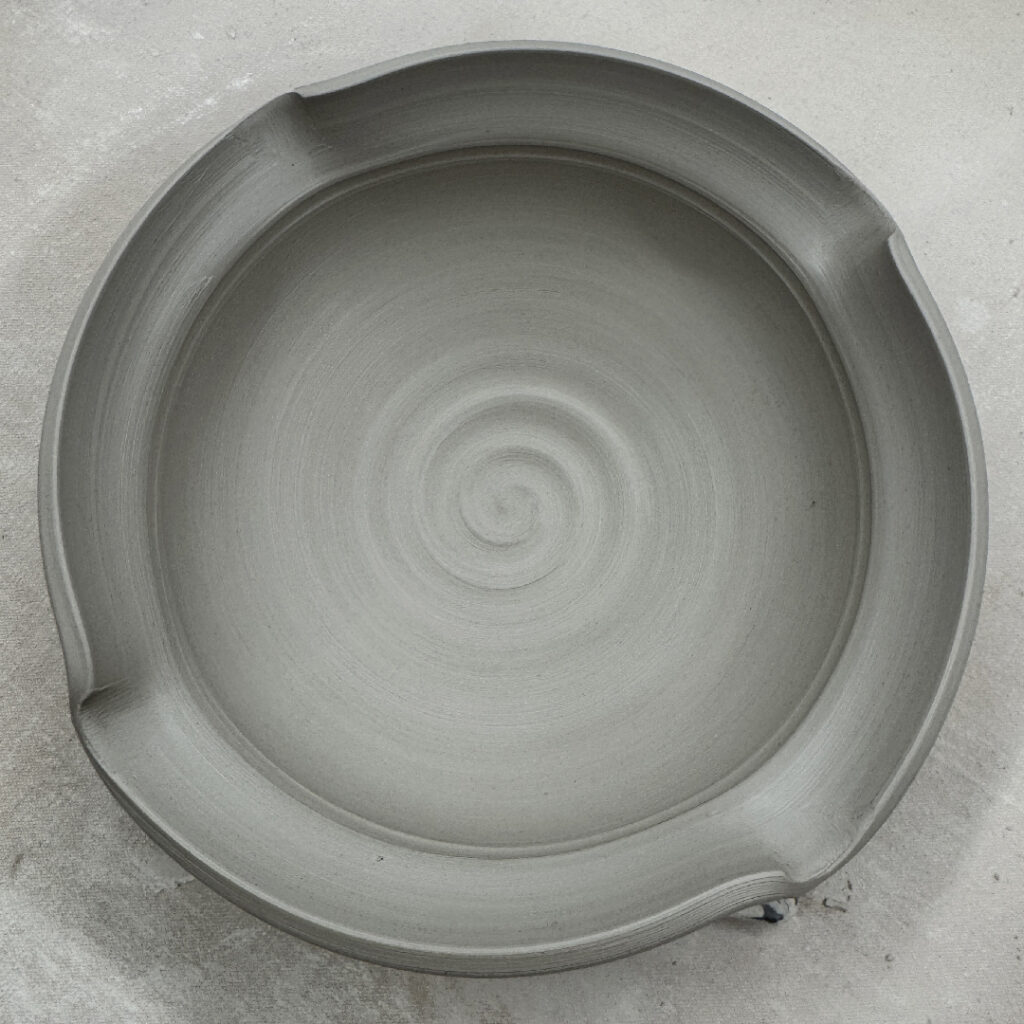
Bowl #1 – Two simple fluted twists opposite each other.
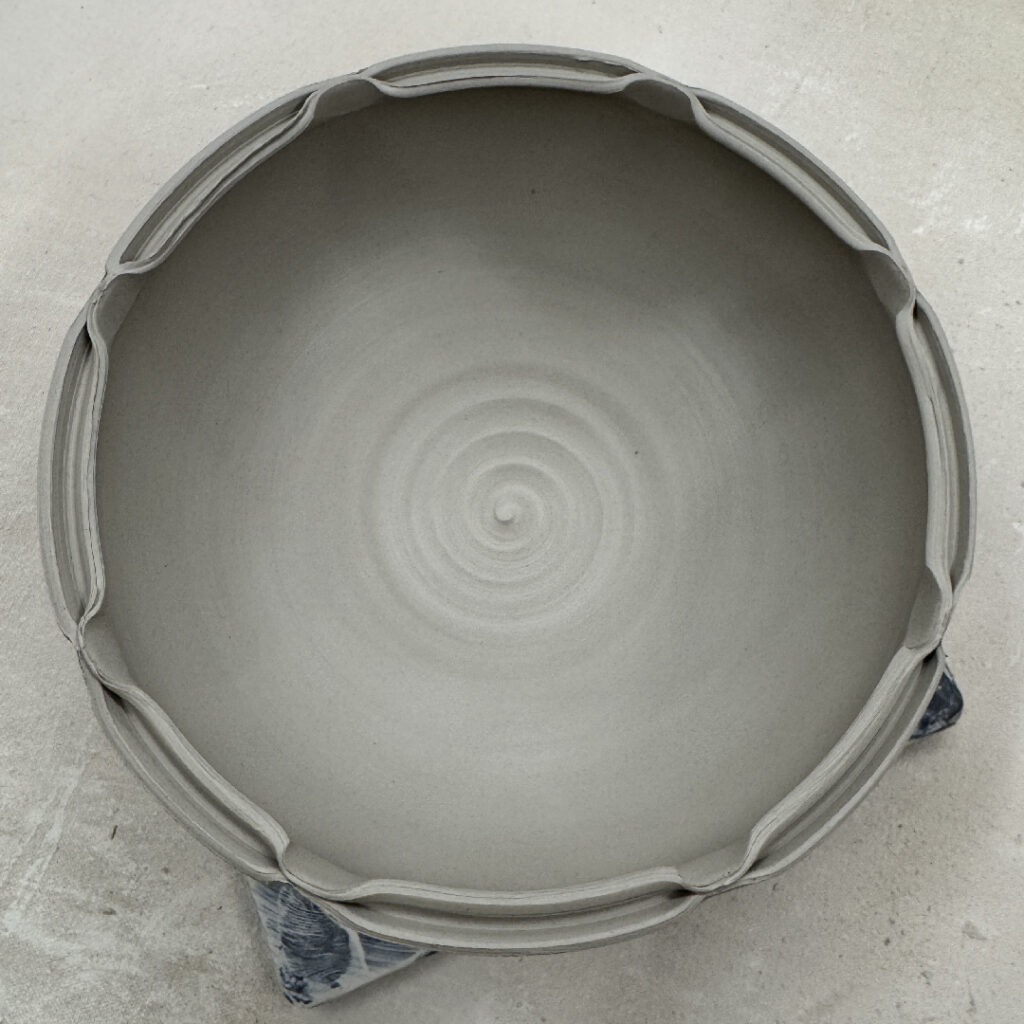
Bowl #2 – Eight fluted twists evenly space around the bowl.
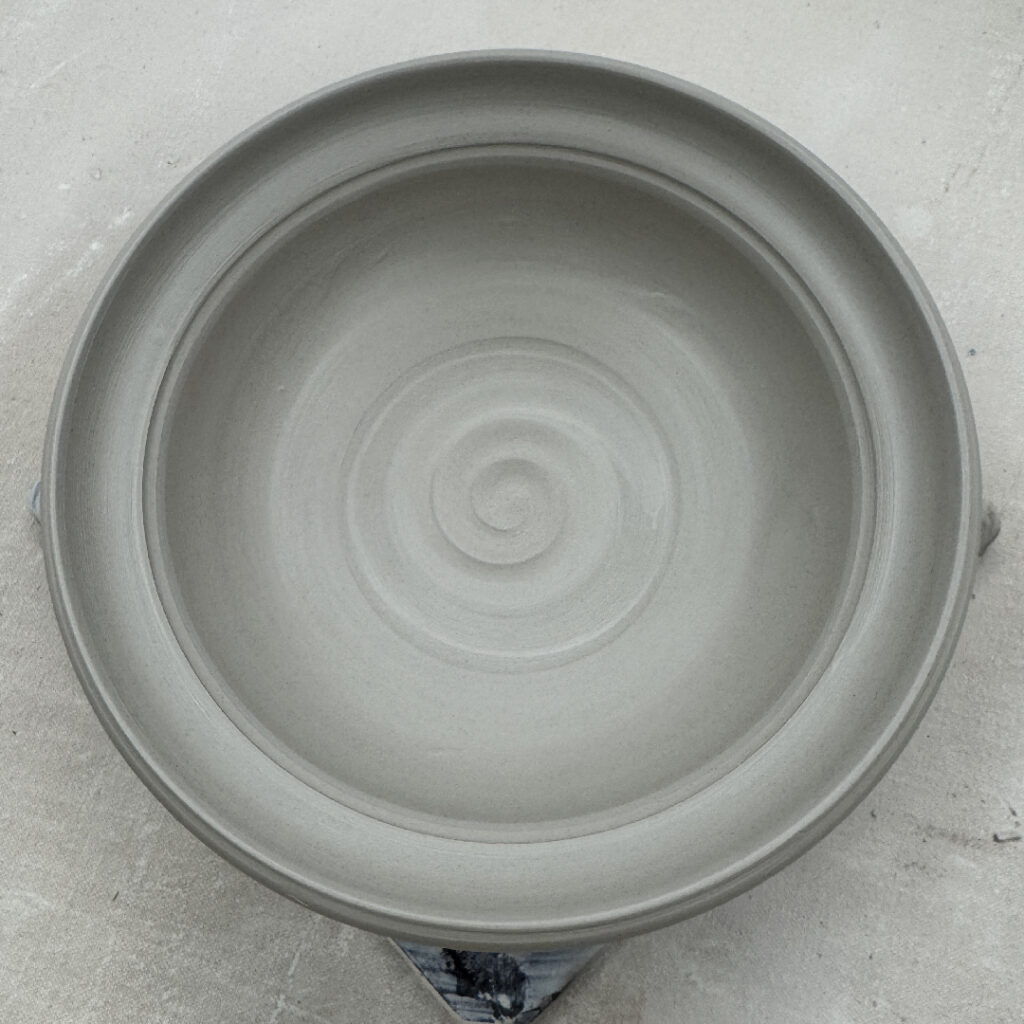
Bowl #3 – A simple flared-out flange about an inch wide.
Bowl #4 – Another flared out flange… twice as wide!!!
Bowl #5 – Combined fluting & flared out flange.
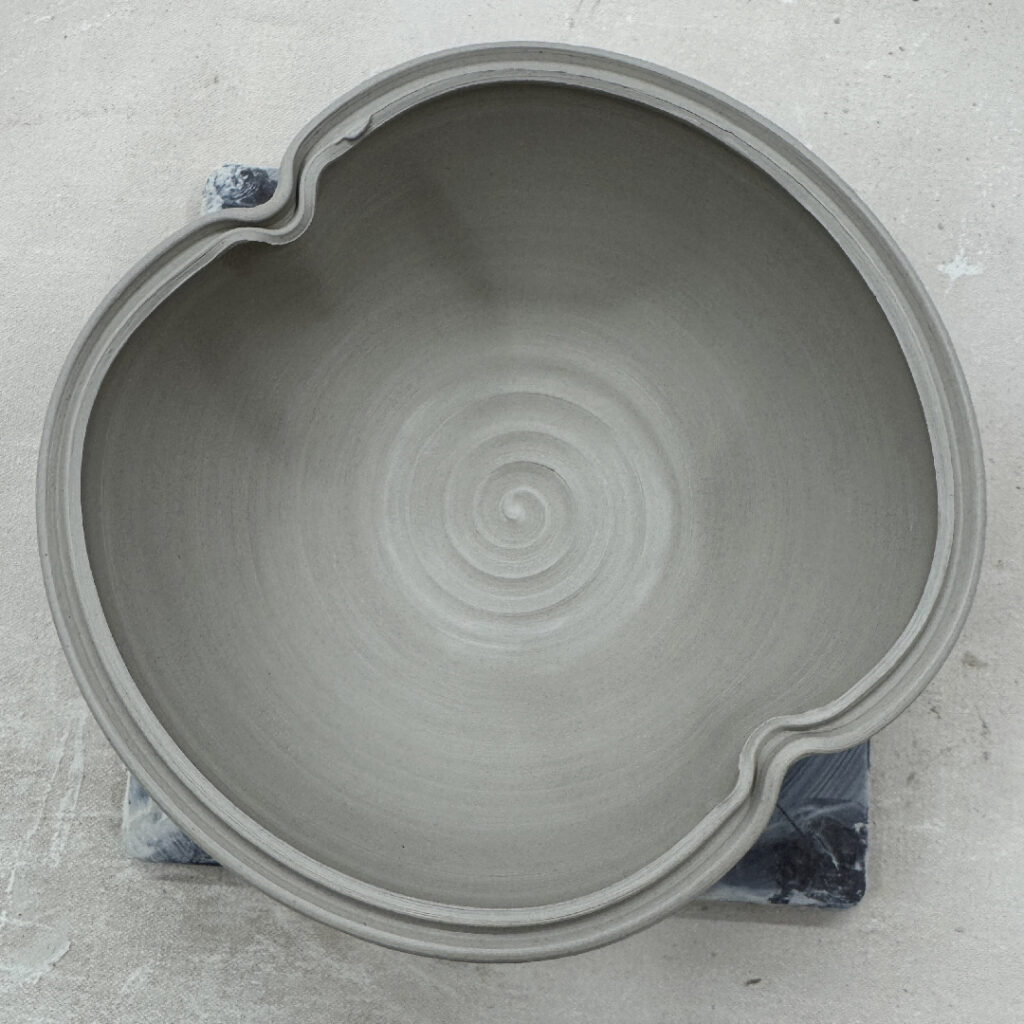
Bowl #6 – A split rim treatment… then dented inwards at two places opposite each other. This one we decided to keep like this… knowing that I can add an over-the-top handle to turn it into a “basket bowl.”
Bowl #7 – Another split rim… and then pinched together in eight places.
Bowl #8 – Split rim – dented inwards at four places.
Bowl #9 – Split rim dented inwards & outwards!
Bowl #10 – Sliced through the sides, and then pulled-in & overlapped.
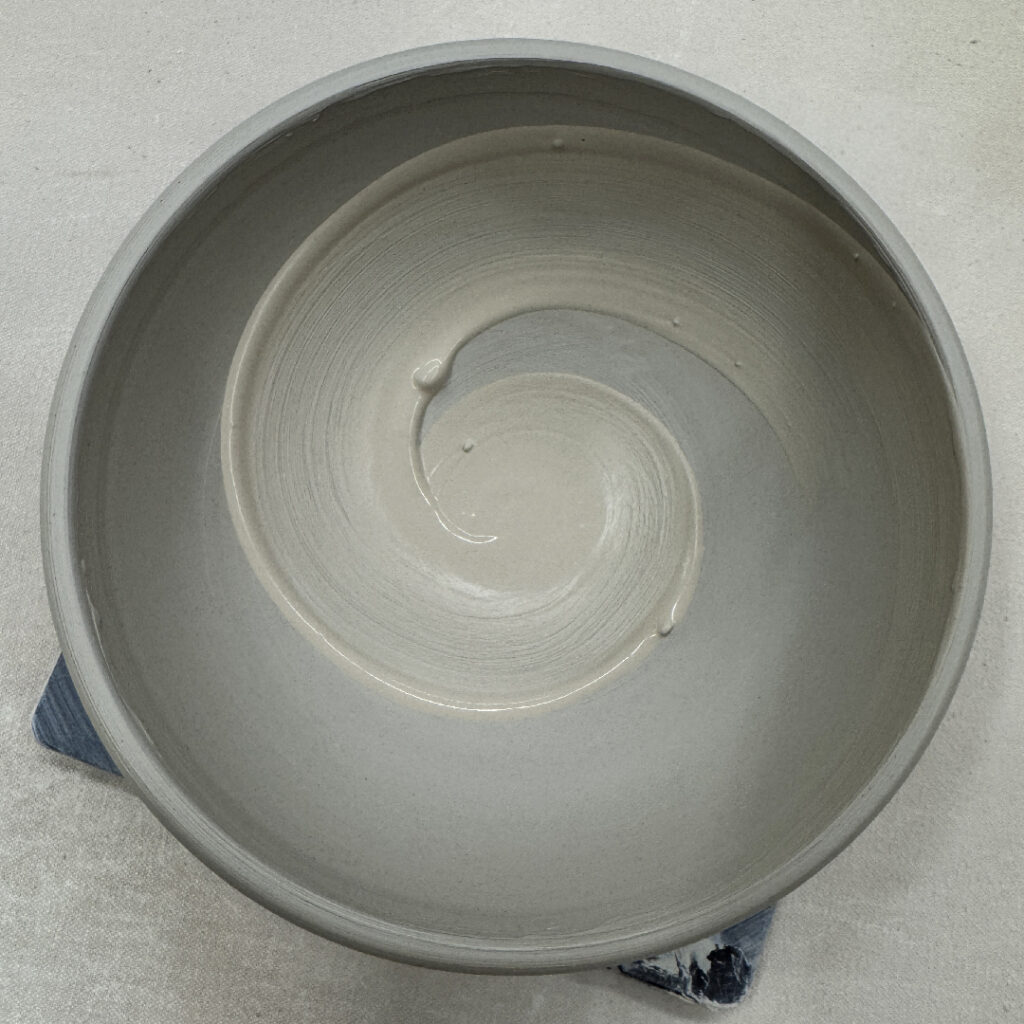
And then it was time to introduce thick slip as a surface decoration option! I like to use white so it’s there for texture so the glaze can pool & puddle over it… and not a dramatic color “forced” onto the bowl.
Bowl #11 – Just one splatter paintbrush stroke of thick white slip… kind of a joke, but then I actually started to like it.
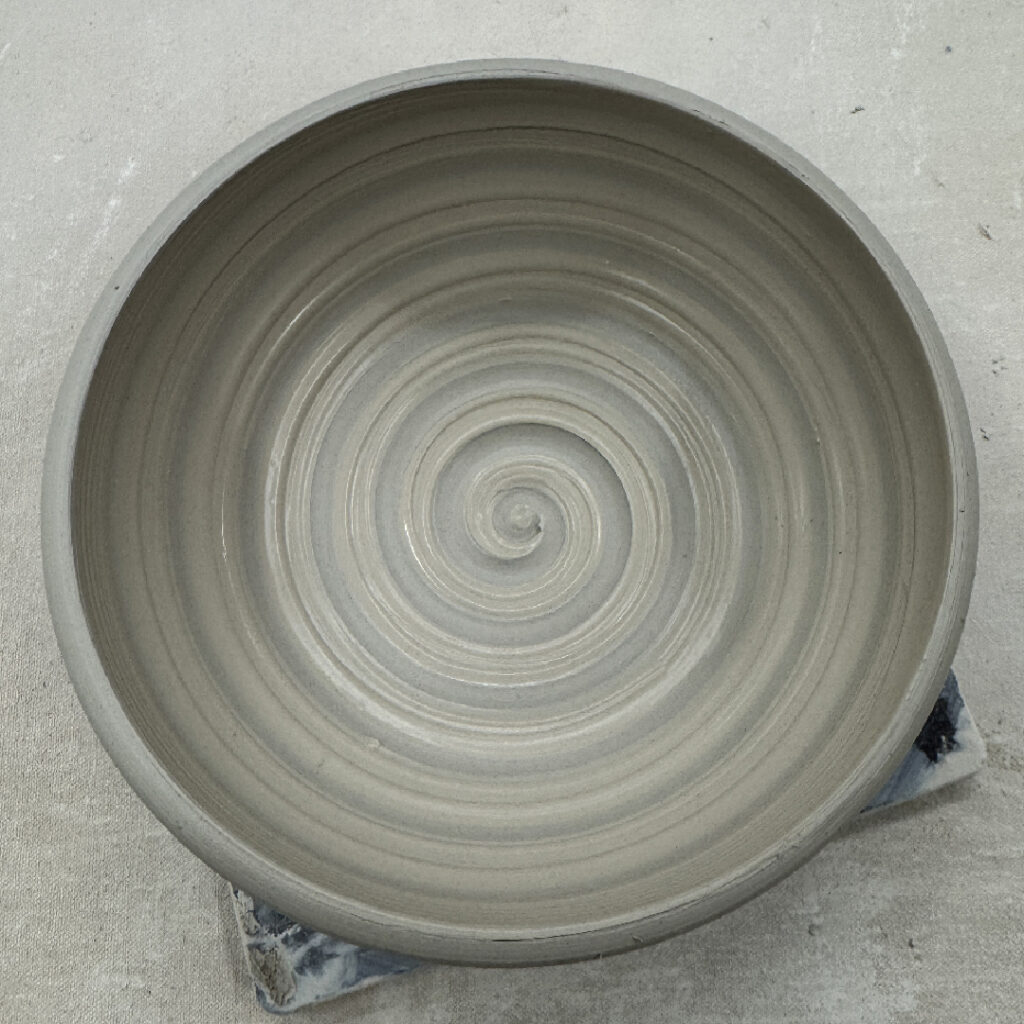
Bowl #12 – A layer of thick white slip with the rounded end of a tool dragged through while the wheel was spinning.
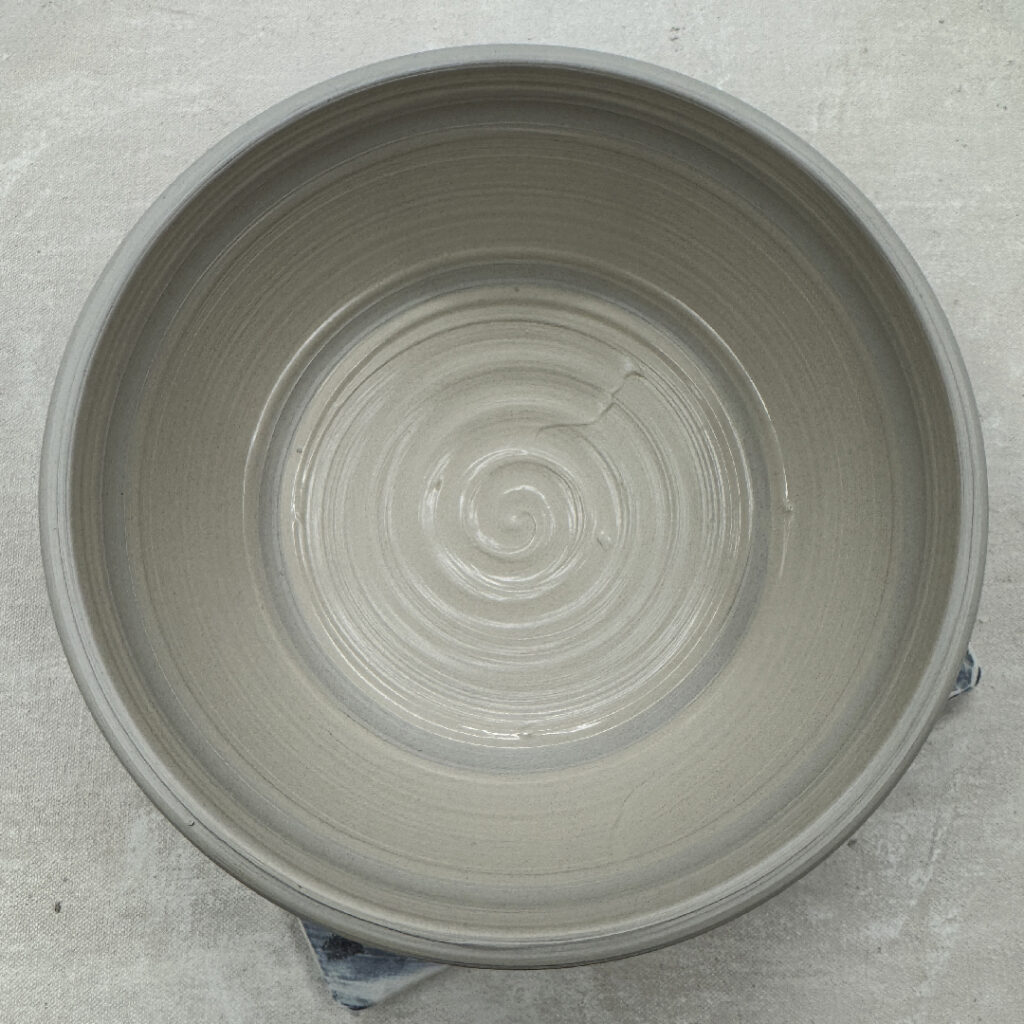
Bowl #13 – Thick white slip banded… setting up a canvas area for sgraffito carving later.
Bowl #14 – Thick white slip with a chattering effect… my favorite technique!!!
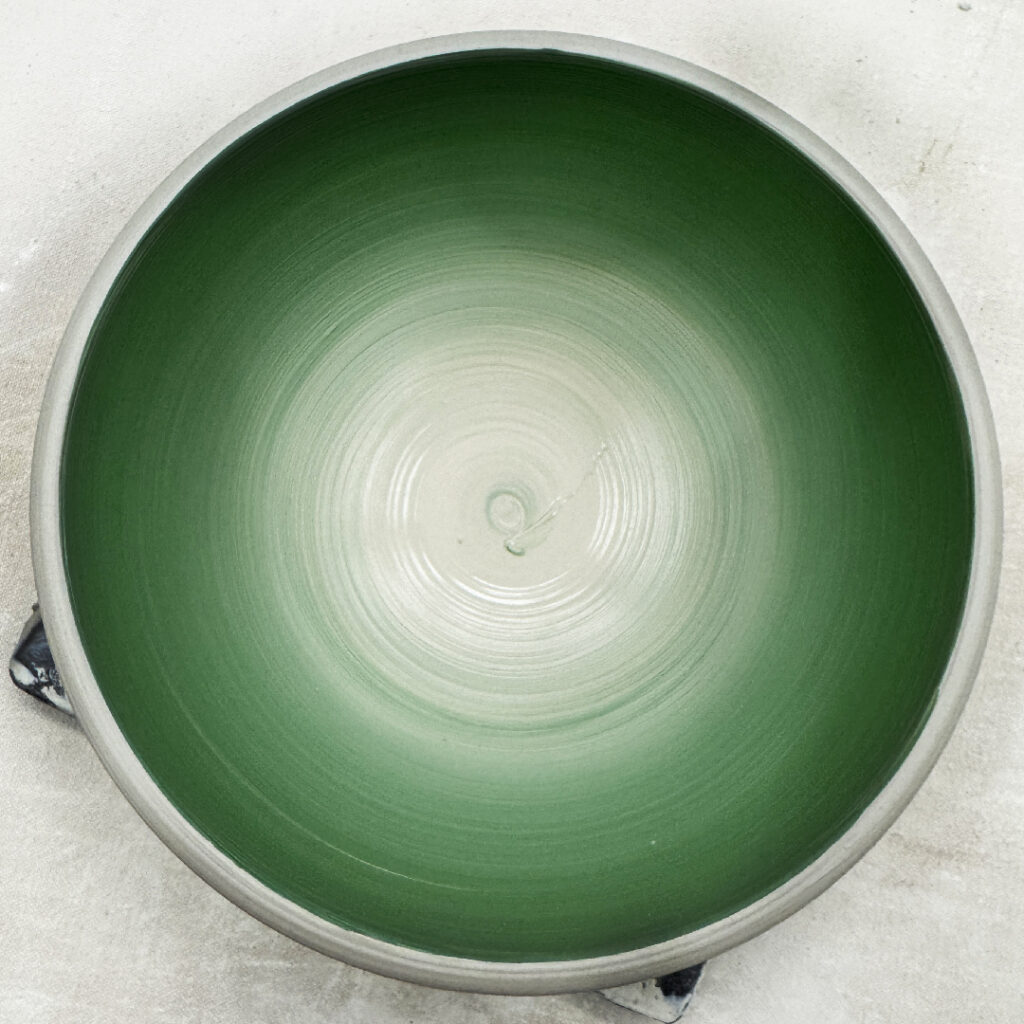
Bowl #15 – An ombre’ blend of white to green slip… also waiting for some sgraffito carving to come…
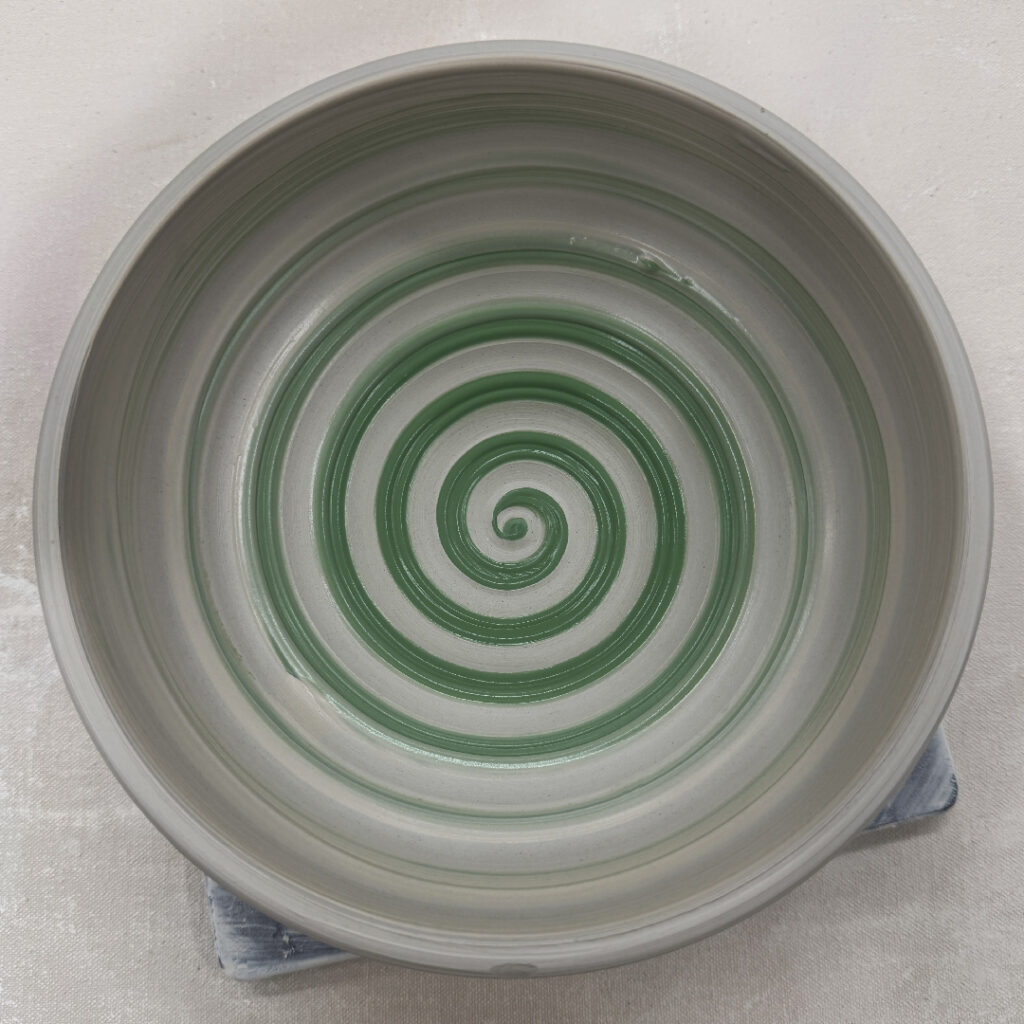
Bowl #16 – Another ombre’ blend of white to green slips… and then a spiral from a a tool dragged through while the wheel was spinning.
And for now… all of these bowls are up in my studio under plastic for the night. As there’s most likely going to be some stamping & detailing coming soon…
Part Two of this week’s wheelthrowing demo was altering all of the basic bowls… turning them into “not-so-basic bowls.” I took all of the basic bowls & showed my class some.very quick & simple alterations that can add some style & whimsy to their pots. I tell them that “the wheel” pretty much made the round bowl for them. Now it’s time for THEM to do something to it to make it THEIR bowl! Encouraging them to play more with their clay, try something new & have fun making pottery. Don’t sweat over it… IT’S JUST CLAY!!!
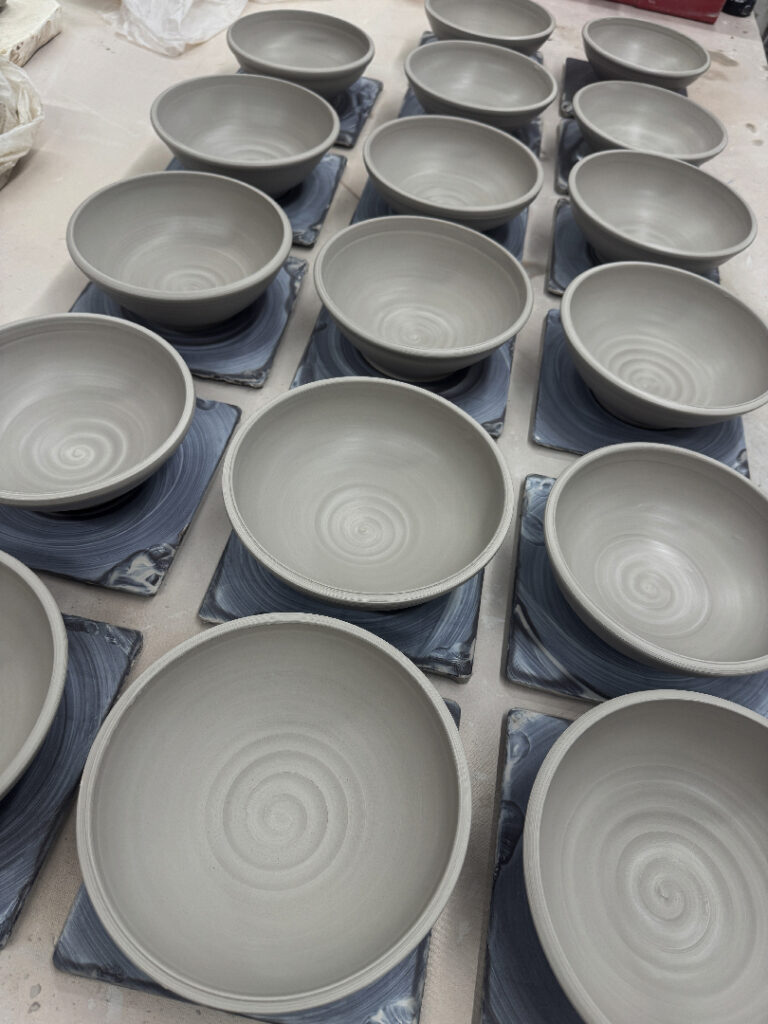
This week in my Beginning Wheelthrowing class we tackled “making bowls on purpose instead of a cylinder gone bad.” I showed them how to make a bowl with a smooth, rounded interior with no fla bottoms, no corners, no “beginner’s ledge” or indents along the way. We did a full demo… and then I sent them back to their wheels while I threw “a few more” bowls for Part Two for the demo…
And just for the record… this was ONE 25lb. bag of clay!
The first batch of mugs made with my Advanced Beginners last night during the second class of our new summer session. Looks like they’re off to a good start…