Gary Jackson: Fire When Ready Pottery
A Chicago potter’s somewhat slanted view of clay & play
Categories: bowls, food

What to do when the holiday leftovers are lingering a little too long?…
Well, make cranberry ice cream obviously!!!

That looks amazing Matthew… thanks for sharing!

Categories: bowls, glaze, holiday, kiln firing

Here’s a little sneaky-peek of some of my new Christmas Trees as I start unloading another glaze kiln! Just a couple more days until this weekend’s HOLIDAY HOME SHOW!!! Tons of pottery everywhere… and a lot of trees too!!!

Categories: bowls, process, production, stamped

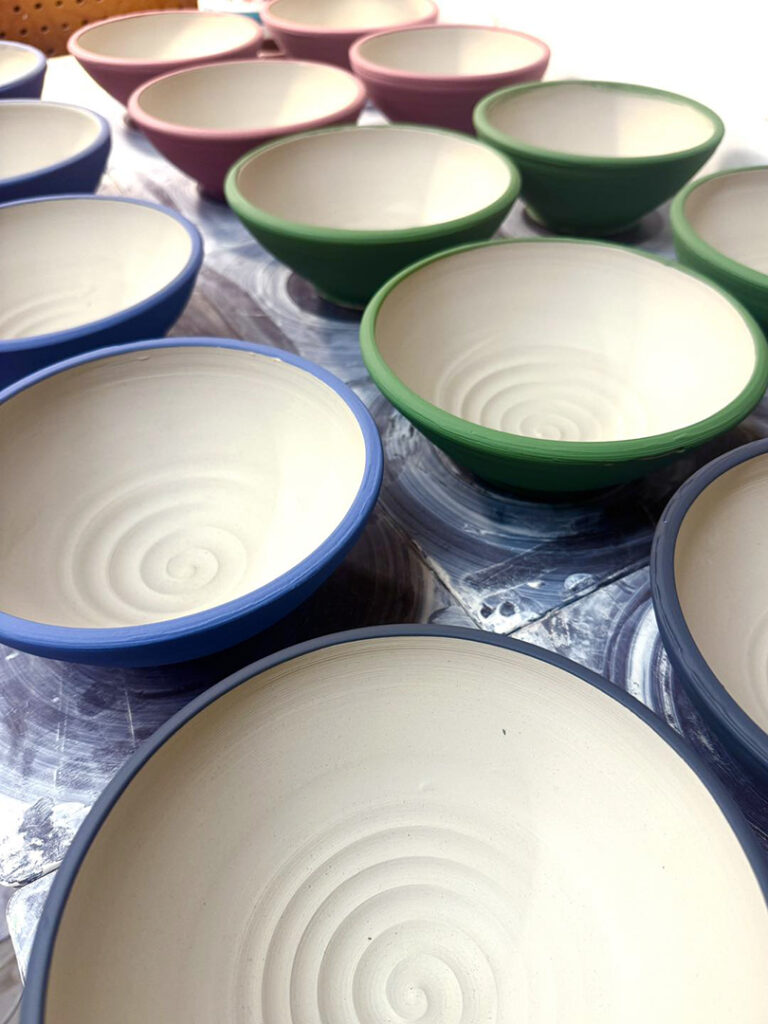
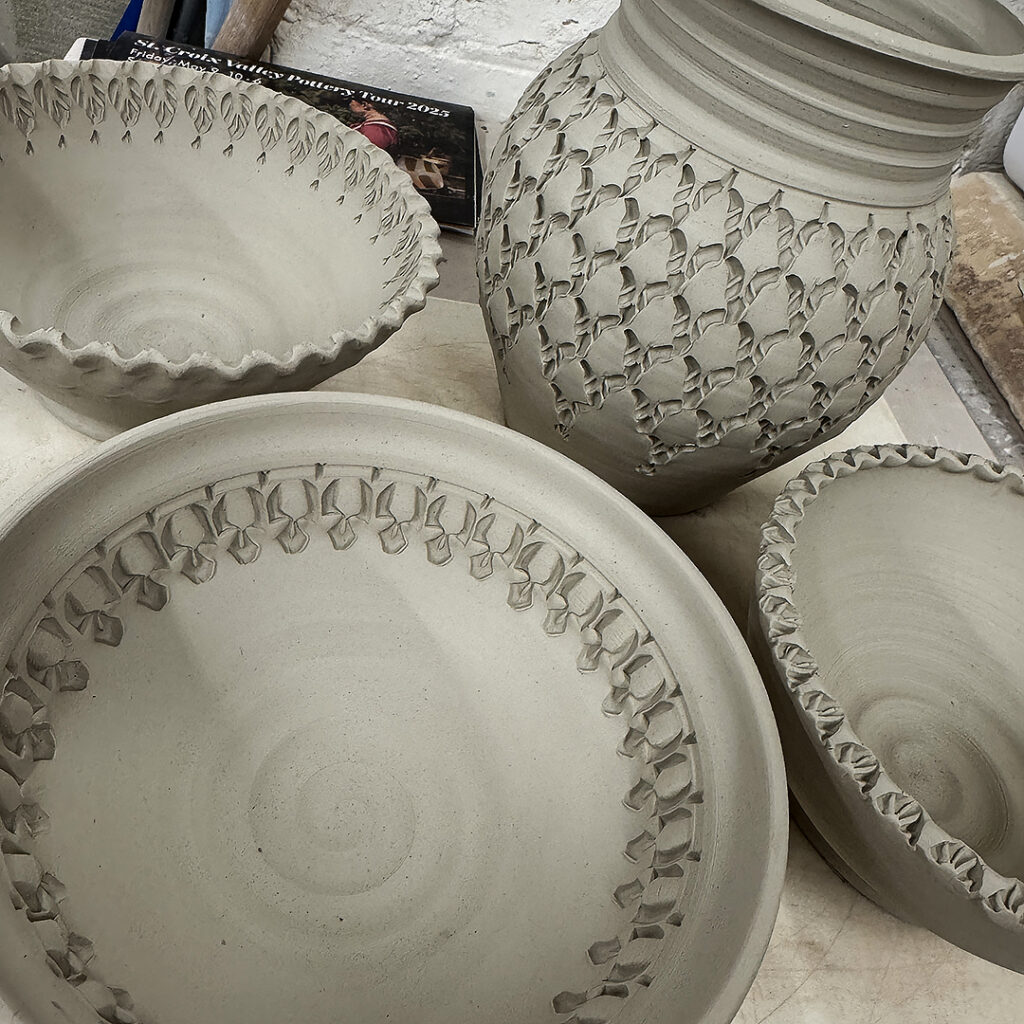
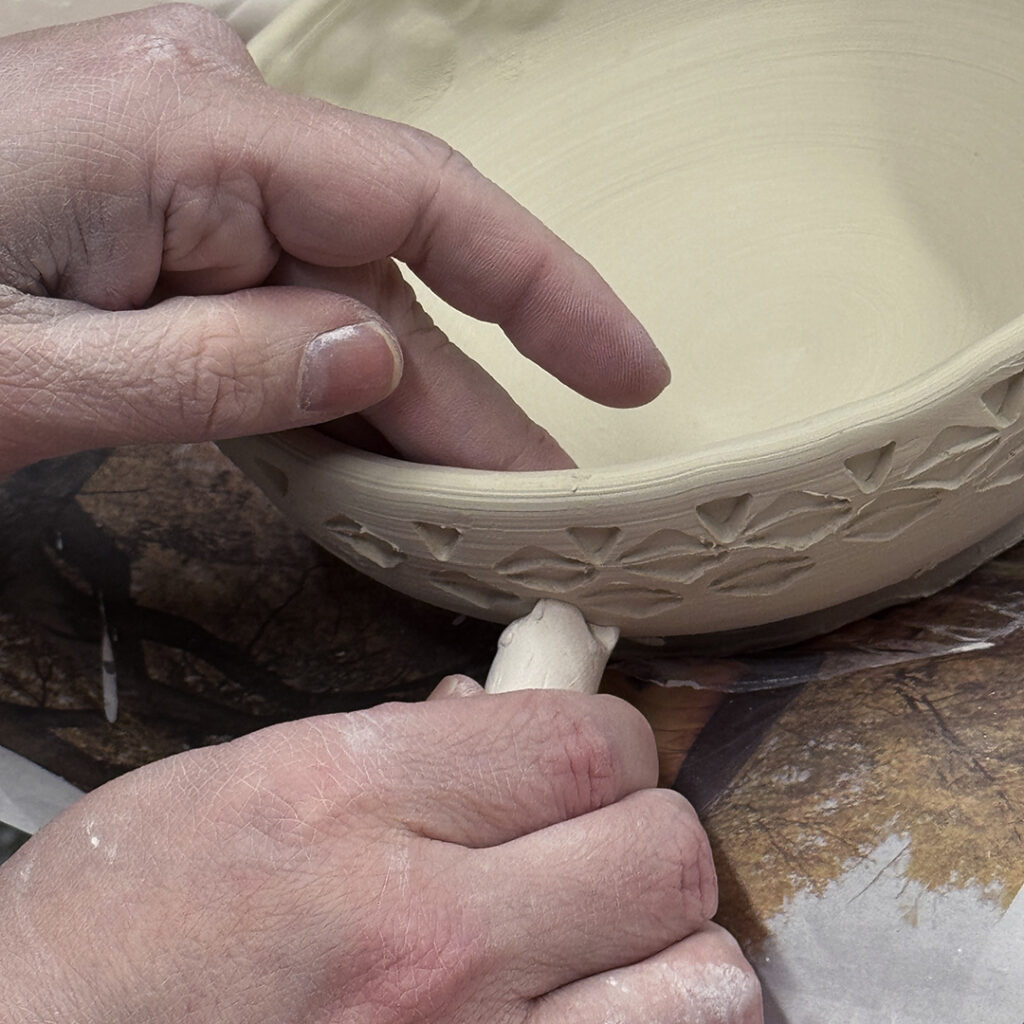
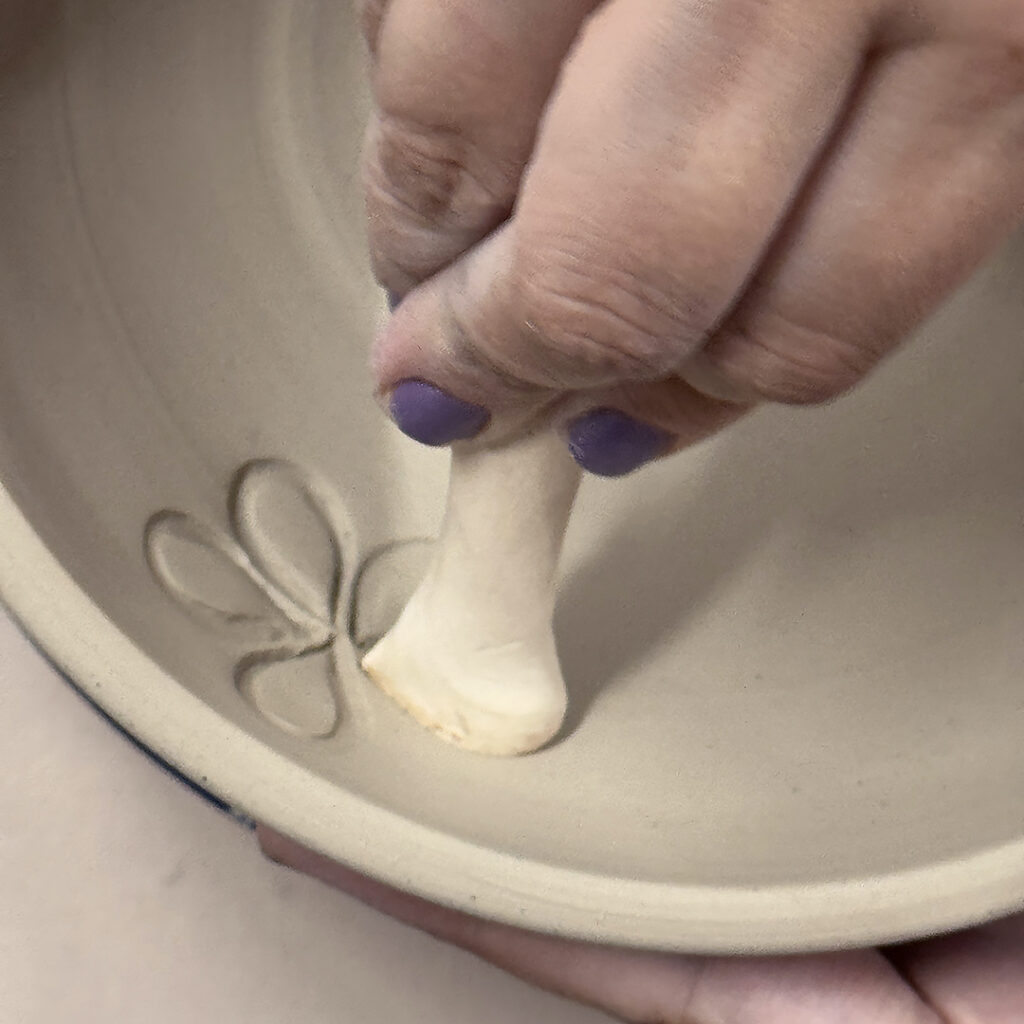
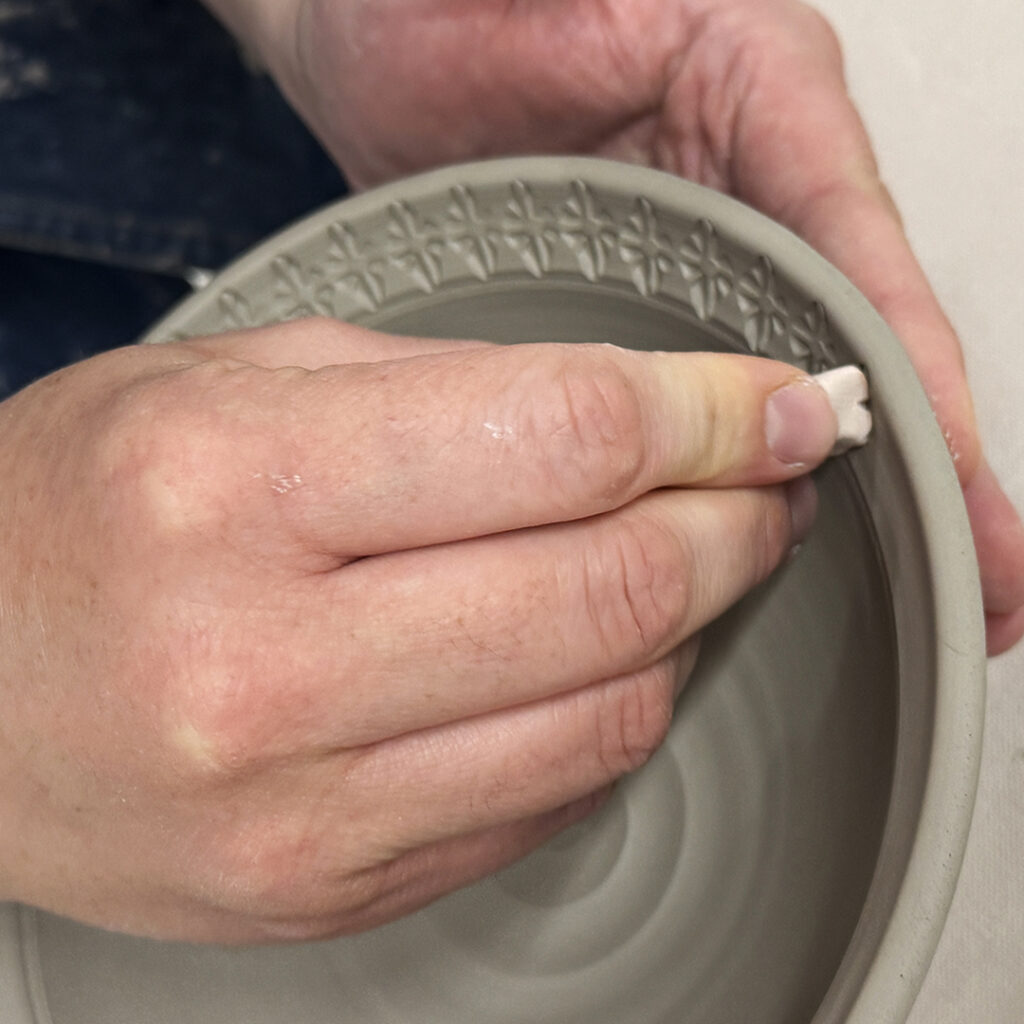
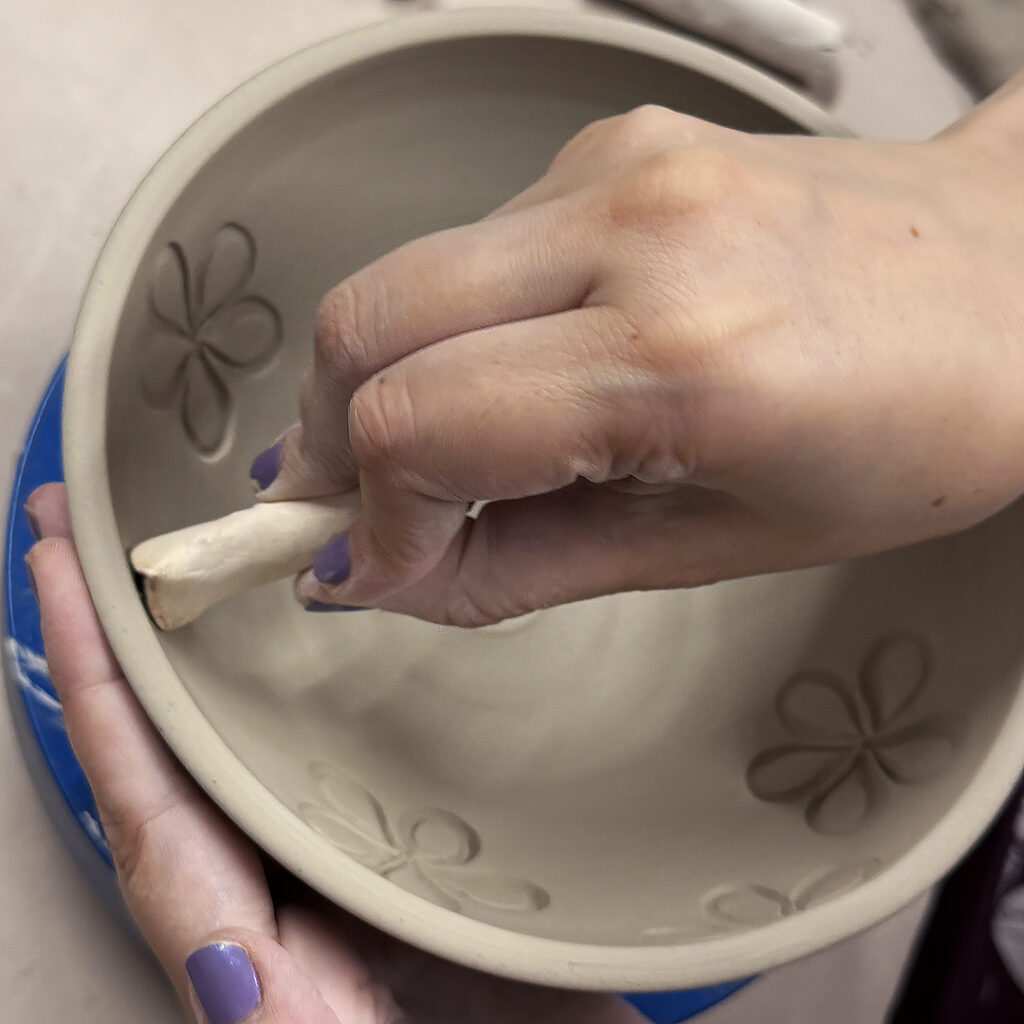
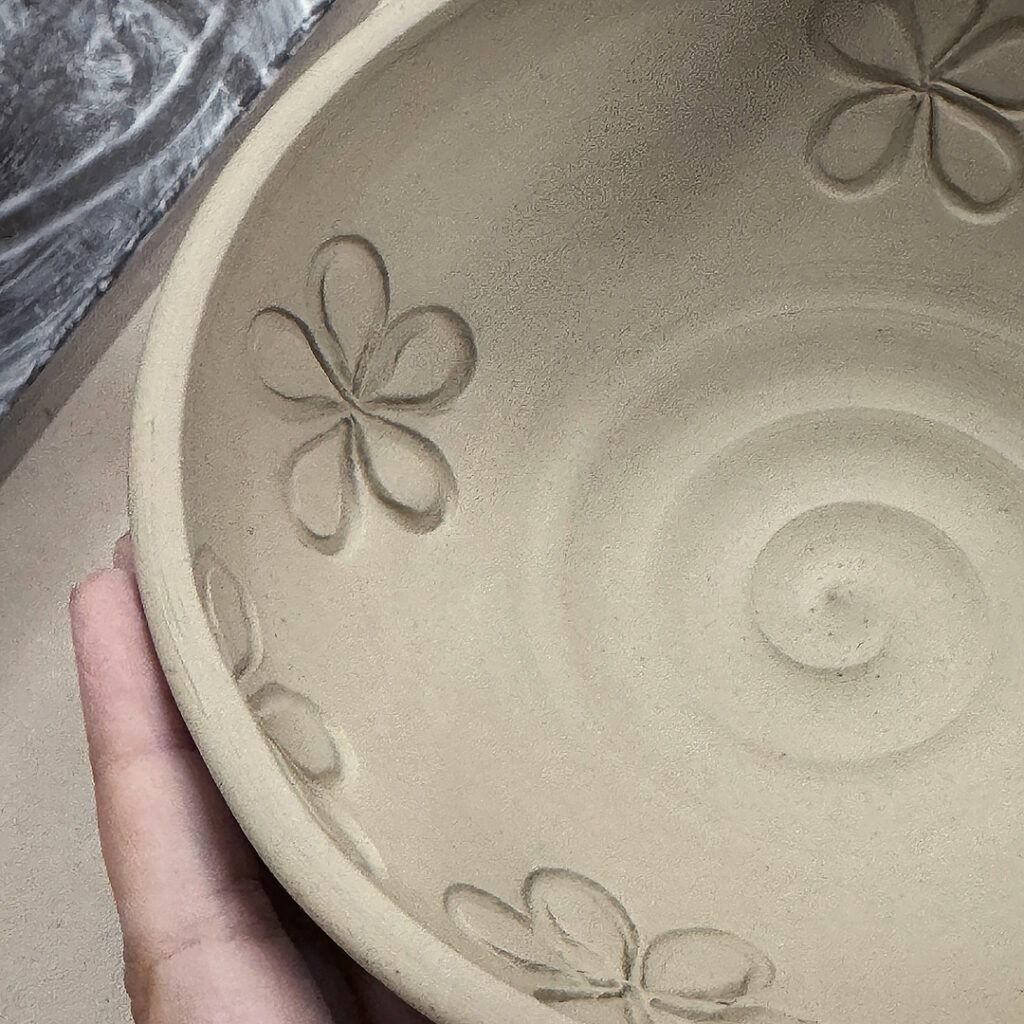
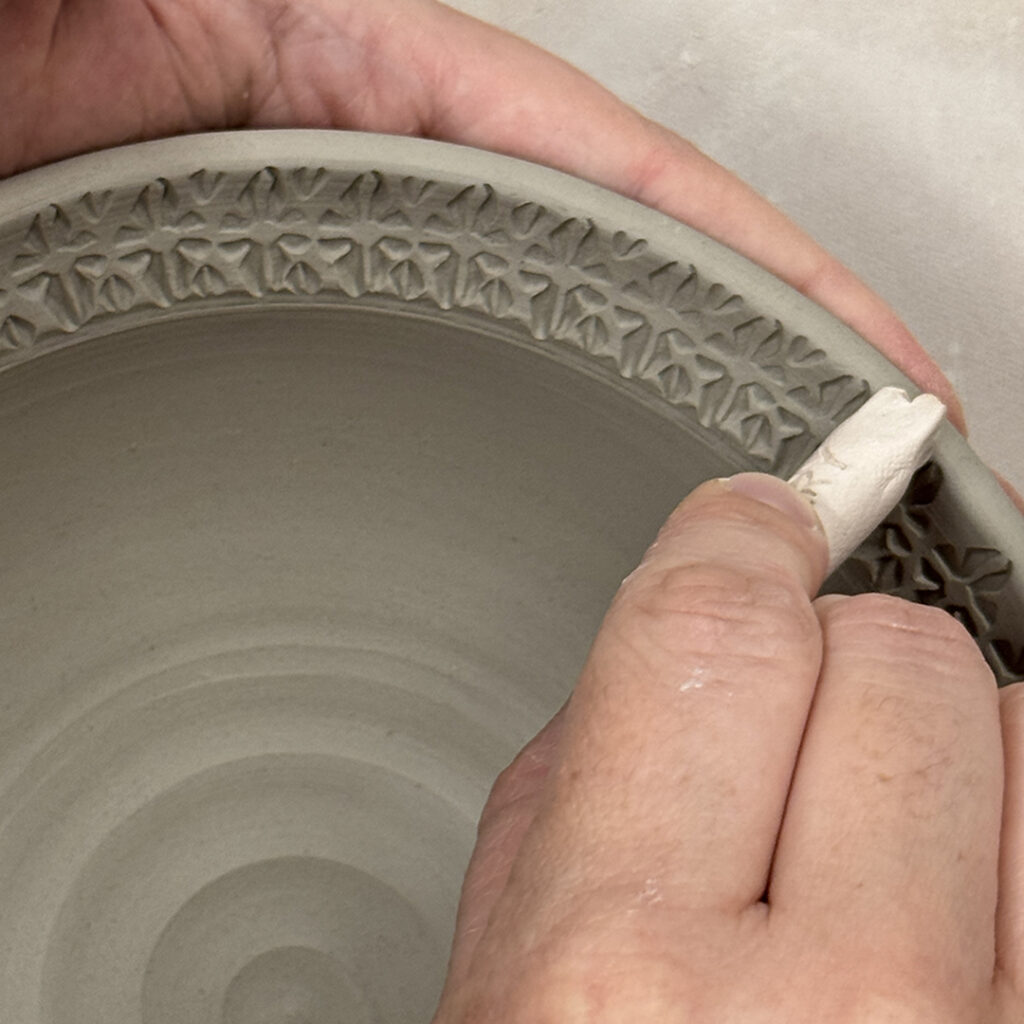
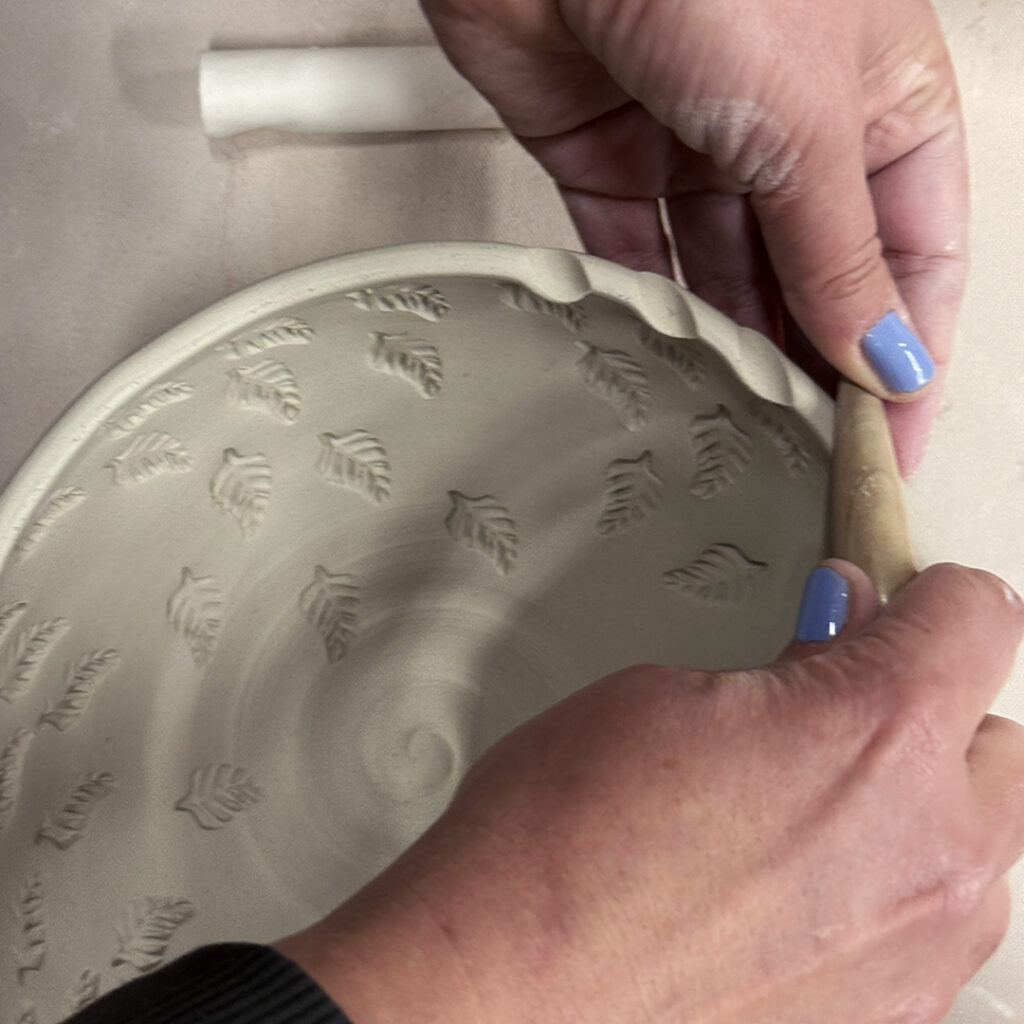
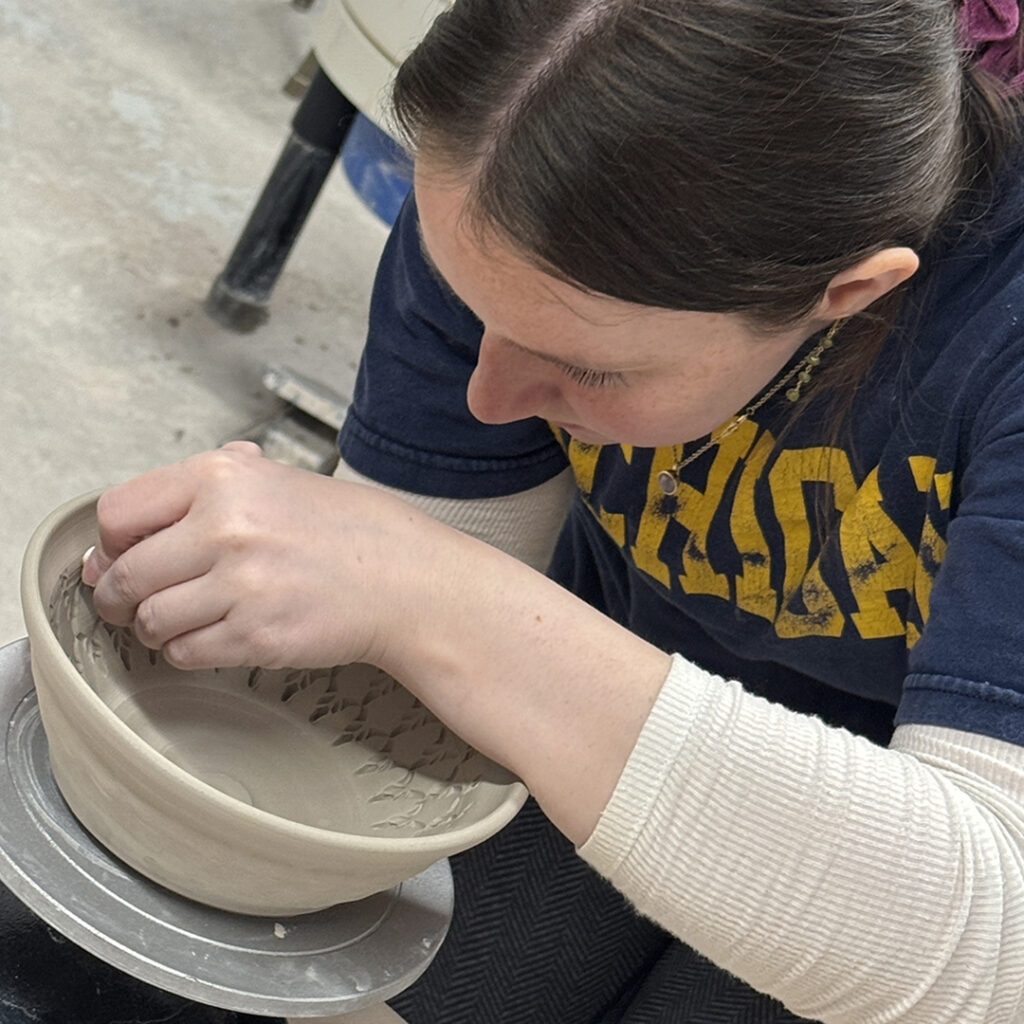
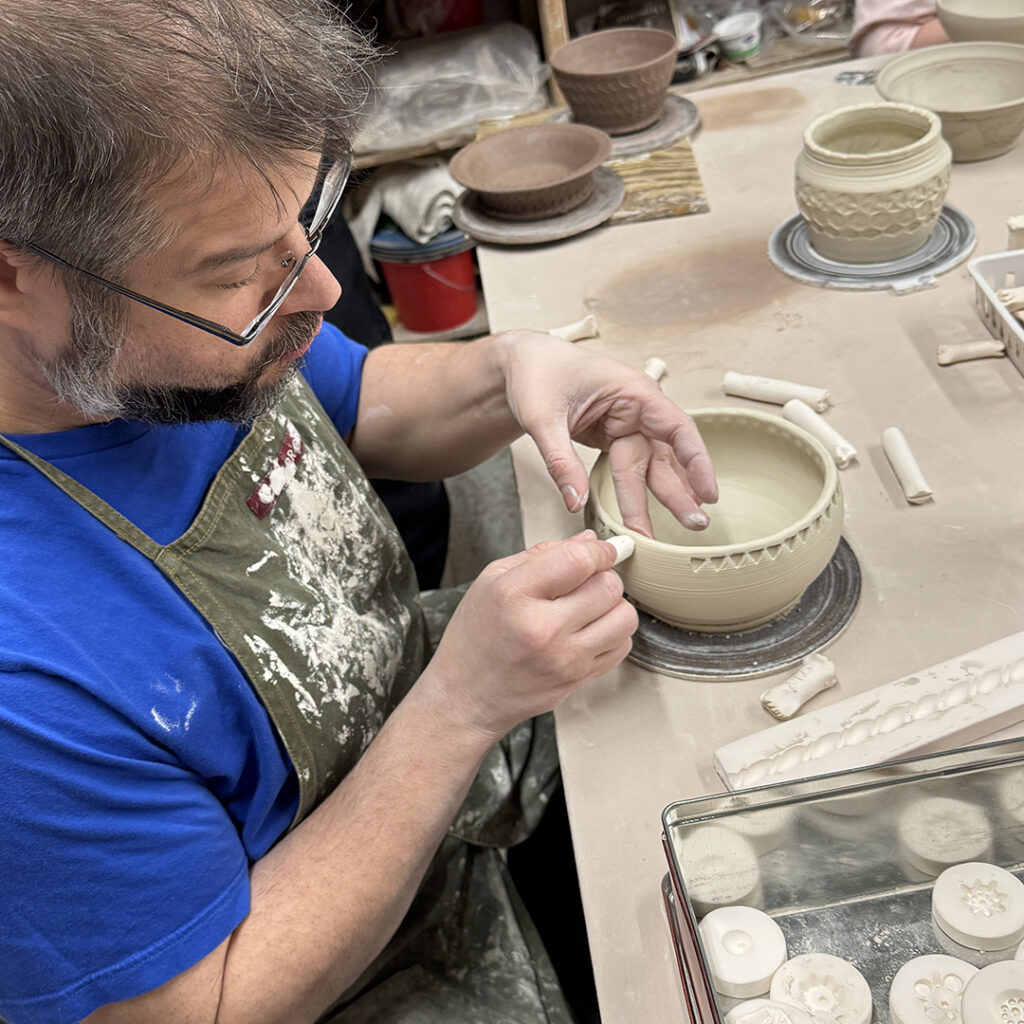
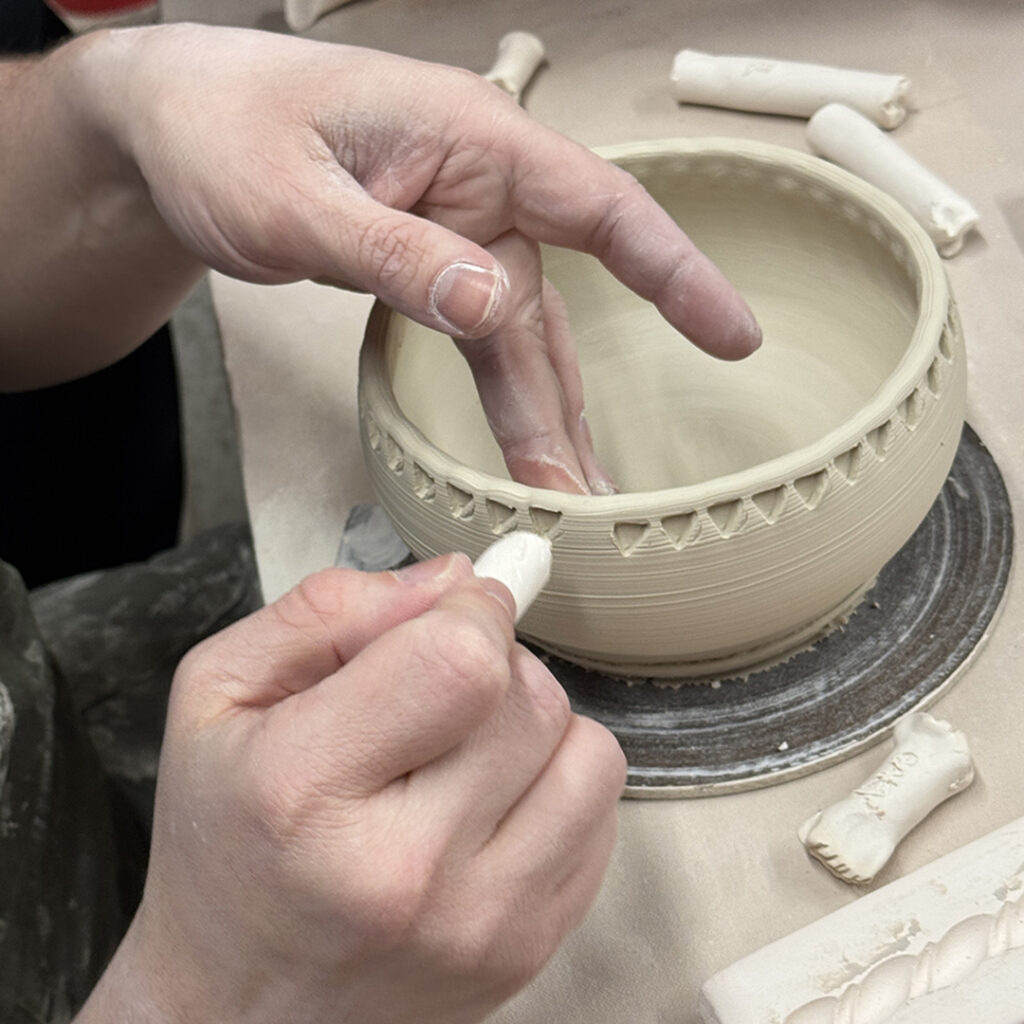
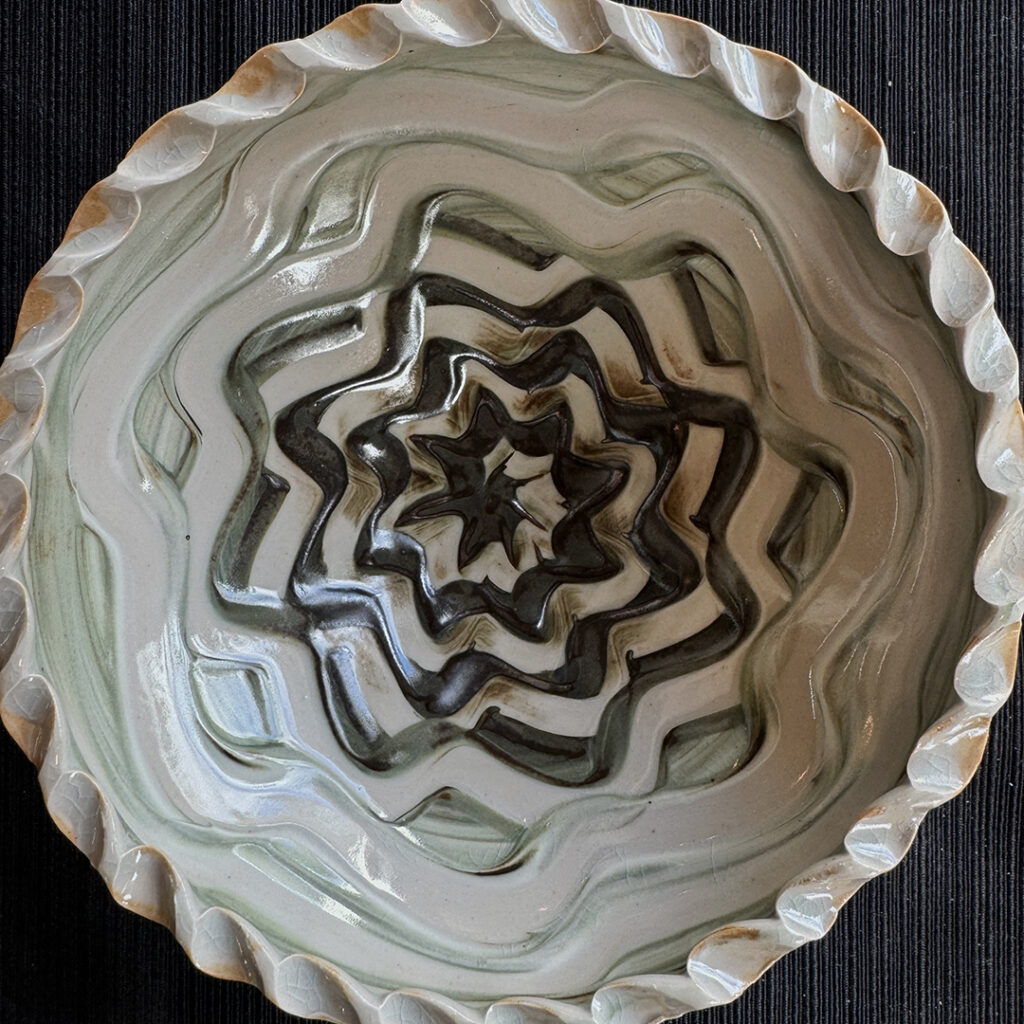
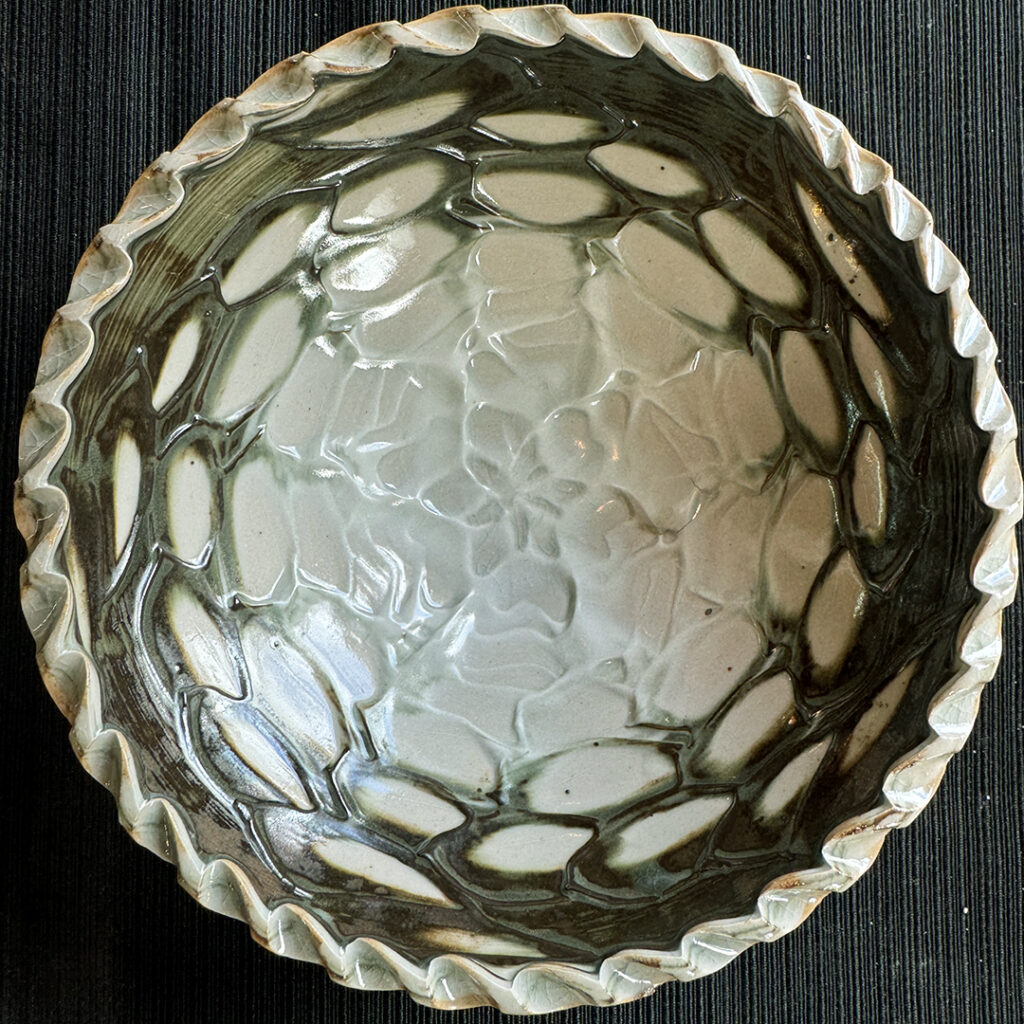
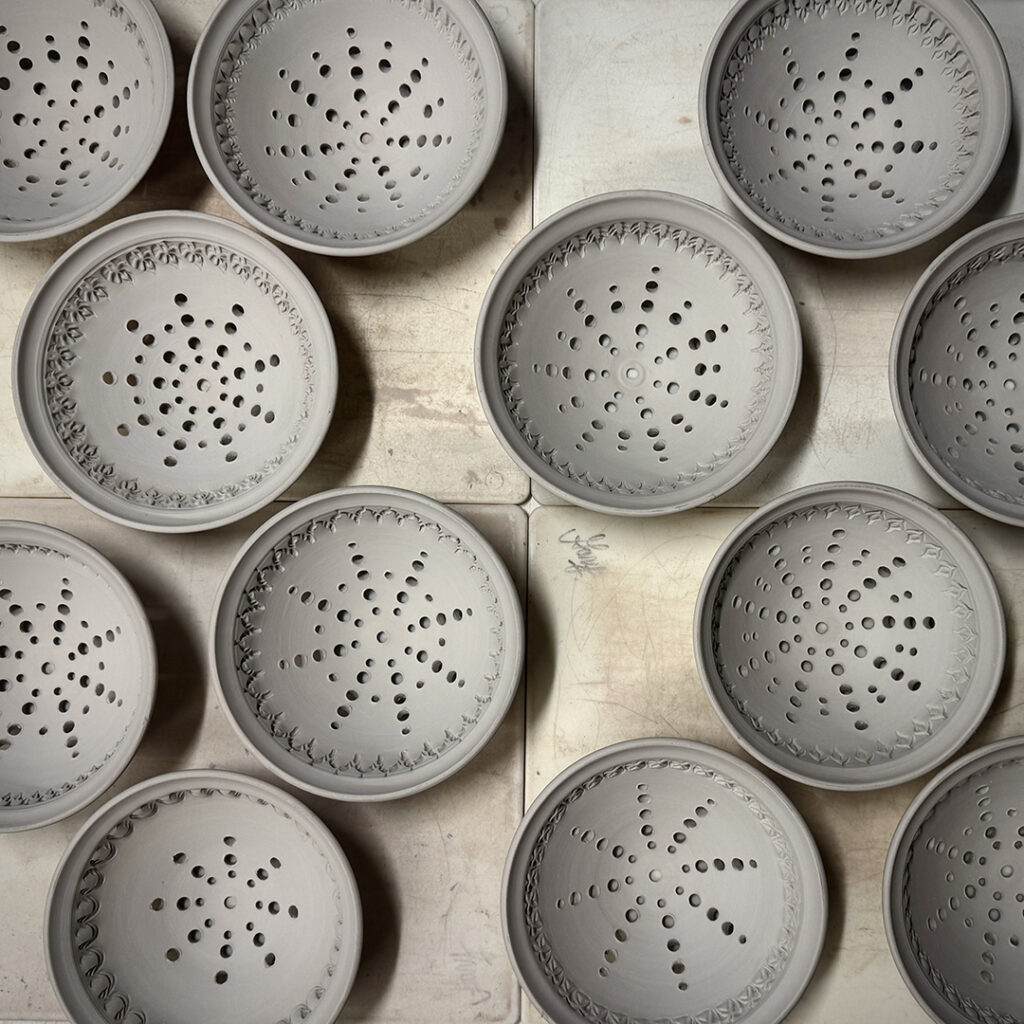
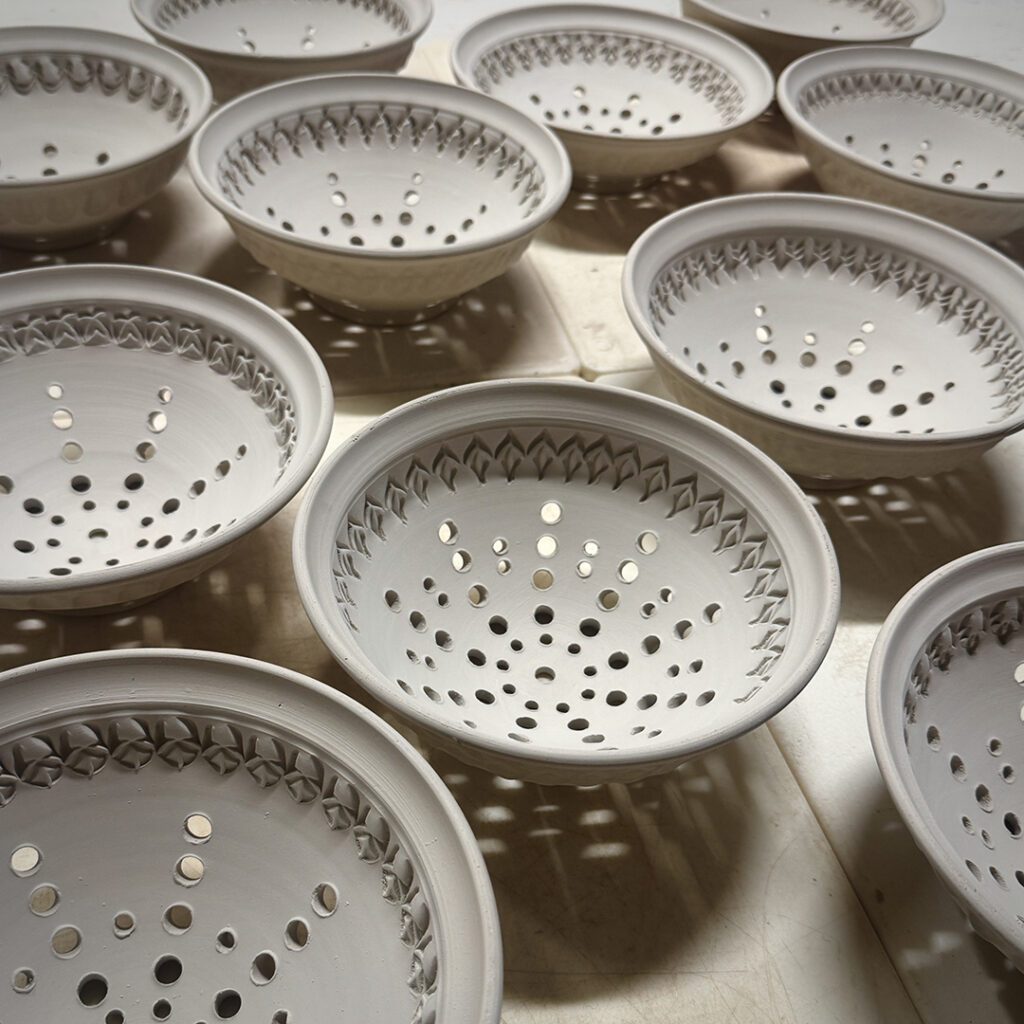
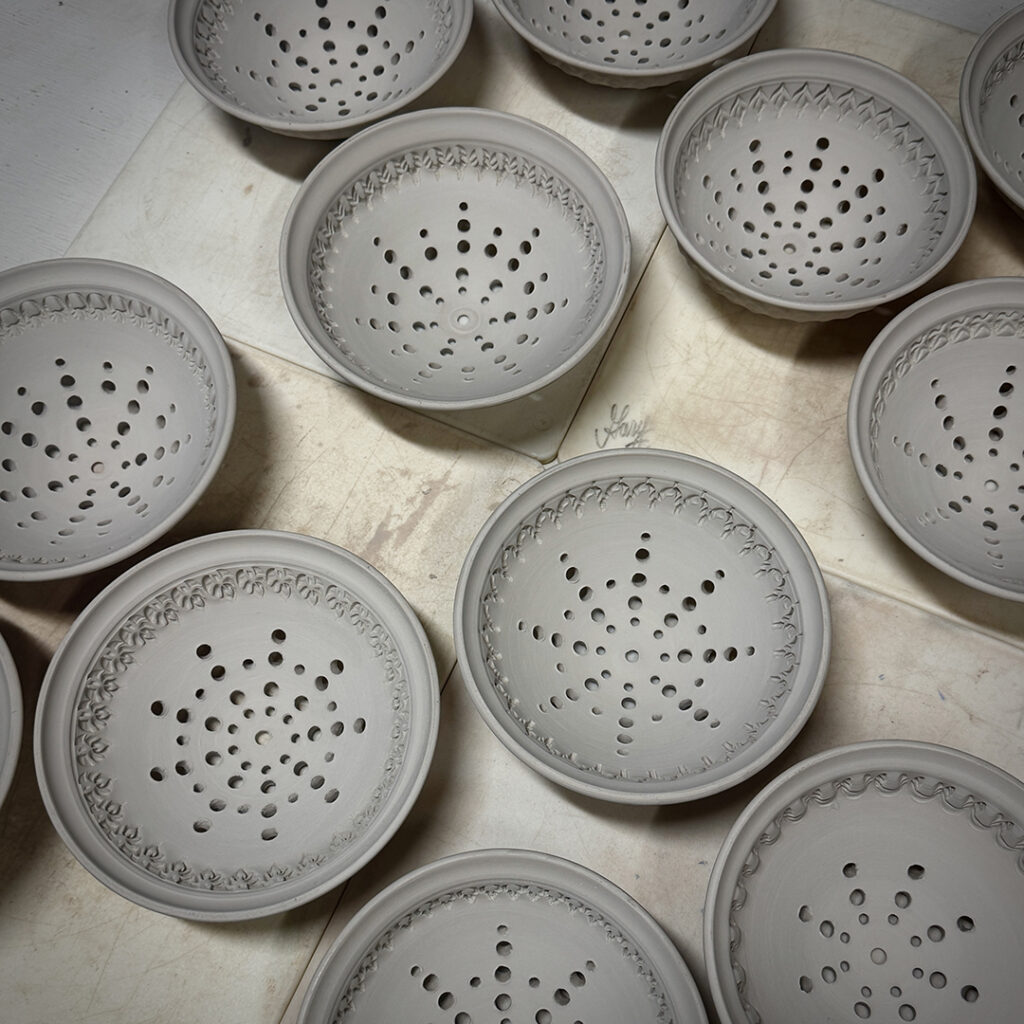
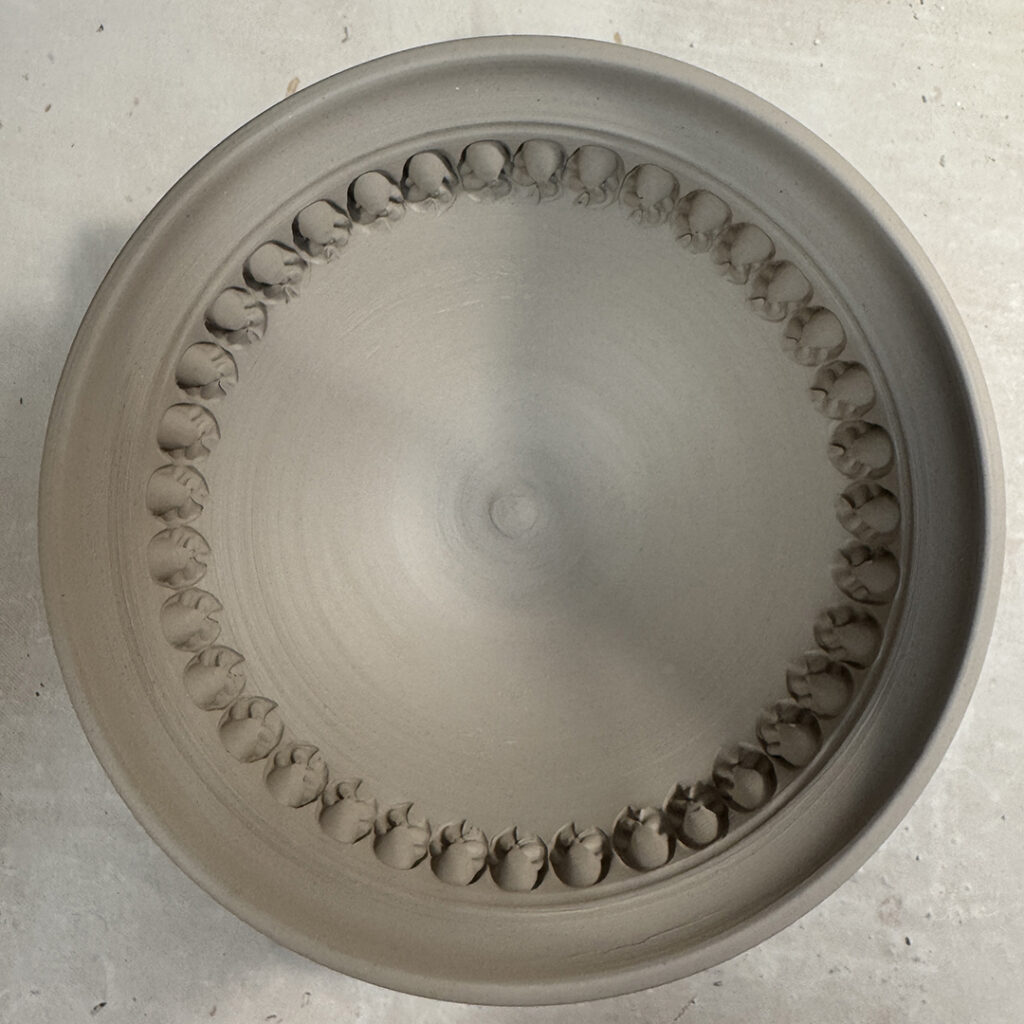
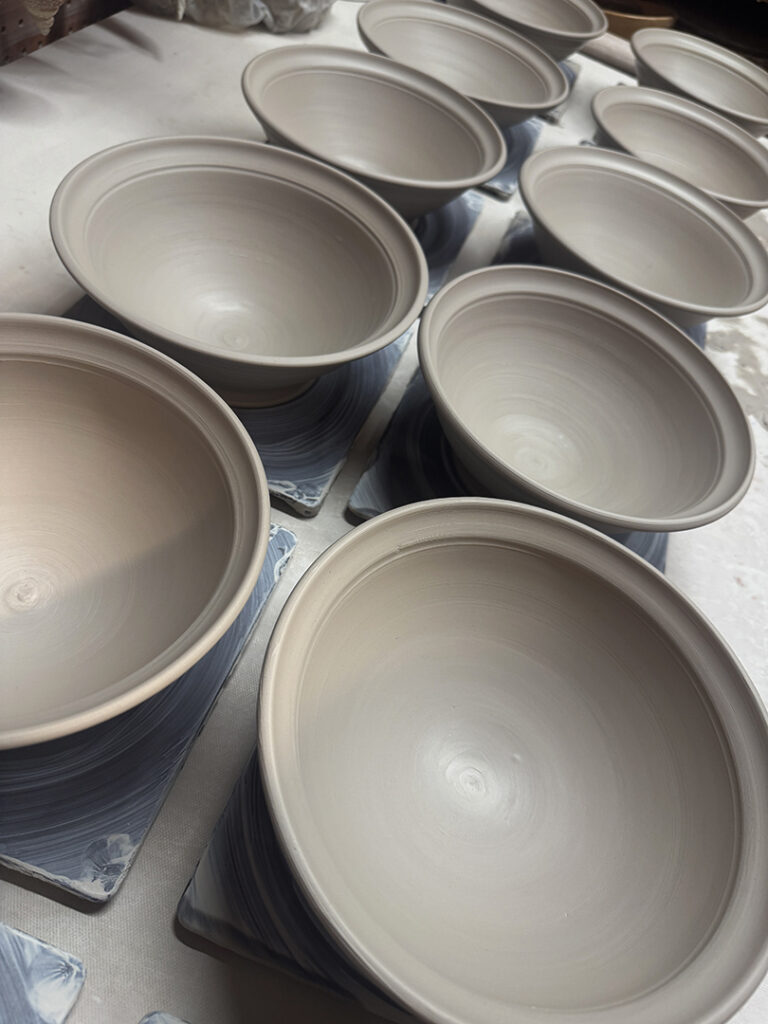
Stamping & trimming. Another set of bowls in the works… this time a bit wider & shallower than normal. Just hoping to get these done & glazed in time for my Holiday Home Show!

Categories: bowls, surface decoration, tools

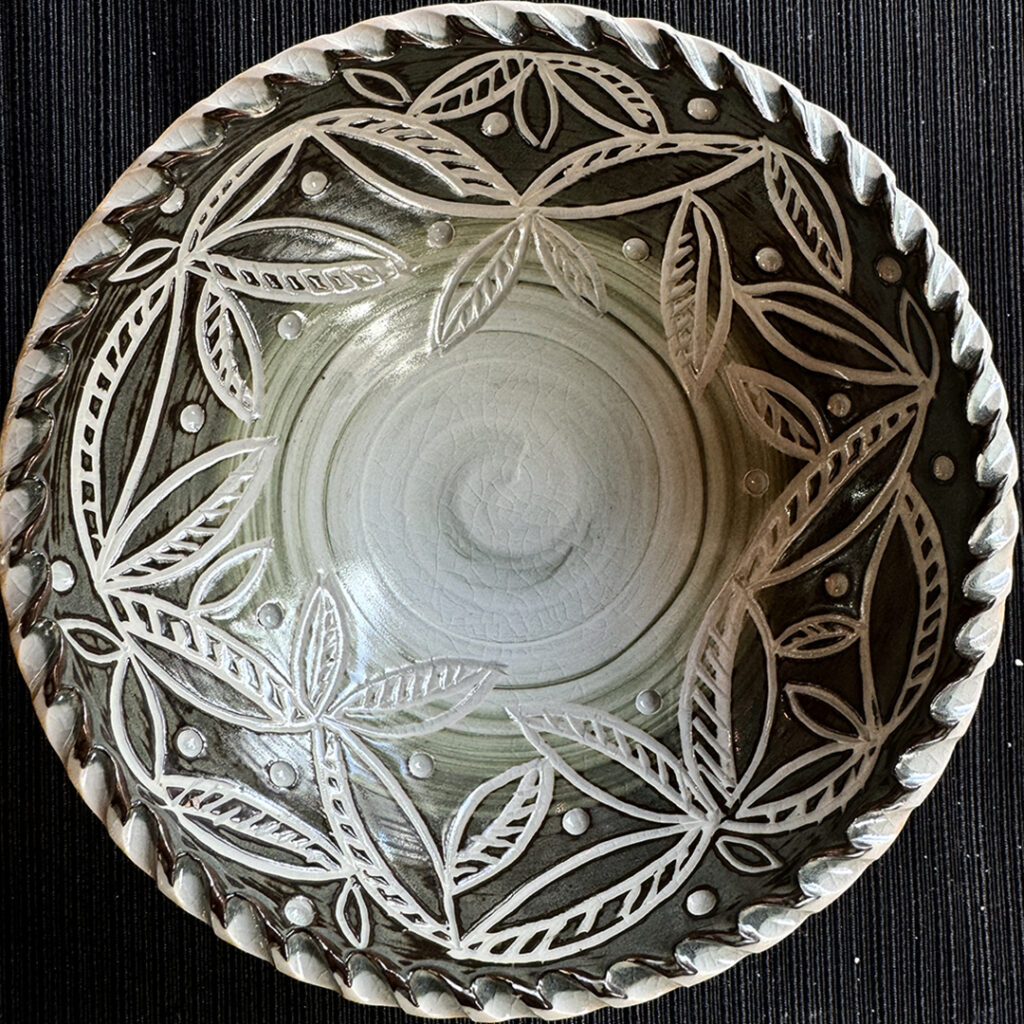
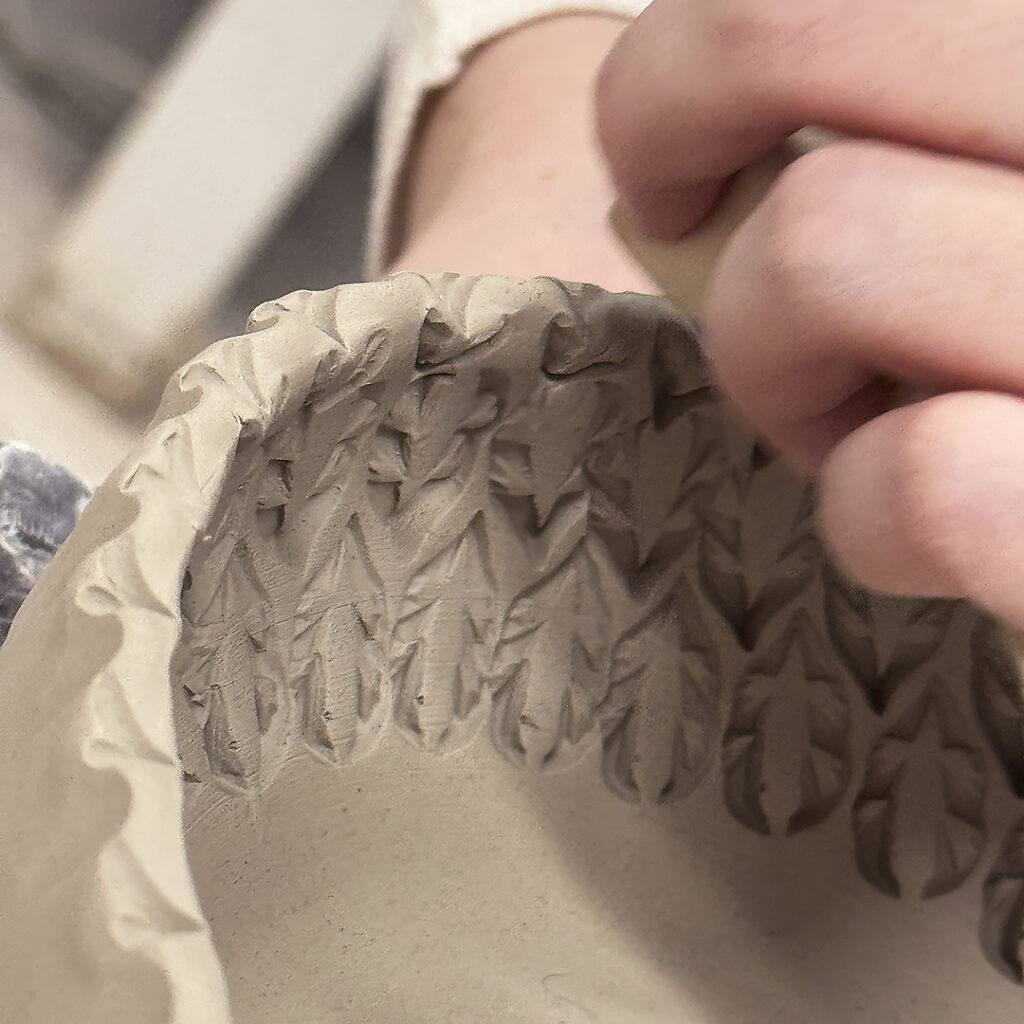
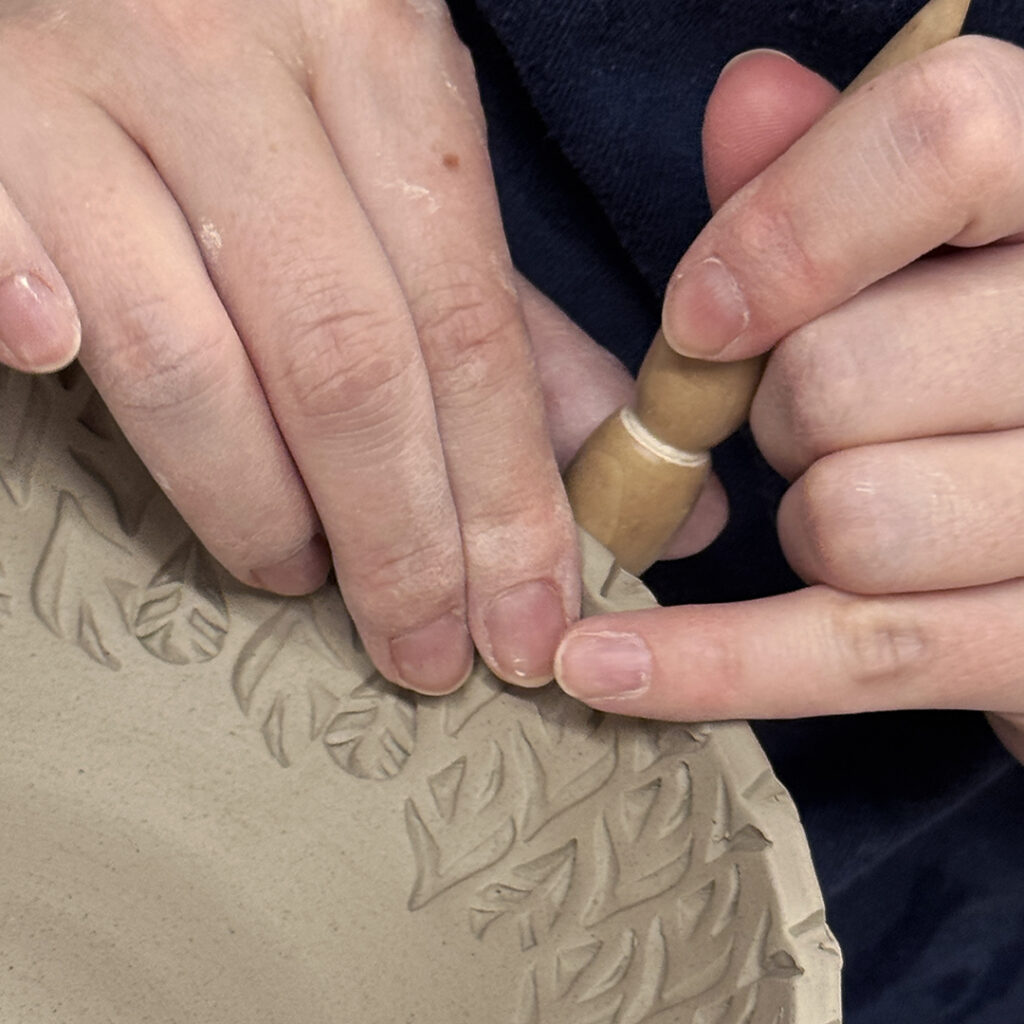
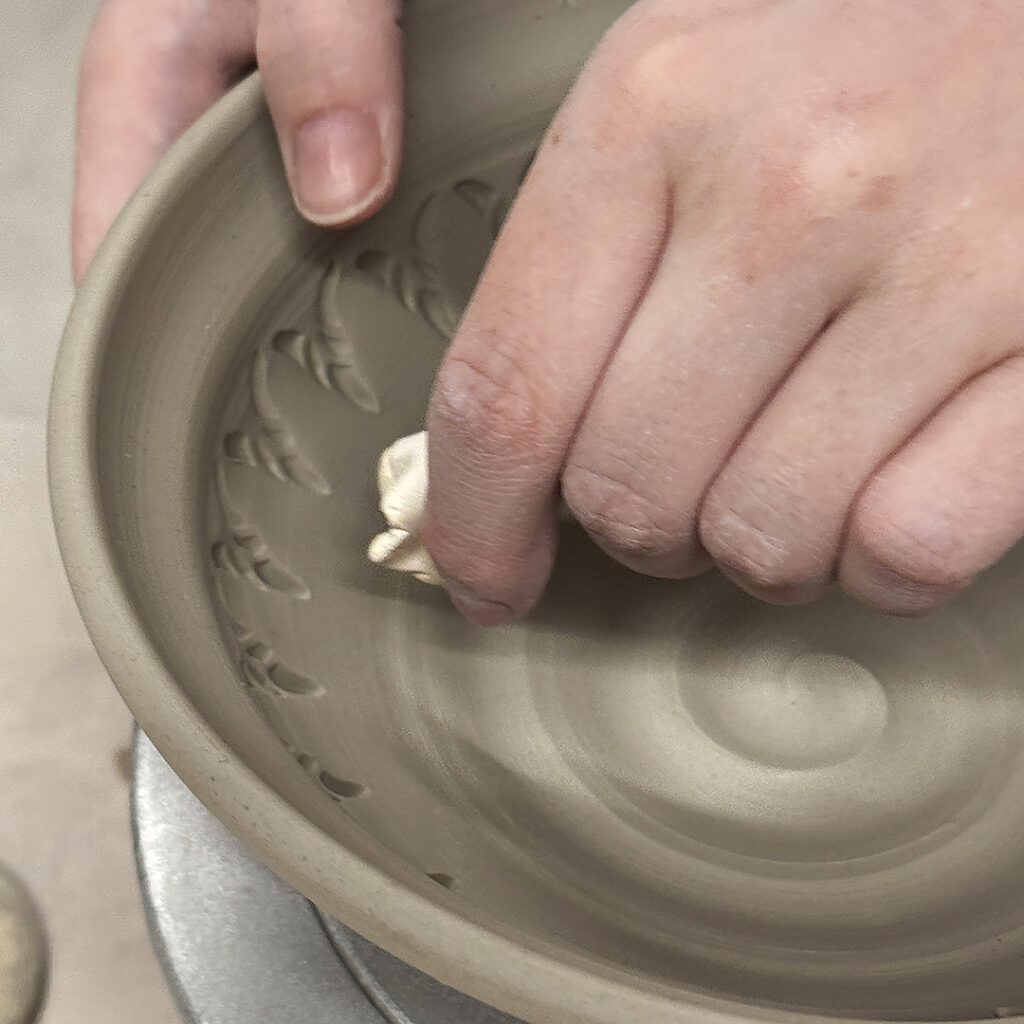
So this little bowl got a little too hard to fast… and I missed the “window of opportunity” for stamping it. Instead, I did a bit of fun carving with one of my favorite DiamondCore Tools.

Categories: bowls, classes, stamped, surface decoration

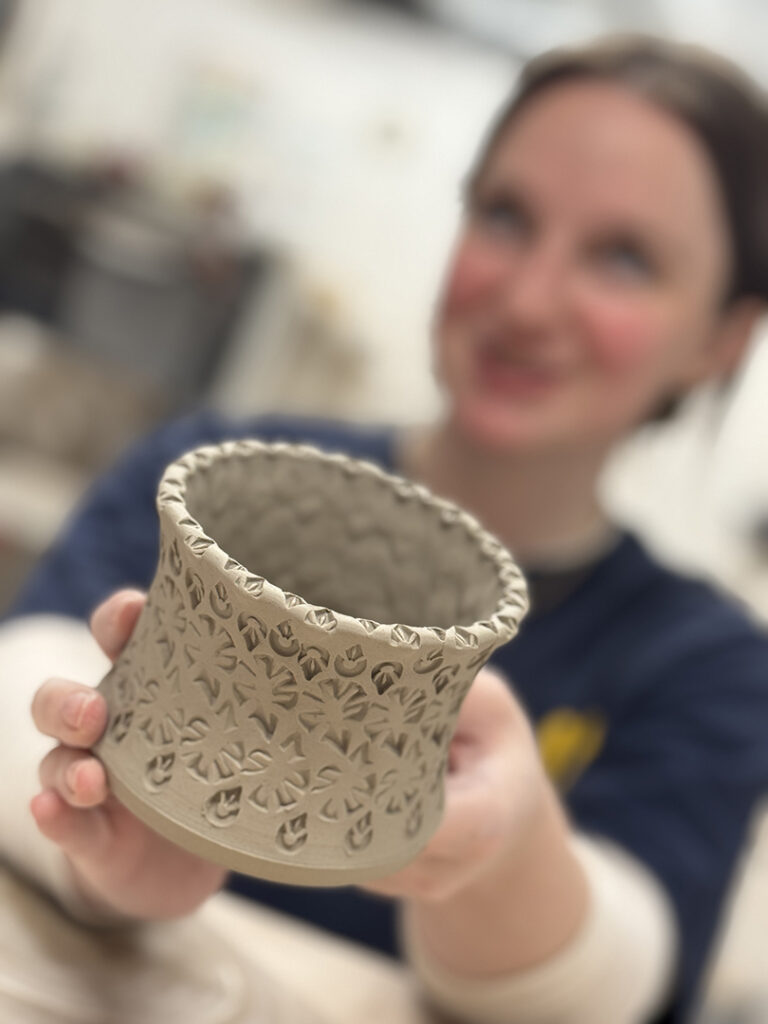
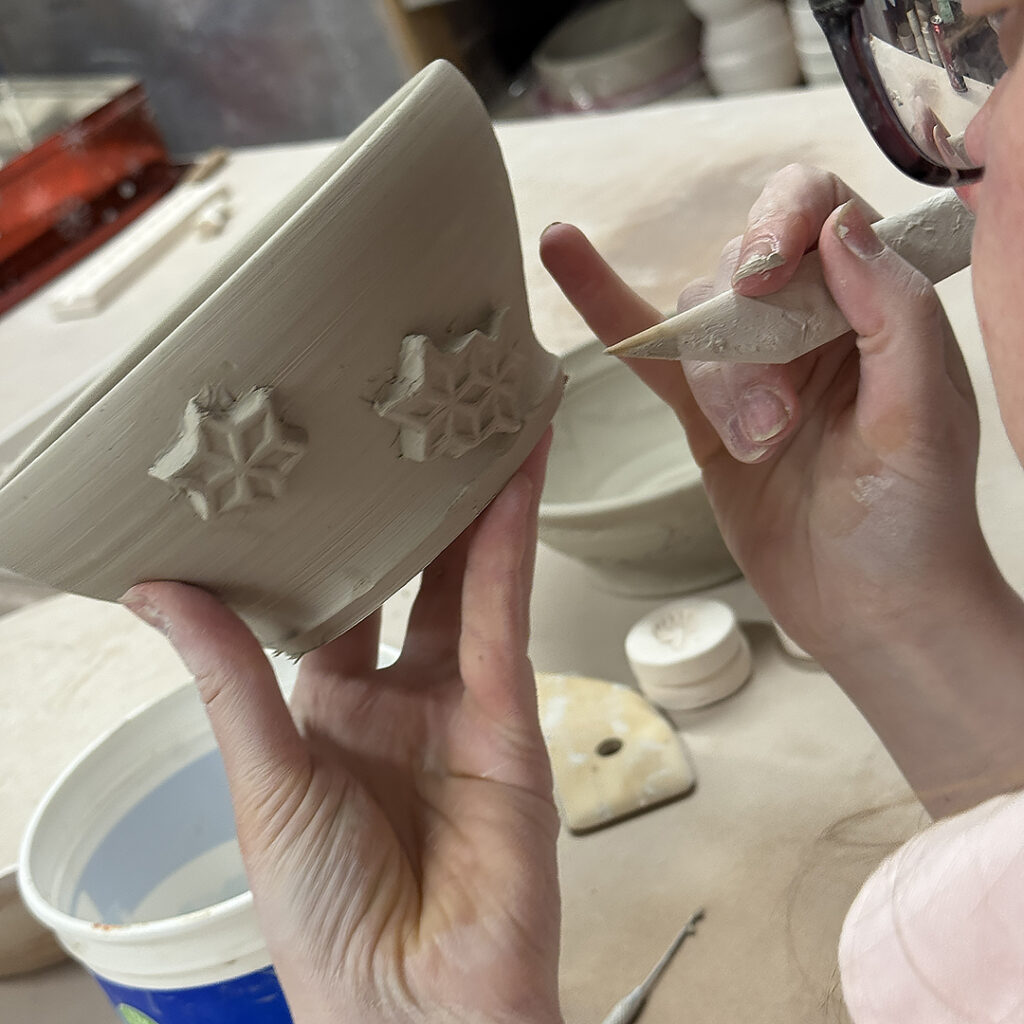
Here are the same bowls from this week’s class demo on how to make bowls on purpose… and then turn them into “not-so-basic bowls.” We did a bunch of altering & slip painting in class… but then you know I come from the school of MORE IS MORE. So I “may have” done a bit more stamping & detailing in my studio this weekend. Allegedly…

Categories: bowls, classes, wheelthrowing

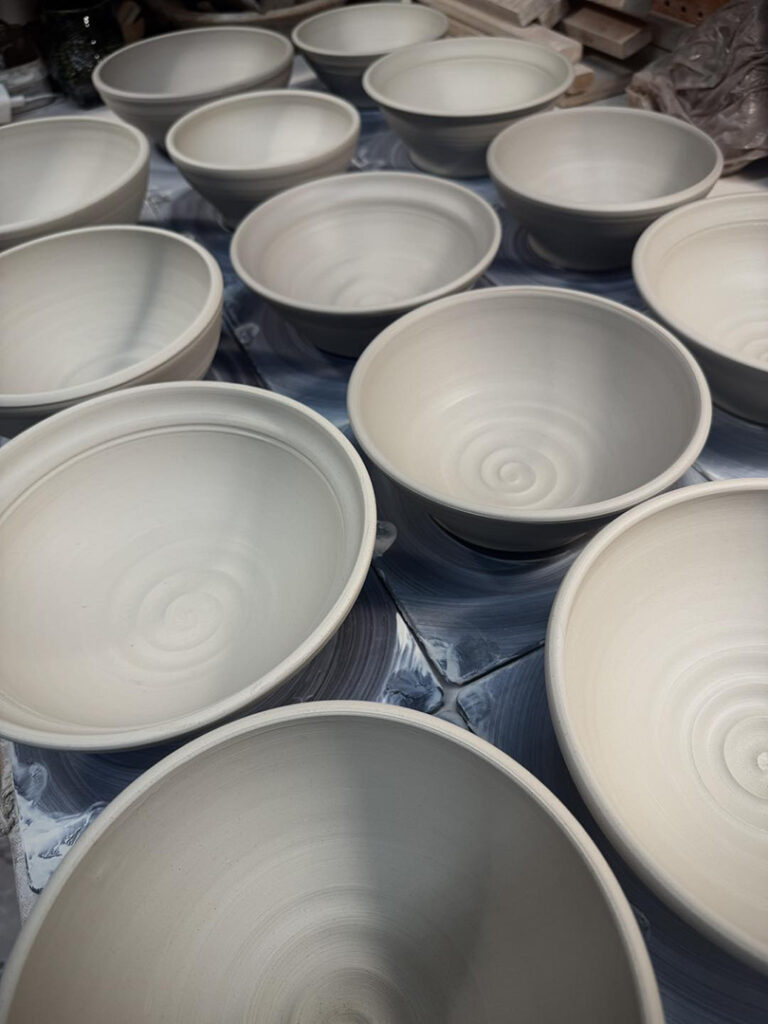
Once again, my favorite class demo every session for my Beginners & Advance Beginning Wheelthrowers. We start by talking about how to make a “bowl on purpose instead of a cylinder gone bad.” No flat bottoms. No corner edges. No accidental flare-outs. No indented beginner’s ledge. Just nice and smooth ALL the way through the interior of every bowl, every time!

So I made one sample bowl and explained it all as I was throwing the bowl. Once they had all asked their questions, they went back to their wheel to give it a try. Meanwhile, I kept throwing a bunch of bowls. The goal is to have plenty of bowls to “play with” during the second portion of the class…. altering, fidgeting, decorating, making it “theirs” and not just some random round bowl that the wheel kinda made for them!

After awhile, we re-grouped for Part Two of the demo… and we let the fun of playing begin!

Bowl #1 – The original plain bowl… yep, they ALL started kinda like this one.

Bowl #2 – Four Fluted Edges… just a quick pinch & twist with two fingers in four places.

Bowl #3 – And if four fluted edges looks cute… maybe Eight Fluted Edges would look even better?!

Bowl #4 – A flared-out flange…just a smidge over a inch wide. Just bent out over a steady finger on the outside of the bowl at the grooved area.

Bowl #5 – And if a thin flange is nice, maybe a much wider flange would be cooler… kinda like those restaurants when you get this hug impressive bowls with a small scoop of ice cream in the bottom for $50!!!

Bowl #6 – The we combined the techniques… a thin flared flange, with four fluted twists.

Bowl #7 – A simple “denting in” with the side of my wood knife… showing that a round bowl does NOT need to stay round!

Bowl #8 – The we started splitting the rim… using the pointed end of my wooden knife. After splitting the rim, I pinched it back together in eight places.

Bowl #9 – Another split rim, but this time with eight fluted edges to give the rim little undulating waves pattern.

Bowl #10 – Split rim but then dented in at four places with the side of my wooden knife, and then dented out in four other places… kinda creating a little bit of a squares “lotus” feeling!

Bowl #11 – Another split rim pinched together, but then “bulged” outwards bit between the pinched areas.

After altering the rims of the first half, we moved on to using colored decorative slip as a surface decoration technique. I tried to encourage them to “play” more with their clay… and to decorate their pieces more… colored slip being just one simply technique.

Bowl #12 – I covered the interior with a solid layer of white slip. And then dragged the rounded end of my wooden knife through the slip to reveal this spiral as the wheel was spinning.

Bowl #13 – Another full layer of white slip.. . and then we did a bit of “finger painting” with a simple squiggle of my index finger through the slip as the bowl was rotating.

Bowl #14 – While adding the layer of white slip… I started just “plopping” the slip on with a wide paintbrush. And we were all kinda enamored with the random texture that it was creating. So we left it! Might be a tad too subtle for my liking… but…

Bowl #15 – After adding another layer of thick white slip, I did a bit of chattering… rhythmic tapping…. with a rounded plastic rib. Tapping the edge of the rib through the clay to reveal the darker clay body. The speeds with which you tap & spin the wheel both affect the pattern that shows up.

Bowl #16 – Thick white slip with the rounded edge of a plastic rib dragged through it upwards to create these lines. A little “clean-up” in the center… and it was all good.

Bowl #17 – After using a lot of white slip, we then talked about mixing & blending… so we did a simple ombre’ blend of black & white slips. We left it smooth & plain… however… I kinda feel like I might do some decorative carving through the slip after it dries to leatherhard.

Bowl #18 – For MY last demo bowl, we did another ombre’ blend… and then dragged a tool through it to create a spiral… cuz’ everyone LOVES a good spiral!!!

And then the tides turned…

I had one last bowl to decorate, and a classroom full of eager students. So I flipped the game… and told one of them that that THEY had to decorate the final bowl!!!

Bowl #19 – I gave my last bowl to Priya to decorate… and she kinda panicked at first with too many options & too many people watching!!! But then she did a simple layer of black slip over the interior… and made a very fine & tight spiral drag through it. We all LOVED it… well done Priya. And now she gets to keep & finish that bowl too!!!

So there they are, all of my class demo bowls!!!
Remember, they all started out very much the same… simple & round. But after “playing” with some fun surface decoration techniques… they all look different now! And for now they are all in my studio… and there’s a “very food chance” that there “might” be a bit more stamping & detailing on these before I call them done. MORE IS MORE!!!

Categories: bowls, seasons, stamped

Hard to believe it’s already October! While I want Summer to last forever… I actually LOVE Fall too. And I’m ready to kick-off October with a big bowl of gourds on the table. Thanks to the folks at ART IN THE BARN for selling off their seasonal decorations at the end of the art fair. I came home with a couple bags of pumpkins & gourds! Although we all know that in a side-by-side contest… GOURDS are so much cooler!!!

Categories: bowls, food, stamped

Looks like Rosene is enjoying a crisp & juicy summer salad on the this warm & summery Saturday! Looks yummy in that green stamped bowl! Thanks for sharing!

Categories: bowls, food

Berries & grapes & watermelon in bowls… oh my! Fresh fruit always tastes better when served in hand,made pottery! Thanks Jody for sharing your fruity feast!

Categories: bowls, classes, food

So not only did we have “imported” OREO’s in class… we also had beautiful little OREO BOWLS for our mint OREO’s!!! One of my students made these cute little bowls with underglaze transfer patterns that were perfect for a single serving of OREO’s… or, you could refill it as many times as needed!!! Thanks for sharing your bowls Darcy!