Gary Jackson: Fire When Ready Pottery
A Chicago potter’s somewhat slanted view of clay & play
Categories: bowls, classes, wheelthrowing

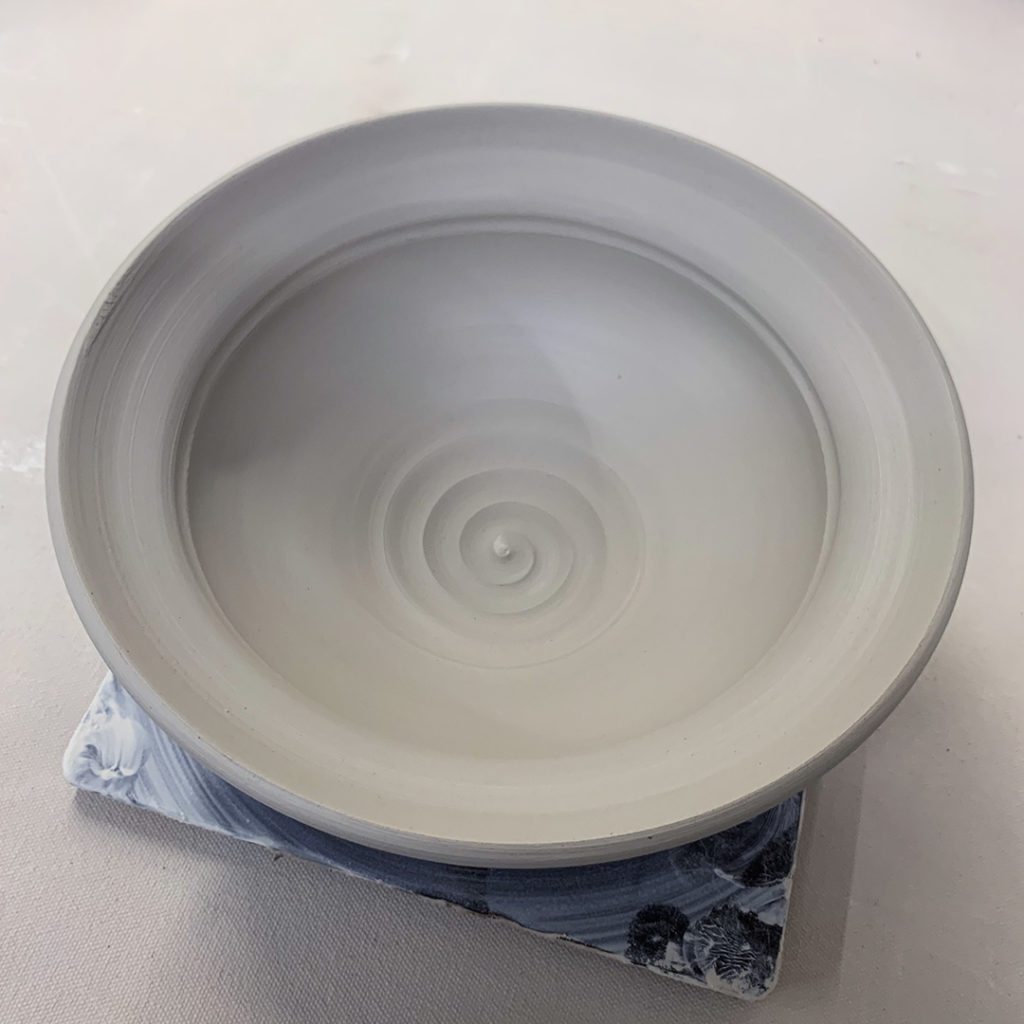
Last night’s class demo how to throw basic bowls.
And that’s basic bowls on purpose… and NOT cylinders gone bad. I like to teach my Beginner’s how to throw a bowl from the start with a nice smooth & even curve inside. No flat bottoms. No beginner’s ledge. No divots. So I do a demo for the with one bowl – and then set them off to work on their own bowls!

While they’re throwing their bowls, I continue throwing more basic bowls. After I finish making them all, we re-group for Part Two of the class demo. For this part I like to show them some quick & easy ways to alter & decorate their bowls. I tell them that “The Wheel” pretty much did all of the work making a round bowl. Now it’s up to THEM to do something to it to make it their own! And encourage playing with their clay. To try something new. And if it doesn’t work… no biggie. Just squish it up, wedge it and throw it again!

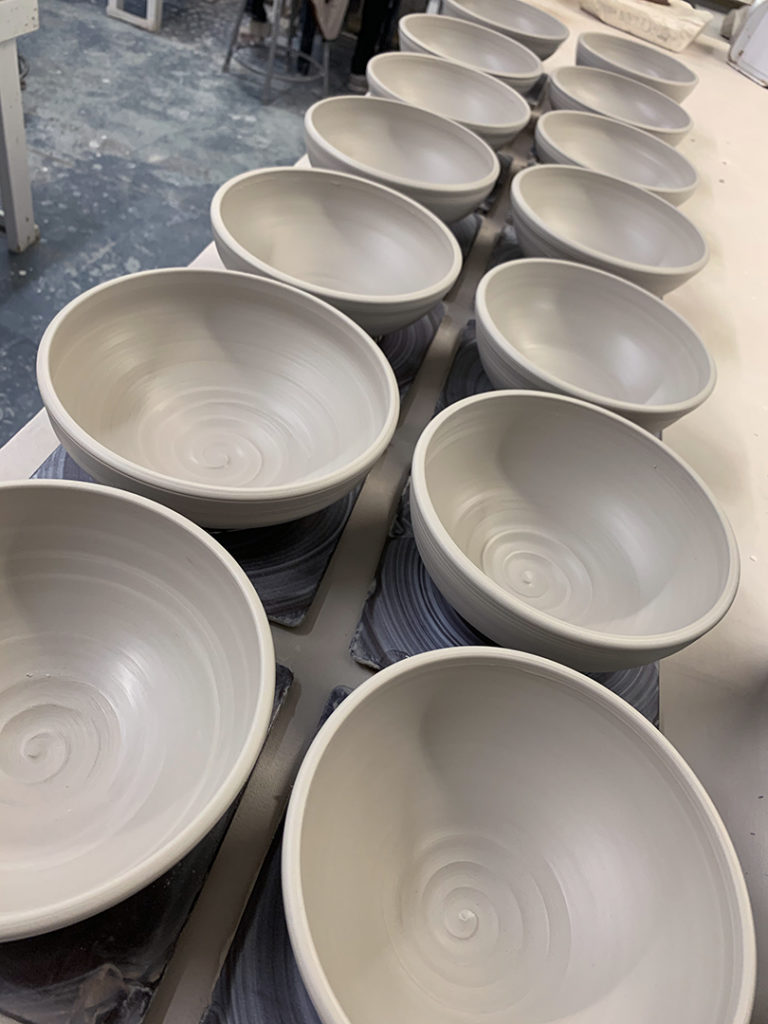
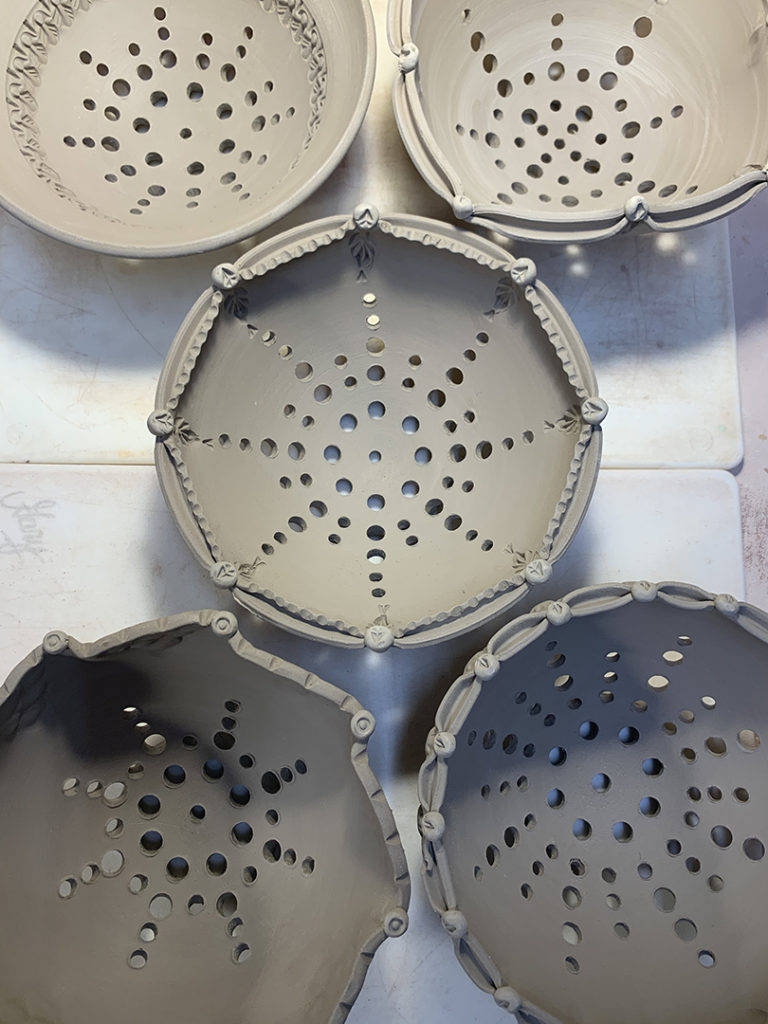
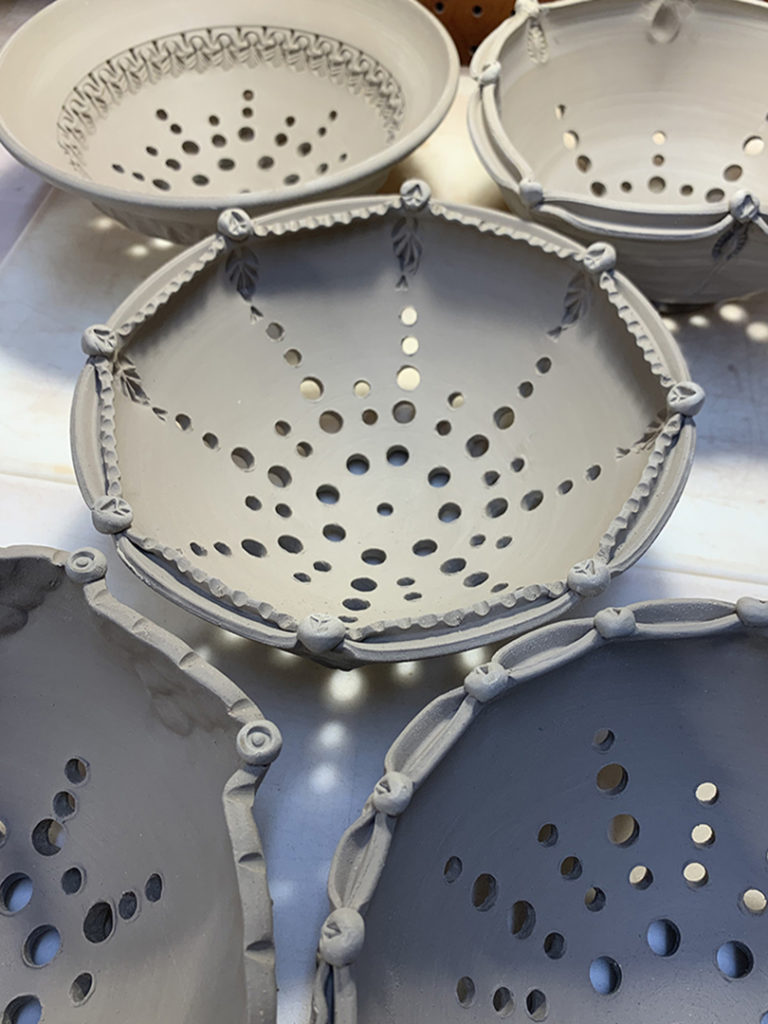
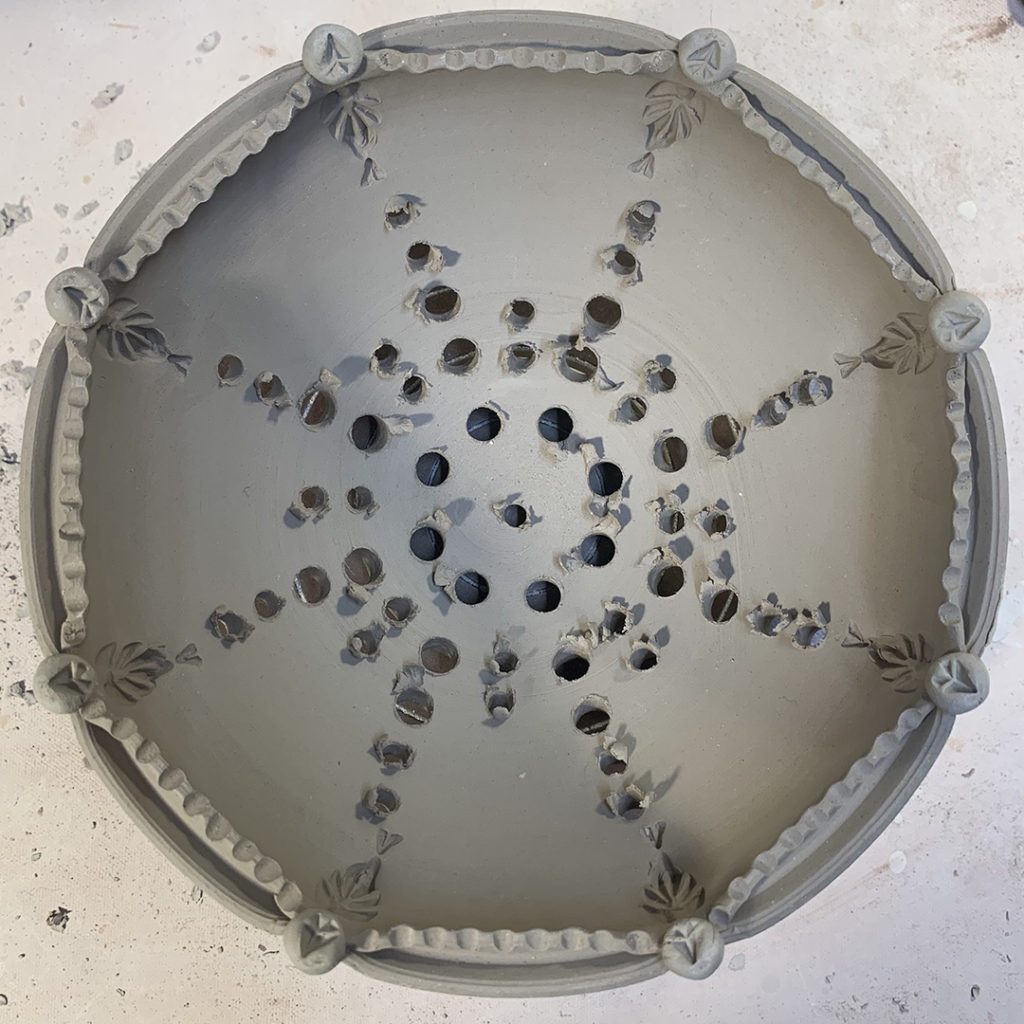
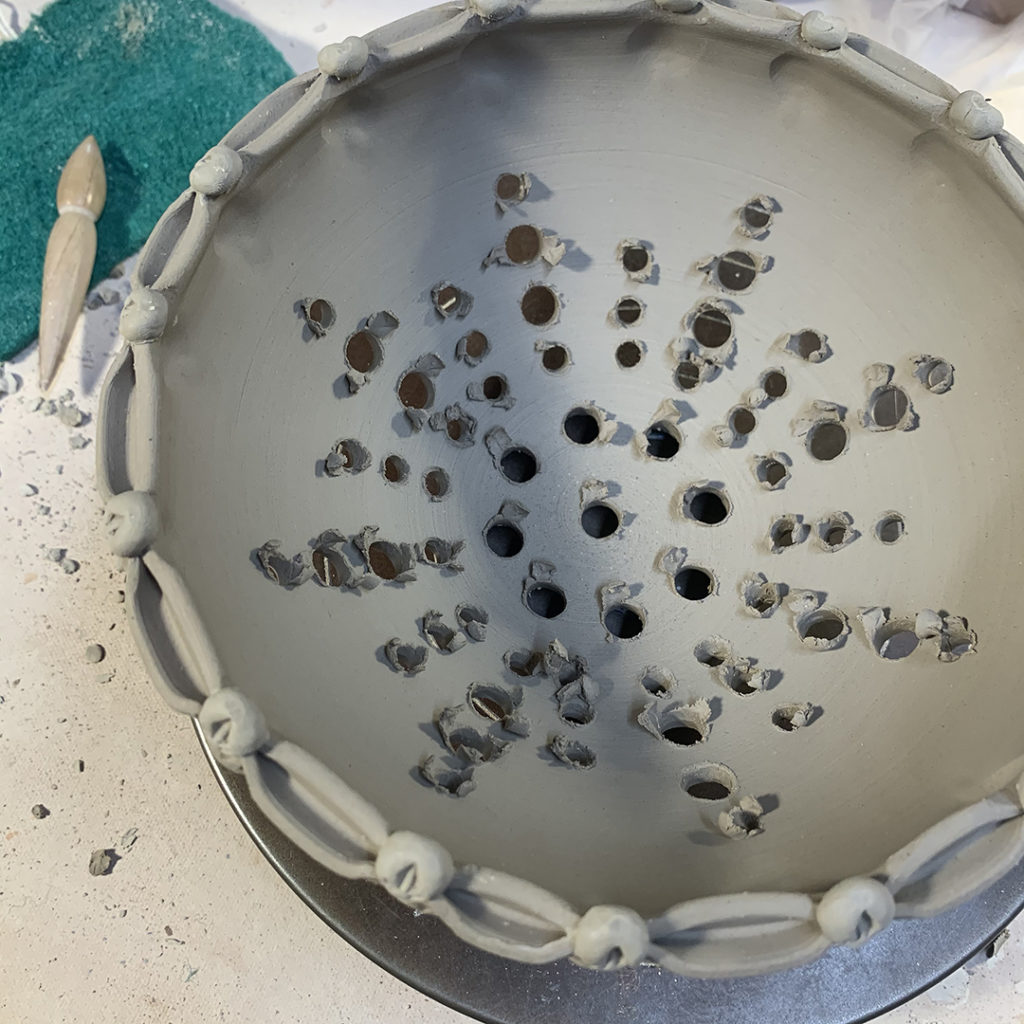
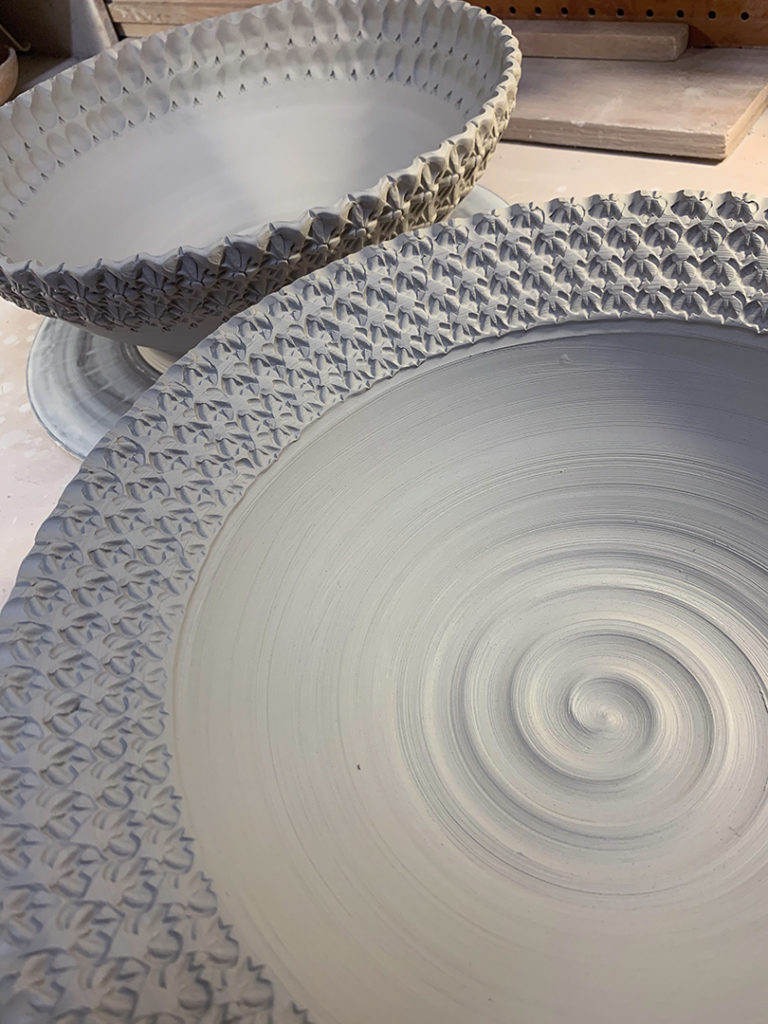
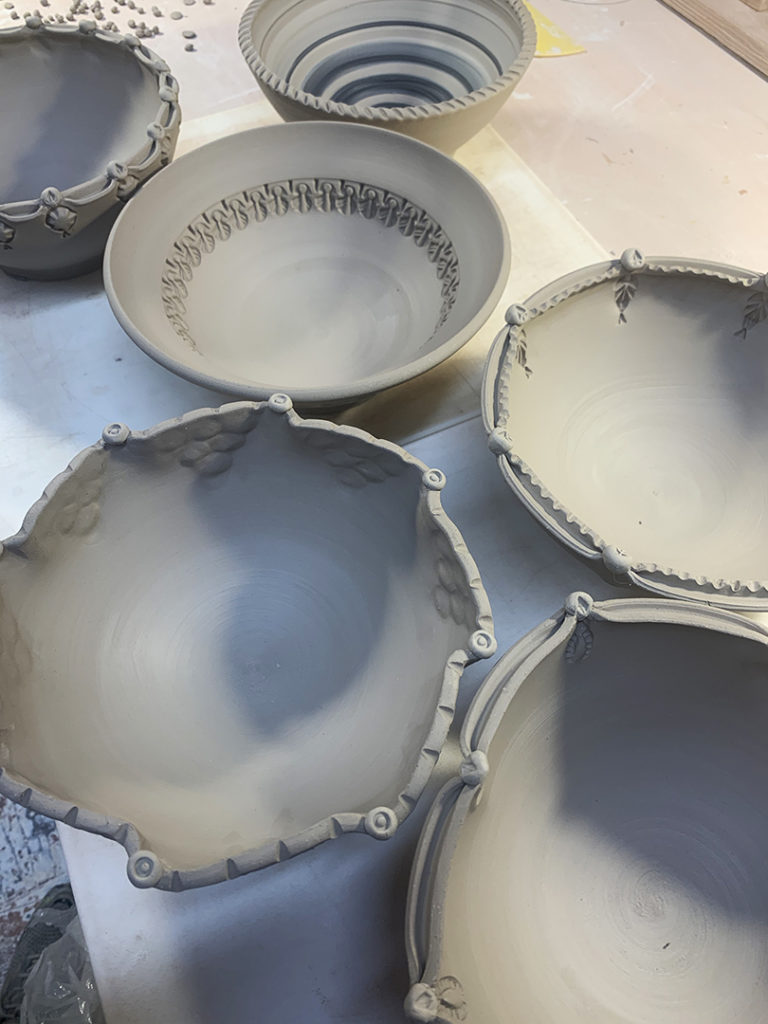
So here are my bowl demos from last night…
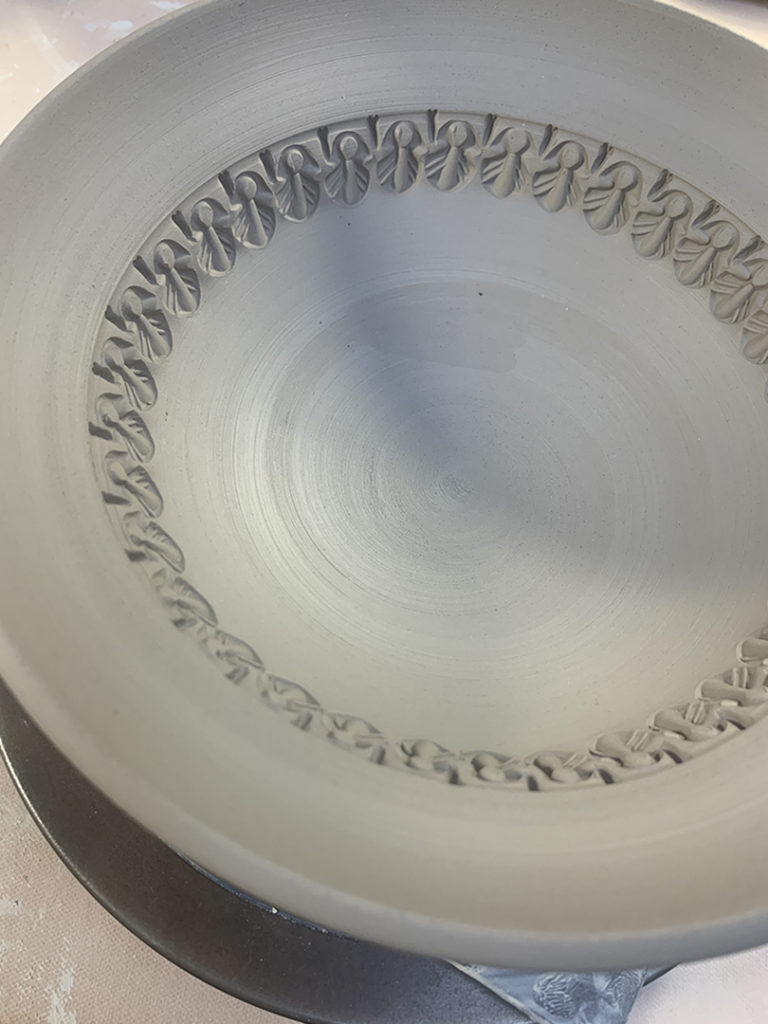
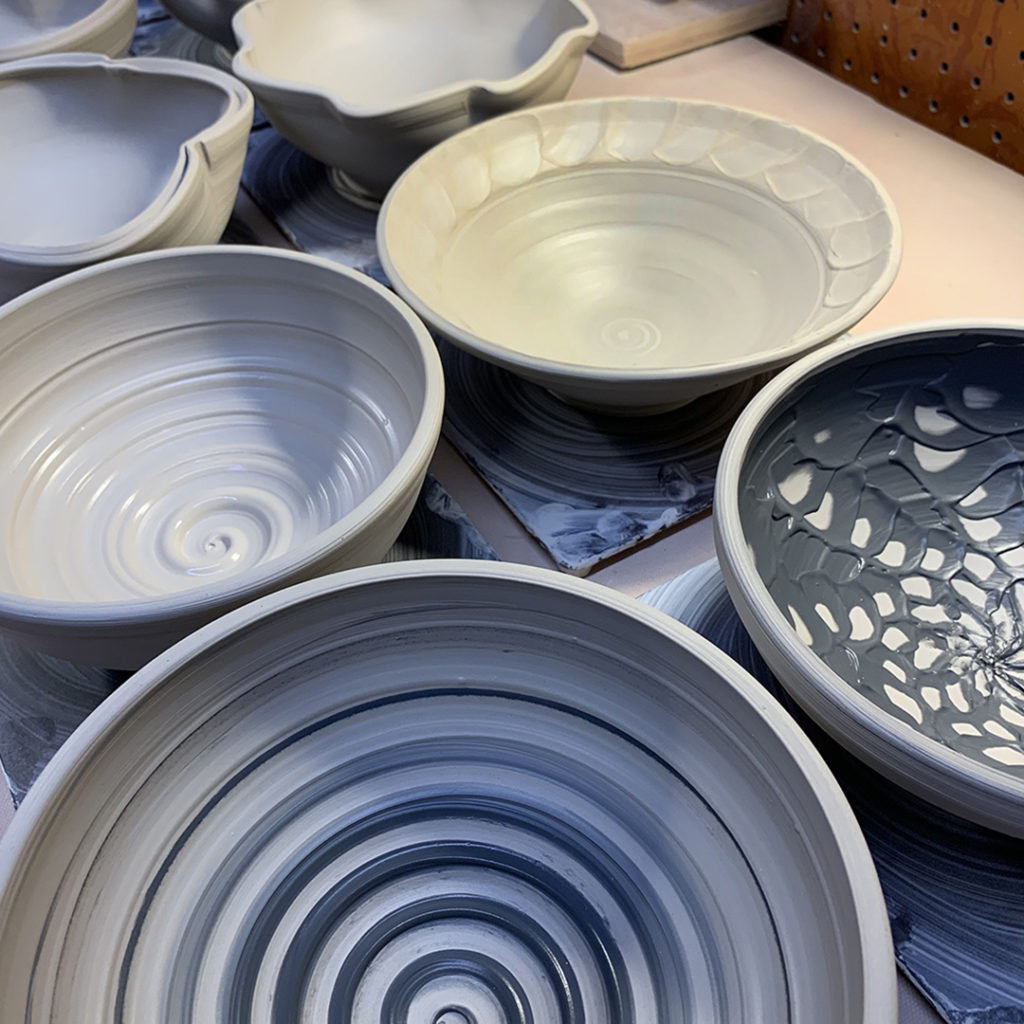
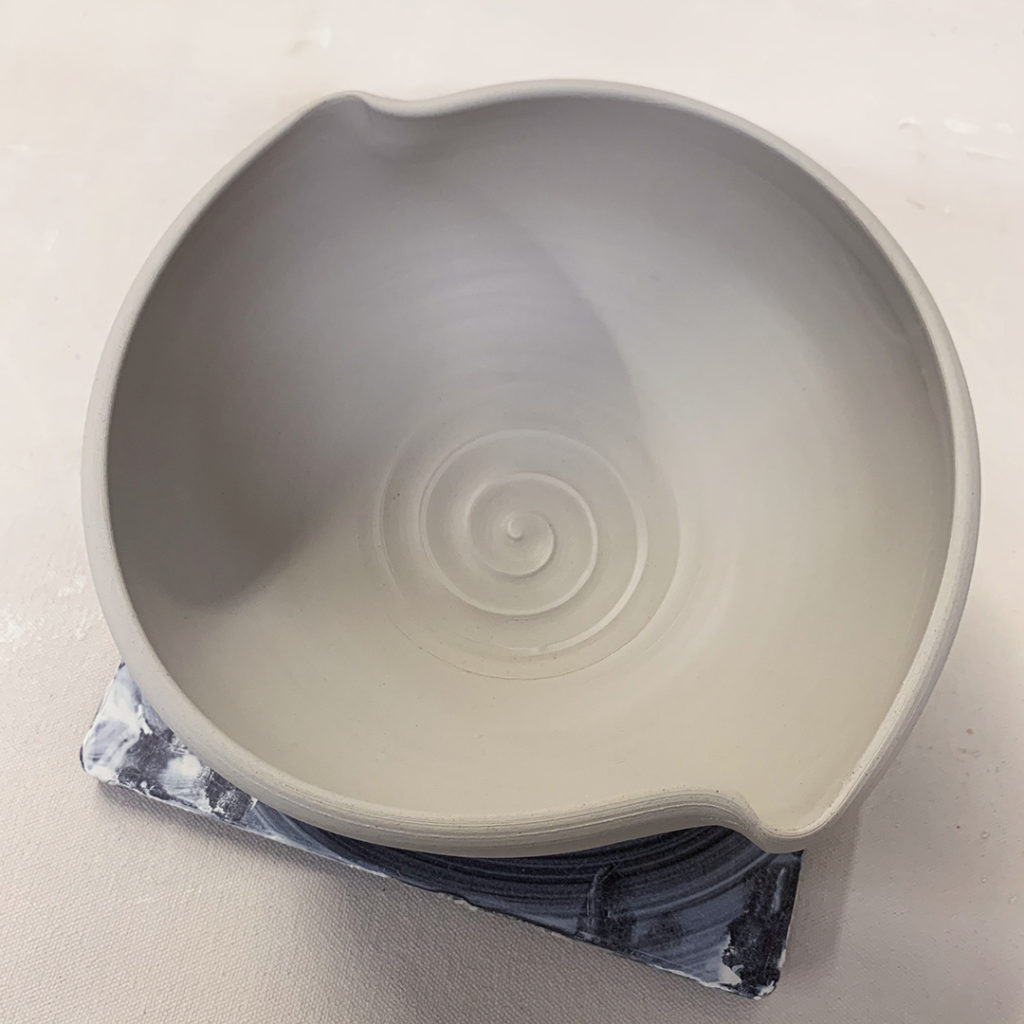
each with some simple decorative alterations!

Bowl #1 – Two simple fluted edges

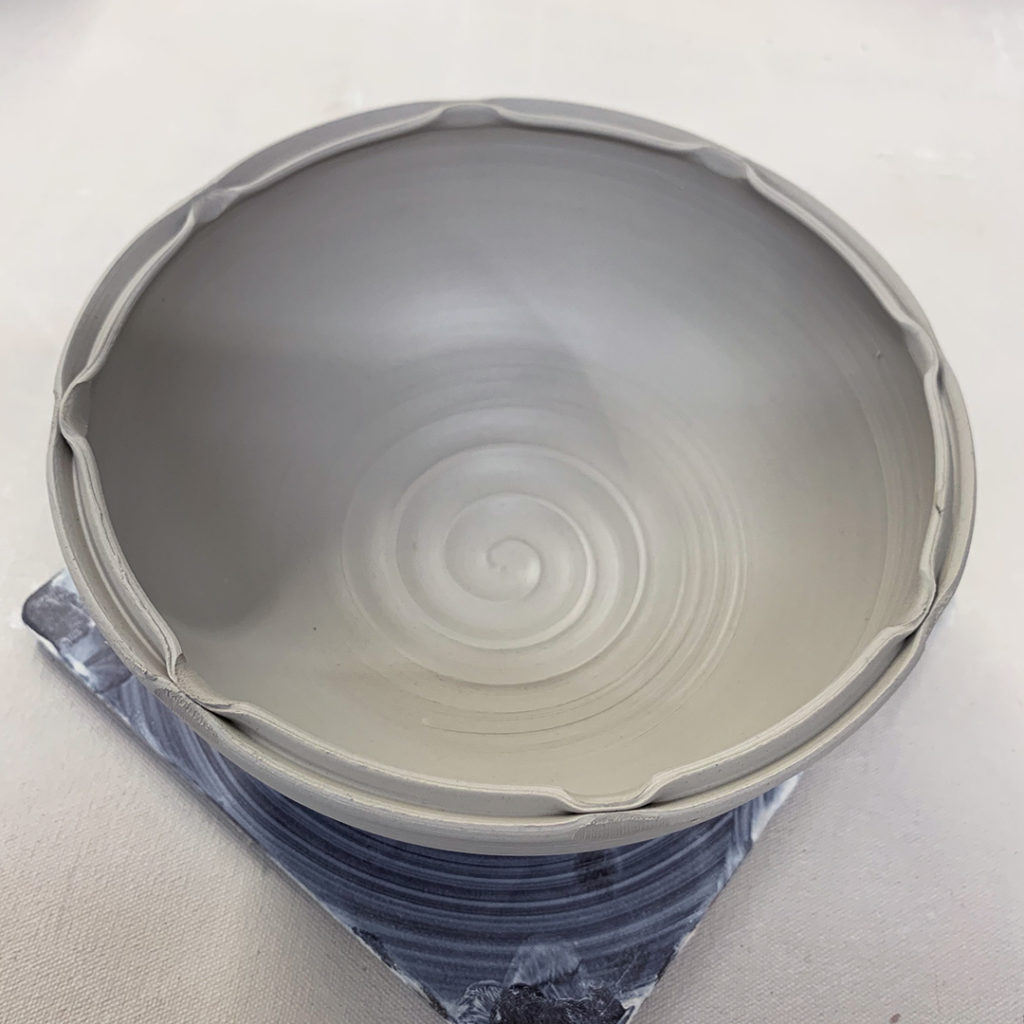
Bowl #2 – Eight fluted edges

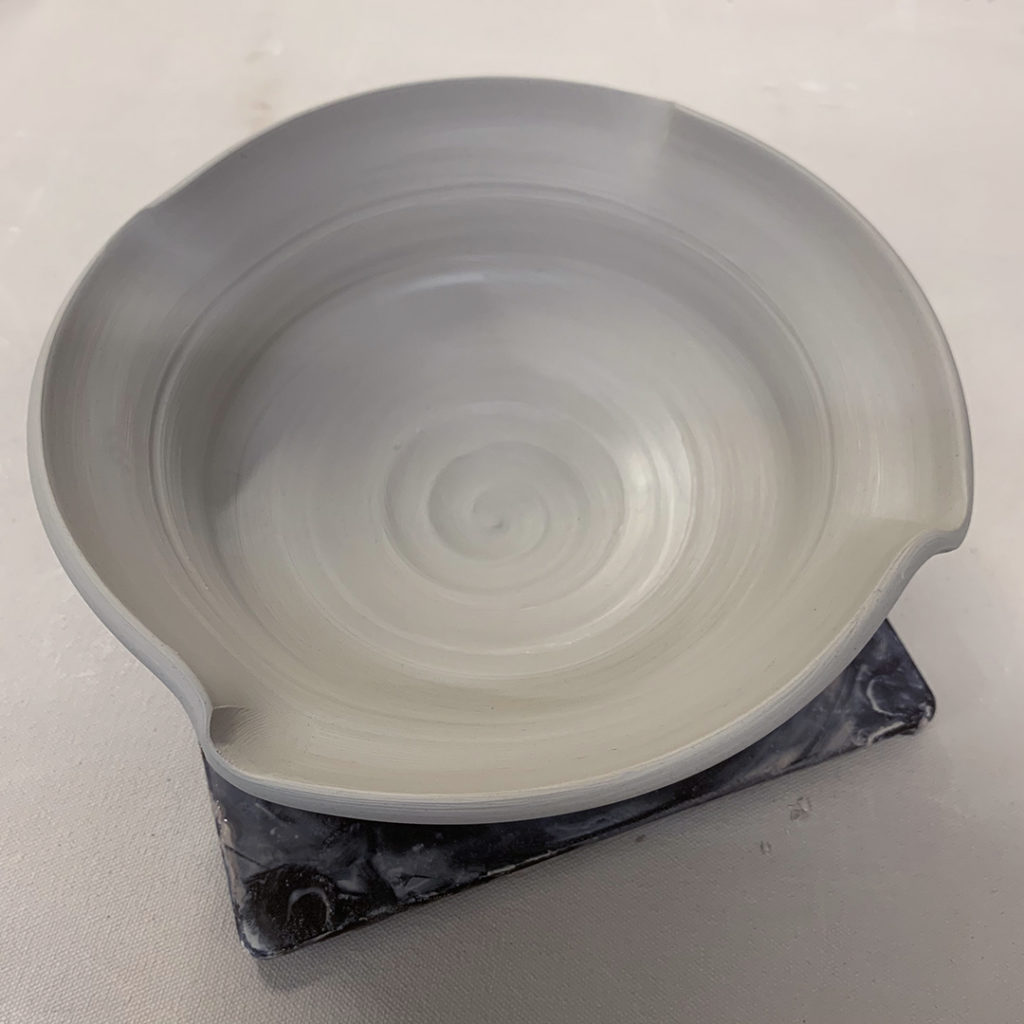
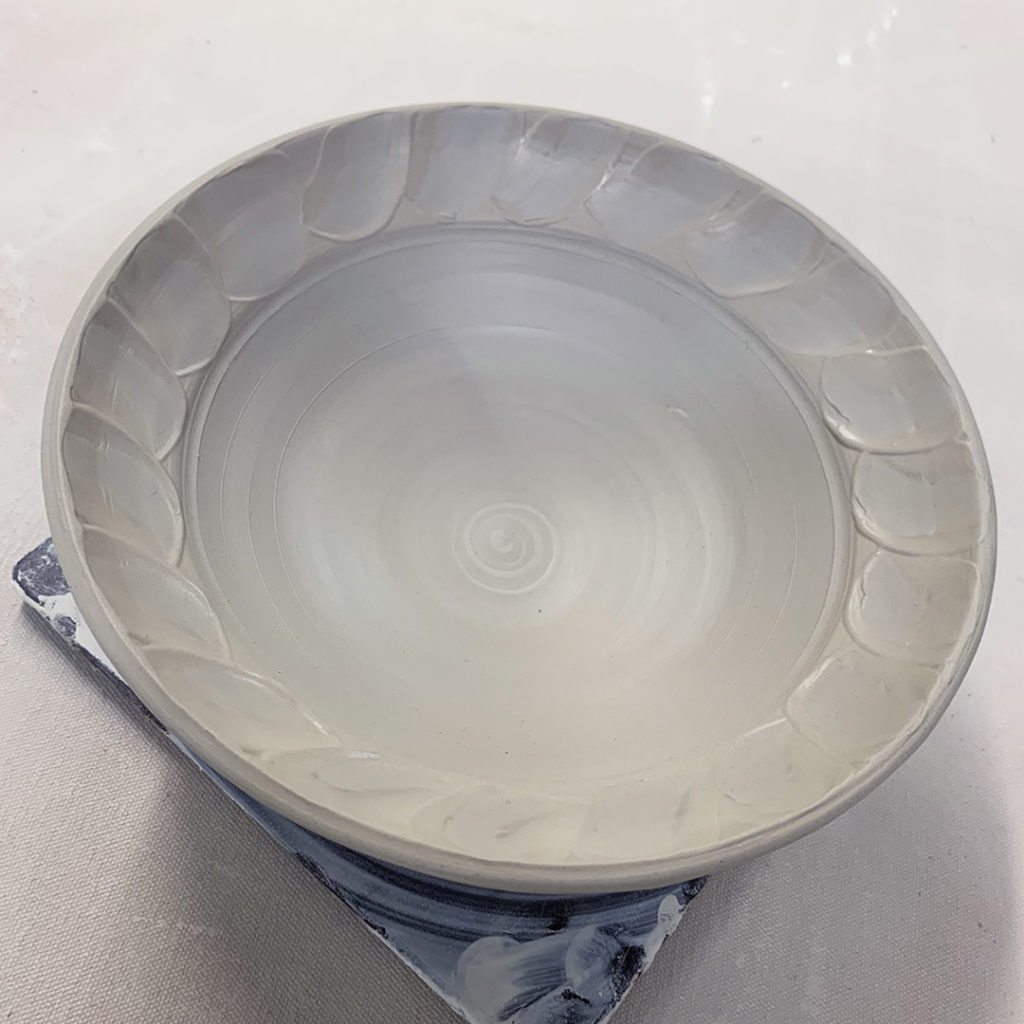
Bowl #3 – Flared-out flange

Bowl #4 – Flared flange & four fluted edges

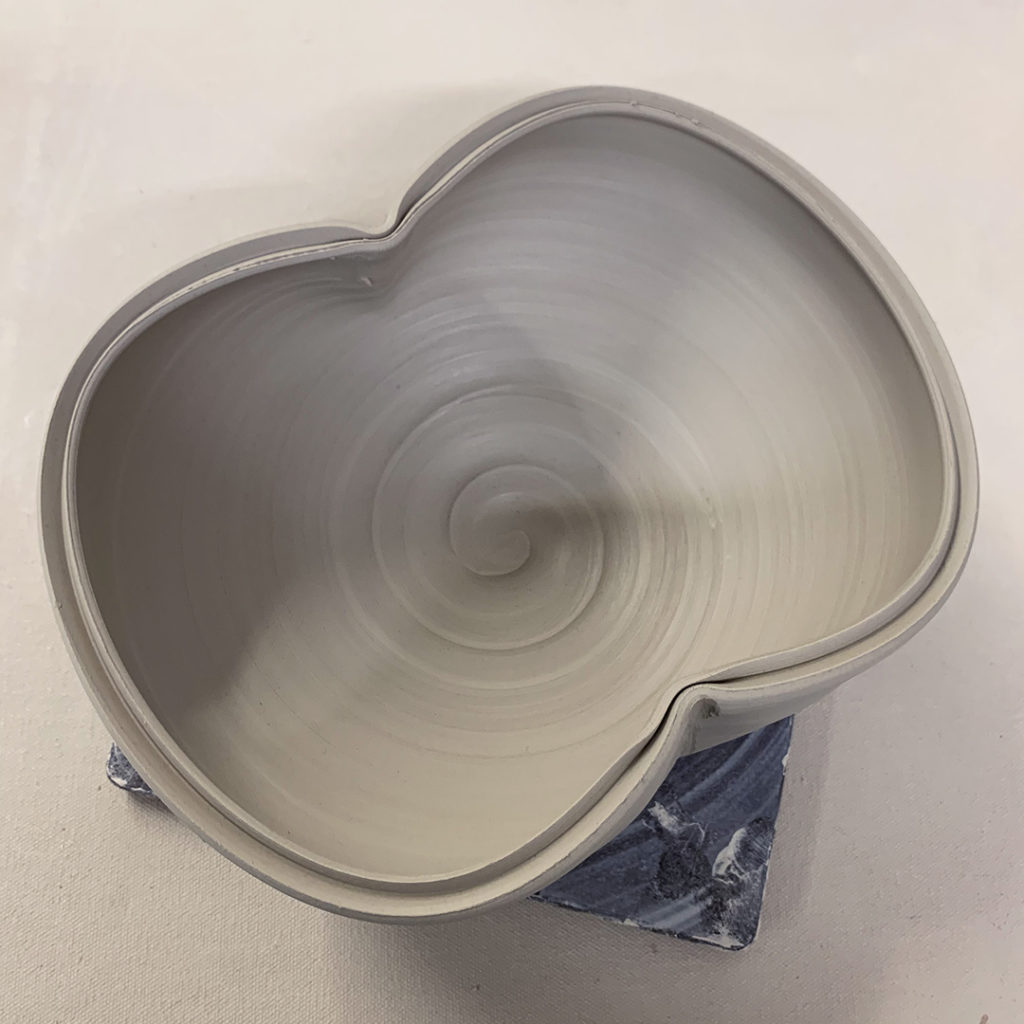
Bowl #5 – Split rim with eight pinches

Bowl #6 – Split rim with two indentations… waiting for an “over the top” handle to make it like a basket.

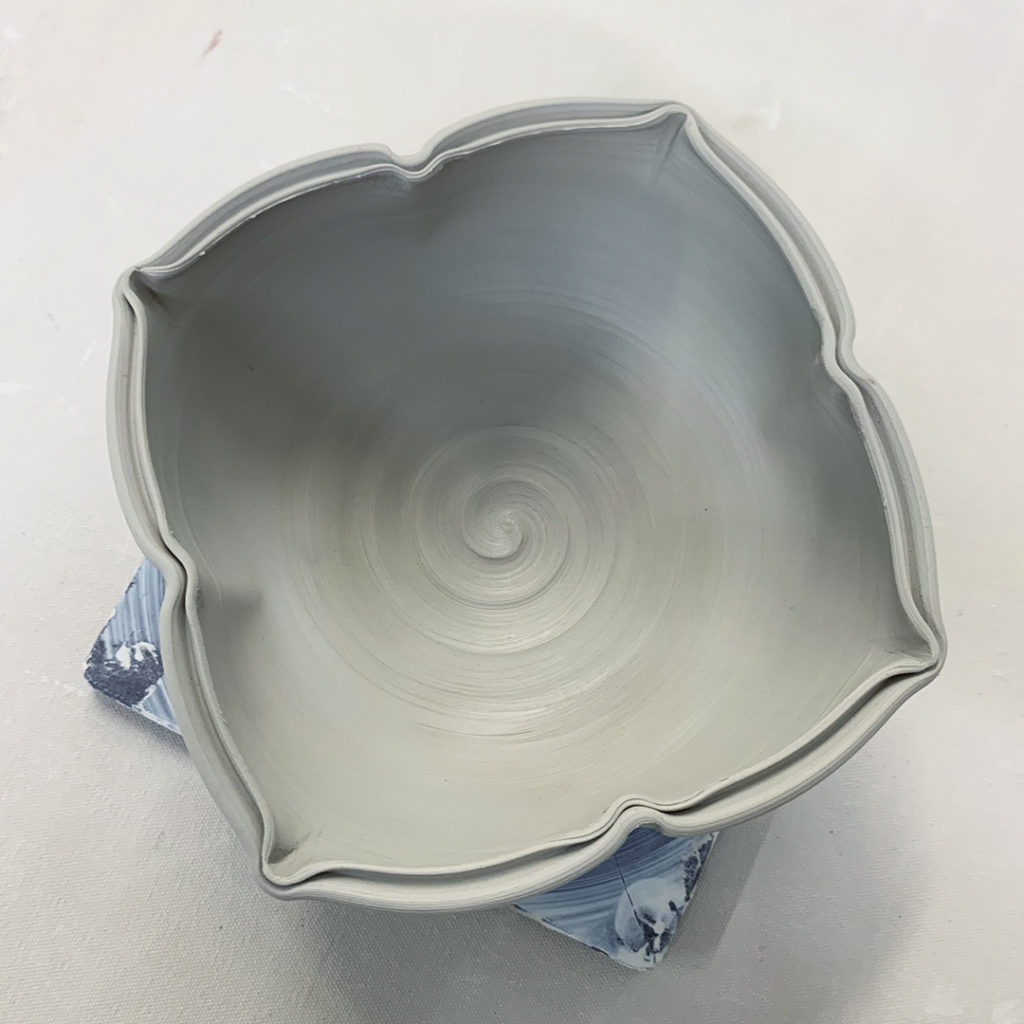
Bowl #7 – Split rim with four side indentations

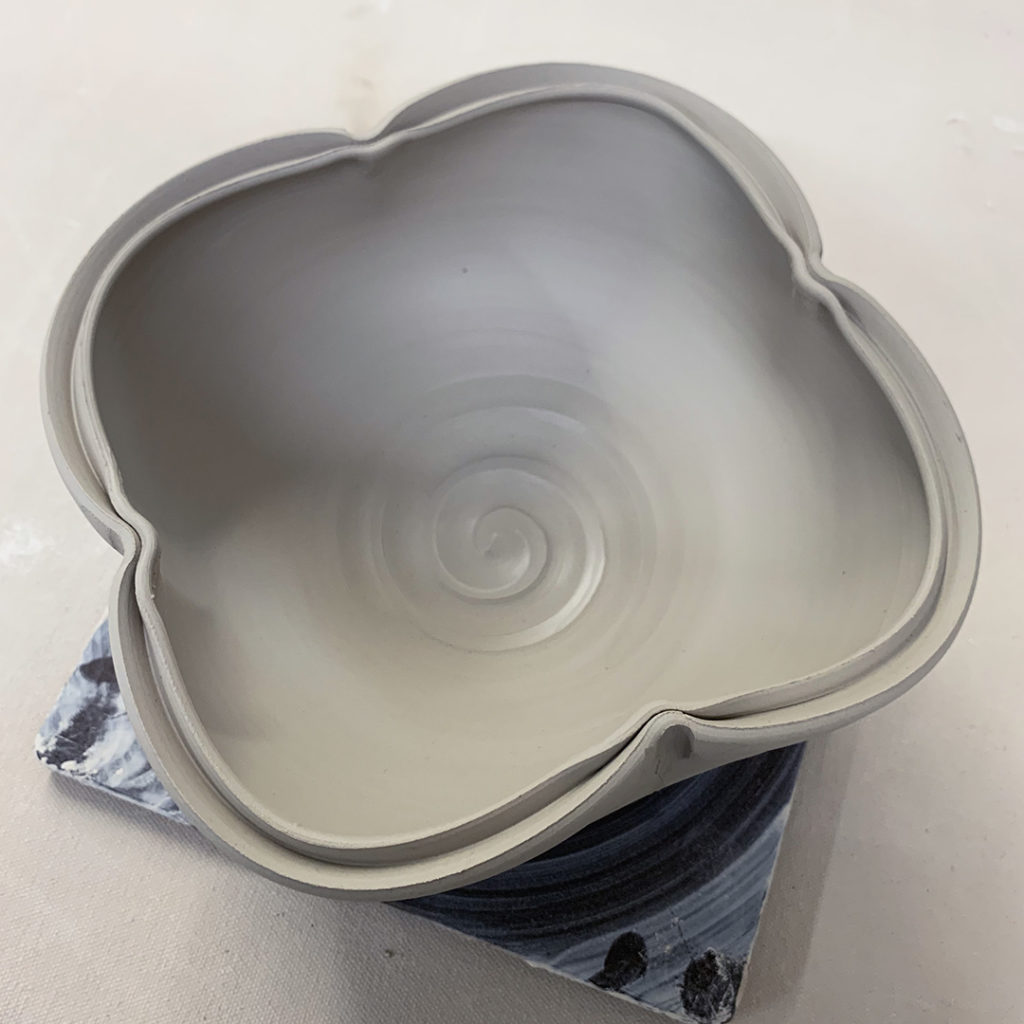
Bowl #8 – Split rim with four indentations IN, and four indentations OUT.

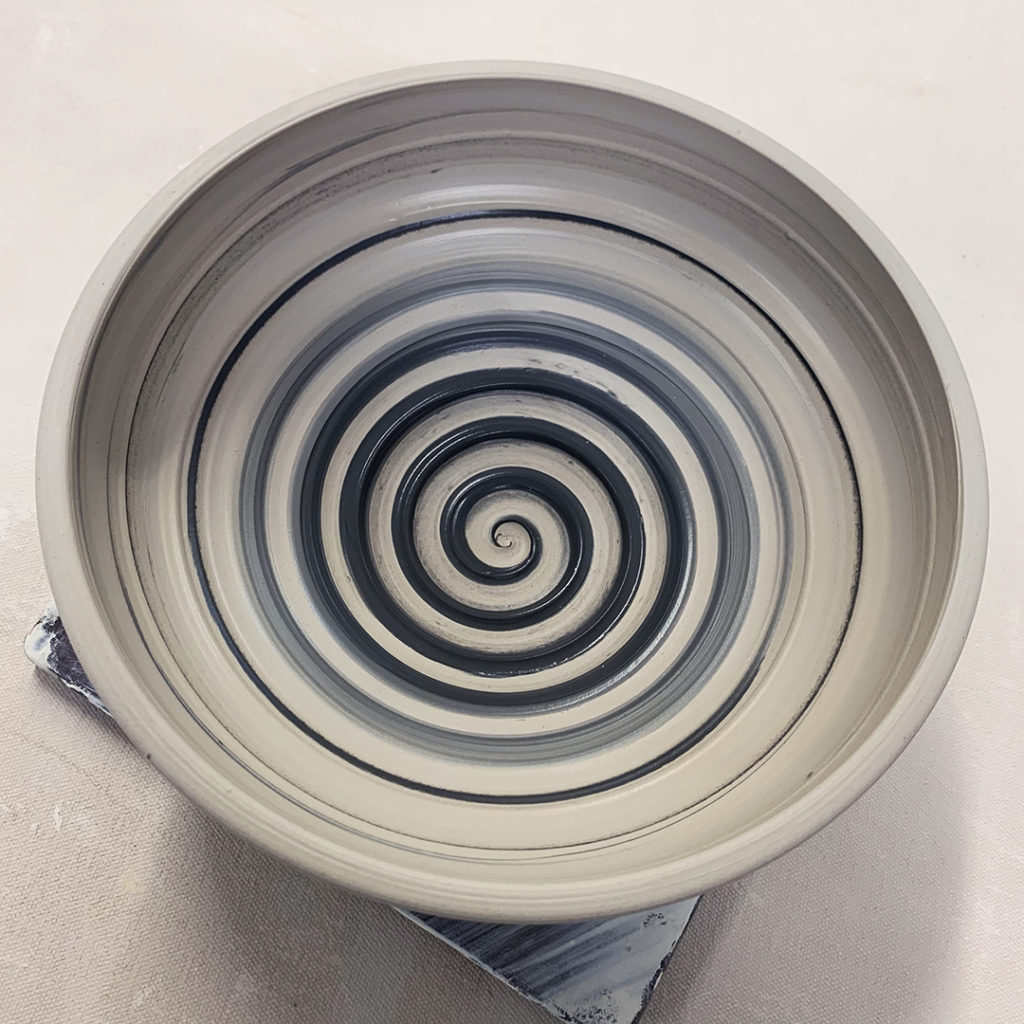
Bowl #9 – A thick white slip spiral.

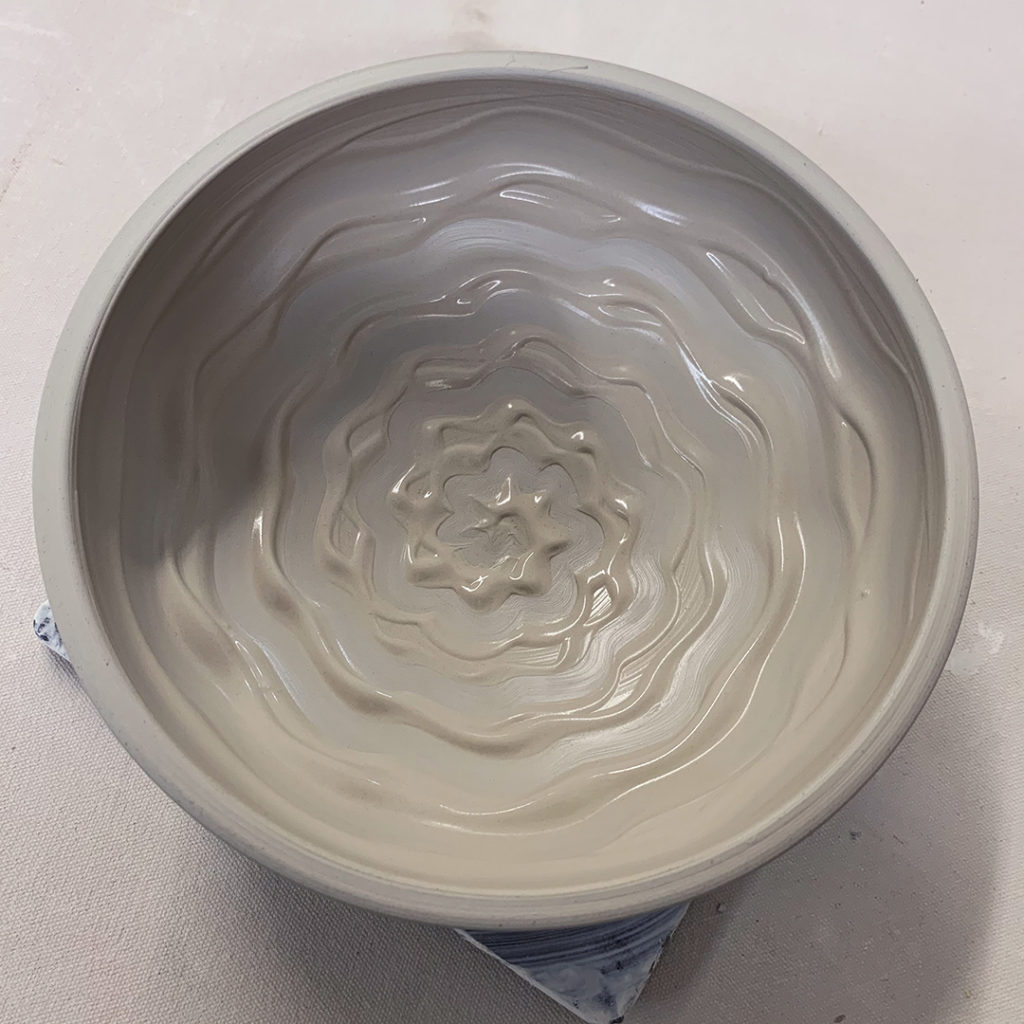
Bowl #10 – Thick white slip finger squiggles.

Bowl #11 – Thick black slip chattering with a rubber rib.

Bowl #12 – Ombre’ black -to-white slip with a spiral dragged through.

Bowl #13 – Thick white slip on a flared flange then wiped through with a rubber rib.

And for now they’re all under plastic… as there’s a “pretty good chance” that there might just be some stamping & detailing of these bowls before I need to start trimming the bottoms.

Categories: bowls, process, production

So here are some new berry bowls…
next up, some little drip plates to go under them!

Categories: bowls, process, production

After Monday night’s class demo with a power drill… yesterday I cleaned-up the insides of my new berry bowls. The drill is quick & clean, but it leaves these burrs hanging out inside. The good thing is that when they dry up a bit, they simply brush away easily. I also take a green scrub pad to smooth out any edges, and then use a wooden tool to refine any of the holes that need some smoothing.

Categories: bowls, classes, process, production

After my class demo last night, Christine stepped up to give it a try. She “struggled” a bit with the spontaneity of it all… not having a plan as she picked up the drill. But my MKM Decorating Discs helped with new “insta-plan” as she pulled the trigger on the power drill.

Categories: bowls, family, food

With a “Winter Snow Advisory” in effect… it looks like my cousin Kim is getting ready to hunker down for a few days with a crock pot full of hot homemade soup… and a pretty blue bowl!!!

Categories: bowls, stamped, stamps, textures

The second large bowl from yesterday’s demo had a flared-out rim just screaming for some decoration. “HEY, DECORATE ME!!!”

So here’s the bowl after some stamping…
and a glimpse at the stamp that did all of the work!

Categories: bowls, stamped, textures

One of the bowls from yesterday’s class demo was a basic round bowl desperately in need of some decorating. Today I stamped the exterior of the bowl, leaving fingerprint indentations on the inside. Sure, I could have stopped there… but instead continued with a small stamp for added details inside & out, and a little extra fluting along the rim!

Categories: bowls, classes, stamped, textures

My large bowls from yesterday’s class demo are now stamped… shocking, right?! I always tell my students that the wheel makes the bowls round, but it’s up to them to make the bowls SPECIAL! I choose to stamp textures & patterns… but I encourage my students to follow their own path and to decorate their bowls to make them their own creations!!!

Categories: bowls, classes, wheelthrowing

This morning’s class demo was throwing larger bowls. I showed them how to make two different styles. They’re now up in my studio… maybe… hypothetically… “allegedly” waiting for a little stamped detail fun!

Categories: bowls, stamped

Adding a few “details & accents” to the bowls that I made Monday night as part of our class demo. The goal is to turn these into berry bowls in class next week. But before I can do that… I just HAD TO add a little sumthin’-sumthin’ to them!!!