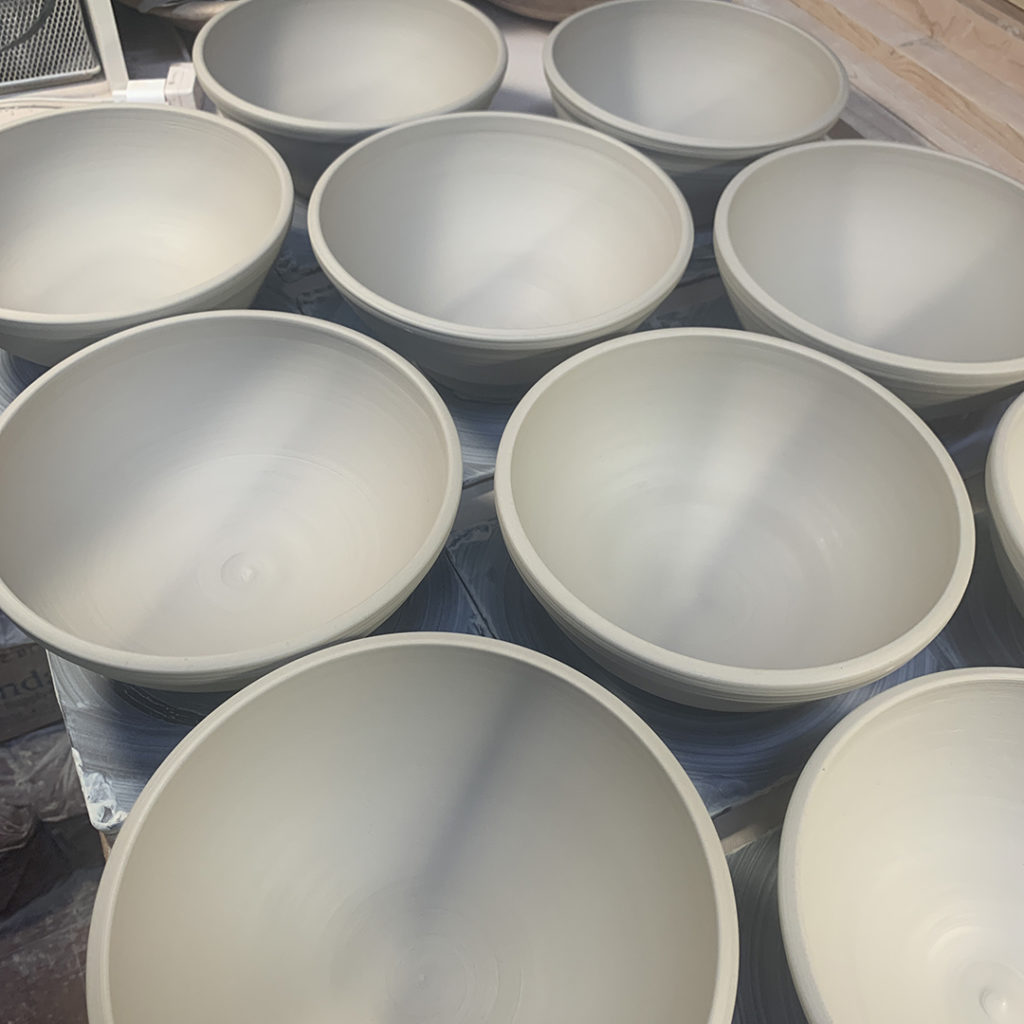
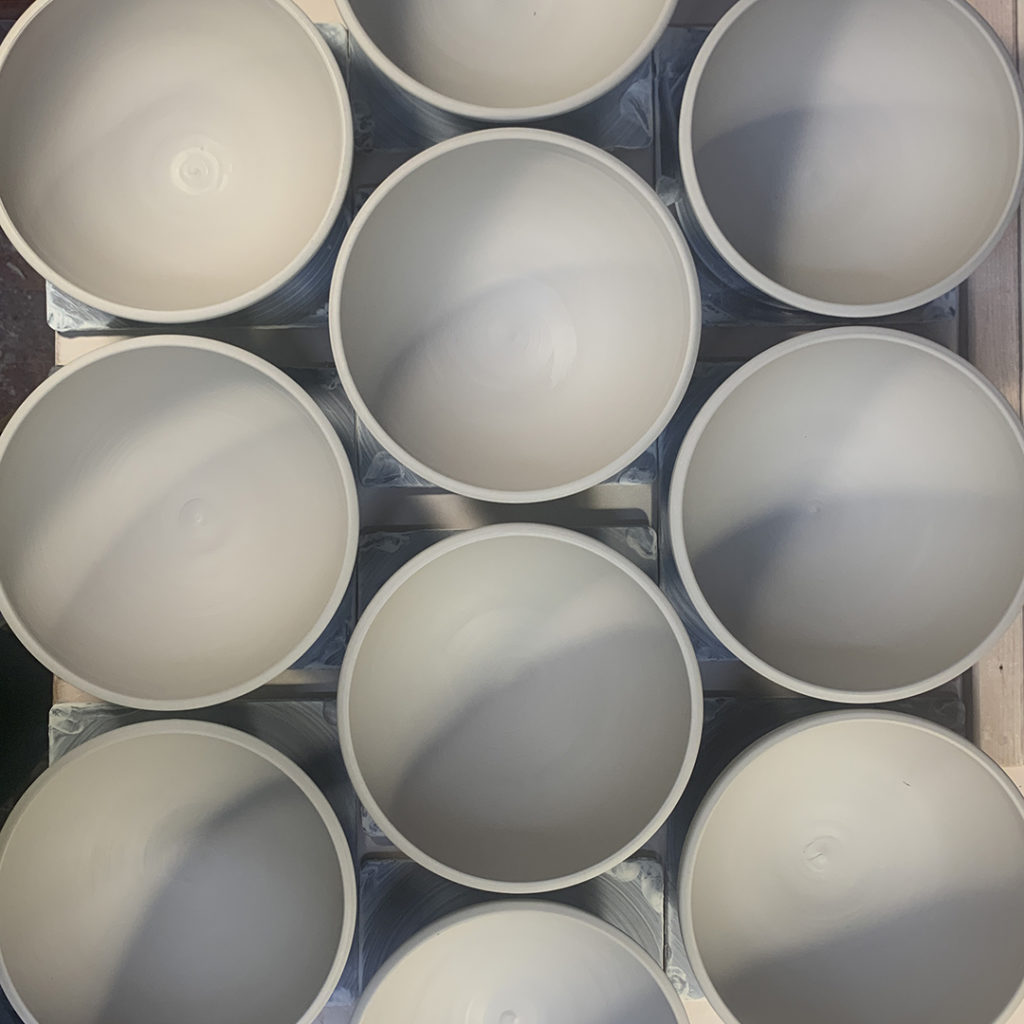
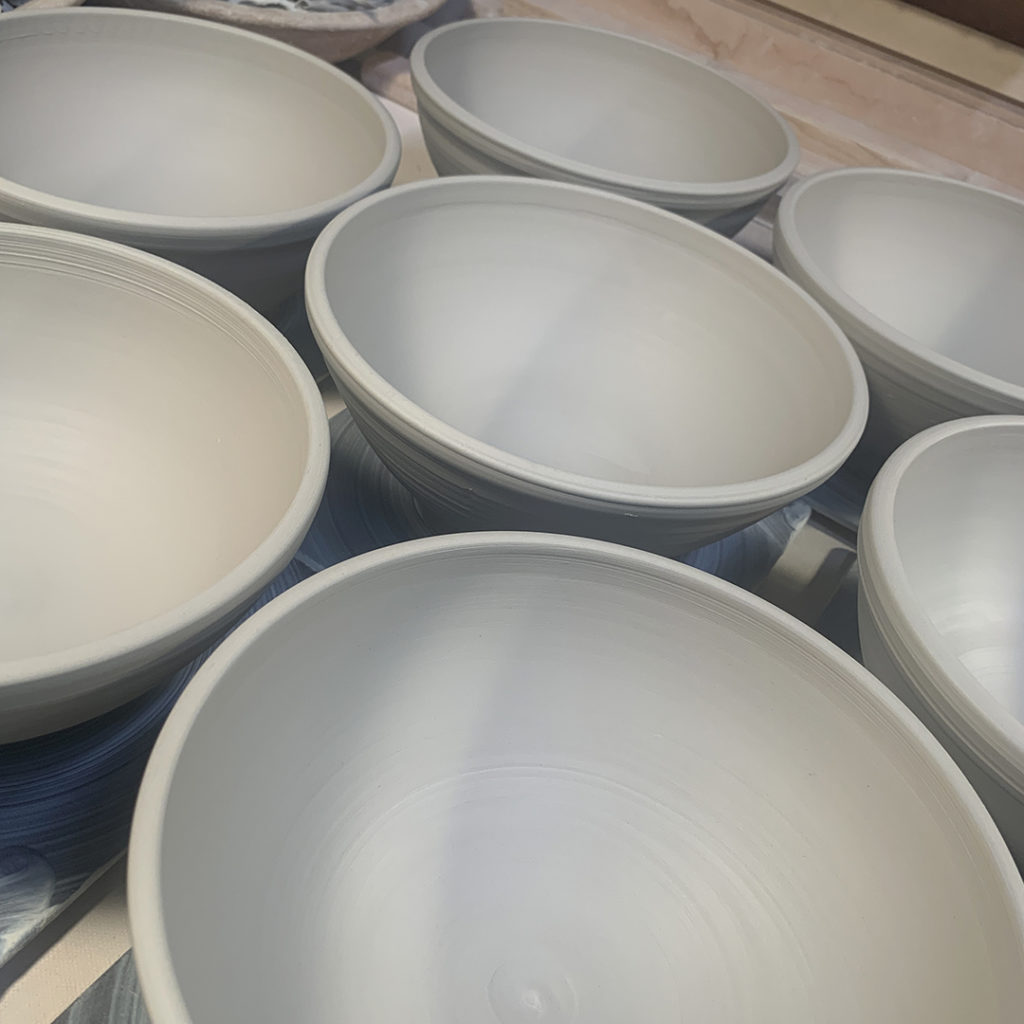
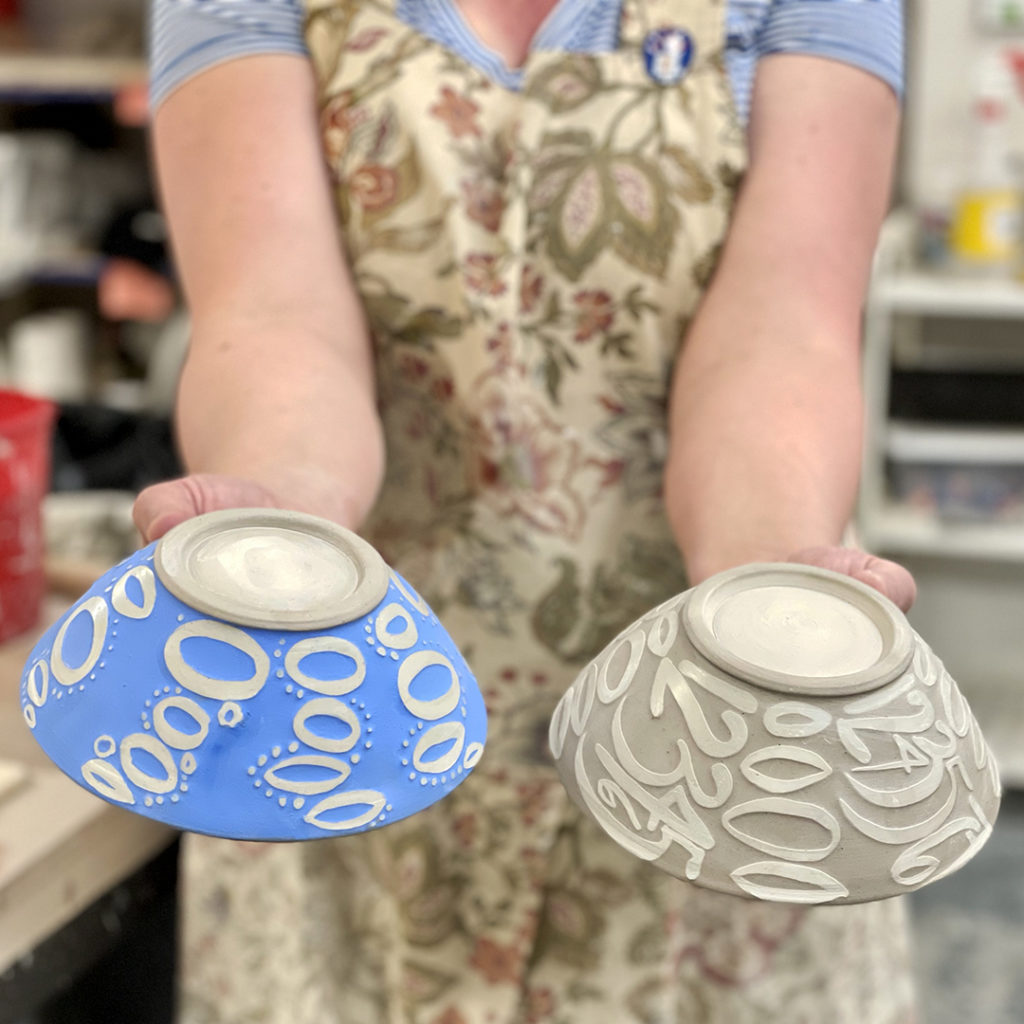
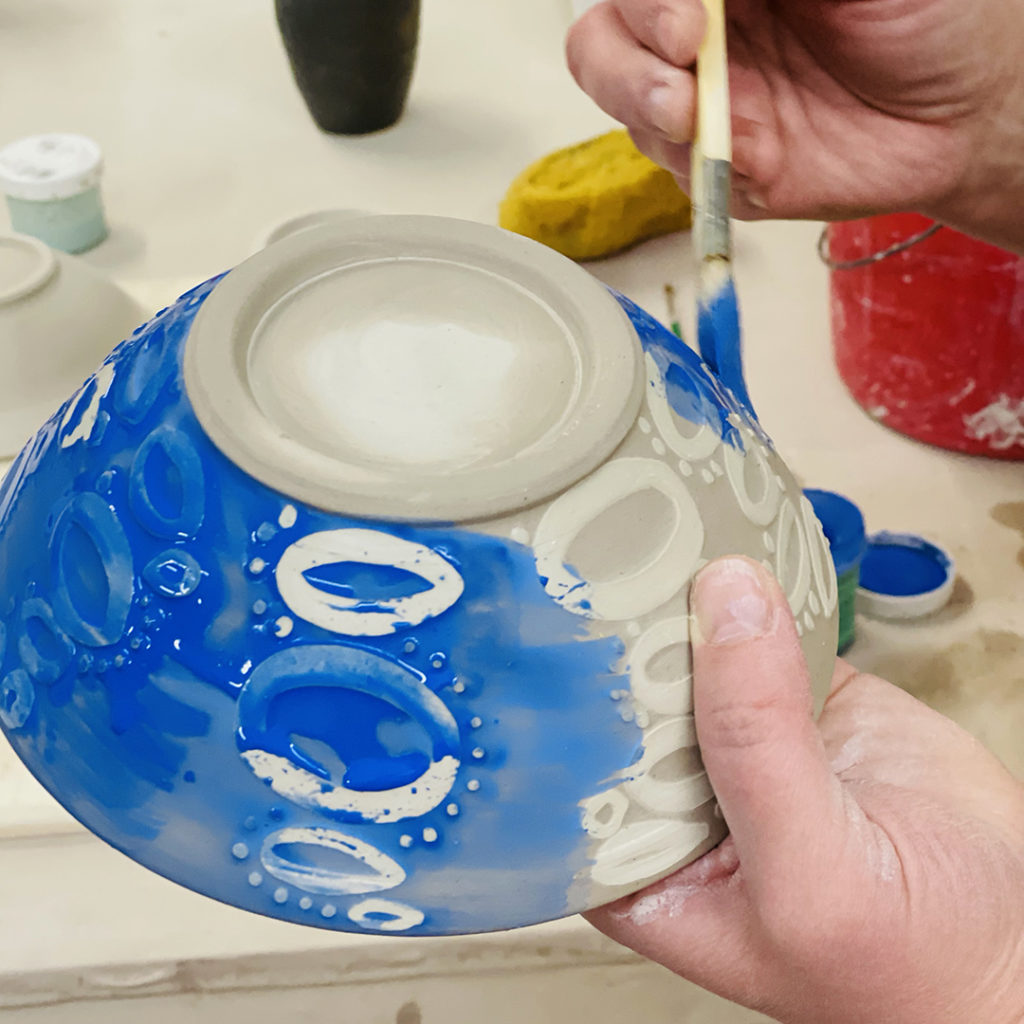
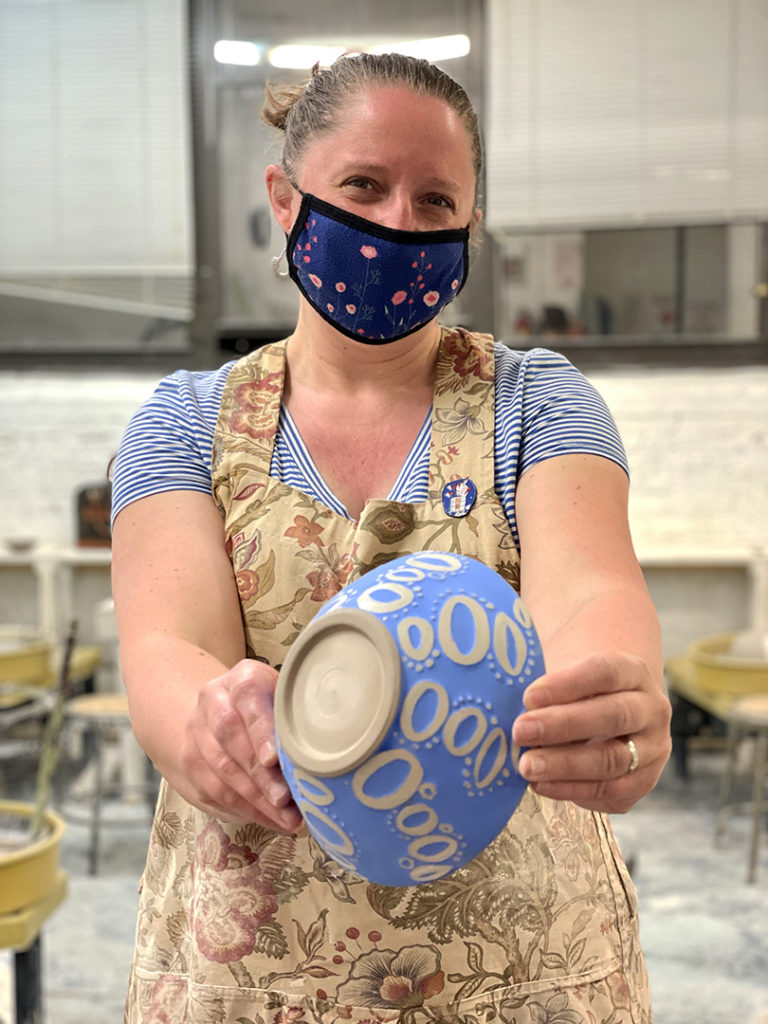
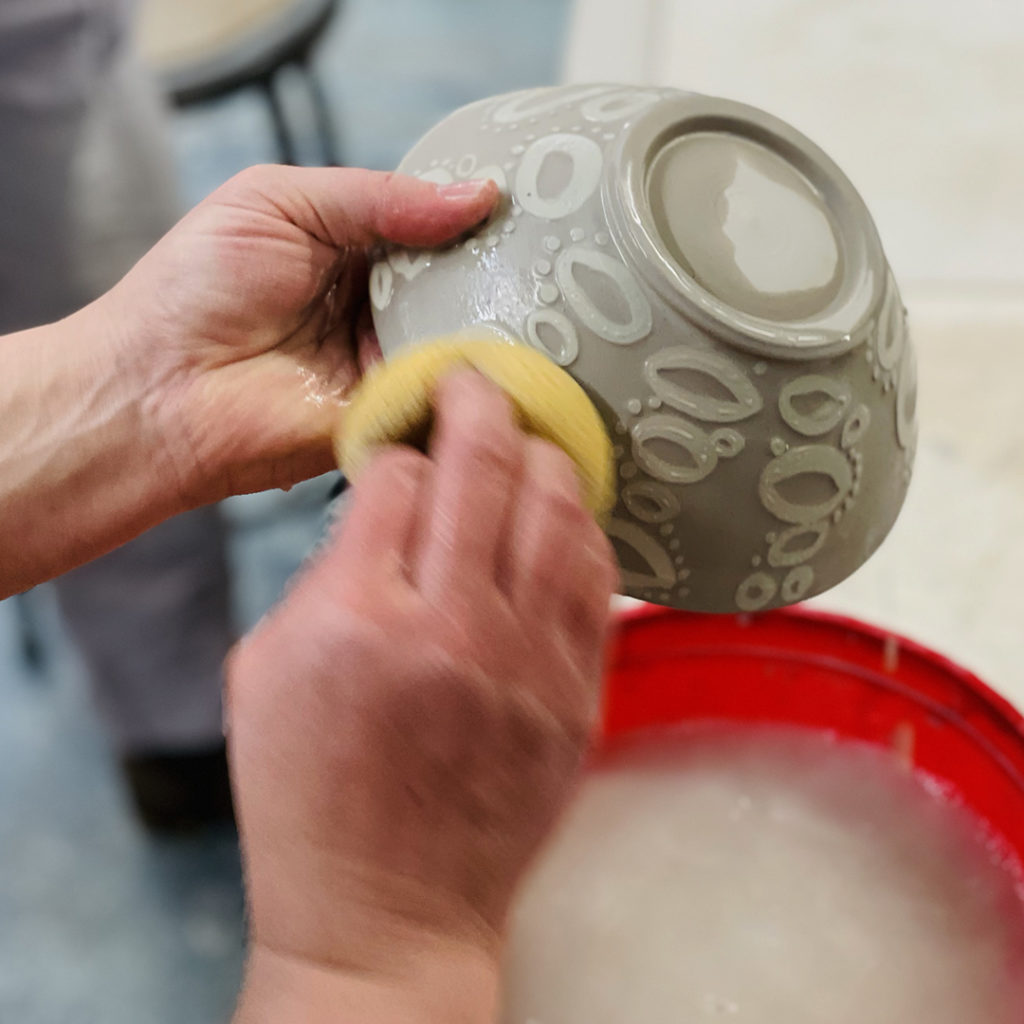
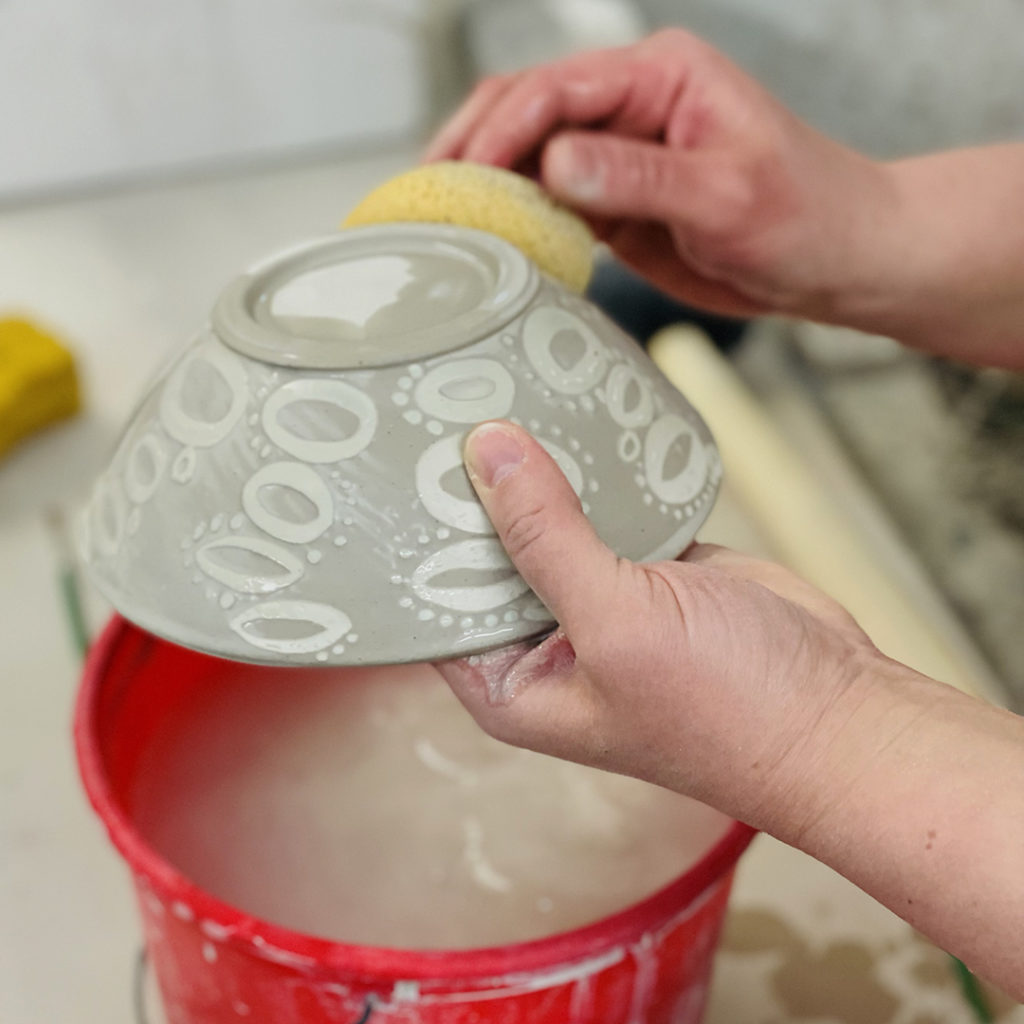
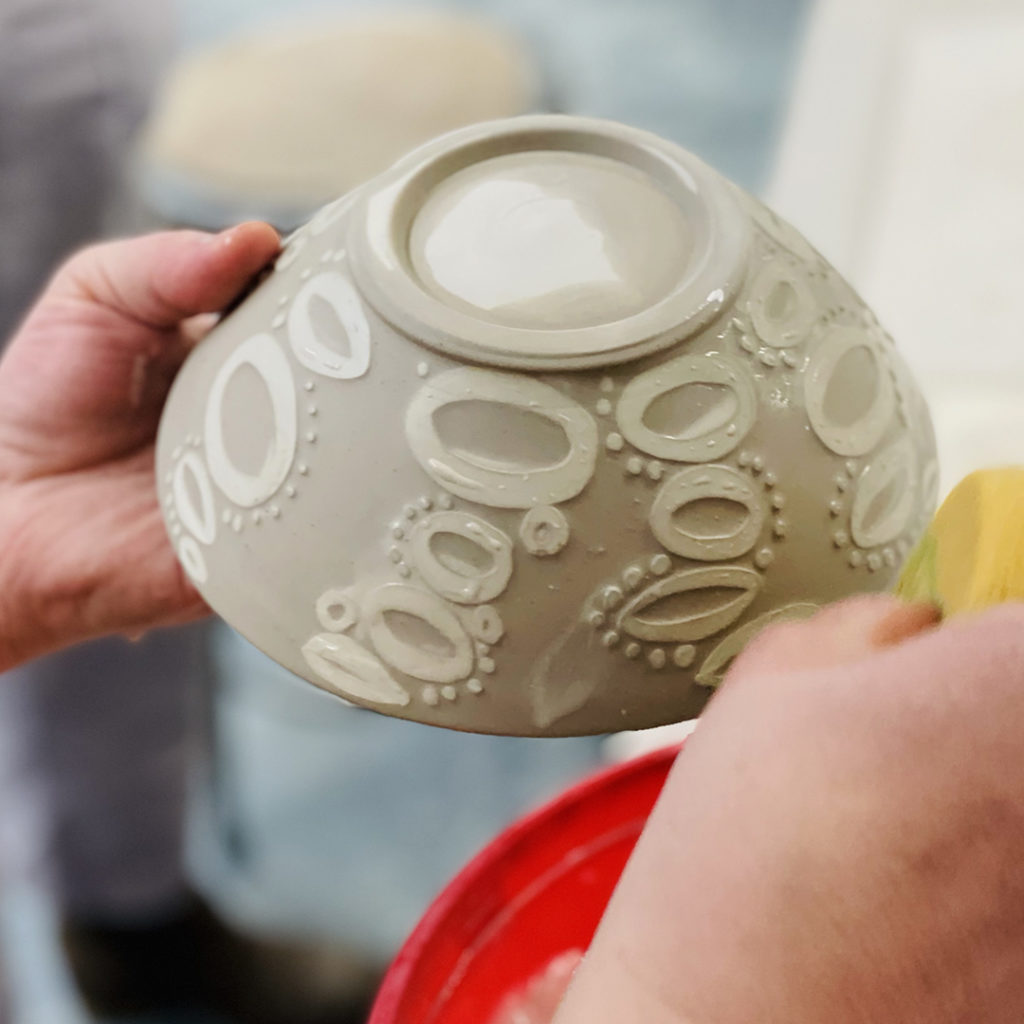
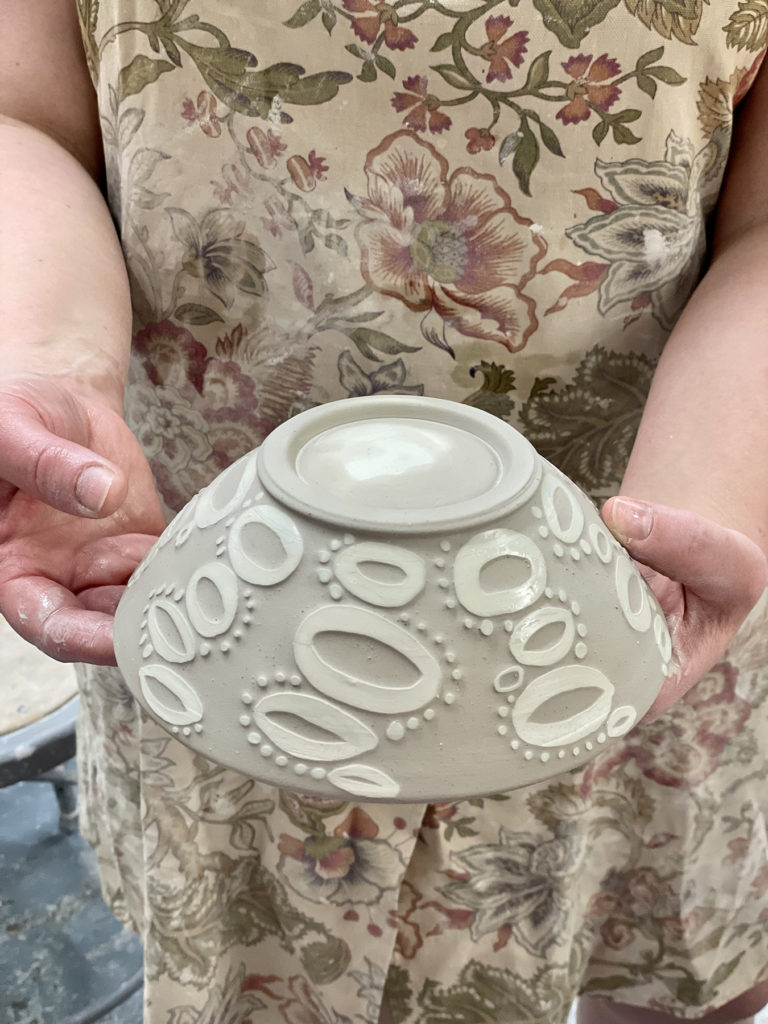
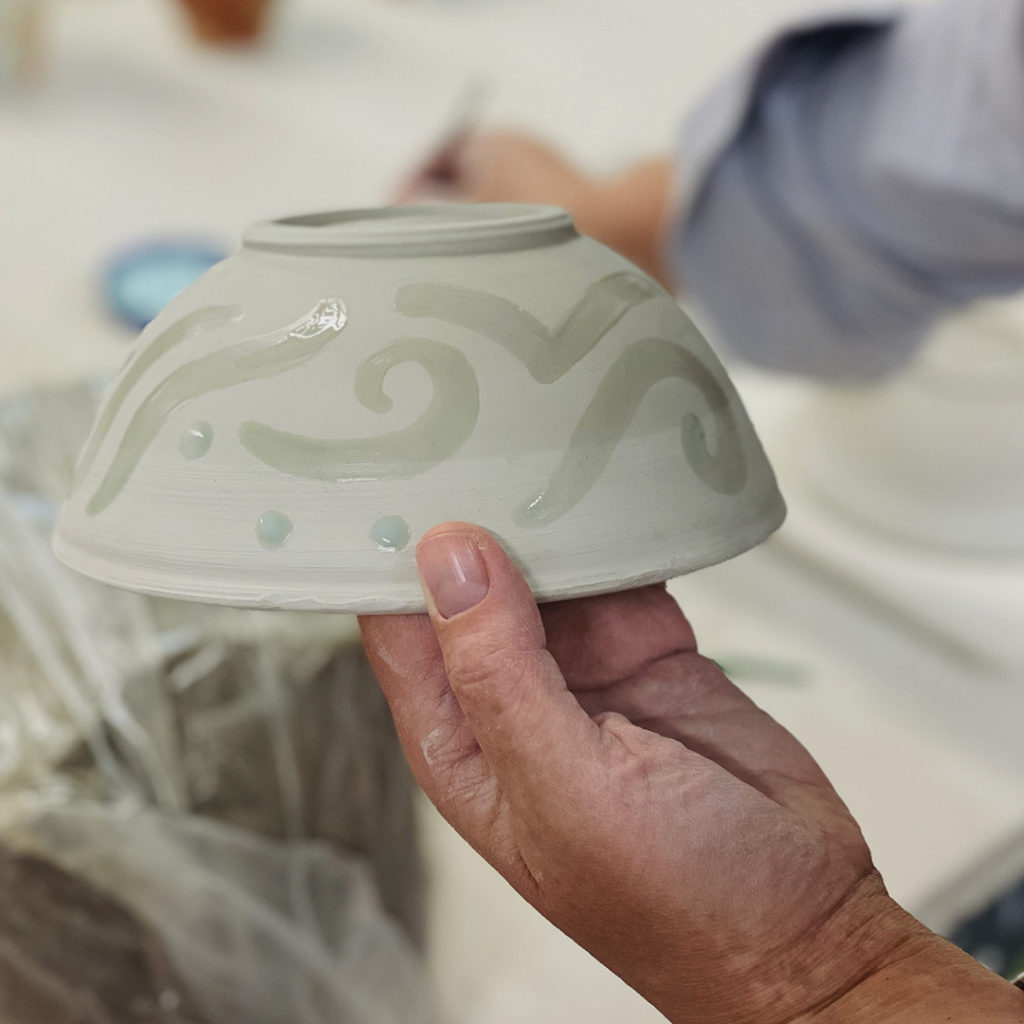
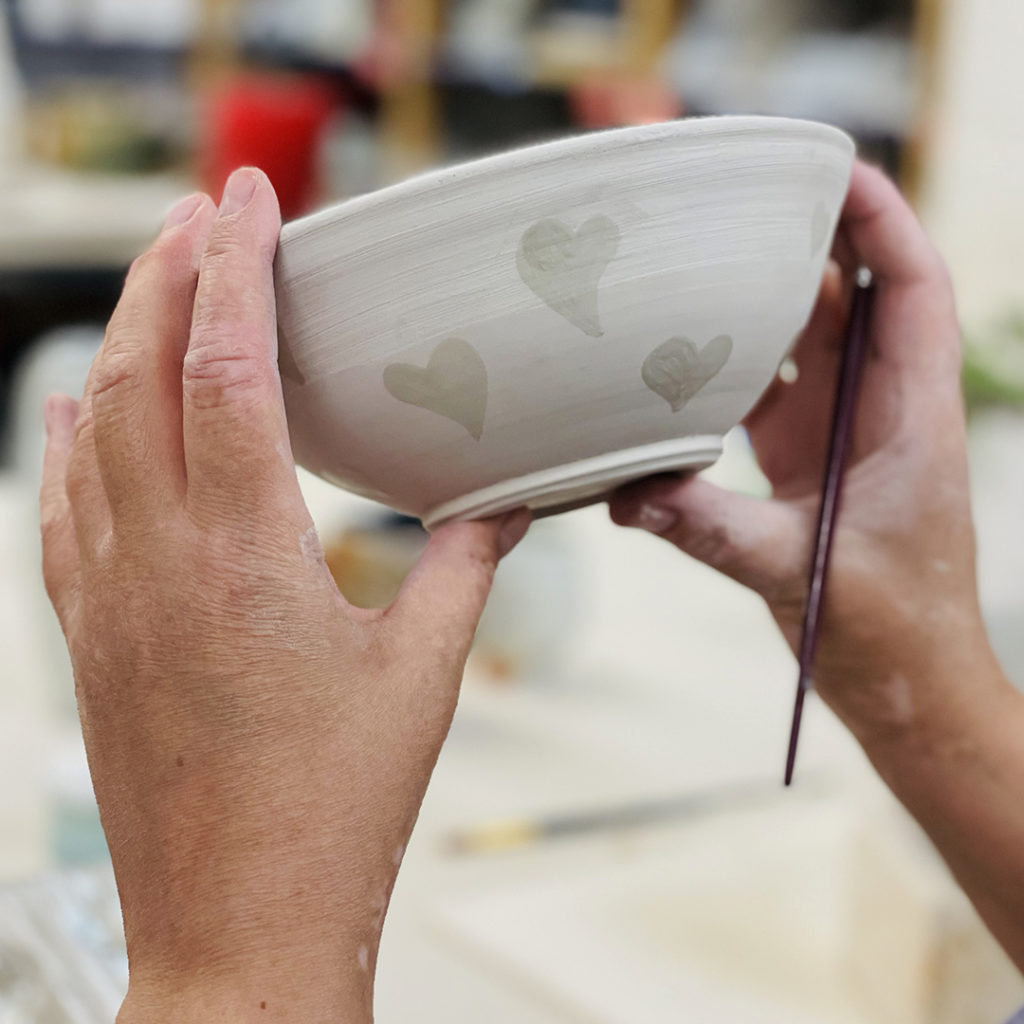
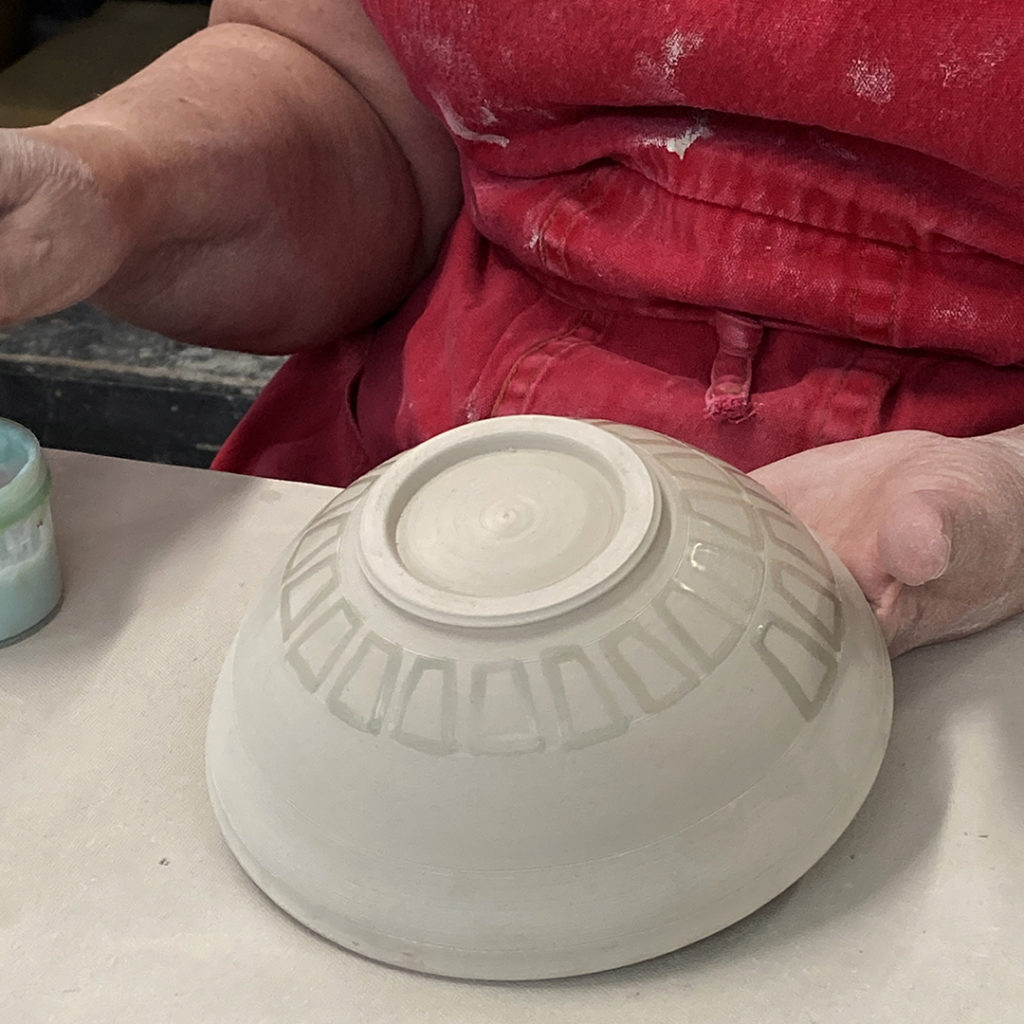
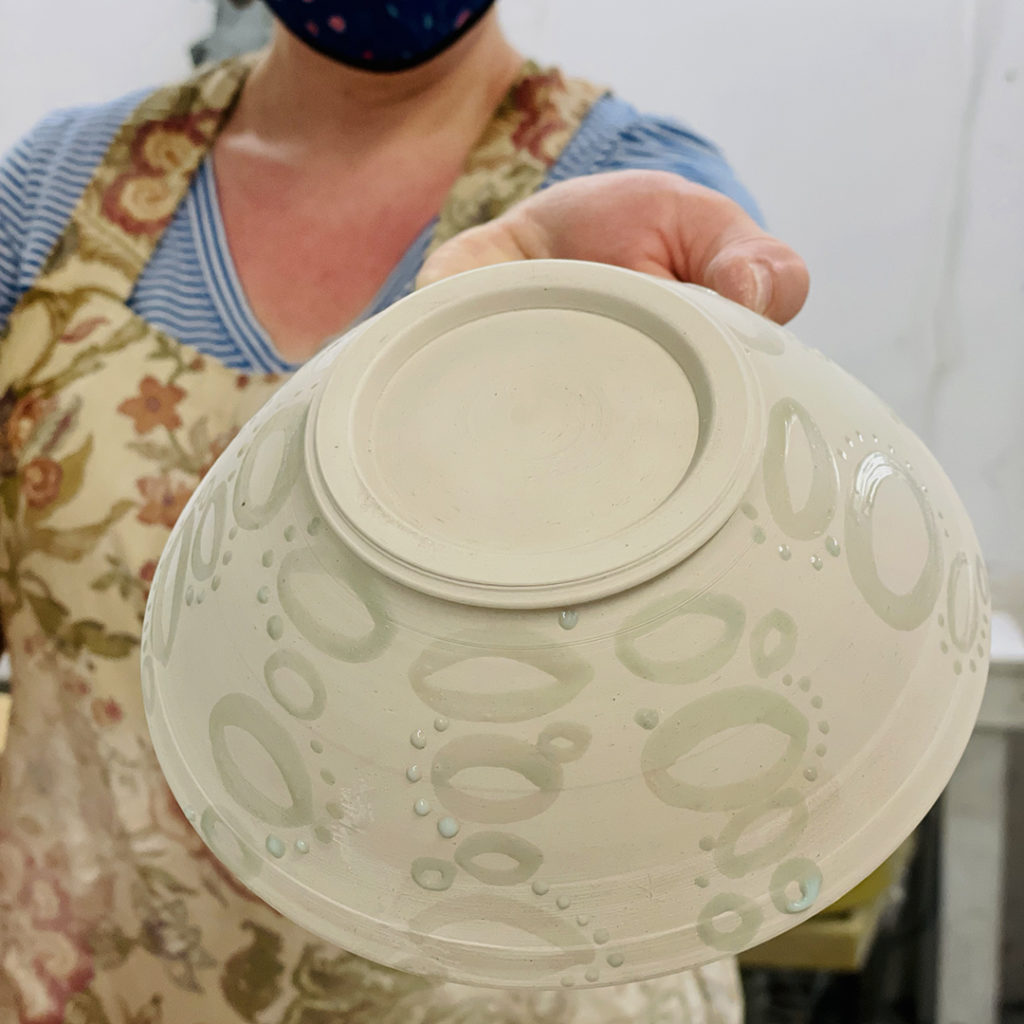
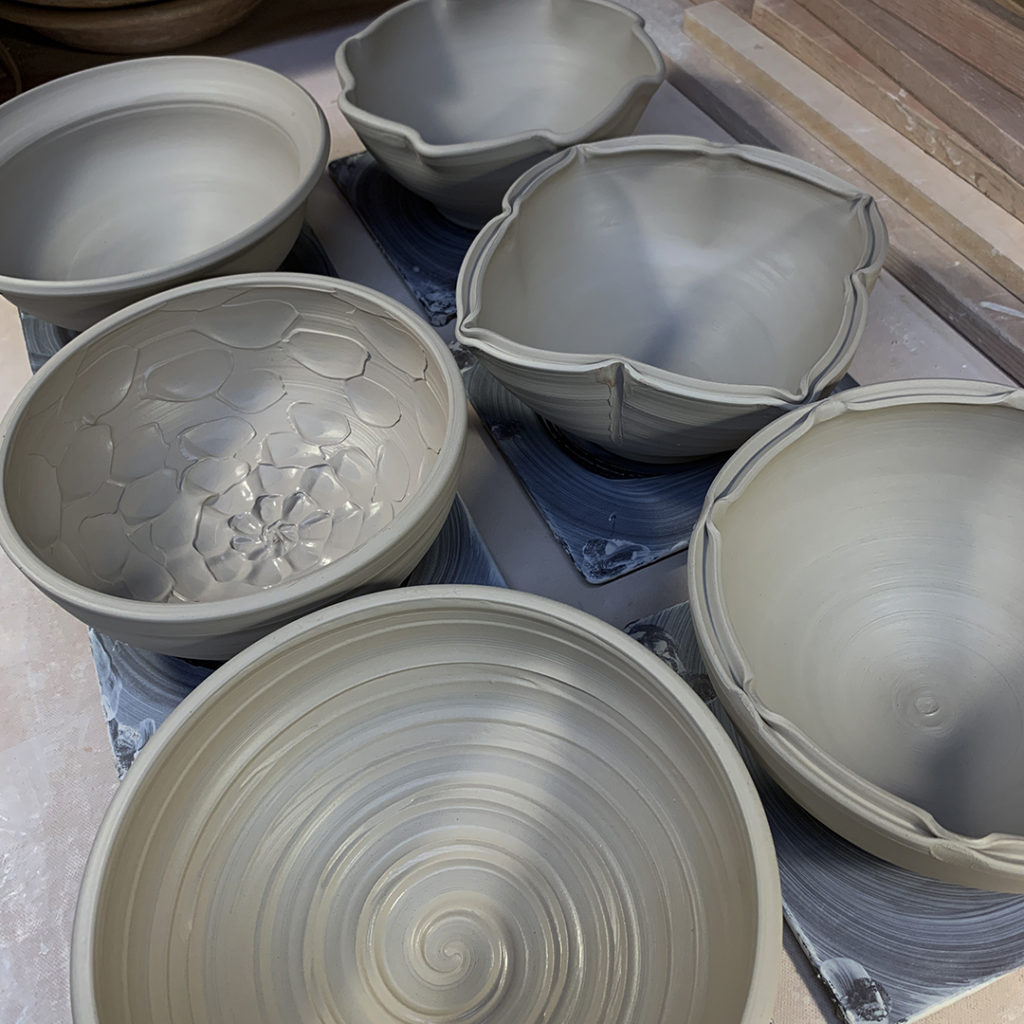
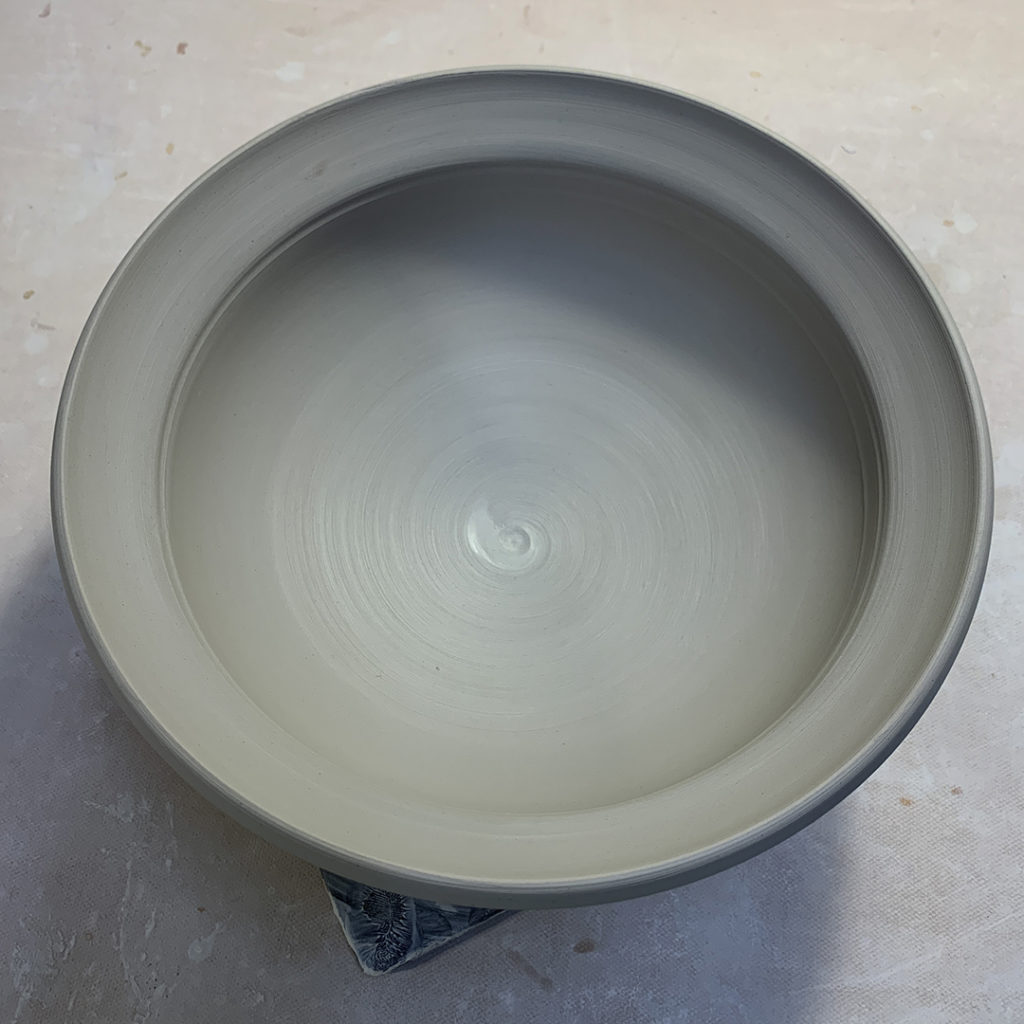
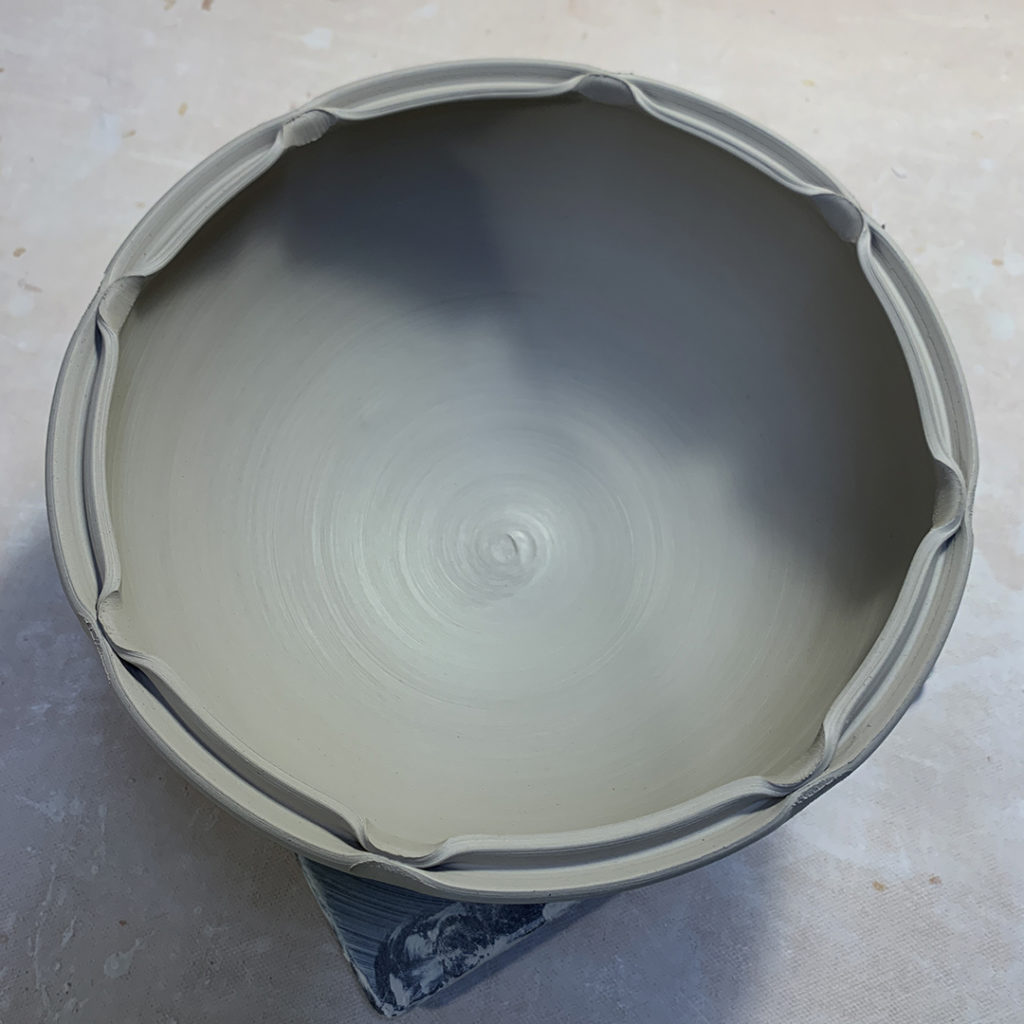
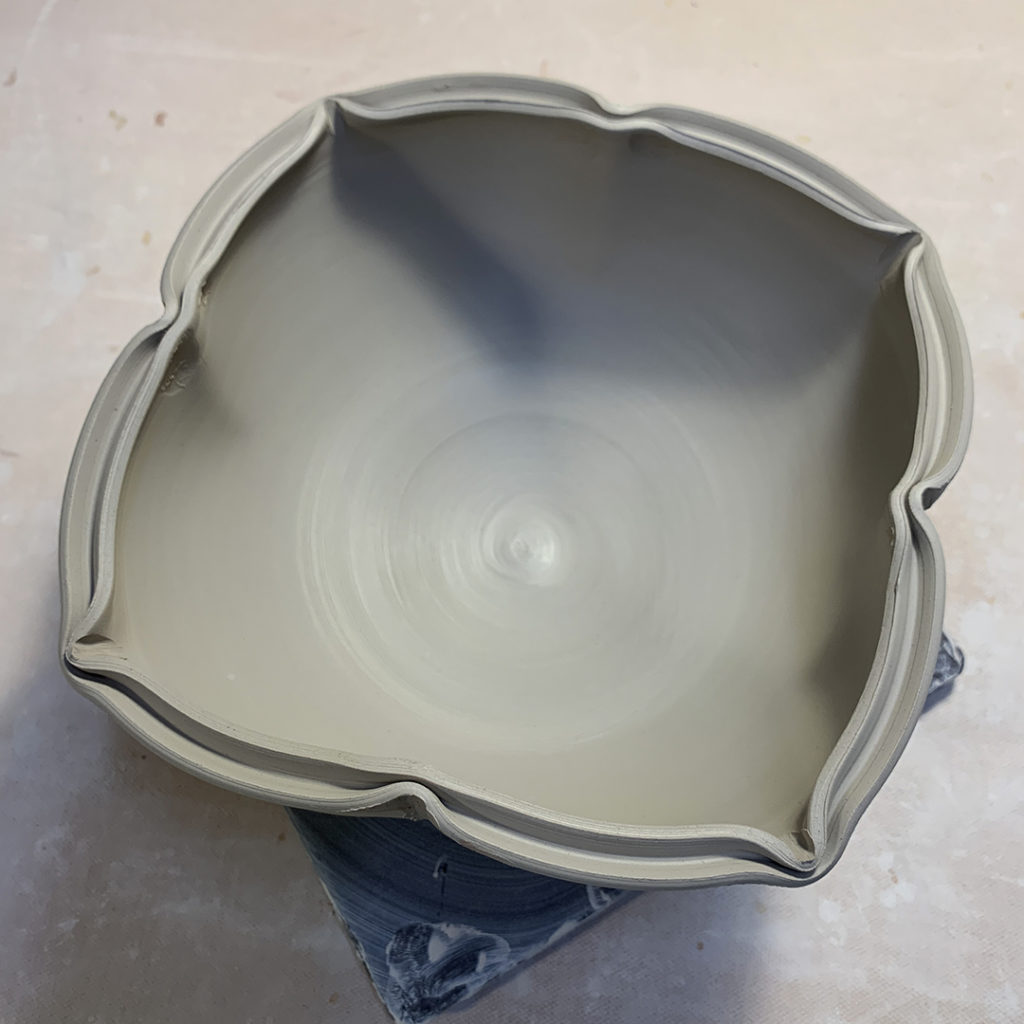
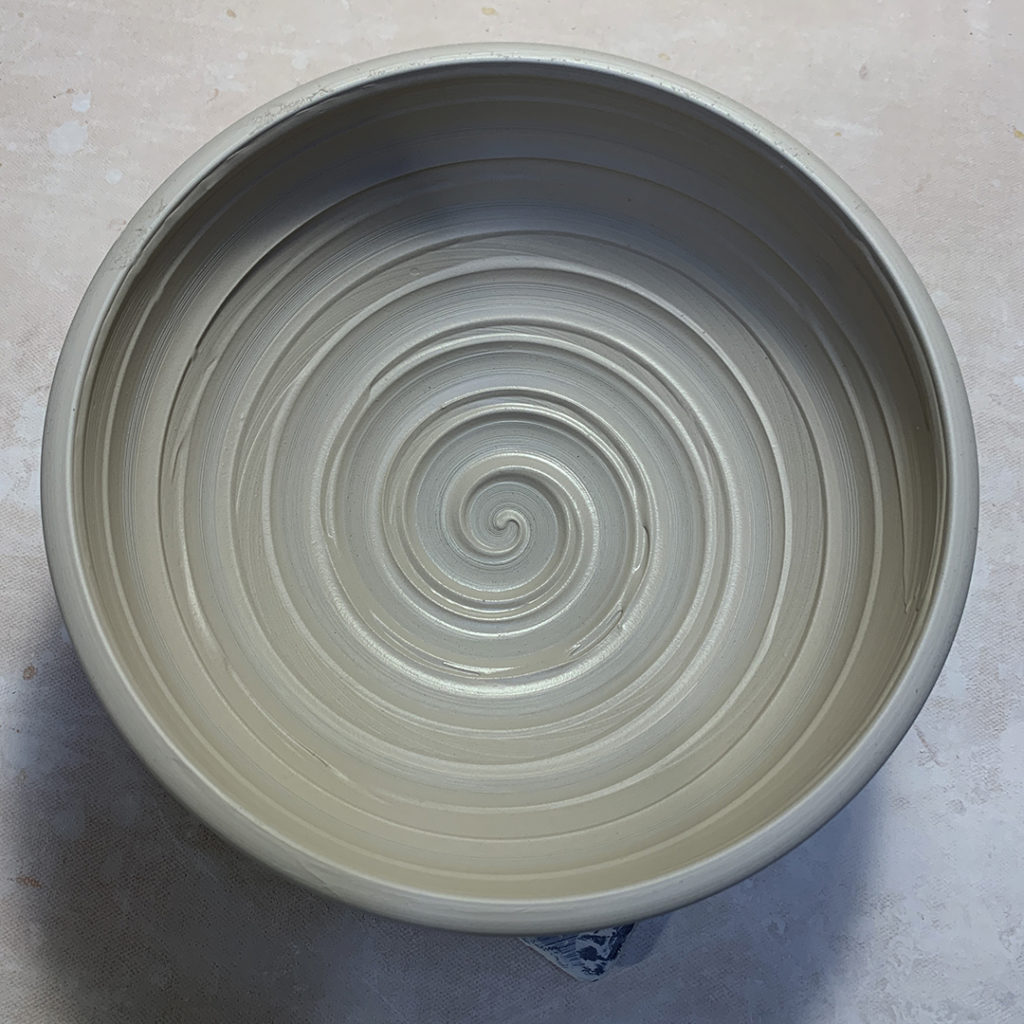
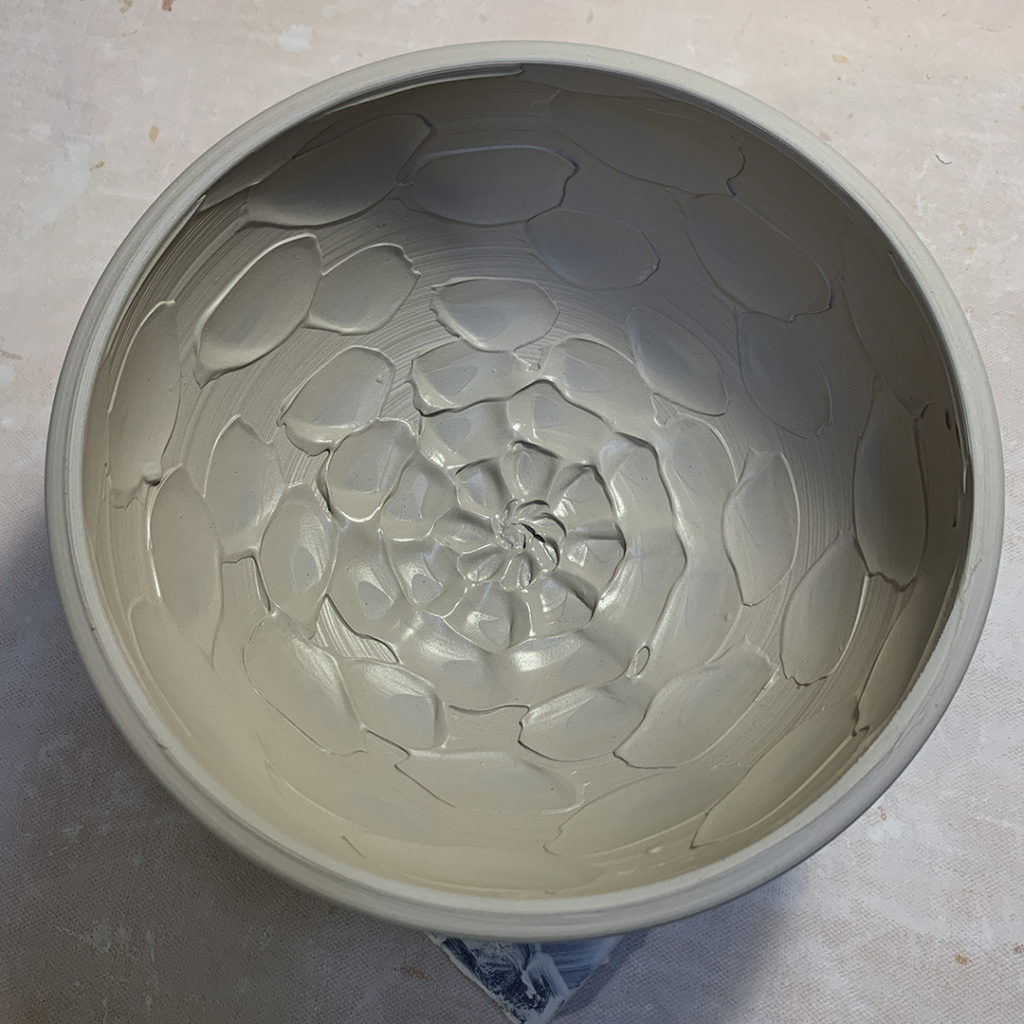
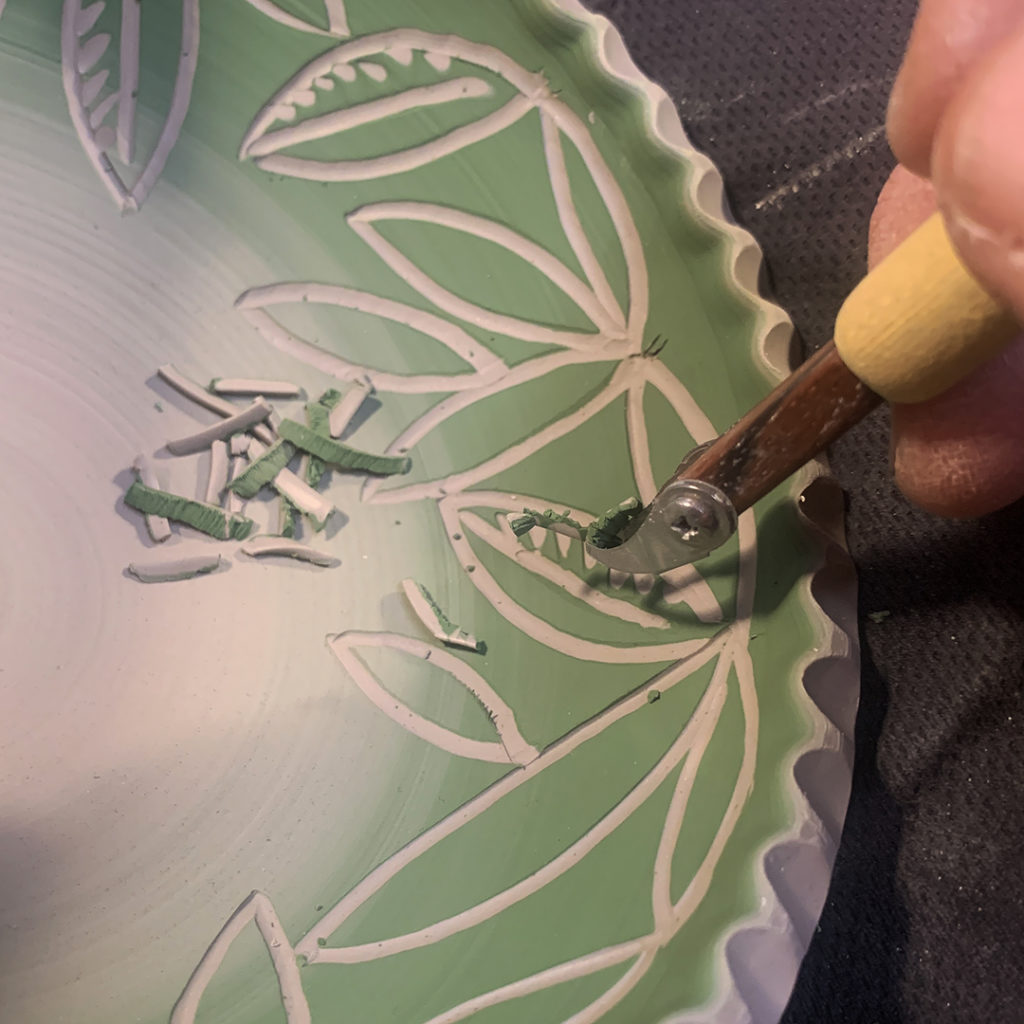
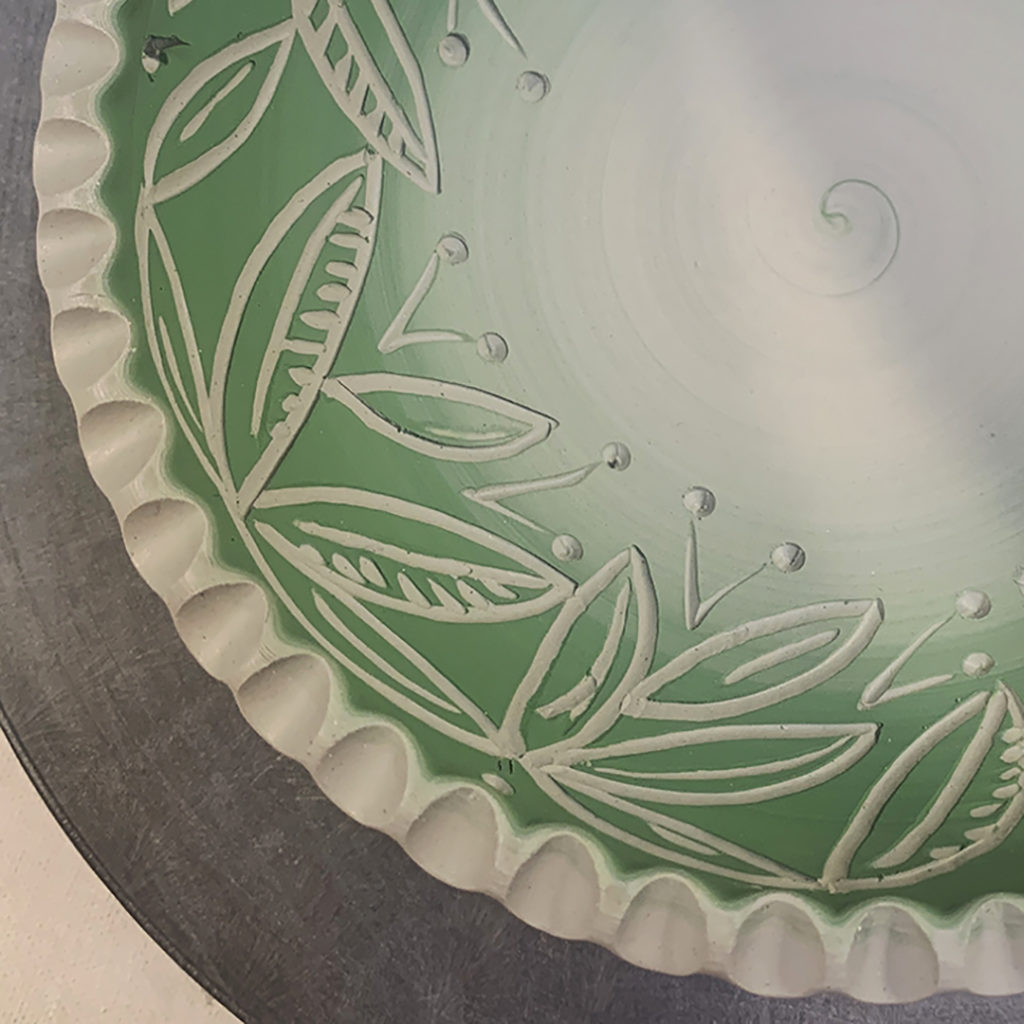
Gary Jackson: Fire When Ready Pottery
A Chicago potter’s somewhat slanted view of clay & play
Categories: bowls, color, process, surface decoration, teaching, textures

After wiping away the background… leaving the wax resist areas intact… Catherine had to get a little showy and added a layer of colored fun to her demo! Letting the wax resist do it’s thing, Catherine painted the bowl with blue underglaze… and the color doesn’t stick on the wax, except for maybe a little touch-up here & there! So now the “protected” pattern areas will be higher & clay colored… whereas the background is lower & blue!!!

Categories: bowls, classes, process, surface decoration, textures

When the wax resist pattern were dry, Catherine Tweedie then demonstrated how to wipe away the “unprotected” background areas with a damp sponge. As you wipe, the background dissolves away, whereas the “wax protected” parts stay where they were. The more you wipe away, the deeper the contrast between the two layers. Be careful not to wipe too hard… or you might wipe away some of the wax!

Categories: bowls, classes, process, surface decoration

After Catherine did her demo for my SURFACE DECORATIONS class, my students picked up their paint brushes and gave it a go… painting patterns with wax resist on to the sides of bone dry bowls.

Categories: bowls, classes, process, surface decoration, teaching, textures

Knowing that I was going to be out-of-town for my SURFACE DECORATIONS class last week, I secured my pal Catherine Tweedie to sub for the class. She’s “the master” of water-etching…. so I knew she would be the perfect person to fill-in for me. She taught them the basics of the process… basically painting a pattern with wax resist or shellac, and then wiping away the “unprotected” background with a wet sponge. Here she is with two of her demo bowls painted with wax – just waiting for it to dry… before the wiping begins!

Categories: bowls, classes, production

For my SURFACE DECORATION class last week, my students were going to tackle water etching… so I figured I would start them off right with some small bowls to play with. Thrown, trimmed, dried and ready for them to follow along with the demo to create their own water-etched masterpiece! A little less “pressure” than doing it om their own bowls, right?

Categories: bowls, classes, stamped, stamps, textures

Last week in my Beginning Wheelthrowing class, we threw larger bowls. And then last night, we did a bit of stamping on the same larger bowl demo piece. My students have already made bowls & made their own stamps… now they just need to put it all together!

Categories: bowls, classes, process, surface decoration

Last night in my Beginner’s wheel class, we glazed for the first half of the class. Followed by a quick not-so-basic-bowls demo! Not enough time for the full-blown bowl demo we’re used to… but we did tackle how to throw “a bowl on purpose” instead of a cylinder gone bad. Followed by some quick decorative techniques to make each one a little more special!

Categories: bowls, process, production, sgraffito, tools

So I kinda forgot about this bowl… trimmed & under plastic… still a remainder from our first night of SURFACE DECORATION class! We started with an ombre’ blend of green & white slips… which could have been enough. But more is more, right?! So I finally finished it off today with some decorative carving using a P1 curved tip carving tool from DiamondCore Tools. So much better now!

Categories: bowls, stamped, stamps, textures

Just for kicks, and to mix it up from all-plates all-the-time…
I did a quick demo bowl in class that also needed some stamping!

Categories: bowls, classes, tools

Tonight in my pottery class we tackled berry bowls… I showed them how much fun it is to play with power tools & pottery!!! The little burrs left behind will brush off easily when the bowls are totally dry.