Gary Jackson: Fire When Ready Pottery
A Chicago potter’s somewhat slanted view of clay & play
Categories: bowls, classes, surface decoration

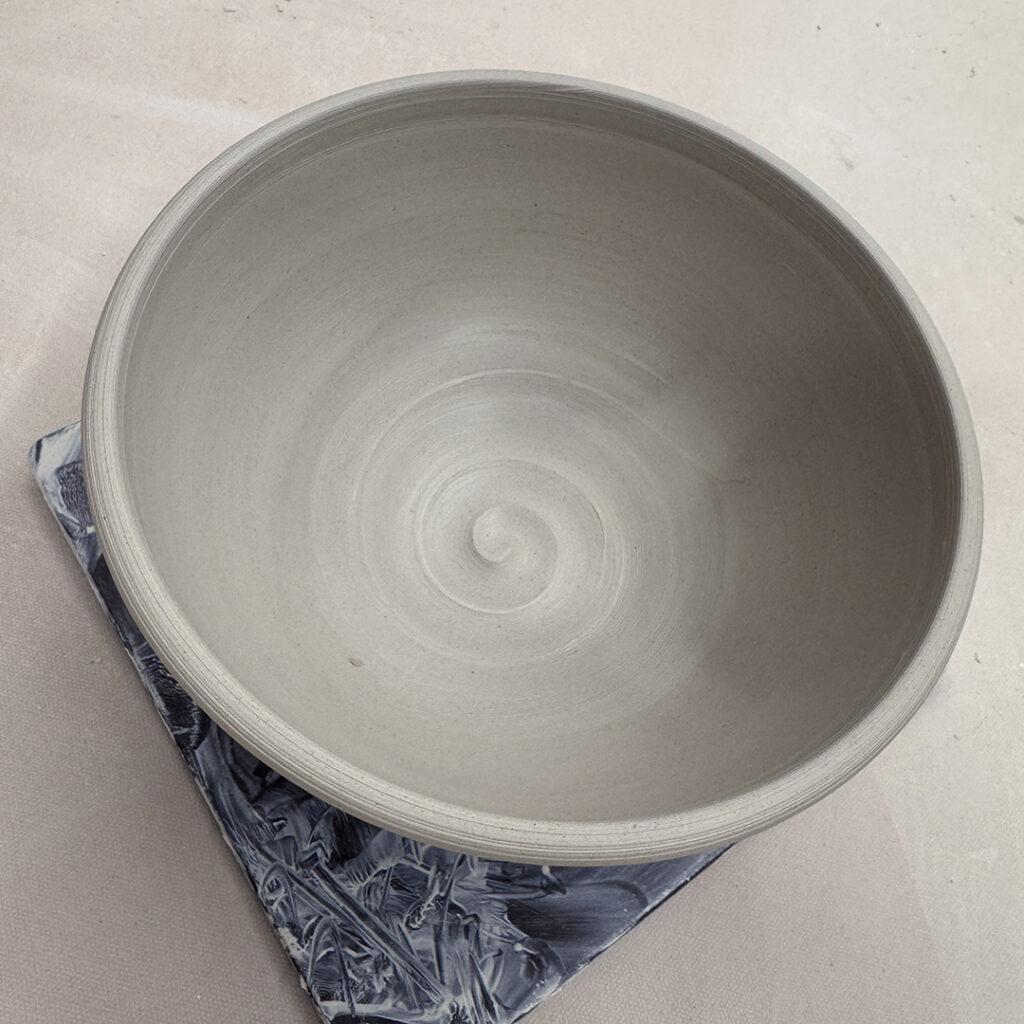
So this week was “bowls on purpose, instead of cylinders gone bad” demonstration night for my Tuesday night Beginning & Advanced Beginning Wheelthrowing class. So we started by discussing what makes a good bowl… a nicely rounded interior, no beginner’s ledge, intentional rim, and all of the other things to watch out for!

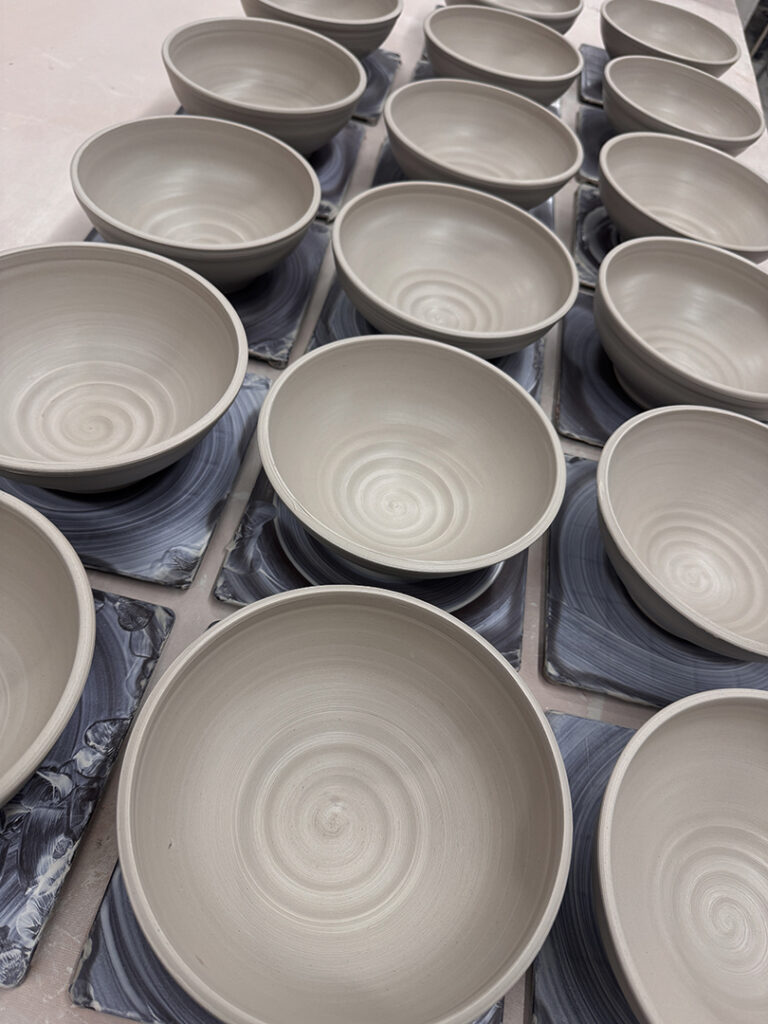
So then I did a throwing demo for my students, and showed them how to make a nice bowl INTENTIONALLY, instead of a cylinder gone bad! After the demo session, my students all went back to their wheels to start practicing & making bowls of their own.

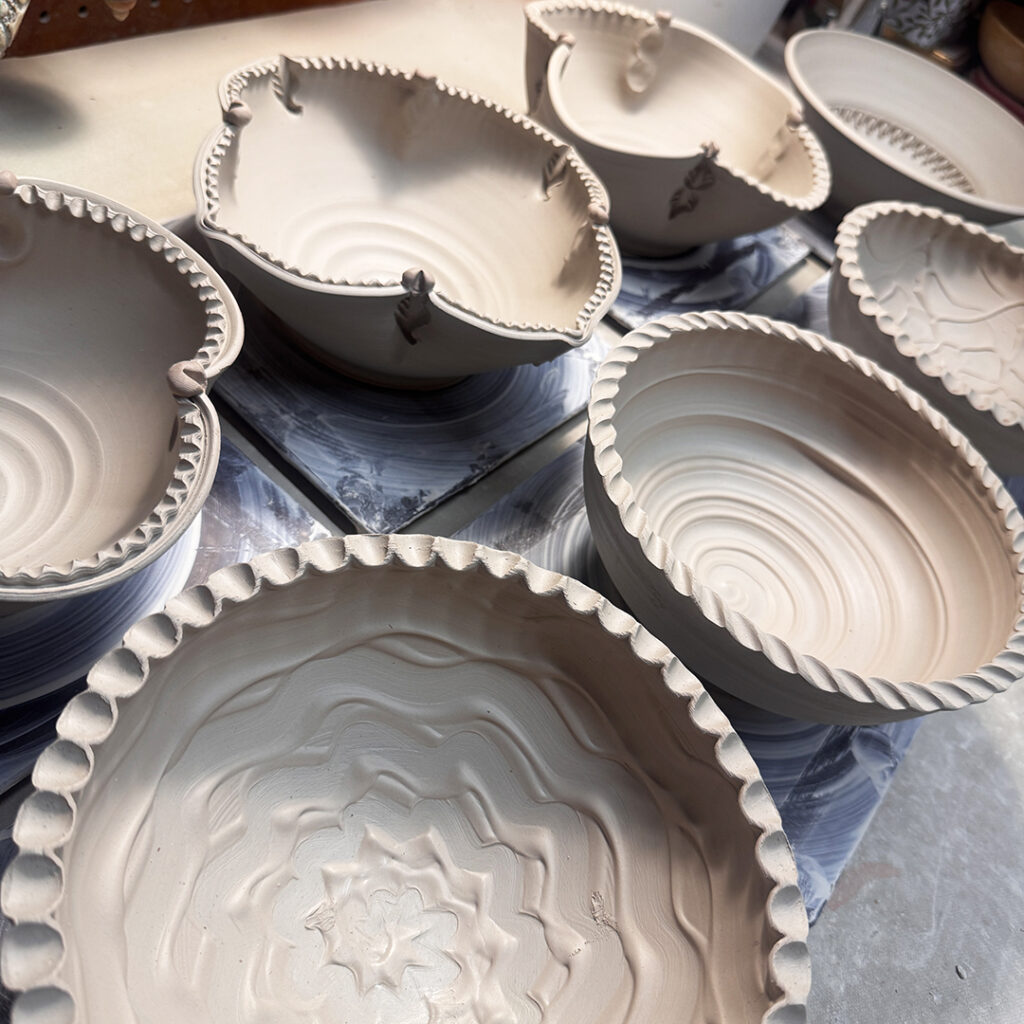
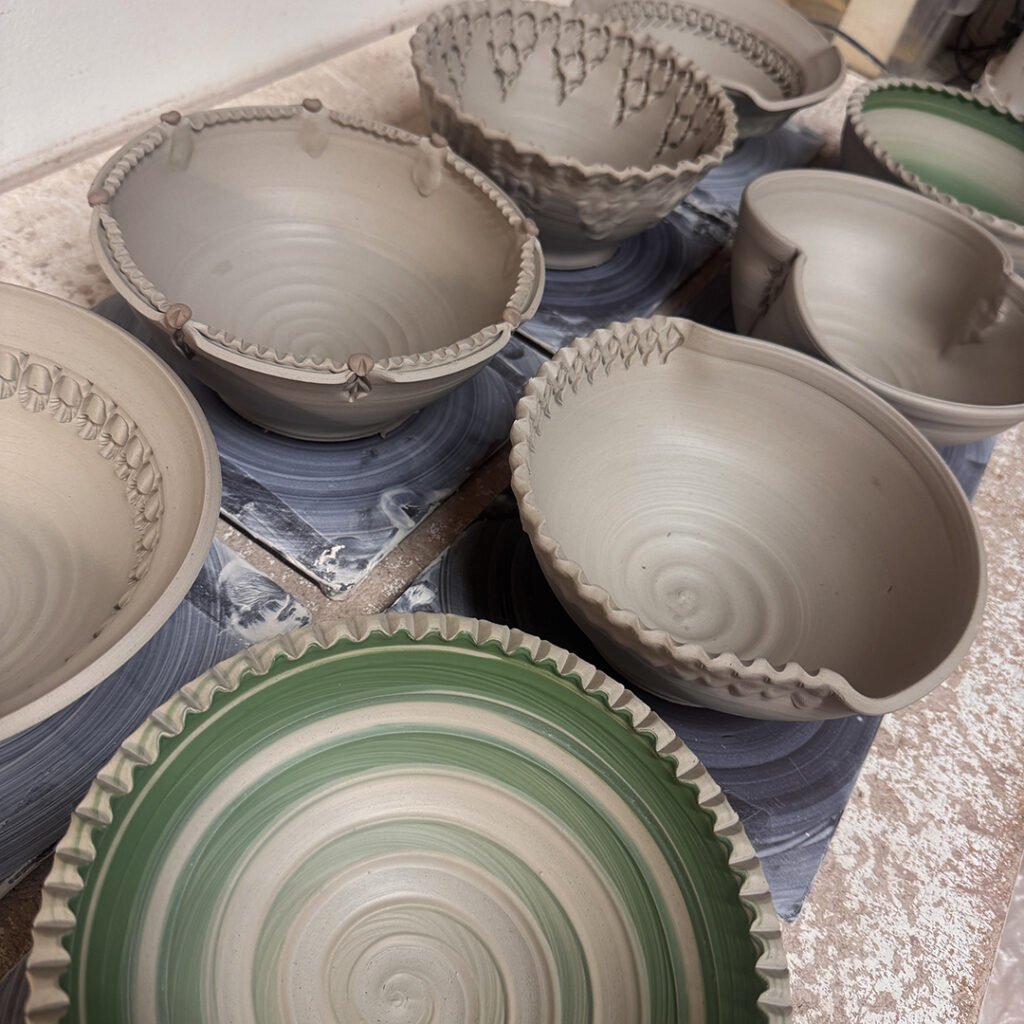
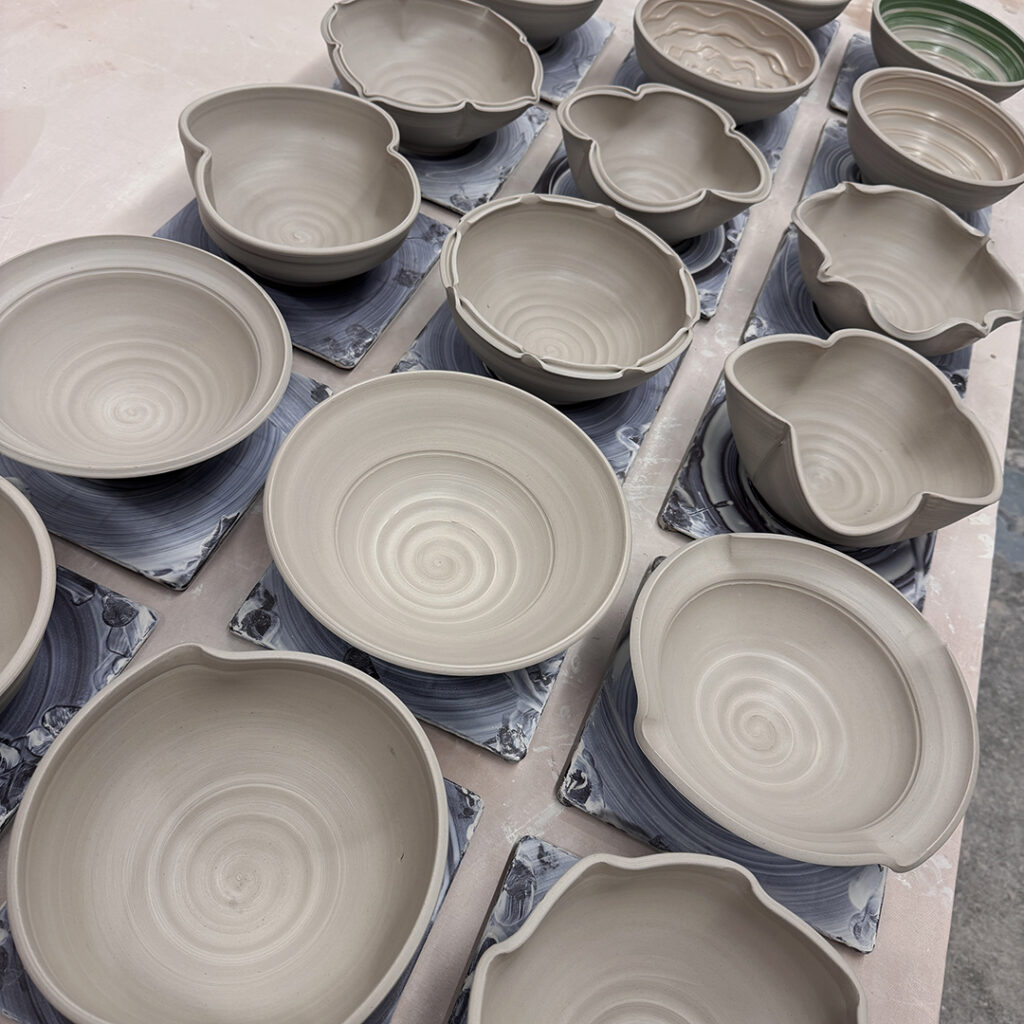
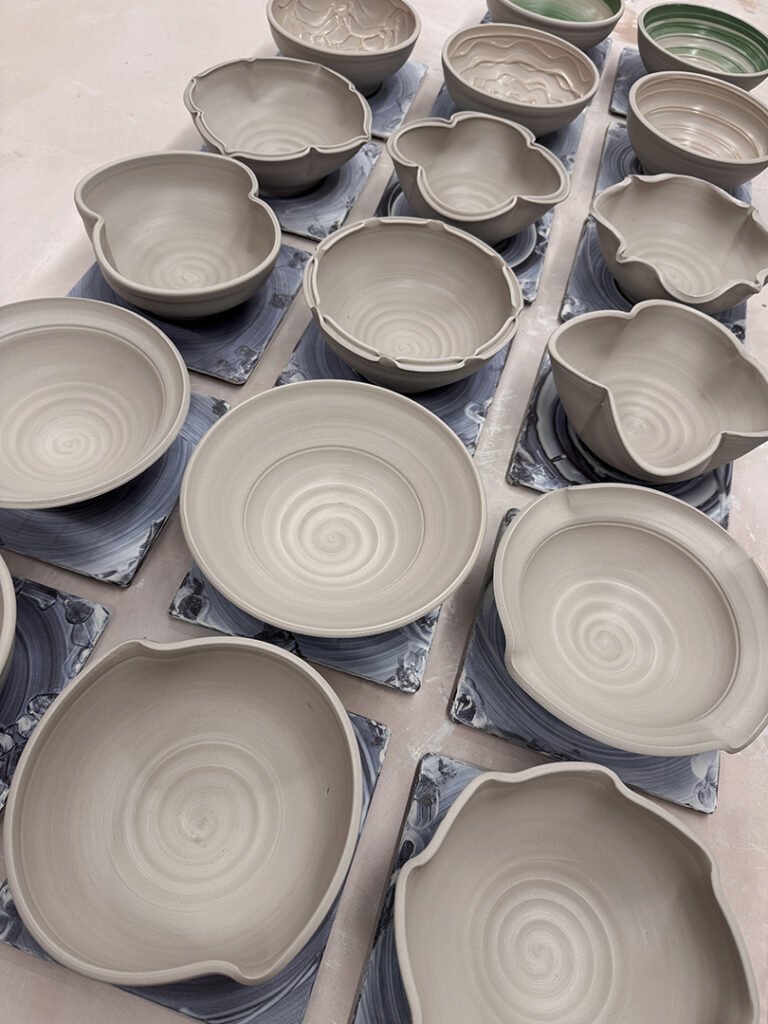
Meanwhile, I threw a bunch of bowls so that we could “play” with them later in class!!!

After my class had some time to throw their bowls, and I finished with mine…
we re-grouped at my demo wheel so that I could show them a few quick tricks & techniques to make their bowls “not-so-basic.” My feeling is pretty much that the wheel kinda makes a round bowl for you… but it’s up to each person to make it their own!!! So I just wanted to add a few “possibilities” to their arsenal of tricks to play with. So here they are…

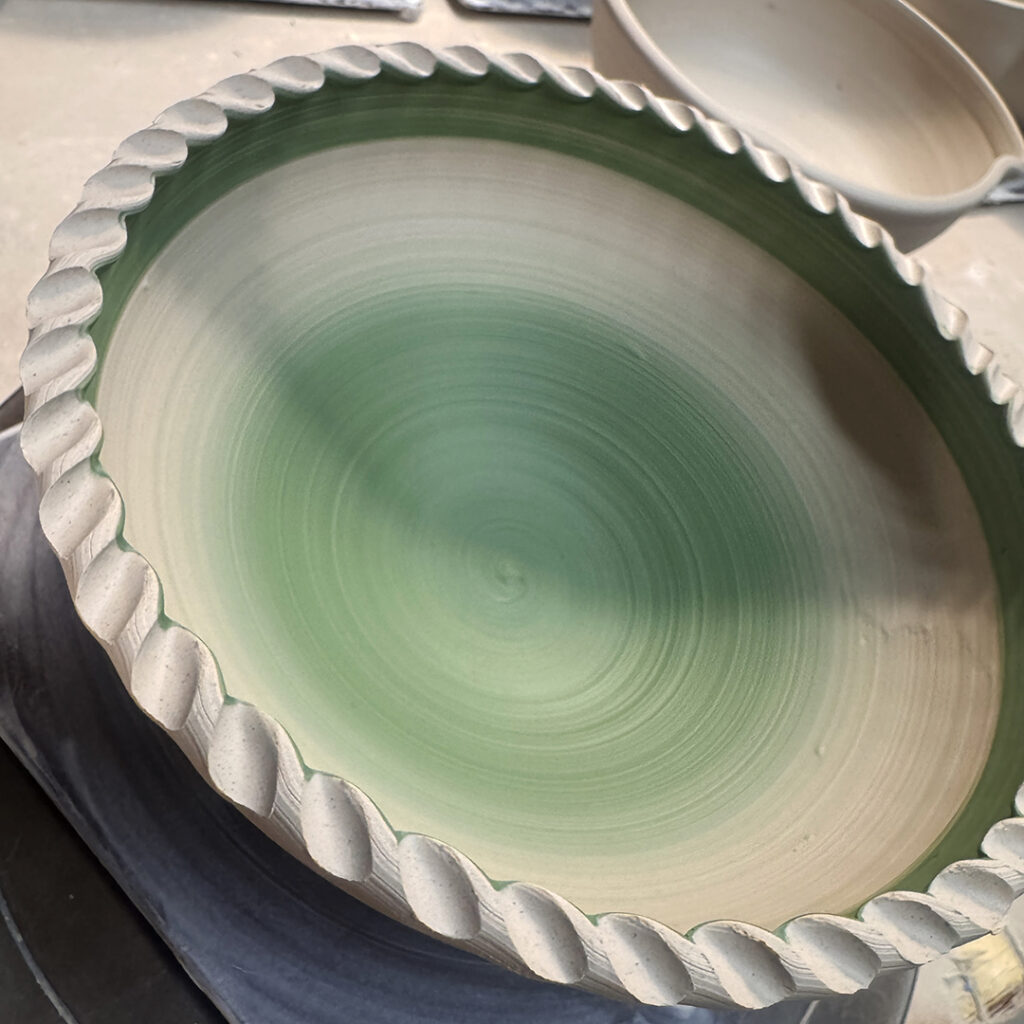
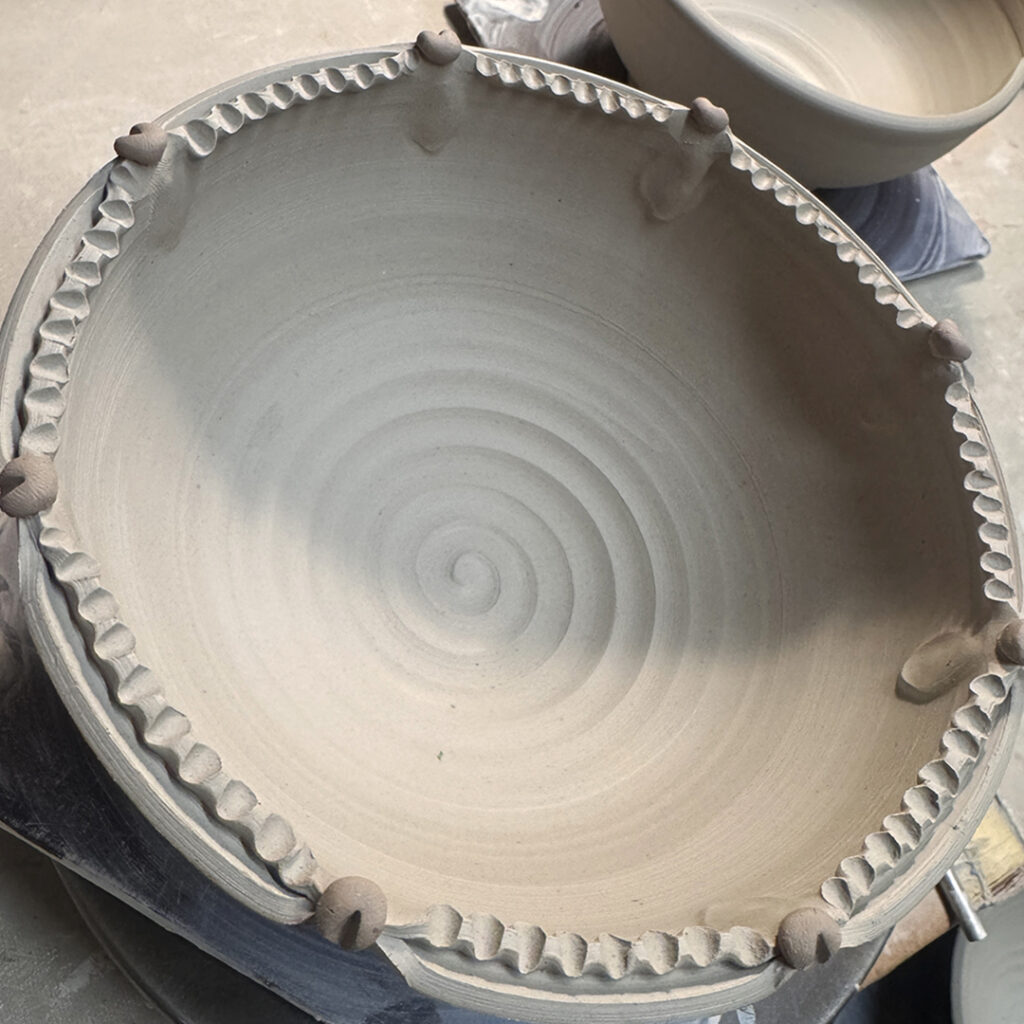
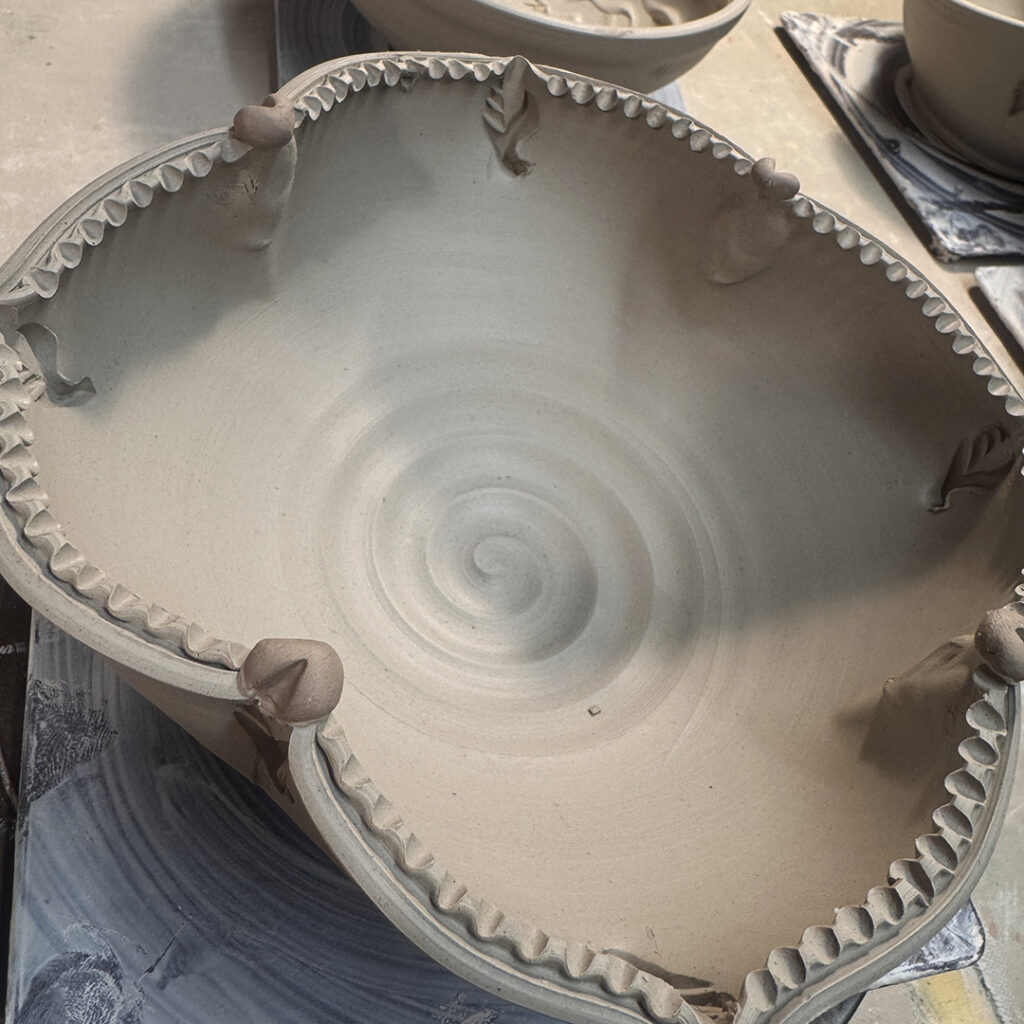
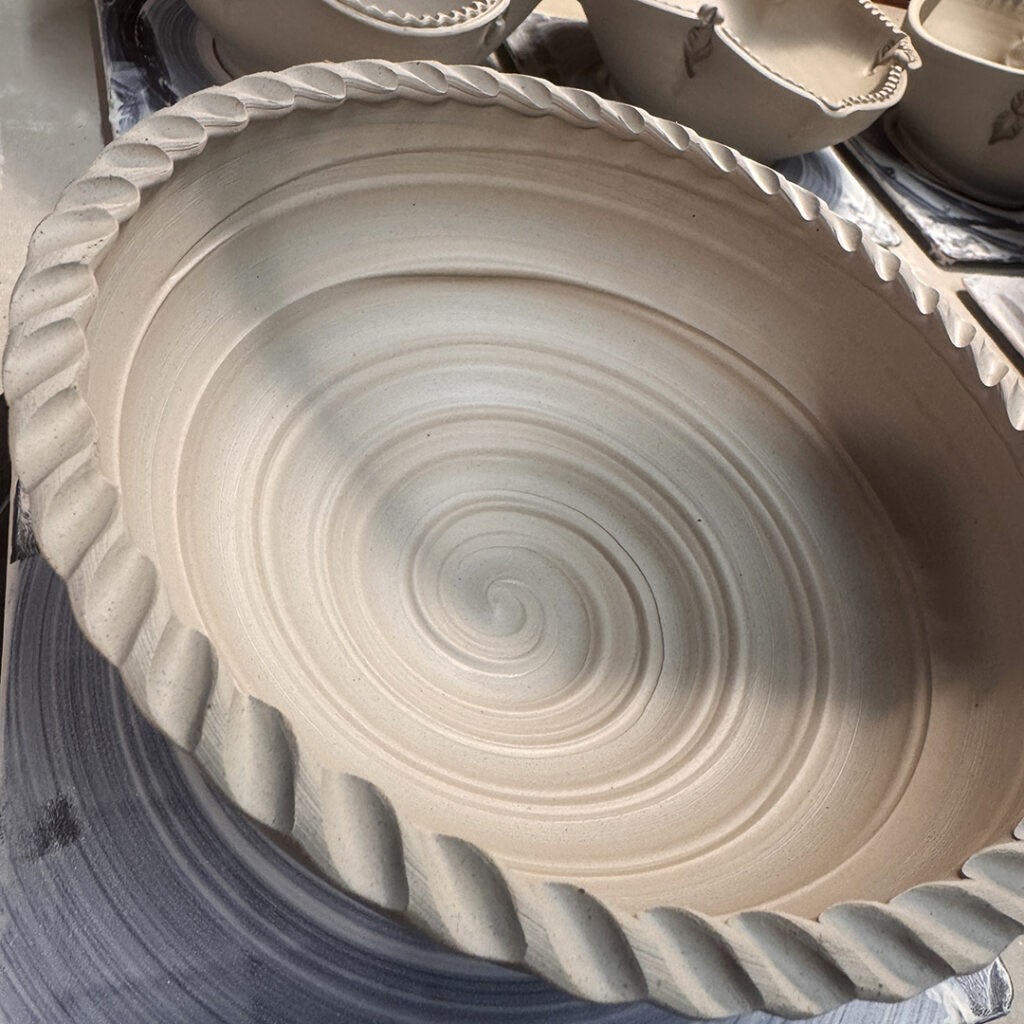
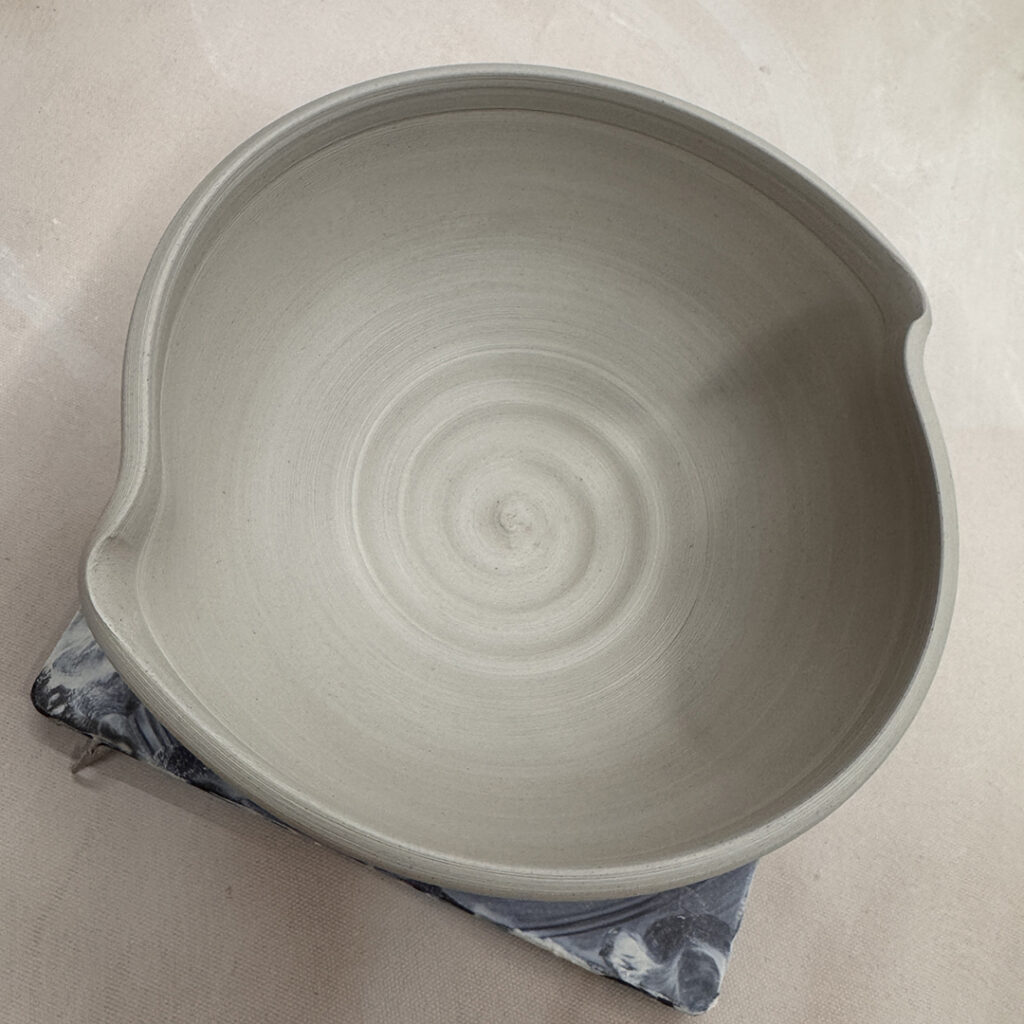
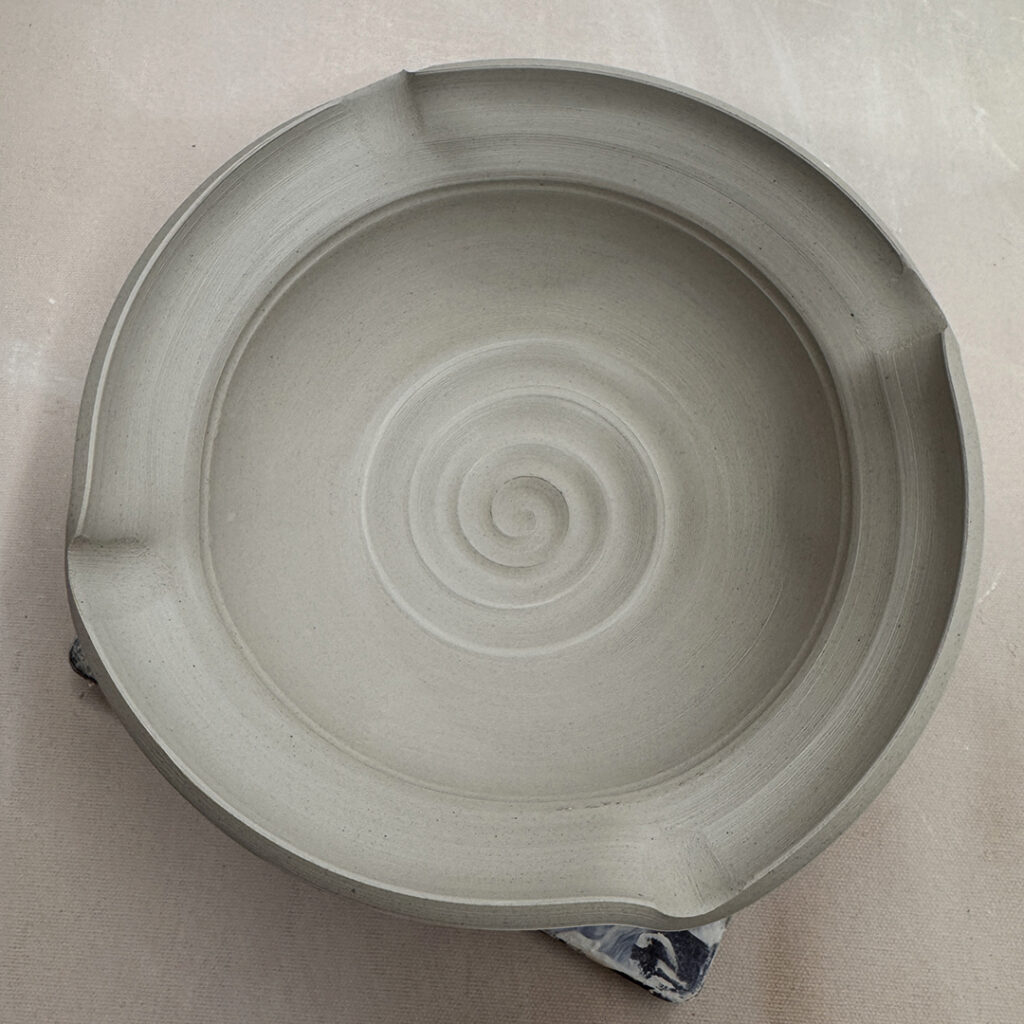
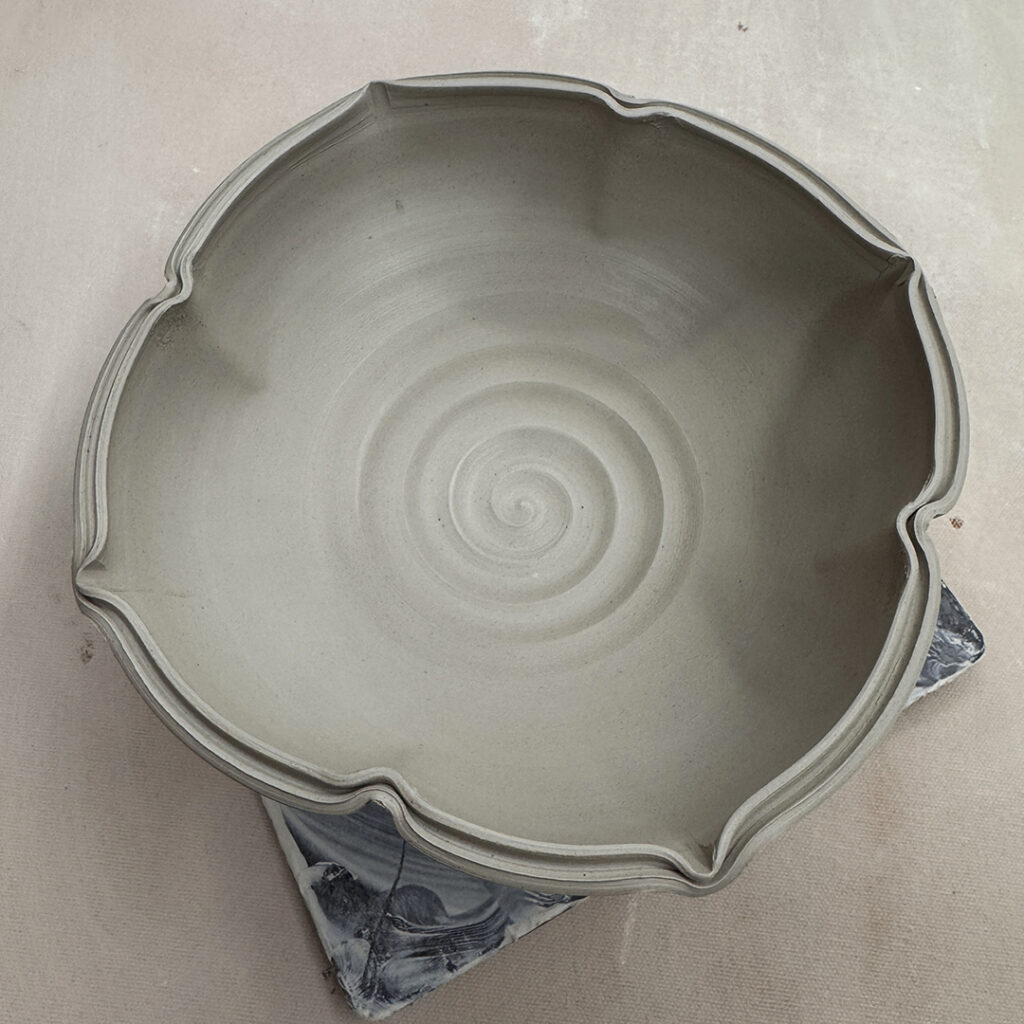
Bowl #1 – Four fluted edges… and a nice spiral.

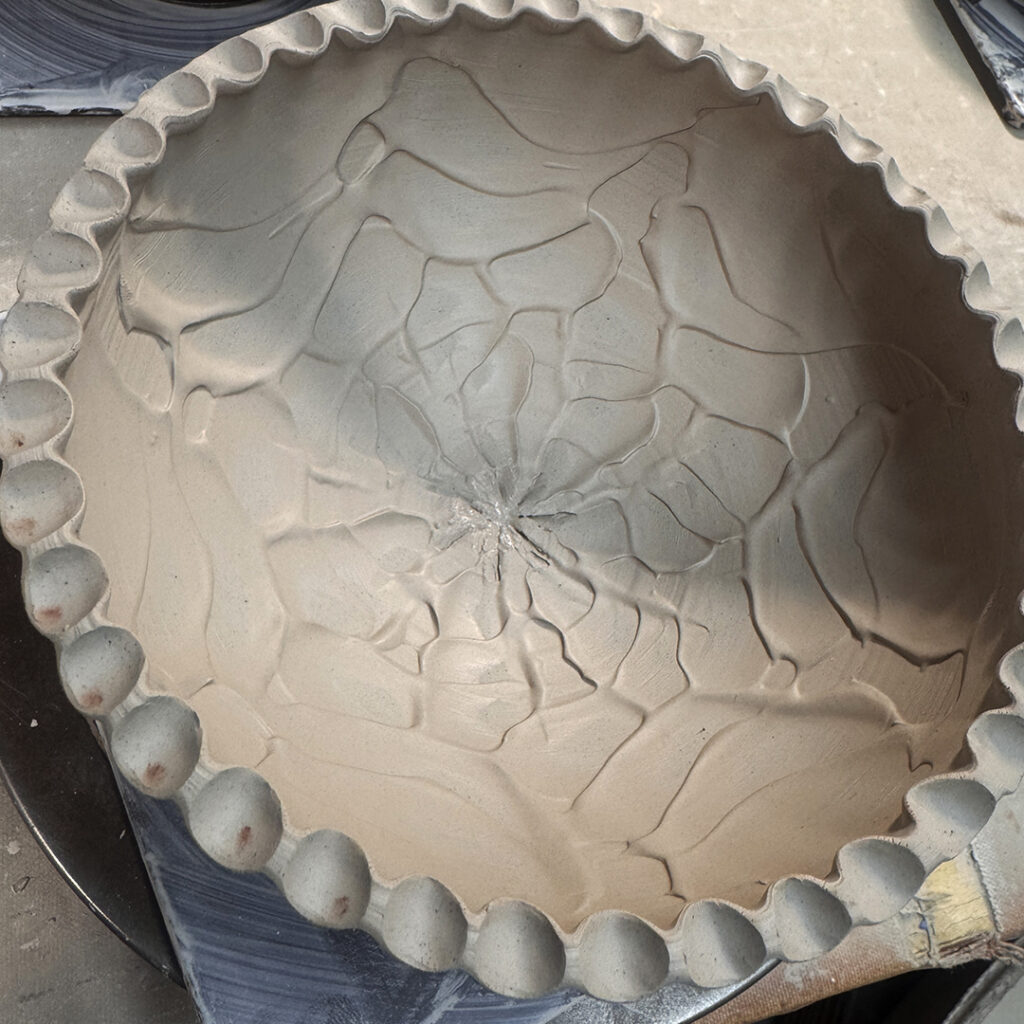
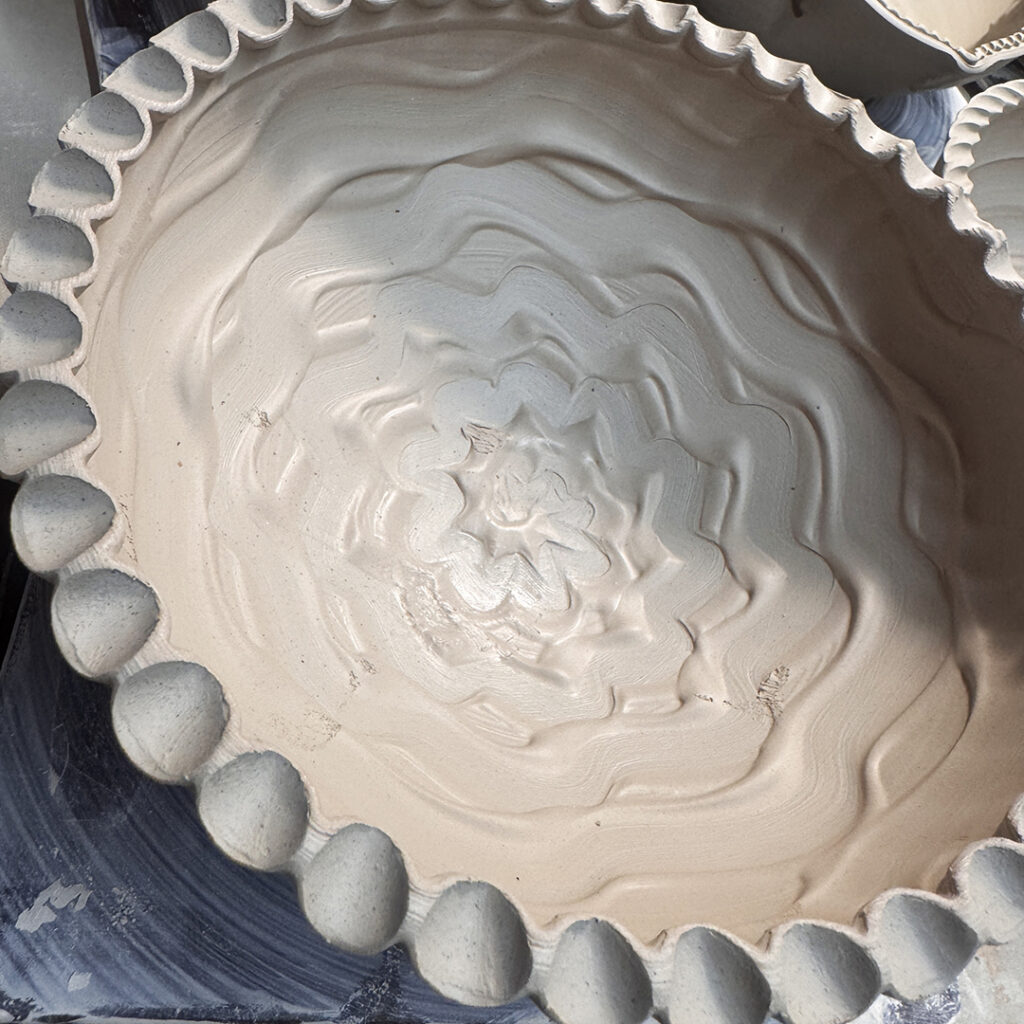
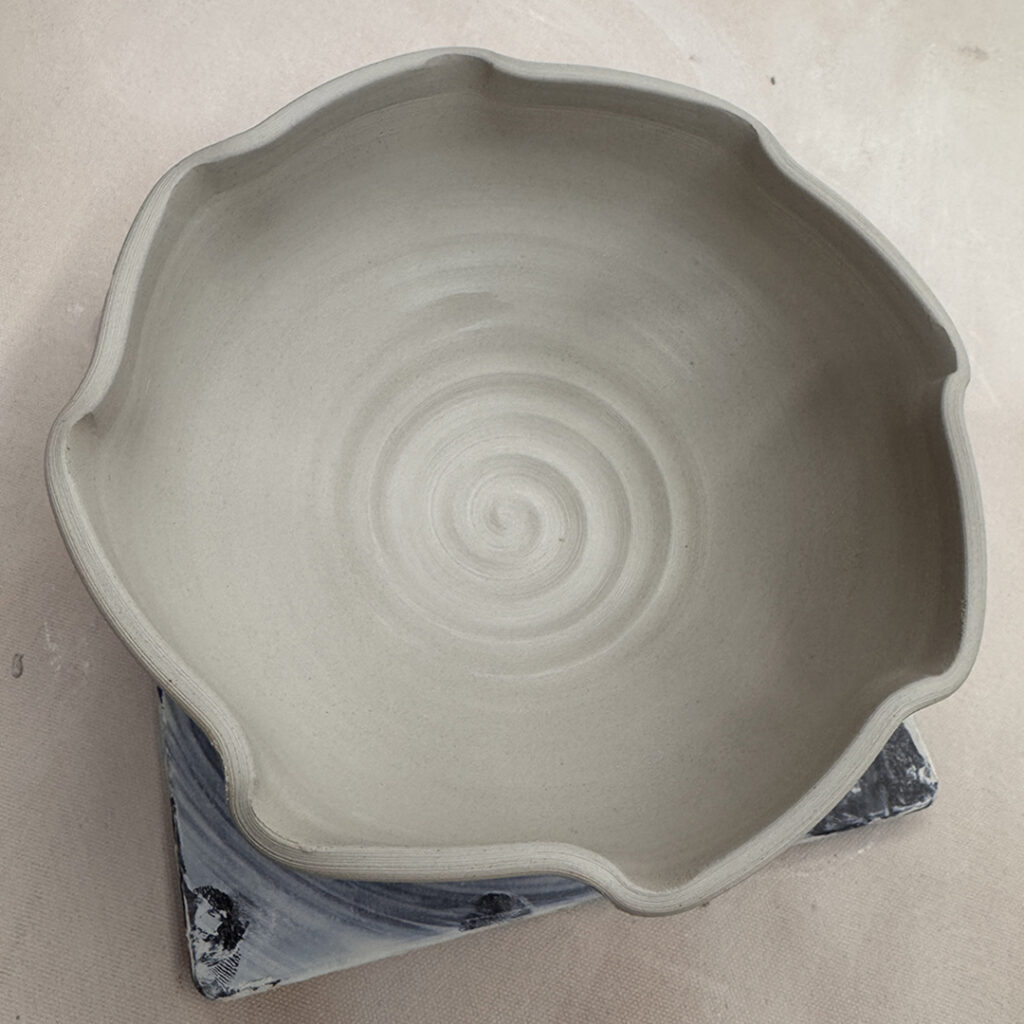
Bowl #2 – and if four fluted edges are good, maybe EIGHT are even better?!

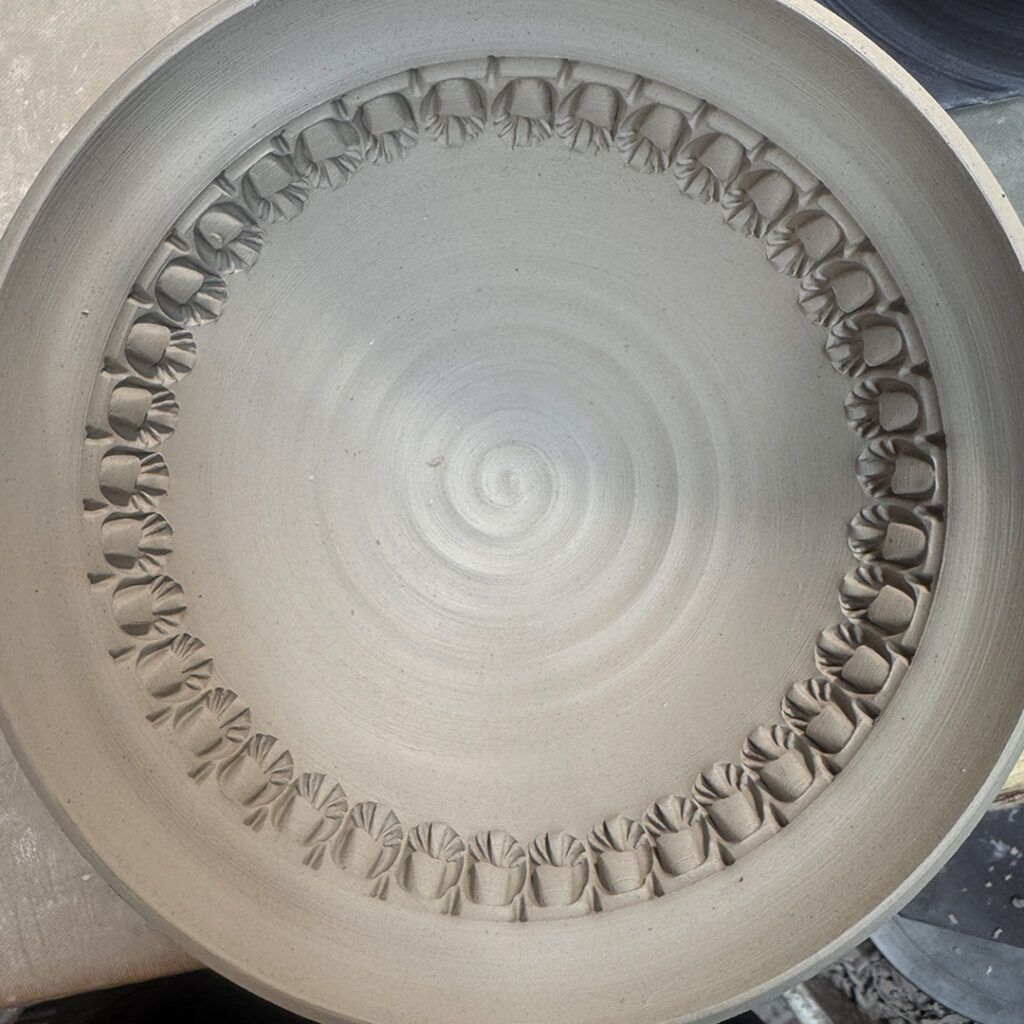
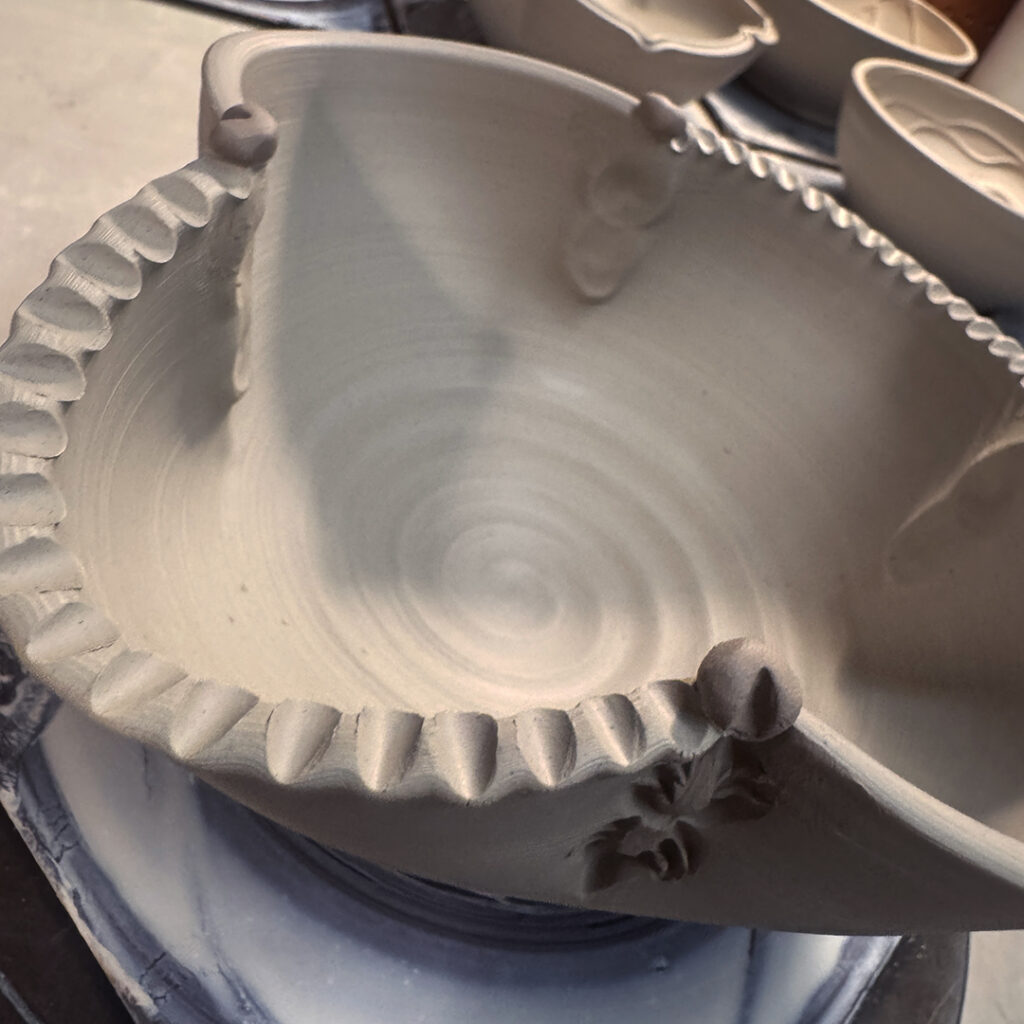
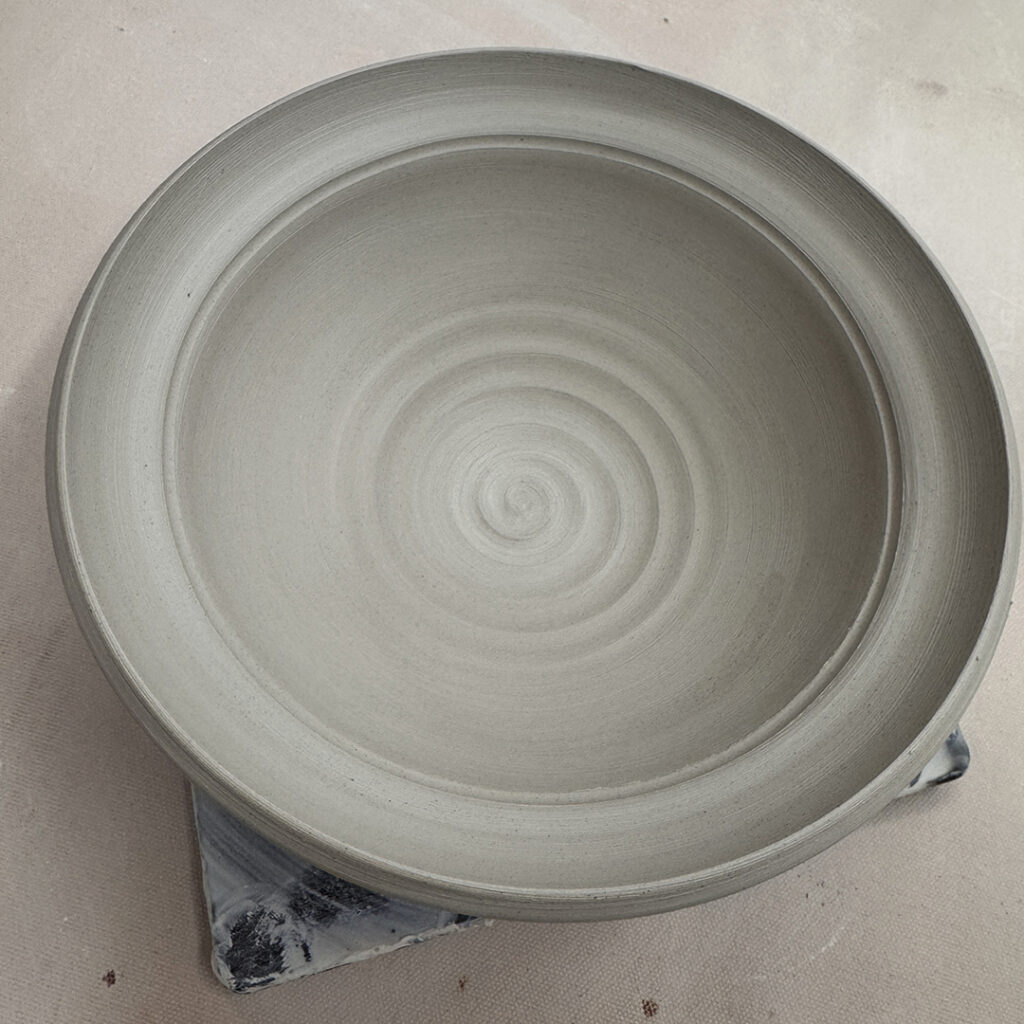
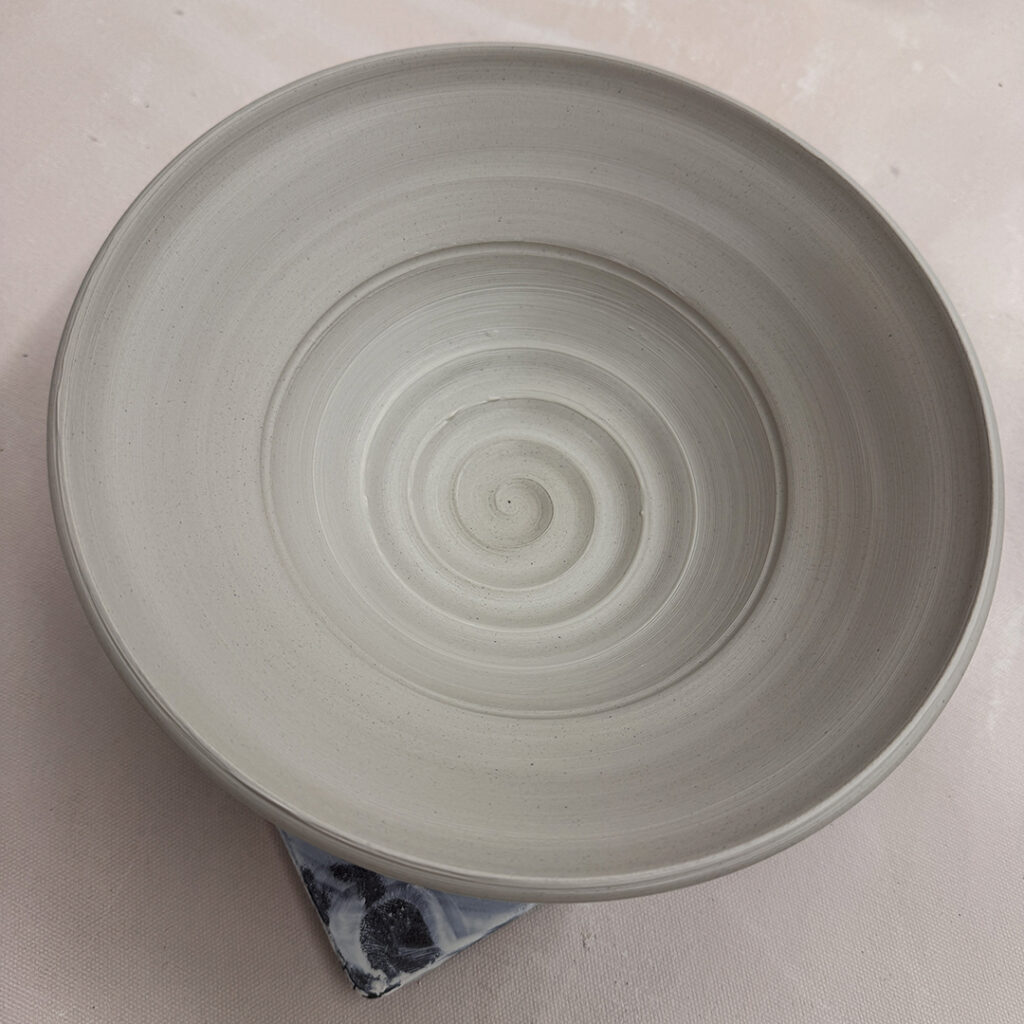
Bowl #3 – A flared out flange… bent out over the edge to create a “wider” rim.

Bowl #4 – And if a one-inch flared flange is nice, maybe a larger one is even better?

Bowl #5 – Then I combined the flared flange with some fluted accents.

Bowl #6 – A split-rim pinched back together in eight places!

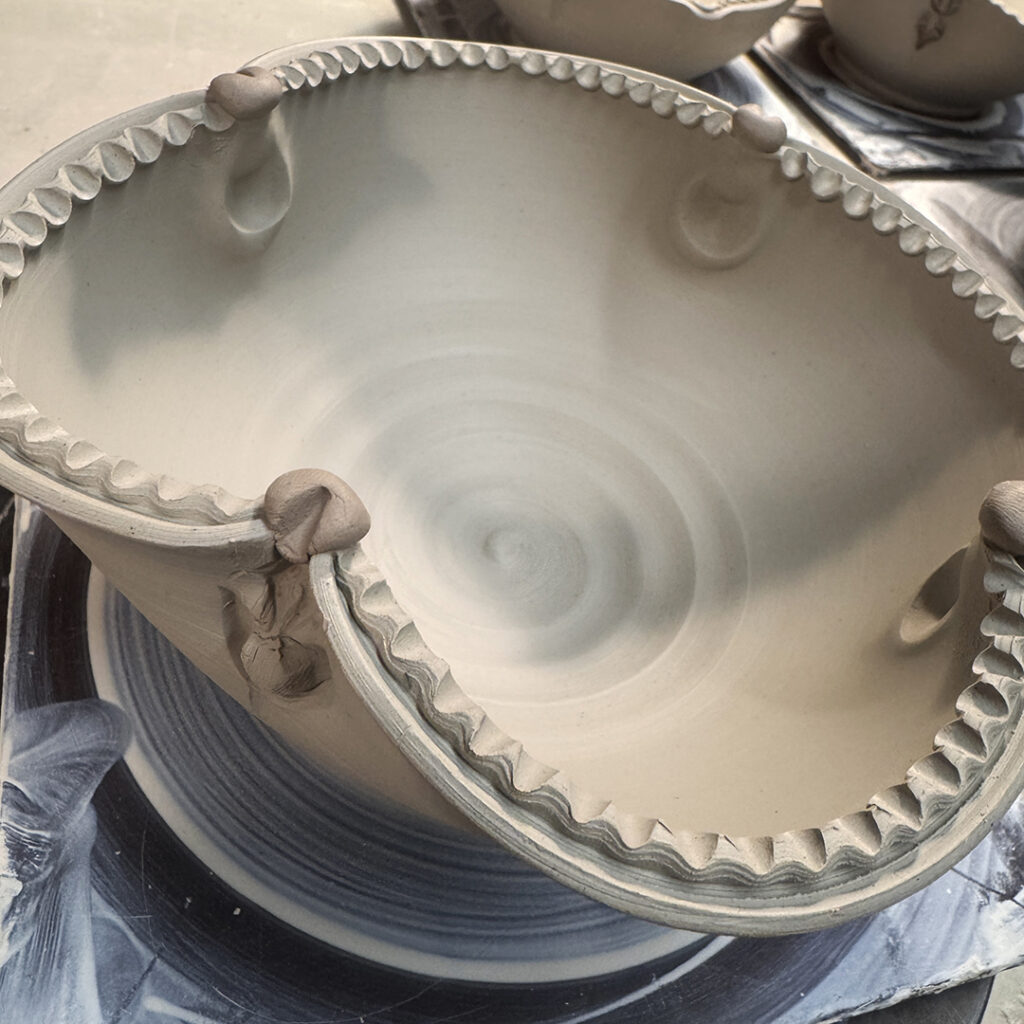
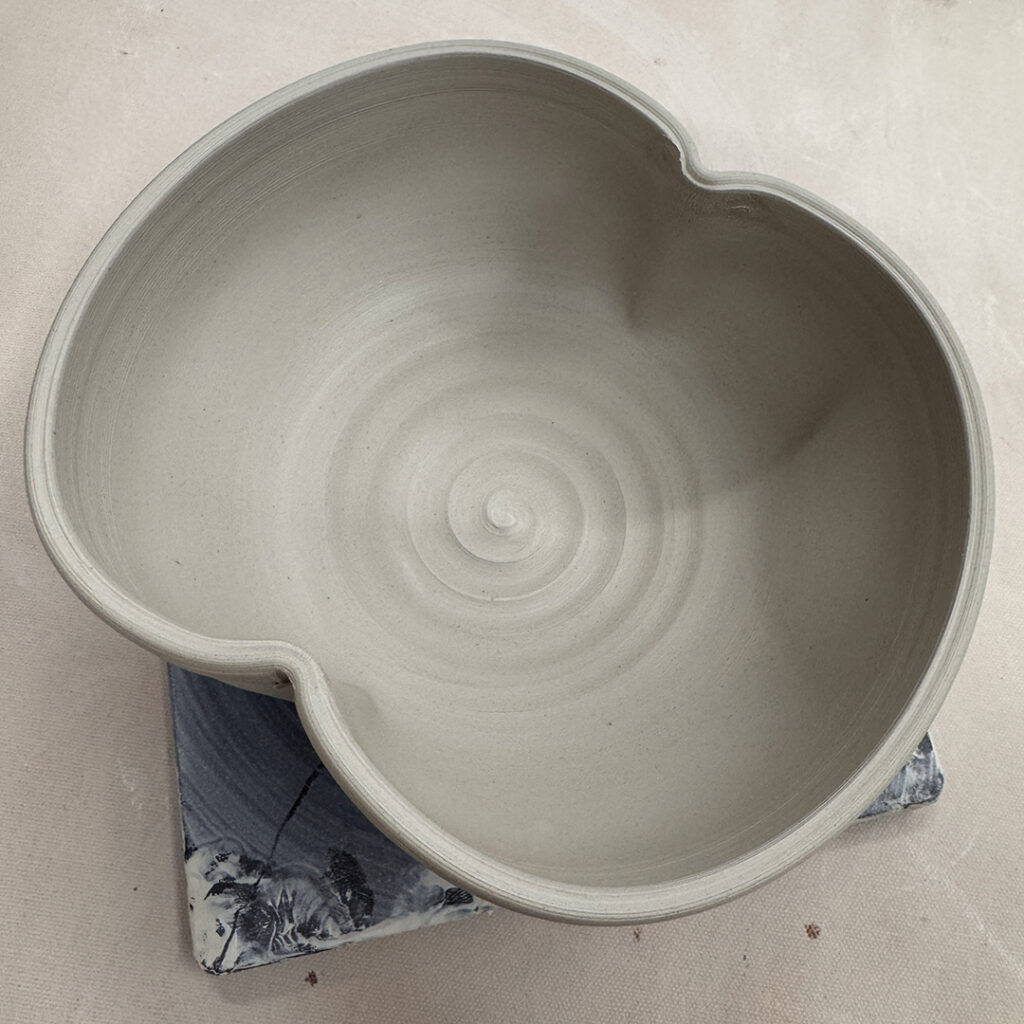
Bowl #7 – Another split-rim pressed-in on two sides. There’s “a very good chance” that there might be a handle up & over from pinched part to pinched part to make it a “basket” bowl.

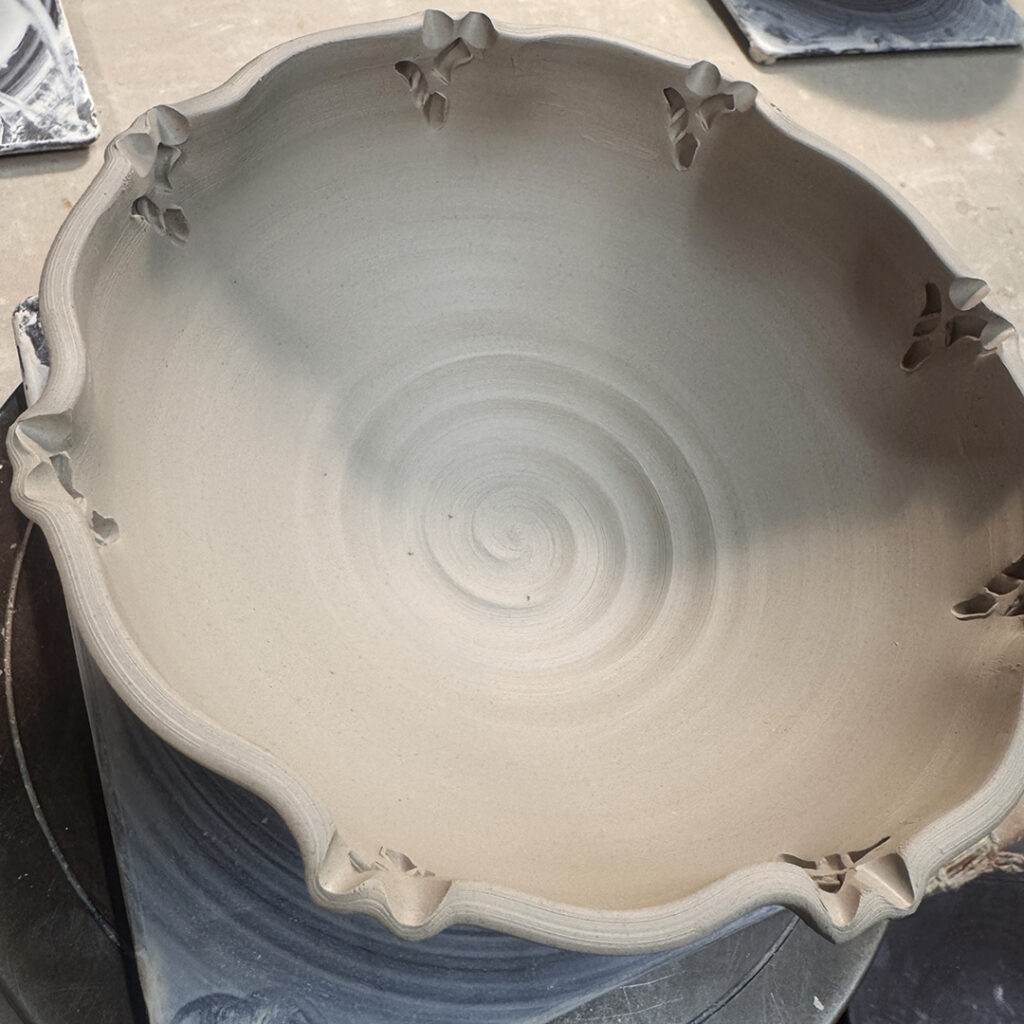
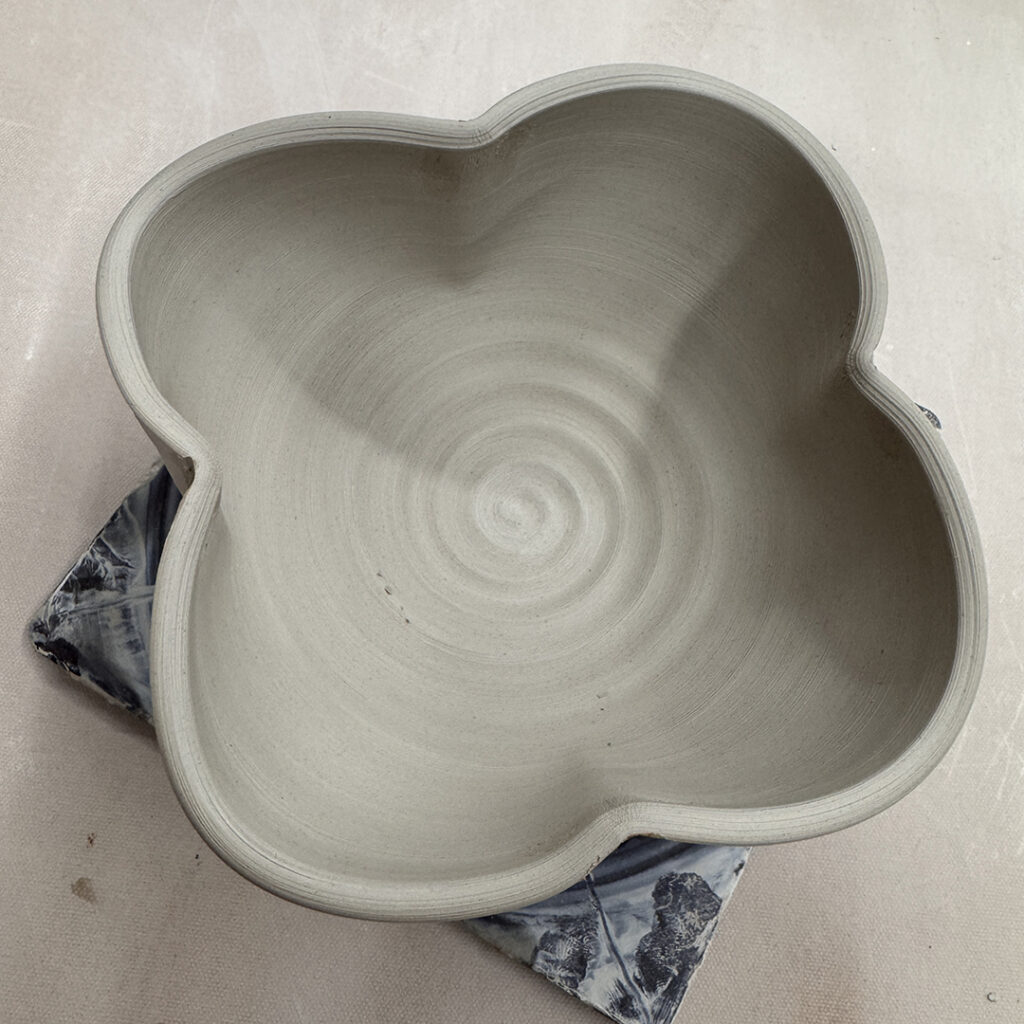
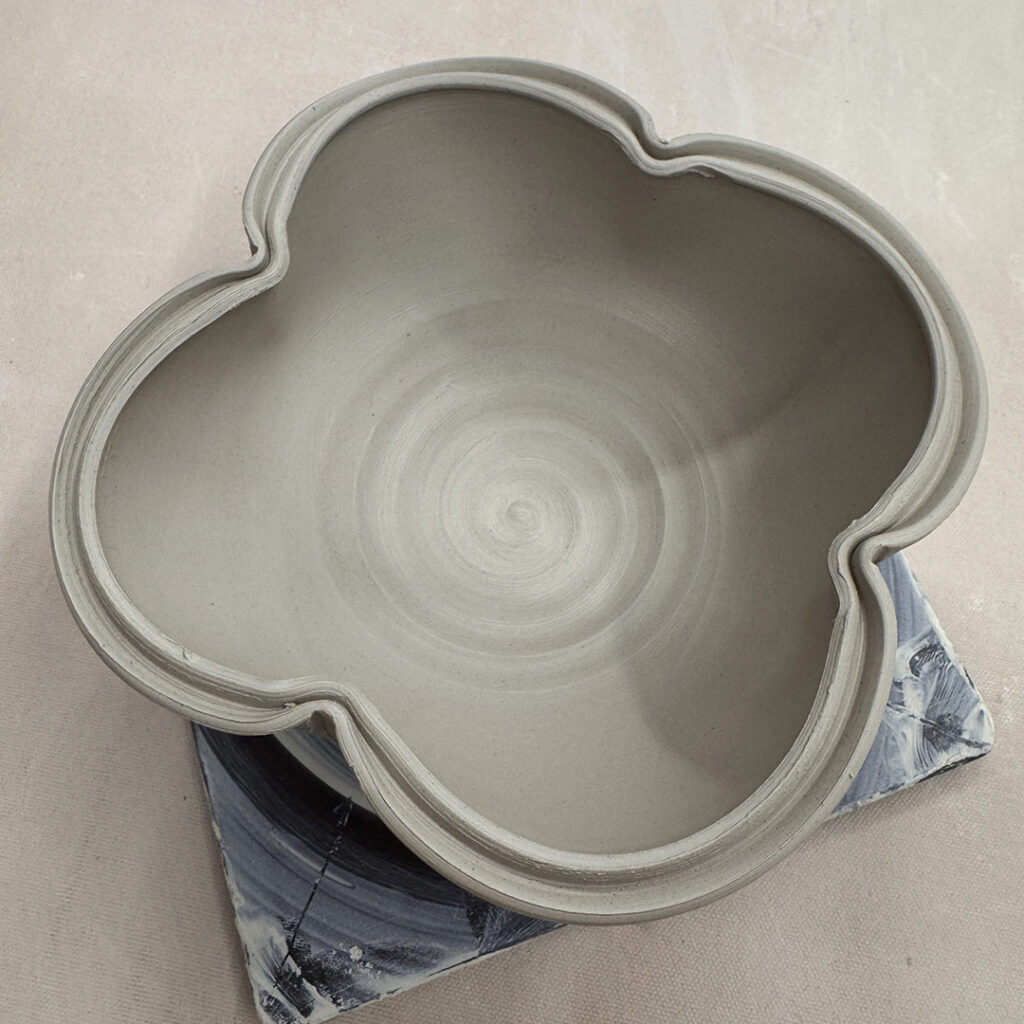
Bowl #8 – Another split rim – pressed in on four sides to create a kind of quatrefoil effect.

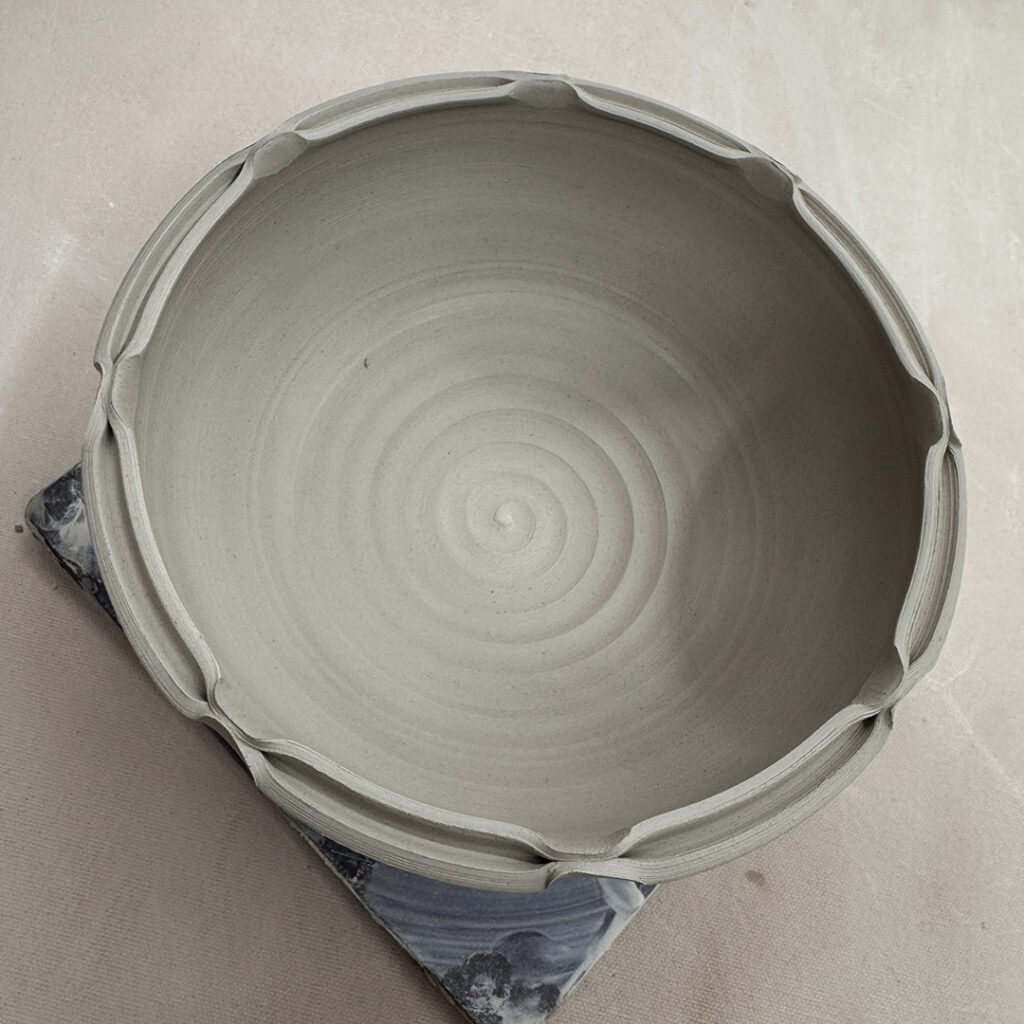
Bowl #9 – Another split rim pressed in at four points, and pressed out at four points! Kind of a lotus pattern.

So after doing a bunch of altered rims, I introduced them to colored slip. And how they can use some “thick” slip to add some details & textures to their bowls.

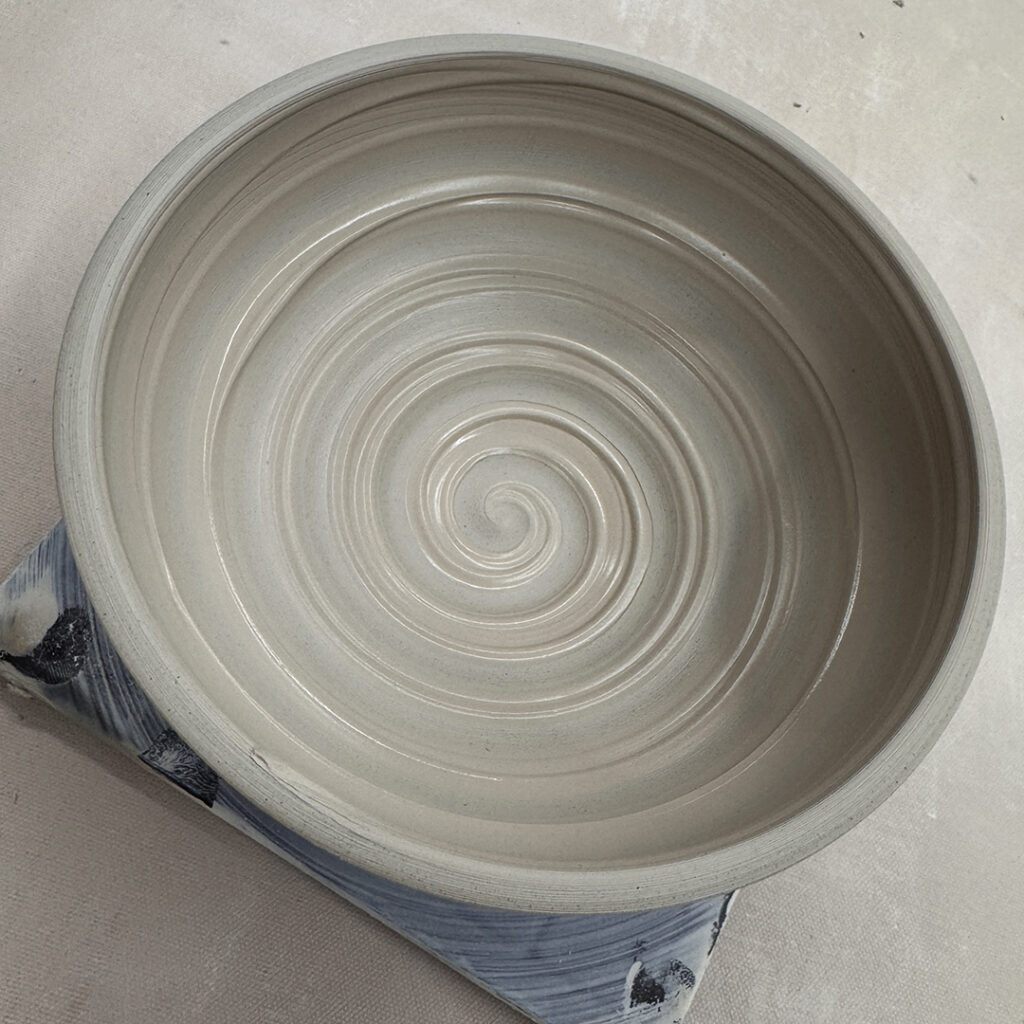
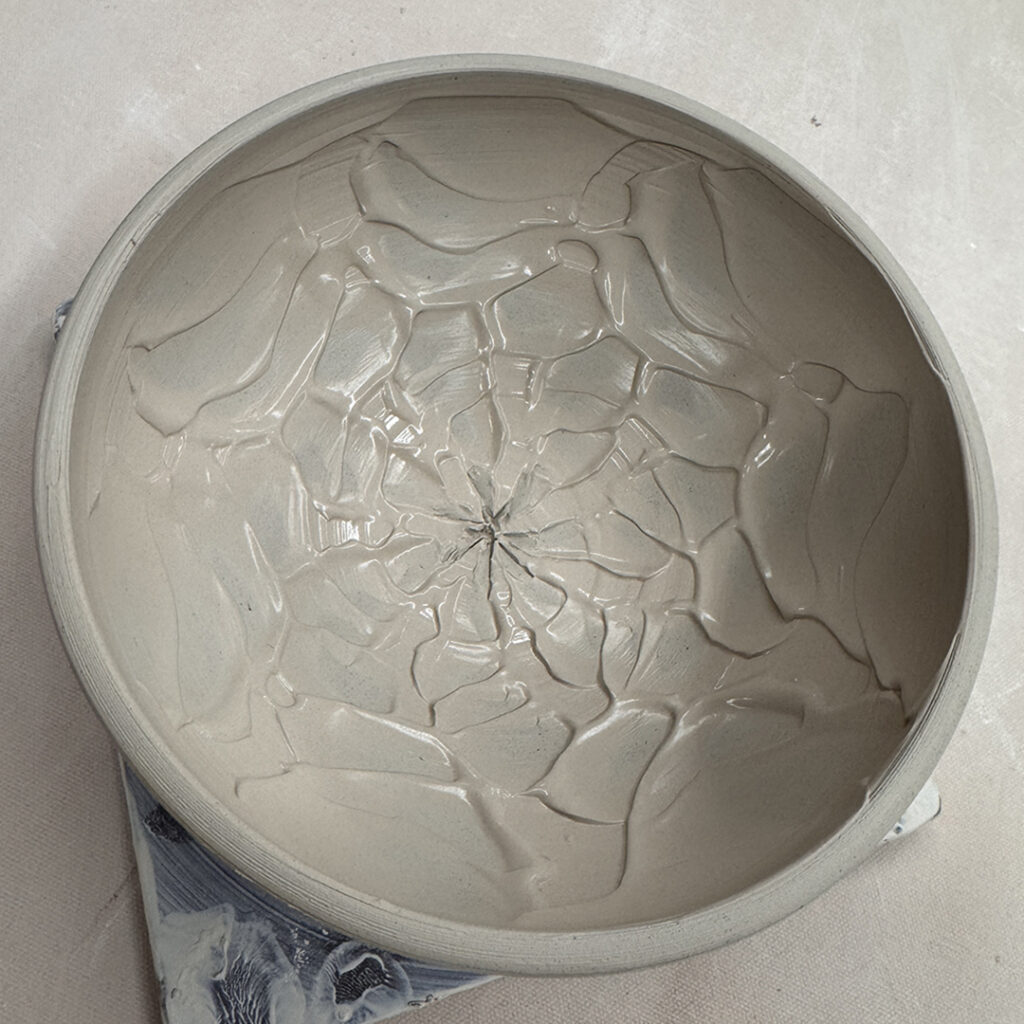
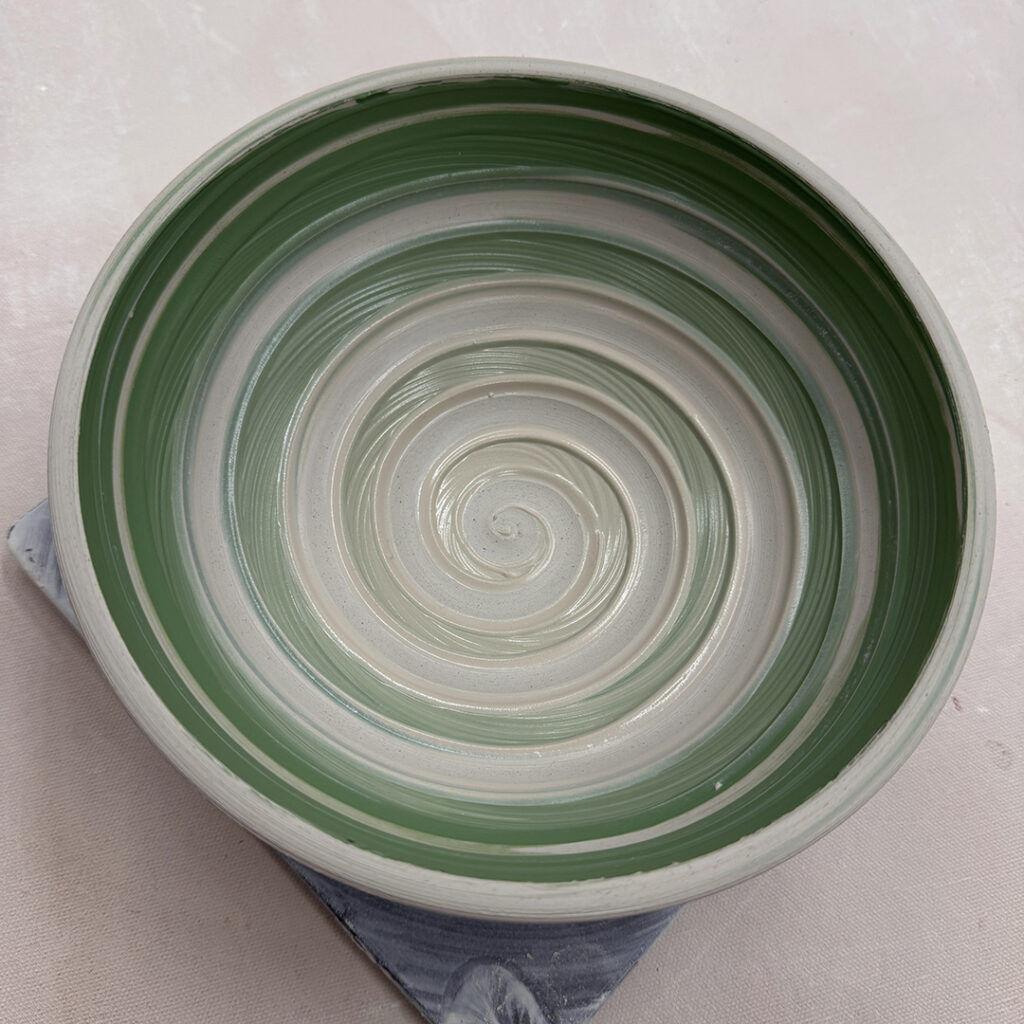
Bowl #10 – A layer of thick white slip with a spiral dragged through from the center up & out.

Bowl #11 – Another layer of thick white slip with banded drag-throughs… and a good chance that there “might be” some carving to be done through the thicker bands.

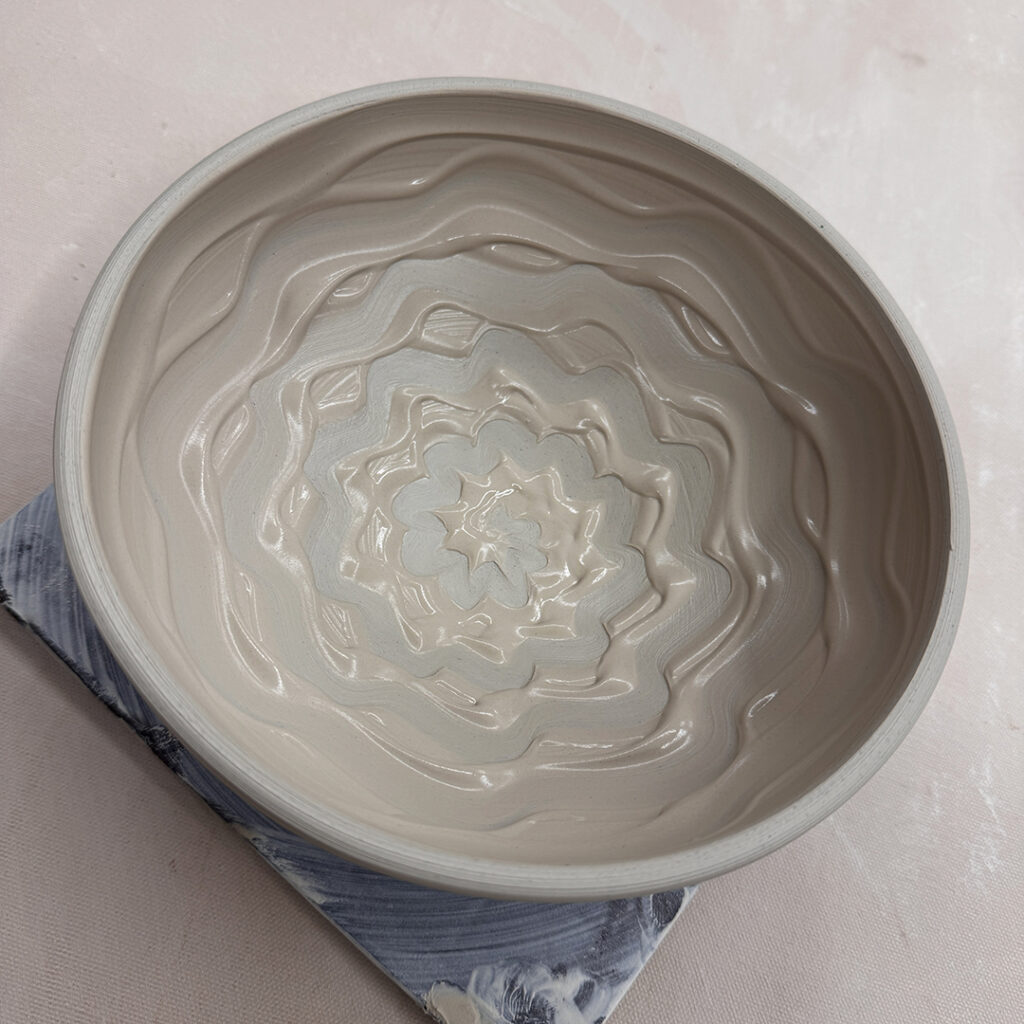
Bowl #12 – Thick white slip with some finger painting… just some squiggles from my index finger.

Bowl #13 – Thick white slip with some fun chattered texture & patterns… rhythmic tapping with a rubber rib… up & down, round & round, from center to rim.

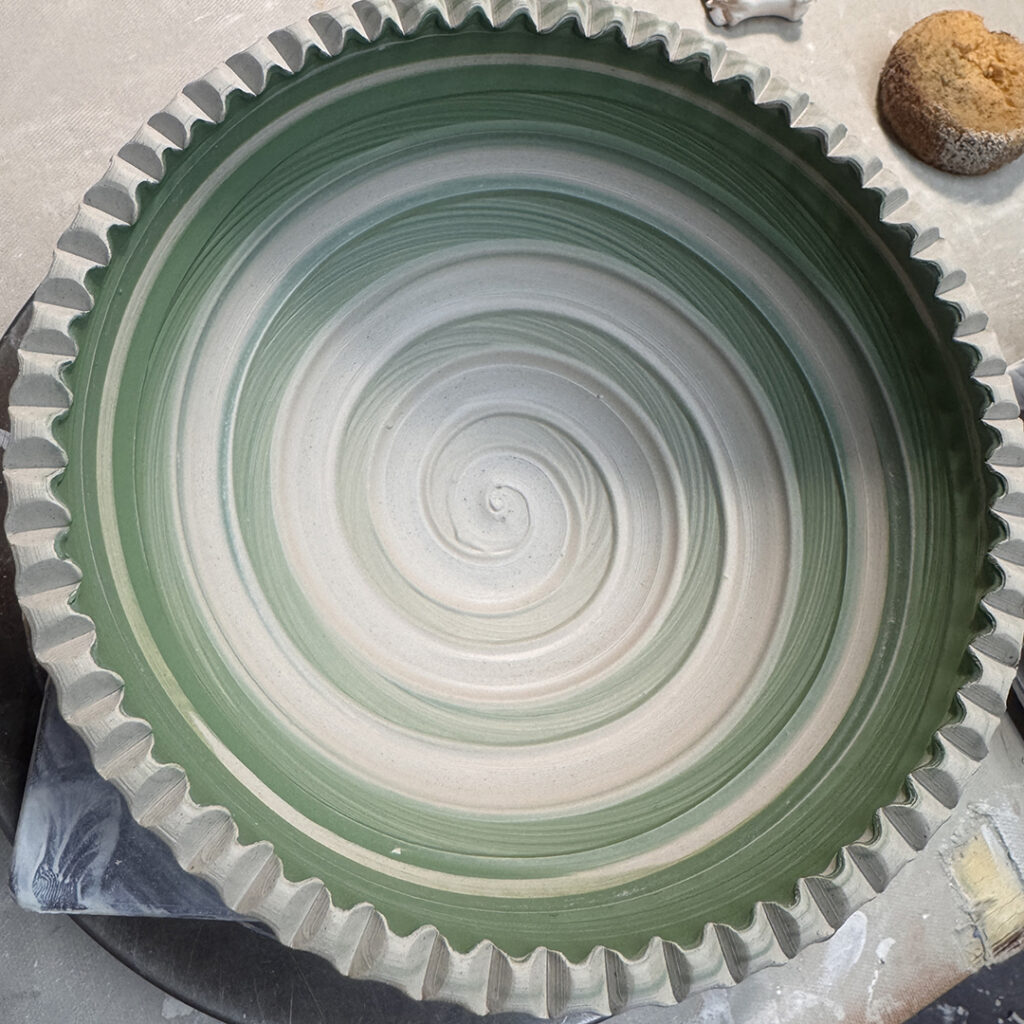
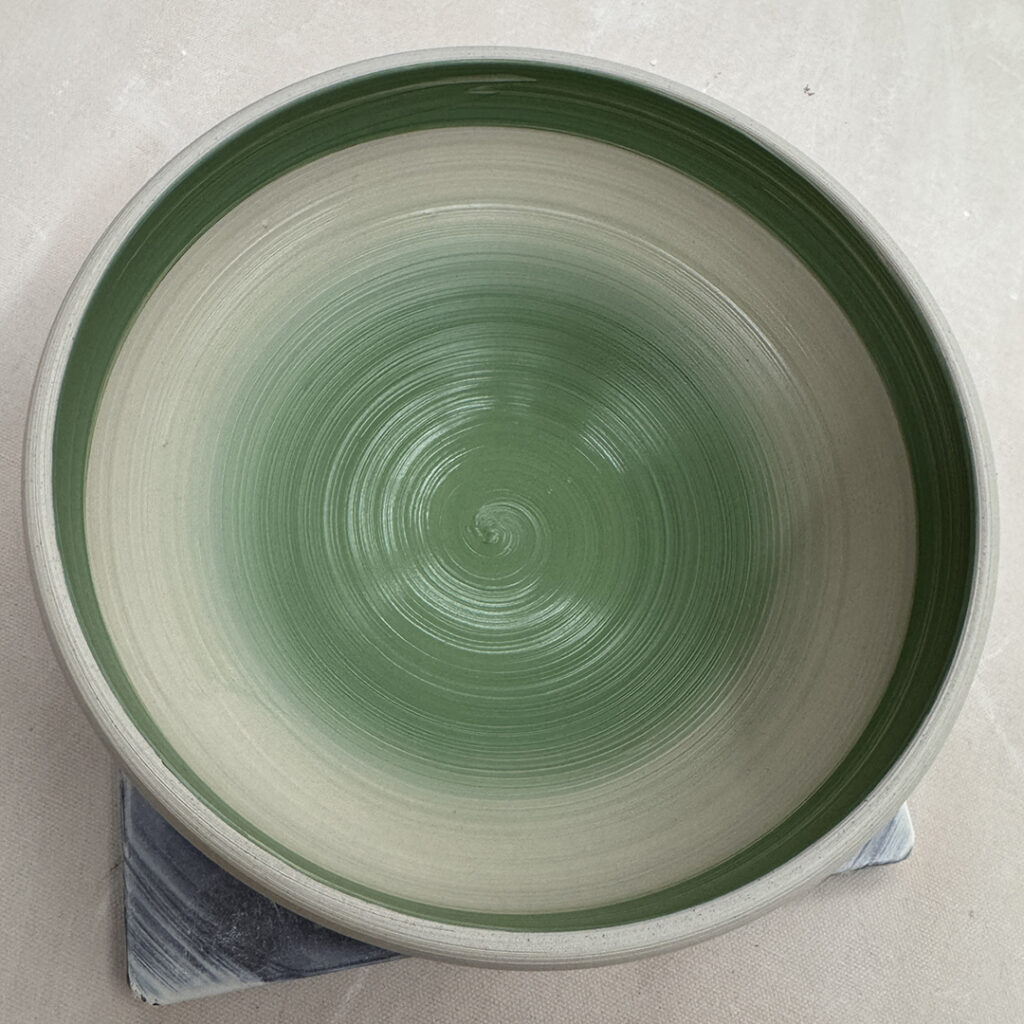
Bowl #14 – An ombre’ blend of white slip to black slip… and again, a “good chance” there might be some carving coming soon!

Bowl #15 – And ombre’ blend of thick white & black slips… and a finger squiggled through.

Bowl #16 – Thick black & white ombre’ blend– and then chattered through the slip.

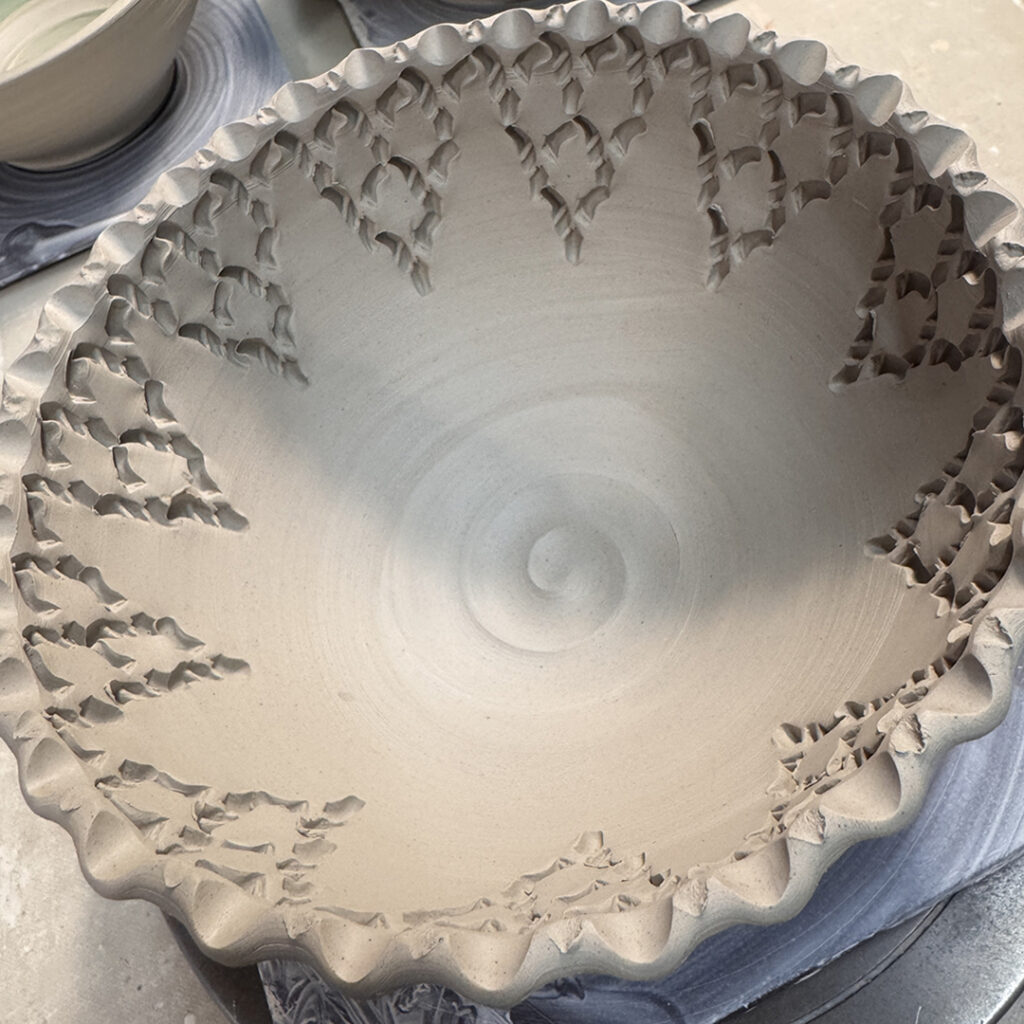
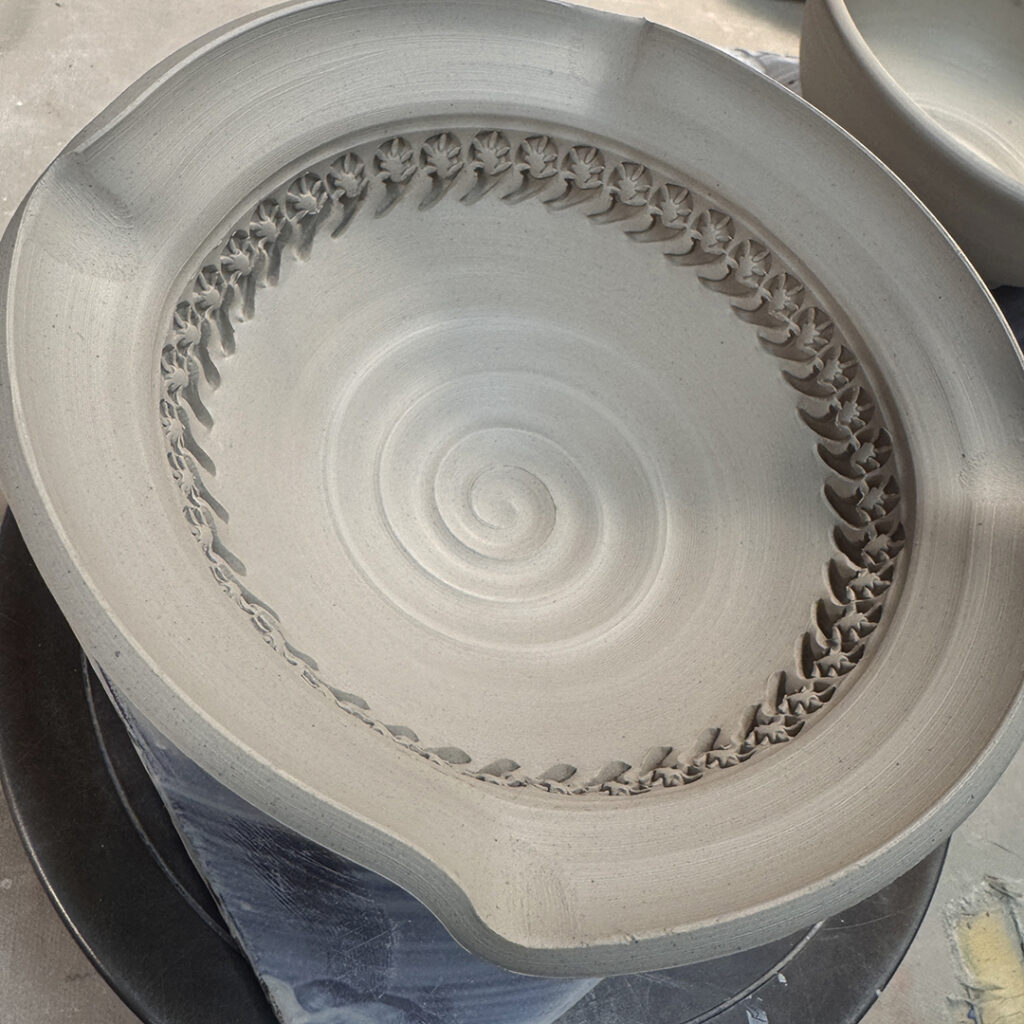
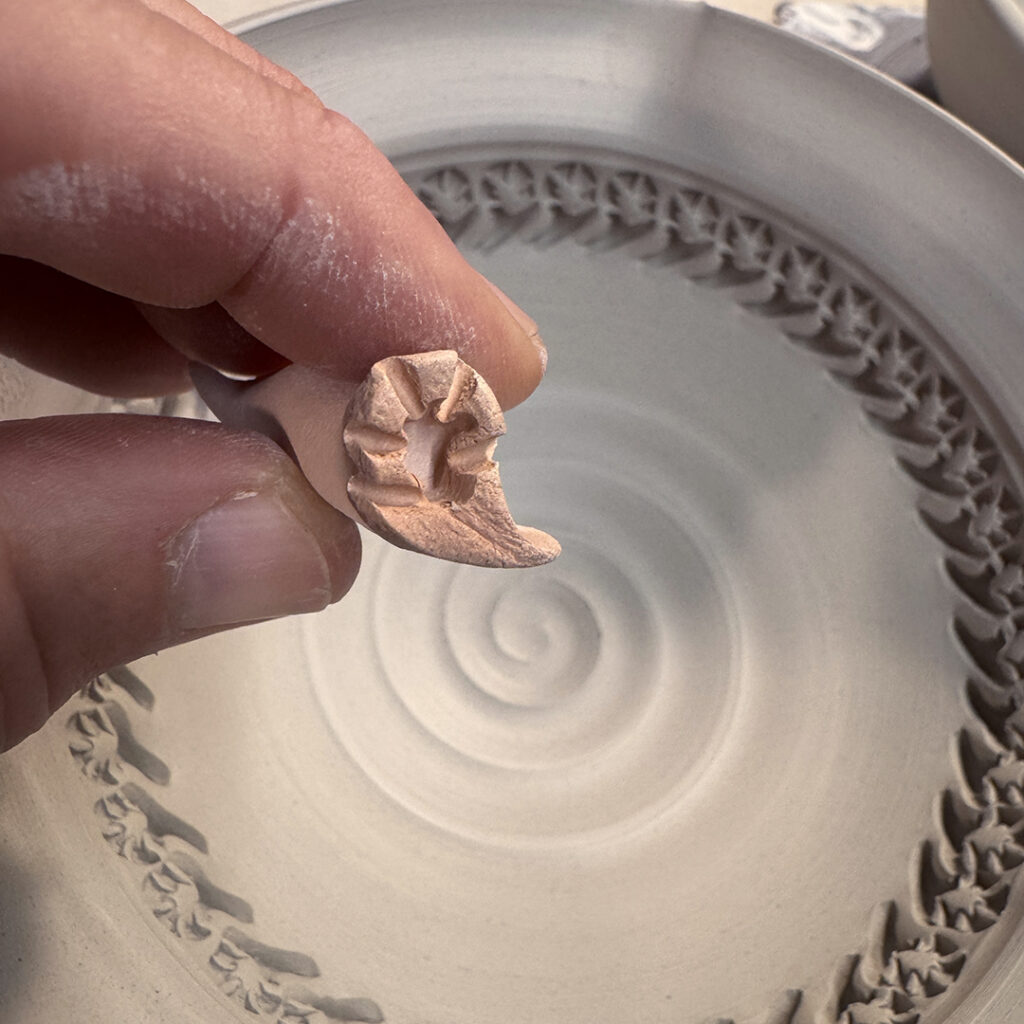
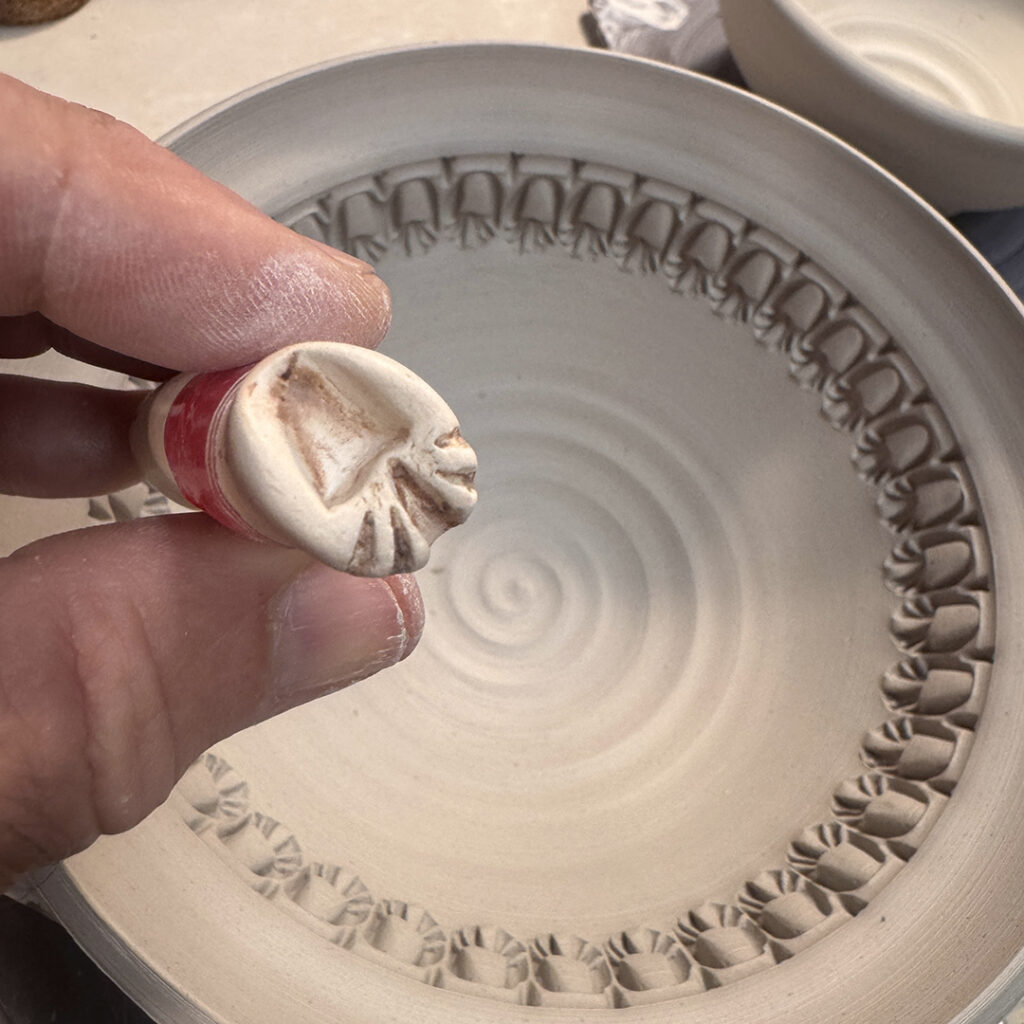
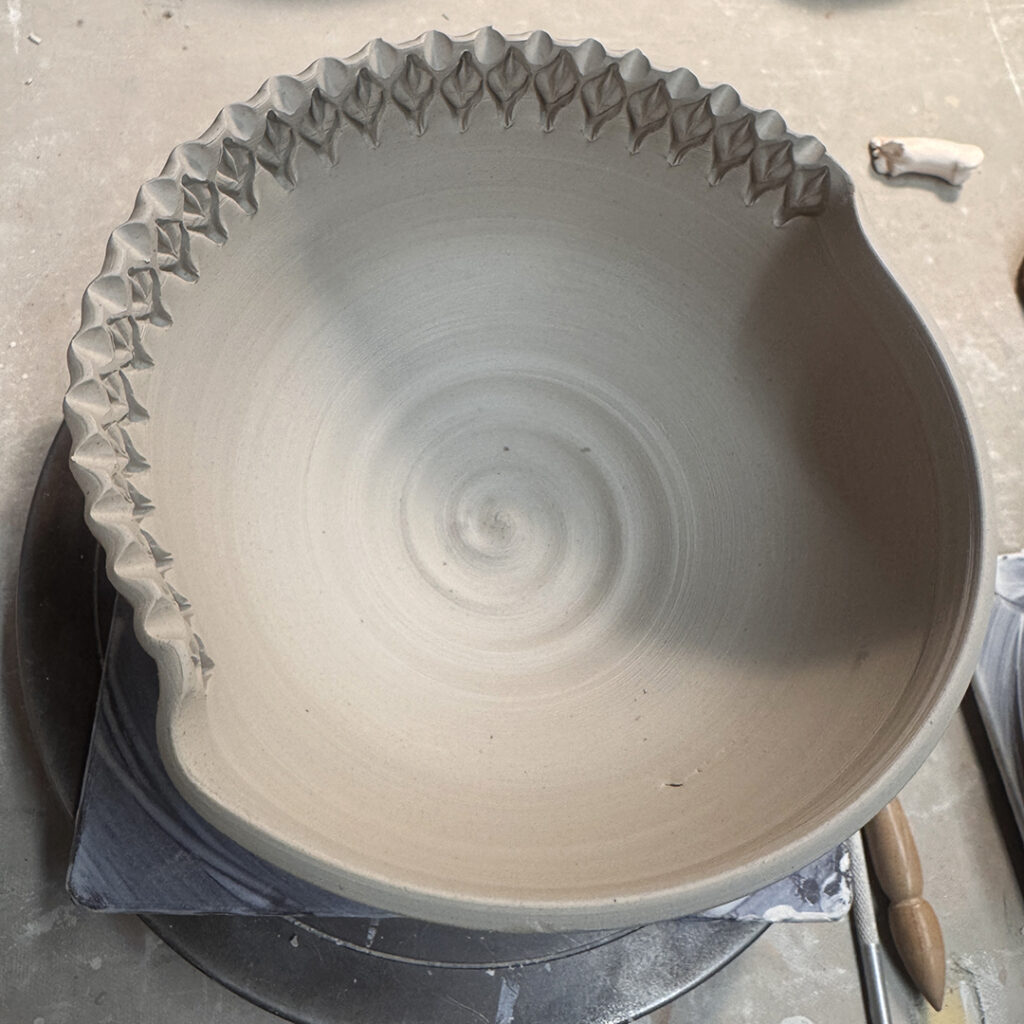
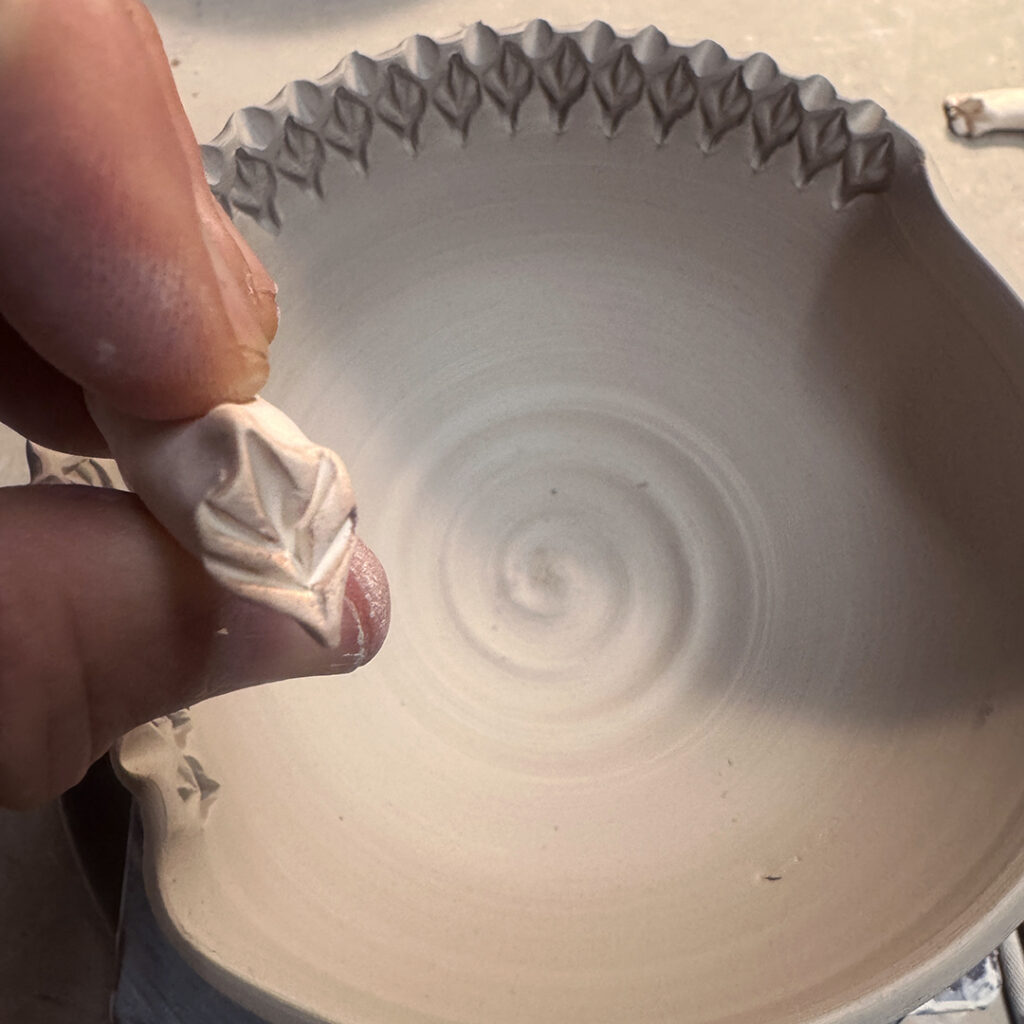
And for now they’re all “resting” safely in my studio under a bunch of plastic. Like I said, there might still some additional work don on these to make them EVEN MORE “not-so-basic”!!! Maybe a little stamping, carving & detailing… possibly?… allegedly?…

Categories: bowls, process, production

So I trimmed this bowl when it was a little wetter than it should have been. But I was headed out of town for the Pottery Tour… so rushed it. As it was kinda soft, I left it out to dry upside down on a plastic bat. Apparently when it dried, the bottom between the footring “moved” upwards a bit as the bowl dried & shrank??? So now the bowl is bone dry… and the bottom center is higher than the footring… so it’s a “SPINNER”!!! ugh.

Really only one thing to do…

Categories: bowls, food, holiday

Looks like Kristy is celebrating NATIONAL FUDGE DAY today… and trying to stay just a little bit healthy?! A dollop of homemade yogurt & fresh strawberries… and just a squirt of hot fudge!!! Looks yummy Kristy!

Categories: bowls, food, stamped

Bright blue bowl & bright red cherries!
Looks like the perfect snack for a warm sunny Friday. Thanks for sharing Kristy!

Categories: bowls, classes, surface decoration

And since we had a lot of “extra” ribbons of colored slabs… a few of my SURFACE DECORATION students continued on in different directions… yes please… by all means PLAY WITH YOUR CLAY!!!

Categories: bowls, classes

So we were kinda “quilting” with ribbons of clay slabs last night in my SURFACE DECORATION class to make handbuilt bowls. Everyone mixed it up to get different pattern & color combinations by sharing & using each other’s slabs. I think everyone was a little apprehensive at first… doubting that this would work. But I think they were all duly impressed in the end.

Huge thanks to everyone we Follow on Instagram who inspire us to play with our clay more. In this case, we did our own version of the wonderful & far more colorful bowls of Stephen Biggerstaff… be sure to Follow him on Instagram… @stepbigg_clay

Categories: bowls, classes, surface decoration

Last night in my SURFACE DECORATION class, we tackled some colorful handbuilding projects using textured & colorized slabs. Everyone set out to hand-throw their slabs & add colored slips. Then we all got to use everyone’s slabs to “randomize” our quilt-like projects!

Categories: bowls, surface decoration, tools

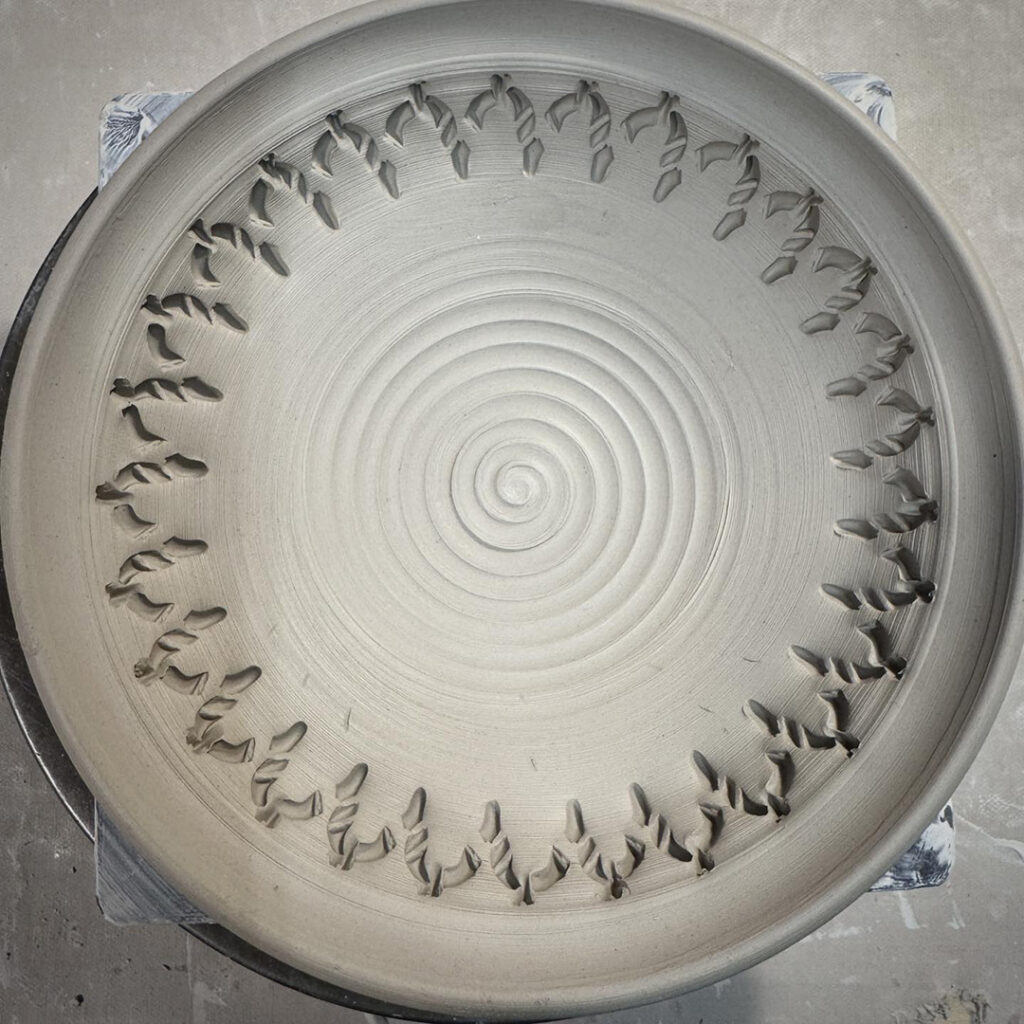
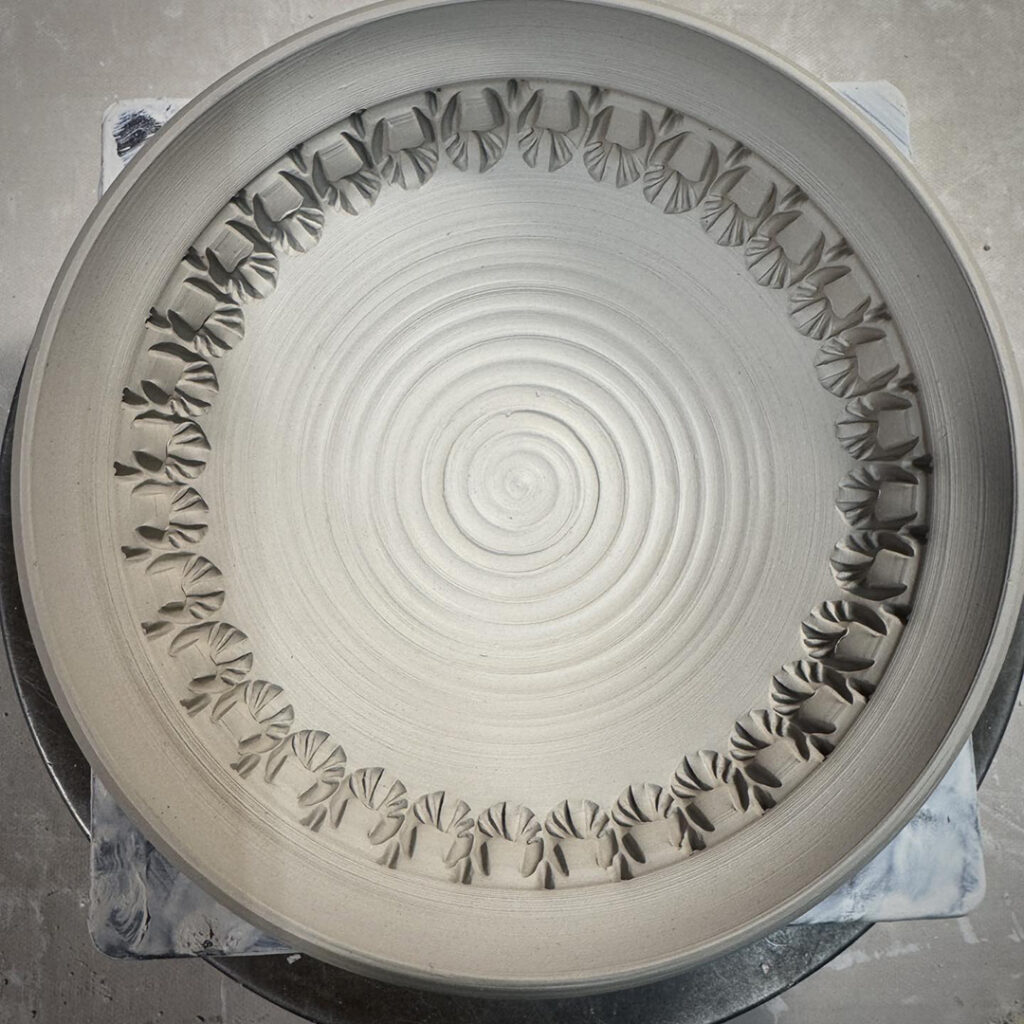
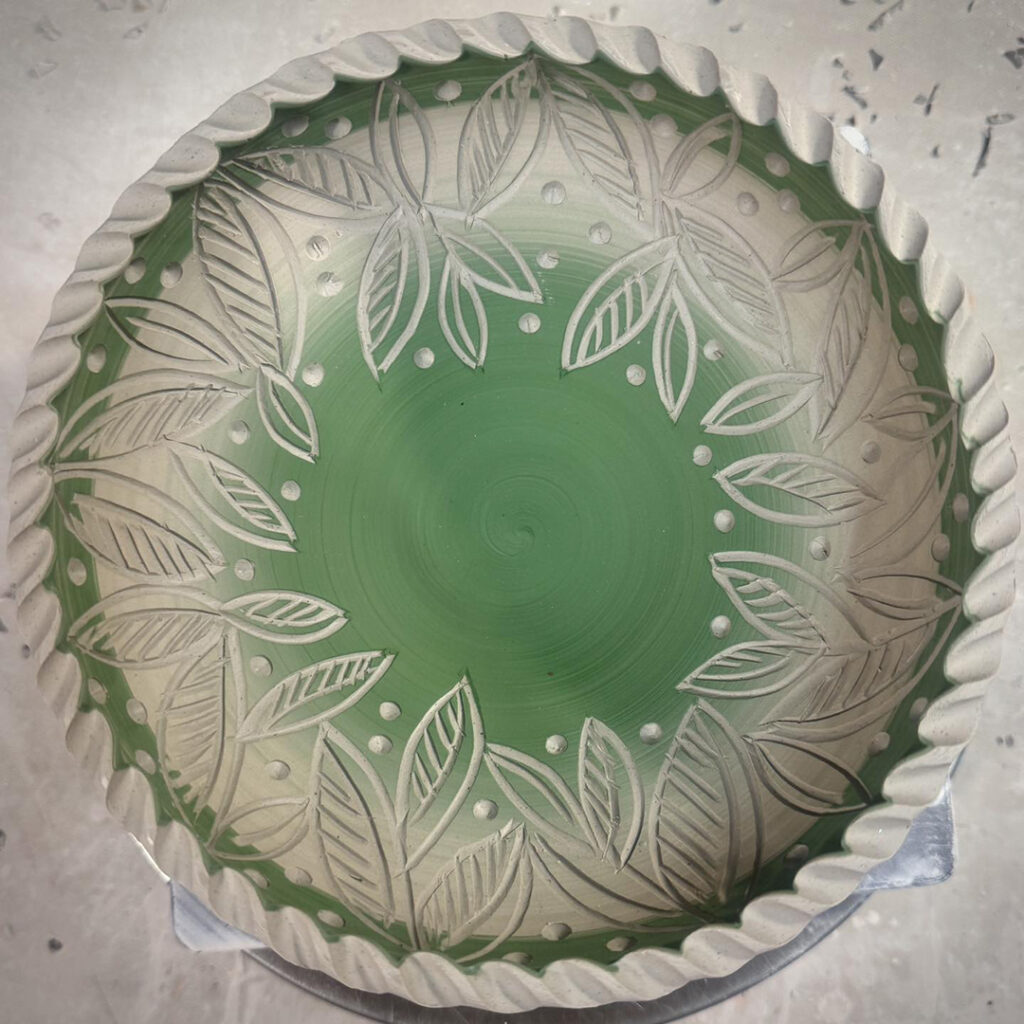
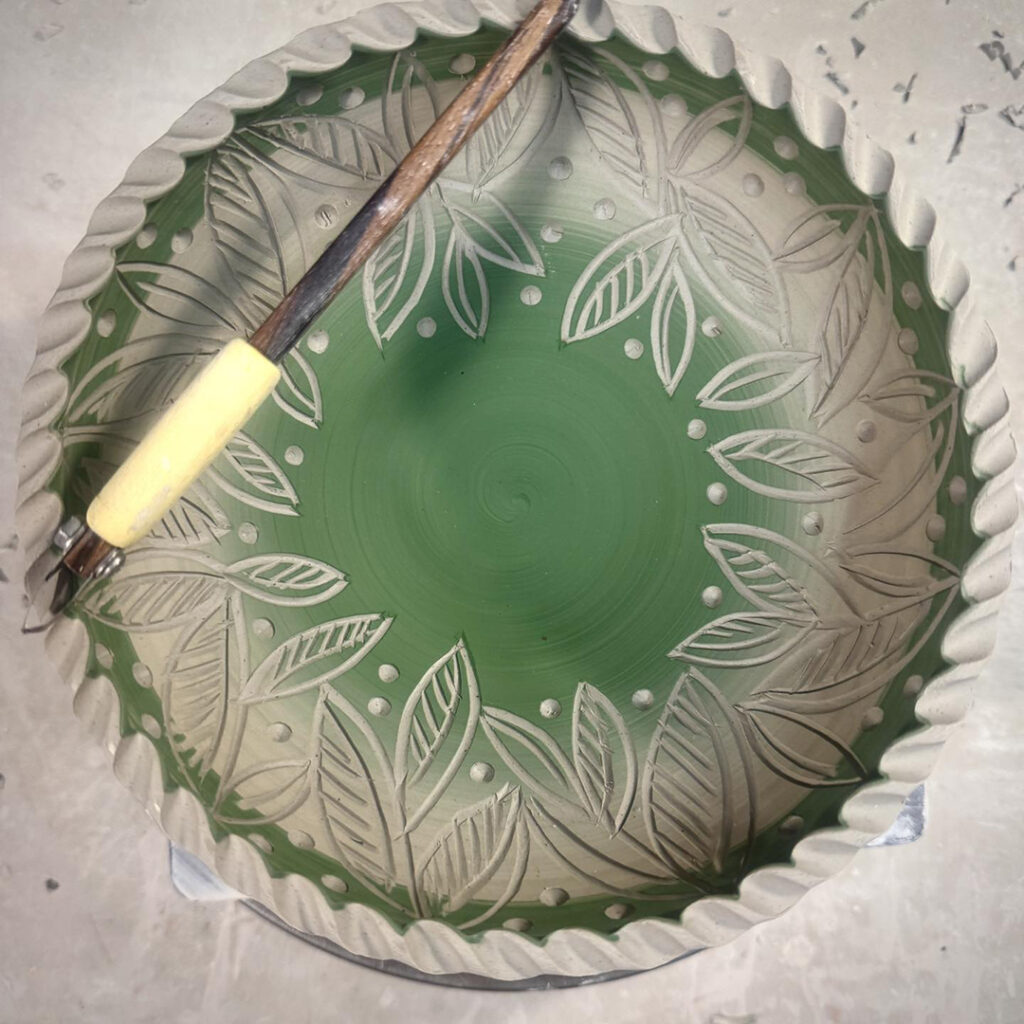
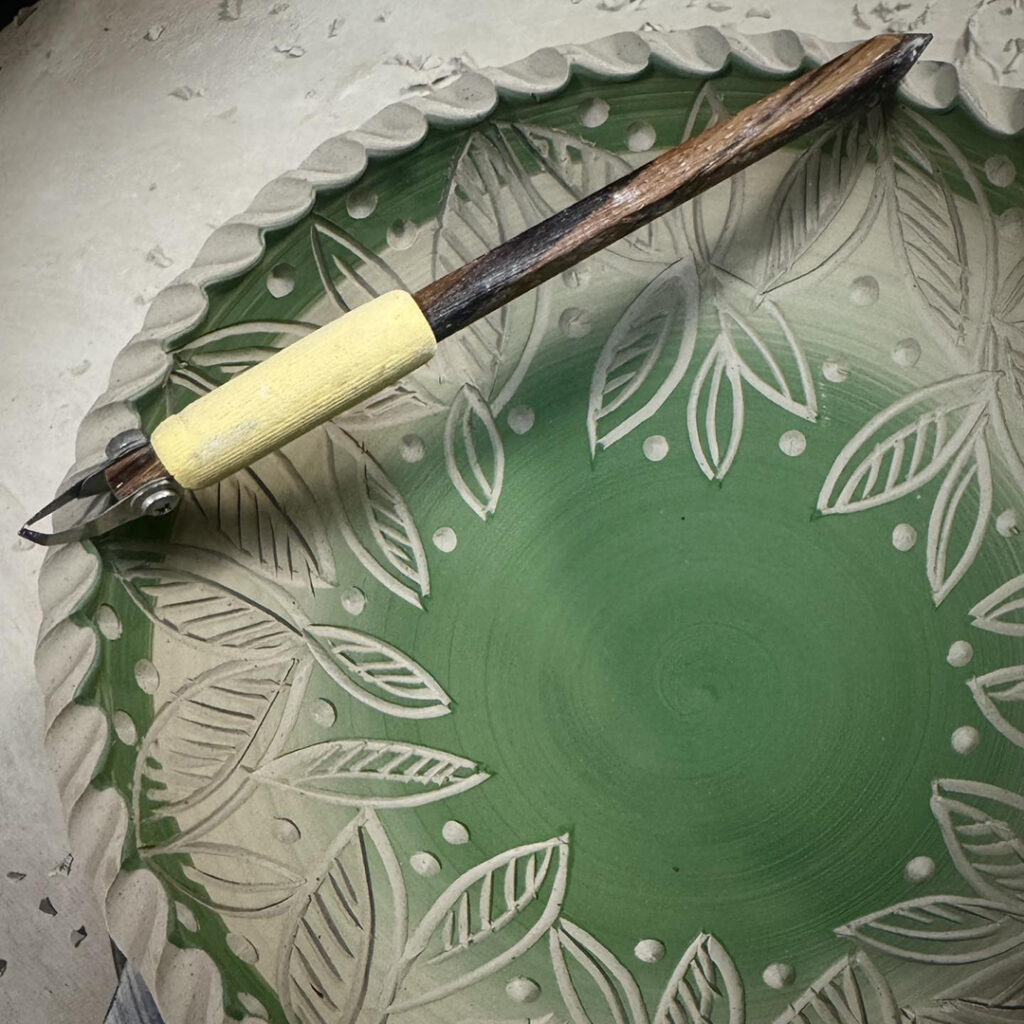
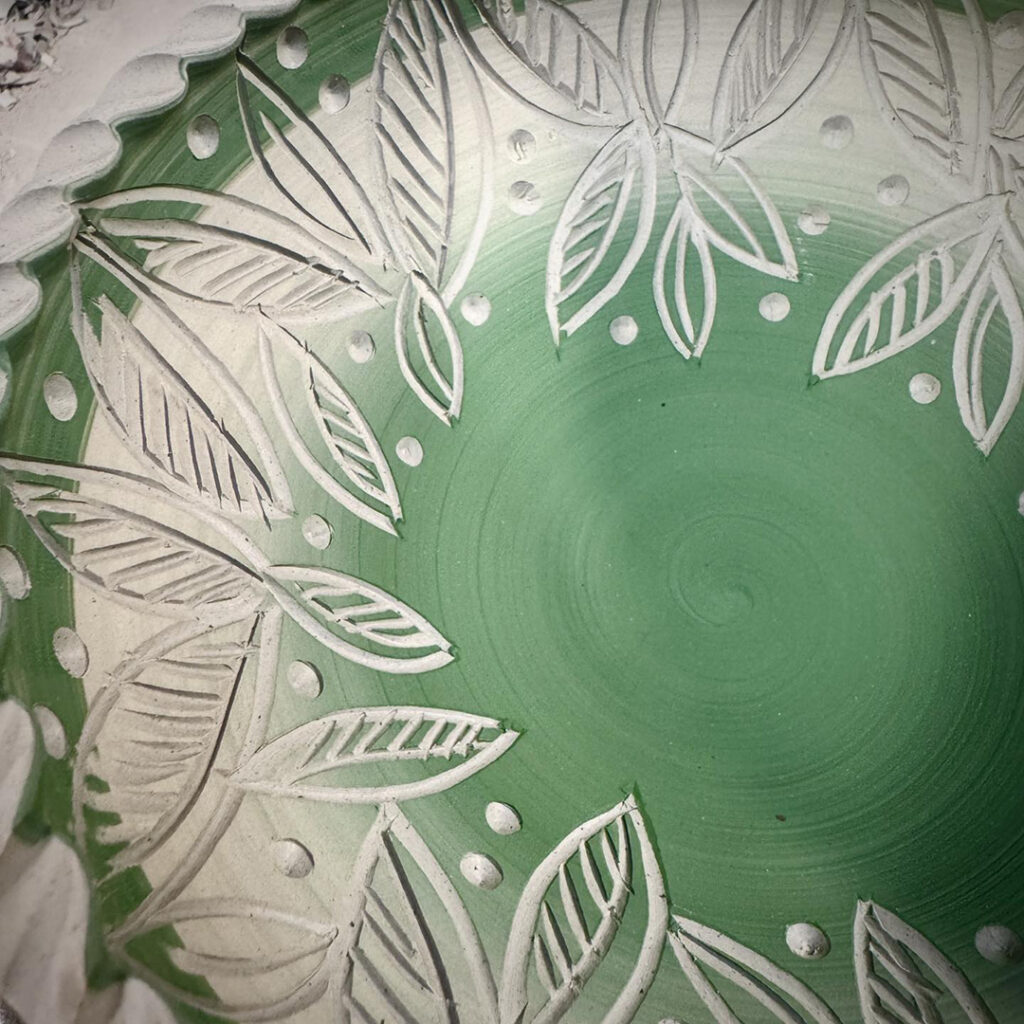
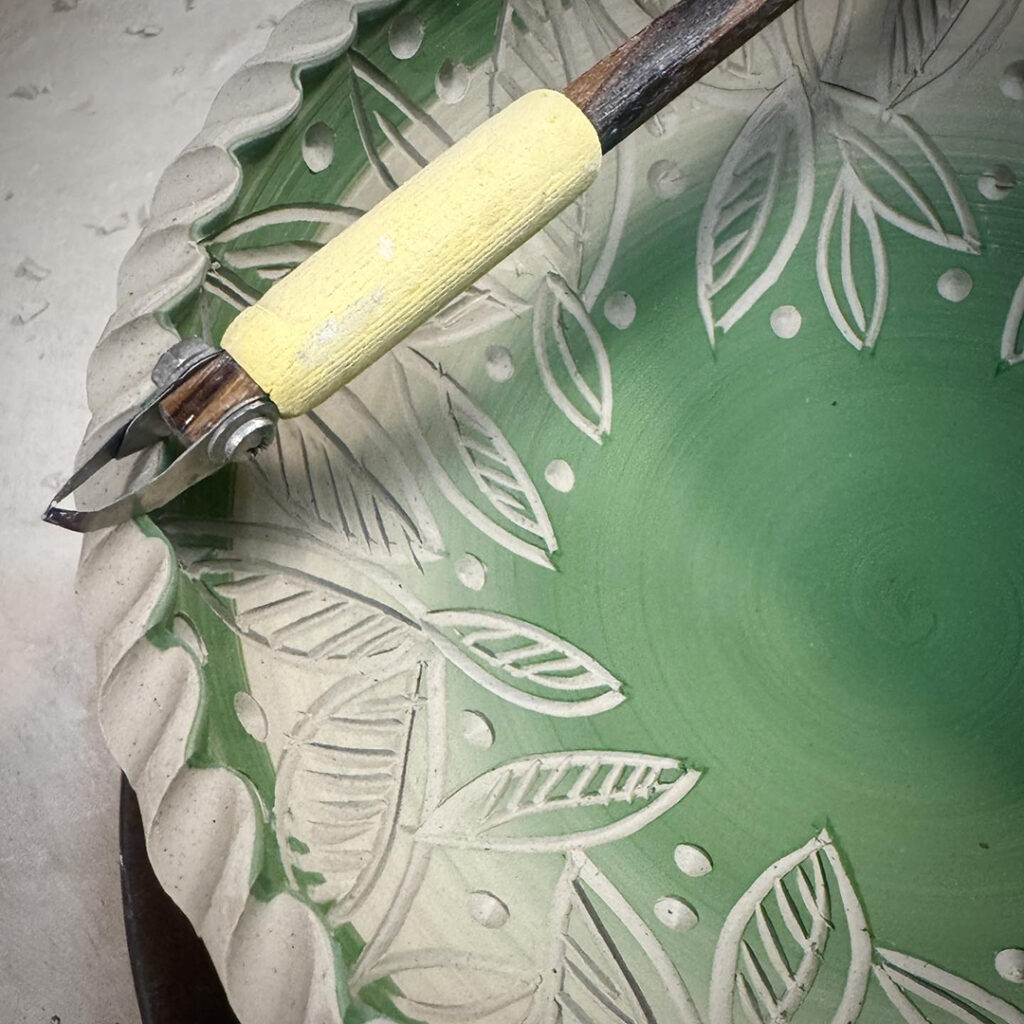
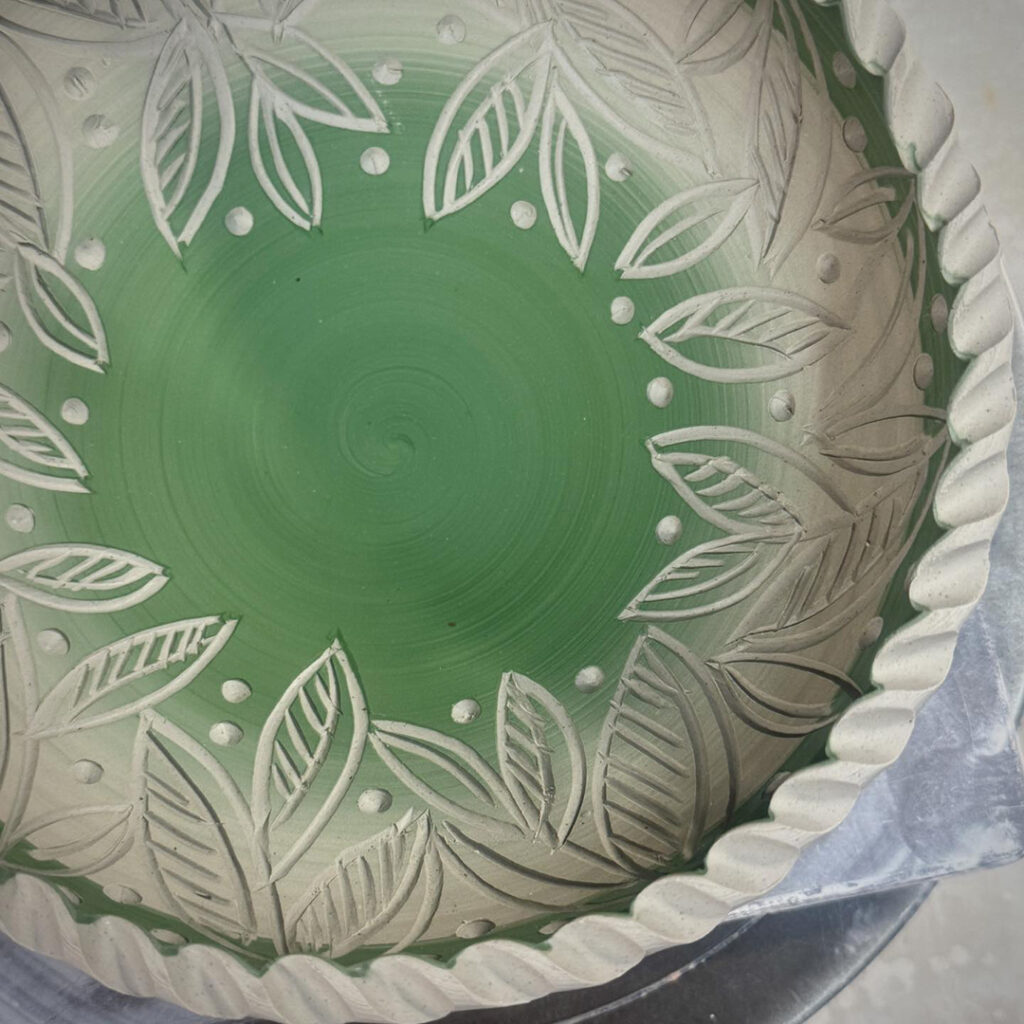
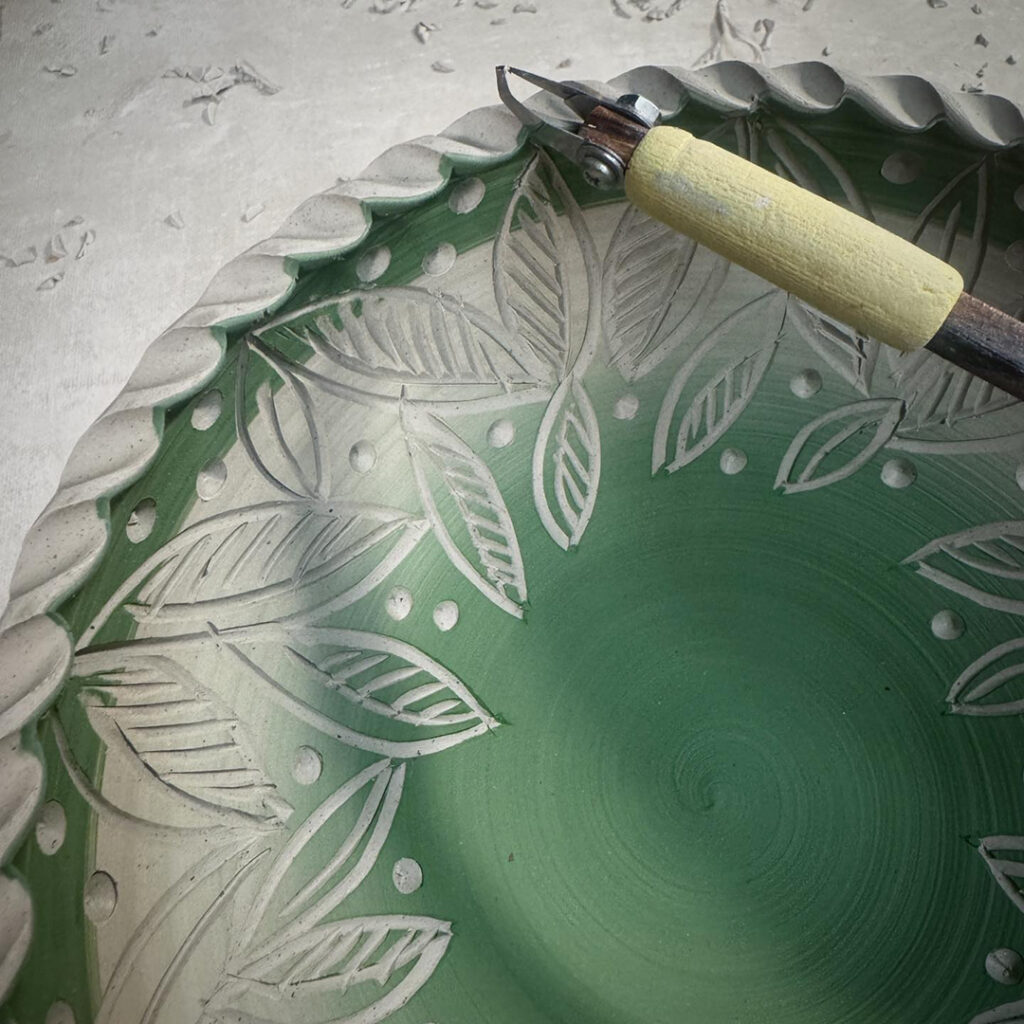
Carving another bowl with my favorite DiamondCore Tools! I started with an ombre’ blend of colored slips from blue to white… and then when it was a drier leatherhard, it was time to start carving a pattern through it! Pretty pleased with it so far… and I’m thinking I need to start making MORE of these!!!

Categories: bowls, classes

It’s seems like I made these bowls quite awhile ago… simple bowls with some colored slips on some of the exteriors. Tonight we finally get to tackle them… as I’m providing some “demo fun” for my SURFACE DECORATION class tonight.

Categories: bowls

Finally finishing up this cutie! It was one of my class pieces from my “not-so-basic bowls” demo a couple weeks ago. In class I just did the two indentations… and suggested maybe adding a handle up & over. I think a few of them may have thought I was kidding… well, I wasn’t!!!