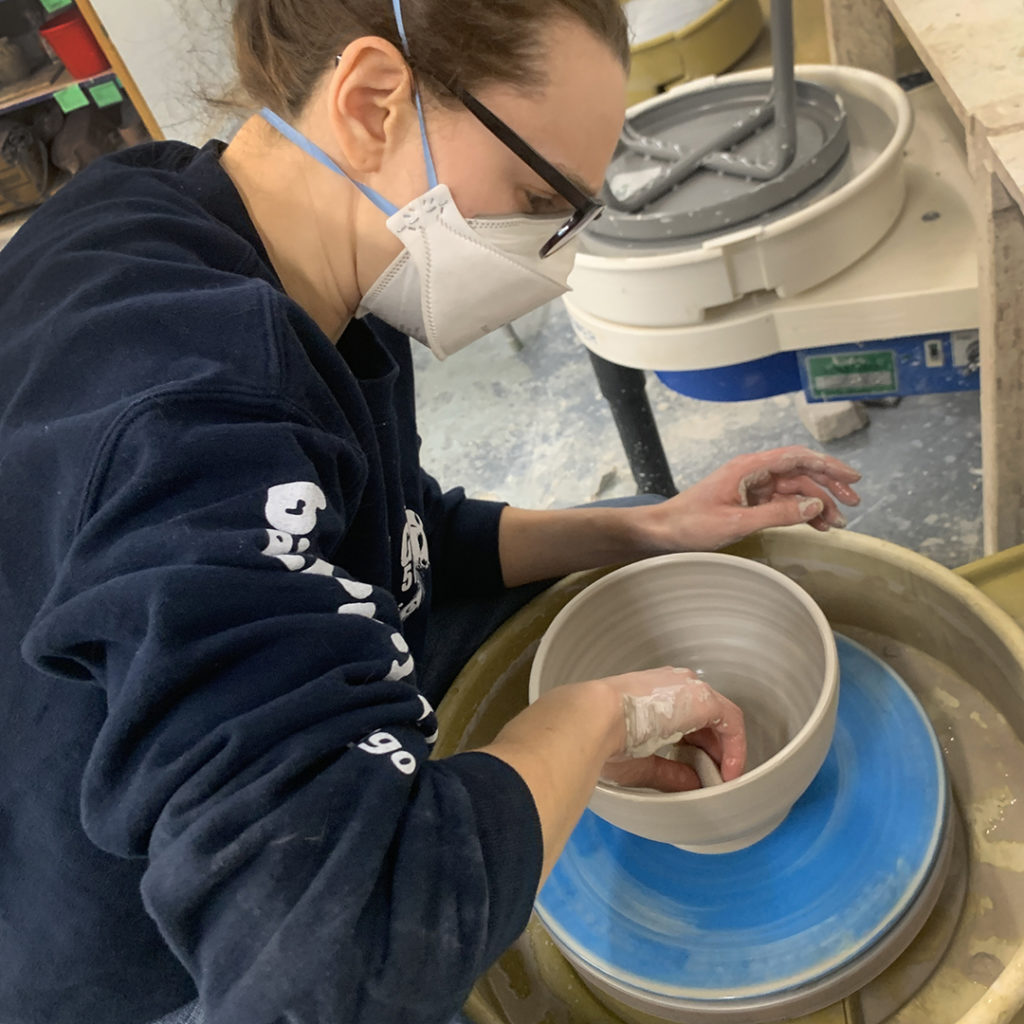
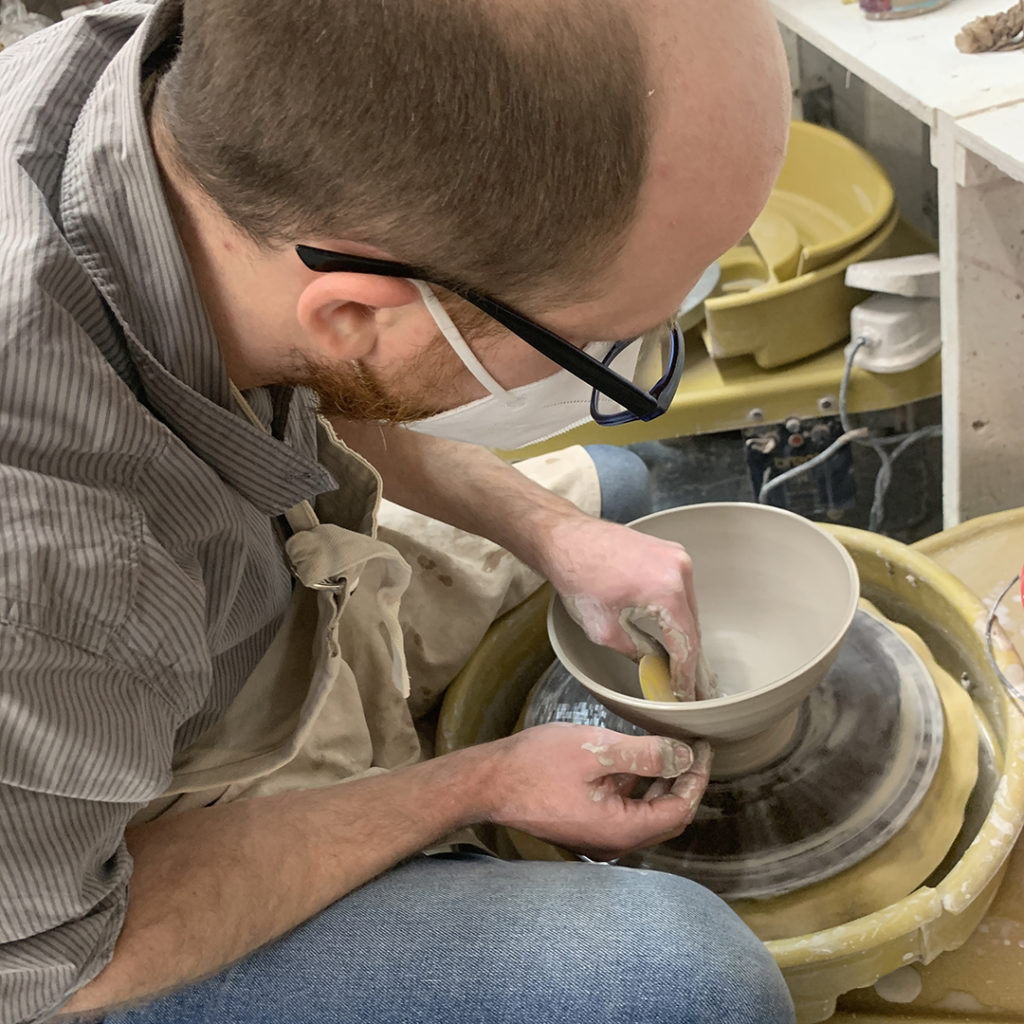
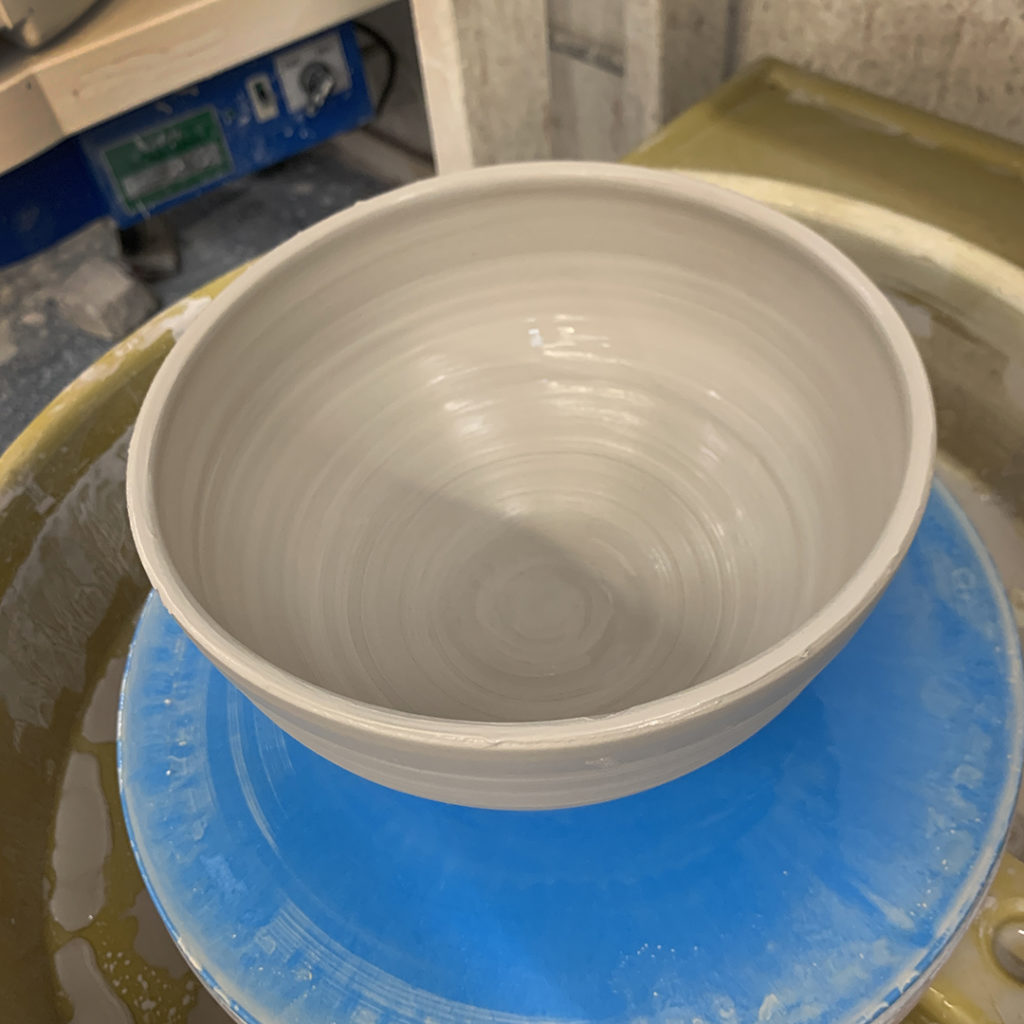
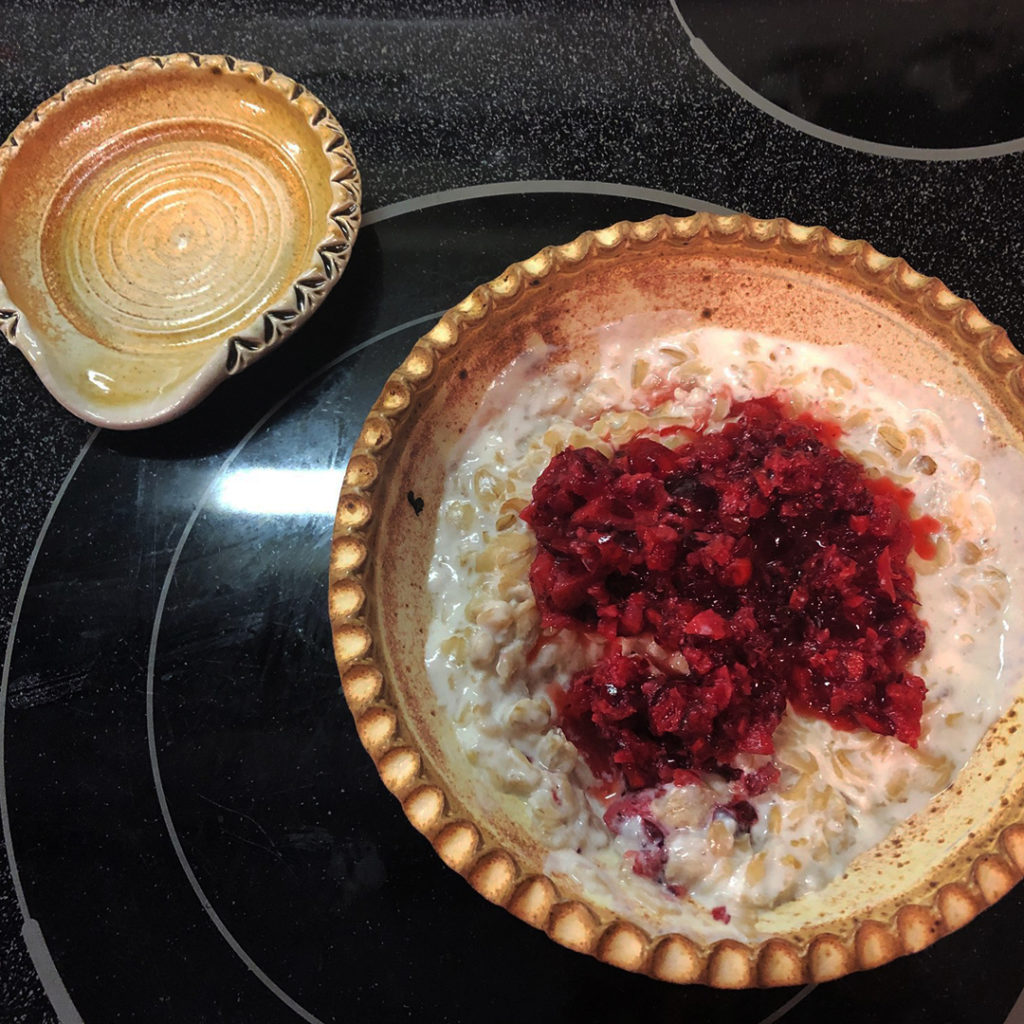
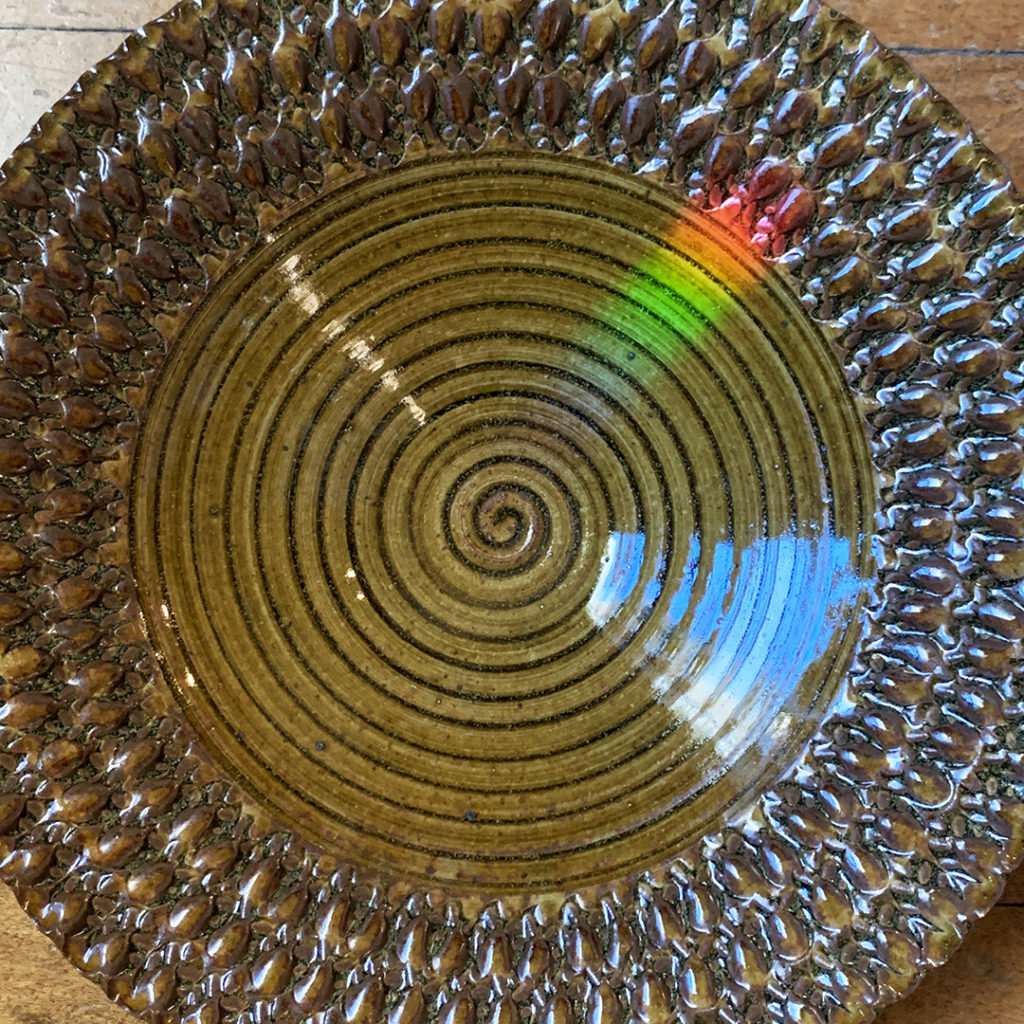
Gary Jackson: Fire When Ready Pottery
A Chicago potter’s somewhat slanted view of clay & play
Categories: bowls, food

While other friends are being a little “healthier” for breakfast this morning with this bright & colorful fruit salad in a “rustic” yellow bowl with a stamped rim & white slip stripes!

Categories: bowls, classes, pottery, surface decoration

Last night during my SURFACE DECORATION class, we tackled carving through wheelthrown bowls to make “baskets”… with the goal of carving at least HALF of the bowl’s weight away! Tougher than it sounds. You kinda need a good plan from the start or you’ll lose some structural integrity. And then when it becomes delicate towards the end… you need to remember to NOT over-work or over-wet it… or it might just come tumbling down!

And then when it becomes delicate towards the end… you need to remember to NOT over-work or over-wet it… or it might just come tumbling down!

Categories: bowls, classes, wheelthrowing

It’s another Thursday… so another SURFACE DECORATION class tonight. And this is getting to be a little bit of a “habit”… but I made a bunch of trimmed & leatherhard bowls for my students to carve through tonight. Can’t wait to see what kind of magic they create this evening! Not so bad for throwing these bowls late last night, huh?!

Categories: bowls, classes, process, surface decoration, textures

You’re the “Master of Water-Etching”… and I’m sure my students loved your demo! You went above & beyond with that splash of color… but I knew you would. Thanks for being the best sub teacher ever for my SURFACE DECORATIONS class last Thursday!

Categories: bowls, color, process, surface decoration, teaching, textures

After wiping away the background… leaving the wax resist areas intact… Catherine had to get a little showy and added a layer of colored fun to her demo! Letting the wax resist do it’s thing, Catherine painted the bowl with blue underglaze… and the color doesn’t stick on the wax, except for maybe a little touch-up here & there! So now the “protected” pattern areas will be higher & clay colored… whereas the background is lower & blue!!!

Categories: bowls, classes, process, surface decoration, textures

When the wax resist pattern were dry, Catherine Tweedie then demonstrated how to wipe away the “unprotected” background areas with a damp sponge. As you wipe, the background dissolves away, whereas the “wax protected” parts stay where they were. The more you wipe away, the deeper the contrast between the two layers. Be careful not to wipe too hard… or you might wipe away some of the wax!

Categories: bowls, classes, process, surface decoration

After Catherine did her demo for my SURFACE DECORATIONS class, my students picked up their paint brushes and gave it a go… painting patterns with wax resist on to the sides of bone dry bowls.

Categories: bowls, classes, process, surface decoration, teaching, textures

Knowing that I was going to be out-of-town for my SURFACE DECORATIONS class last week, I secured my pal Catherine Tweedie to sub for the class. She’s “the master” of water-etching…. so I knew she would be the perfect person to fill-in for me. She taught them the basics of the process… basically painting a pattern with wax resist or shellac, and then wiping away the “unprotected” background with a wet sponge. Here she is with two of her demo bowls painted with wax – just waiting for it to dry… before the wiping begins!

Categories: bowls, classes, production

For my SURFACE DECORATION class last week, my students were going to tackle water etching… so I figured I would start them off right with some small bowls to play with. Thrown, trimmed, dried and ready for them to follow along with the demo to create their own water-etched masterpiece! A little less “pressure” than doing it om their own bowls, right?

Categories: bowls, classes, stamped, stamps, textures

Last week in my Beginning Wheelthrowing class, we threw larger bowls. And then last night, we did a bit of stamping on the same larger bowl demo piece. My students have already made bowls & made their own stamps… now they just need to put it all together!