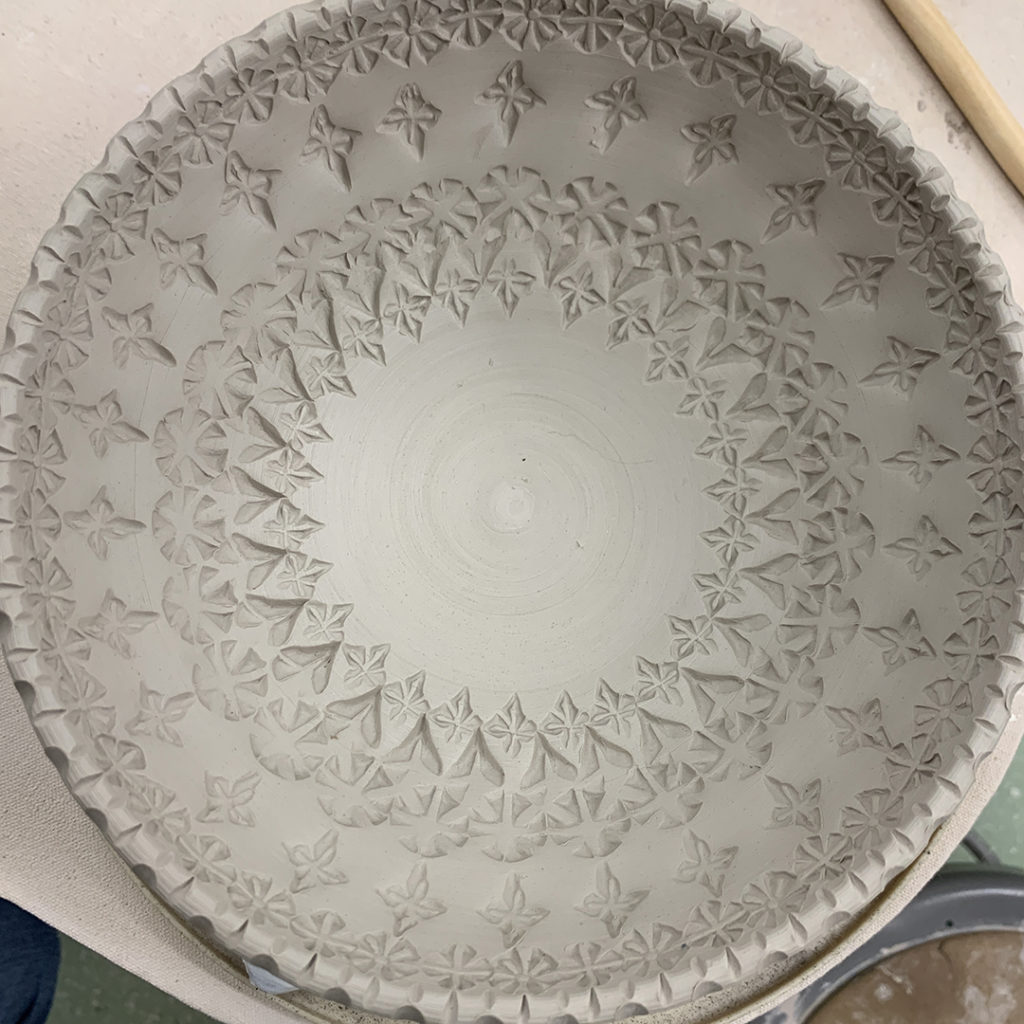
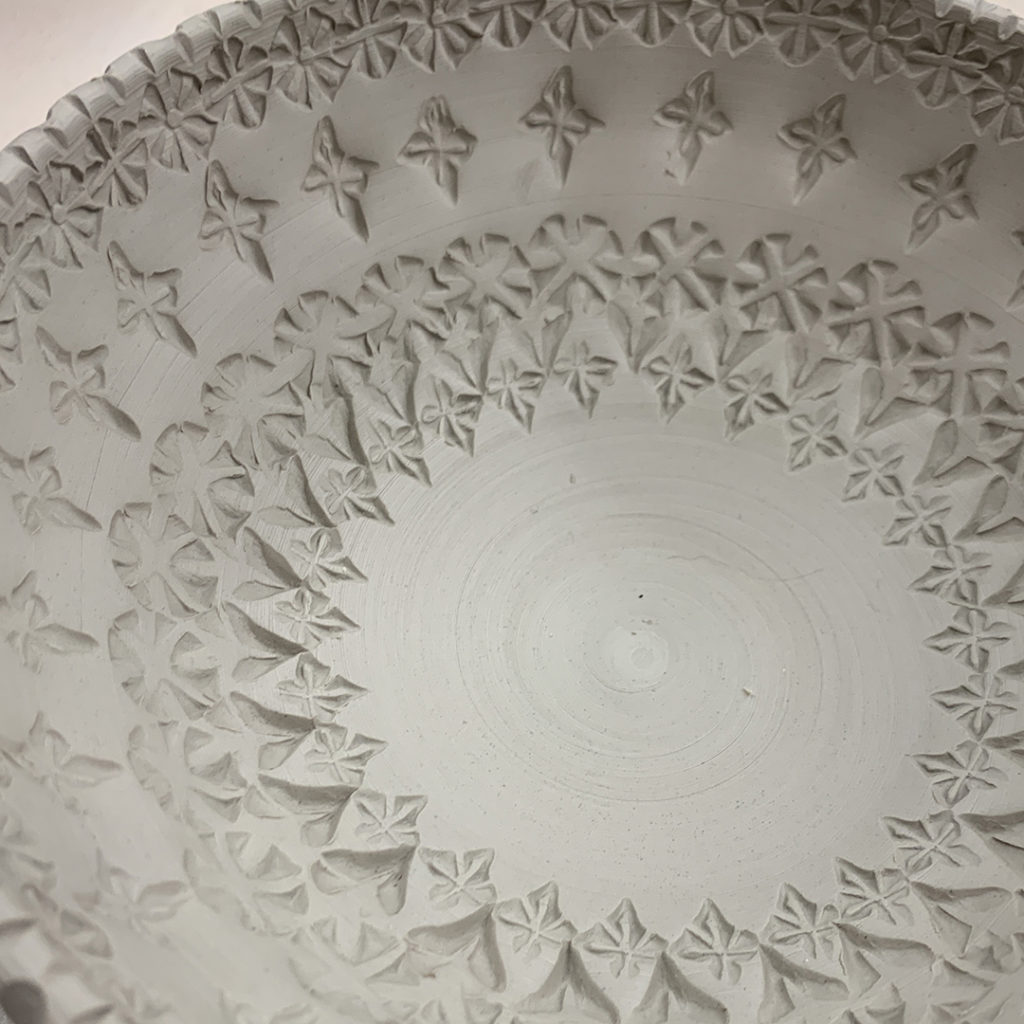
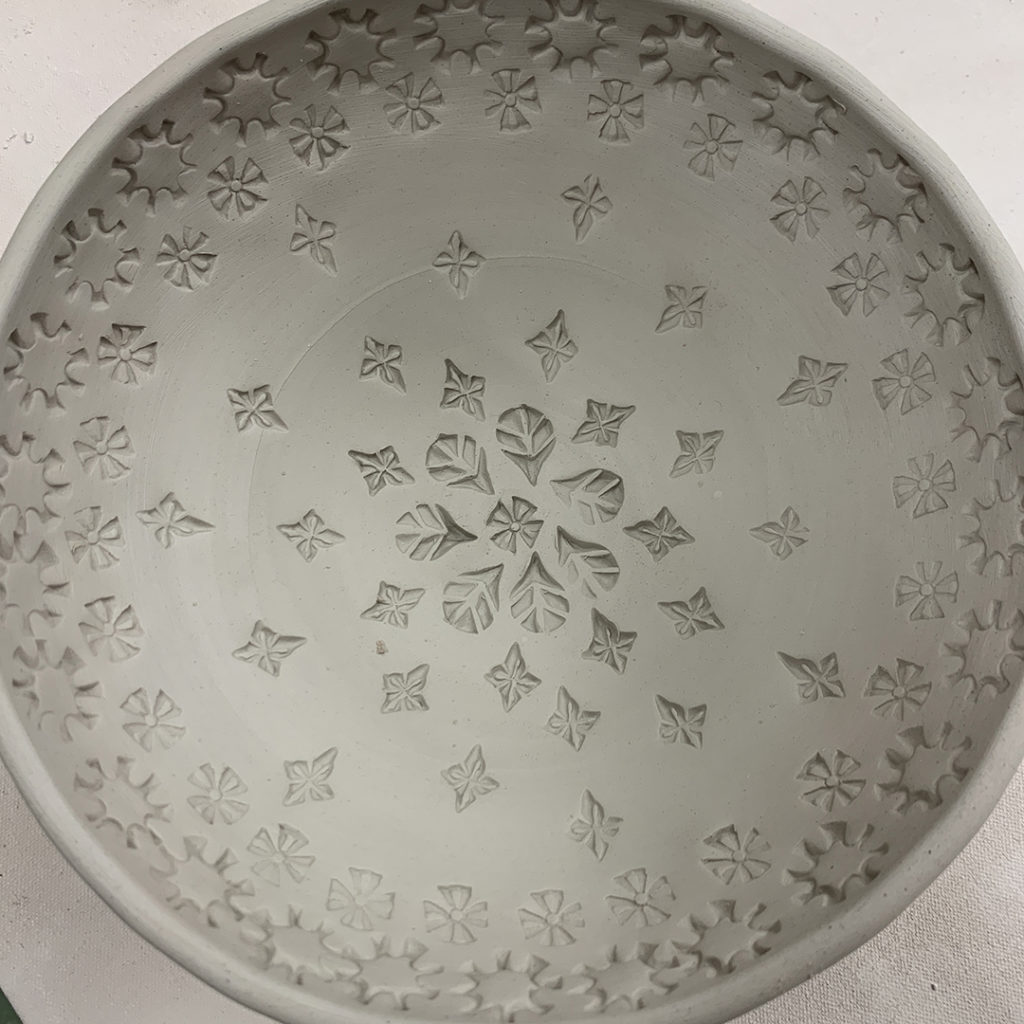
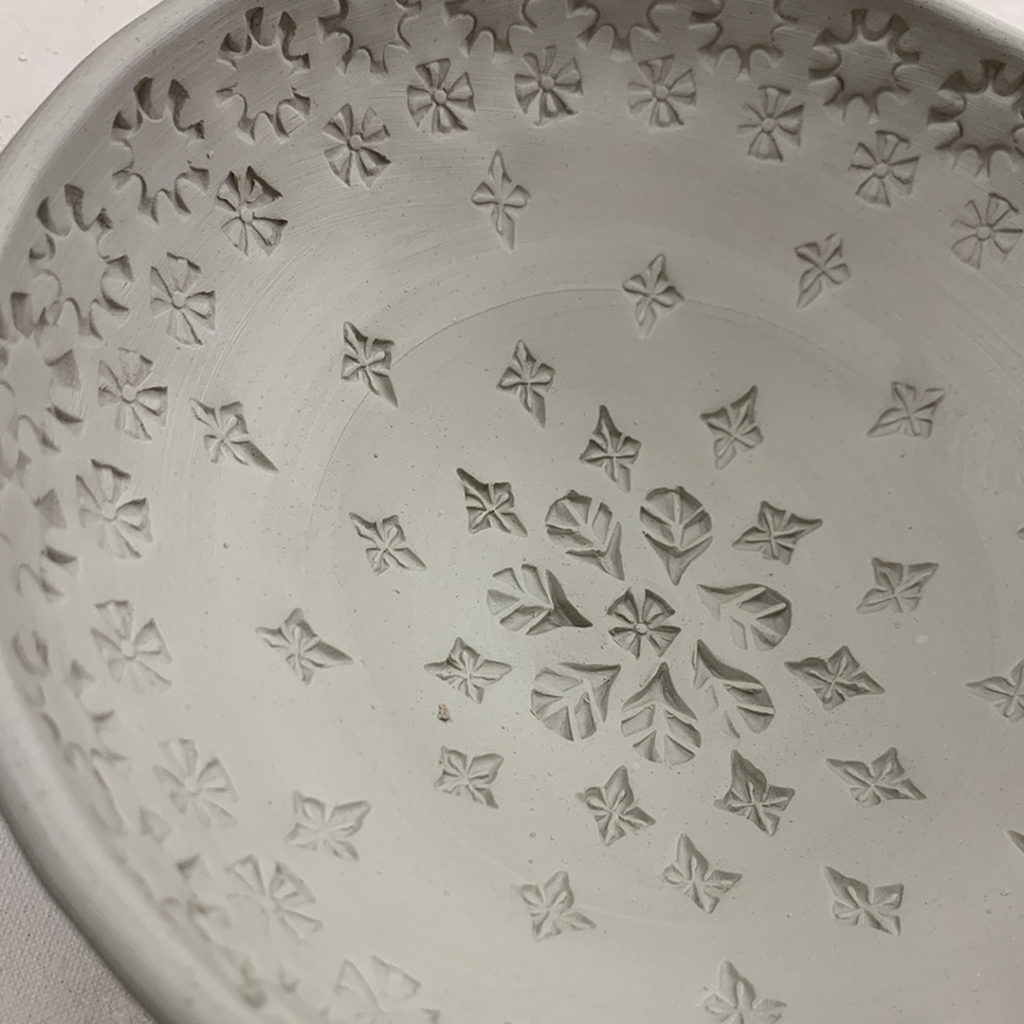
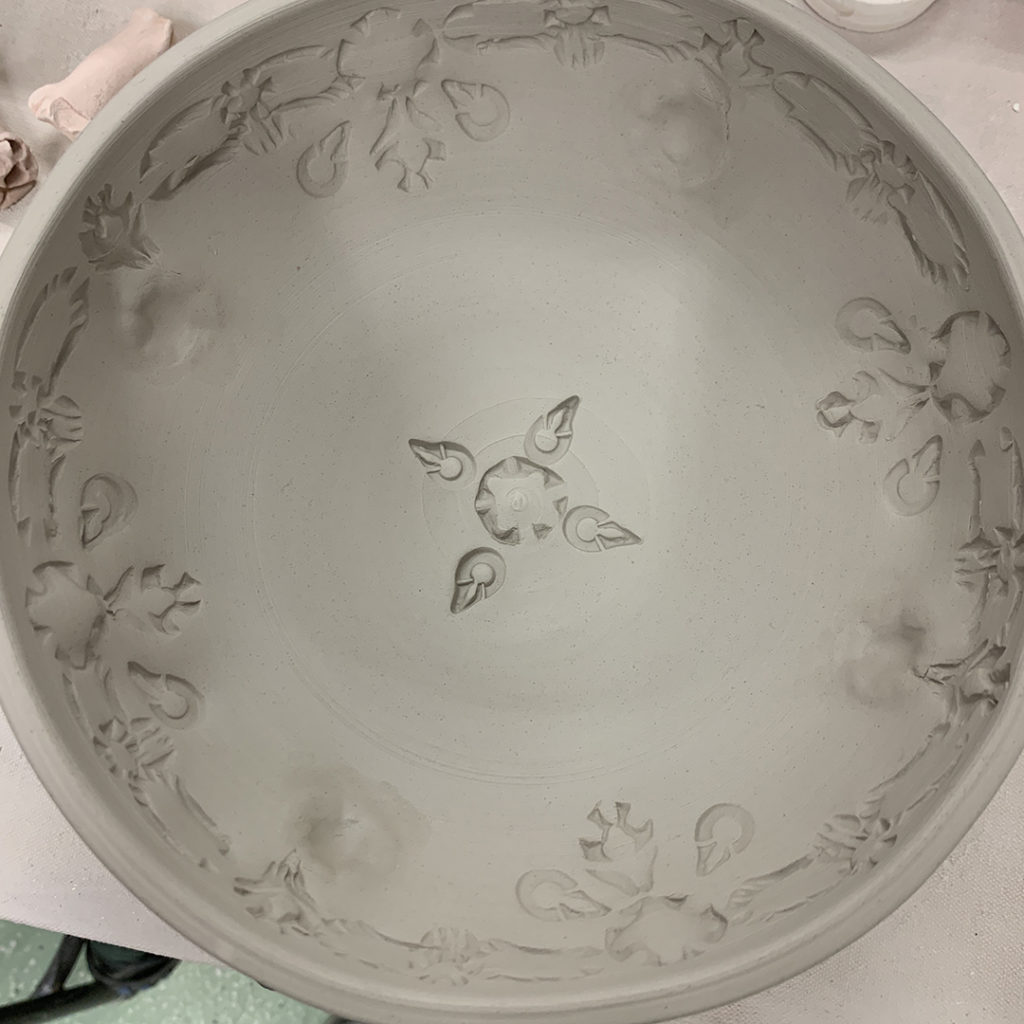
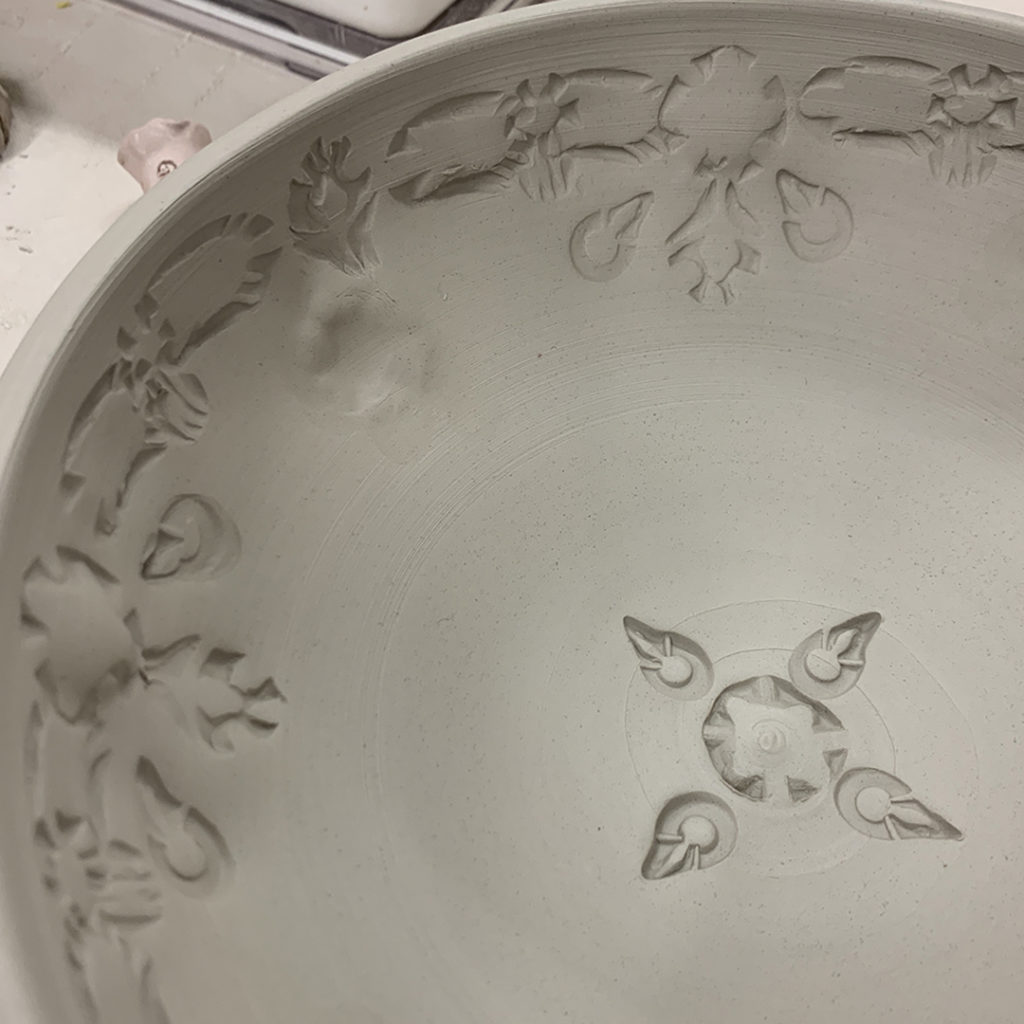
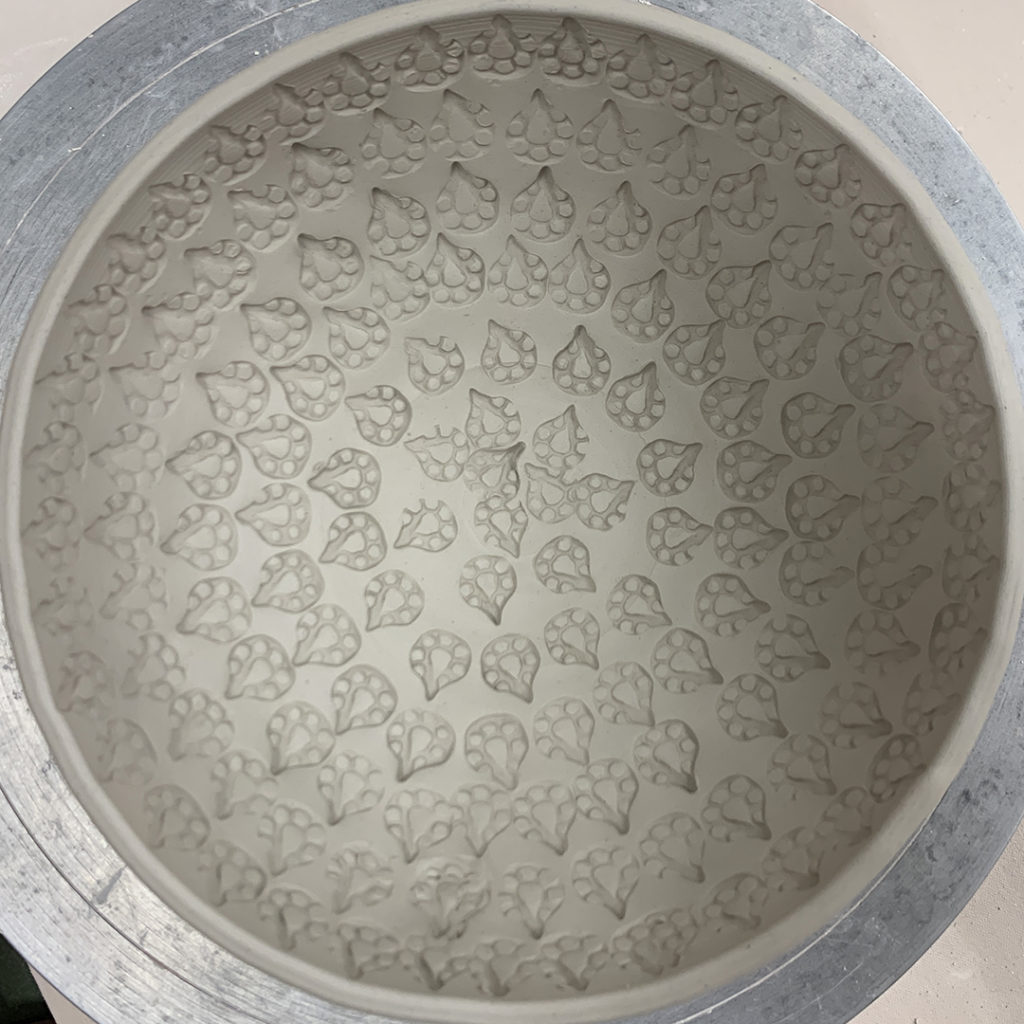
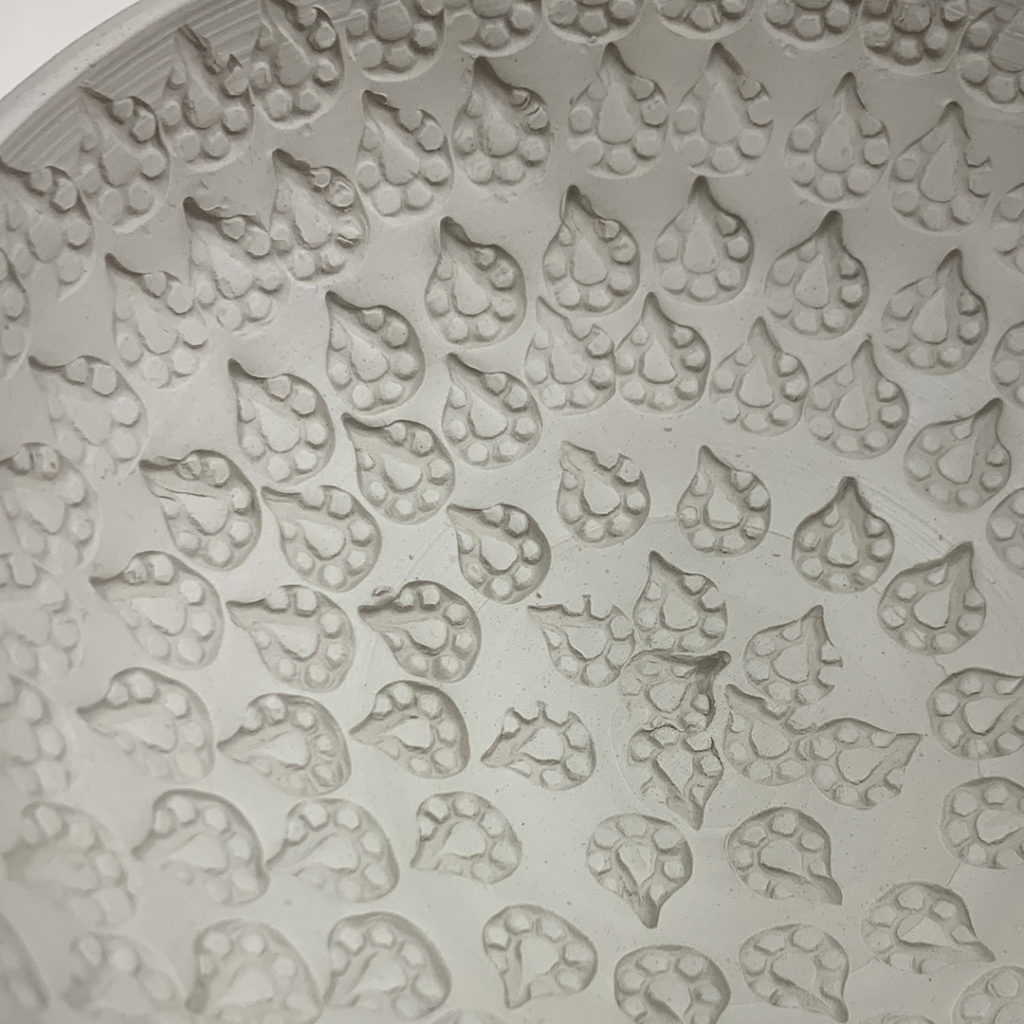
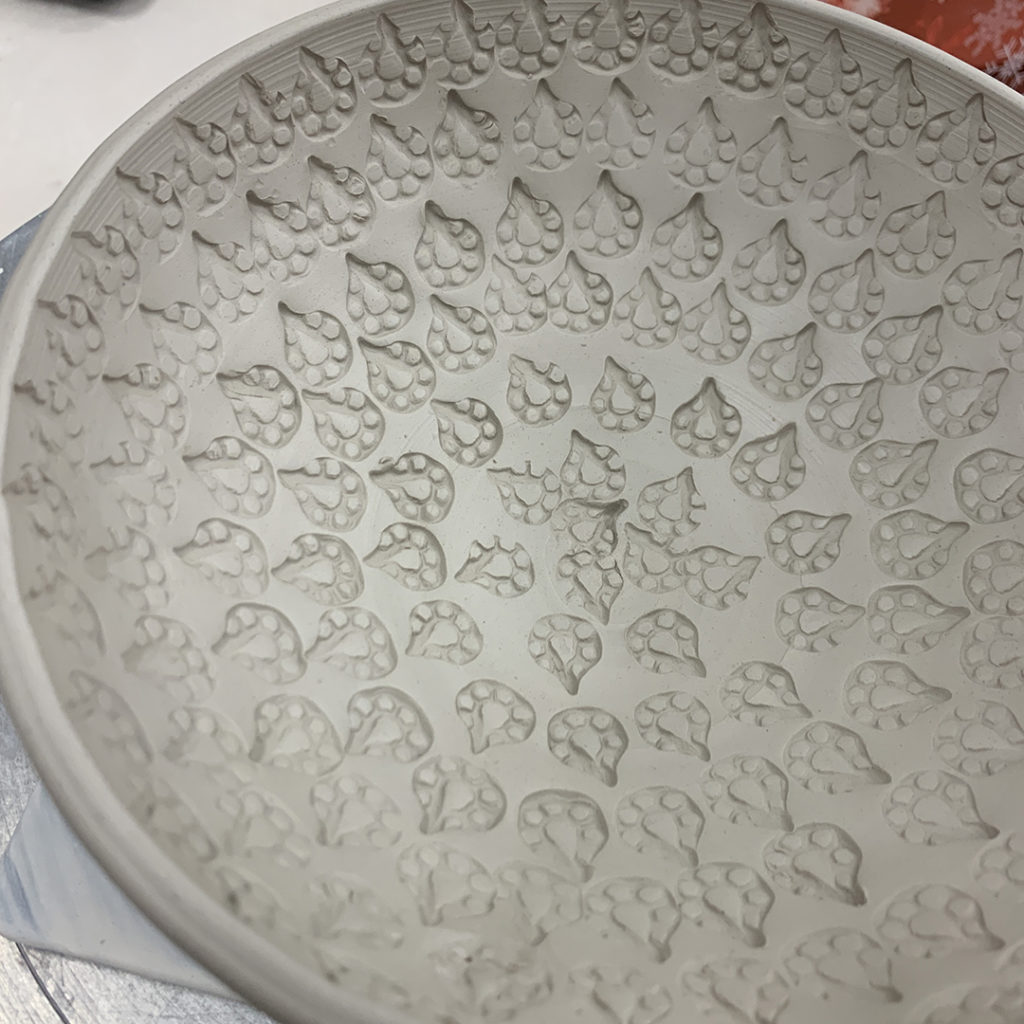
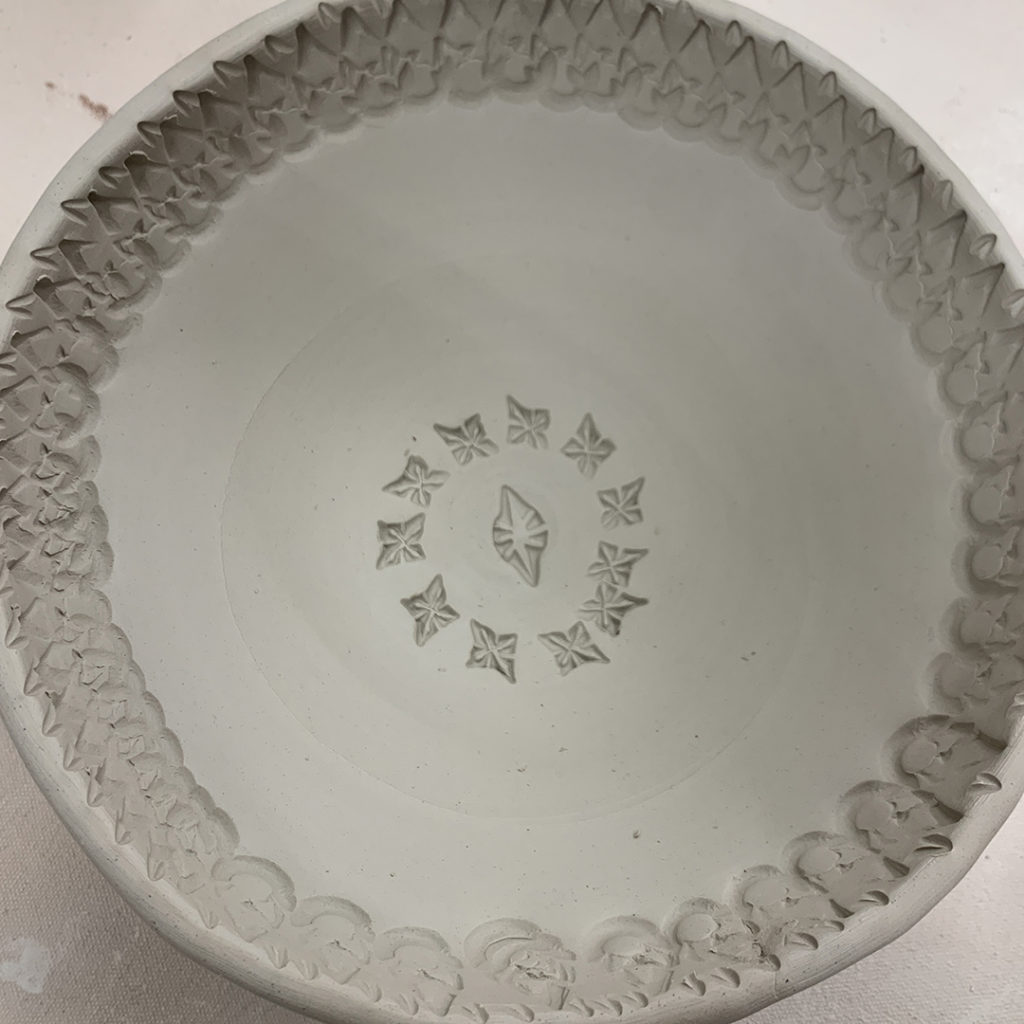
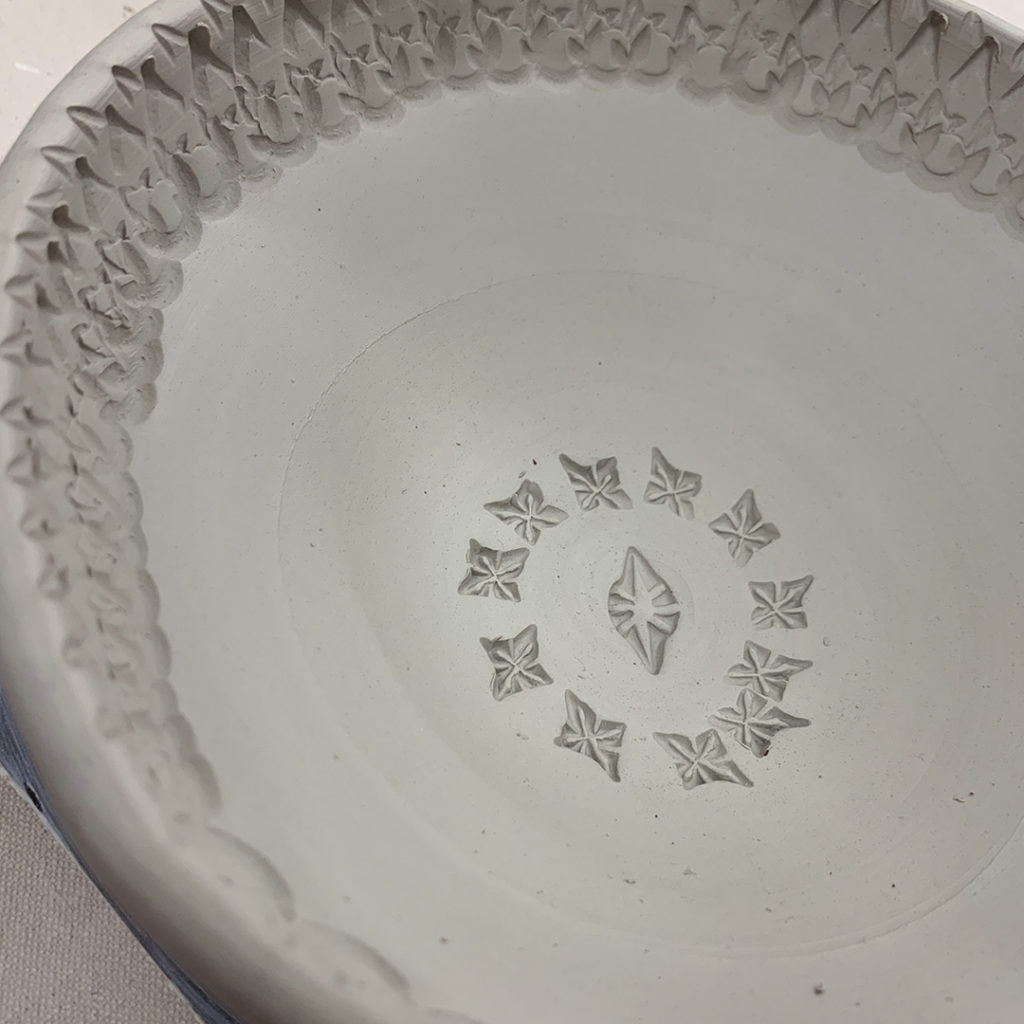
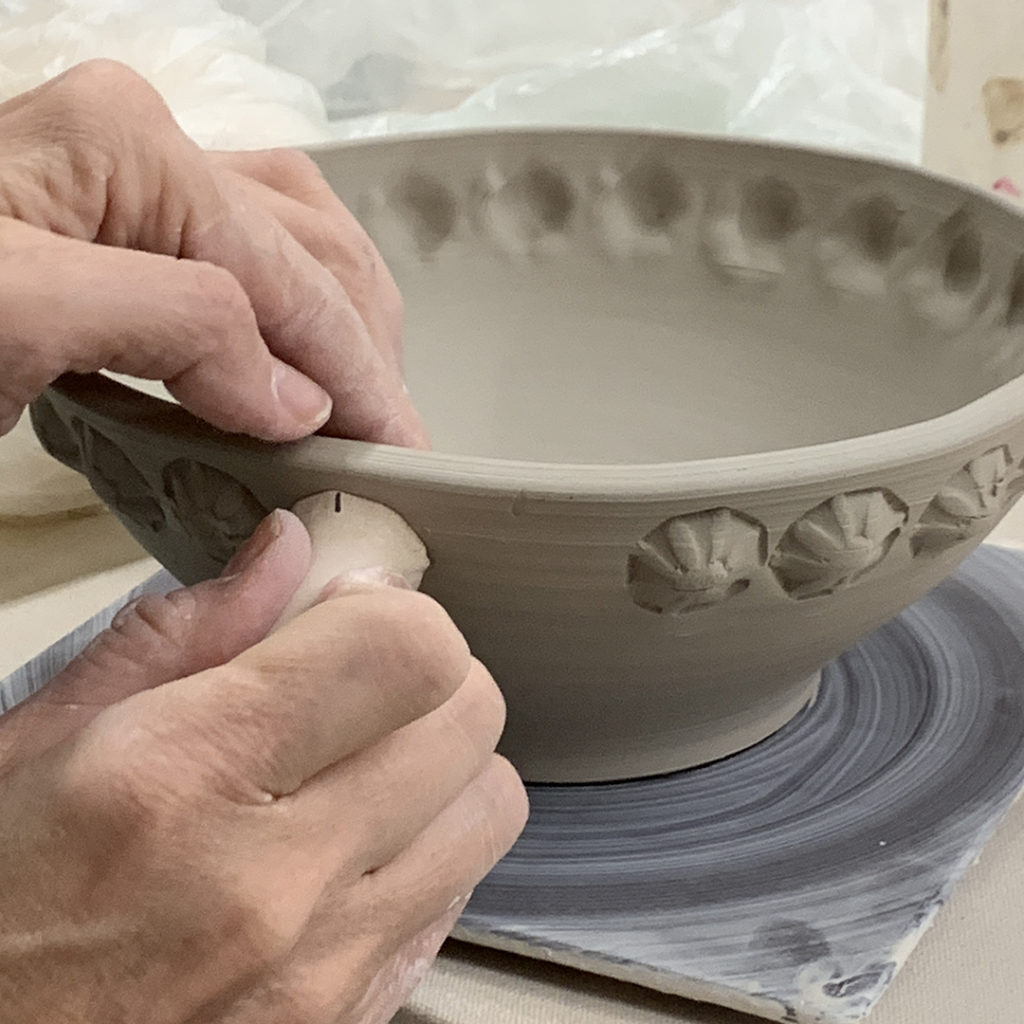
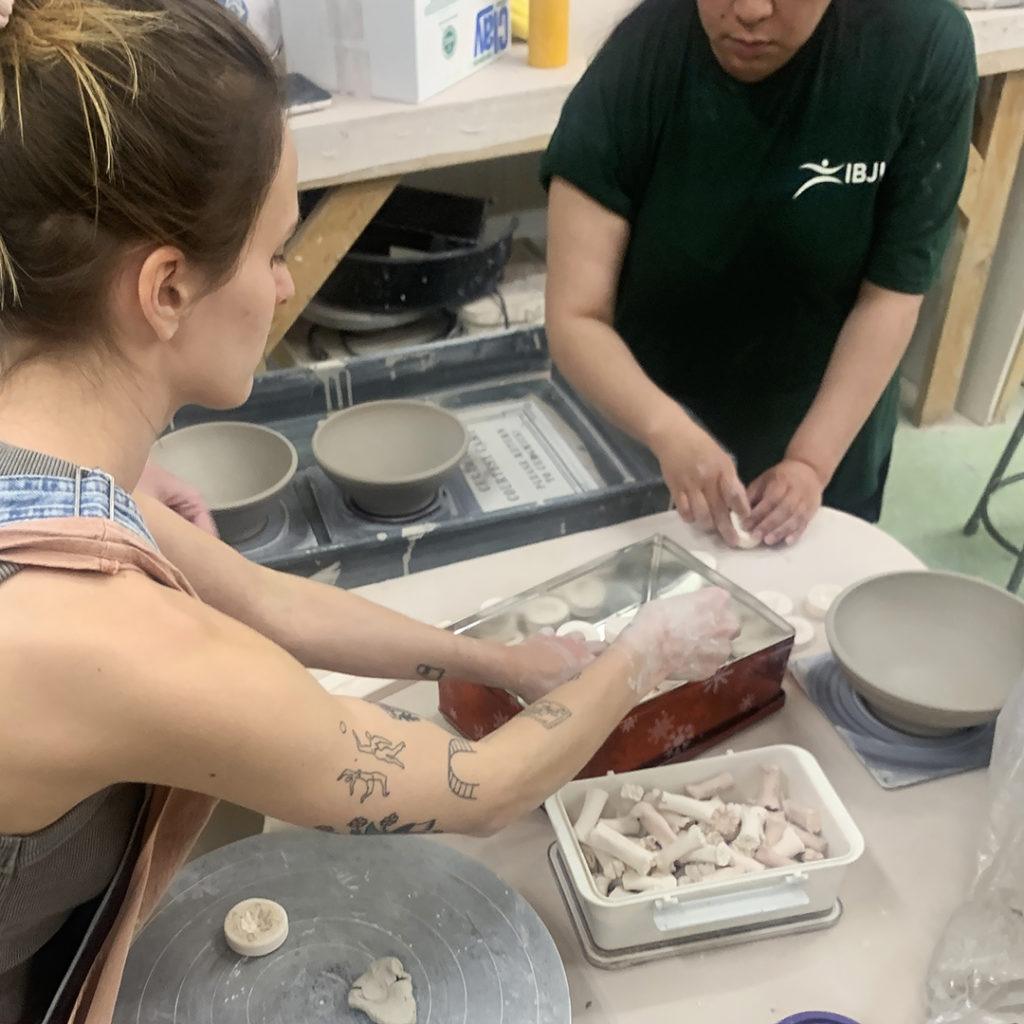
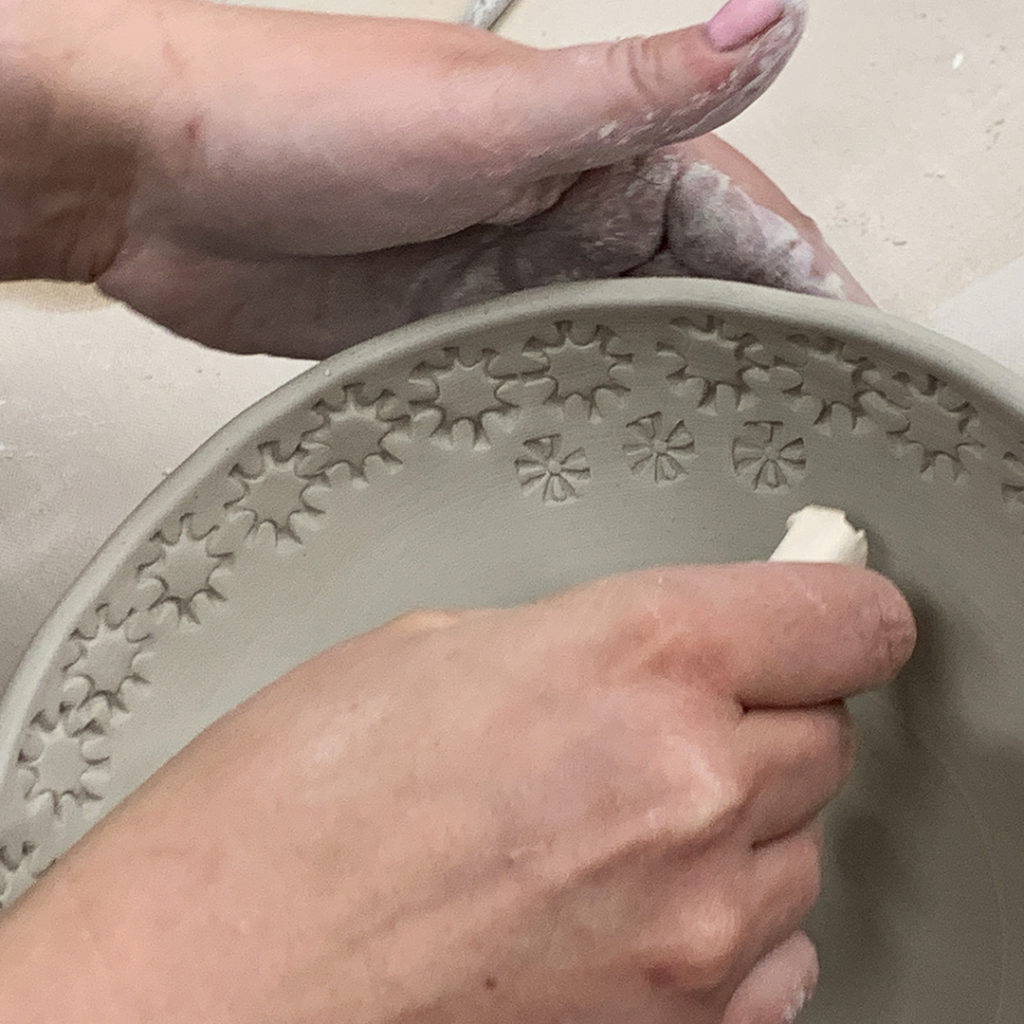
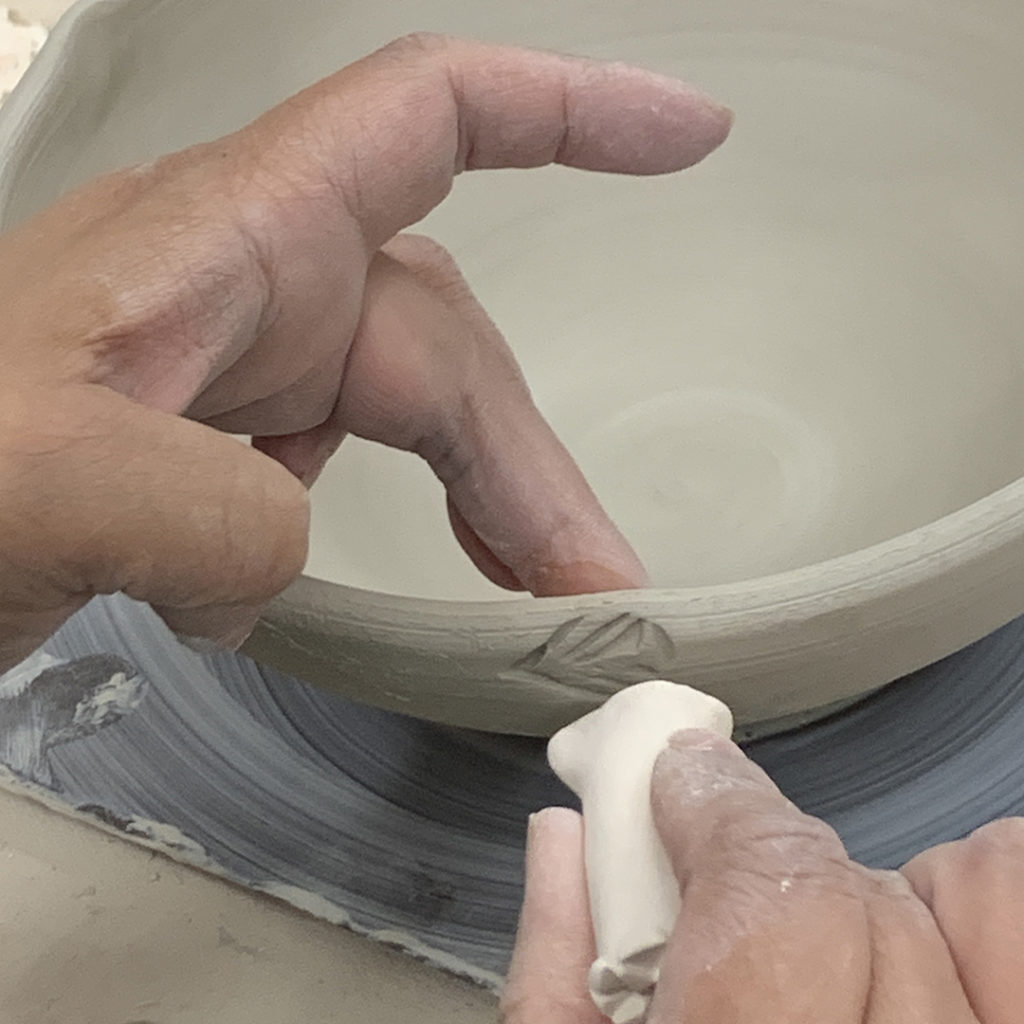
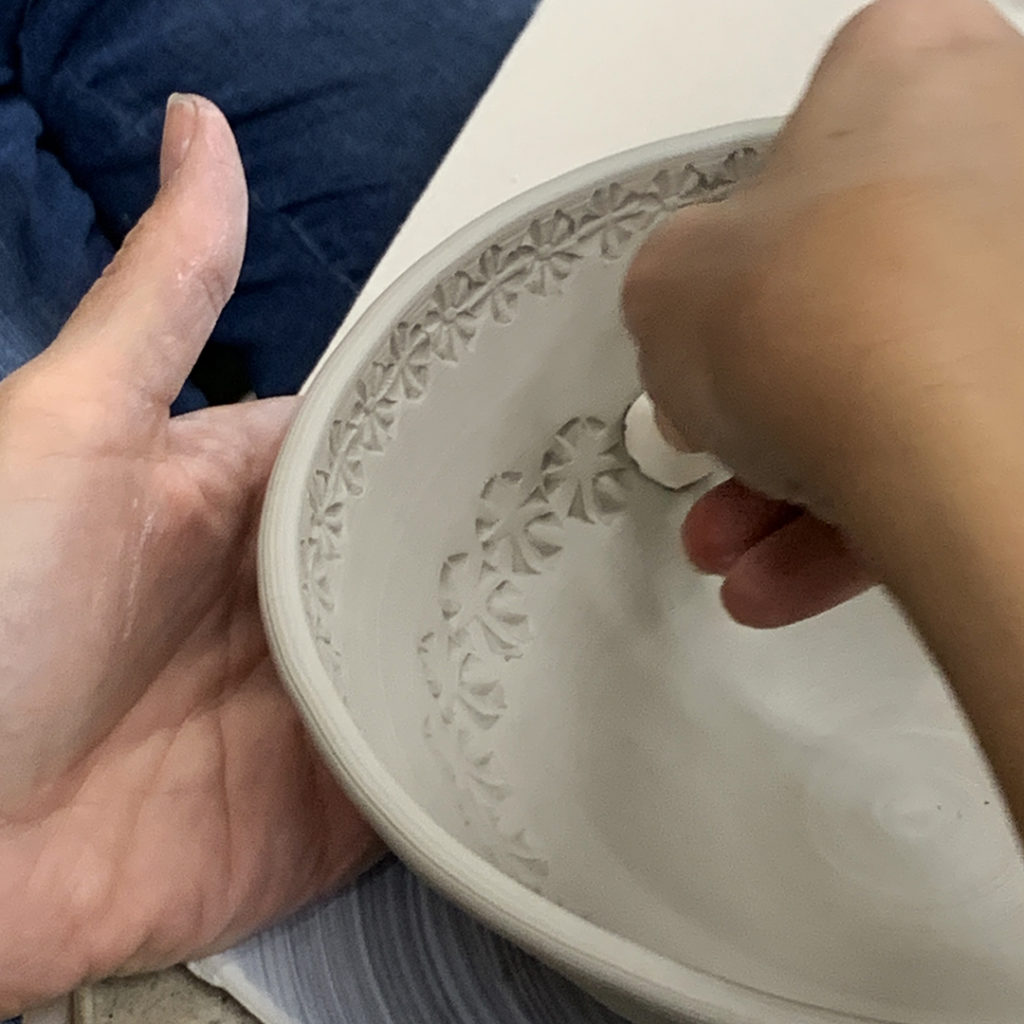
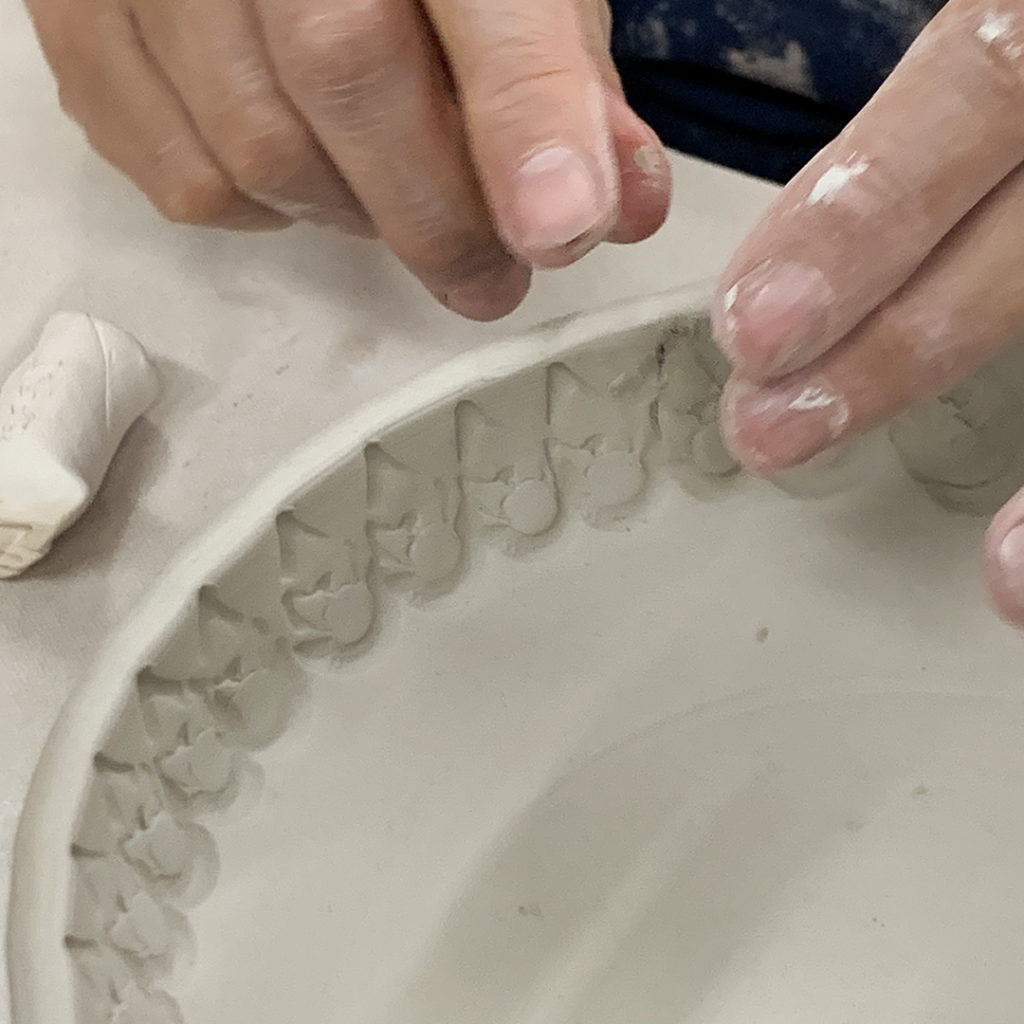
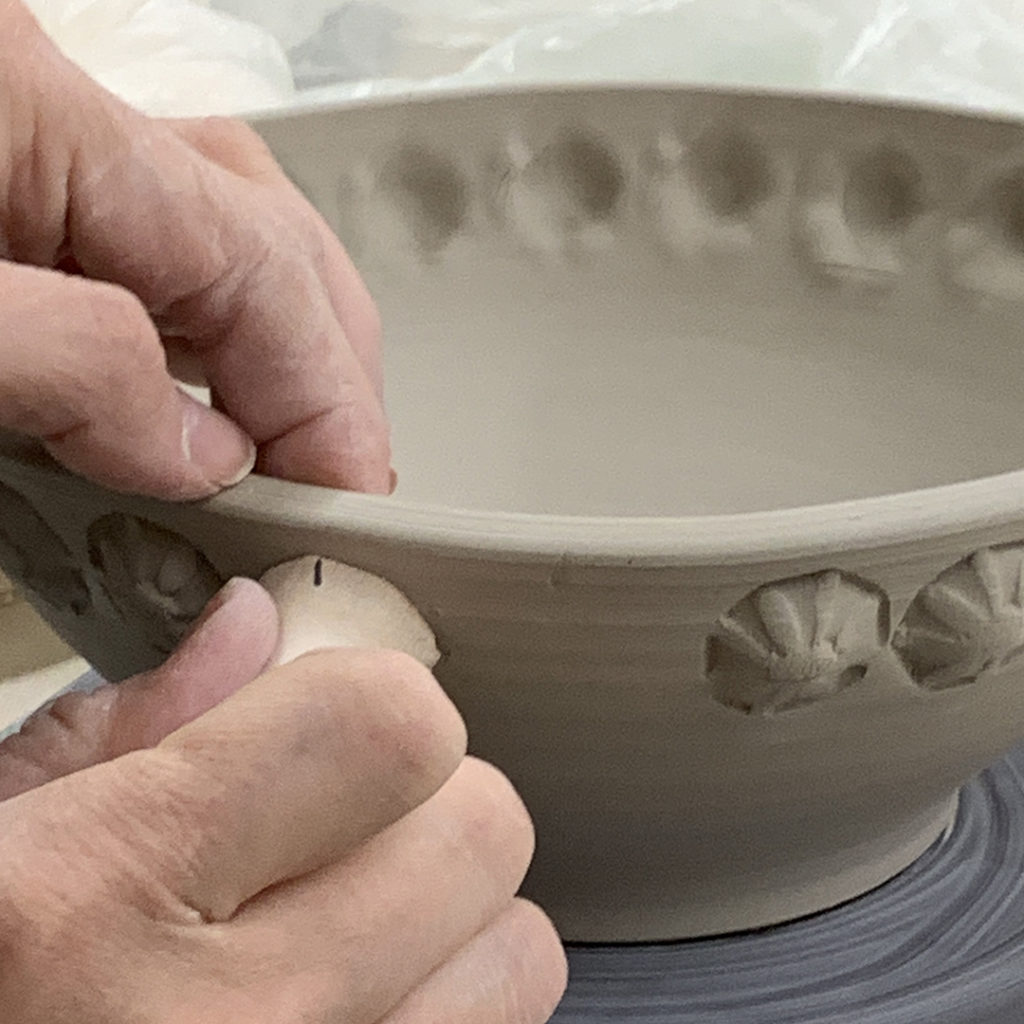
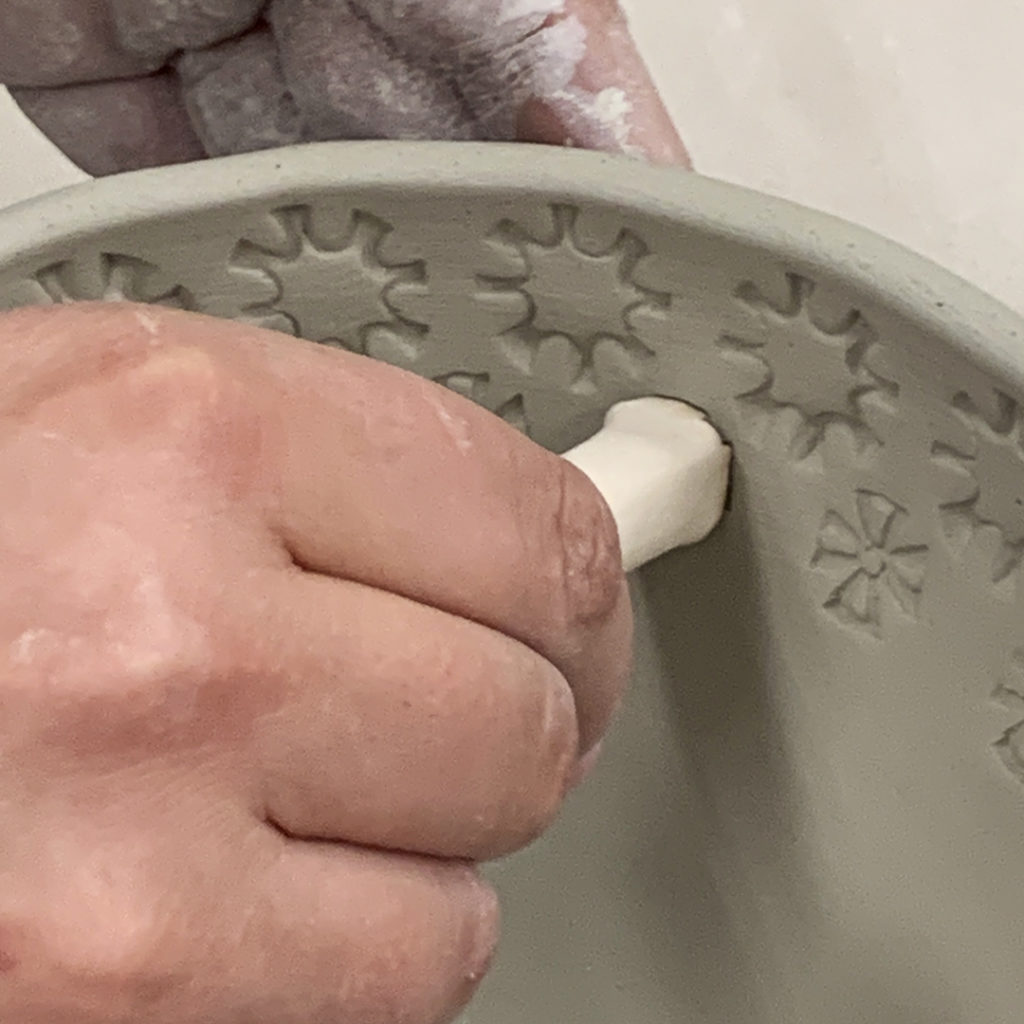
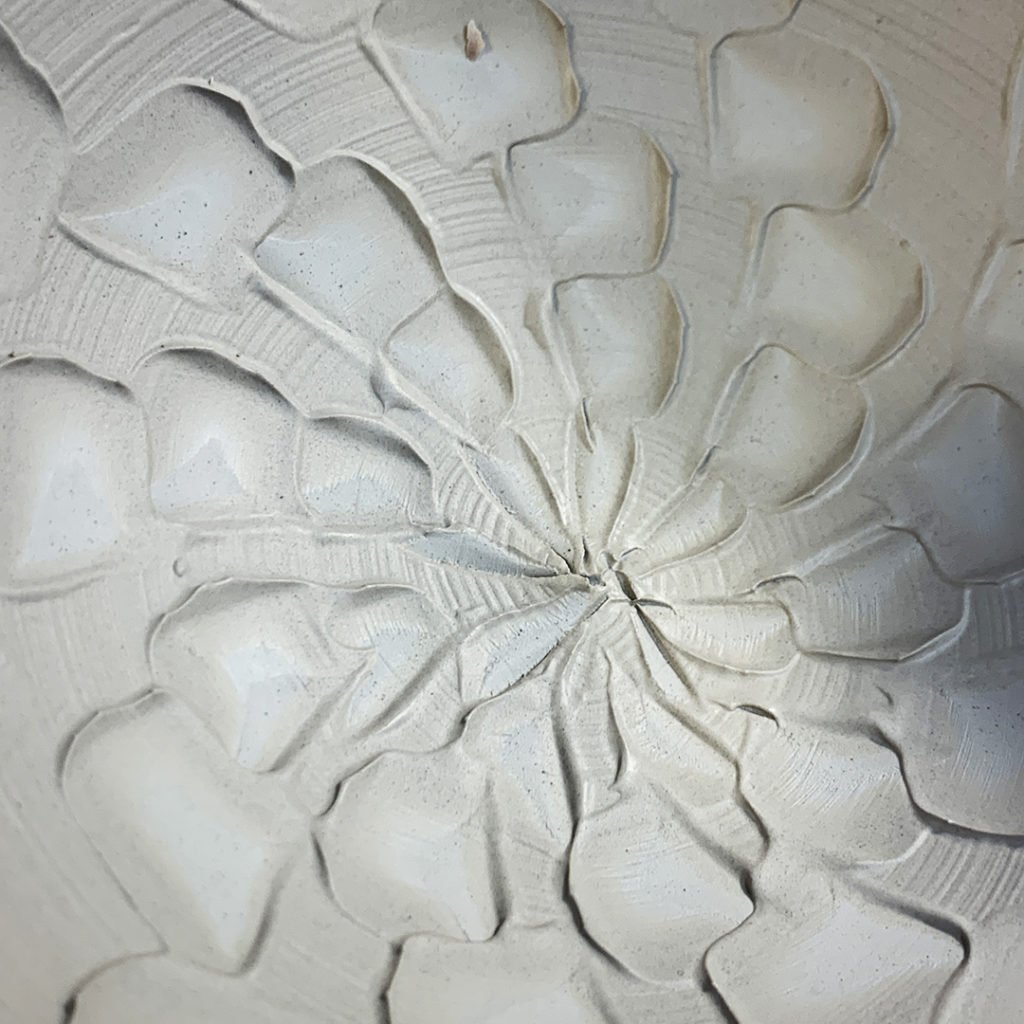
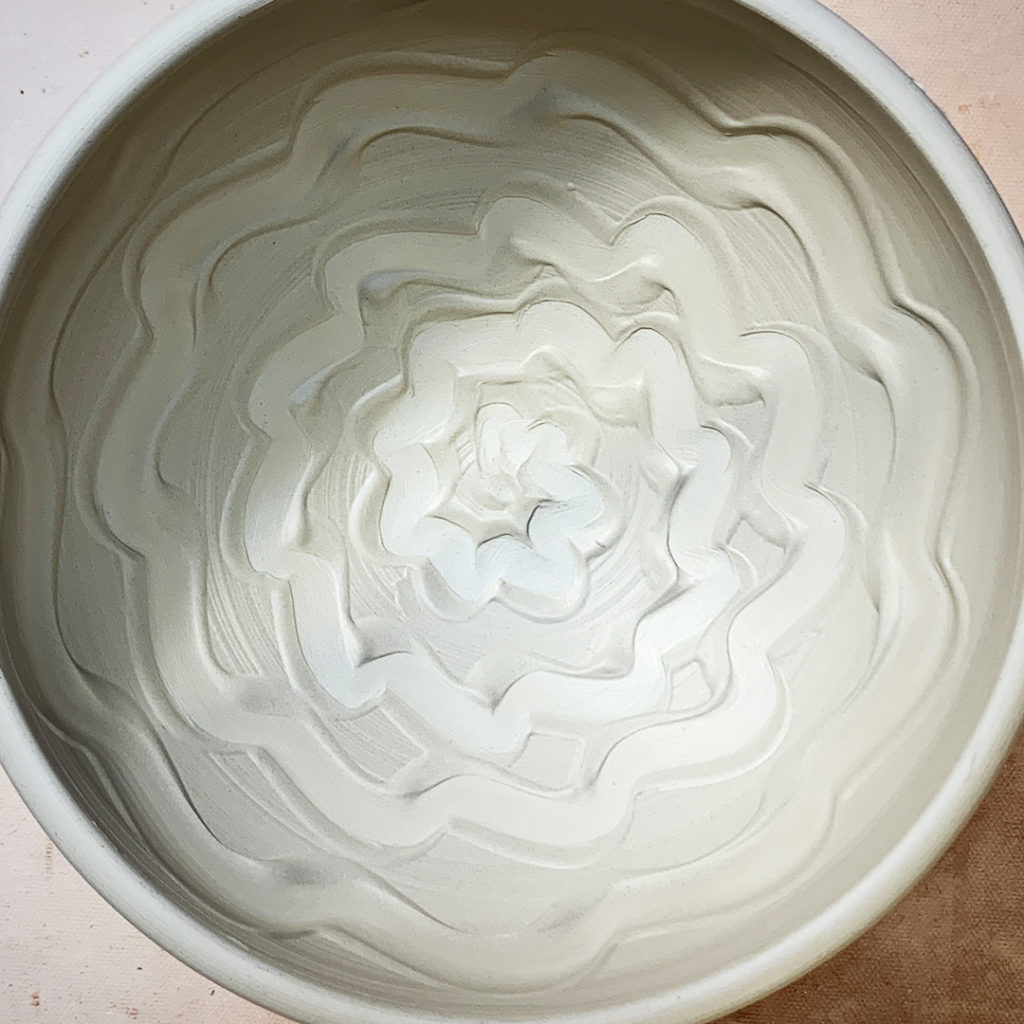
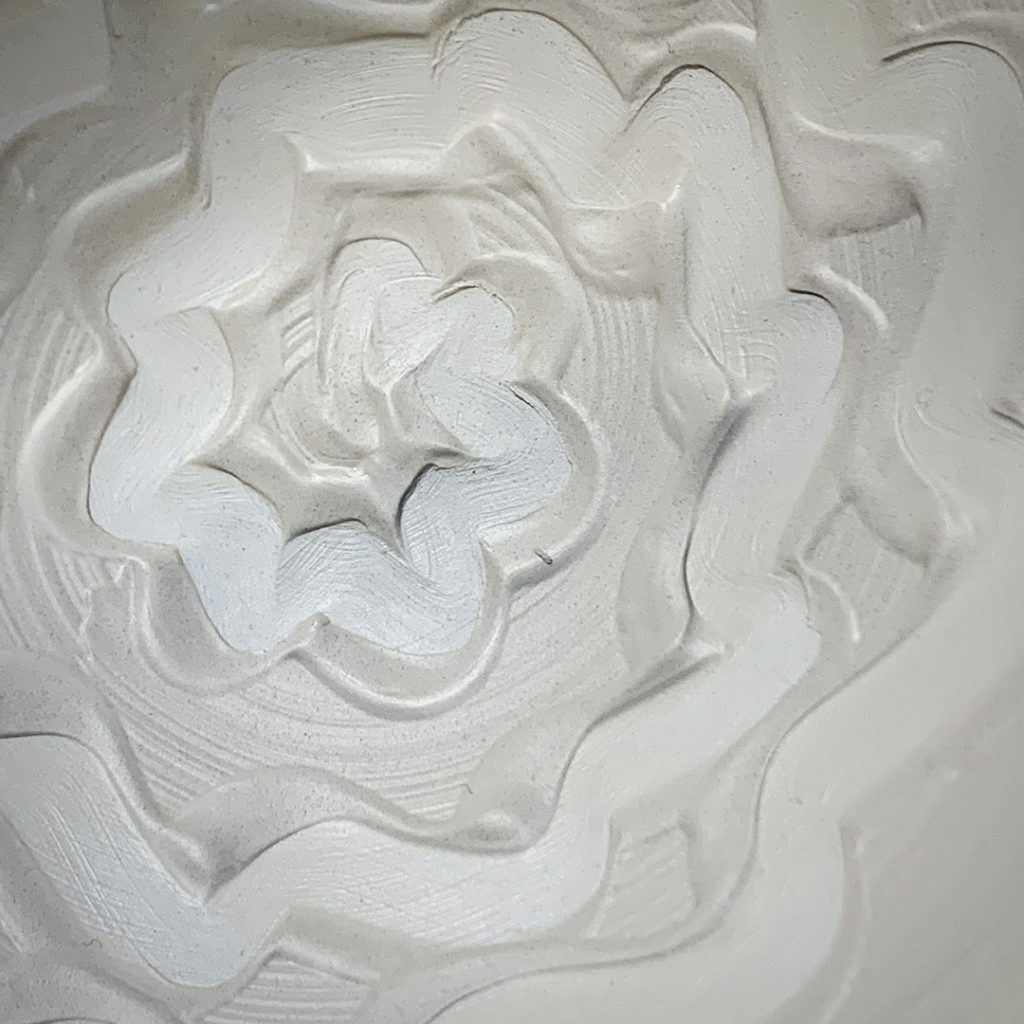
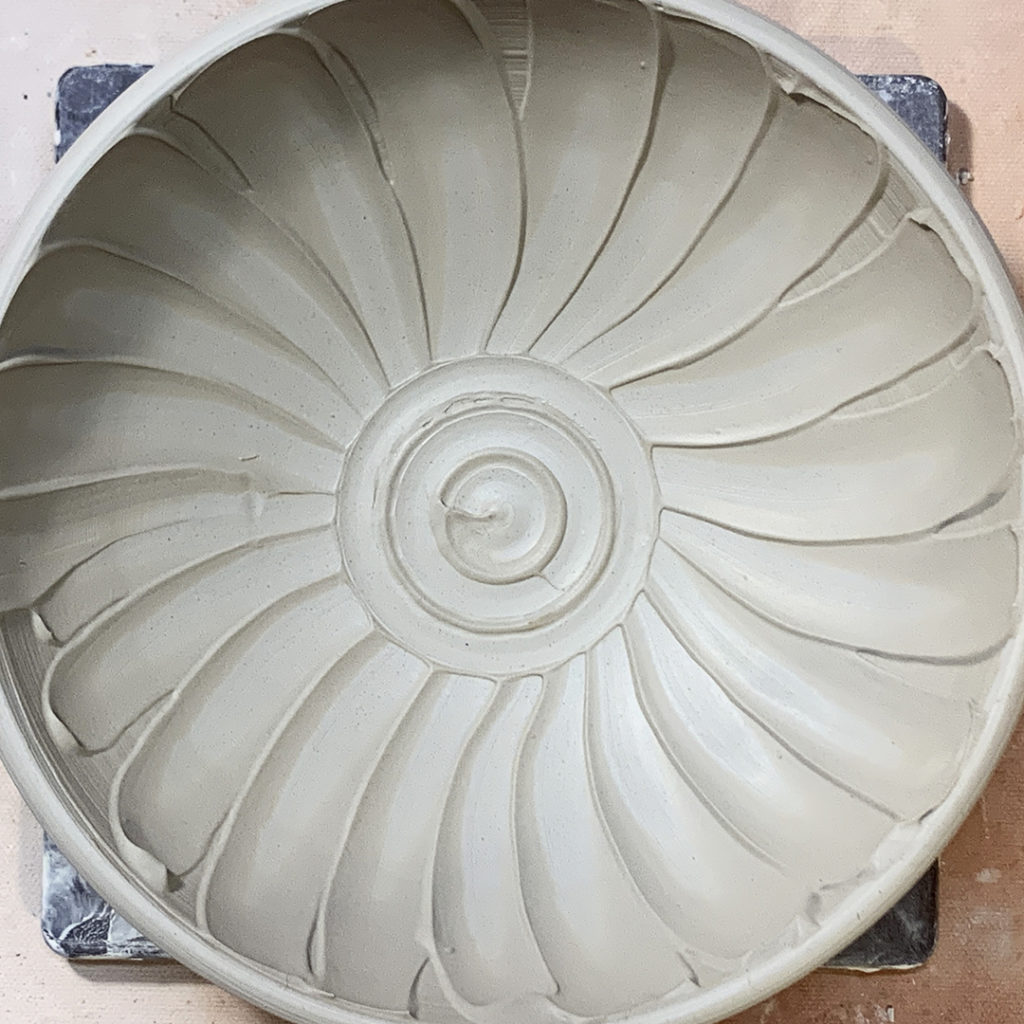
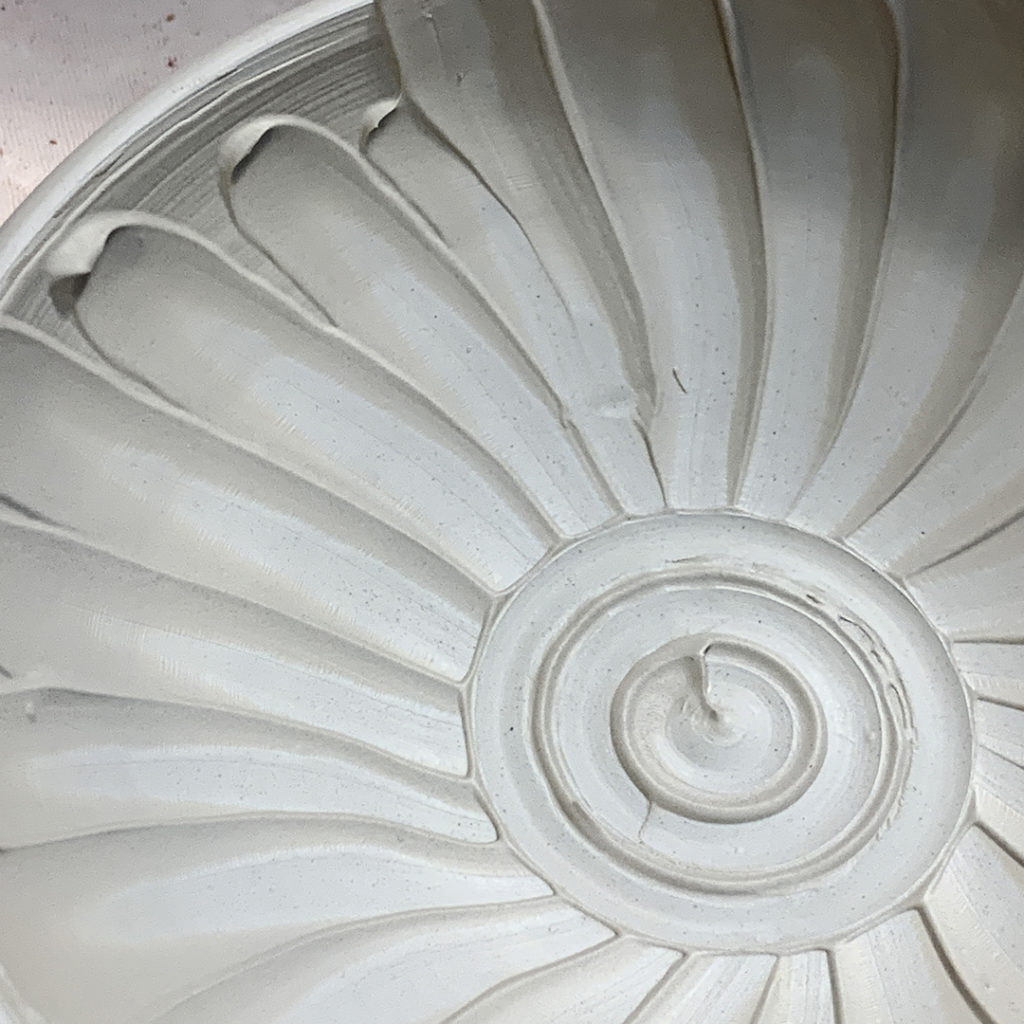
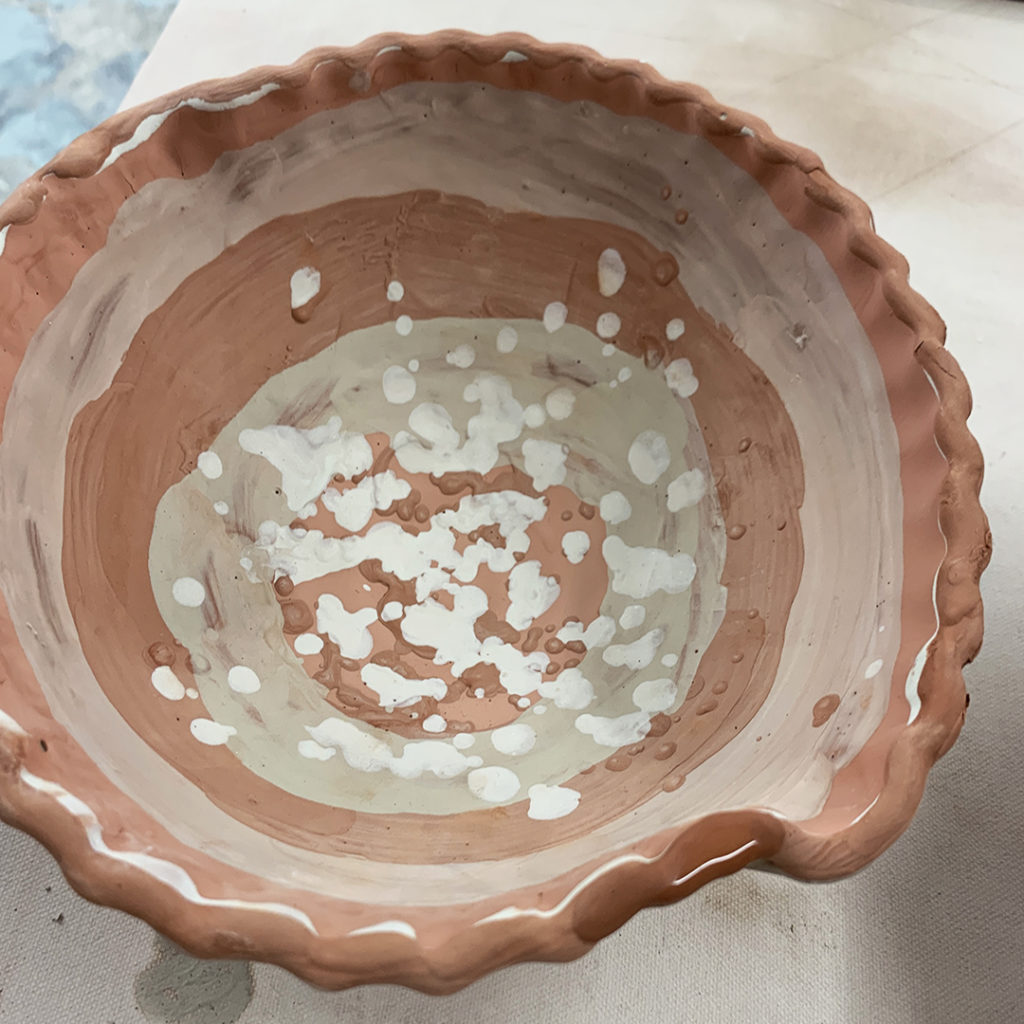
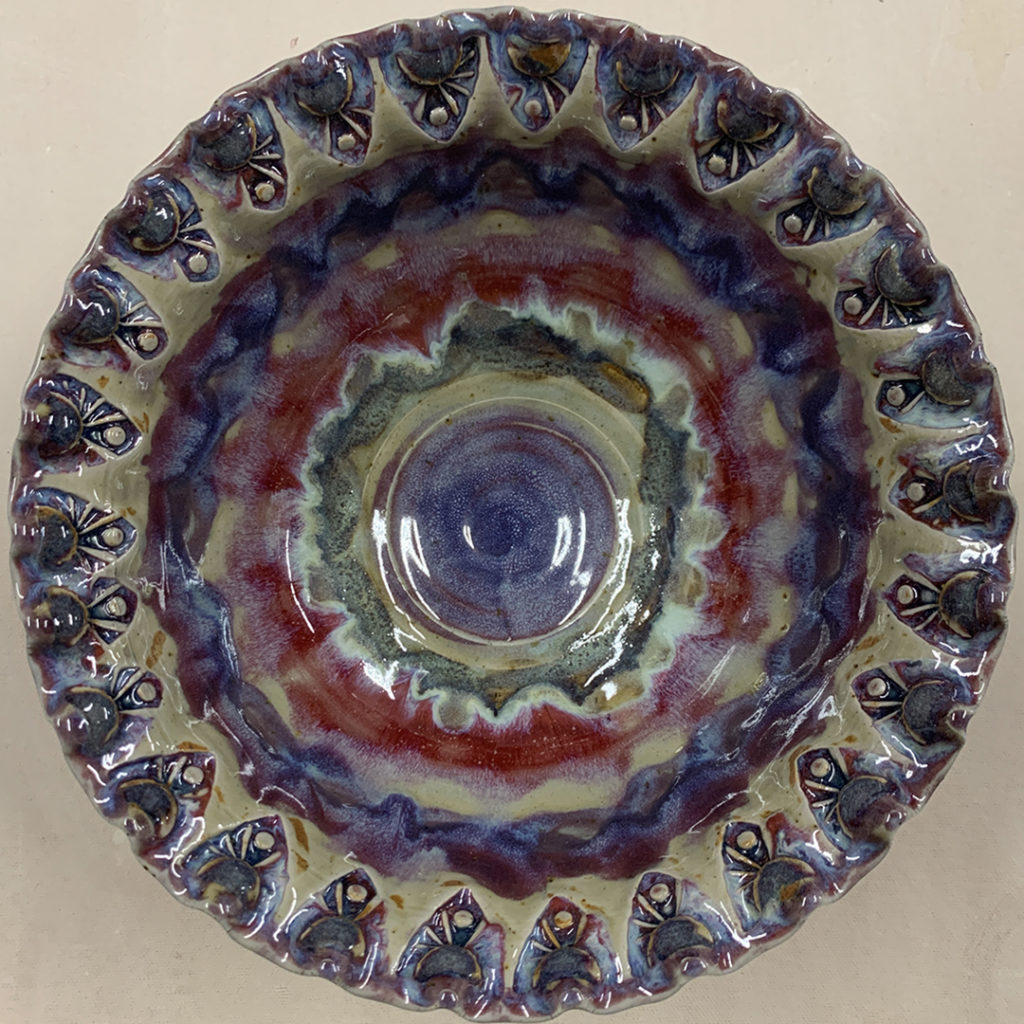
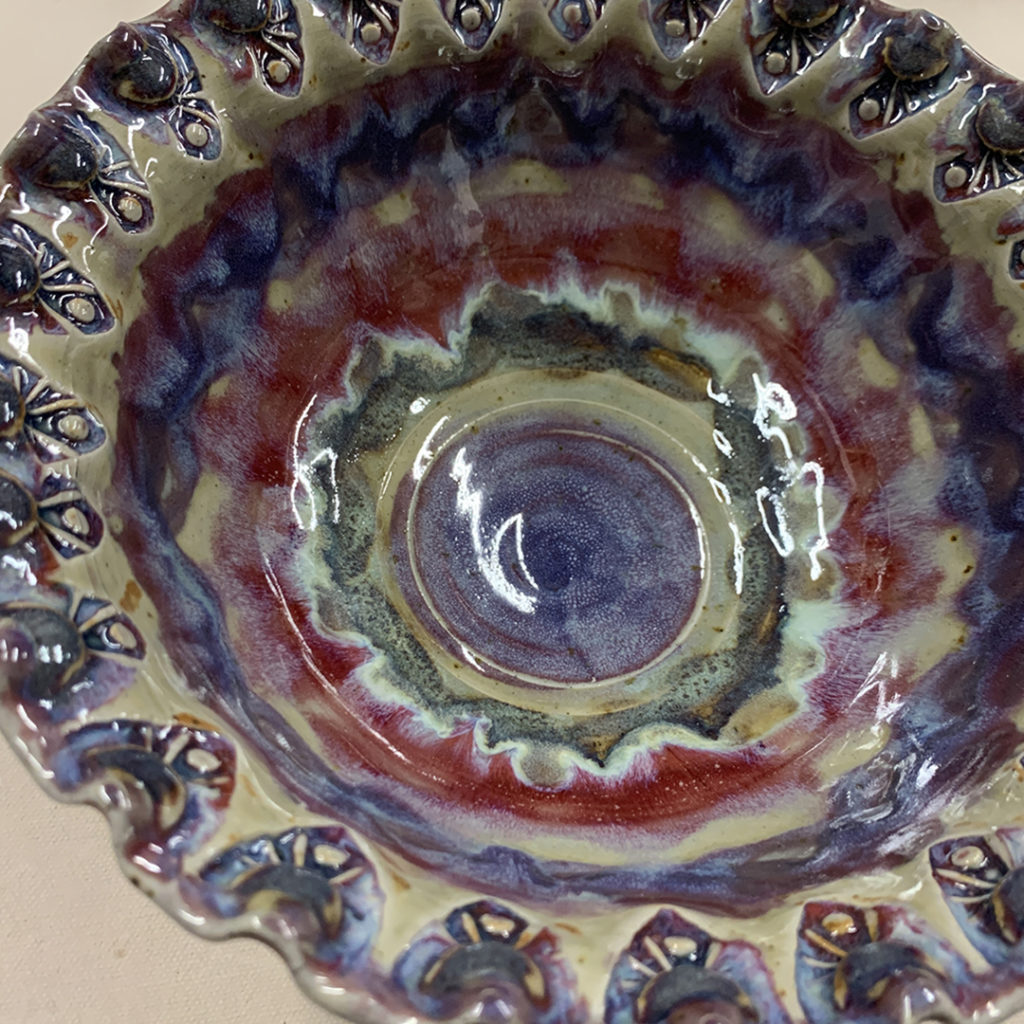
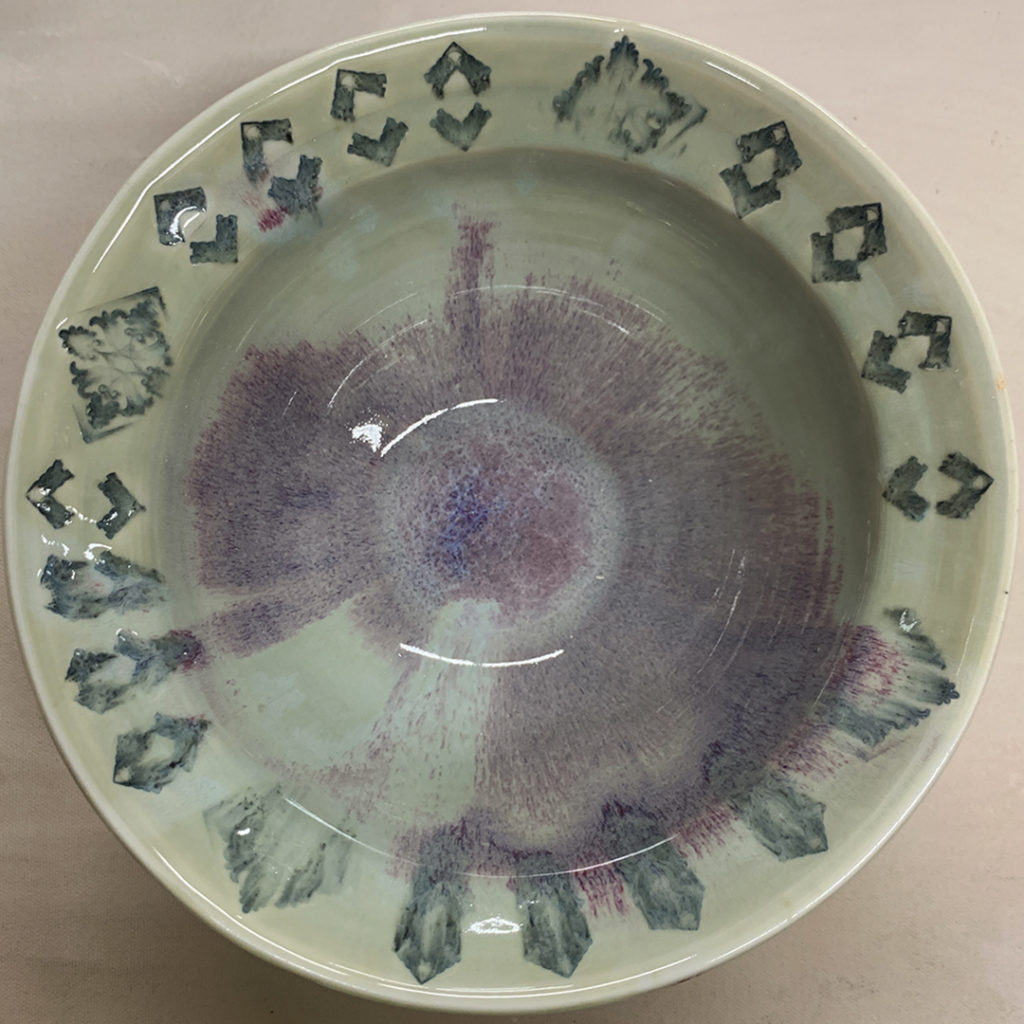
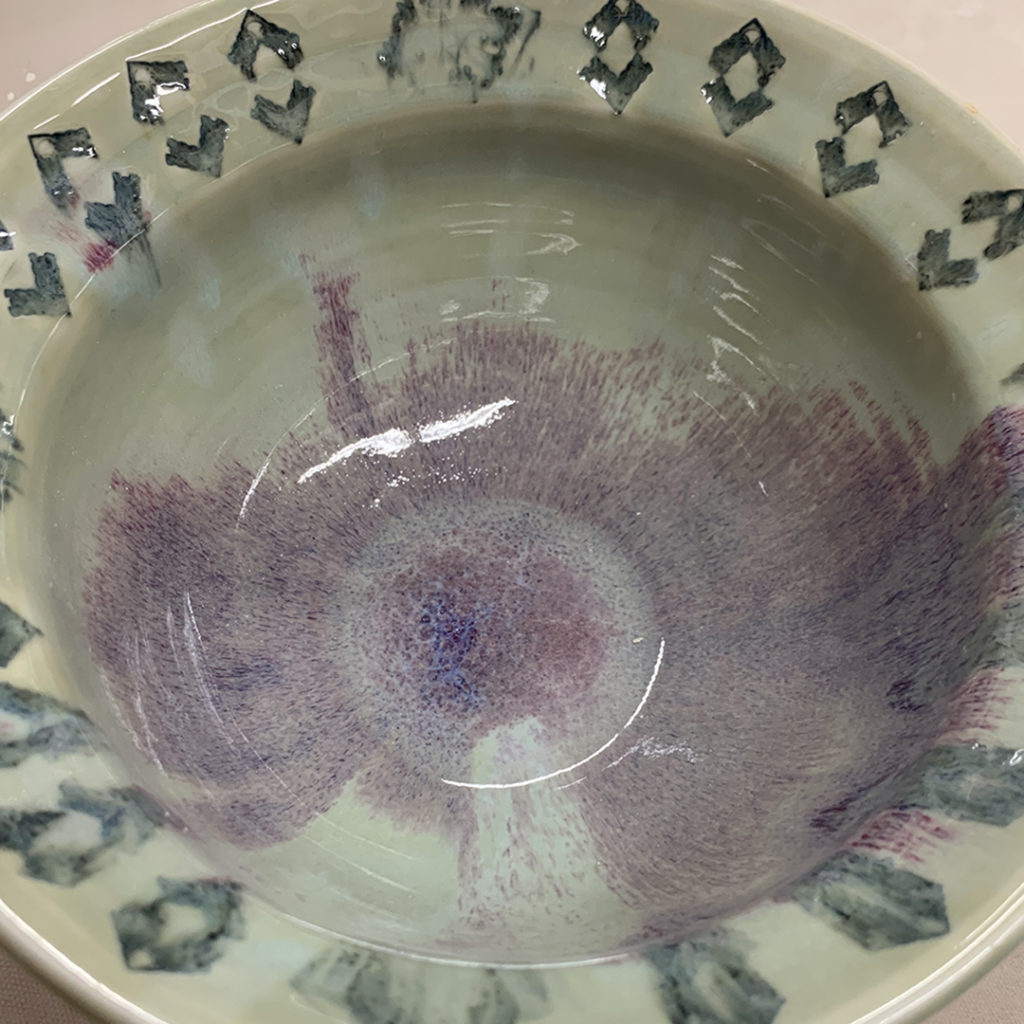
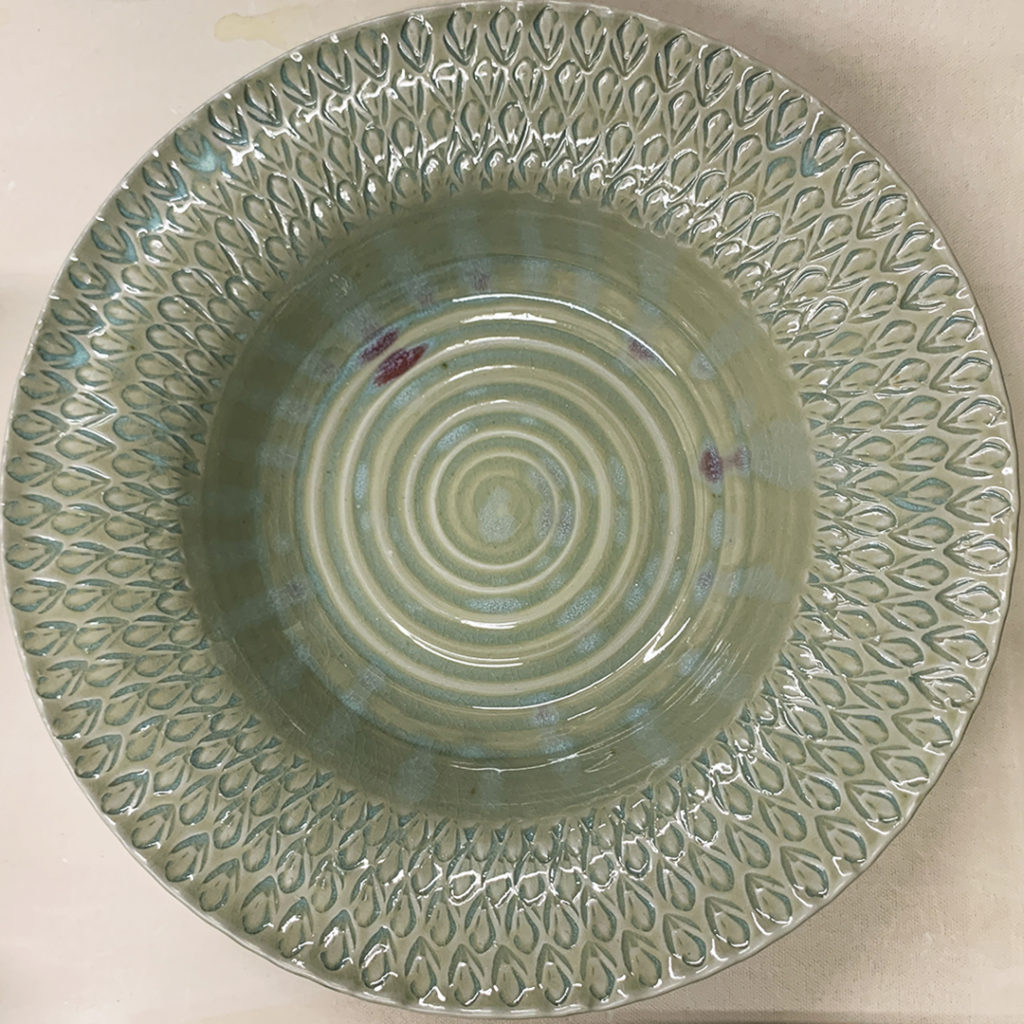
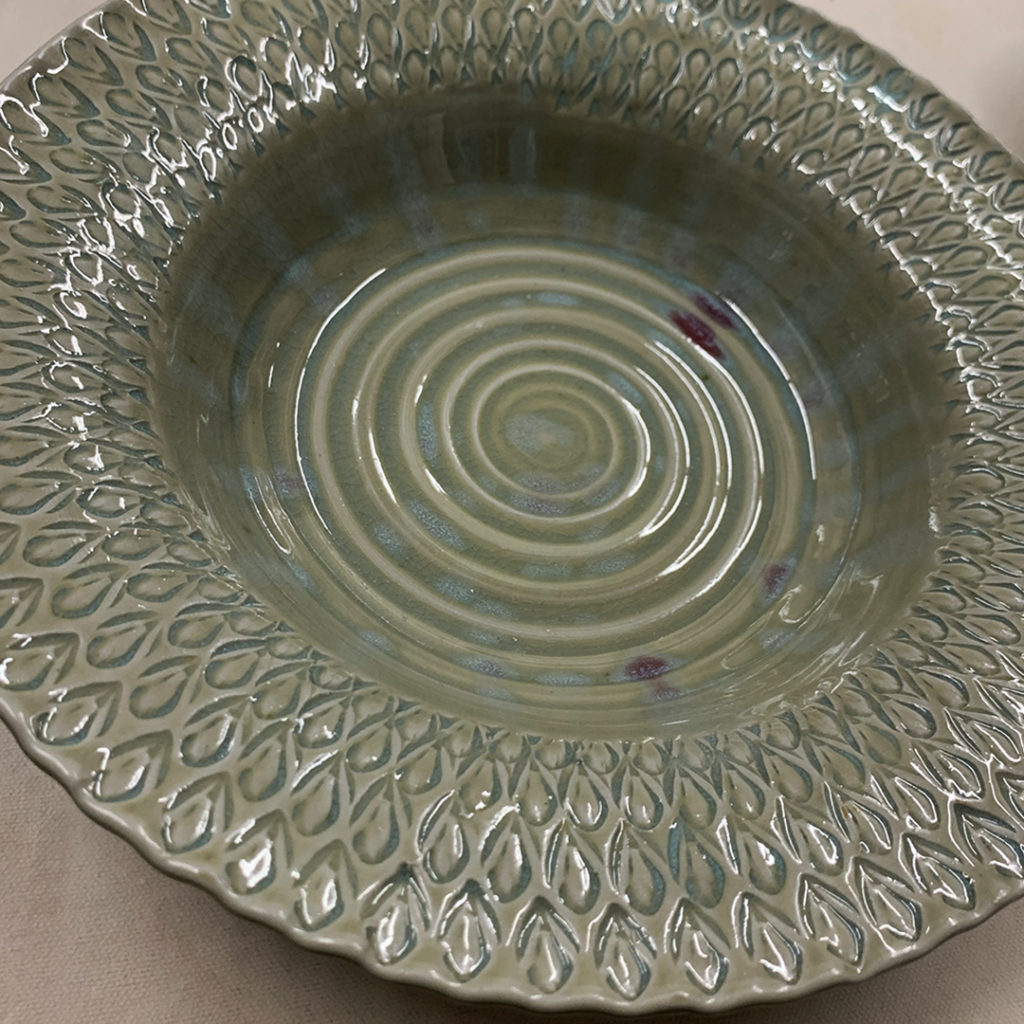
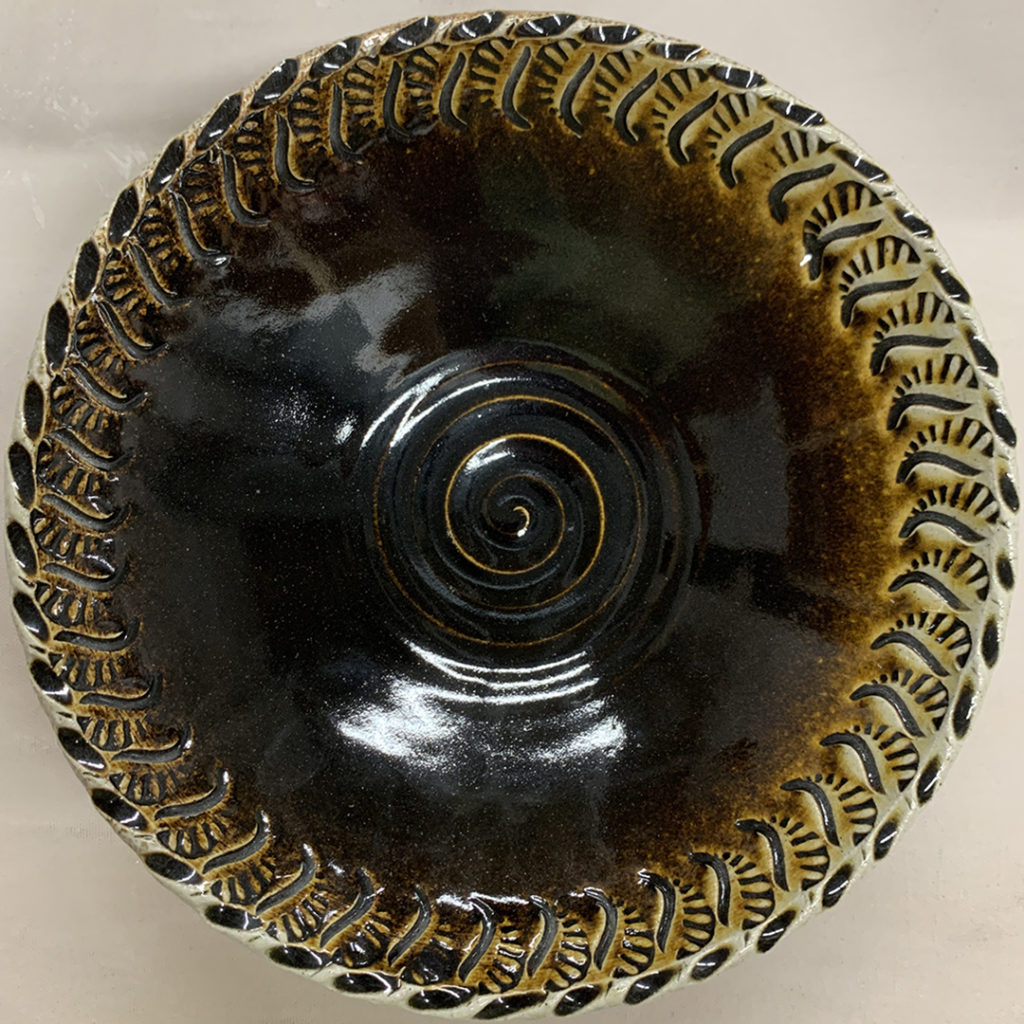
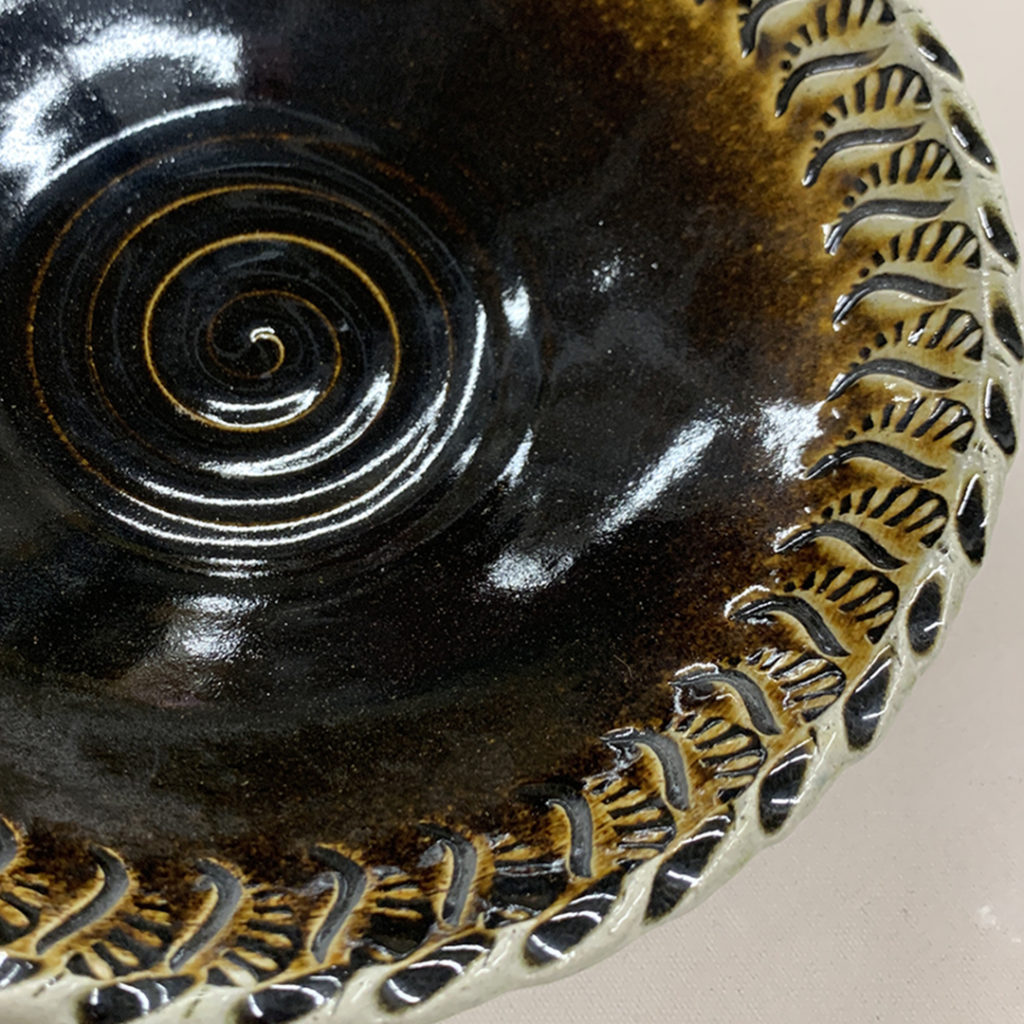
Gary Jackson: Fire When Ready Pottery
A Chicago potter’s somewhat slanted view of clay & play
Categories: bowls

So… remember that stunning glaze combination that Chelsea did on one of my bowls??? Well… gravity happens… and she felt terrible!!! So Chelsea reassembled the bowl with a little kintsugi technique of putting broken pottery pieces back together with gold… “a metaphor for embracing your flaws & imperfections.” I don’t know… it still looks pretty perfect to me!

Don’t get all stressed about it… “it’s just clay!”

Categories: bowls, classes

Getting things ready for tonight’s SURFACE DECORATIONS class demo. Sure, I might not be there tonight (road trip!!!)… but I’m confident that I have the BEST SUB EVER lined up & ready to put them through their paces!!! Can’t wait to see what they do to decorate these slip-covered bowls tonight!!!

Categories: bowls, classes, color, surface decoration, tie-dye

After marbling & spinning, we started our final “tie-dye” demo of the night… shockingly with a thin layer of shaving cream on newspaper. I know my students were pretty darn confused at this point.

Then I took some colored underglazes and dribbled drops & squiggles all over it. I thought I could use a large straw to move the underglazes… kinda like a big pipette… using my thumb or pinching off the other end to keep it stuck in the straw. FYI… didn’t work so well.

Once I had the underglaze colors spread out over the shaving cream, I dragged a tool through it to swirl the colors a bit. And yes, my students were still confused & intrigued…

Then I took a straight-sided & smooth vase… pre-bisqued… and literally rolled it over the top of the colorful swirls. The porous bisque piece grabs the underglaze & shaving cream You want the underglaze to touch the pot… more than the shaving cream. You want the color, NOT the aromatic white fluffy stuff!!!

Once I had rolled the whole surface, I let it sit for a few minutes… and everyone was STILL intrigued…

After letting it sit for a bit, we moved to the classroom sinks…

And yes, we LITERALLY just ran the water over the surface!!! It dissolves off the shaving cream, but leaves most of the color “attached” to the pot. The water does most of the work… so don’t scrub it or rub it off.

Once the shaving cream is gone… all you have left is colorful “tie-dyed” underglazes!!! You’ll need to let it dry overnight before glazing it. My “plan” is to do a bright color inside… maybe blue… and then a thin coat of spayed clear over the outside to help the colors POP!

Of course, these are underglazes… and we’re firing to cone 10… so there’s really no guarantee that these colors will all “survive” the firing. But we talked about high-fire underglazes in case they really like this technique!

Categories: bowls, color, surface decoration

After the demos, Ashley decided to go for it… with some better underglaze color choices… and she created this groovy set of plates. Not quite matching, but surely “related” in their grooviness!

Categories: bowls, classes, color, surface decoration

After “swirling” underglazes… one of my students said that it seemed a bit like the old-school “spin art”… so we did that too!!! Dripped in some underglazes and then spun it all REALLY fast on the wheel!!! It looked cool while it was spinning… but even more fun to watch it slowly run back down and sort of settle into its final groovy colored pattern!

Categories: bowls, color, surface decoration

Going back about a week, we also did some more “tie-dyed” surface decorations during my SURFACE DECORATIONS class last Thursday night. Like this version where we poured in some underglazes and then swirled them around… maybe more “marbled” than tie-dyed?… but you get the gist.

Categories: bowls, classes, wheelthrowing

Ten bowls by 10:00am!!! Sure, I shoulda been making the terra cotta drip plates… but I kinda slipped on a tangent. But seriously, who doesn’t need some new bowls???

Categories: bowls, classes, color, patterns, process, textures

This week in my SURFACE DECORATIONS class, we tackled a couple different techniques for a fun tie-dyed effect… you all know I’m a kinda big fan of tie-dye!!!

So we started with a “squiggly” version… where I took a large plat platter, painted a layer of thick slip on top, and then dribbled some blobs of colored underglazes on top of it. Not really sure how this will work… but I’m always ready to try something new… it’s just clay, right?!

And then I took a plastic rib with a scalloped edge… a cake decorating tool… and started to squiggle through the layers of slip & underglazes to blend, blur & texture the plate. In hindsight, I kinda wish the plastic rib were either softer or thinner… as it was a bit tough to get some good squiggle up by the curve of the rim.

So here it is so far… I’m going to let it dry slowly and trim the bottom when it gets leatherhard. Still contemplating if it might “need” a bit of stamped texture somewhere?! And if so… where???

After bisque firing, I’m assumiong I’ll probably just sue some clear glaze to make the colors “pop” and give it all some shine. The downside might be… that I’m not fully confident that the colors of the underglazes will actually “survive” the high-fire cone 10 temperatures. But we’ll find out soon enough…

Not quite traditional “tie-dye”…. but pretty fun & groovy nonetheless!

Categories: bowls, classes, patterns, textures, tools

This week in my SURFACE DECORATIONS class, we did a bit of carving for texture & pattern! I started with two bowls with slightly thicker walls, trimmed at leatherhard, and then we sat down to carve. Using my sharp DiamondCore Tools gives me nice crisp lines, grooves & incisions… and I’m always willing to let my students give them a try too… a mix of carving tools & trimming tools for an assortment of lines!!!

Categories: bowls, process, production, stamped, textures

After Tuesday’s “bowls-on-purpose” class demo, I kinda felt they still needed a little somethin’-somethin’!!! So today I did a bit of stamping, detailing & trimming! Making these bowls even more “not-so-basic”!!!