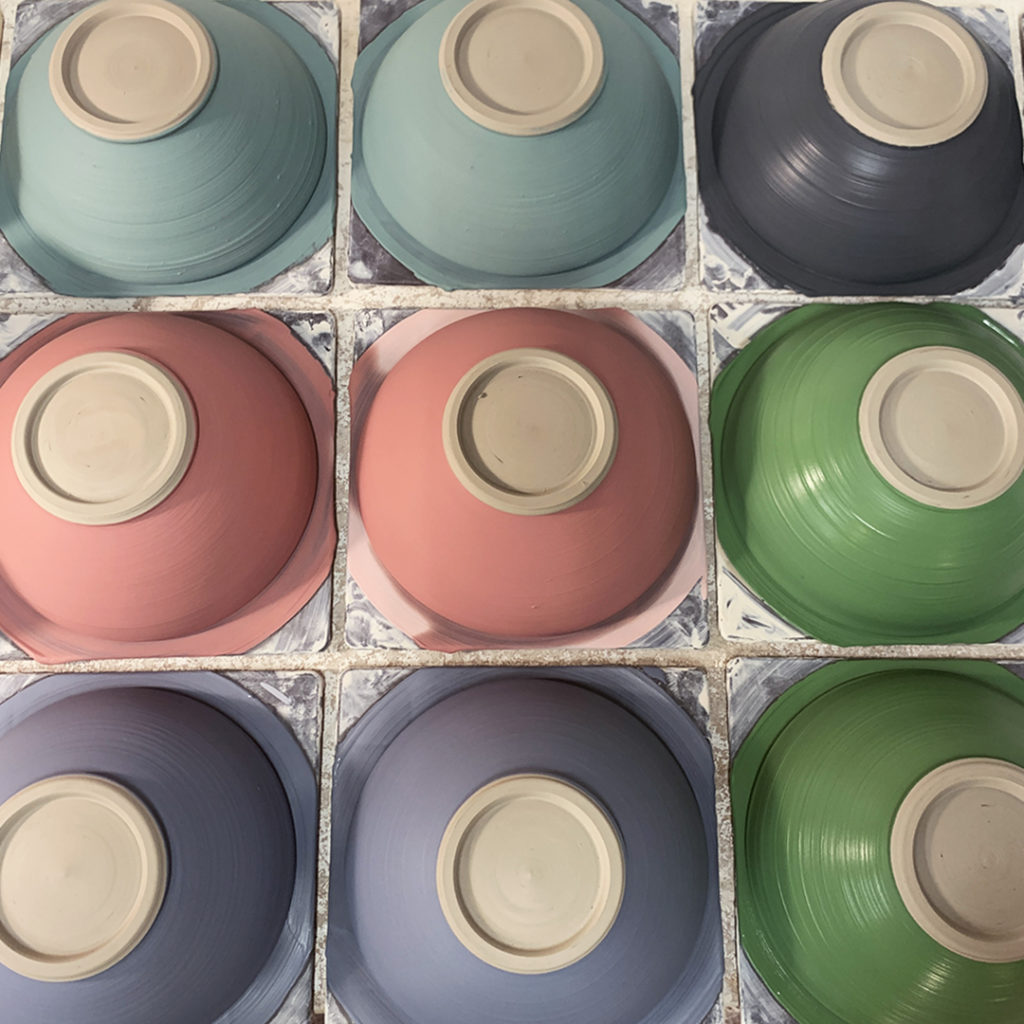
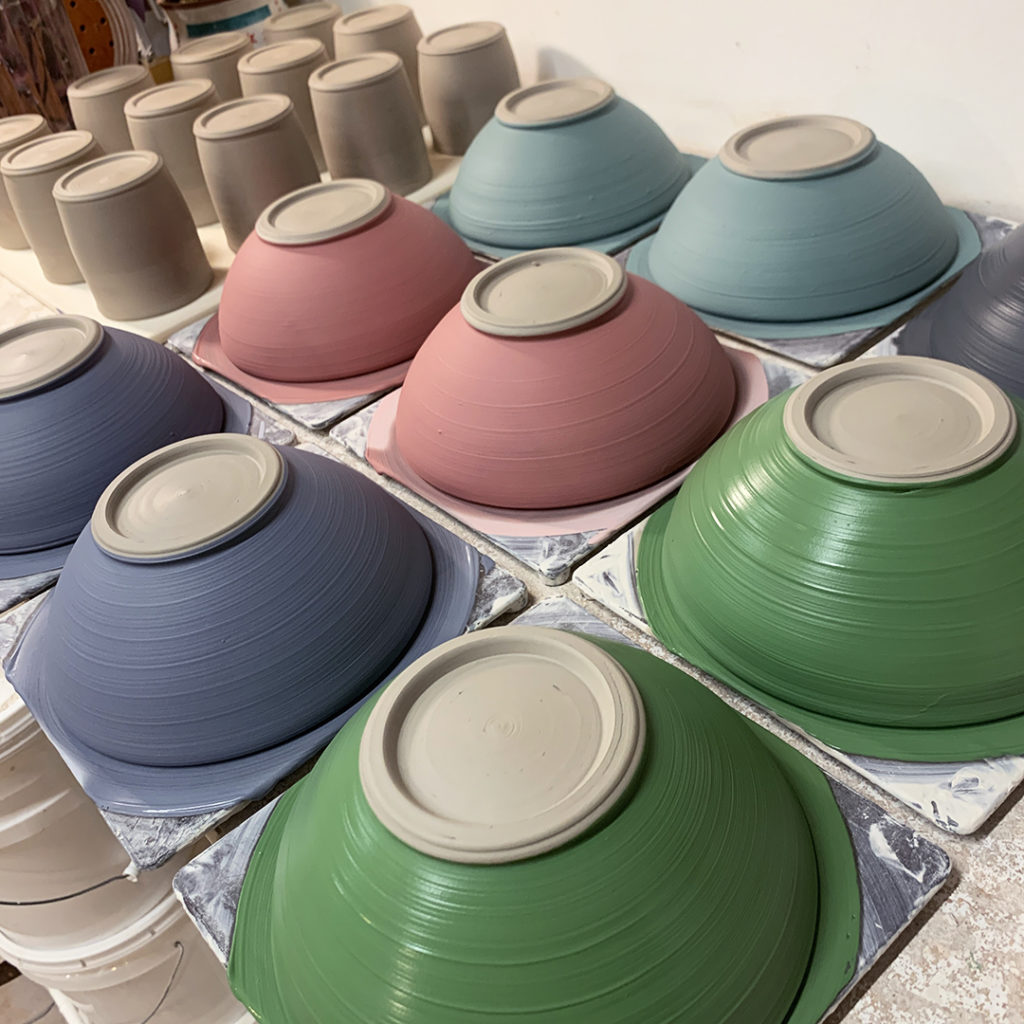
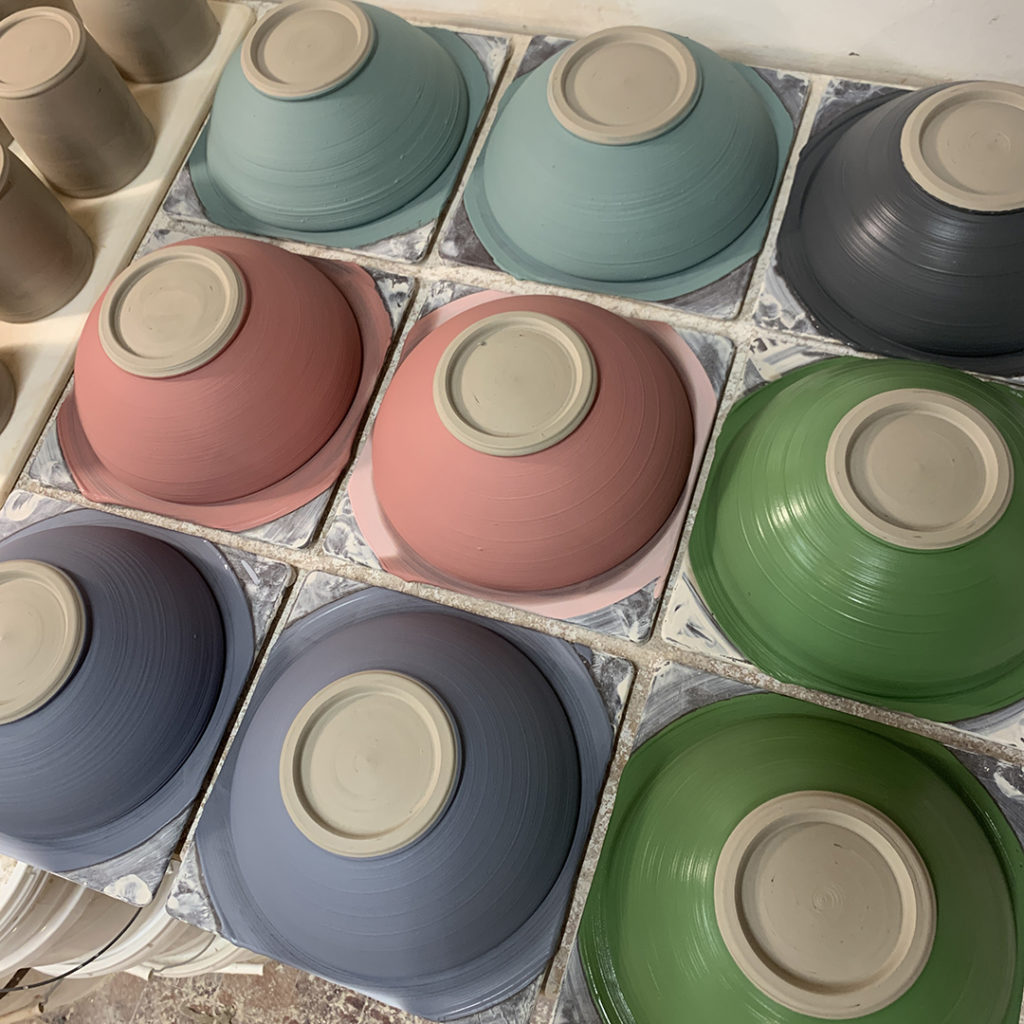
Yesterday, one of my Summer Campers was so focused on finishing her wheelthrowing project, that she brought it upstairs to the rooftop to finish it during our lunch break. So while the other kids entertained themselves & played games… a lot of colored slip painting was happening to make her new ramen bowl more “authentic” with a branch of cherry blossoms painted on the side.
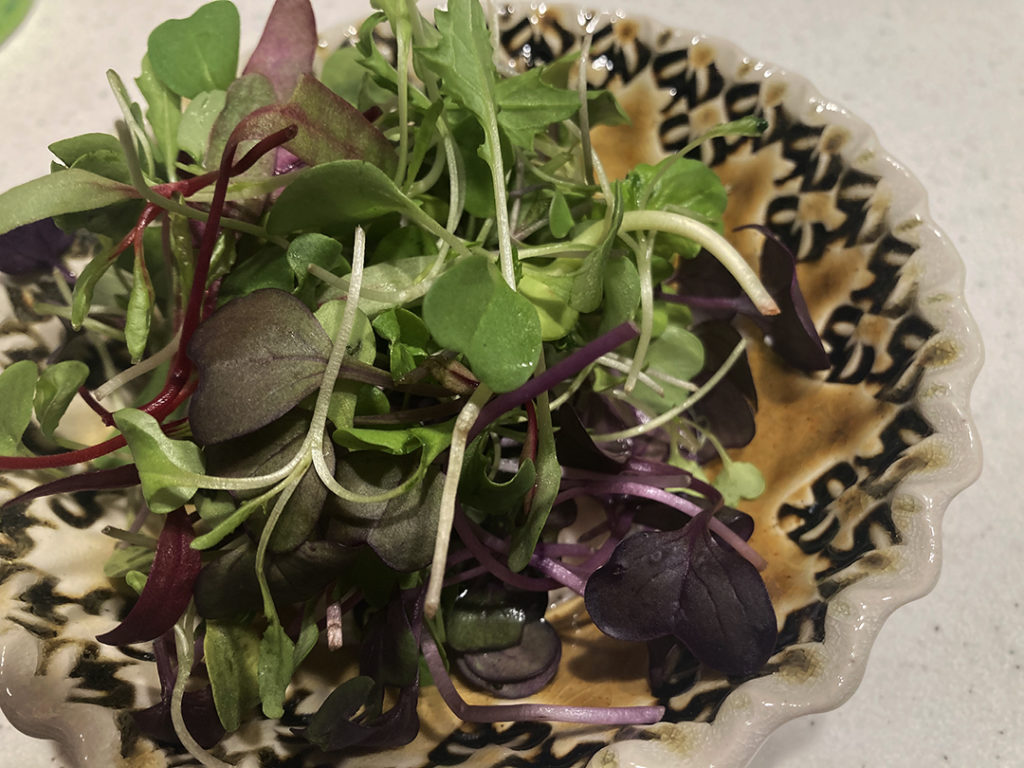
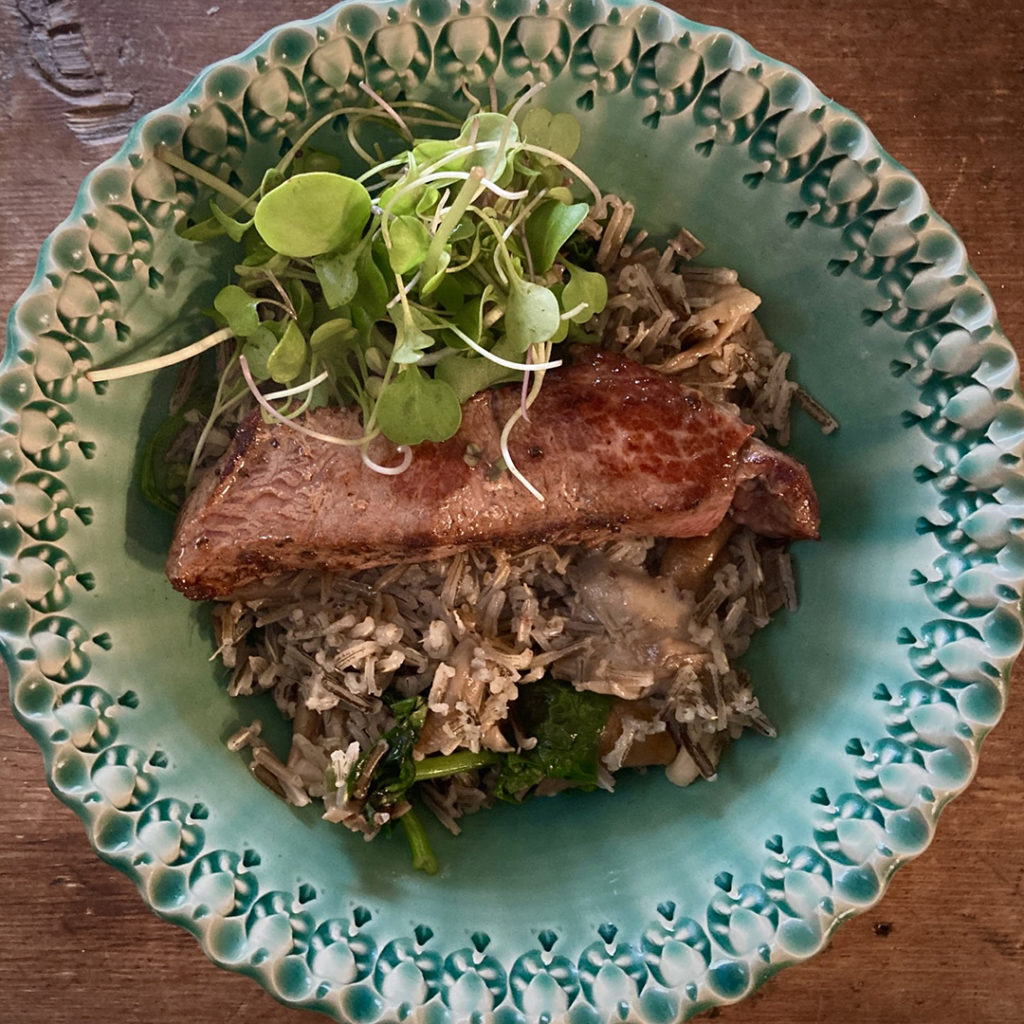
The perfect combination… beautiful homegrown blueberries & a handmade stamped & glazed bowl to hold them… and “frame” them perfectly! Thanks Jody for sharing your blueberry harvest with us!
When I started the last session with my Beginners & Advanced Beginners, there was a request for a “challenge project” of some sort. We discussed some options… and I added a challenge to the syllabus for Week 9.
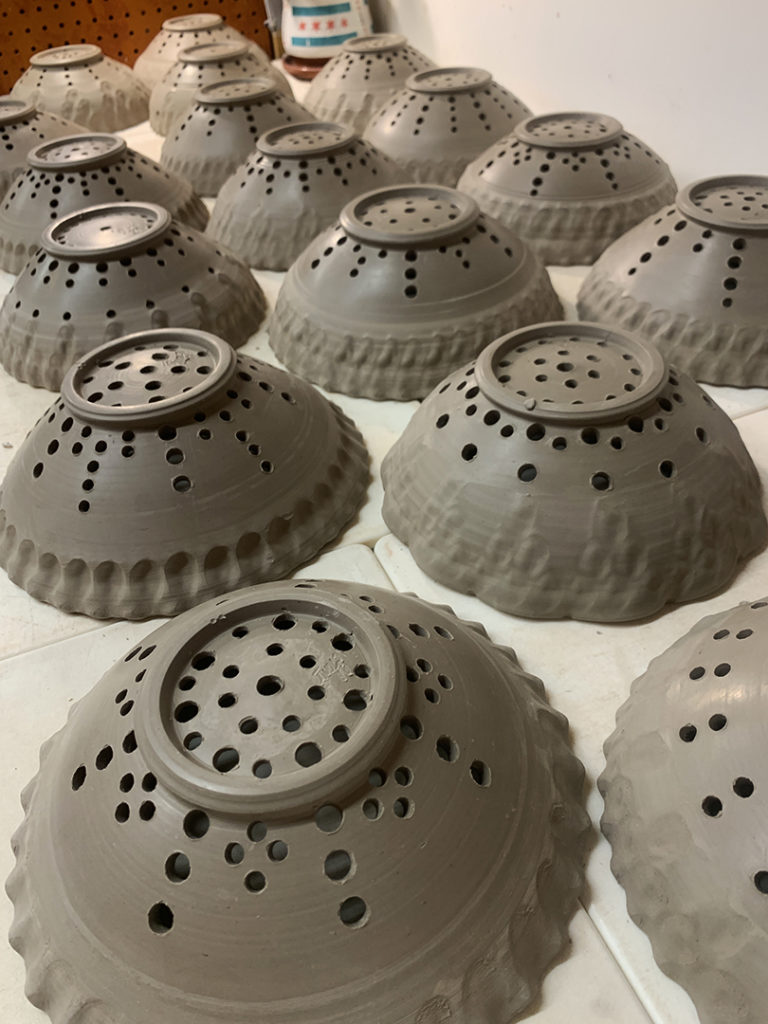
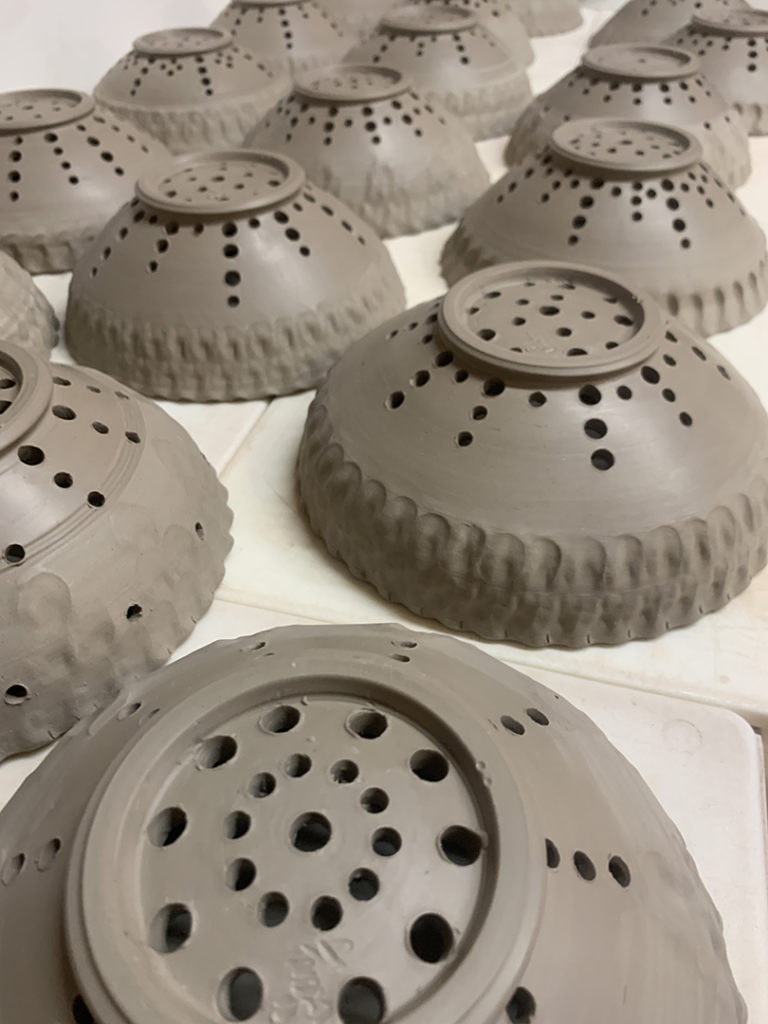
The project turned out to be a “carved cut-out” challenge to take out parts of their bowls. They had to start with a well-trimmed leatherhard bowl. We then weighed their bowls and wrote down the weights. And then I threw out the “real” challenge…
They had to take their bowl and carve away some of the sides to make a “basket-like” bowl… that weighs LESS THAN HALF of the original weight. Keeping in mind that they needed to keep the rim & foot ring intact. I suggested a few tips, and offered them a few tools to borrow… even some of my cherished DiamondCore Carving Tools!… and then they just jumped right in. I LOVED seeing them tackle the challenge with such zeal & enthusiasm… you would never know that this group are still considered “beginner” wheelthrowers!
However…
One of my students got a little too focused on the pattern… and not enough on the actual structure of the bowl. Carving… carving… carving… until the two pieces just came apart. The top came right off of the bottom. Luckily, with a bit of scoring & slipping…. and some well-placed “dots”… I think Kristen saved it to live another day! Fingers crossed…
And I’m COMPLETELY enamored with the shadows that these bowls are making! Most of them came pretty close to the “half-of-the-weight” carved away challenge… just a few ounces away. But it was the excitement & adventure they all went through that really made my night!!!
During last week’s SURFACE DECORATION class, I was getting ready to do some carving on my marbled demo bowl… when I noticed that my DiamondCore Tools was pretty much matching the bowl!!! Like a bit of camouflage for the carving tool?!
SHE KILLED IT AGAIN!!!
Yes, Chelsea the “Queen of Glaze” worked her magic one more time!!! This second bowl is just as stunning as that first bowl… I kinda wish I had more bowls for her to glaze! As glazing is my least favorite part of the pottery process.
So here’s Chelsea’s “recipe” that made this magic happen… 1- Galaxy Black inlaid in the carvings and wiped back. 2- dipped in Chun Blue. 3- some Coleman Apple Green on the ridges. 4- some Rutile Blue. 5- Finished with some Cohen’s Red swirled in the bottom. Of course there is not guarantee that Chelsea’s “magic” will work exactly the same way for anyone else!!!
If you want to see more of Chelsea’s glaze magic, she will also be part of the NORTHERN ILLINOIS POTTERY TOUR at the Aurora stop!
Chelsea felt terrible about that stunning purple & red bowl that she glazed… and then broke… and then fixed… and kintsugi’d. She felt so bad… that she wanted to glaze another bowl to make up for it. So I offered up this bisqued bowl… which was already a “collaboration” with Chelsea.
This bowl was made during my “not-so-basic-bowls” demo last session when she strolled by and I shanghai’d her into doing a quick demo of her squiggly indentation technique. And then of course, I had to take it one step further and carved a pattern above the squiggle indents. More is more, right?!
Anyways, I can’t see what glaze magic Chelsea does to this bowl… that last one was stunning! So I have high hopes!!! More photos coming soon…
So… remember that stunning glaze combination that Chelsea did on one of my bowls??? Well… gravity happens… and she felt terrible!!! So Chelsea reassembled the bowl with a little kintsugi technique of putting broken pottery pieces back together with gold… “a metaphor for embracing your flaws & imperfections.” I don’t know… it still looks pretty perfect to me!
Don’t get all stressed about it… “it’s just clay!”
Getting things ready for tonight’s SURFACE DECORATIONS class demo. Sure, I might not be there tonight (road trip!!!)… but I’m confident that I have the BEST SUB EVER lined up & ready to put them through their paces!!! Can’t wait to see what they do to decorate these slip-covered bowls tonight!!!
After marbling & spinning, we started our final “tie-dye” demo of the night… shockingly with a thin layer of shaving cream on newspaper. I know my students were pretty darn confused at this point.
Then I took some colored underglazes and dribbled drops & squiggles all over it. I thought I could use a large straw to move the underglazes… kinda like a big pipette… using my thumb or pinching off the other end to keep it stuck in the straw. FYI… didn’t work so well.
Once I had the underglaze colors spread out over the shaving cream, I dragged a tool through it to swirl the colors a bit. And yes, my students were still confused & intrigued…
Then I took a straight-sided & smooth vase… pre-bisqued… and literally rolled it over the top of the colorful swirls. The porous bisque piece grabs the underglaze & shaving cream You want the underglaze to touch the pot… more than the shaving cream. You want the color, NOT the aromatic white fluffy stuff!!!
Once I had rolled the whole surface, I let it sit for a few minutes… and everyone was STILL intrigued…
After letting it sit for a bit, we moved to the classroom sinks…
And yes, we LITERALLY just ran the water over the surface!!! It dissolves off the shaving cream, but leaves most of the color “attached” to the pot. The water does most of the work… so don’t scrub it or rub it off.
Once the shaving cream is gone… all you have left is colorful “tie-dyed” underglazes!!! You’ll need to let it dry overnight before glazing it. My “plan” is to do a bright color inside… maybe blue… and then a thin coat of spayed clear over the outside to help the colors POP!
Of course, these are underglazes… and we’re firing to cone 10… so there’s really no guarantee that these colors will all “survive” the firing. But we talked about high-fire underglazes in case they really like this technique!
After the demos, Ashley decided to go for it… with some better underglaze color choices… and she created this groovy set of plates. Not quite matching, but surely “related” in their grooviness!