Gary Jackson: Fire When Ready Pottery
A Chicago potter’s somewhat slanted view of clay & play
Categories: artists, My Talented Friends

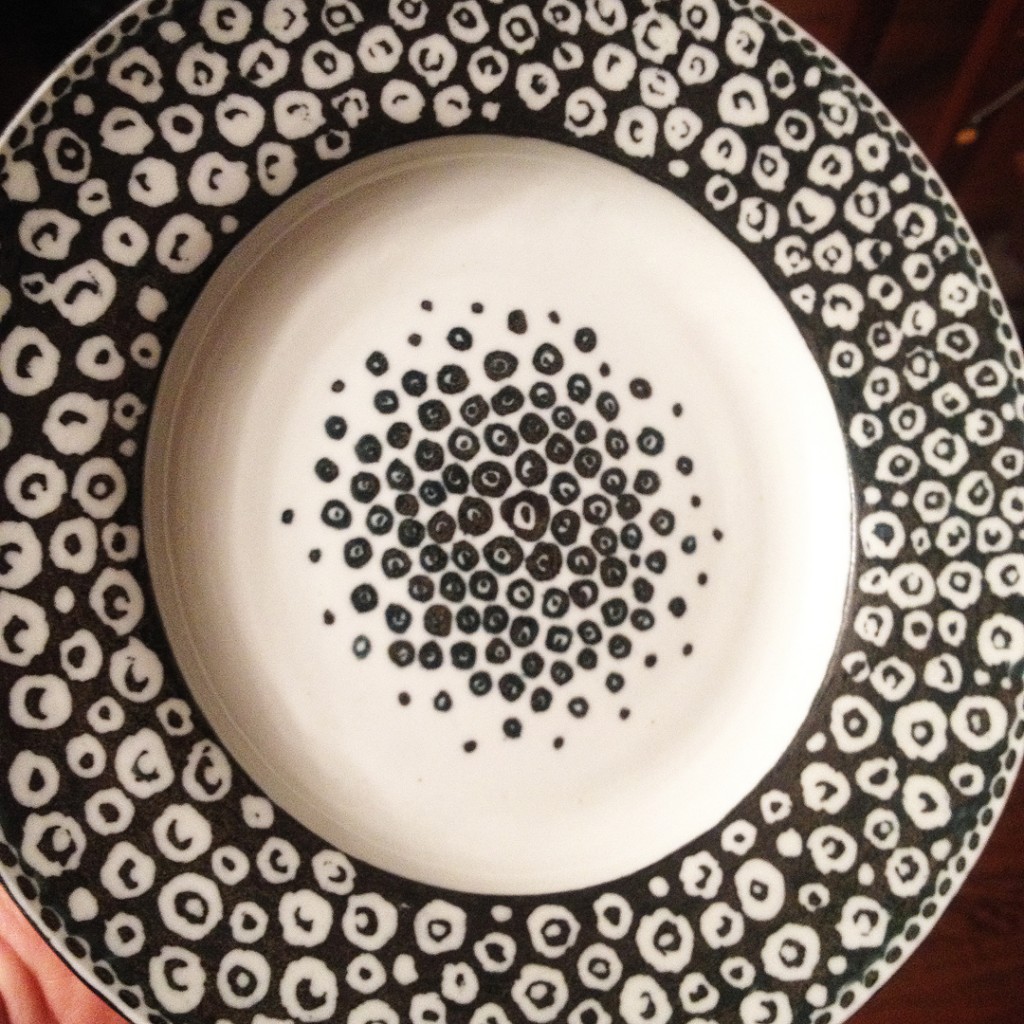
This weekend I added another wonderful ceramic piece to my collection. I’ve known Corinne Peterson ever since I started taking pottery classes at Lillstreet Art Center. She’s been a staple amongst the Lillstreet Studio Members. She’s currently in the process of condo-downsizing, and had a wonderful “Moving Sale” which included a lot of her masterpieces. I got this great twosome with great colors & textures… part of what has made Corinne such a “celebrity” on the Chicago Art Scene!!!

Categories: artists, classes, inspiration

So my Tuesday night class has a new “challenge” this session. They each randomly drew the name of a famous artist out of a bowl and were challenged to create a ceramic piece “inspired by, reminiscent of, similar to, influenced by” or in any other way similar to the work of their famous artist. It’s been so much fun to see how they’ve each embraced the challenge… including this one that Melissa was working on last night.

Can you guess who her famous artist is???


Save

Save

Categories: artists, soda-fired, textures

Back in September 2016, I did a post about the Saturday metalsmithing class and the wonderful collaboration we did. Each of the students took on the challenge to incorporate one of my textured tile pieces into their metalwork. They all did a wonderful job. Such a great project.

Click here to see the original blog post about the collaboration challenge.

Well, here’s one more entry into the mix. A little late, but well worth the wait.
And to be brutally honest, I got these pictures a LONG time ago… I’ve been a slacker in posting. Sorry.

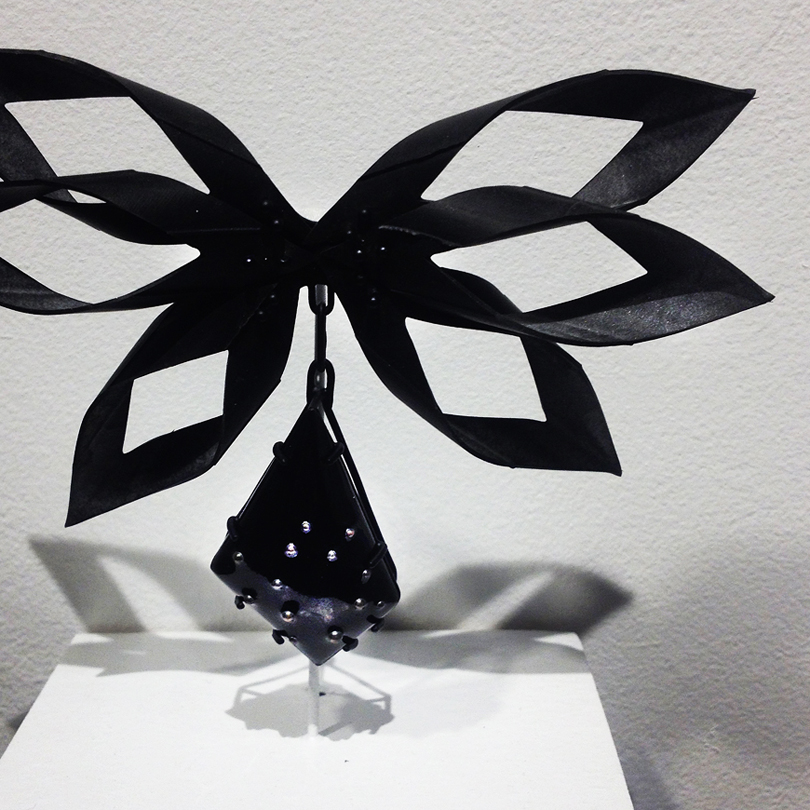
Anyway, Lillstreet metalsmithing student Erika Novak created this amazing pendant using one of my textured pieces as her “cabachon gem”… so to speak.

And the back side is an amazing “reproduction” done with CAD design and cast in bronze.

Save

Save

Save

Save

Save

Save

Categories: artists, pottery, special events

It’s just three months away… and time to start counting the days!
To my favorite Pottery Tour of the year. The St. Croix Valley Pottery Tour.
And this year’s tour promises to be one of the best ever!!!
It’s their 25th Anniversary!!!

As usual, there are seven host locations on the tour. And this year they have invited fifty-two guests artists to join in the celebration. Promising to be an incredible three-day weekend in Minnesota!!! So many pots to see. So many potters to chat with. So much fun for everyone!!! I’ll be coming up as usual to play at all of the locations… and “quite possibly”, add a new pot… or two… or twelve to my collection?!!!

I know I will be going up for the weekend. Wouldn’t miss it. It’s an annual adventure!
Unfortunately, I haven’t been “invited” to be one of the guest artists… yet… so I will still be there shopping, chatting and admiring a TON of wonderful pottery with everyone else!!! It’s the best pottery weekend every year… and I’d love to see some blog fans there!!!

To see the full list of participating potters, and complete Tour details,
click here for the Minnesota Potters website.

Save

Save

Save

Save

Save

Categories: artists, Chicago, creativity

Street art along Ashland Avenue in Chicago… taking a nap on the sidewalk?!

Categories: artists, creativity, friends

Last night was my friend Pam’s 50th Birthday Party!!!
And sure, we could have had a “normal” night out… but that’s not how we fly!
Pam decided to have her party at the Firehouse Art Center in Chicago. She was surrounded by all of her friends… and a lot of flames to play with!!! We all had a chance to do some glassblowing with proceeds going to the ArtReach Program. Such a great idea for her party… and her group of artist friends! So much fun for everyone!!!

So first, you need to decide what colors you want added into the glass. There were bags of colored frits to choose from… a little overwhelming. So many choices… and far too many flames all around as a wonderful distraction!!!

Then you with down with a glop of molten glass on the end of your rod. The glass is pressed into the pan of colored frits so they stick to the glass and begin to melt. Then you poke, snip and swirl the colors with metal tongs. Since I decided to make a paperweight, I knew I wanted to add some cool air bubbles into my glass, so I poked holes deep into the glass.

Another dip of glass… more swirling… more mixing…

Then you finally get to start shaping it into a ball using tongs and a wet wooden “scoop” shaper.

Once the shape is good, you need to make a groove where the piece will be “cut off” the rod.

A little last minute shaping… and then it was time to snap it off the rod, blow torch the bottom edge to smooth it out, and then it went into another kiln for a slow cool down.

And me… a happy camper after playing with fire & glass!!!

My friend Kelly was there too… so here’s her glass “journey” too!
Rolling her glass in the colored frits…

Re-heating the glass to melt it all together again…

Some poking, snipping, swirling… and shaping…

A wet wooden “bowl” shaper to help refine the shape of the molten glass.

And then since Kelly was making a bowl, she got to actually “blow” her glass ball open. While the studio tech was helping with the bowl, Kelly was at the other end of the rod ready to blow and inflate her glass at his command. The coolest part was when her glass was a nice large, round “bubble”… he told Kelly to suck the air out and it pulled in the top half to make a double-walled concave bowl. Pretty amazing!!!

So at this point, all of the bowls and paperweights made last night are still in the kiln cooling down. I’m pretty sure we will get them in the next day or two… and I’ll be sure to post some photos!!!

And again… HAPPY BIRTHDAY PAM!!!
We all had a great time at your party… it was a wonderful idea to party with fire!!!!

Save

Save

Categories: artists

Another dreary gray day in Chicago.
Looks like I’m not the only one feeling the effects of these long gray days.

Categories: artists, lillstreet, pottery, process

Last night at Lillstreet Art Center, we had a great little workshop by one of the Artist-In-Residence Artists before my class. Nolan Baumgartner demo’d three different large platters… but more importantly, three different techniques of centering & throwing them. Since the demo was right before my class, I encouraged my students to come an hour early. Even though my students are mostly Advanced Beginners, it’s always good to watch someone throwing pottery. Even if their skill sets aren’t quite ready to tackle this amount of clay!

Platter #1 – Traditional Centering
Nolan started with a large ball of porcelain… about 20 pounds. He muscled & finessed his way through centering the clay in the traditional way. Locking in his elbows and pressing everything to the center. He then started throwing a large cylinder with a slight angle inwards before the pull of centrifugal force sets in. You could just see my students soaking up every little bit… intrigue, concern and understanding.

But when Nolan pulled out the blow torch…. WATCH OUT!!!!
My students were mesmerized... and I had to nip it in the bud. I don’t even allow my Beginning students to use fans or blow dryers. So when they saw Nolan using an open flame to help stiffen his clay quickly, I knew I was in trouble!!! But I kept “glaring” at my students with my best “don’t even think about it” look!

After stiffening up his clay a bit, Nolan went back to doing some more shaping of his platter… flaring out the flange wider & lower. And look at my students Taylore, Patty and Catherine right there closely watching his every move!

Some finishing touches and Platter #1 was ready to be set aside.

Platter #2 : Centering Layered Balls of Clay
For his second platter, Nolan started with centering a 5-pound ball of clay. He then carefully set another 5-pound ball of clay on top of it… and then slapped and centered it downwards.

After smoothing & centering the second five pounds onto the bottom five pounds…
Nolan added another 5-pounds on top making it a total of 15 pounds of clay. Again, centering the top ball of clay down onto the centered bottom two-thirds. Once he had all three balls of clay centered & incorporated, Nolan went back to throwing the second platter similar to the first one.

And then again… THE BLOW TORCH!!!
Really?… you’re killin’ me! I know I’m going to need to “re-direct” my beginning students a bit when we get back to my classroom! But for Nolan’s large porcelain platters, I get it. Especially for a workshop demo like this. If he pushed it too far too fast, the porcelain platter would just flop down.

A little more shaping with ribs, and a little more blow torching, and Platter #2 was ready to set aside.

Platter #3 : Pounded, Paddled, Beat-up and Fluted Platter
For this one, Nolan started with another large ball of wedged porcelain. He set it on the wheel and slapped it around a bit until it was close to centered. But his third technique was to make this platter WITHOUT centering it the traditional way. So he started slapping it down while the wheel was rotating slowly with open palms.

Once it was “kinda” centered, he then pulled out a square mallet… and started pounding!!!
The wooden mallet is covered with a white gym sock. Again, pounding the clay evenly as the wheel is rotating slowly. I think the trick is to keep the spacing even, as well as the strength & power of each pounding of the mallet.

Pounding the sides, then the top… then the sides…. and the top again…
Getting it more & more centered, compressed and flattened out.

When it gets low enough, flat enough, and centered enough… Nolan switched to pounding it with a closed fist. Again, rhythmic pounding as the wheel is rotating slowly.

At some point, the clay is “centered” and it was time to throw the rest of the platter the “normal” way. Since this was the third and final platter, Nolan decided to decorate this one with his special fluted technique. He did a split rim, and then curled up even spaced areas using an MKM Decorating Disk.

A quick pinch and a pull upwards…

And since the clay was still a bit squishy & slumpy, Nolan likes to use some clay “logs” to hold up the fluted points. A quick hand-squished coil to put in… kinda like flying buttresses.

Once supported, Nolan then curves the spaces between the pinches downward to give it some sexy curves.

Huge thanks to Nolan for sharing his tricks & techniques. My students loved the demo, as did all of the other students who came to his workshop. He definitely gave everyone a lot of great ideas… some too good for my Beginners.

Did I mention the blow torch?!!!

Save

Categories: artists, workshop

Today I went to a presentation by Chicago artist Eric Jensen at the Lillstreet Loft. Eric has been making a living as a functional potter for over forty years. And today’s discussion was about what it takes to be successful while making pottery for a living.

Eric shared many stories about his path to ceramics. How he went to Cranbrook in Michigan for Graduate School back when it was actually affordable. About how he decided early on that retail art fairs were not his thing. Instead, he has done a lot of work with relationships he has built over the years through wholesale fairs & opportunities.

He also made a “joke” early on and said that it definitely helps to have a spouse with a real job, a good paycheck and health insurance. So with that said, I took everything he said with a grain of salt. I don’t have any of those “security blankets”… and maybe that’s why I’m still working & teaching at what seems like three, four, sometimes five part-time jobs!!!

We ended the presentation with a discussion on how he decided how to be “successful” in his own estimation. He did a bit of homework and determined how much “income” he wanted to realistically earn from his pottery business annually. Adding expenses, materials, taxes, etc. on top of that, he had the “big number” that he needed to make each year. He then determined how many days out of the year he wanted to “work.” How many days off. How many days of glazing & firing. How many days of packing, shipping & busy work. How many days of research & development of new concepts. When he finally got to a total number of actual production work days, he used that to divide out the big number. And come up with how many “dollars” he needed to create in the studio during each work day. That daily average number became his goal while making work in thew studio. Logical, but it sounds like a lot of work.

So it looks like I now have a bit of homework.
Which of course I’ve been thinking about for years.
How do you determine if you’re being successful, or just being productive?!

I know I’m PRODUCTIVE… but am I making a real career out of it?!

Of course he brought up how pricing works into the equation. How making work that sells over making the “art” you might want to make. How commissions, special orders and consignments worked better for him than retail art fairs.

Keep in mind, Eric Jensen has been working as a full-time ceramic artist for over 45 years. He has years & years of experience & relationships already in place. Even he was quick to admit that times are different now. He does no marketing, social networking or online sales. He’s pretty “old school”… and it’s working for him.

A lot of great information shared today.
Thank you Eric Jensen for sharing your life’s work with us.

And here’s the real kicker…a joke he shared from his potter friend Les Orenstein…
“What did the potter do when he won the lottery?”

He started doing art fairs until the money ran out!

Save

Save

Save

Save

Categories: artists, mugs, porcelain

Last night was the opening of the new Mugshot Monday Show at the Lillstreet Gallery.
It was a nice collection of mugs as curated through the many potters who post on Instagram for #mugshotmondays.

I was totally transfixed by these highly “constructed” mugs by Colby Charpentier.
Such an amazing assemblage of porcelain parts & pieces… like these…

In the end… this masterpiece will soon be joining my own Mug Collection!!! WHOO-HOO!!!

And then after snatching up the incredibly complex mug….
I decided to add yet another mug… much more simple & subtle… and unintentionally sticking with a monochromatic porcelain theme with this understated beauty by Bianka Groves.

Save