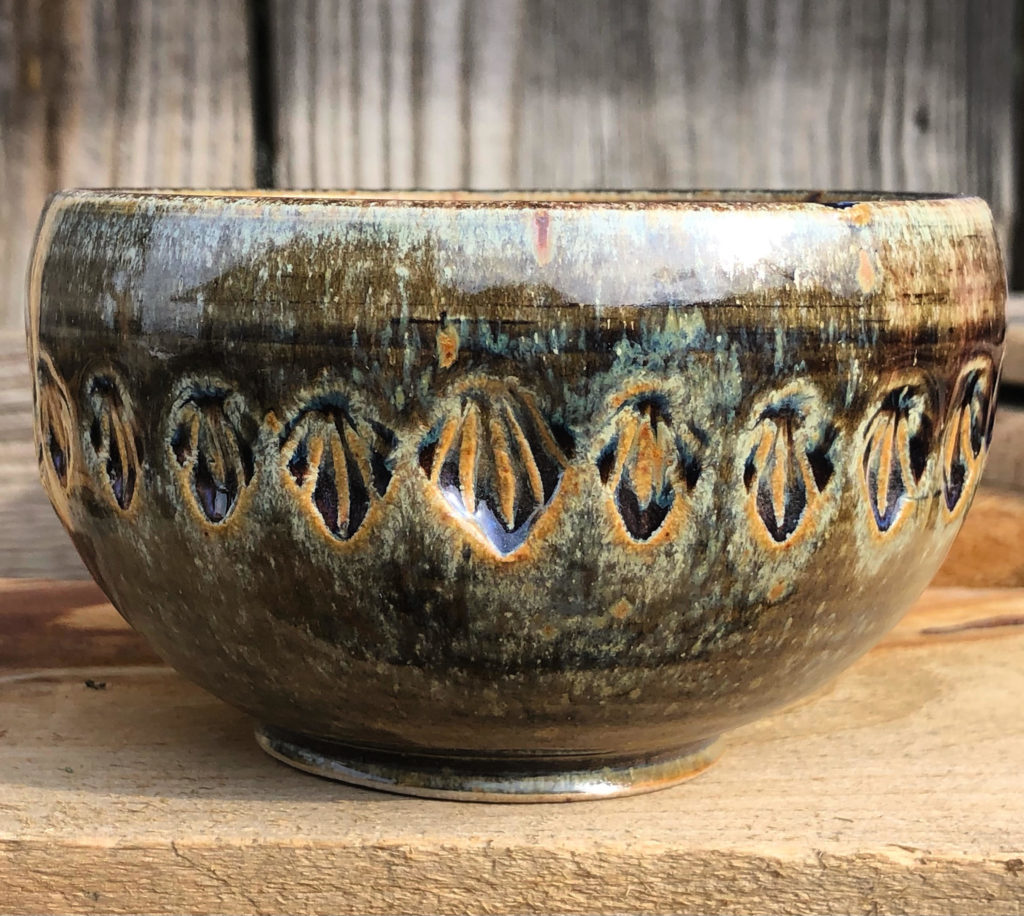
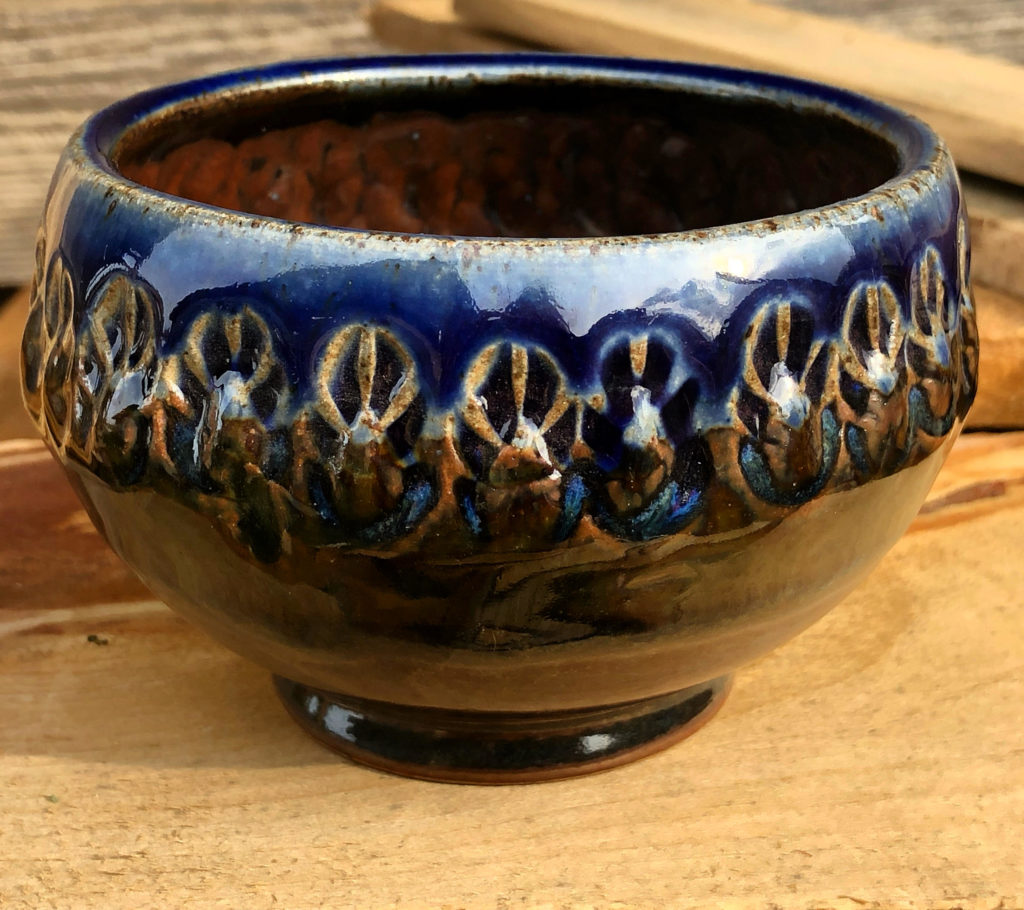
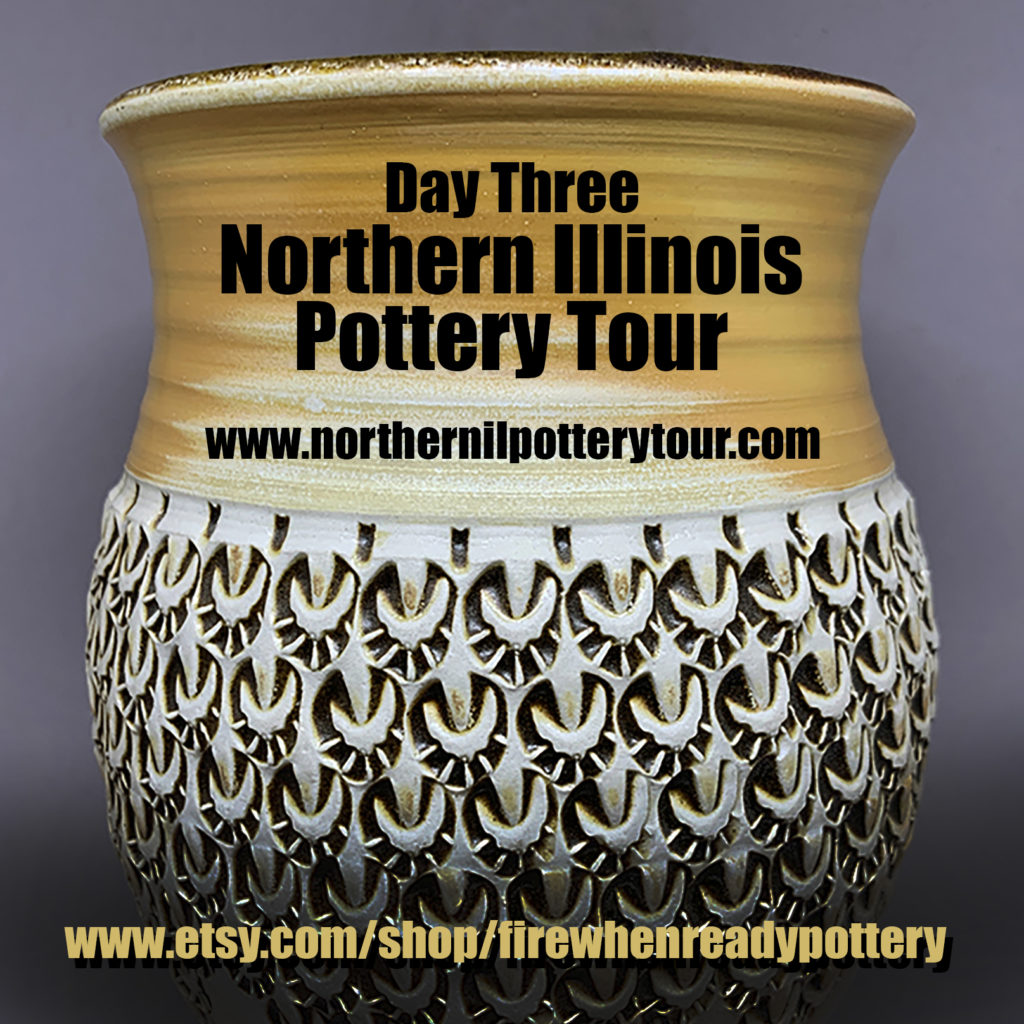
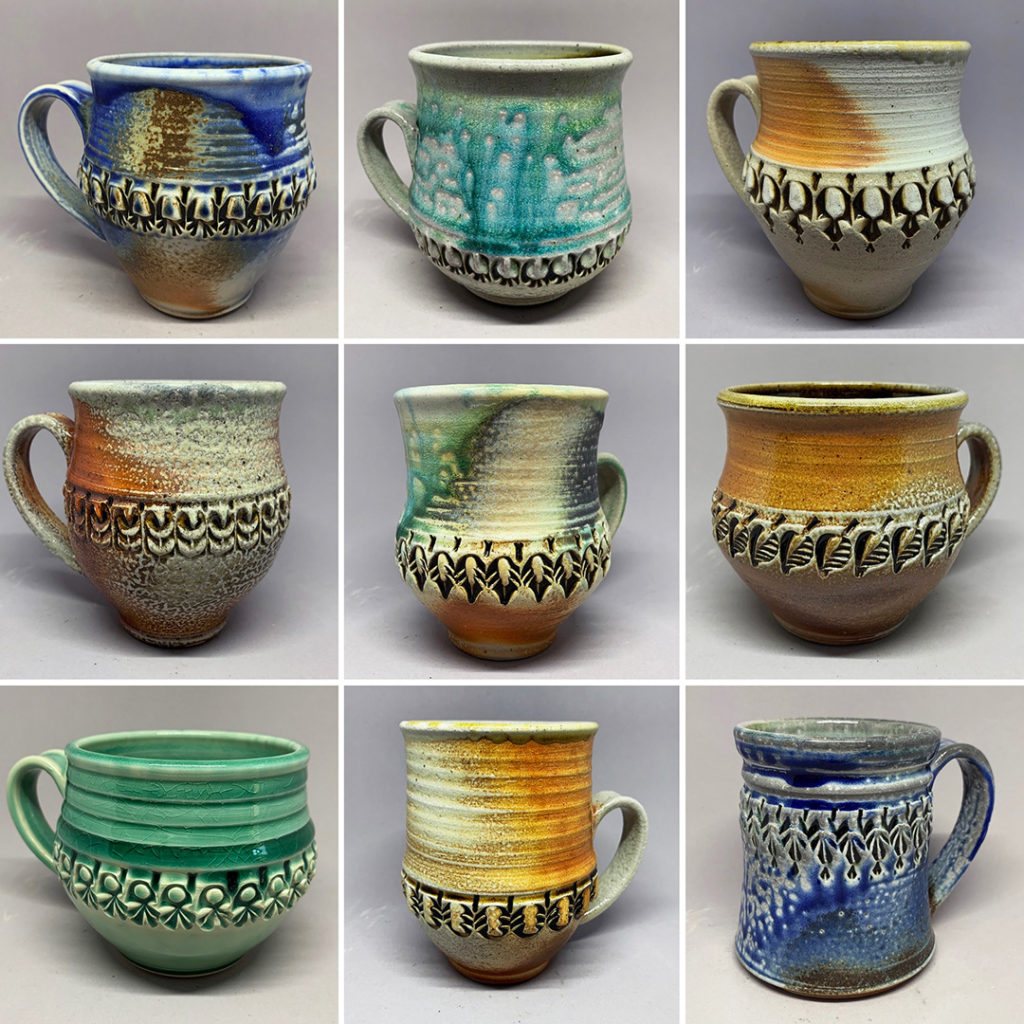
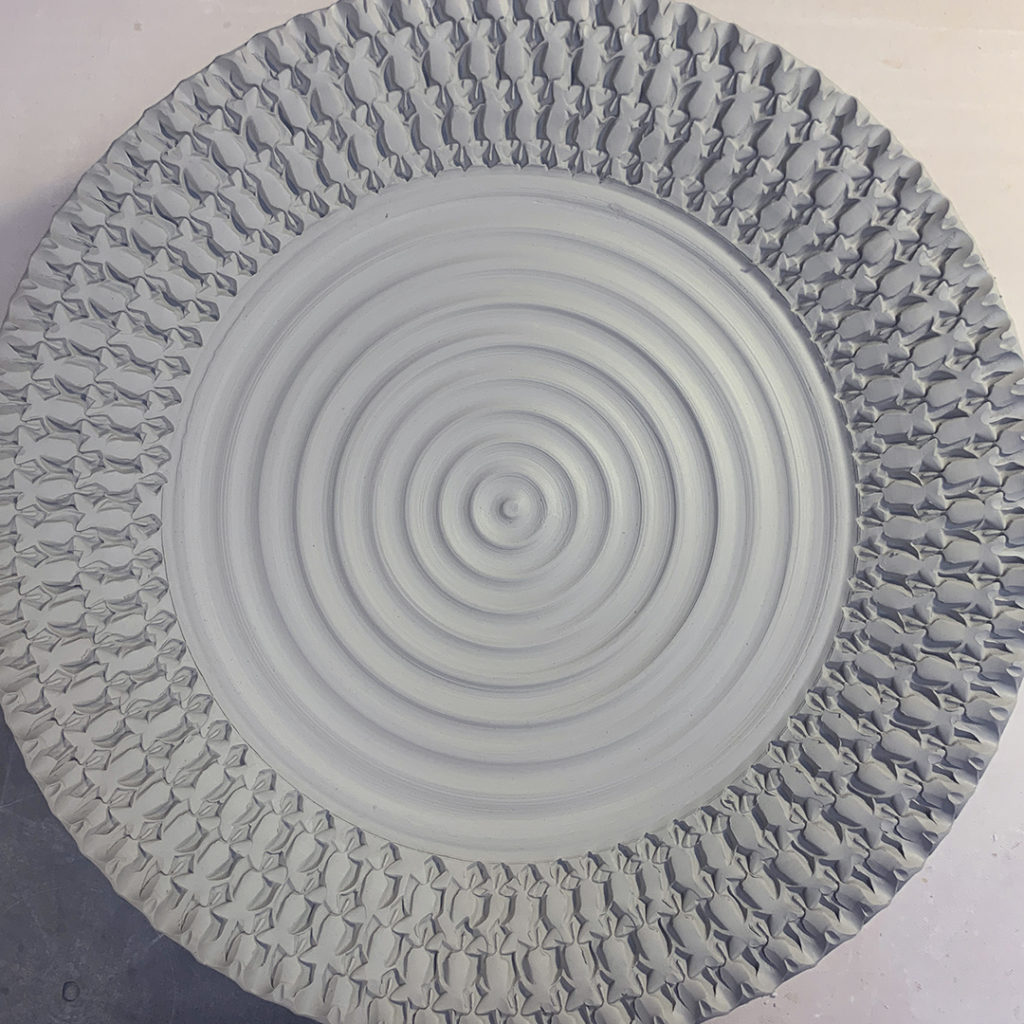
Gary Jackson: Fire When Ready Pottery
A Chicago potter’s somewhat slanted view of clay & play
Categories: animals, artists, friends, My Talented Friends, pottery, soda-fired

So this story has been a LONG time coming. You’ve seen glimpses of my birds… a few feathers here & there… a couple beaks popping up. But I’ve never really explained the whole reason I was making jars with birds on them. And NO, it was not to honor the show PORTLANDIA!

It all started last March…
When I received a phone call early on in the Covid Shutdown… sometime towards the end of March. It was the husband of one of my art fair friends. I had met Anne at one of my summer art fairs several years ago. I always loved her beautiful watercolor paintings… mostly birds, flowers & plants. Very realistic… great compositions… kinda like Audubon illustrations!

Derek had some bad news to share – that his wife Anne had passed away. Not from Covid, but from other long-term health issues. Just that the timing couldn’t be any worse with all of the Covid shutdowns & quarantining. He shared the story of how his wife Anne passed away, and that she was going to be cremated and needed an urn for her ashes. The story goes on that she wanted me to make the urn for her ashes… as I was her favorite potter & art fair friend. Derek wanted the urn to be stamped & soda-fired like the rest of my work she loved… and also the beautiful teal-blue glaze that I use frequently. I’m not a big fan of doing special orders… but under these circumstances how could I say no?! I couldn’t… it would be an honor.

But then the story & requests continued…
He said that he also wanted a few smaller versions of the urn for their children to have as keepsakes. So now I would be making a whole “flock” or urns. Especially as they were going to be soda-fired and you never know for sure how the pieces will come out after the firing. So to hedge my bets, I knew I would have to make an extra or two of each size.

And oh, but wait there’s more… the requests continued…
Since Anne was a wonderful watercolor painter, and her imagery frequently featured birds… you can see it coming now, right?... he asked if I could work a bird of some sort onto each of the urns. A little homage to Anne and her work. So I was already “in” for the large urn… and the small urns… and the soda-firing… and the “extras”… and now they needed birds?! Whew! This was just getting better & better!!! But you know I always love a good challenge.

My head started to spin. How to do a bird? Can I make a bird stamp? Should it be painted on like her work? Could it be a stencil?… or a decal? Should it be three-dimensional?… or more two-dimensional like her paintings? So many options… not enough decisions. I would have to ponder this one!

I explained that with the whole Covid shut-down & quarantine, I couldn’t commit to a date of when I would get them done. I had no idea then if or when there might be another soda-firing at Lillstreet Art Center… as Lillstreet was closed down too. Luckily, I had access to my studio so I could make the pieces during the “shelter-at-home” order… and I felt safe going to work in my studio at night as there was no one else in the whole building! So I started making the pieces… I just didn’t know when they would get soda-fired. He agreed and understood my dilemma.

So I started by throwing them as lidded jars. I stamped the patterns onto them… and trimmed them when they were ready. I flipped the jar over and threw the pedestal portion onto the bottom.

And then while the urns were under wraps drying to leatherhard, I went online to see a few of Anne’s birds on her website for inspiration.

I’ve seen a many of them for years at the art fairs, as well as a few of them at my parent’s house. There are several of her pieces hanging up in my Dad’s place!

So then I started assembling the birds. I decided to go three-dimensional and to add them to the tops of the jars – kinda like a glorified knob! So I started doing a little handbuilding. A little assembly line for my feathered friends! Basically starting with little pinch pots… and then connecting them to make the bodies. I kept the parts & pieces in a small damp box to keep the pieces viable longer.

And a few little leaves to add in later…

Then it was tails… I loved how they started to look more & more like birds as each step happened!

And then it was time for wings…

Finally it was time to start attaching the birds to the lids… as they would be the “knobs” on top! And of course, every bird needs a good branch to rest on, right?! I found that some folded post-it notes were useful to keep things propped in the right places while the clay set-up.

Finally the parts & pieces were coming together. I started finishing the lidded jars… with a couple extra lids “just in case” something went wrong somewhere along the process. It was time for a slow & gradual drying. I kept them under plastic for a few days… only unwrapping them for an hour or so every day when I was in the studio. I didn’t want anything to crack by drying too fast.

Eventually they were dry and made their way into the bisque kiln. Still so fragile… can’t wait to get through this precarious part of the process.

It’s always so good to see these little code letters… CPLT… complete!!! Especially when the kiln has such precious pieces in it. Everything is so fragile when it’s just dried clay… kinda like a piece of chalk. But after bisque firing, they are a LOT more stable & solid… and a huge sigh of relief.

After bisque firing, it was time to start adding some color to them. I used some red iron oxide to stain the branches. Some green underglazes on the leaves. I knew that the soda-firing process would work its “magic” on the pieces to some extent… but I wanted some hints of color to help tell the story!

Then I sprayed the urns with a bit of green glaze – knowing that it would turn to the drippy teal color Anne liked so much when it gets hit with the soda atmosphere during the firing. It was tough getting a good coat of glaze on the urns without getting too much on the birds & branches!

The urns finally made it into my Spring soda firing. It was so weird to be working in my studio so much during the shut-down. They kept telling us to shelter-at-home, to self-isolate, and to stay safe. It felt totally safe to be working in my studio as they was no one else in the building. But at the same time, also weird to be working to fill an entire soda kiln with work already knowing that my Summer art fairs were all being cancelled due to Covid-19. Scary times not knowing where your income would come from as the pandemic raged on.

So I fired the soda-kiln and felt a little anxious when it came time to unload the kiln. I had put so much work into these pieces – and had so much riding on it. Such a meaningful & sentimental project. I would be devastated if they were ruined by a bad firing.

Whew… they turned out great!

But then when I talked to Derek to tell him they were ready to pick up, he said “I can’t wait to see the cardinals!”

Wait… what?!
I’d never heard the request for “cardinals” anywhere along this commission process. My birds were all kinda “generic” and bird-like. So I had a moment of panic… can I turn them into cardinals quickly?!!!

I asked a couple artist friends of mine… and thanks to Susan Volk, we came up with a plan to paint them with enamel paints. I didn’t want to paint them totally, but apply enough to give them the “feeling” of cardinals… as I knew I could NEVER paint them as well as Anne would have.

I did like the way the enamel paints worked so well on the soda-fired surfaces. In some places actually leaving some texture & randomness like the soda-firing.

Soon enough they were all painted… and I now had CARDINALS!!!

But then when I had them all done…
I was kinda put “on hold” in terms of posting pictures of them!

Derek wanted me to keep them a little bit of a “surprise” for his kids who would be getting the keepsake urns. So I kinda stopped posting… and left a lot of people here online just hanging!

With “teaser” photos kinda like this one…

But now that they’re all done & Derek picked them up… I can finally share the finished results. And carry on with the story!!! So here are the finished urns. Stamped, soda-fired, teal-blue glaze color AND a bird as requested!!!

Urn #1 ———————————————————————–

Urn #2 —————————————————-

Urn #3 ————————————————

Urn #4 ———————————————————–

Urn #5 ————————————————————–

Urn #6 ———————————————

Urn #7 —————————————————-

Urn #8 ———————————————

Sure the birds turned out pretty cute… but I was still enamored by some of the shadows & stamped details. Cuz’ that’s kinda my jam!

Derek came to my studio to pick out the urns that he wanted. It was such a special moment. Appropriately awkward. Precious. Sentimental. Everything it should have been. He was so taken by them… it brought a tear to his eyes! He took his time and chose the ones he wanted. So glad that I fulfilled the commission… and that he LOVED them!

As it was still a “surprise” for his kids, I’ve kept it pretty quiet. I didn’t want to ruin the surprise… or give away too many clues. I held onto the “extras” for awhile just in case something “bad” happened along the way. I wanted to make sure that Derek had all of the urns he wanted… and that he wasn’t going to come back to get another one or two.

So now I’ve got a couple extra bird urns…
err, from now on we’ll call them BIRD JARS!!!

To finish out our commission project, Derek offered me one of Anne’s original watercolor paintings as payment. Sure, I could have charged him cash… but I suggested a painting… as it felt so much more meaningful to give her my art in return for some of her art. I knew her as a wonderful watercolor artist… and I will remember her always as that. Especially every time I see her artwork on my wall.

This is now MY wonderful Anne Gilna original piece!

We will all miss you Anne Gilna.
You made the world a much more beautiful space.
Your spirit & talent lives on in so many ways & so many places.

Categories: artists, collaborations, music

Okay, just one more. I promise. Darn rabbit hole!!! Another musical diversion. Gotta love me some Adele… and some another fun Carpool Karaoke!!! Now I need to get back to work… really!!! I swear… no more diversions… eyes on the prize!

Categories: art fair, artists, friends, My Talented Friends

Here’s a great video tour of my friend & multi-talented friend Sarah Chapman in her metals studio in Minneapolis!

Click on this link for the Instagram video!

This past weekend should have been the big “One Of A Kind Show” here in Chicago, but with all of the craziness going on they’ve gone virtual too. Trying everything they can to help promote their artists. So take the tour of her beautiful space where she makes her beautiful work!

If you want to see more of her beautiful work, or to buy a special holiday gift, click here for her website!

Categories: art fair, artists, holiday, inspiration

Support your favorite artists this time of the year. Handmade gifts are more personal, unique and so much more fun to give… and to receive!!!

Special thanks to my friend & fellow artist Donna Sauers for making these holiday graphics so festive!!! She makes great glass-bead jewelry too! Click here to check out her Facebook page.

Categories: artists, creativity

A little “cement graffiti” as seen this morning along the lakefront carved into one of the cement boulders of the retaining walls.

Categories: artists, bowls, classes, porcelain, process

Last night in my wheel class, Katie one of my Advanced Beginners continued her exploration marbled clay. She started with standard colors like marbling ochre stoneware with lighter B-clay. She loved the finished results… and now has stepped up her game with stained porcelain!!! Looking great… even though there’s still a little bit of cleaning up to do!

Categories: artists, lillstreet, summer camp

As part of my time at Summer Camp, I find it important to teach the kids more than just how to make a projects or two. There are so many opportunities to share life lessons & more. So I find it a great chance & challenge to teach the kids about some famous artists & art history along the way… making it a “game” so they frequently don’t even realize it’s happening!!!

In fact, at the end of the week… we did a “socially-distant” game of MEMORY with the kids flipping over the cards to match up the artists… not the images… as most of the artists had two different artworks that they memorized. So they had to match the artist by name… with a lot of hand sanitizer in between turns flipping cards!!!! Good thing my flash cards are laminated!!!

So here’s a quick overview “POP QUIZ” of some of the artists & sculptors that my Summer Campers learned this summer.

HOW MANY OF THEM CAN YOU NAME??? First & last names please…

Artist Name _____________________________________

Artist Name _____________________________________

Artist Name _____________________________________

Artist Name _____________________________________

Artist Name _____________________________________

Artist Name _____________________________________

Artist Name _____________________________________

Artist Name _____________________________________

Artist Name _____________________________________

Artist Name _____________________________________

Artist Name _____________________________________

Artist Name _____________________________________

Artist Name _____________________________________

Artist Name _____________________________________

Artist Name _____________________________________

Artist Name _____________________________________

Artist Name _____________________________________

Artist Name _____________________________________

Artist Name _____________________________________

Artist Name _____________________________________

Artist Name _____________________________________

Artist Name _____________________________________

Artist Name _____________________________________

Artist Name _____________________________________

Artist Name _____________________________________

Artist Name _____________________________________

Artist Name _____________________________________

Artist Name _____________________________________

Artist Name _____________________________________

Artist Name _____________________________________

Artist Name _____________________________________

Artist Name _____________________________________

Artist Name _____________________________________

Artist Name _____________________________________

Artist Name _____________________________________

Artist Name _____________________________________

Artist Name _____________________________________

Artist Name _____________________________________

Artist Name _____________________________________

Artist Name _____________________________________

Artist Name _____________________________________

Artist Name _____________________________________

Artist Name _____________________________________

Artist Name _____________________________________

Artist Name _____________________________________

Artist Name _____________________________________

Artist Name _____________________________________

Artist Name _____________________________________

Artist Name _____________________________________

Artist Name _____________________________________

Artist Name _____________________________________

Artist Name _____________________________________

Artist Name _____________________________________

Artist Name _____________________________________

Artist Name _____________________________________

Artist Name _____________________________________

Artist Name _____________________________________

Artist Name _____________________________________

Artist Name _____________________________________

Artist Name _____________________________________

Artist Name _____________________________________

So?… how many did YOU get right?!
Without the benefit of GOOGLE… or looking them up somewhere?
Not as easy as you would think, right?

But now many of my Summer Campers know a lot more artists than YOU!!!

Categories: artists, handbuilding, sculpture, summer camp

So we started with a little “art introduction” of sculptor Robert Indiana and his works. We discussed his style, design & concept…. and they all got excited to build their first sculpture based on his work. So the challenge for each of them was to build a large version of this sculpture using their own names!!! A LOT of handbuilding… but I was confident they could do it!!!

The campers started by drawing out the letters for their names. I encouraged them to have some sort of style & design… like maybe adding serifs to the letters?! Then the kids started making their slabs and cutting out their large letters. To make them a 3-dimensional letter, they needed to cut-out two of every letter to make the front & back.

Some of them were so pleased with their letters… and even the canvas covered boards that they worked on. Making an overlapped letter outline masterpiece!!!

After a quick demo on how to assemble their letters, they all set off for a LOT of scoring & slipping! I kept telling them that I can “pretty much guarantee” that of they don’t score & slip… their piece will fall apart! So they were all very diligent with their assembly!

At the end of Day One, I made sure that my campers did a full cleaning of their workspaces. Each kid with their own dedicated space to be safely distant from the other campers. And as part of Rule #3… whatever mess they make, THEY will be cleaning up… and that includes the FLOOR!!!

After stacking & assembling their name letter sculptures, the kids started painting them with glaze. It’s a special glaze that we use for some of our Summer Camp projects. They can paint it on “raw” terra cotta for a single firing. The colors will be darker & shiny when they come out of the kiln!

FAST FORWARD TO FRIDAY : The Last Day of Sculpture Camp
And also the day that the kid’s sculptures came out of the kiln. Always exciting when there are no “explosions” or severe breakage during the firings. Sure, we may have lost a couple feet off the bottoms… but everything still stood up well. And maybe next time they’ll remember to score & slip a little better?!

NEXT UP : My Summer Campers had to shift gears to start another sculpture for the rest of their week. This time, much larger and made with plaster gauze!!!

Categories: art fair, artists, collaborations

One of the highlights of ART IN THE GARDEN is that the artists get to play together & collaborate on some cool projects. One of collaborations this year was this batch of porcelain soda-fired jars that I made and other artists added their own “artist-styled” knobs to the tops

Well, a couple weeks have gone by since ART IN THE GARDEN, and I’ve been sitting here with a few of the collaboration jars waiting to be photographed & posted here online for sale. I’ve been playing hooky a bit too much lately while it’s been so nice outside… but the clouds have come over Chicago so I finally got my act together today! Here are a few “teaser” photos of the nine collaboration jars that will go up for sale only on my Fire When Ready Pottery Facebook page at 6:00pm CST. It will be first come, first served when the “official” Photo Album is posted. So set an alarm reminder to check them out at 6:00pm tonight!

Click here to go to my Fire When Ready Pottery Facebook page!

Categories: artists, clay, handbuilding

Just sharing a little TEXTURE TUESDAY flashback… back to last week when Pam posted this for her Texture Tuesday post! And flashing back even further to wonderful memories of her amazing Northwoods cabin, the beautiful lake, the tranquility, serenity and the fun of leaving behind a handmade ceramic leaf for her to find!!!