It’s been a LONG time coming!
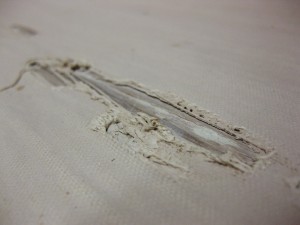
I got my wedging table several years ago when I moved into my current studio space. It was a “gift” from my friend & (former) pottery studio neighbor Emily Murphy. It had been used in her studio, and she was bequeathing it to me. Since then, I’ve made a LOT of pots… wedging on that same table all the time. Well, over the years the canvas covering has been weathering and growing thread-bare in spots. I had even super-glued a few of the “rips” back down onto the table trying to keep it viable a little longer. But I knew it had to be recovered at some point. Like I said, it’s been a LONG time coming!
So I actually started the project yesterday. I dove right in and started ripping off the old canvas. Removing as many staples as I could along the way. I actually breathed a sigh of relief when I figured out that I could shimmy the table out of it’s tight space. I was dreading the table recovering project because I was afraid I might need to move shelving just to get to the table! Apparently not… with a inch to spare!
But then as I was taking the canvas off, I noticed that the plywood top was no longer flat & smooth. I knew there were a few “issues’ because I was getting “textured” slabs when I threw them on the table. I thought I would just fill in a few holes & dents, and then sand down the ridges from where the wood had swollen from all of the water soaking through the canvas.
But one thing led to another… and before I knew it, I had pretty much filled in the entire table!!! You know… I couldn’t stop myself. And only after I had run out of patching material, did I let it dry and then sanded it flat. Note: when the purple color disappears the patching is dry!
I knew I didn’t want the wood swelling to happen again, so I decided to seal the table with polyurethane. Nothing special. Just what I had extra of at home. I figured anything sealing the wood is better than nothing, right?! So I painted a pretty generous layer of polyurethane on the table and let it dry overnight.
When I came back into the studio today, my table was dry and very smooth! Yeah!!! No more “textured”slabs unless I decide to put the texture into the clay!
So I dug out the box that had the canvas for my table. And I had to dust off the box. Here’s how long I’ve been “planning” this little project… I purchased my canvas from Continental Clay way back in May when I was up in Minneapolis for the 2013 St. Croix Valley Pottery Tour. So yes, it’s been eight months since I purchased the canvas. Don’t judge. I had a lot of pots to make during that time. So now I’m kicking off the New Year with a few projects I’ve been putting off for far too long!
I unrolled the canvas and laid it on top of my table. I sprayed it down with water to dampen the canvas. I’ve always heard that you should wet the canvas before you attach it. That way you can stretch it tight, and it will get even tighter as the canvas dries.
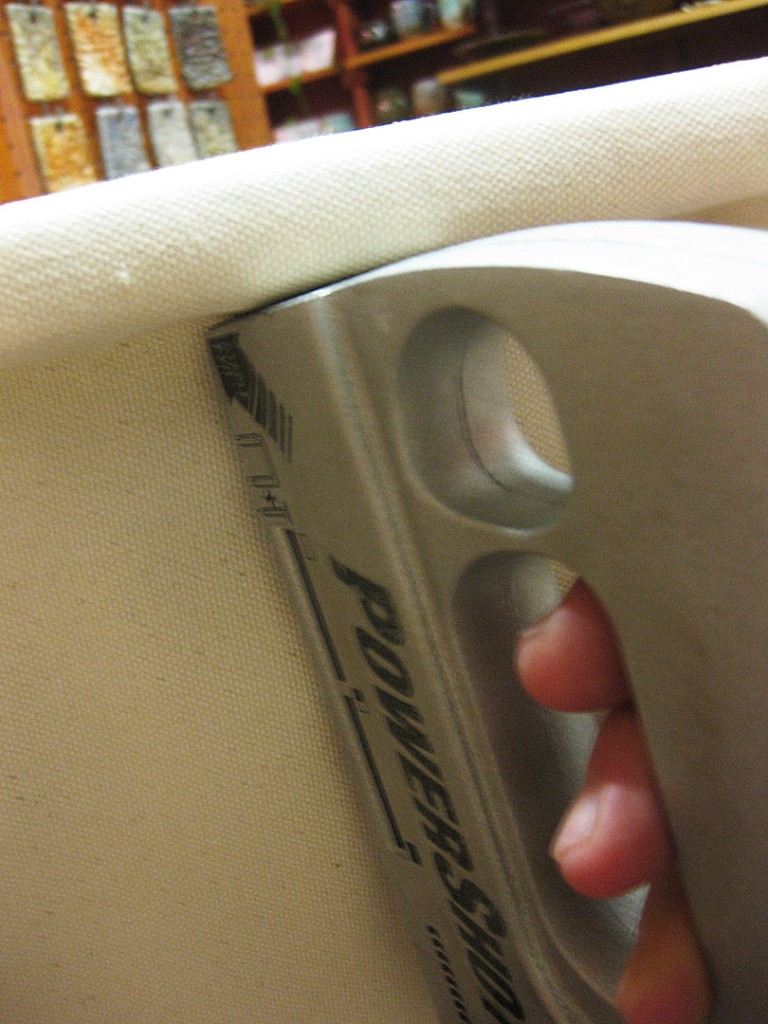
Let the stapling begin!
I stapled one of the short sides first. And then pulled it tight and stapled the opposite short side next. The one of the long sides starting at the center and working out. Then the final long side pulling as tight as I could and still staple at the same time.
Yeah, so I probably could have pulled the canvas a bit tighter. Sure, I probably could have made neater corners. But for my first time re-canvasing a table, I think I did pretty darn good?! Sure, it’s a little disappointing when it’s dirty already and I haven’t even put any clay on the table yet?!!!
Even better… I got it done in time to get things back in place so I could watch “The Golden Globes” while cleaning up my mess!!! And my wedging table will probably never look THIS clean ever again!
So now I have a few more projects to tackle. I’ve got SO much stuff in my studio. Things that I’ve collected over the years and find that I haven’t used them for years! So my studio is definitely in need of some early Spring Cleaning!!! I think I’m going to focus on that this week before I actually jump back into production mode.


Is canvas the best material for a wedging table? I’m in the process of building a barn/studio (finally!) and will need to install a “proper” wedging table rather than the make-do I have. I know it shouldn’t be very tall, but have seen anything from concrete to marble to canvas and cannot decide what route to go!
I don’t really know what is the “best.” I’m sure that is entirely subjective. I’ve always taken classes that have had canvas-covered tables. And therefore it is the “best” that I know… and I keep that tradition going in my own studio. I like that it can be recovered when it wears out. I have heard good things about cement tables, but that seems heavier and a bit more “permanent” in terms of studio location & planning. I do think the structure & stability of your table is just as important than the surface tough. Ask for as many ideas & opinions from your fellow potters, and maybe some Internet research. I like my canvas.
Keep it simple. Keep it sturdy.