Sadly, my cousin Kim’s favorite cat of all time passed away earlier this year. Rudy.
After years of cherished memories & warm nights snuggled together.
Luckily, her boyfriend Don knew that Rudy was so very special in Kim’s life, and that his passing was a momentous occasion in her life, so he had to be cherished, celebrated & memorialized. With that said, Don called me and asked if I would be willing to create a special, custom urn to hold Rudy’s cremated ashes. How could I say no? Although I’m not a fan of custom orders, this one was so touching & heartfelt… I knew I had to say ‘yes.’
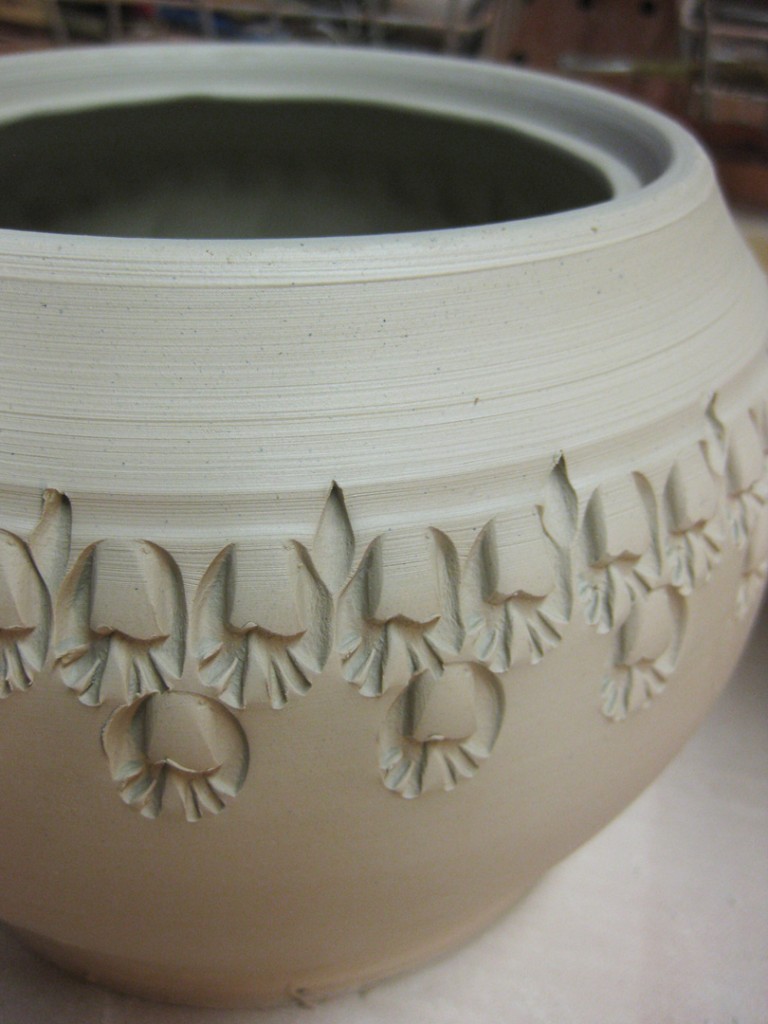
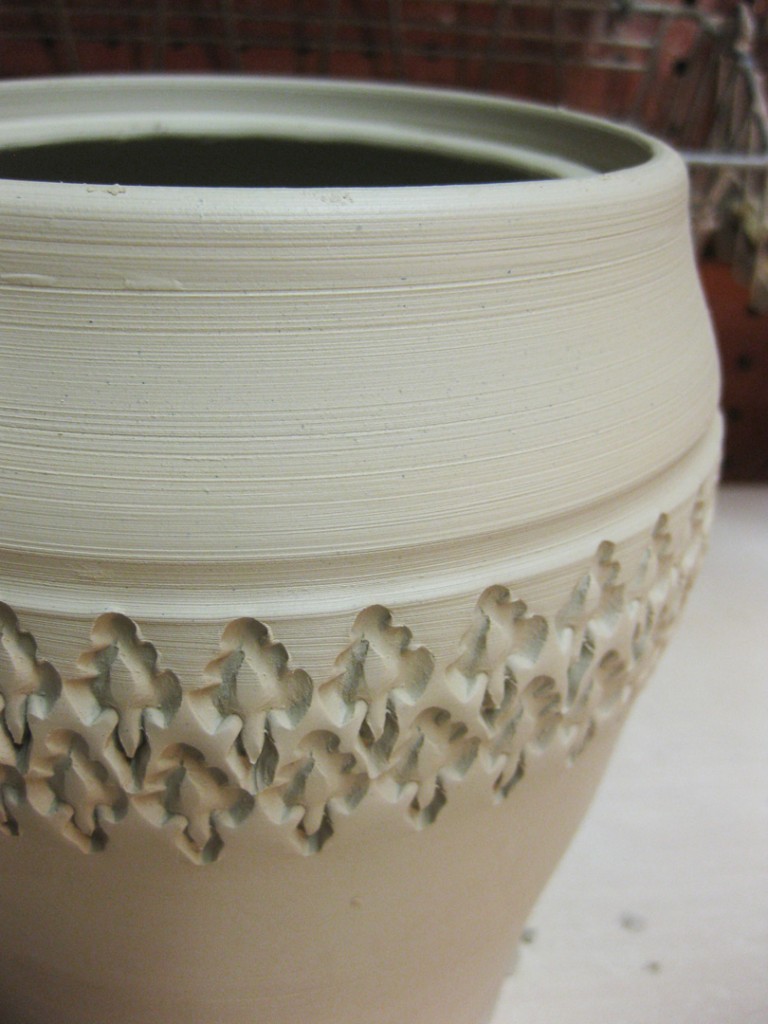
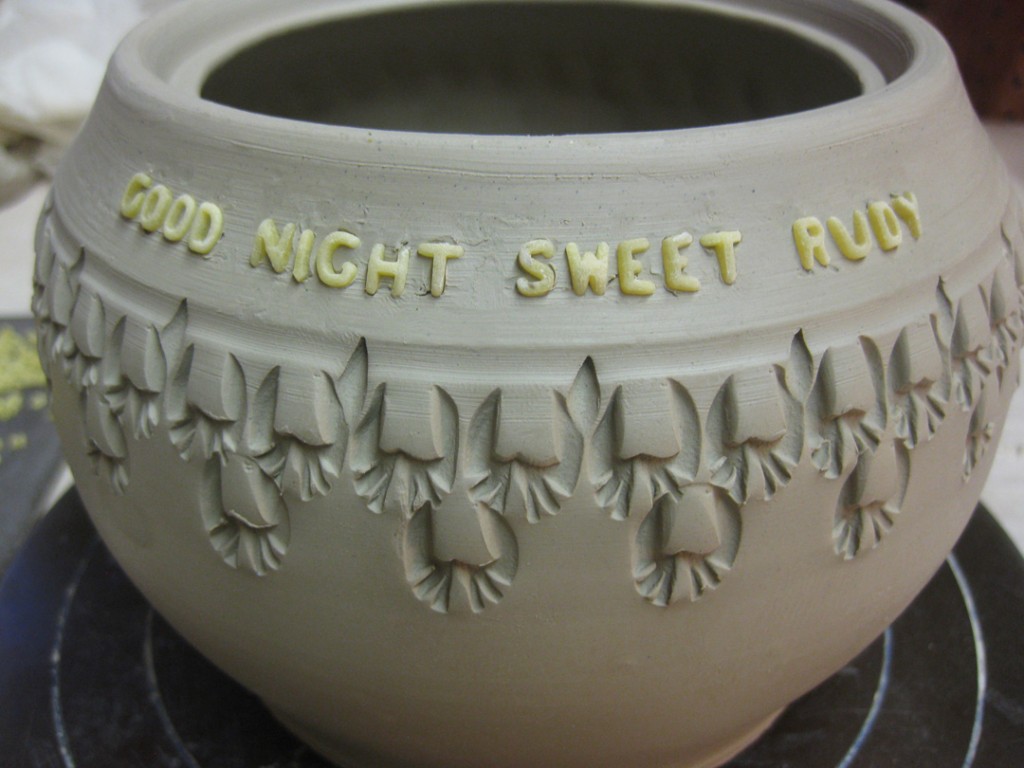
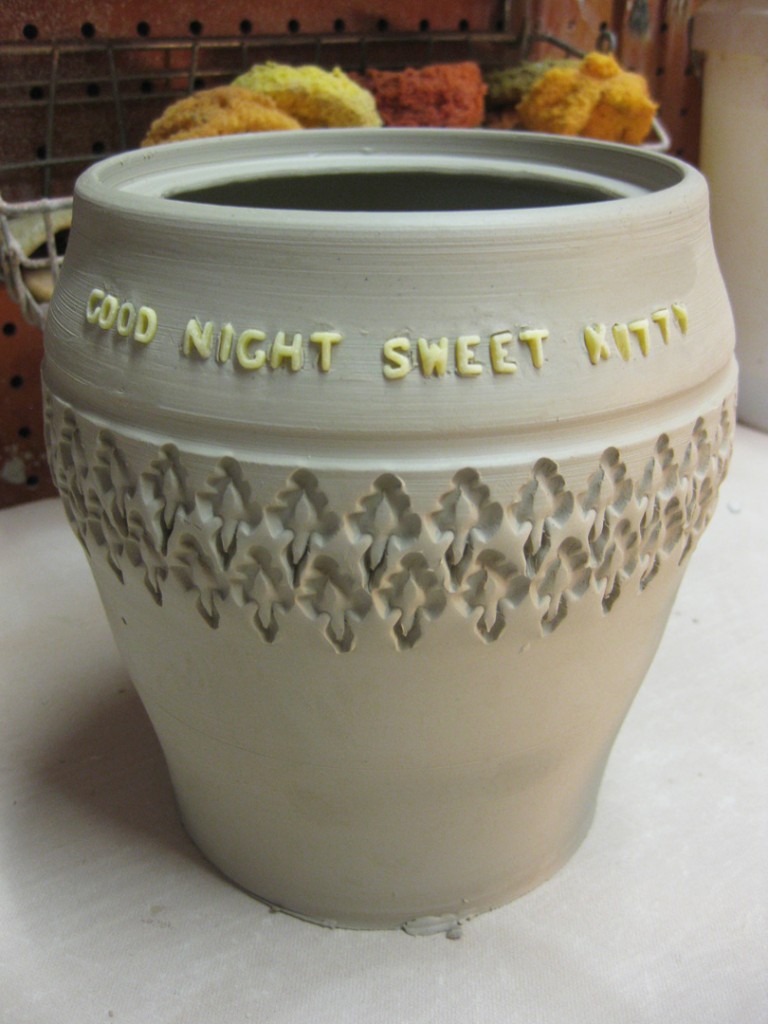
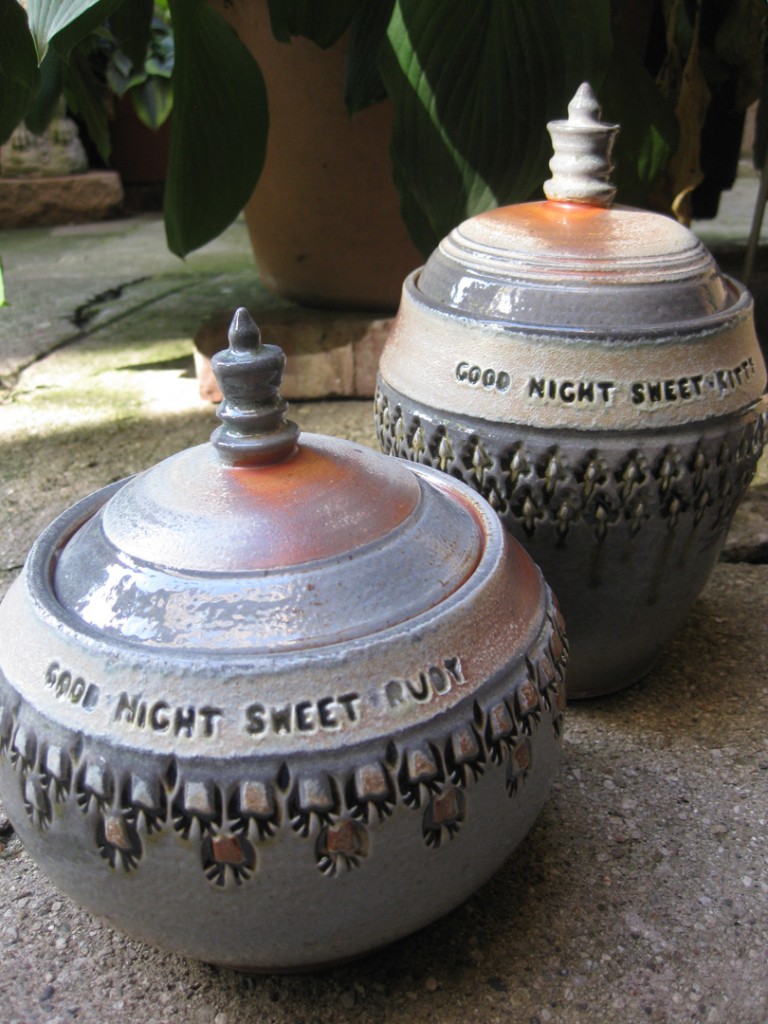
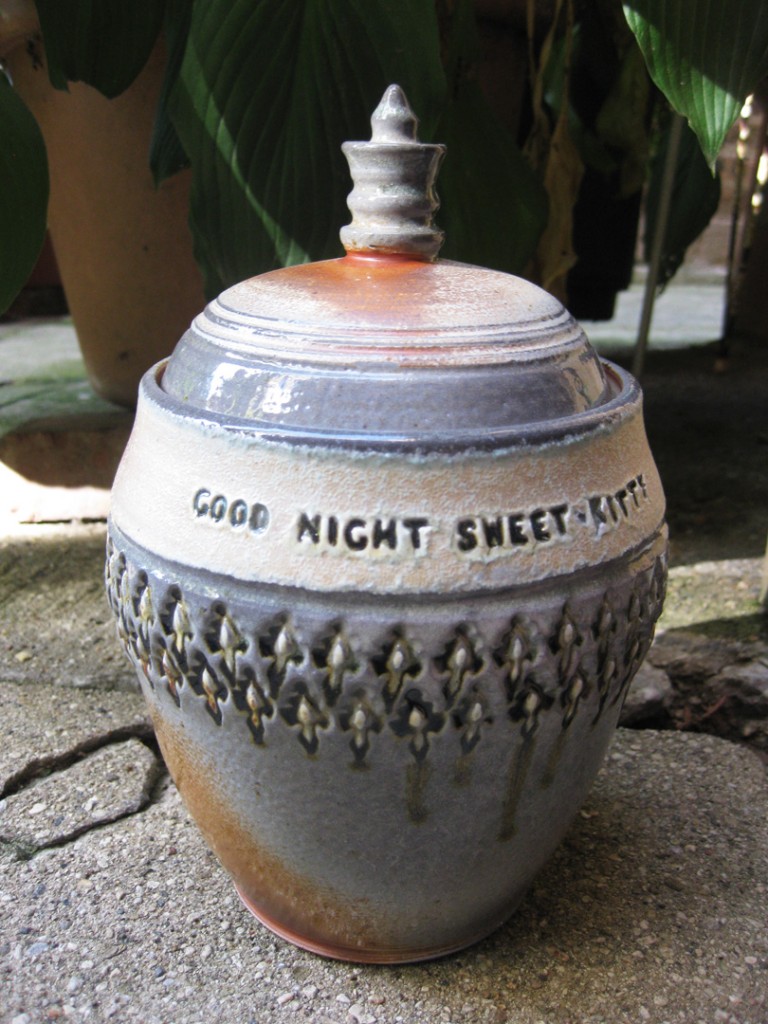
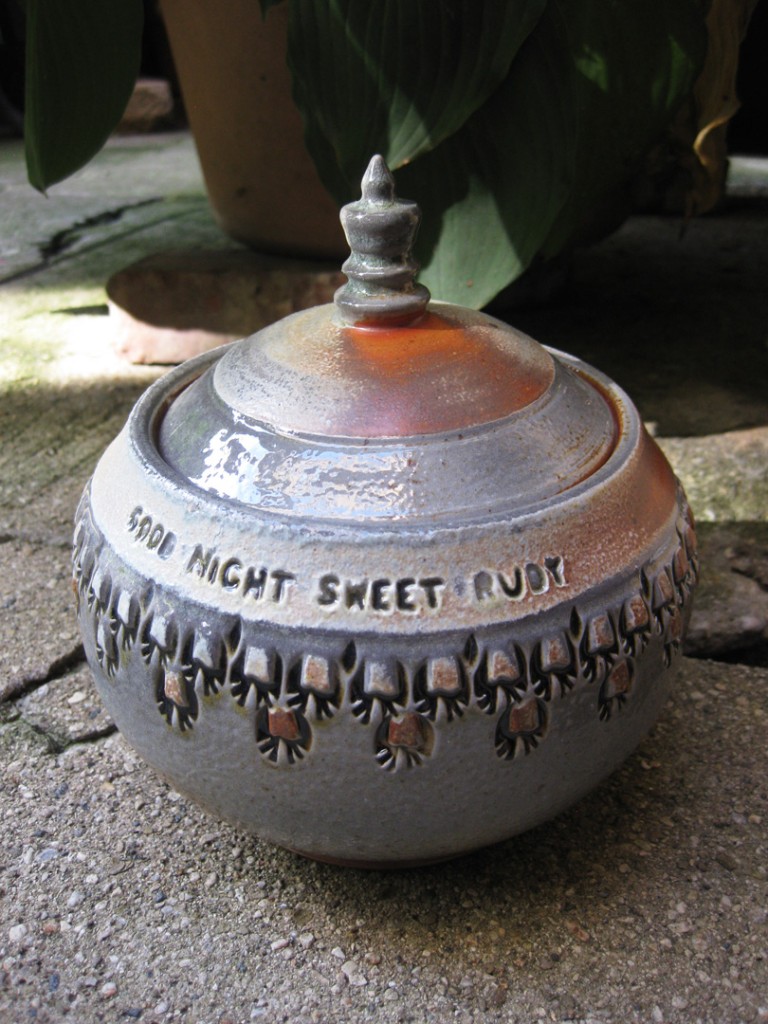
I started by throwing two lidded jars. I knew that it would be better to hedge my bets and make two, knowing that at least one of them would turn out fine. There are so many opportunities along the way for a pot to get messed up, especially when soda firing. So I made two. One lower & rounder, the other taller and more statuesque. Each one was stamped with a nice repetitive pattern.
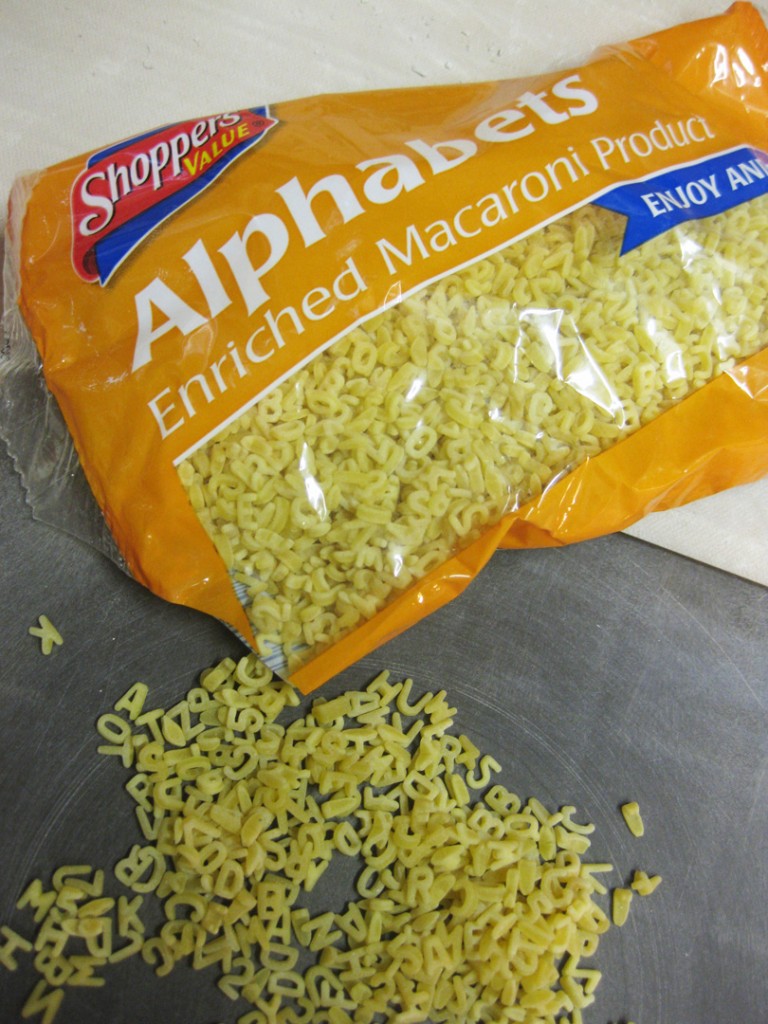
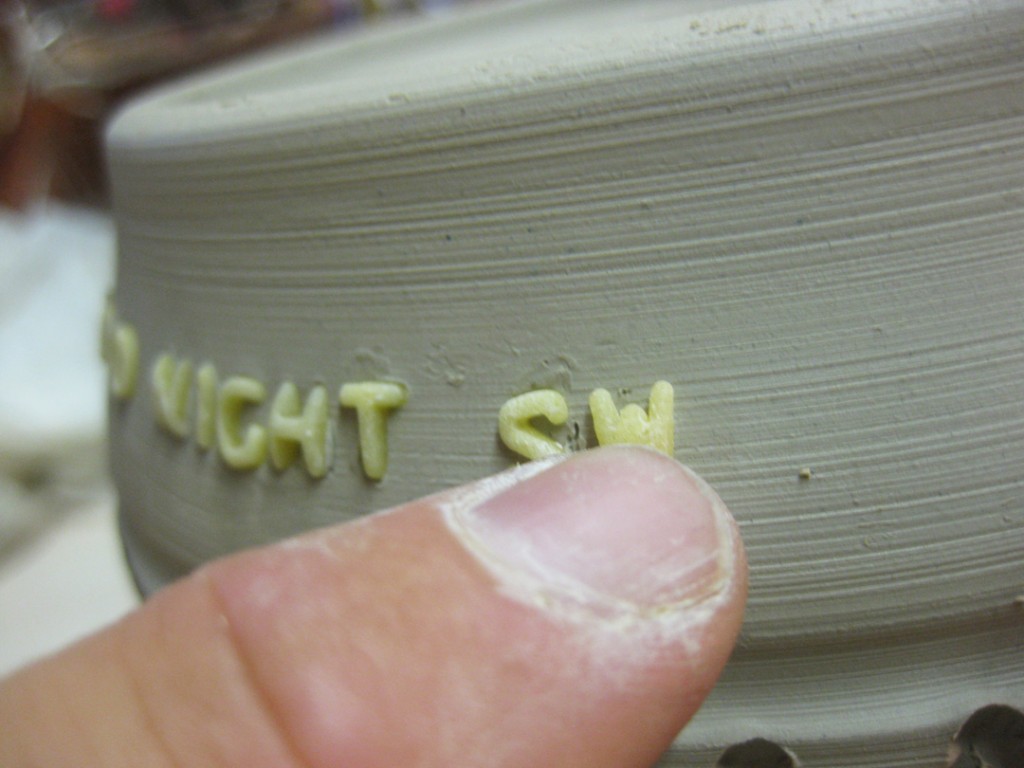
And then, I decided to customize them with some alphabet pasta letters… thanks to my former student Tracey who turned us onto the simple process.
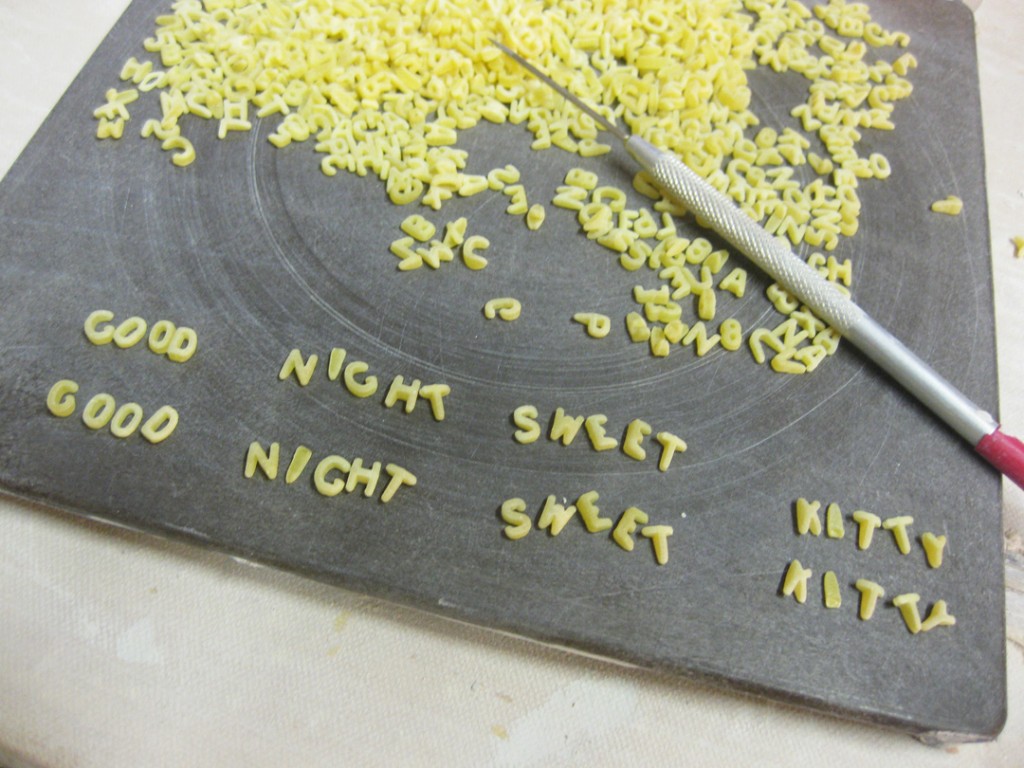
So I separated letters and tried to find all the ones I needed.
Then I started pressing them into the leather-hard pots… okay, they were on the wetter-side of leather-hard. Along the way, I decided to hedge my bets one more time. To make one for “Rudy” and the second one for a more generic “Kitty.” I like the lower rounder jar better, so I was hoping for that one to be the finished piece for Rudy. But if that one doesn’t work out, “Kitty” would still be a viable option.
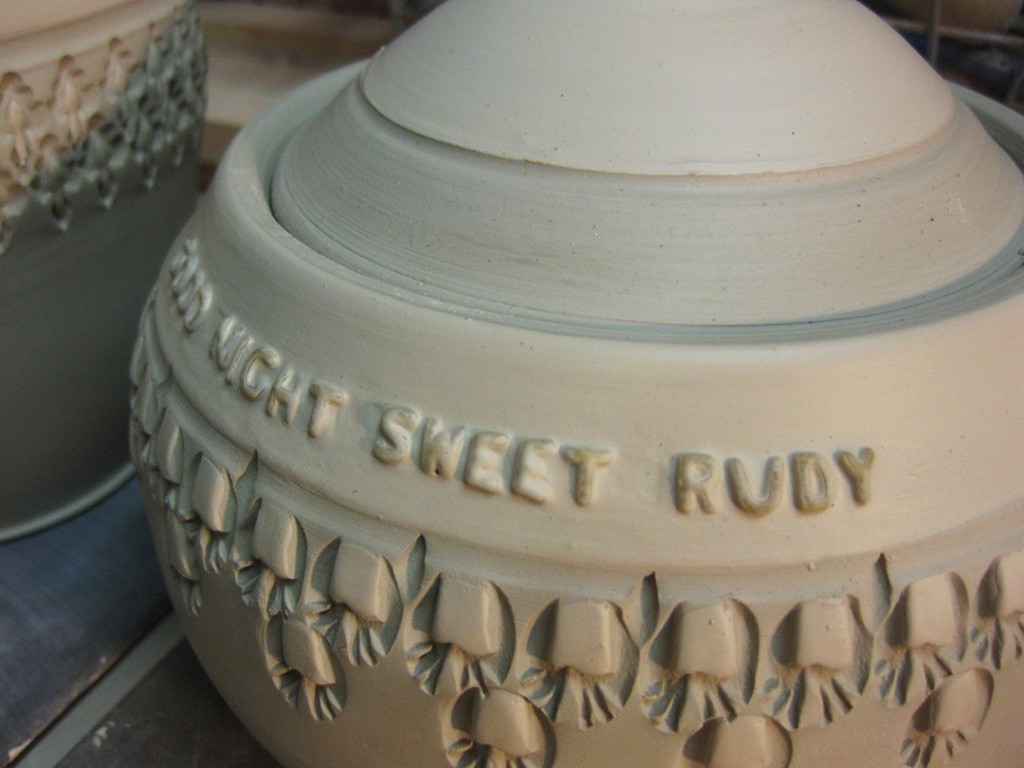
Once the letters were all pressed into the clay, I covered them with a band of colored flashing slip. A colored slip band across the jar and another one on the lid… with some accents in each an every stamp.
I left the pasta in place as they dried… and again when I bisque fired them. When the pieces came out of the kiln, they were a little scratchy around the letters where the slip had “built-up” around the pasta. A quick bit of sandpaper did the trick to even them out.
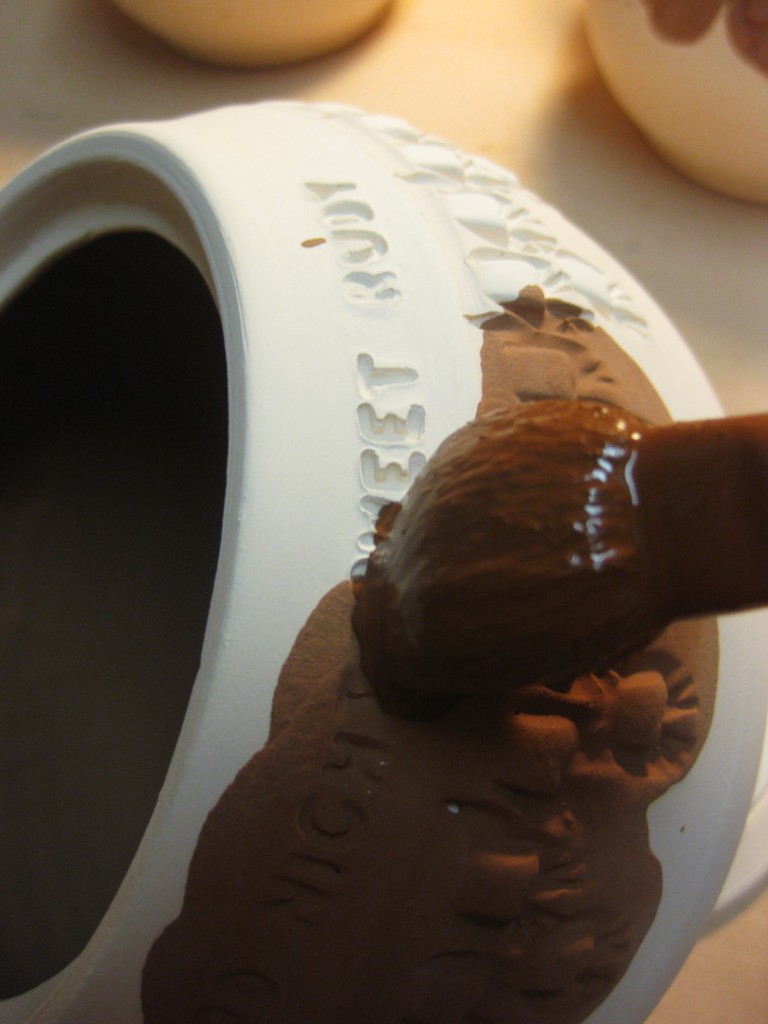
I then covered the stamps and letters with temoku glaze. Filling the indentations completely with glaze.
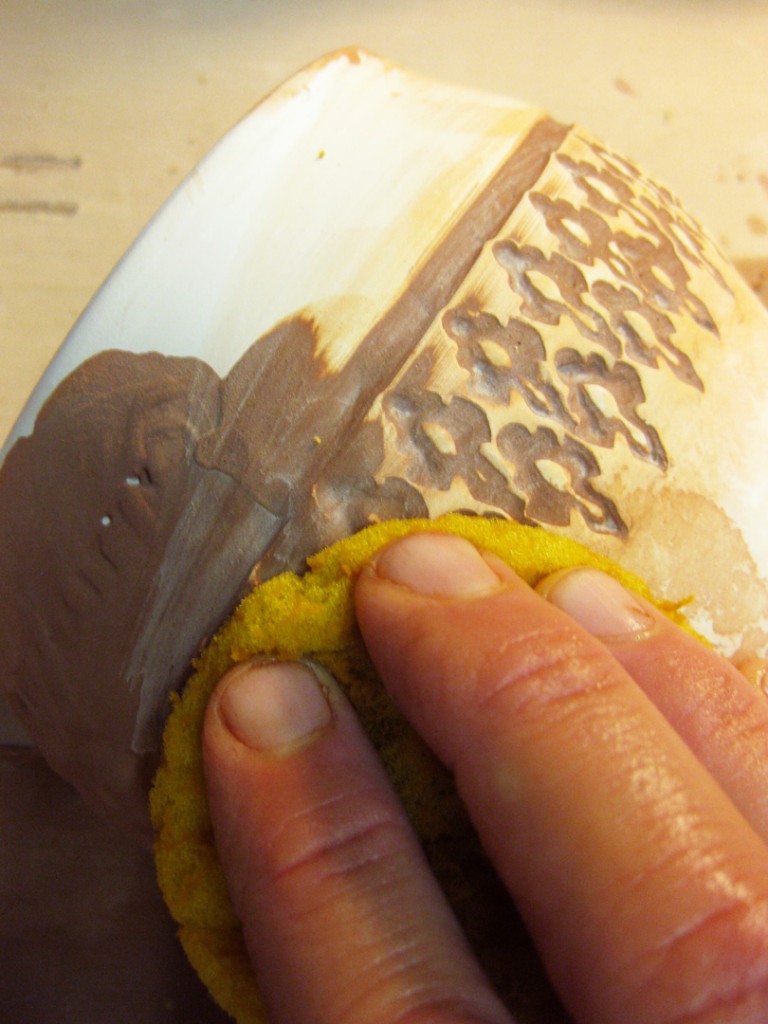
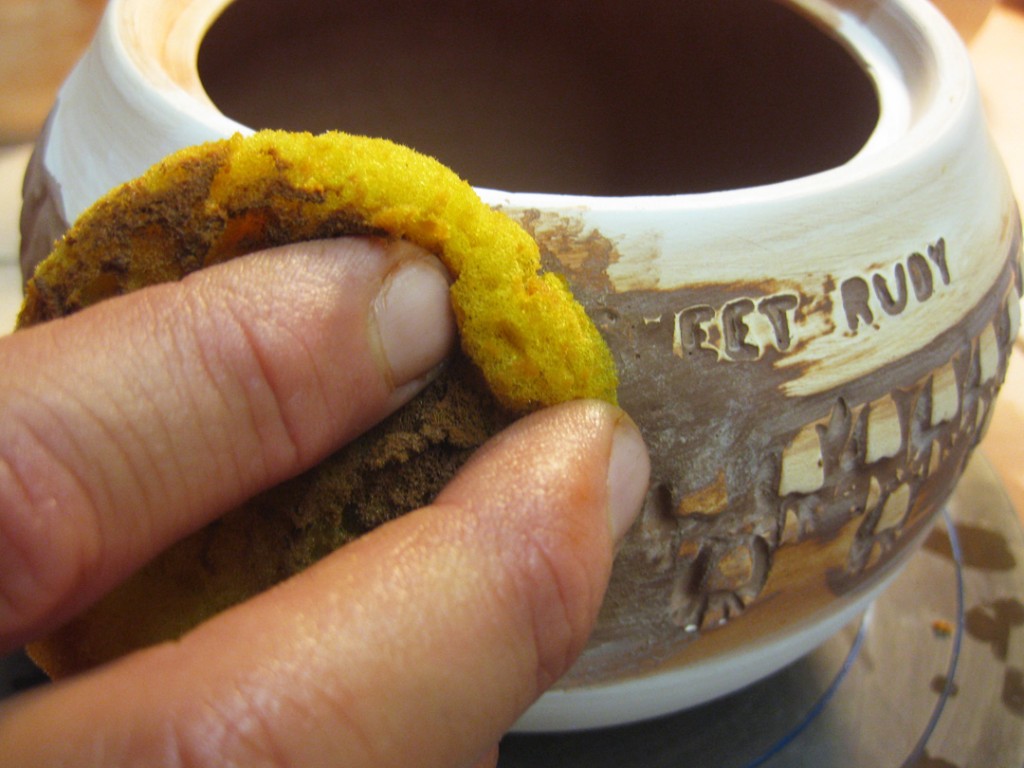
Then with a damp sponge, I wiped off the top layer of glaze to reveal the patterns & indentations now filled with glaze.
After a quick soda firing, both lidded jars turned out great. I’ve had to keep them “under wraps” for a few weeks so as not to ruin the surprise for Kim. The jars were in my last soda firing, but I had to wait until Kim received her gift before I could post them here
So this one now turns out to be an “extra”…
anyone have any ashes in a box somewhere that need a good home?!
And here’s the one that brought my cousin Kim to tears…
I gave the jar to her boyfriend Don during “Art In The Barn.” He proceeded to give it to her in front of all of us… my parents, her Mom, and more family & friends. She was so touched by the gift that she immediately turned into a sobbing mess. So touching. So emotional. So appreciative. Exactly the reaction one would like to get. And now Kim’s favorite cat Rudy has a fitting resting place. RIP Rudy.

What a special way to remember a beloved companion! Nice work!
Such a sweet thing for you to do. I’m sorry that your cousin lost her kitty. I know the feeling – it’s heart-wrenching.
I had to say goodbye to one of my kitties a few years ago, and her ashes are in a plain glass spice jar. Seems somewhat appropriate, although I’ve been keeping my eye open for something a little more personal. If you still have the extra urn, I’m interested.
Beautiful pots done with the lettering. Was just wondering why you covered them with slip after pressing them into the urn. Was it just for color or to keep the letters in place?
Thanks! Love your work!
Lori
LORI – It was just for color. I wanted that top rim area to be a brighter flashing slip color. And I thought that if I slipped first and then pressed, I might smudge the slip more than I would like to. So I decided to press the letters in first, then slip to get a clean coverage. I left the pasta letters in place for drying & bisque firing. When they came out of the kiln, there was little residue slip “edge” around some of the letters, but I just smoothed them off before soda firing. Easy-peesy!
Great work, can I asked why you covered the alphabet letters with slip? I was expecting them to be raised letters and they weren’t…
HEY TONI –
I carefully pressed the pasta into the clay to get the letter impressions. And then, since I knew the jars were going to be soda-fired, I added some colored flashing slip over them. I knew that the pasta would burn out in the bisque. And then I could inlay tenmoku glaze into the letters, and the colored flashing slip would add some orange accents after soda-firing.