Last week in my Beginning Wheel class, we talked about “making bowls on purpose instead of a cylinder gone bad.” I dd a demo and we talked about getting that perfect curve on the inside of your bowls… throwing the interior with intention and then trimming the outside to match alter.
Once we had talked about the first bowl… my students then went back to their wheels to start throwing. While they were throwing, I continued to make some more bowls too. After I had made several of them, we re-grouped for another bowl demo.
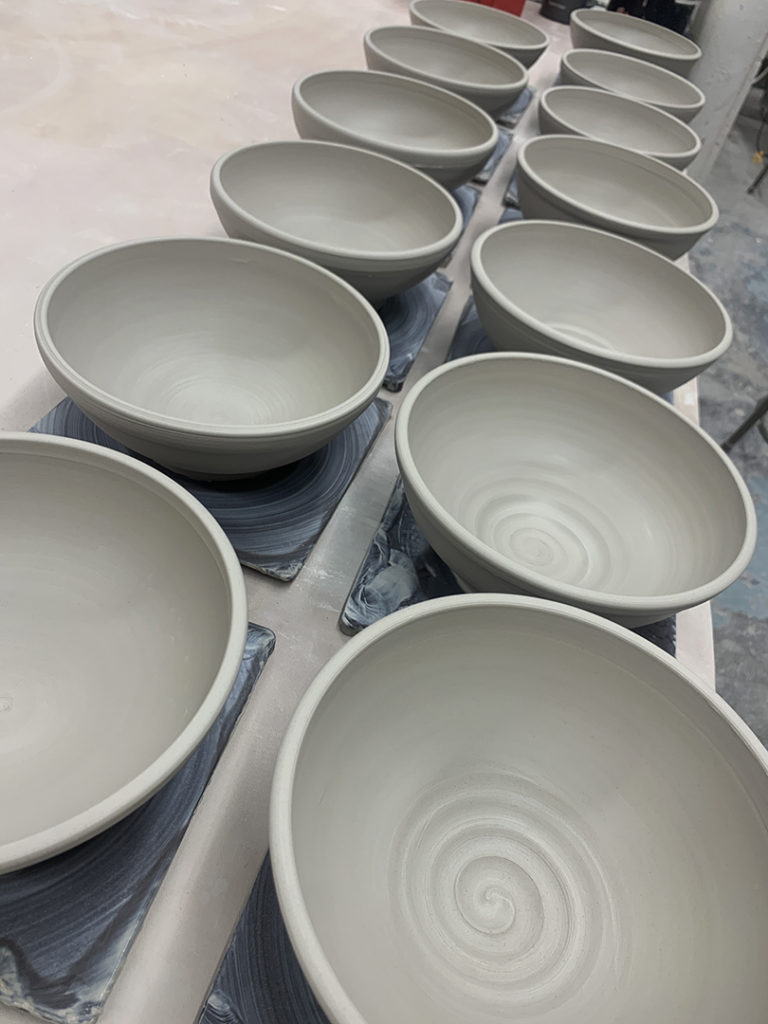
This time with some tricks & tips on how to make some “not-so-basic bowls”!!! We did some quick alterations, some rim refinements & even some colored slip applications. No one ever said that bowls need to be round, right?!
Bowl #1 – This was the original “prototype”… where all of the bowls began!!!

Bowl #2 – Two simple fluted twists.
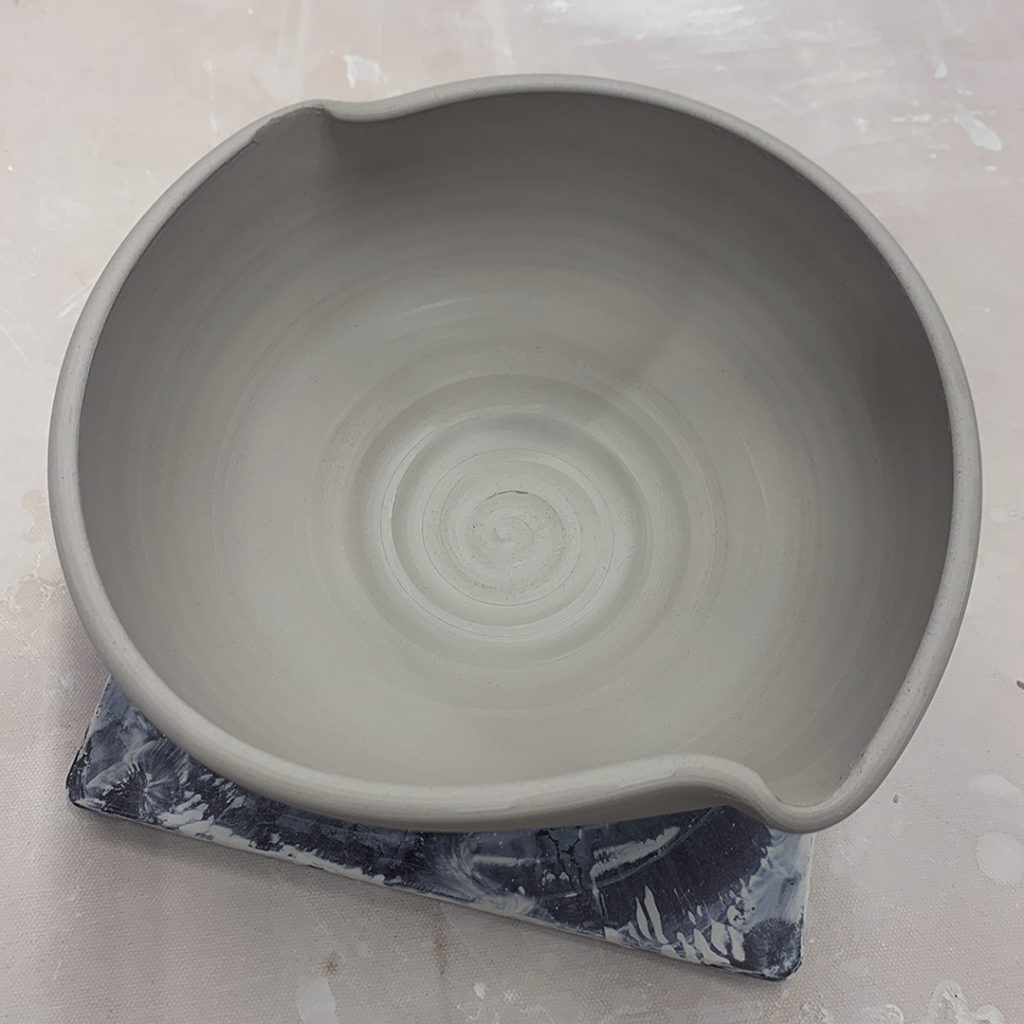
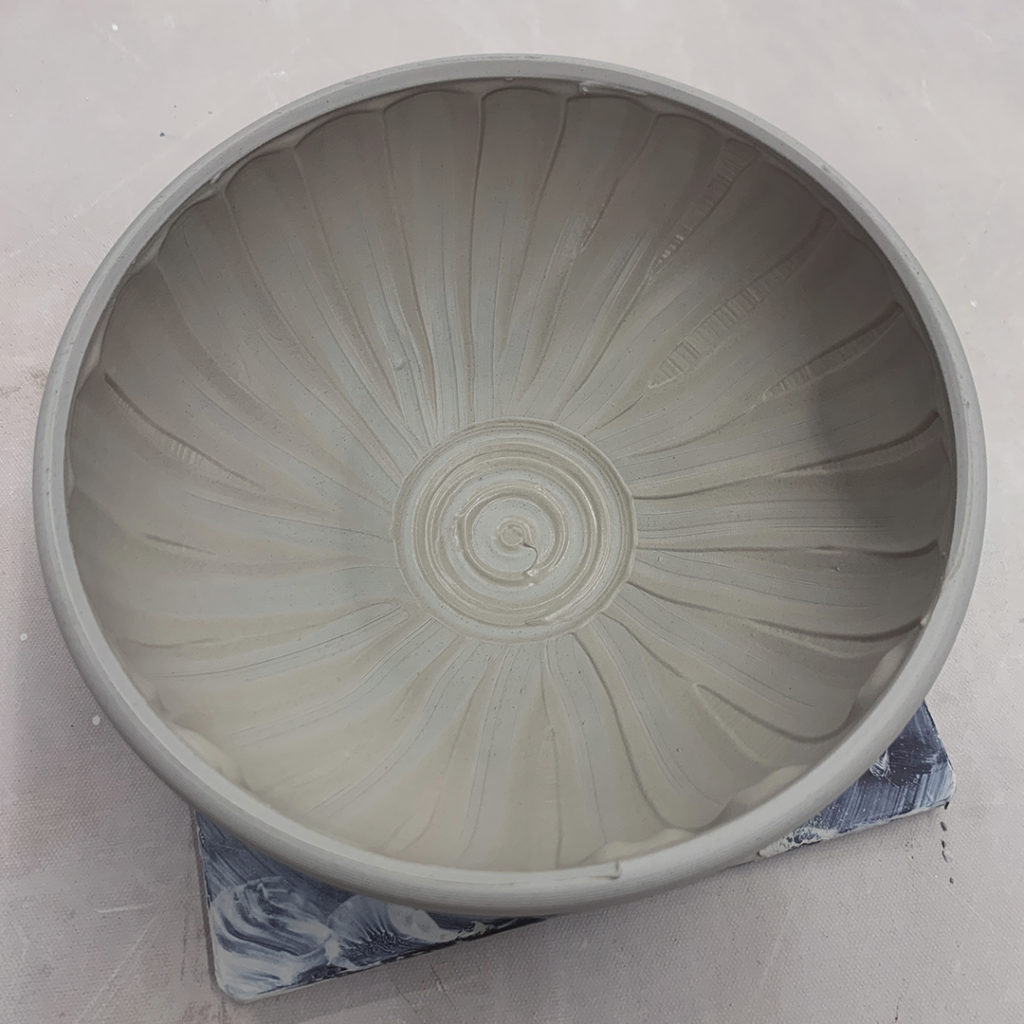
Bowl #3 – And if two are good, eight flutes might be better!
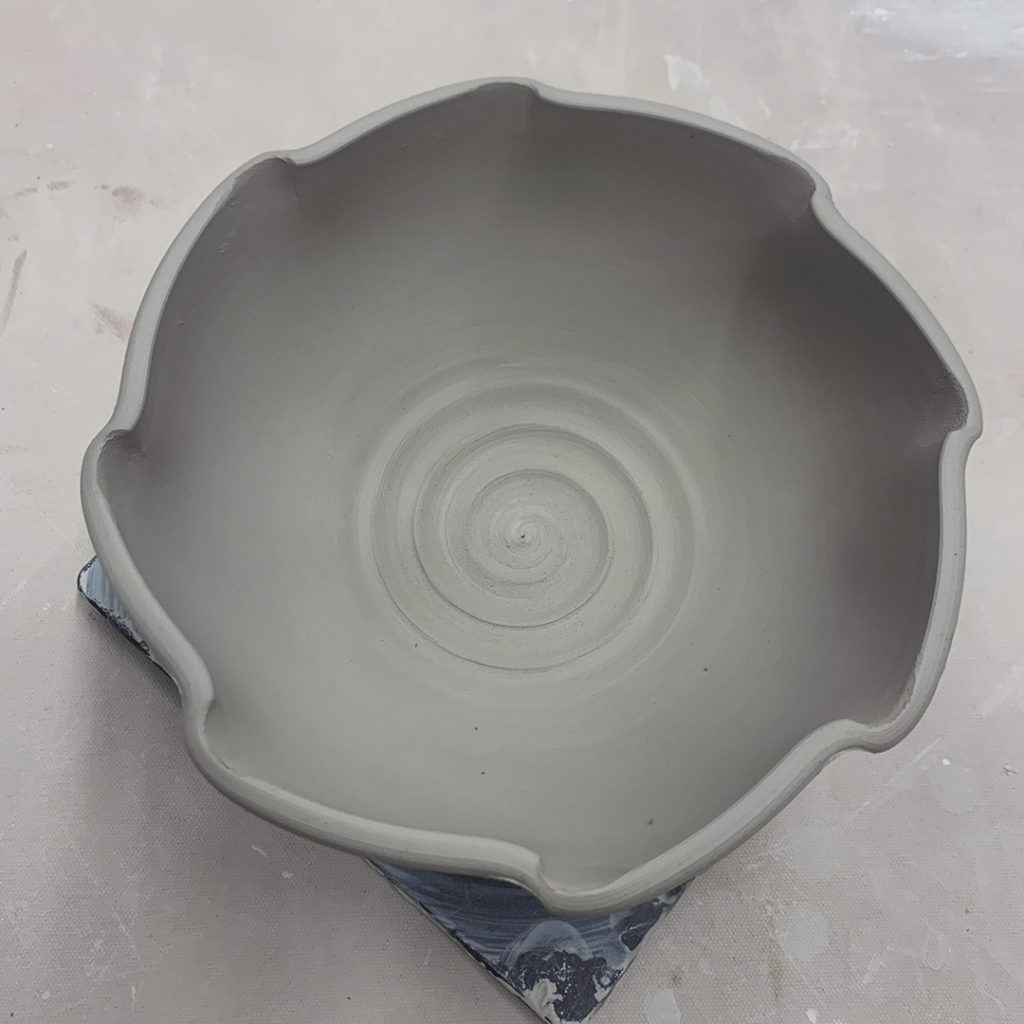
Bowl #4 – A thin flare flange.
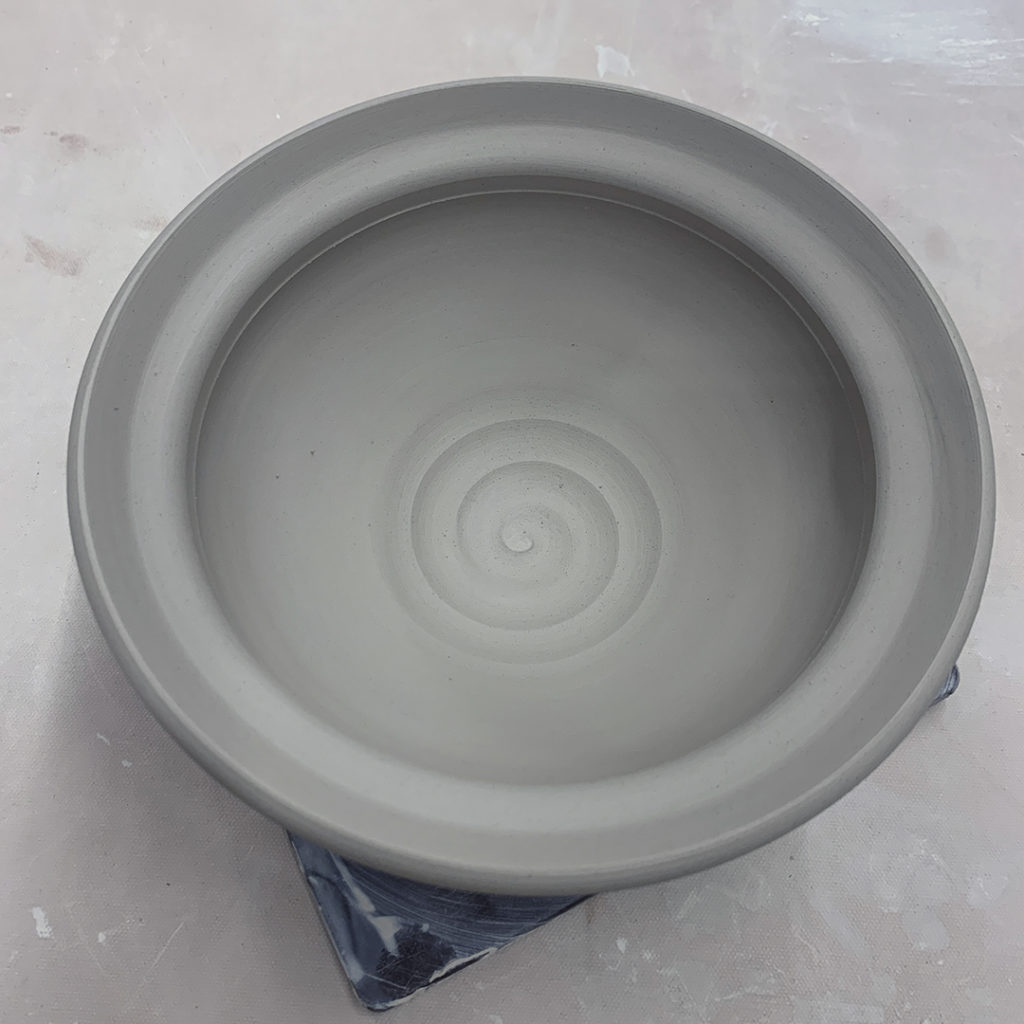
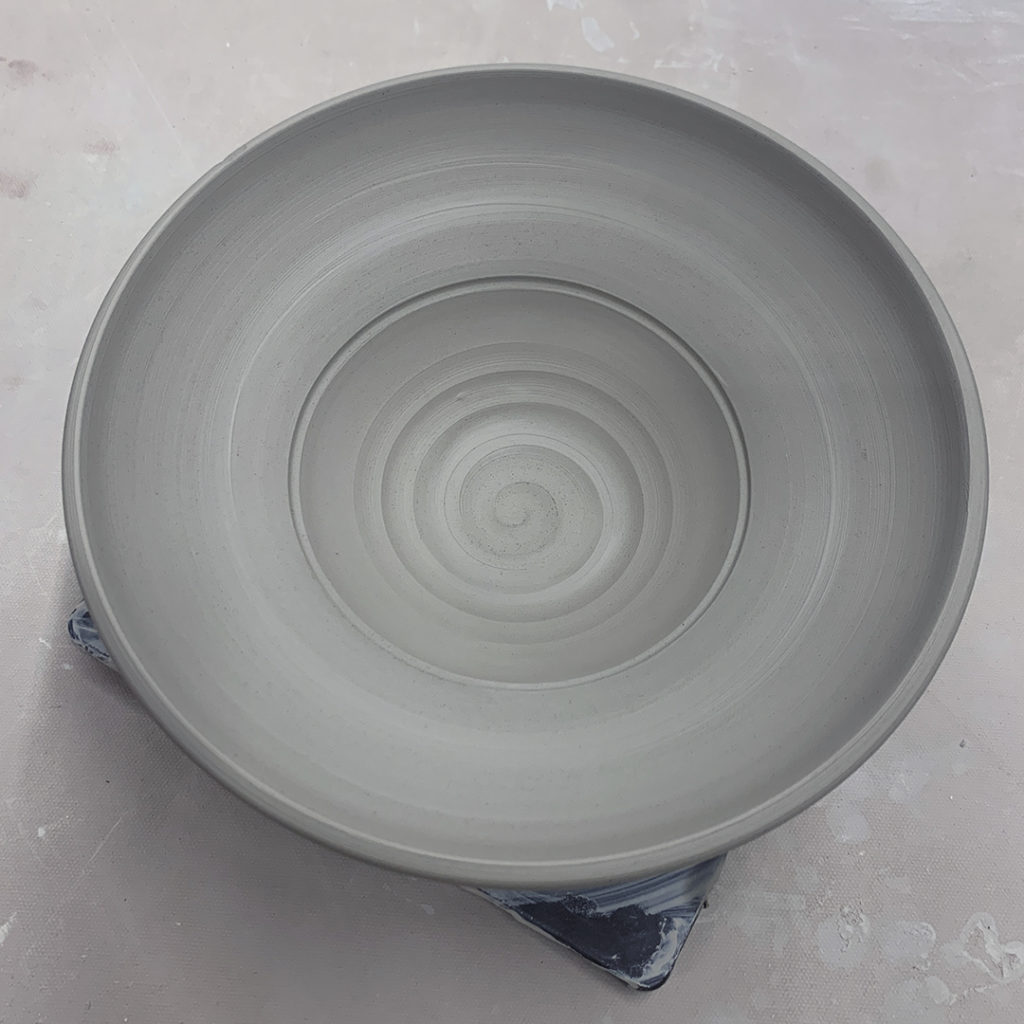
Bowl #5 – A wider flared flange.
Bowl #6 – A split rim with eight places pinched back together.

Bowl #7 – Another split rim with four areas dented inwards.

Bowl #8 – Another split rim with four areas dented inwards, and another four dented outwards… kind of a “lotus” pattern. Can you tell I’m kinda infatuated with the while split rim process?

After altering some of the basic bowls, it was time to introduce some thick slip as a decorative option. I chose “thick” white slip so I could get some good textures from the slip for the glaze to pool & puddle on later.
Bowl #9 – A layer of thick white slip, with the curved end of my wooden knife dragged through to create the dramatic spiral.
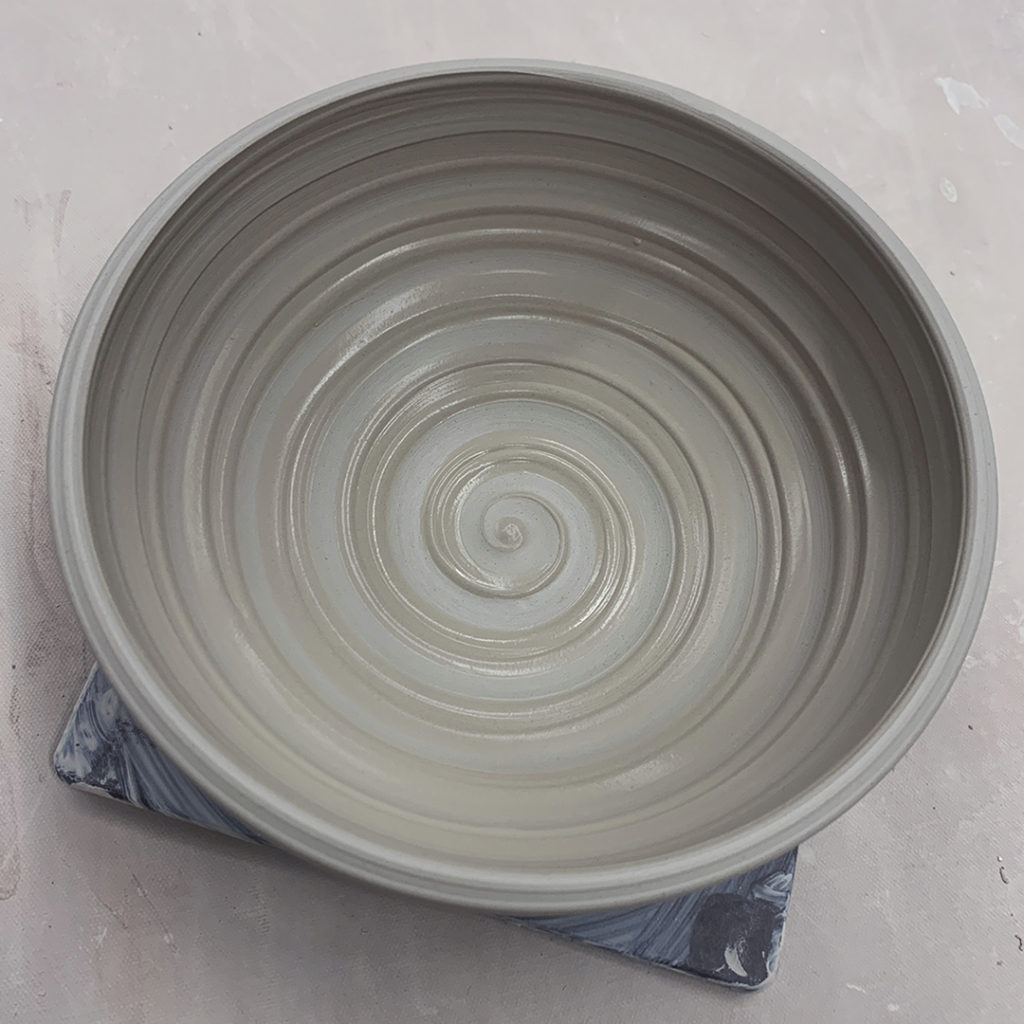
Bowl #10 – Thick white slip covering the interior… with a rubber rib used to drag some lines through.
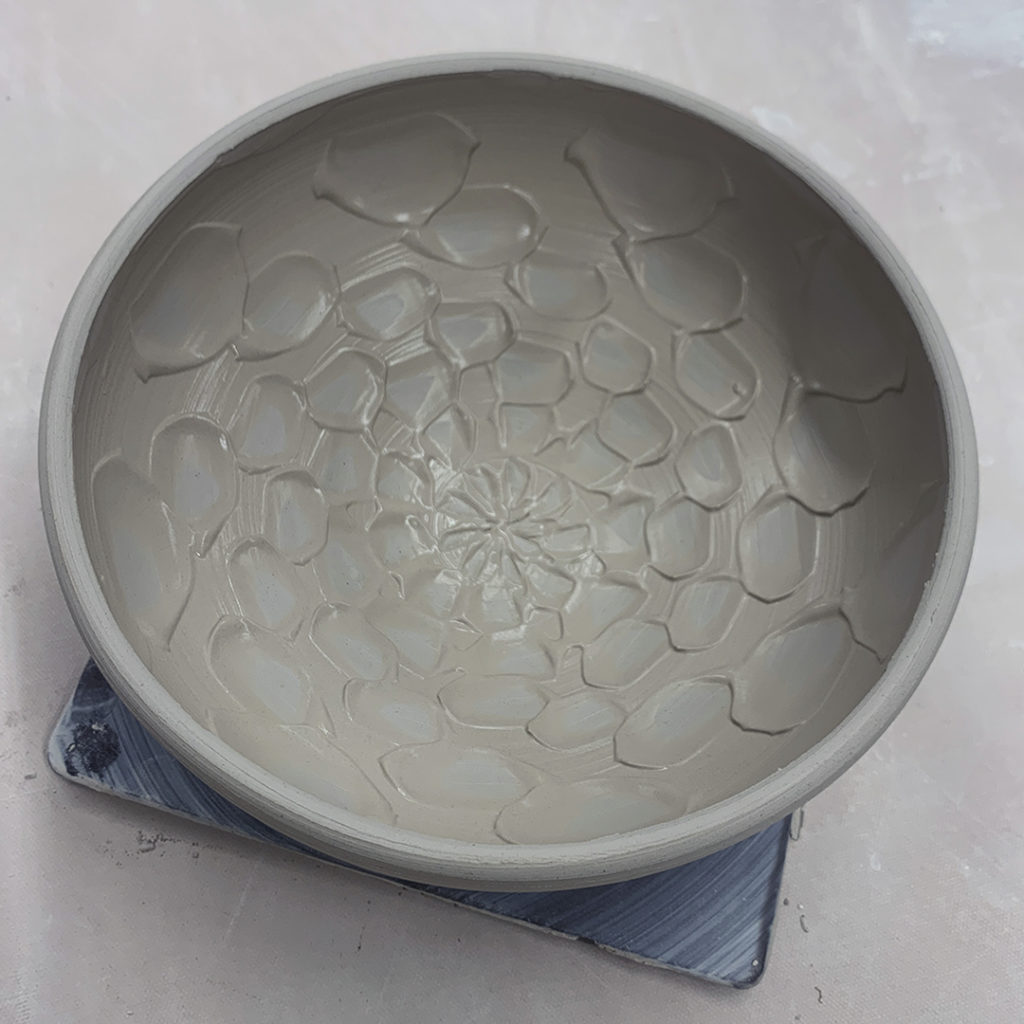
Bowl #11 – Thick white slip with some rhythmic chattering to create the pattern.
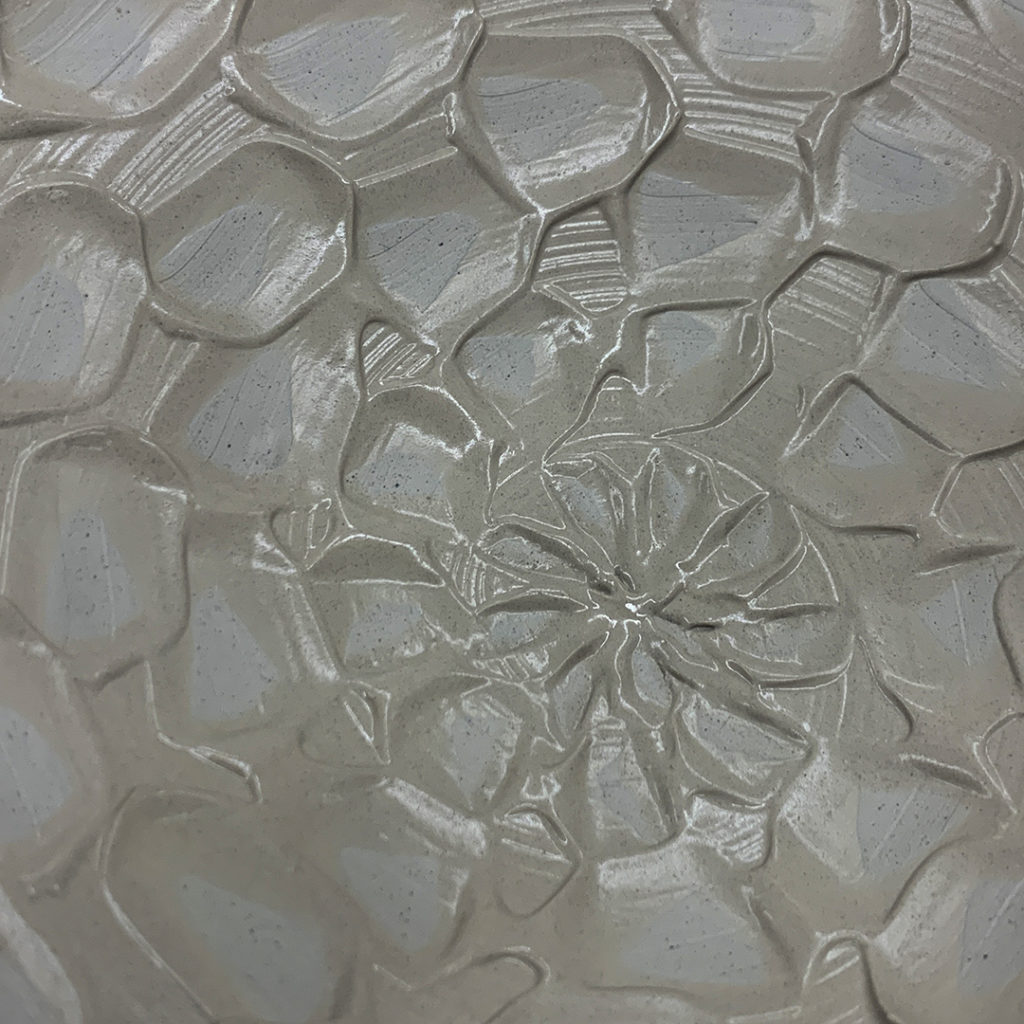
Bowl #12 – An ombre’ blend of thick white & iron red slips.

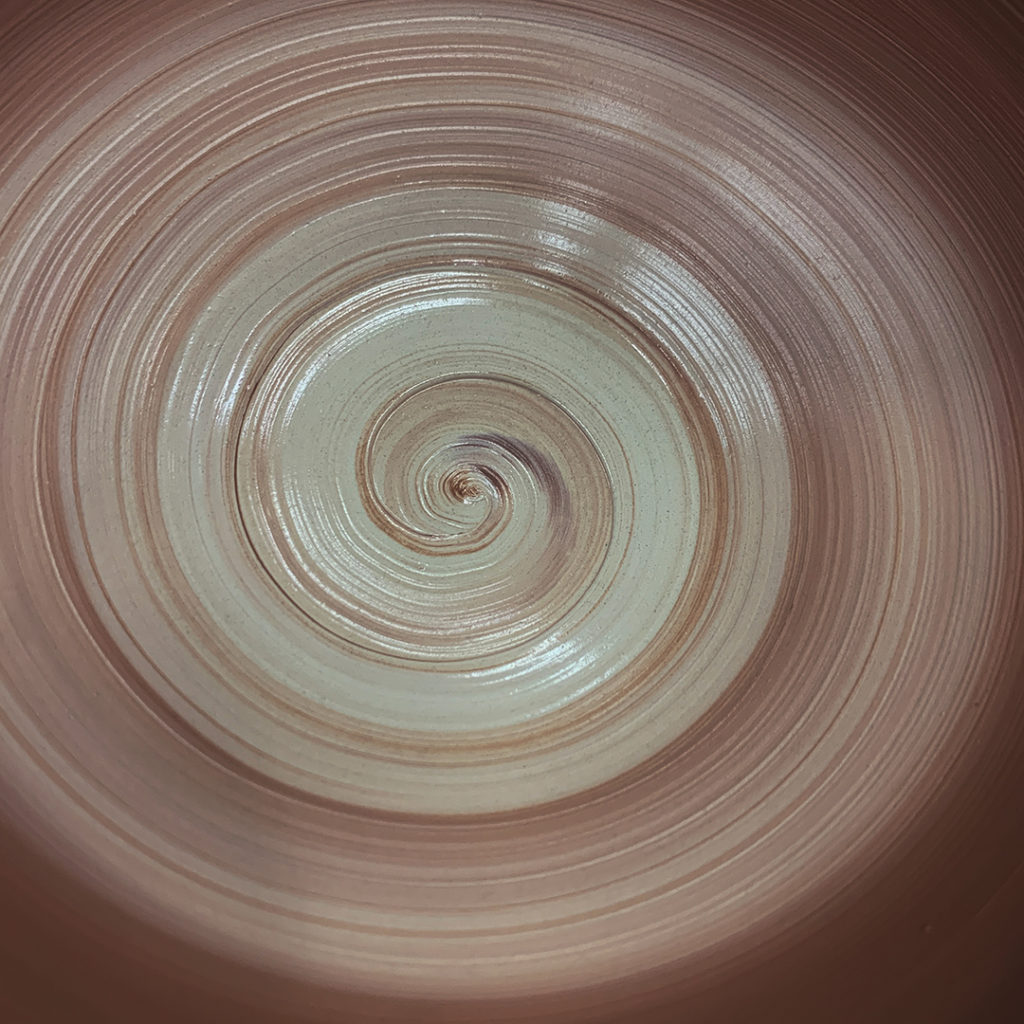
Bowl #13 – White & iron red slips again… with some rhythmic chartering going through it.
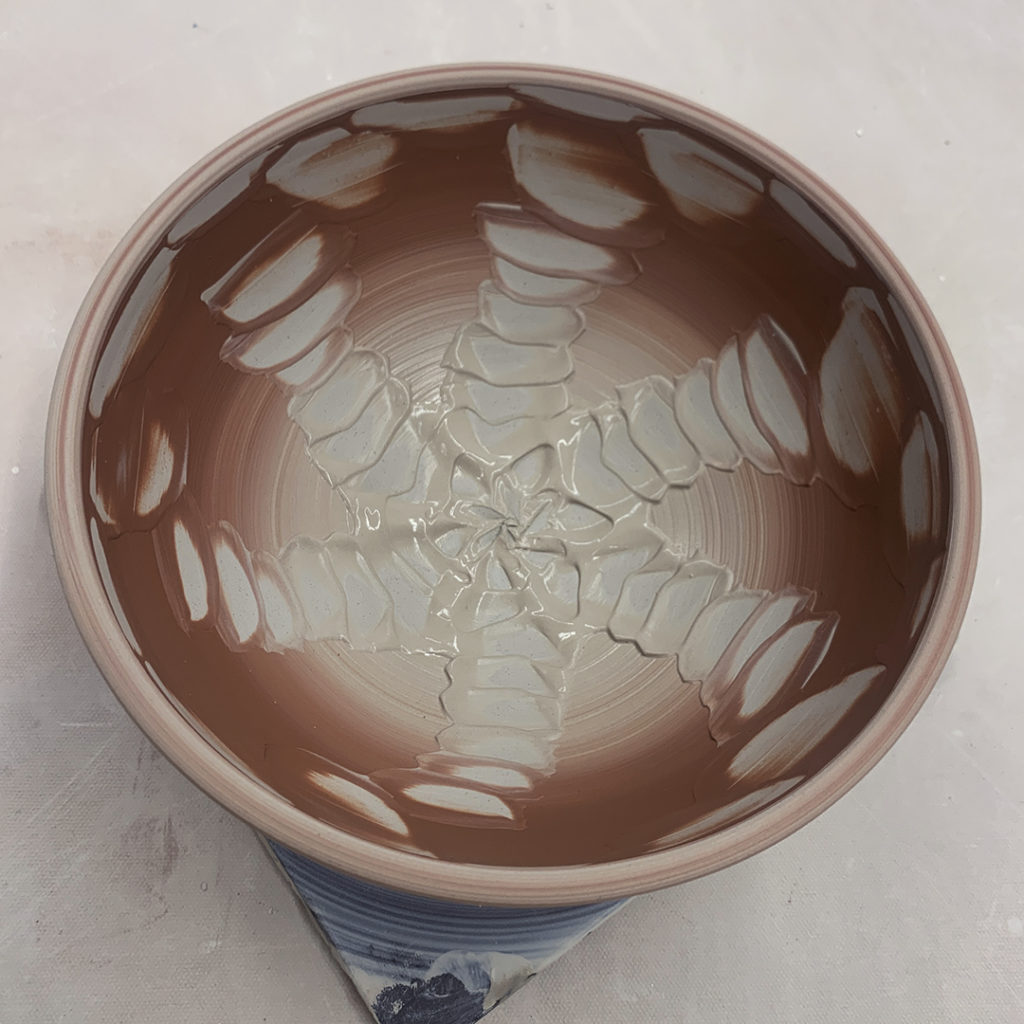
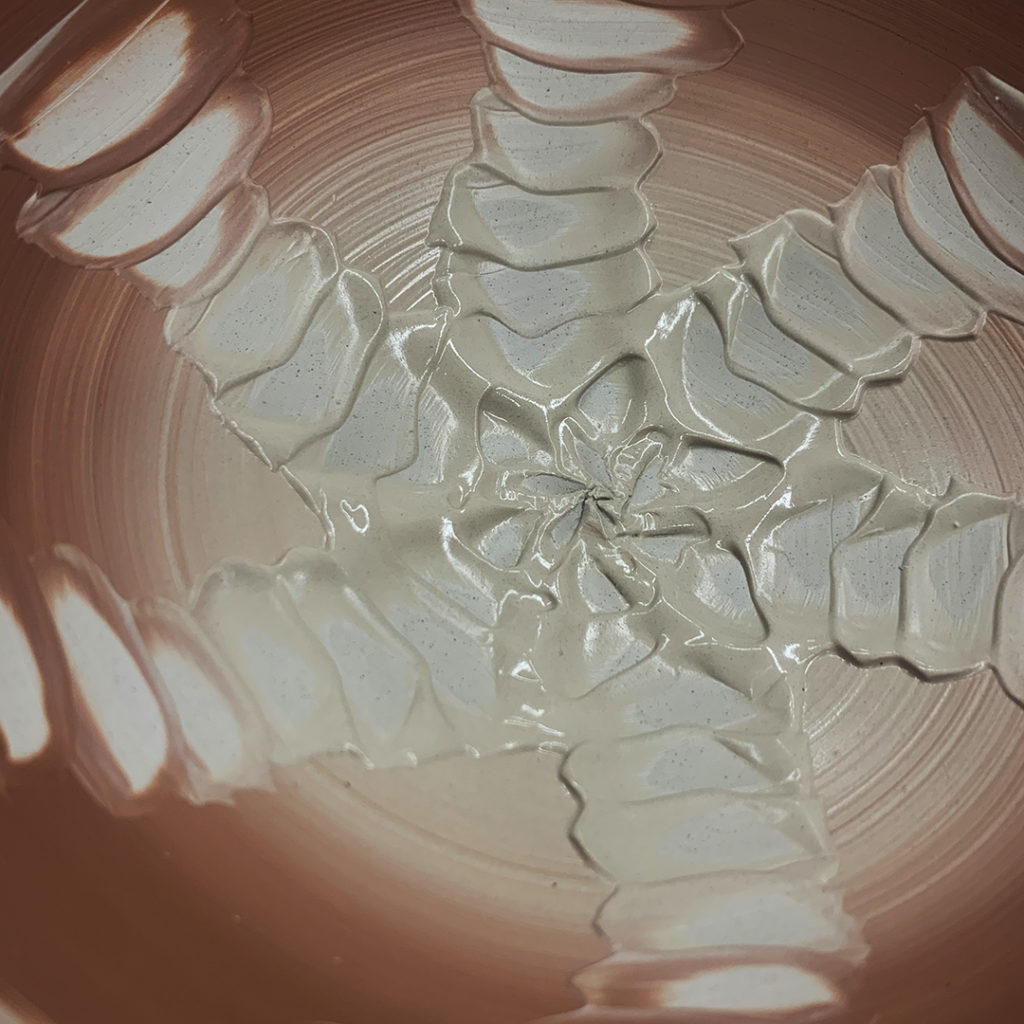
After the demo, we cleaned up & I brought the bowls up to my studio to keep them covered with plastic for the night… as there “just might be” some stamping & detailing still to come!