So today is the day that all of the work gets loaded into the kiln.
It’s a 3-dimensional, spatial relationship challenge! And I love it!
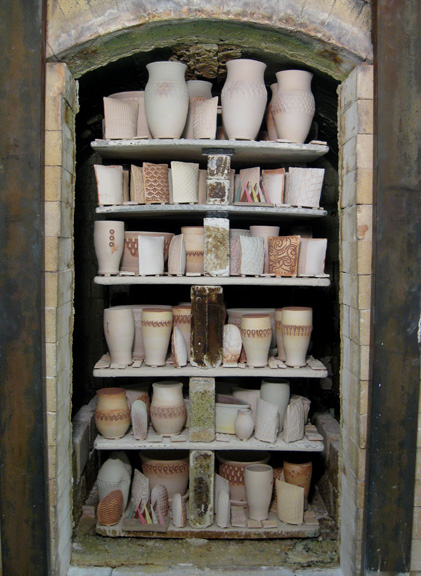
So you start at the bottom in the back – loading the first layer of pots.
Then you place the posts, as known as “furniture,” to raise the next shelf.
More pots, more posts, another shelf. More pots, more posts, another shelf.
All the while keeping the air flow and spacing in mind. Ideally, you want to
fill the space kind of evenly all the way to the top of the arched kiln ceiling.
It’s a great challenge to get as many pieces into the kiln while allowing for
proper air-flow to ensure good soda exposure and air flow throughout the kiln.
If it’s packed too tight the flames can’t get through the pieces and some of the work
comes out too “dry” and not “glazed” by the soda. If the kiln is packed too loosely –
I don’t feel that I have gotten my money’s worth in the firing!!!

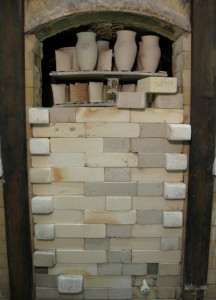
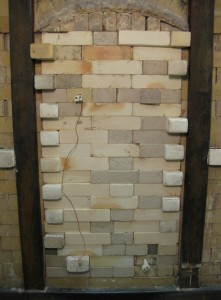
Once the kiln is loaded, the door is closed… one brick at a time!!!
With special cut bricks on alternating ends to help keep it tight side-to-side…
as well as carved arch bricks that fit along the top curve.


Going, going…Â Â Â Â Â Â Â Â Â Â Â Â Â Â Â Â Â Â Â Â Â Â Â Â Â Â Â Â Â Â Â Â Â Â Â …gone!