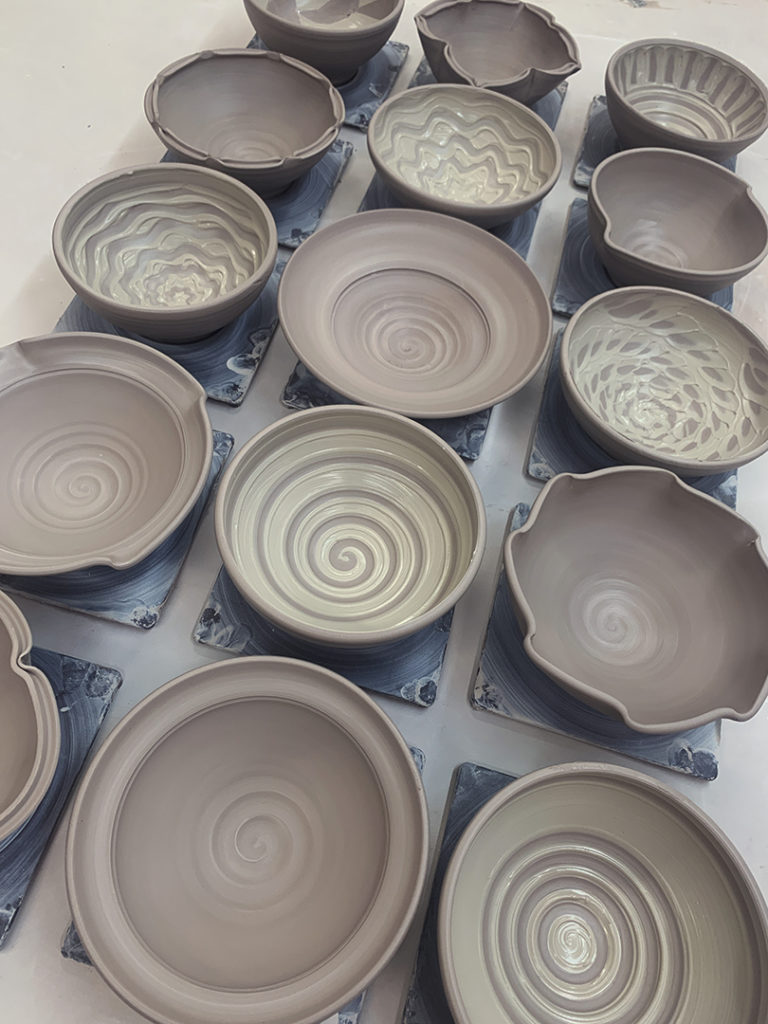
This week in my Beginning & Advanced Beginning Wheelthrowing class, we discussed making bowls on purpose and NOT cylinders gone bad. We talked about how they need to start making the bowl curve inside their bowl right form the very start. And that they should be looking for a nicely rounded interior… and NOT a flat bottom, corners and a curved side like a cylinder gone bad!!!
After the first bowl demo, I sent my students back to their wheels so they could start throwing some nicely rounded bowls. And then I went back to my wheel to make “a few” more bowls…

And then we re-grouped and talked about how I believe the wheel does most of the work making a nice round bowl. But it’s up to each student to make that bowl their own… employing some quick tricks & techniques to make their bowls new & different… and a bit more “stylish” than the others!
So here are the “tricks” that I showed them all…
BOWL #1 – two fluted edges… gently asymmetrical.


BOWL #2 – if two fluted edges are nice, EIGHT might even better?!

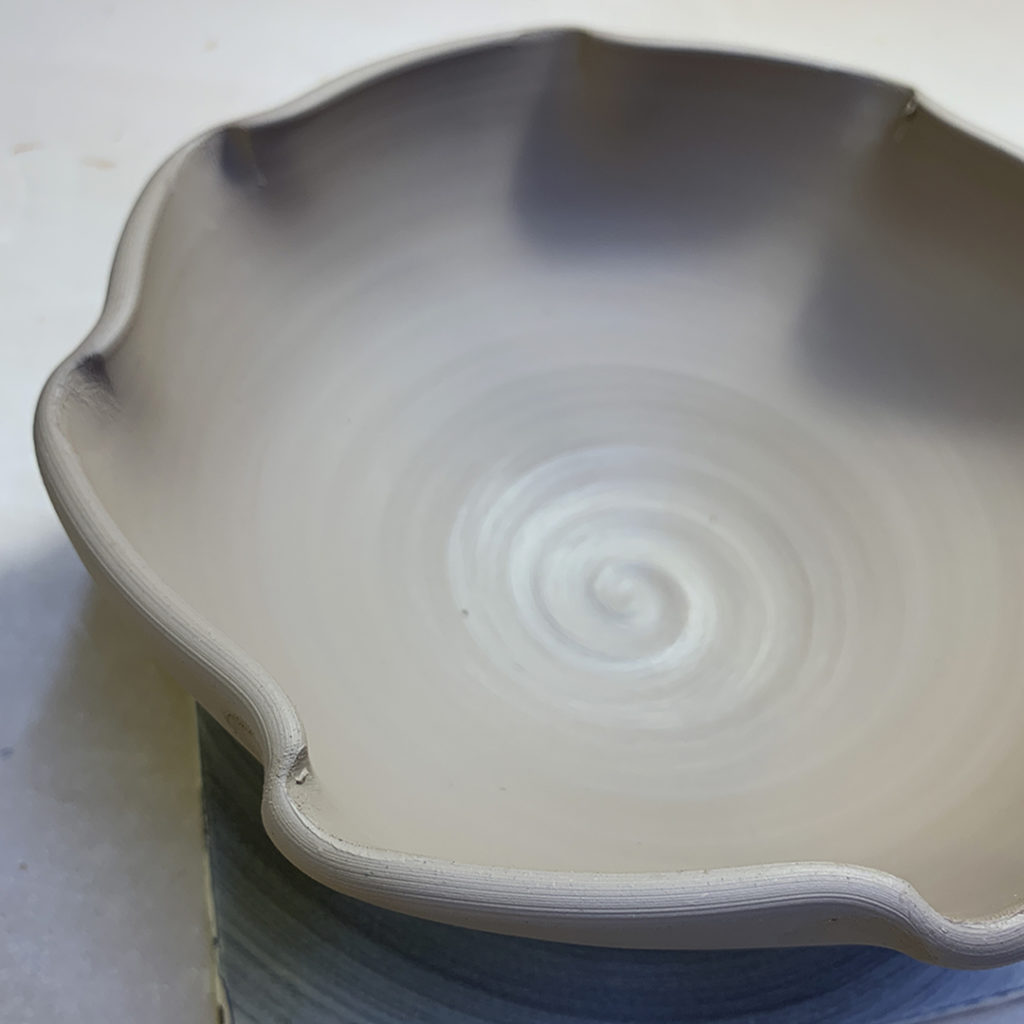
BOWL #3 – a flared flange… approximately 1″ rim
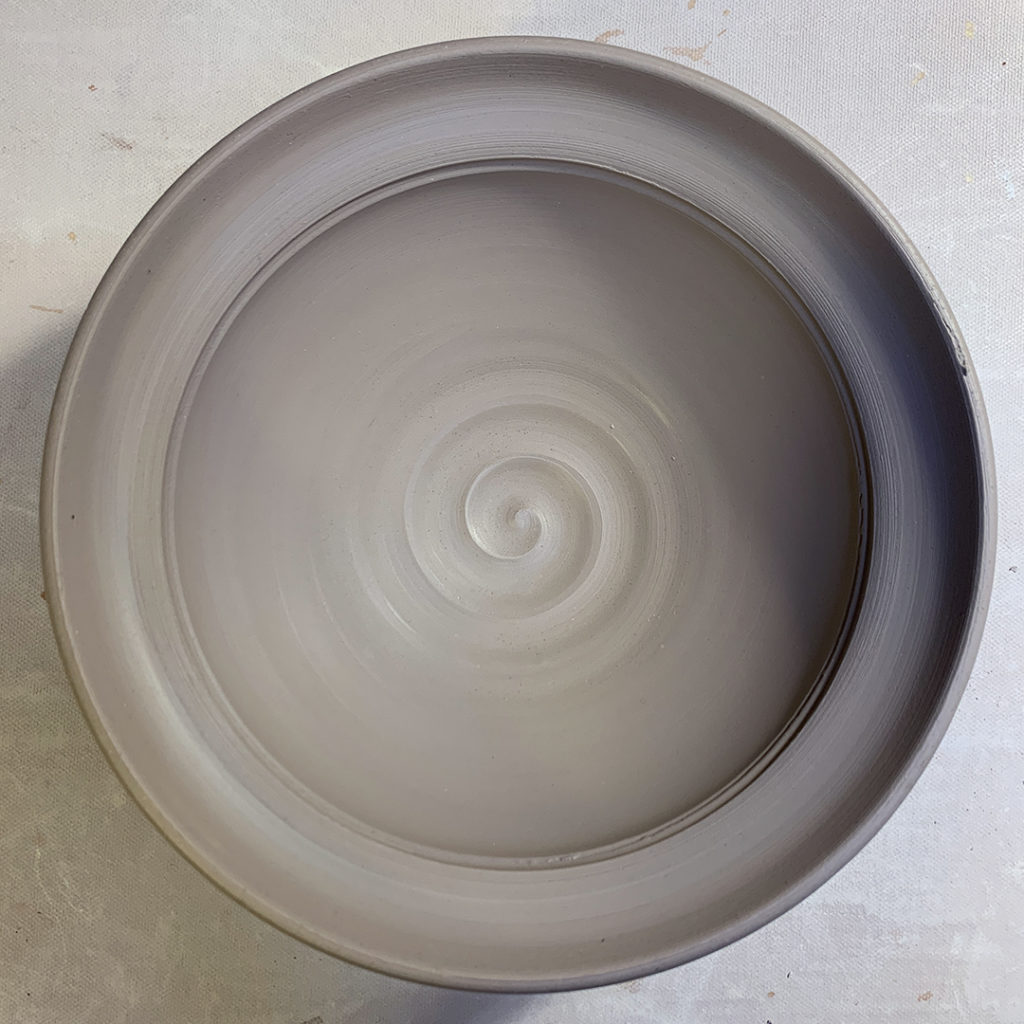
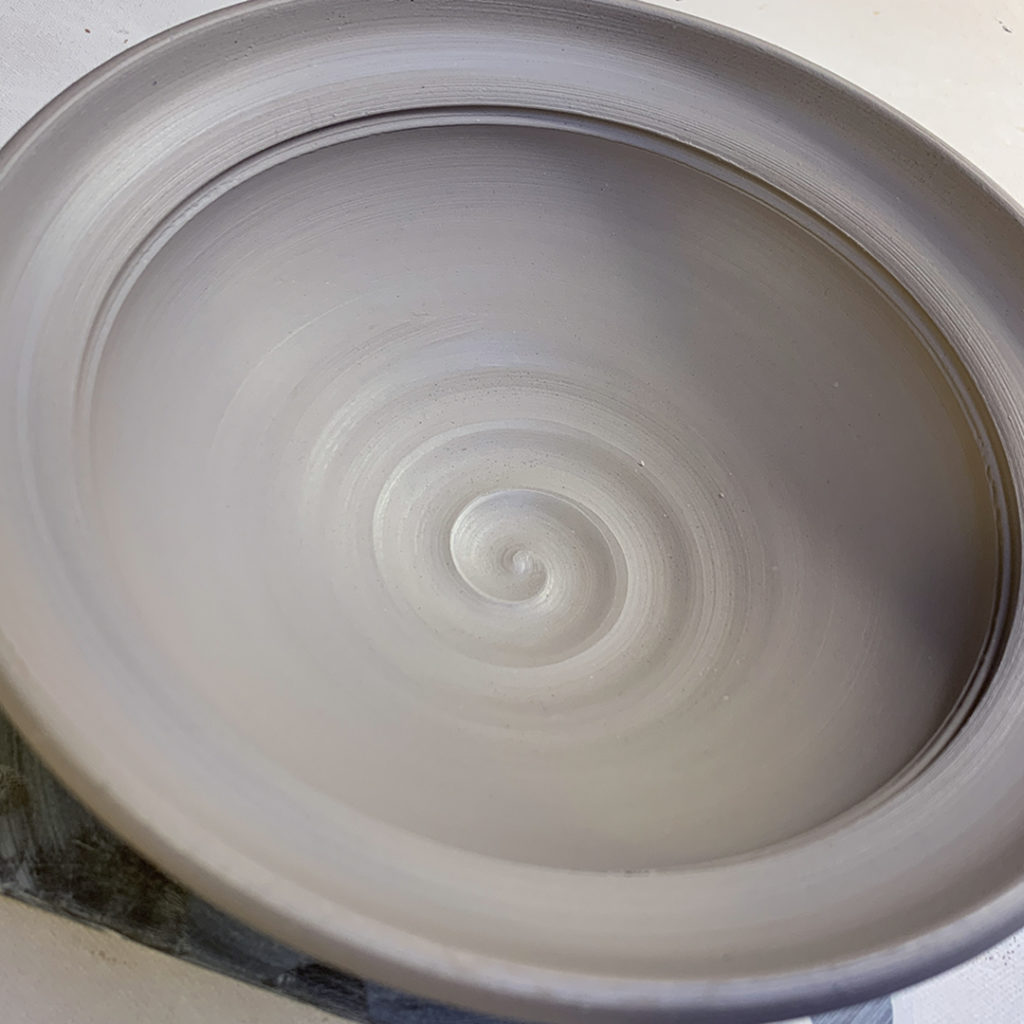
BOWL #4 – if one inch is good, maybe three or four inches are even better?!
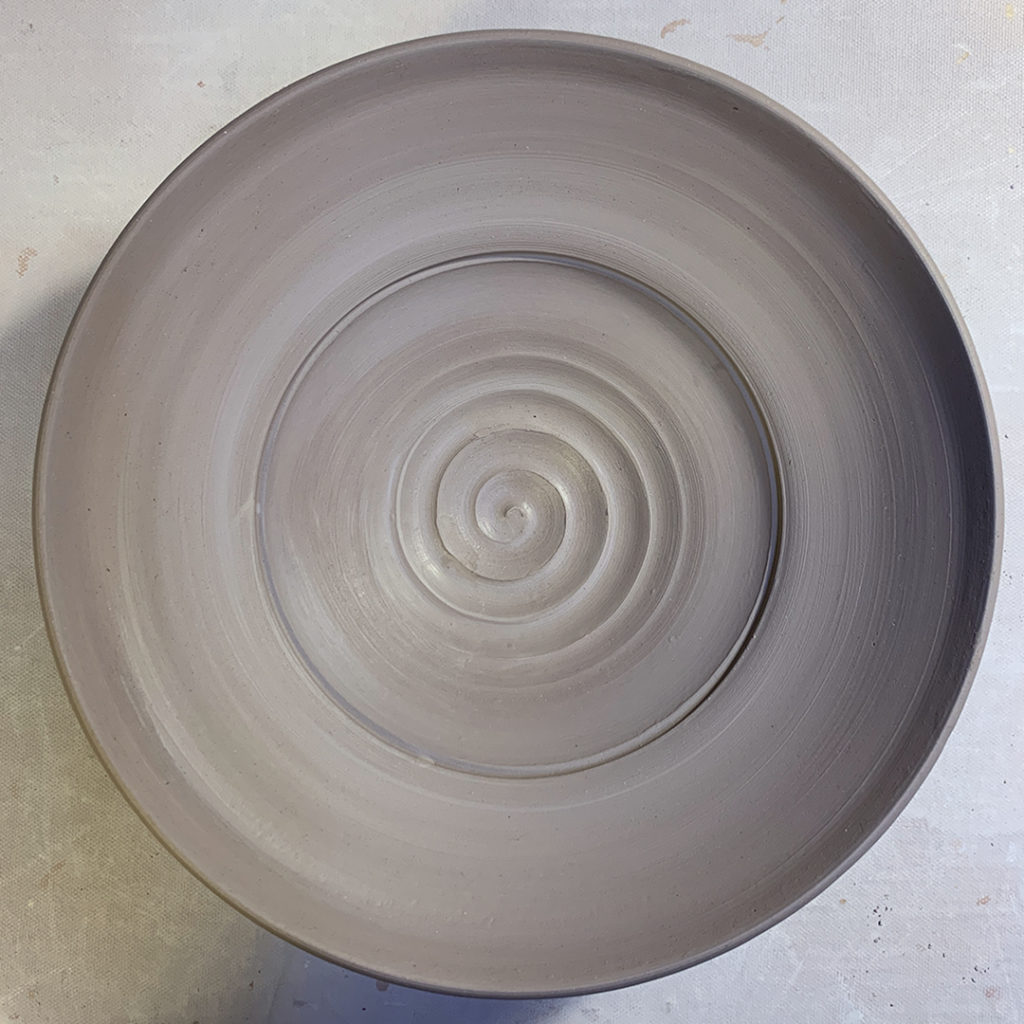
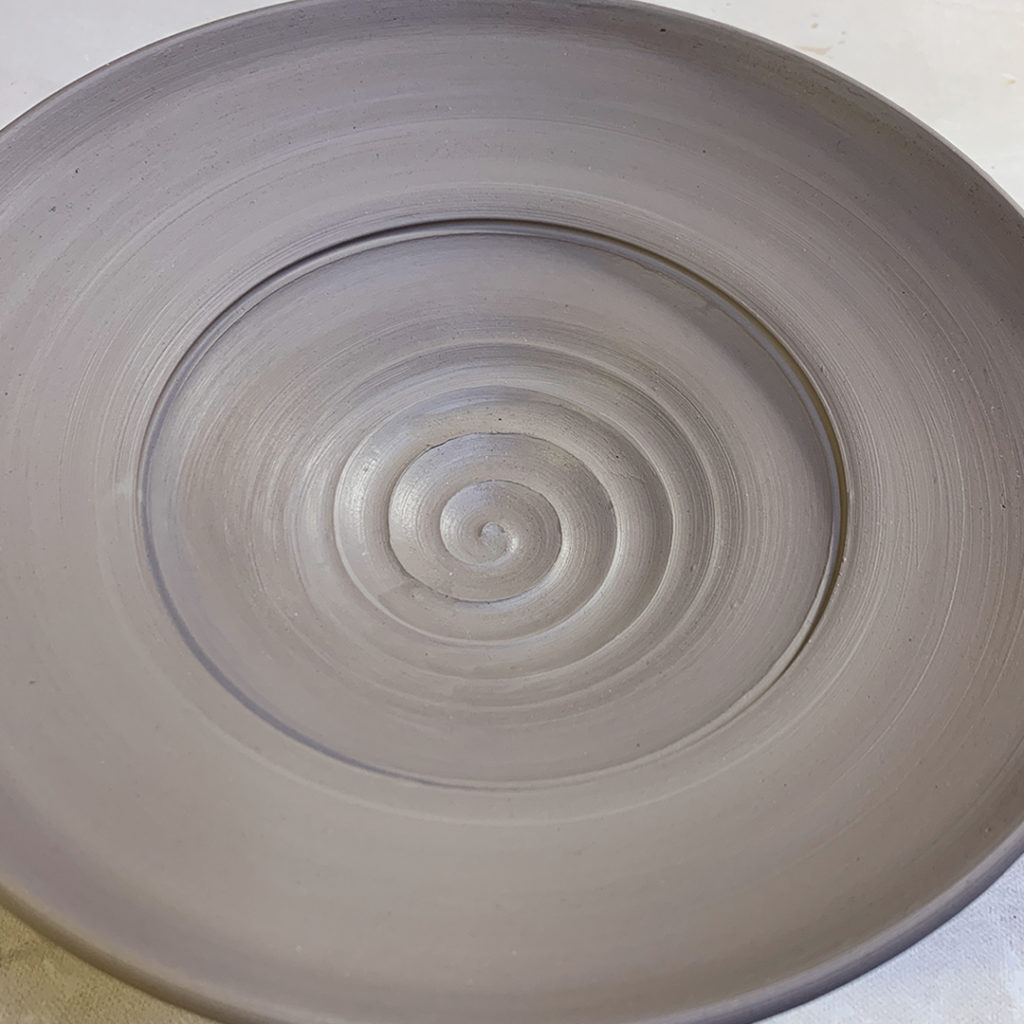
BOWL #5 – combined flared flange with four flouted edges
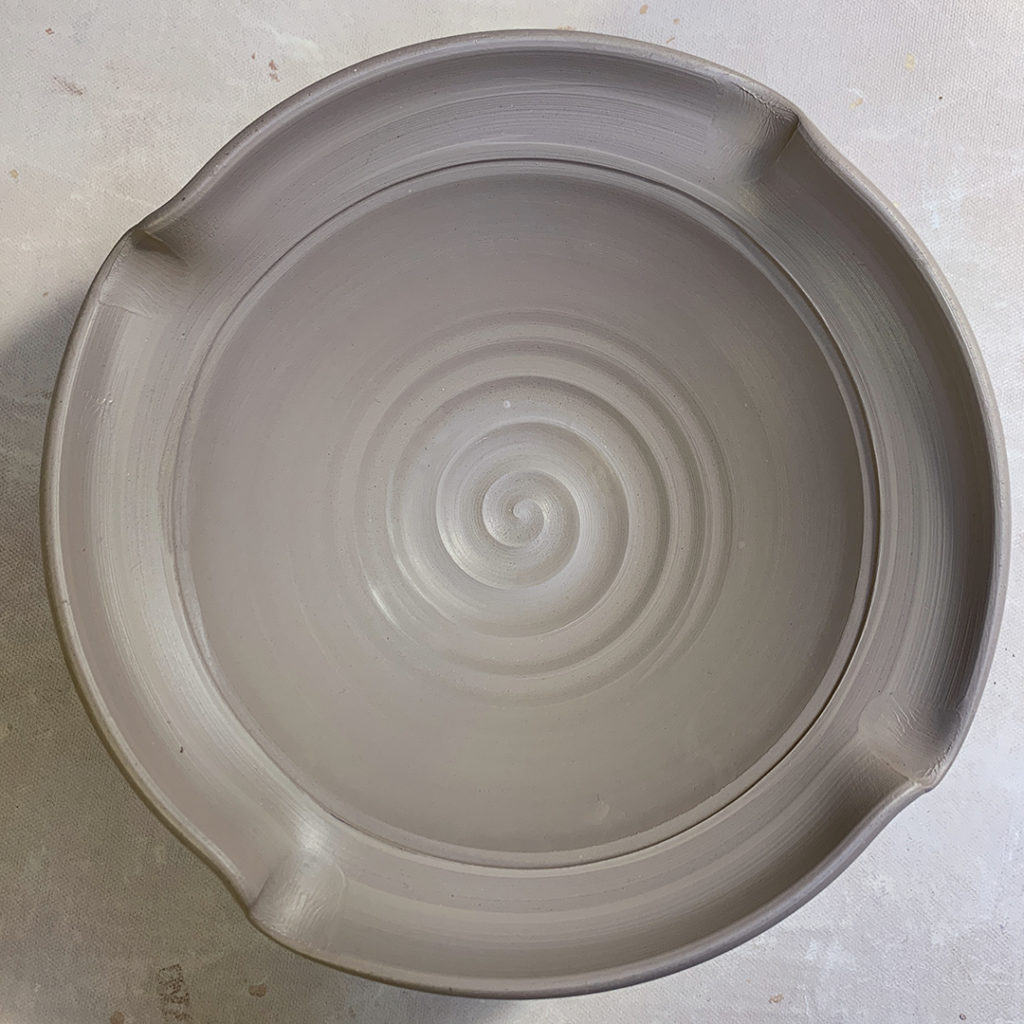
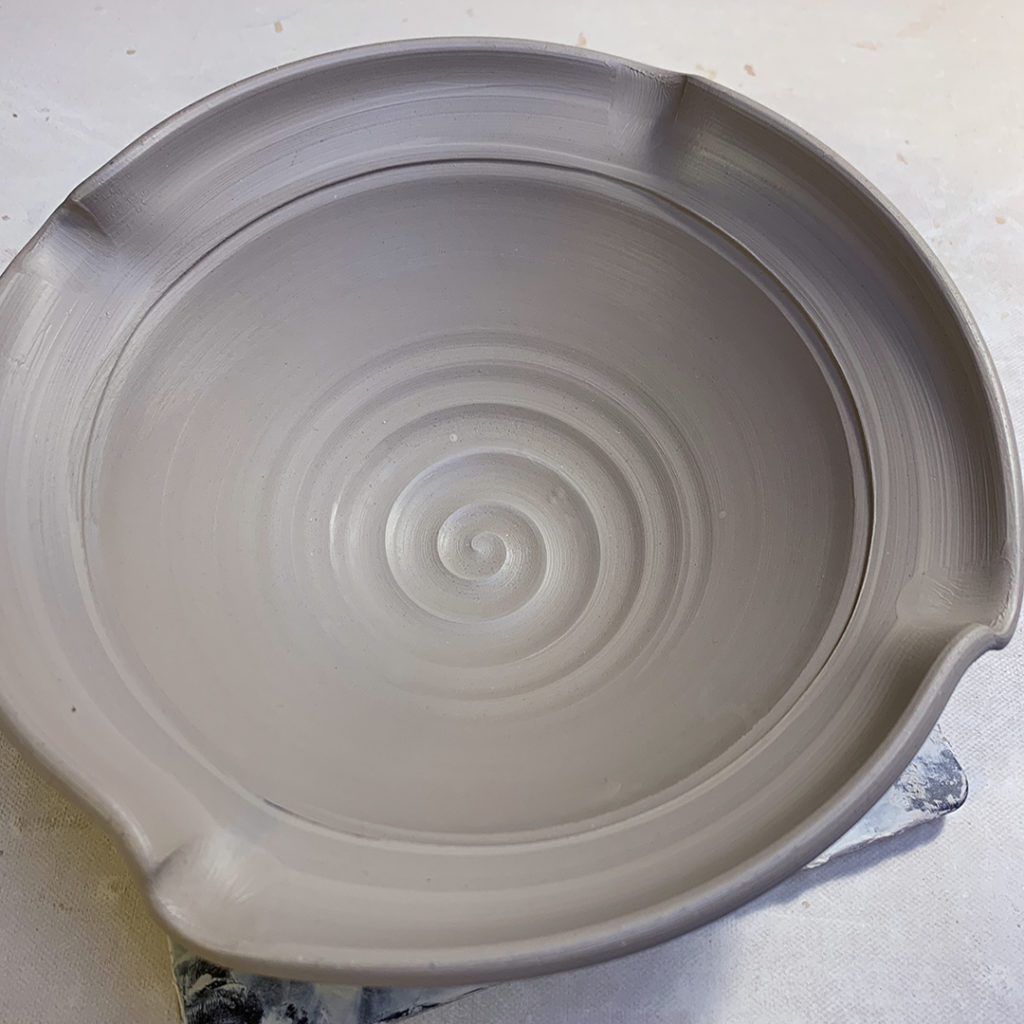
BOWL #6 – a split rim pinched back together in eight places
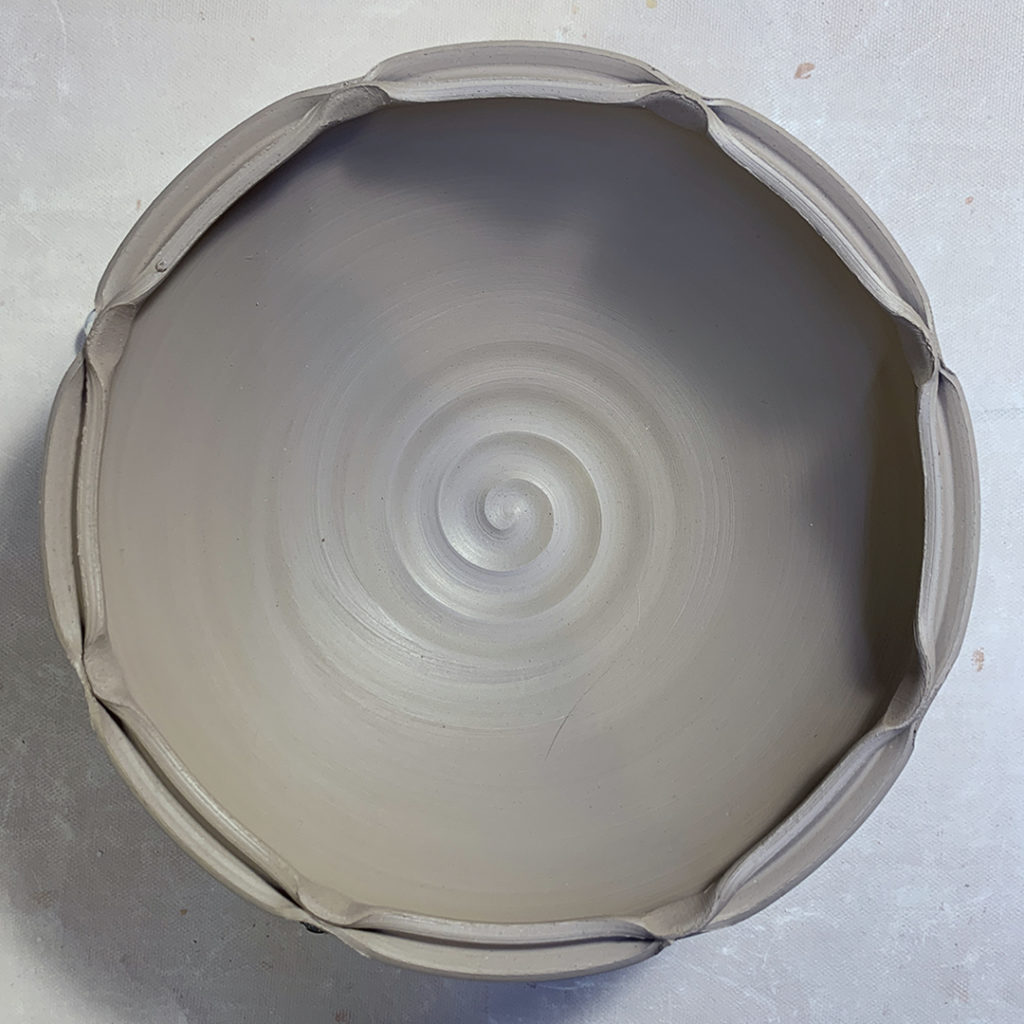
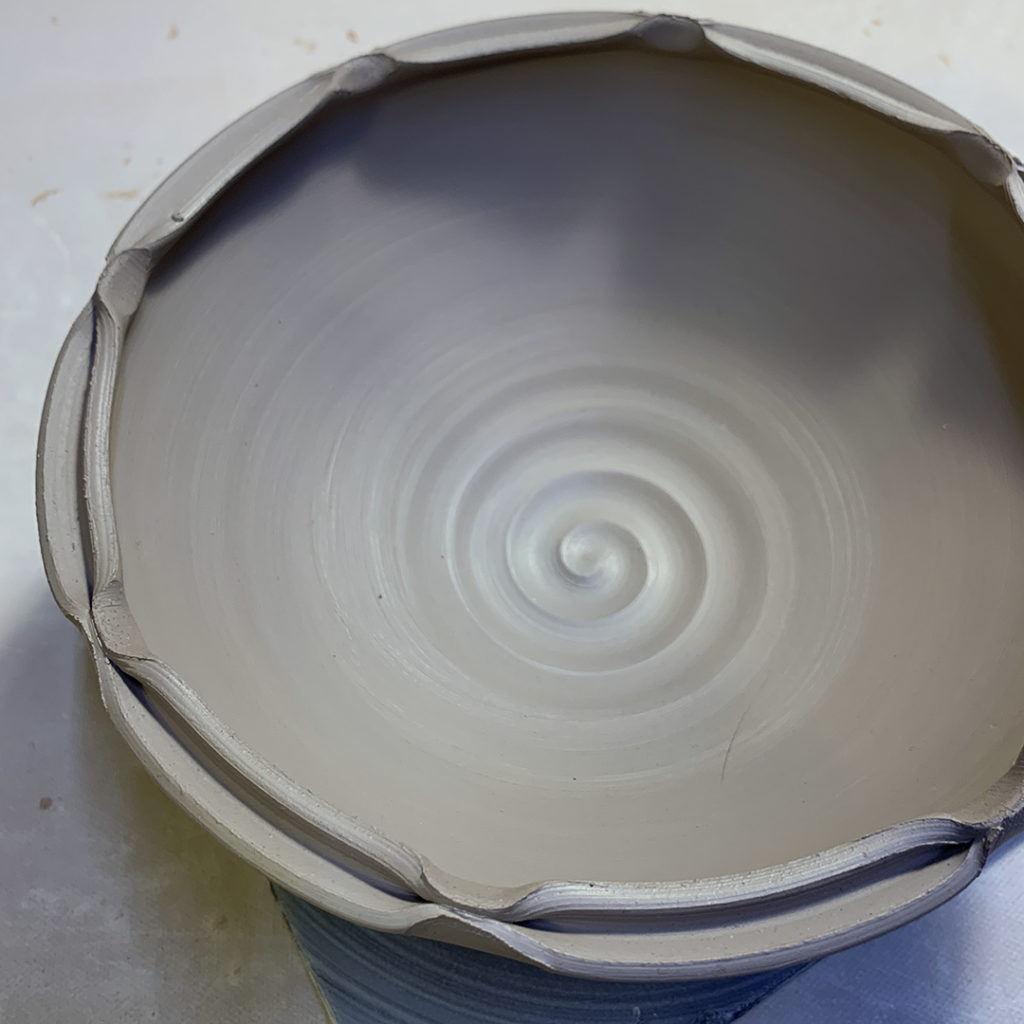
BOWL #7 – a split rim dented-in at four places


BOWL #8 – a split rim bowl dented-in at four places & dented-out at four places… kinda giving it a “lotus” shape?!
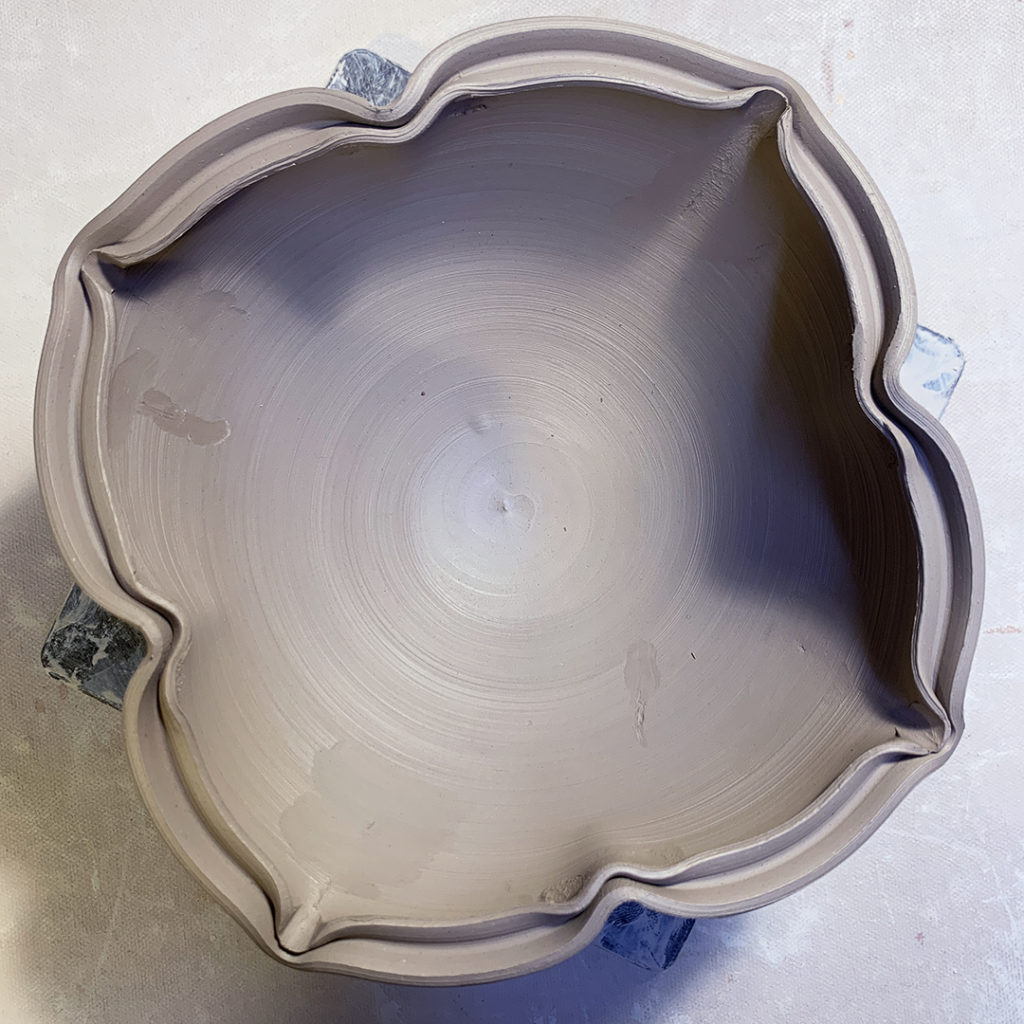
So after altering some rims, I decided to introduce colored slips as another possibility for decorating their bowls. I decided to use white slip for my demo purposes… but any choice of colored slips would have worked.
BOWL #9 – thick white slip with a spiral dragged through to reveal the color of the clay body.
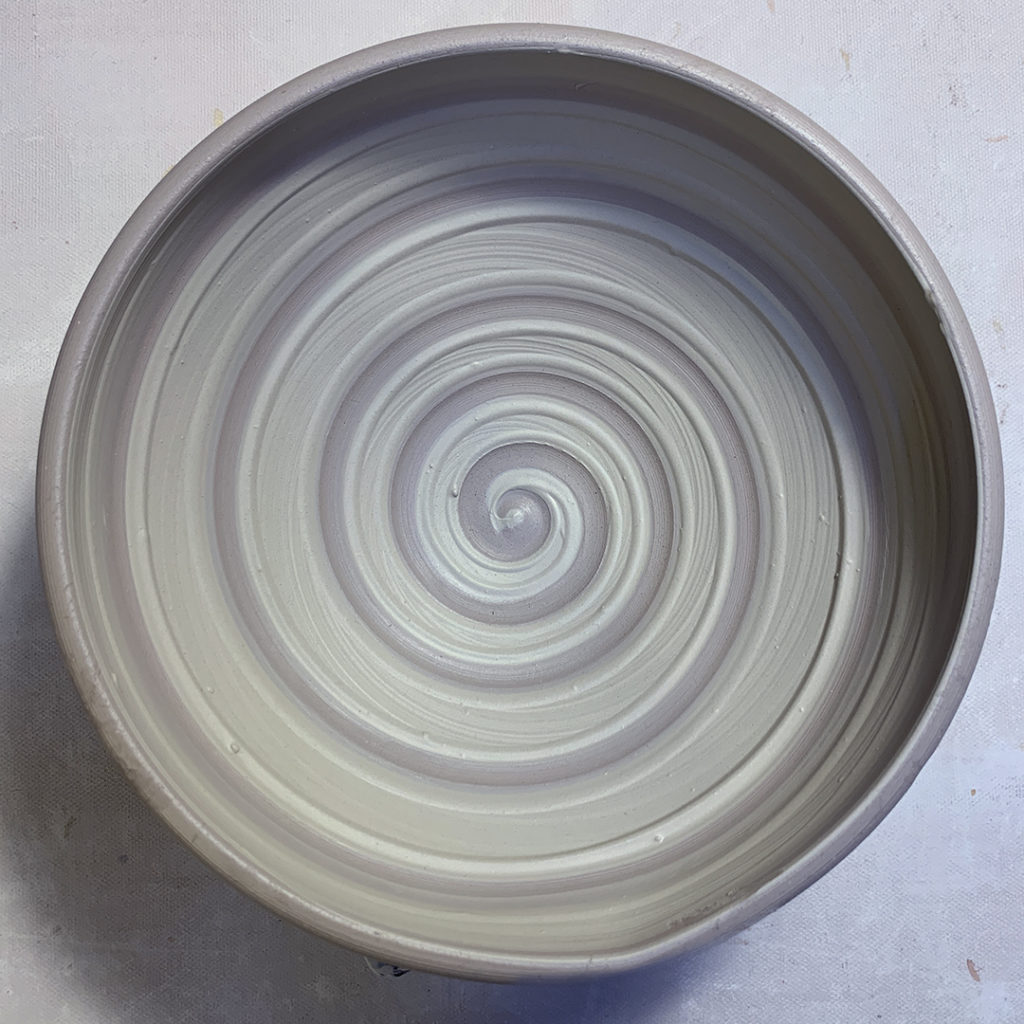
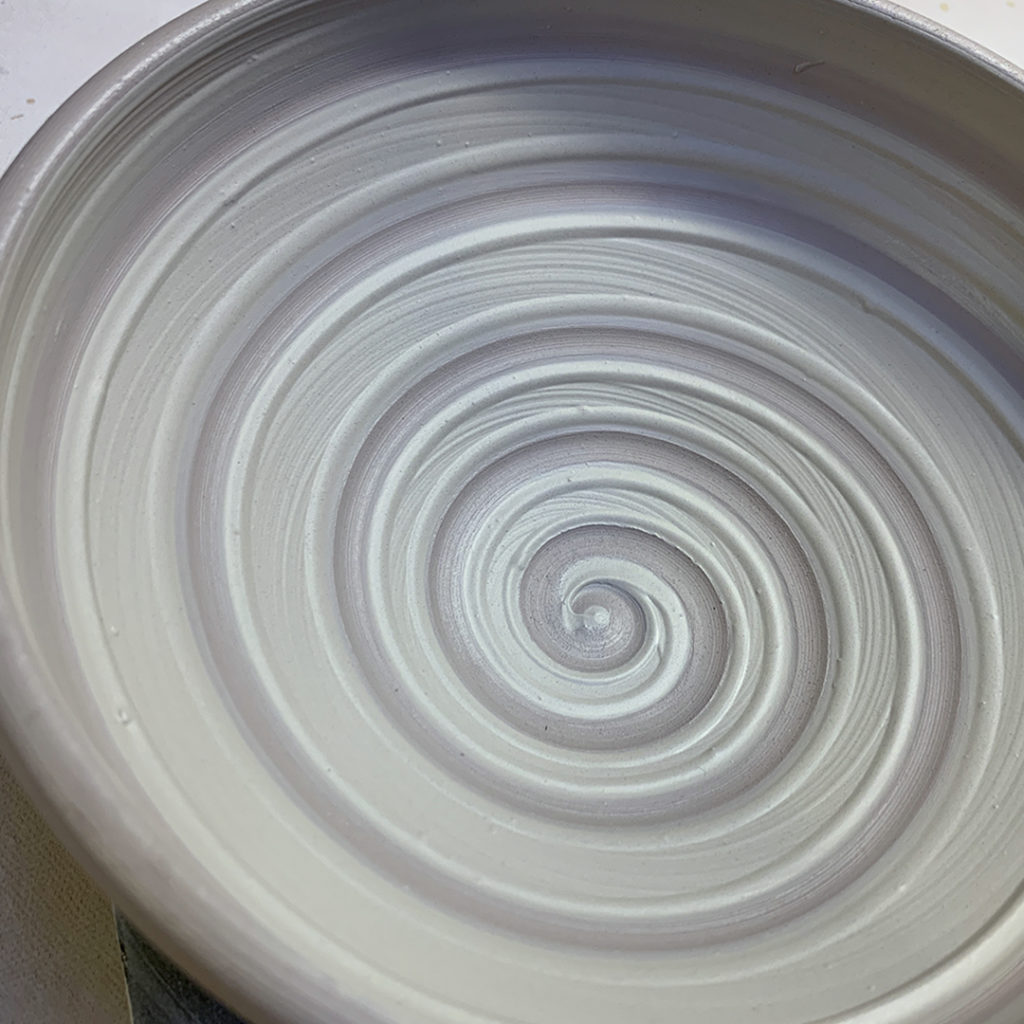

BOWL #10 – thick white slip with some banded stripes dragged through.
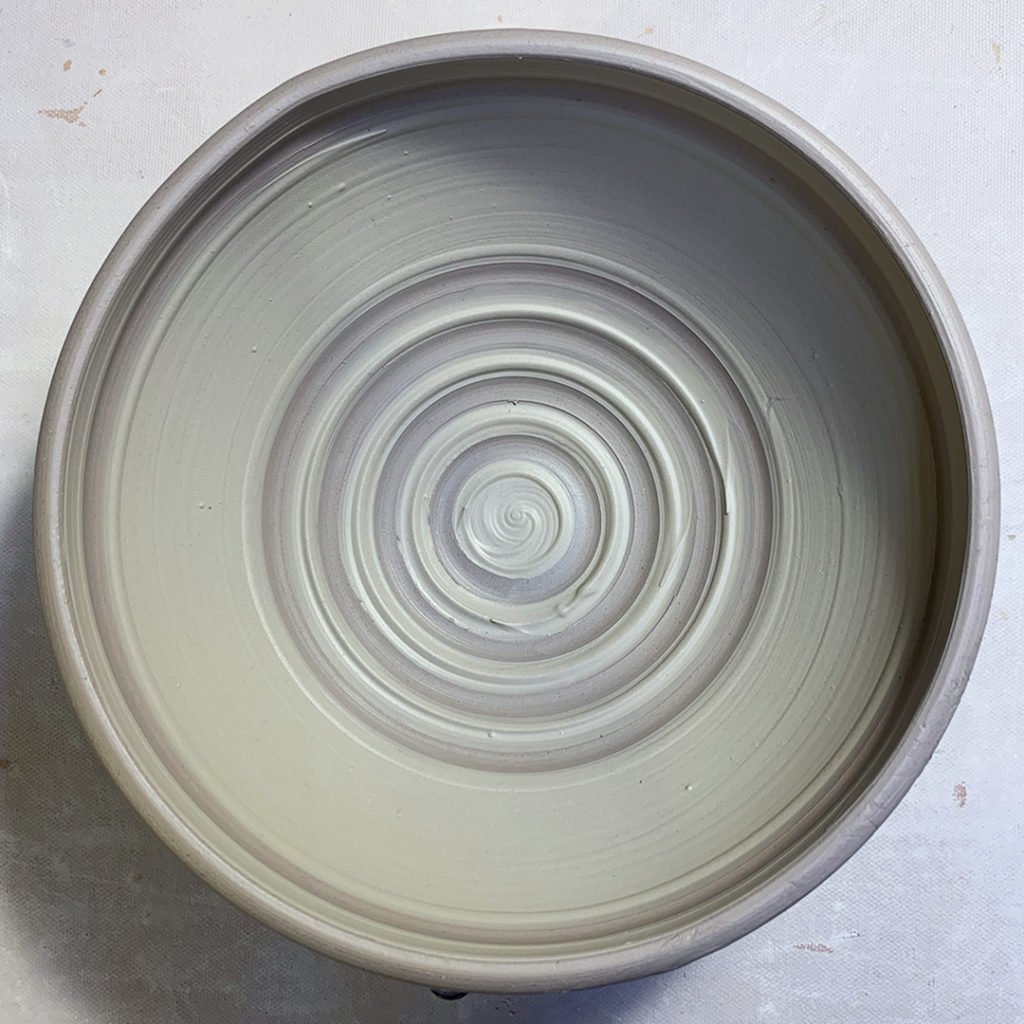
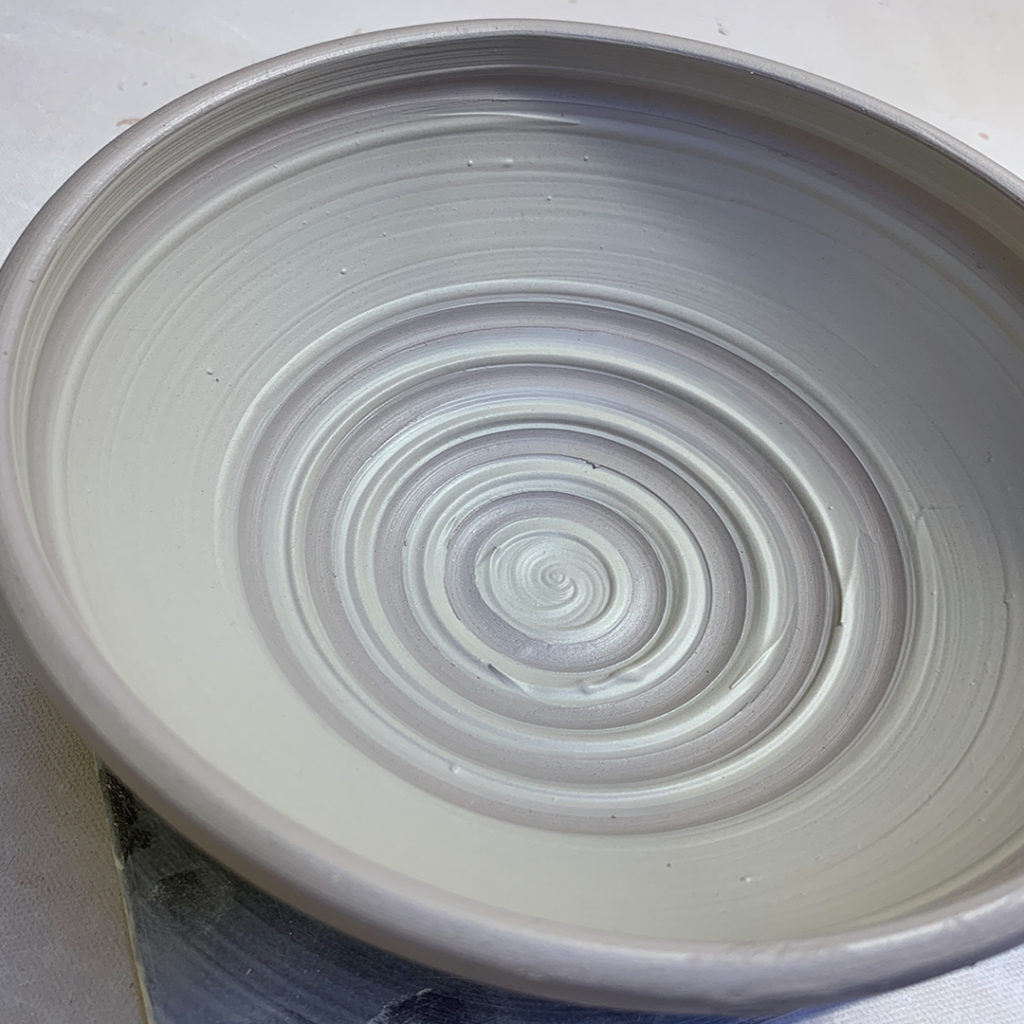
BOWL #11 – thick white slip with some groovy finger squiggles.
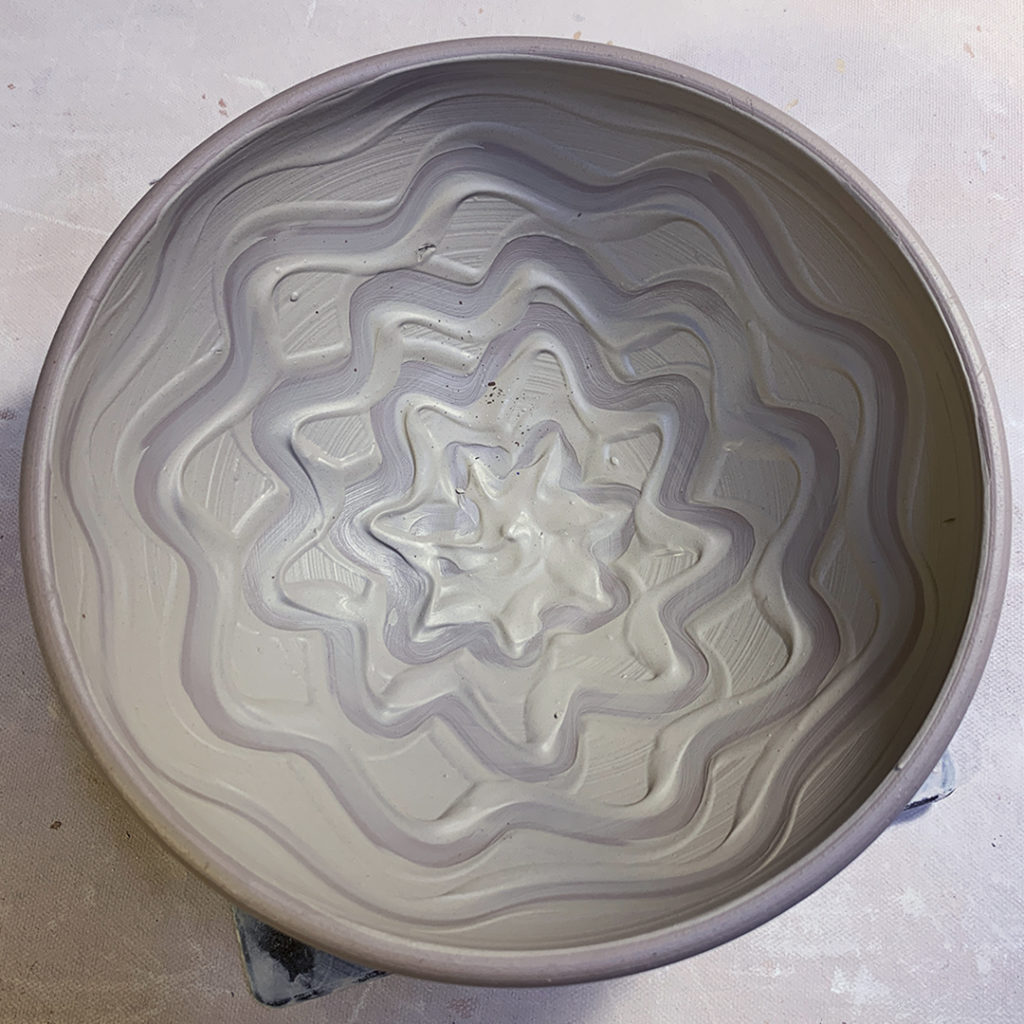

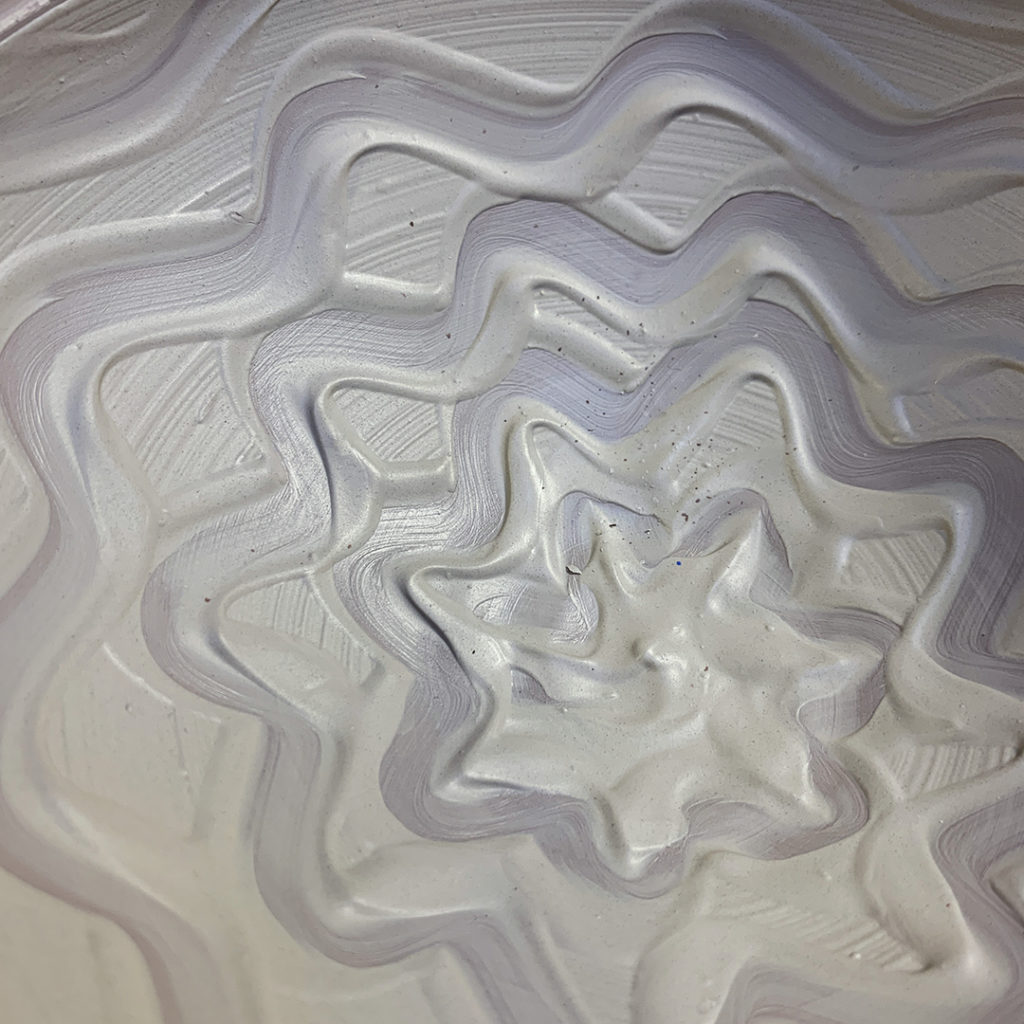
BOWL #12 – back by popular demand… another one thick white slip with some groovy finger squiggles… a little closer together than the first one!
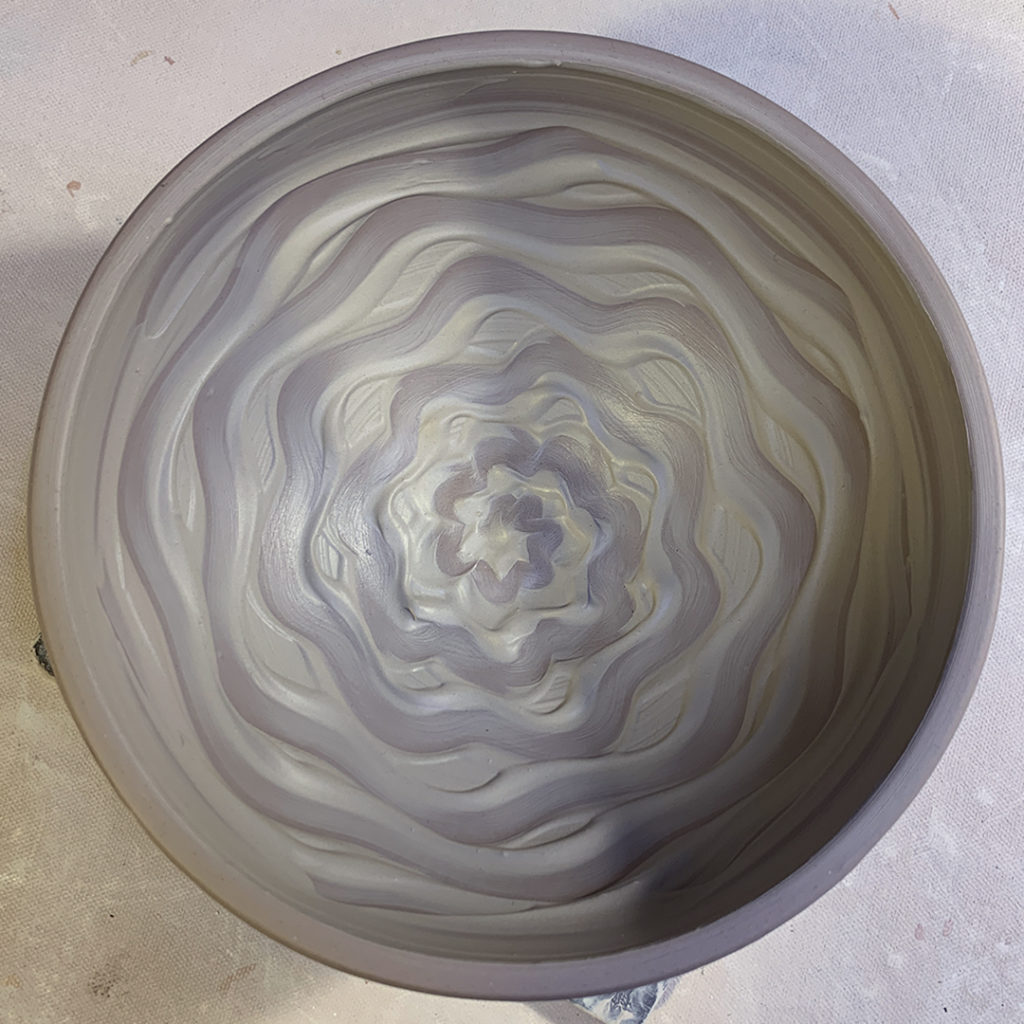
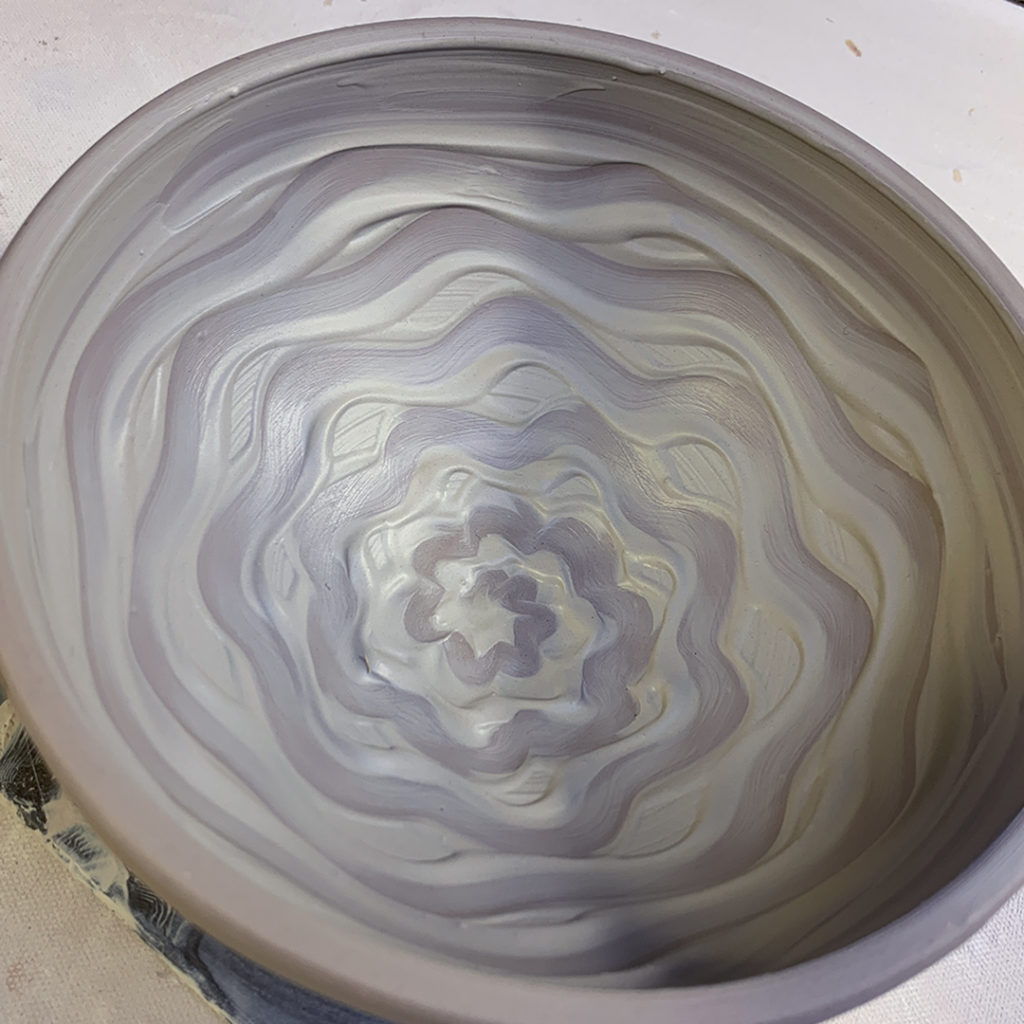
BOWL #13 – newspaper pieces cut out, applied with a bit of water, and then covered with white slip… and then gently pulled out to reveal the original clay body under the newspaper stencils.
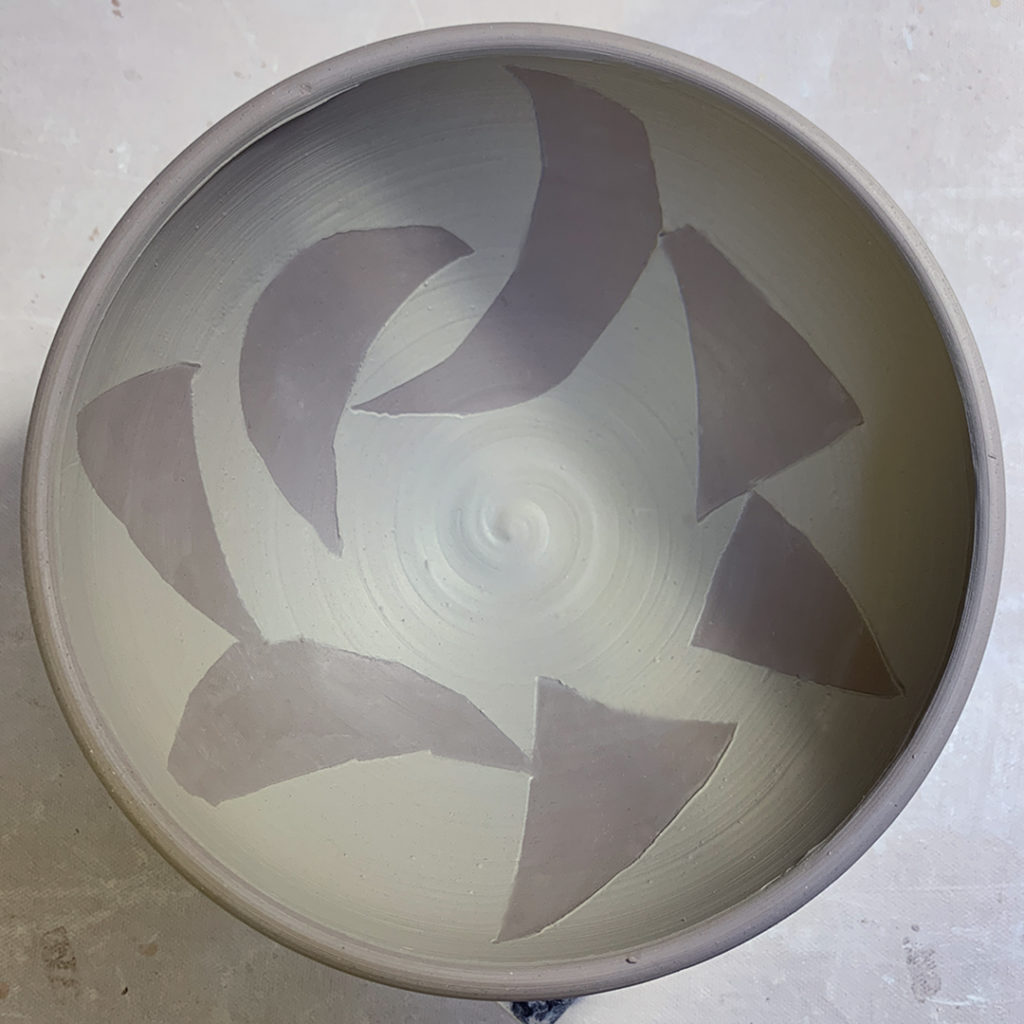

BOWL #14 – thick slip with vertical “swipes” made with a rubber rib, and then a spiral dragged through the middle section.
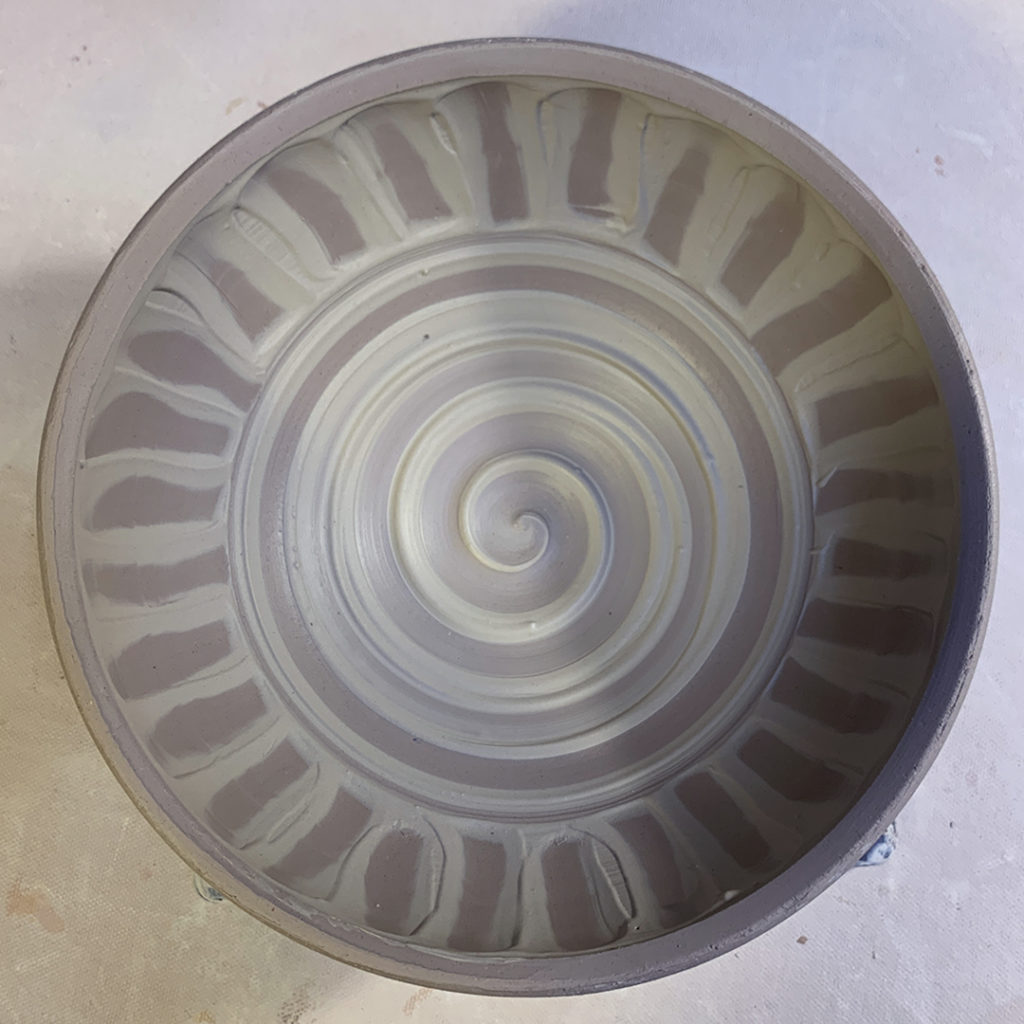

BOWL #15 – thick white slip chattered with a plastic rib… rhythmic tapping of the rib through the slip while the wheel is spinning.
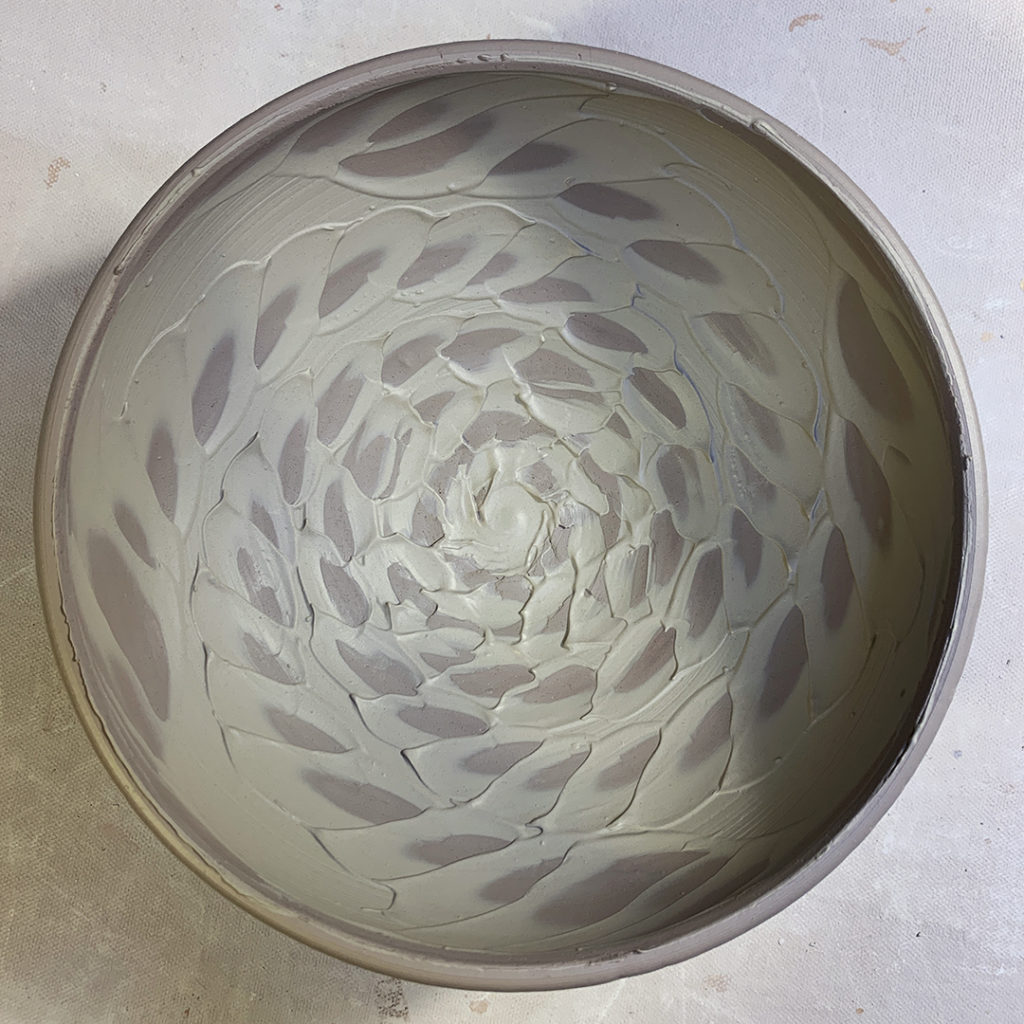
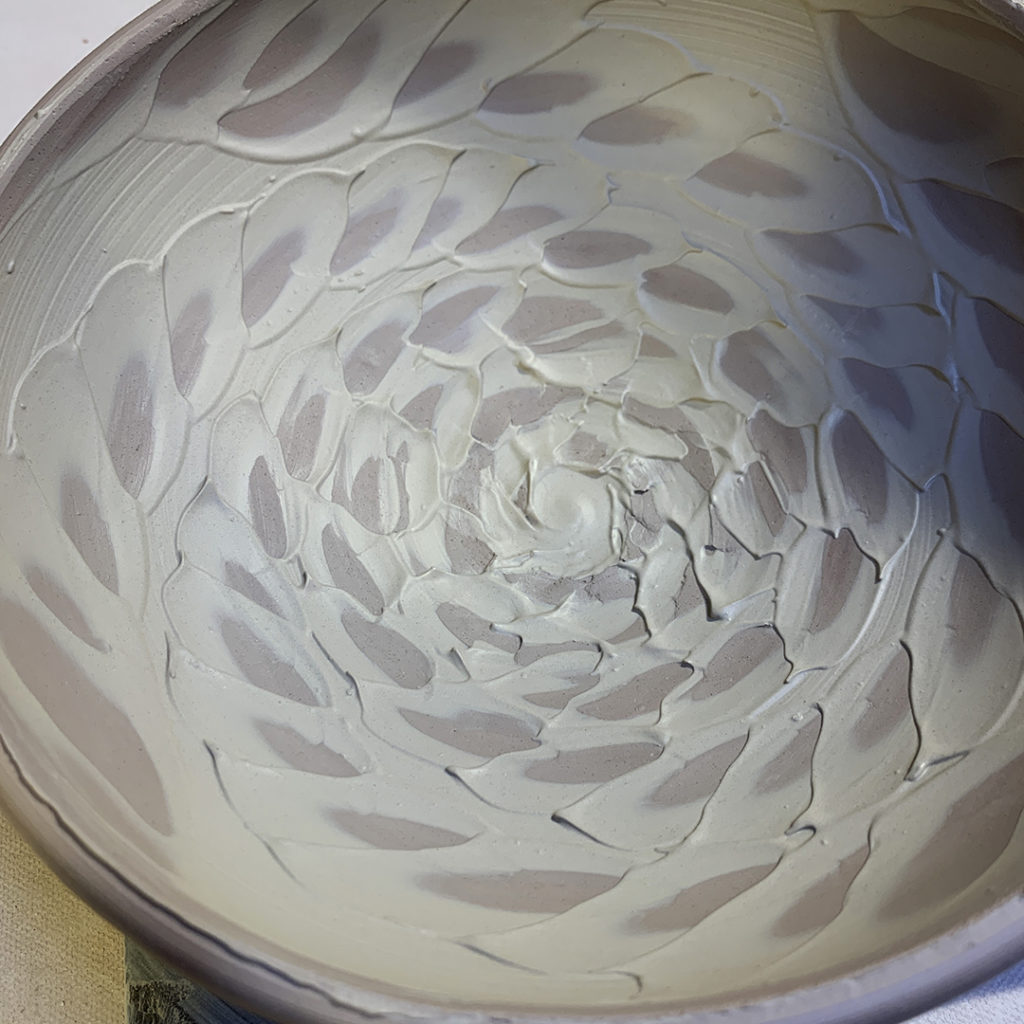

So for now, my new “not-so-basic” bowls are all decorated from my class demos… and under plastic for the night. I want to keep them wet because there “just might be” some more stamping & decorating to be done! Remember, MORE IS MORE!!!
