Last night in my Beginning & Advanced Beginning Wheelthrowing class we tackled the right way to make BOWLS. And yes, I stressed throwing “bowls on purpose, and not cylinders gone bad!” So I did a quick demo for them… answering questions & showing them how to get a nice smooth curve inside their bowls, with no beginners ledges or indents!
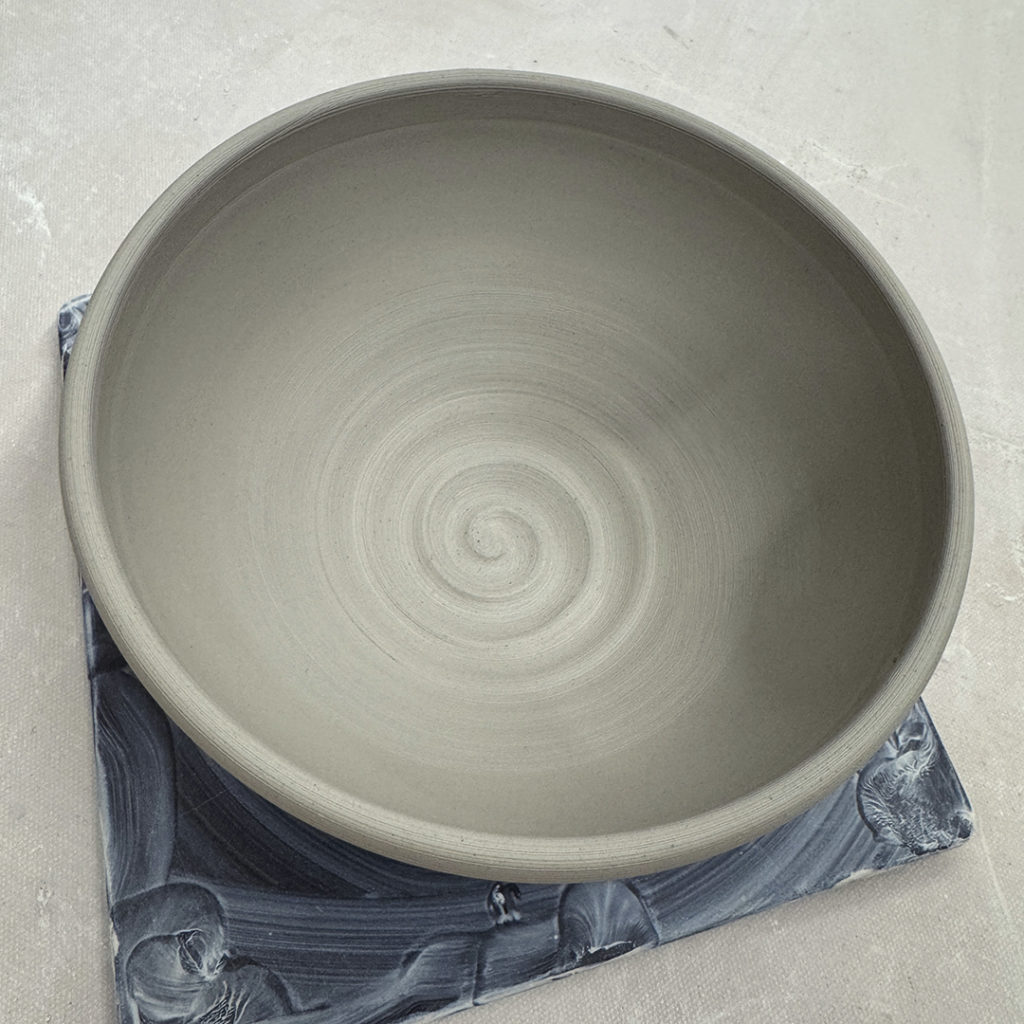
And yes… I explained & demo’d my LOVE for a good spiral !!!
And then after the first bowl… I sent them back to their wheels so they could start practicing. Meanwhile, I continued to throw MORE bowls… a full bag of clay’s worth… while still helping & answering questions along the way!

After I had thrown all of my demo bowls… we were back to helping students make their own bowls. BOWLS. BOWLS . BOWLS!!! Towards the end of the class, I had my students regroup a my demo wheel so we could do some alterations & decorations to the bowls… making each one of them special & unique with some simple tricks & techniques. Turning each one into a “not-so-basic bowl.”
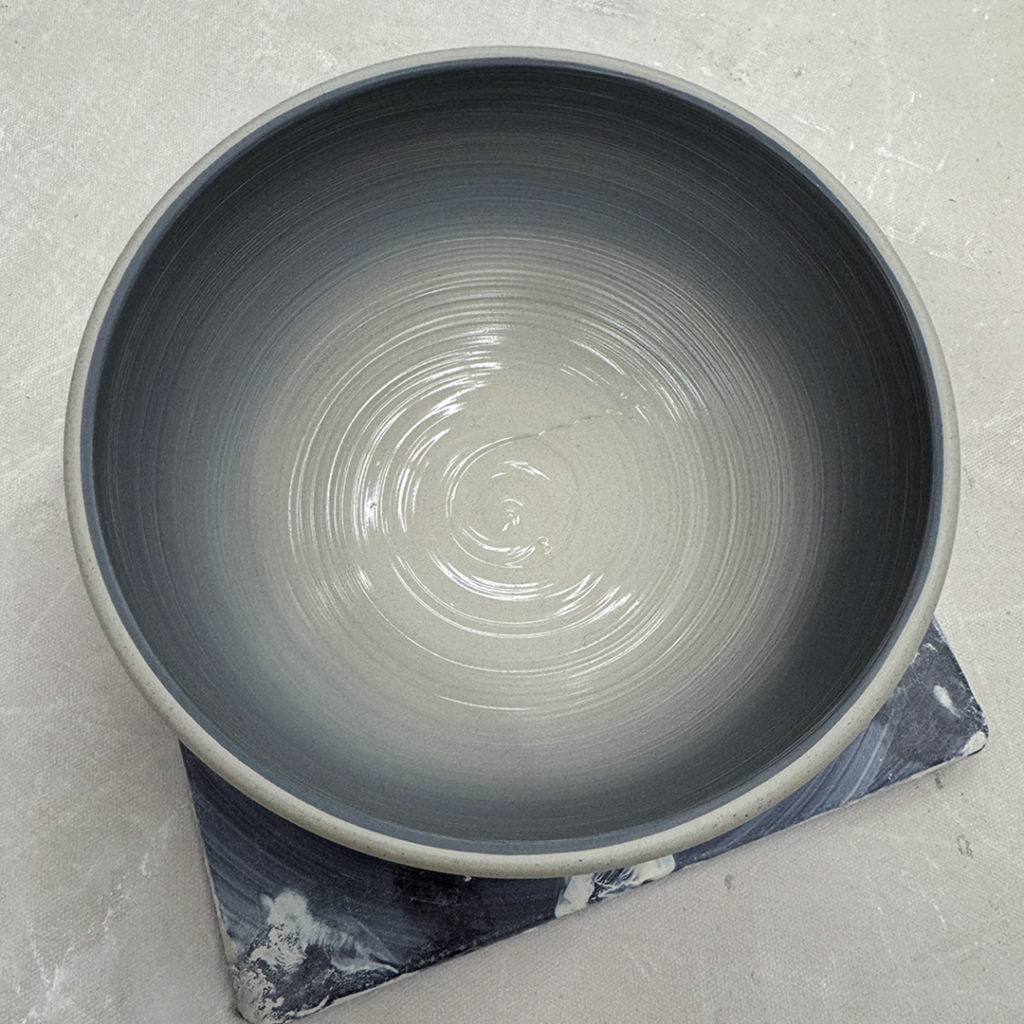
Bowl #1 – The Plain One. The first bowl… the standard for all of the other bowls to follow!

Bowl #2 – Two Little Flutes… one finger inside, one finger outside, pinch & twist.

Bowl #3 – And if two are cute… eight simple flutes might be cuter?!

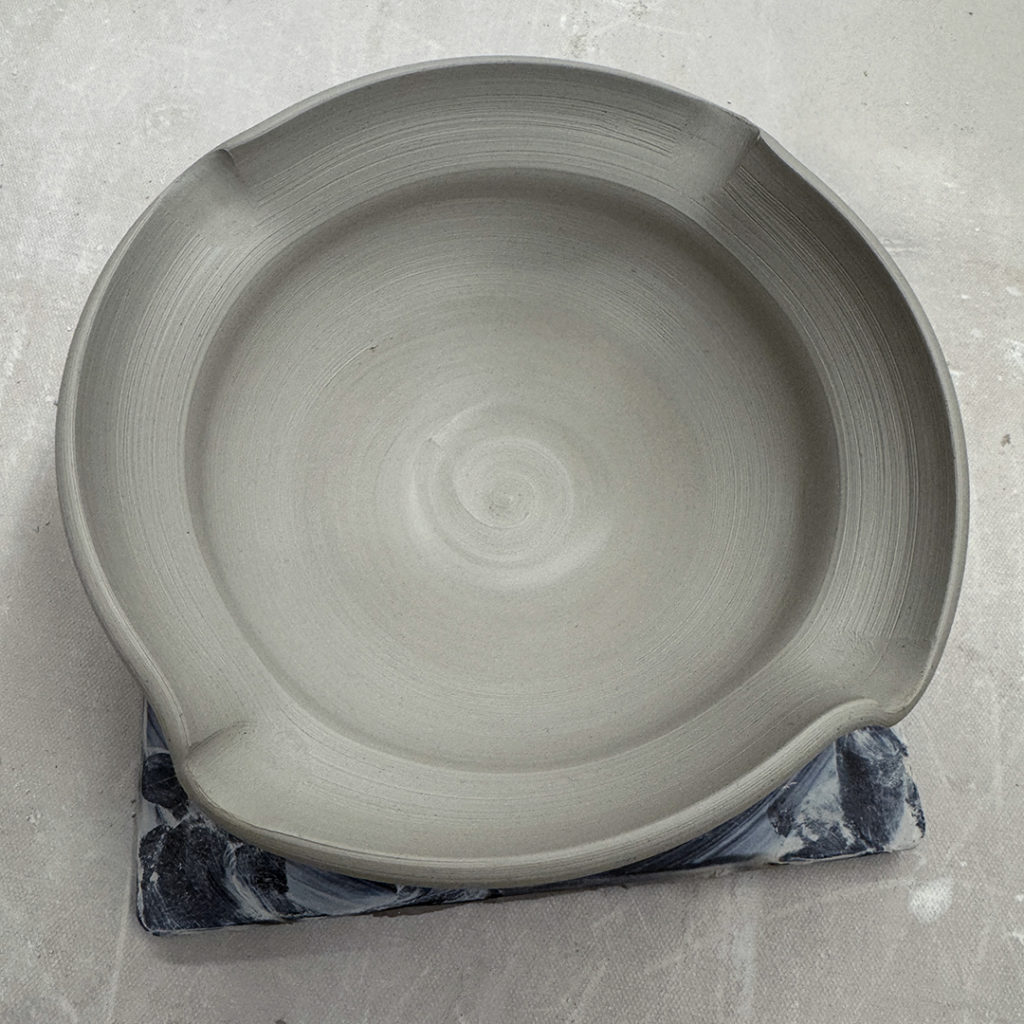
Bowl #4 – A Flared out Flange… bent out over a finger on the outside of the bowl.

Bowl #5 – If a little flared flange is cute, maybe a bigger flared flange is even better?

Bowl #6 – Combined a flared flange with four twisted flutes.
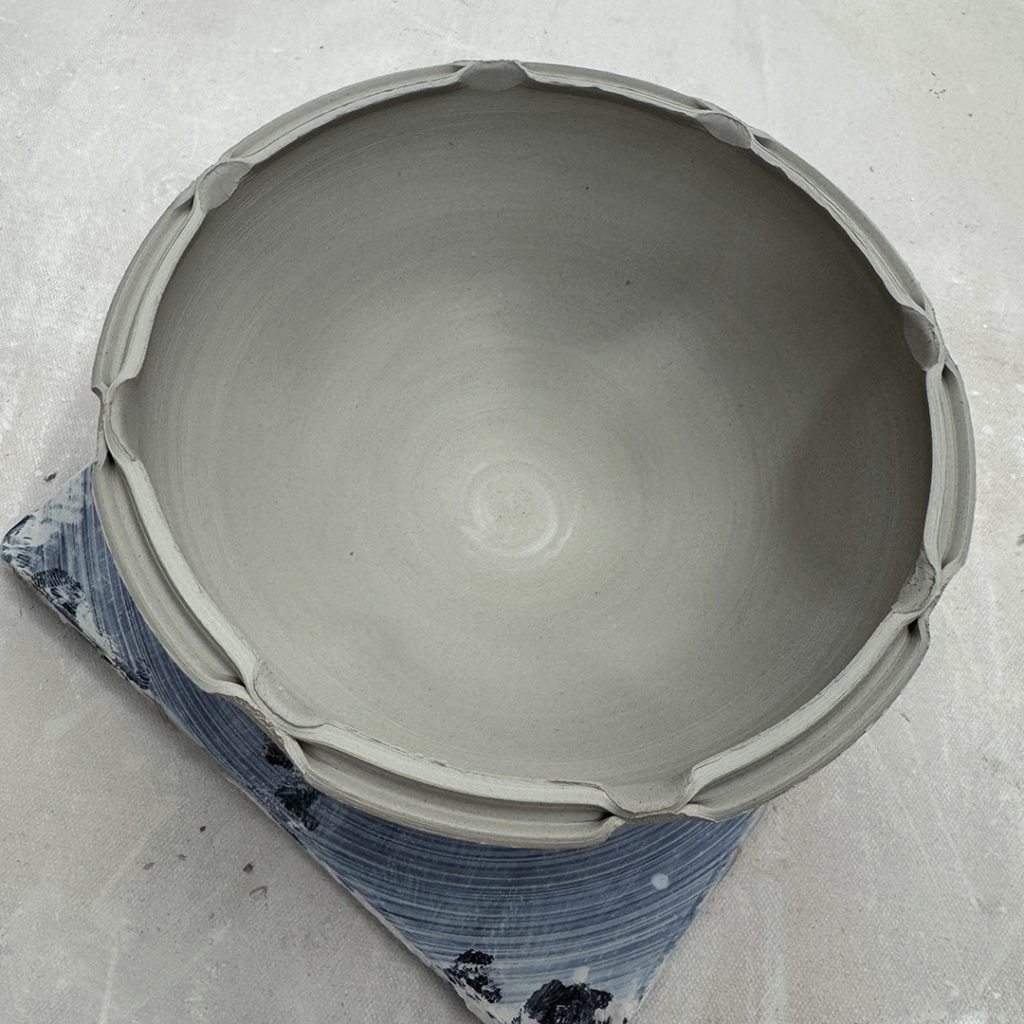
Bowl #7 – A split rim… then pinched together in eight places.
Bowl #8 – A split rim indented on two sides with the side of my wooden knife… this one might just become a “basket” with a fun strappy handle up & over the top!

Bowl #9 – Another split rim… indented in four places. No one said a bowl needs to stay round!!!

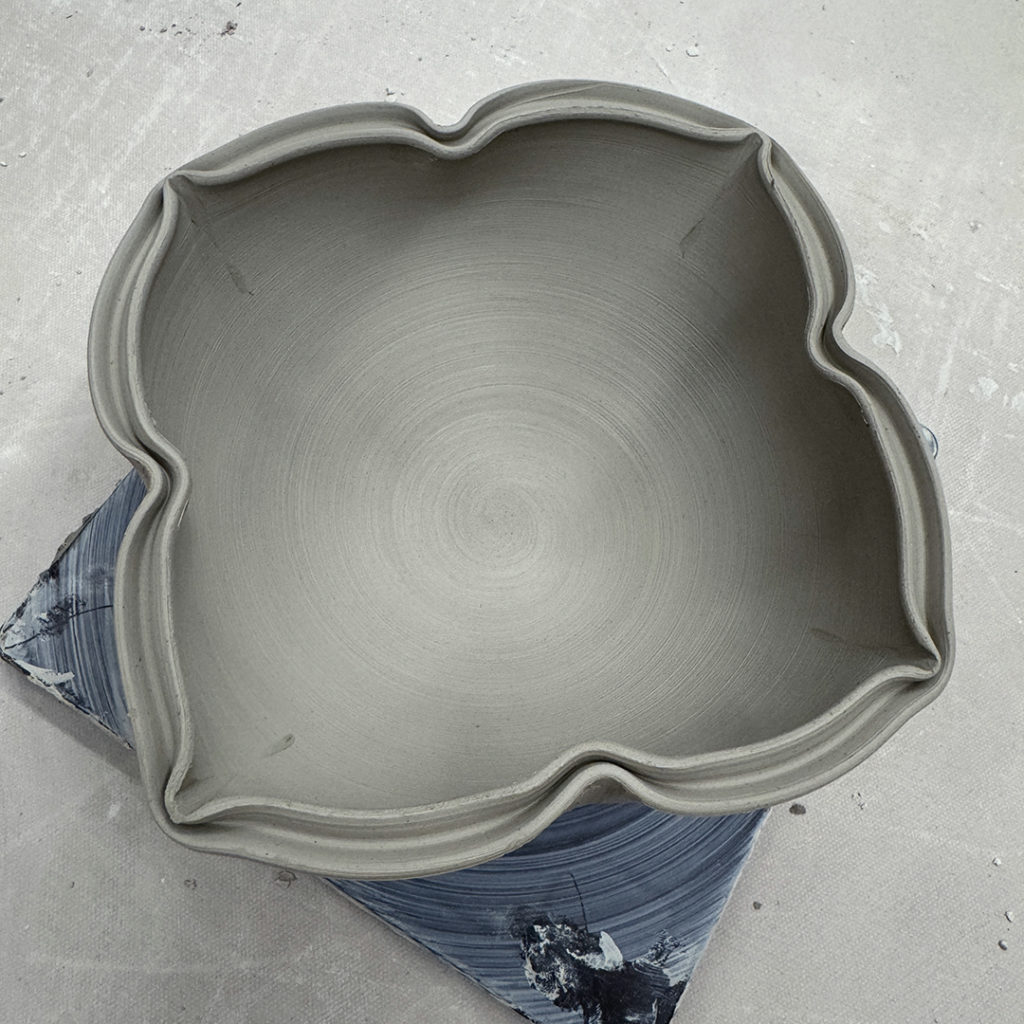
Bowl #10 – Another split rim… four indented sides… and four “out-dented” sides?! Kind of a lotus-y quatrefoil effect.
After ten bowls, it was time to add a little thick slip into the demo. So we talked about how cool slip is… and that the colored clay can be used for some many applications. That it becomes “part of” your bowl… and it will not melt & run like glaze does. But I like to work with “thick” slip so I can benefit from the thickness & textures it can create.
Bowl #11 – A great spiral. A thick layer of white slip with the end of my wood knife dragged through while the wheel was spinning.

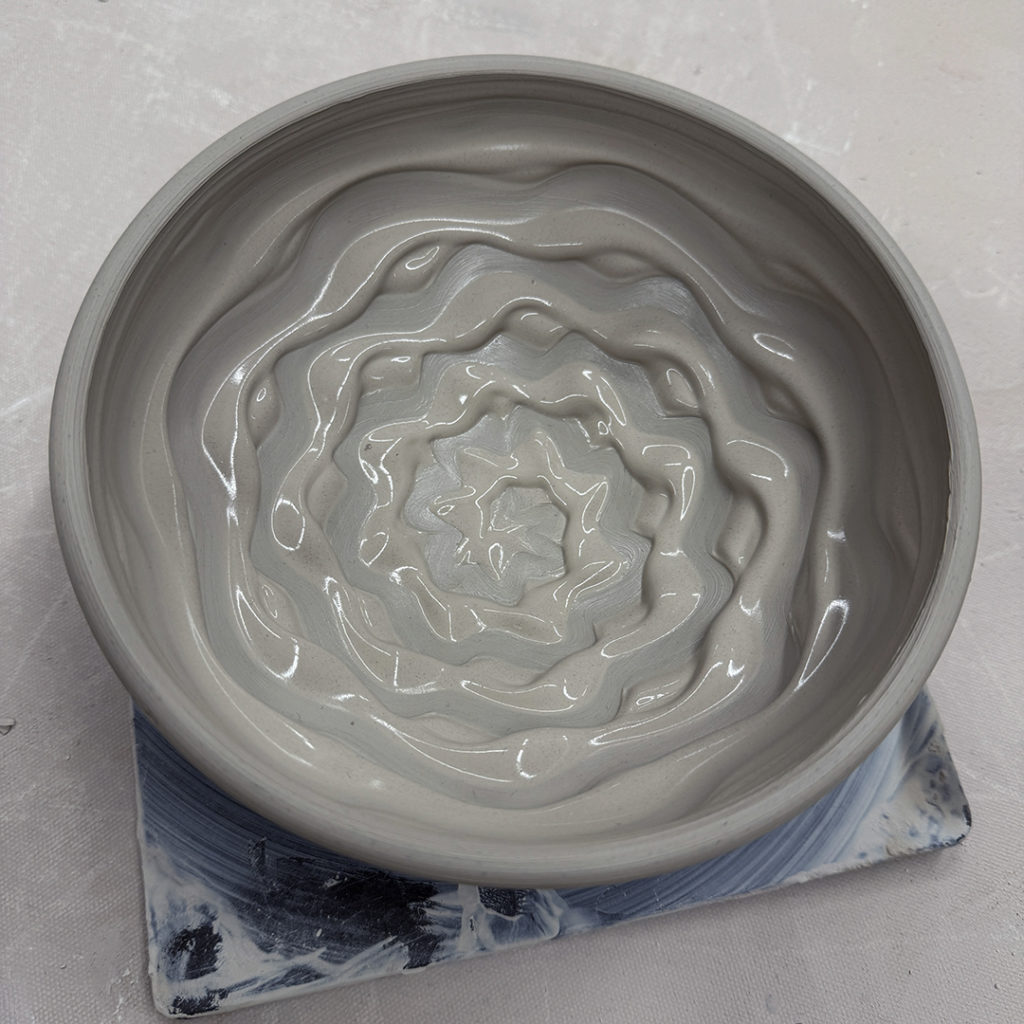
Bowl #12 – Thick slip with some fingerpainting… an index finger squiggled through while spinning on the wheel!
Bowl #13 – Thick slip with dragged-through lines using a rubber rib.

Bowl #14 – Again with my green rubber rib, and some chattering through thick white slip!

Bowl #15 – Ombre’ blend of black & white slips.
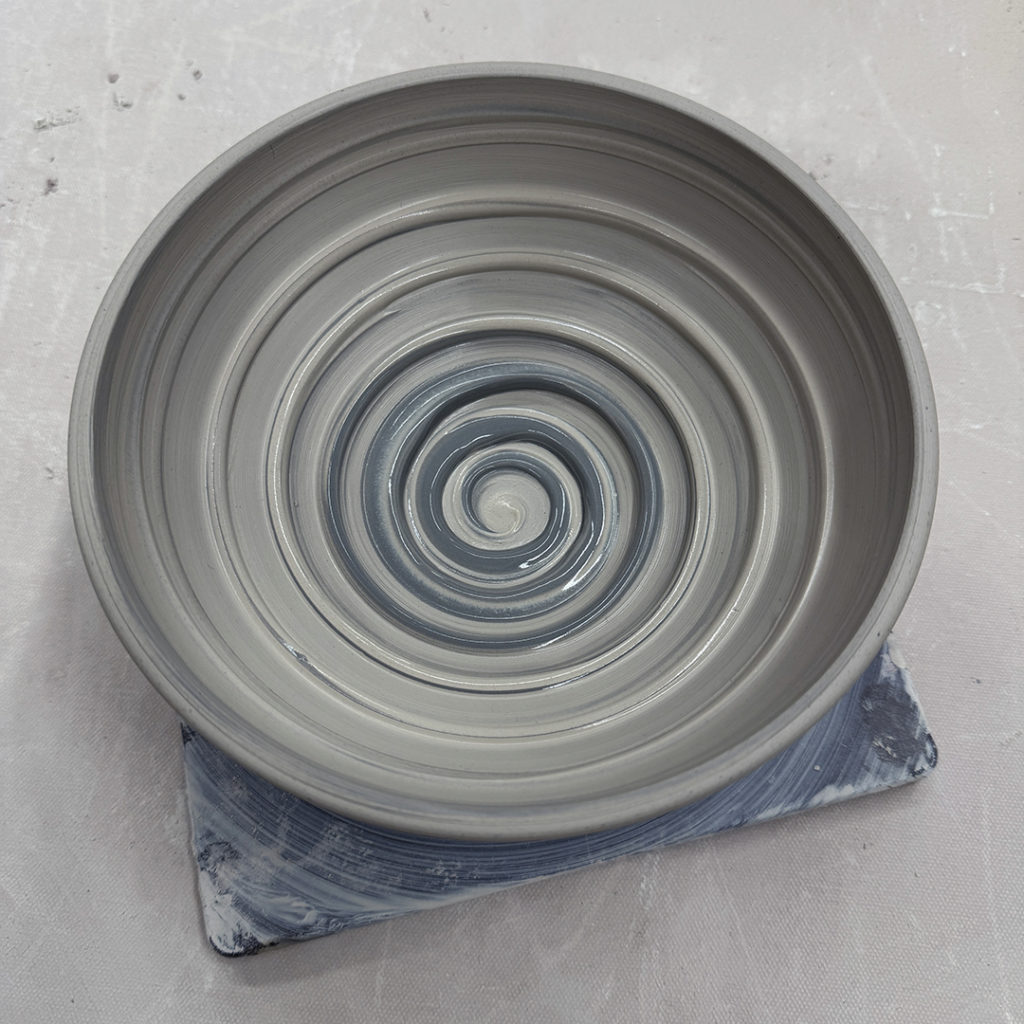
Bowl #16 – Another ombre’ blend… and then a spiral dragged through with my wooden knife.

Bowl #17 – Another ombre’ blend also spiraled through, but this time with my finger!
The goal of this demo is multi-faceted. First, I want my students to make nice, well-thrown bowls. Second, I want them to have an arsenal of tricks & techniques to use whenever they want to. Have fun woth your clay, make cool stuff… and if it doesn’t work out, do it again! IT’S JUST CLAY!!!
And for now they’re all up in my studio safely under plastic. Because there’s “a very good chance that there might just be some more detailing” to follow… stay tuned.
Hello Gary! This is the first I have seen of your posts. Is there a way to see a video of your method for creating bowls? I am fairly new and while I can center, and even get a decent cylinder, beyond that, I am still in my infancy. I would love to see how you created bowls without, as you say, “cylinders gone bad”!
Thank you!