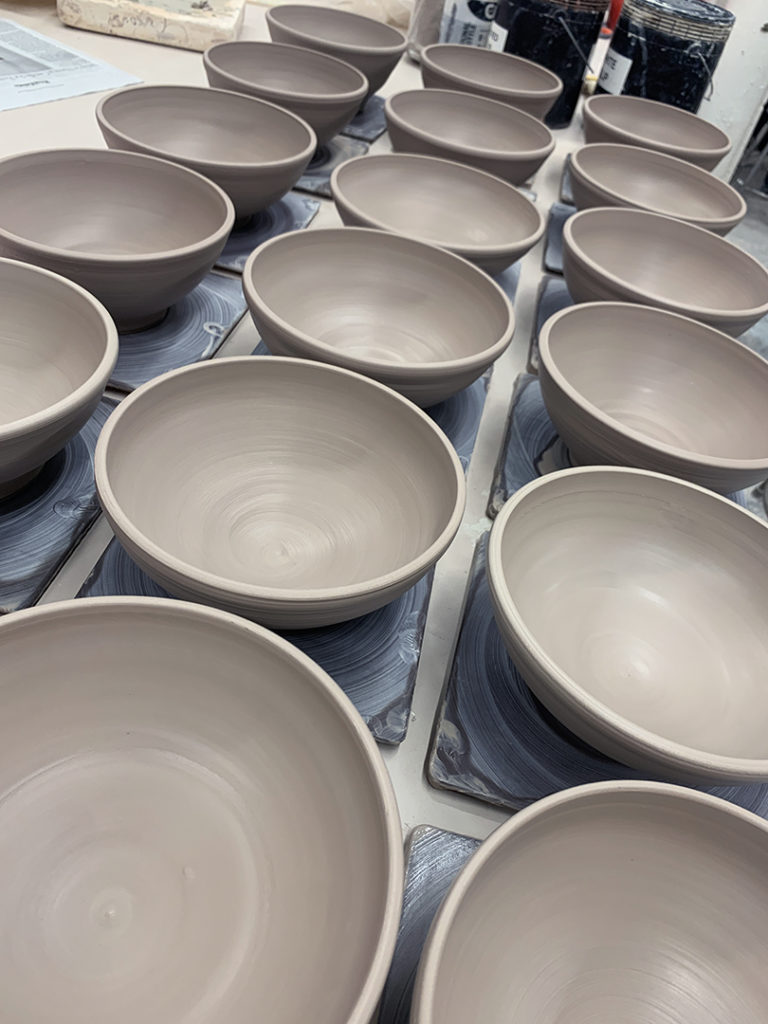
Well, it’s that time of the session… time to show my Beginner’s how to throw a bowl on purpose instead of a cylinder gone bad. So I started class with a demo on how to make a bowl with a nice even curve through the interior… with no flat bottoms, no corners, no beginner bumps or identations. I remind them that they need to throw the interior of the bowl as smooth as they can… and then we’ll trim the exterior later to “match” the inside curve.
After I did my first demo… they all went back to their wheels to give it a go! And I might have thrown “a few” more…
When I finished throwing my demo bowls, we reassembled for Part Two of the demo. A little fun in how we can alter & decorate the bowls. Trying to give them a few tips, tricks & techniques to make their pottery more of “their own” instead of the round thing the wheel made for them. How to put their own creativity into their work. I stressed that they don;t need to do any of these techniques… but please feel free to PLAY more with your clay!!! And that bowls don’t always need to be round!!!
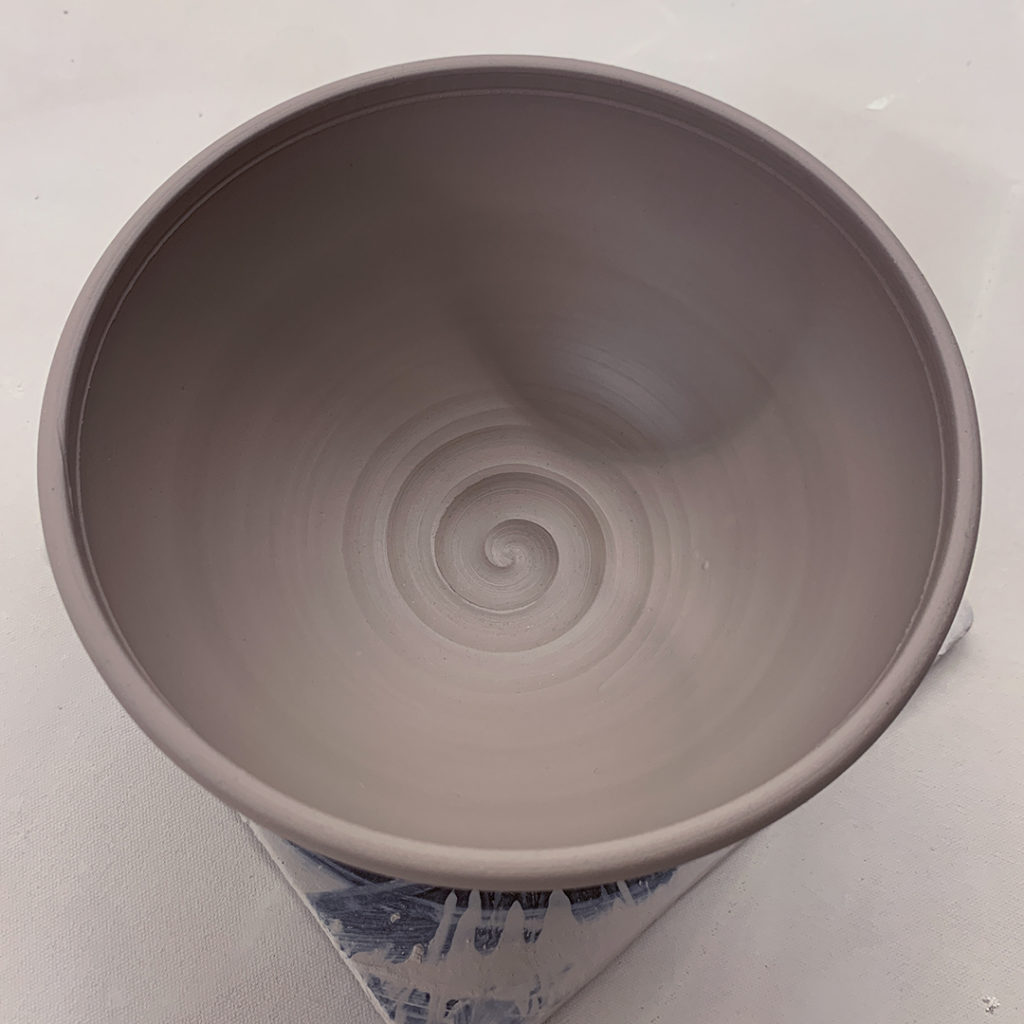
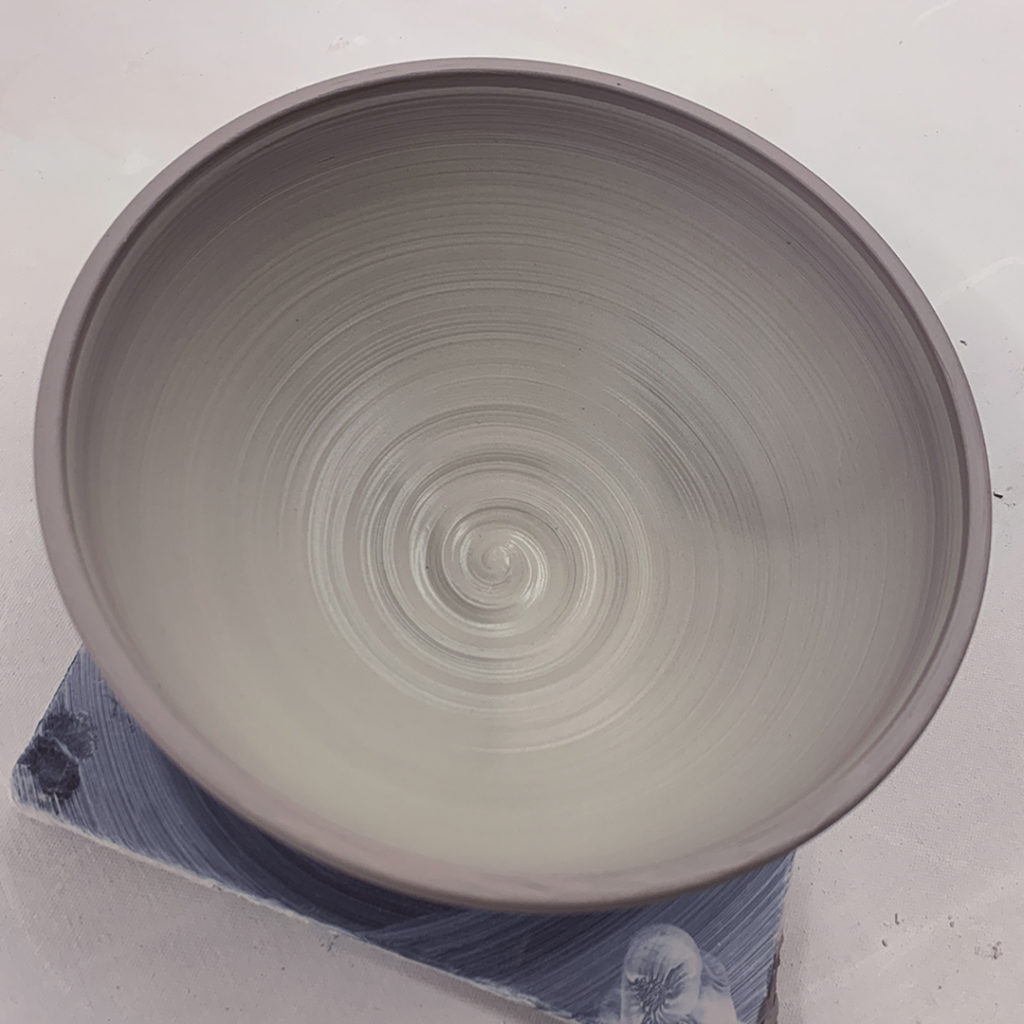
Bowl #1 – Plain
This was the first one… the “control” bowl… so we left it plain for comparison.
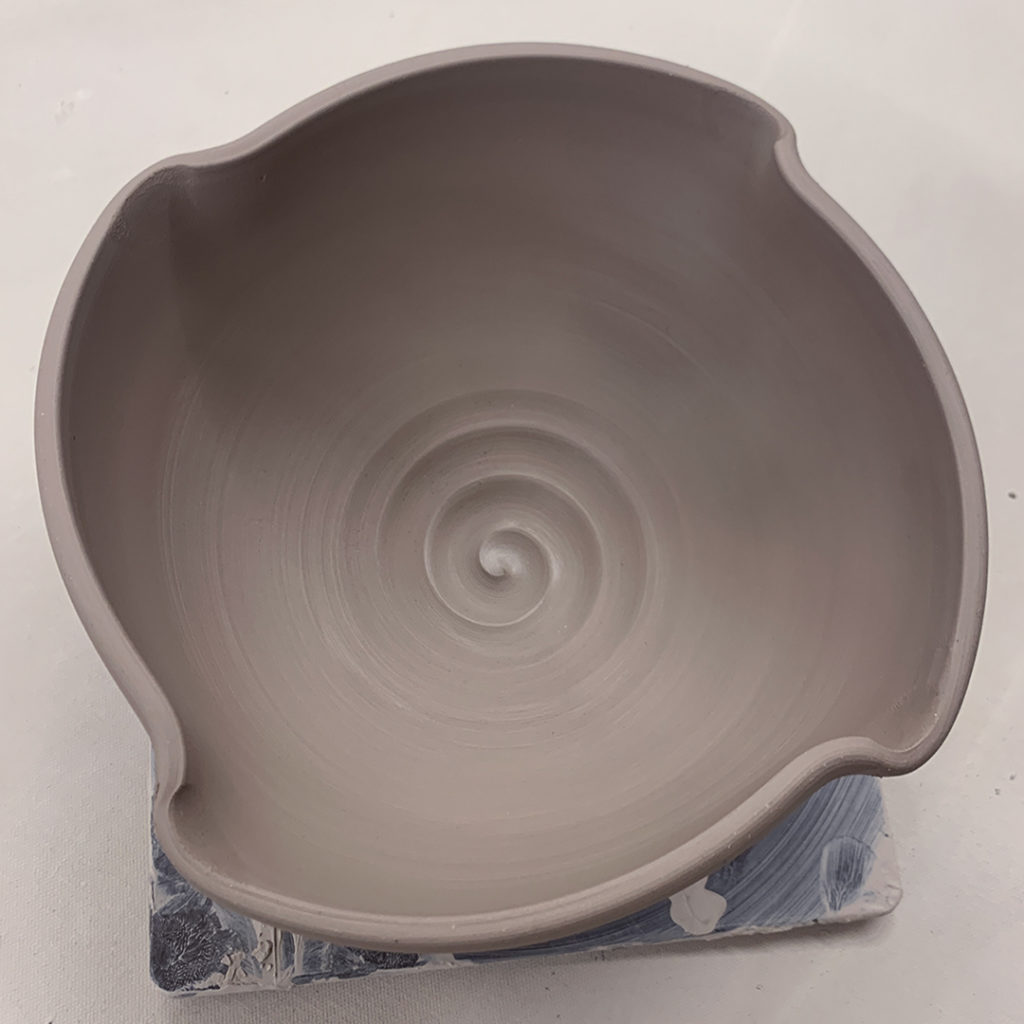
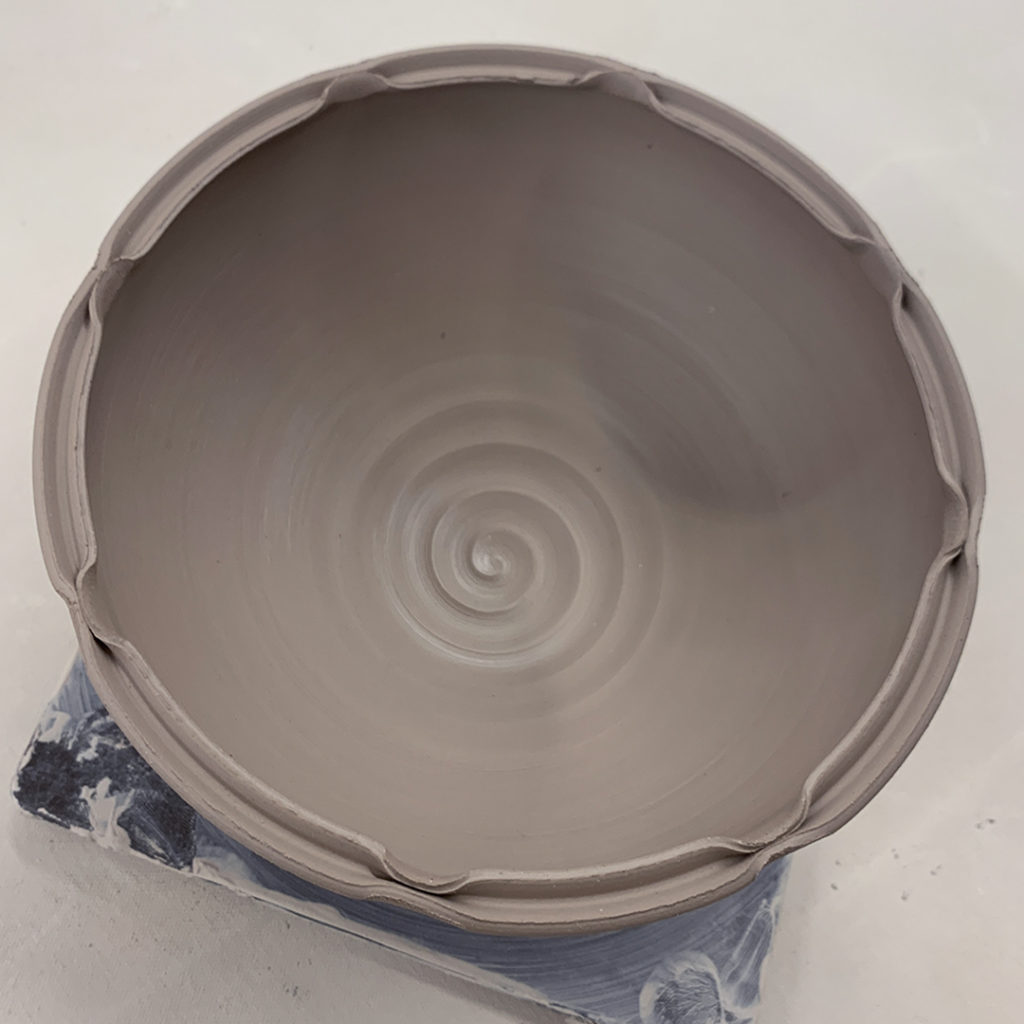
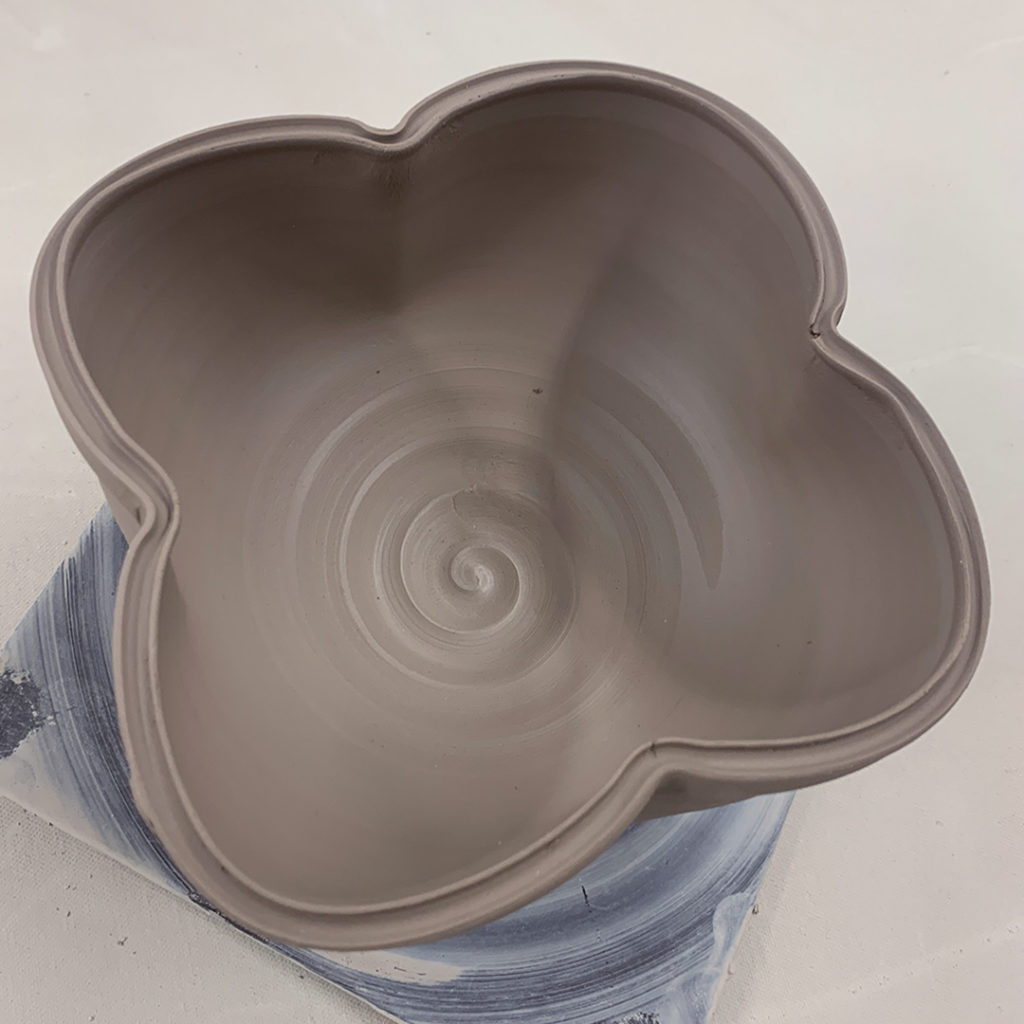
Bowl #2 – Four Fluted Edges
With a simple finger flick, I made four fluted areas. One finger inside, one finger outside… pinch & twist.
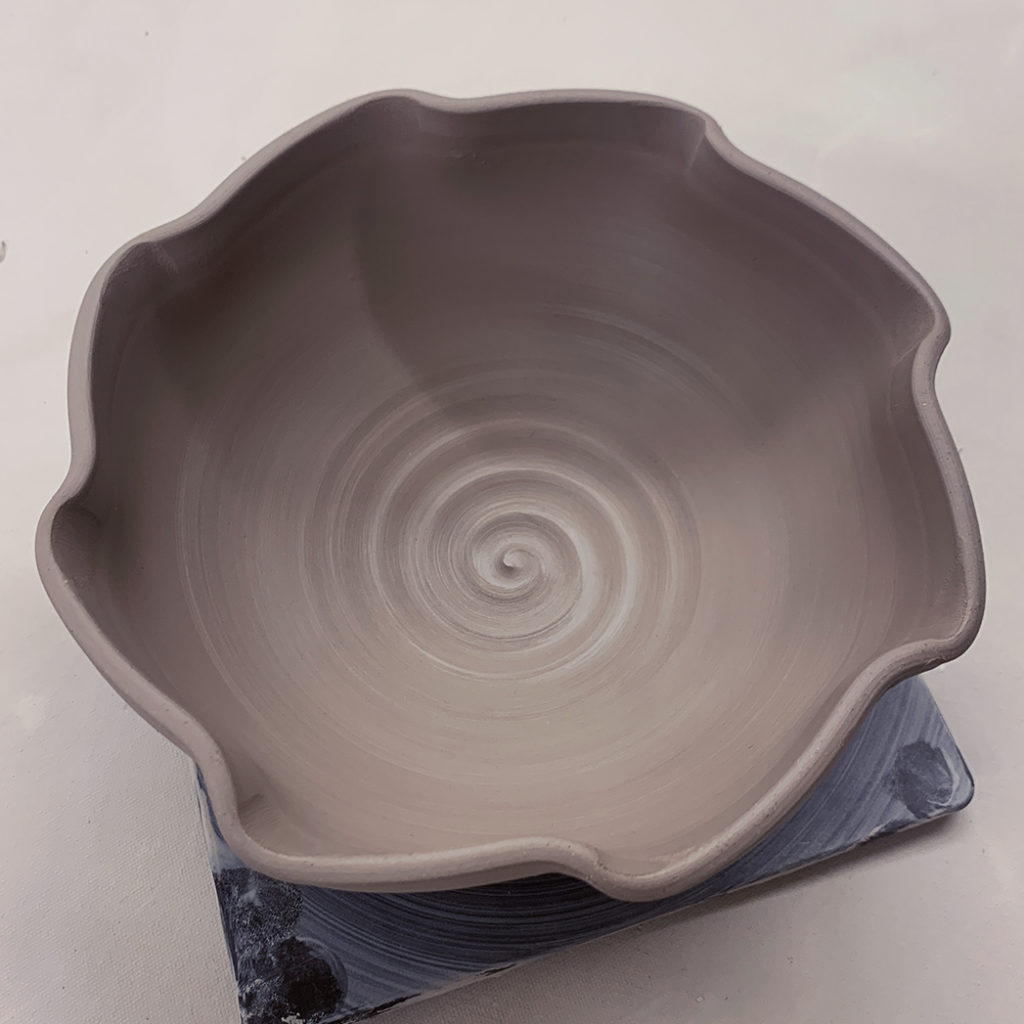
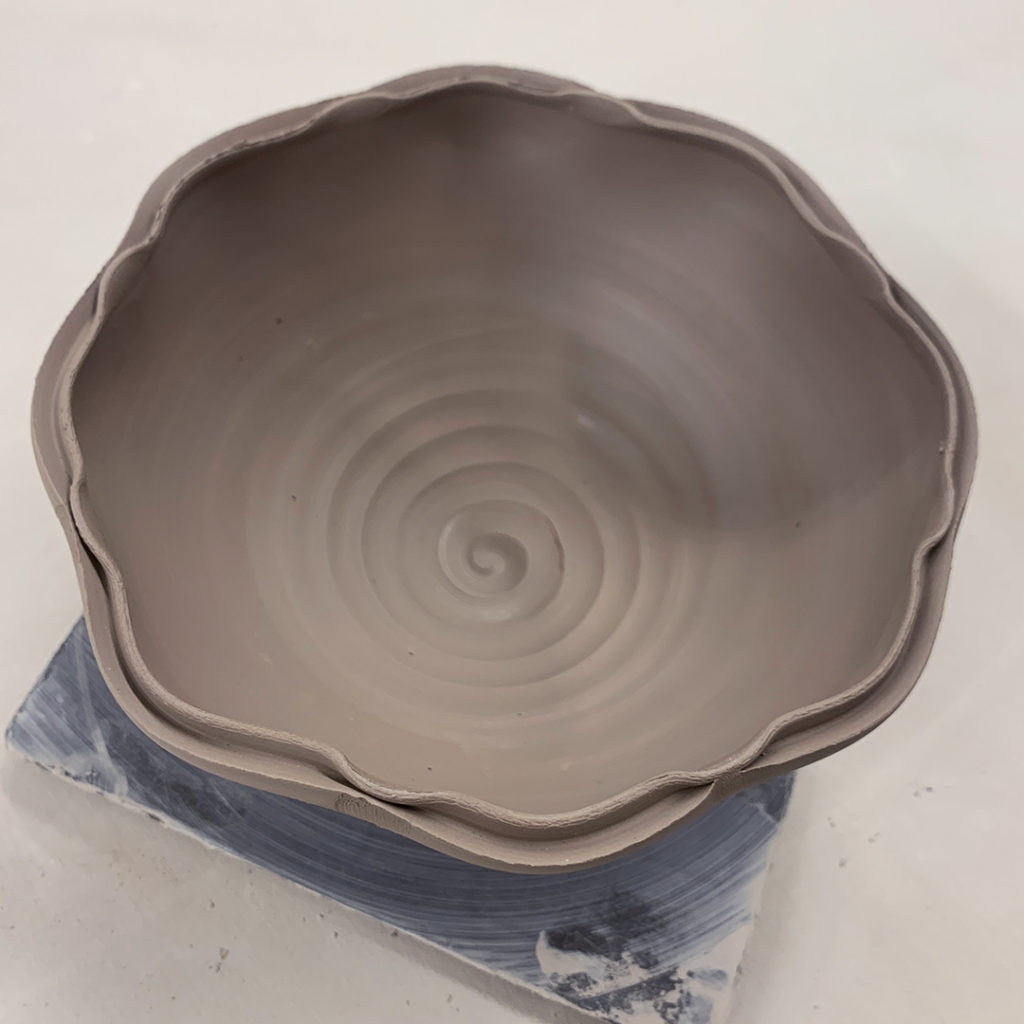
Bowl #3 – Eight Fluted Edges
And if four are nice, maybe eight are even nicer!
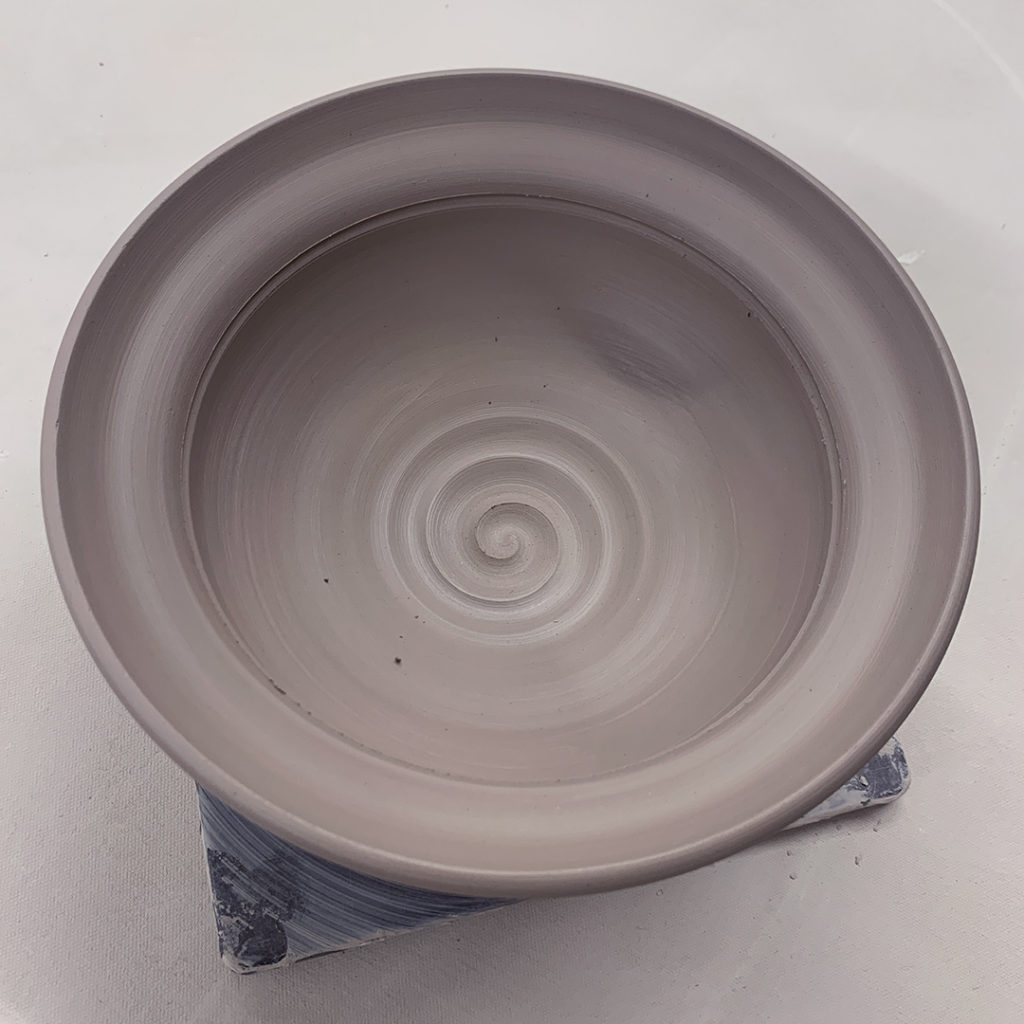
Bowl #4 – Flared Flange
With one finger stationary on the exterior, I just flared out the top edge over that outside finger… and curved it up just a little.
Bowl #5 – Wider Flange & Fluted Edges
Combining a flared flange… but deeper now… with some fluted edges for fun!
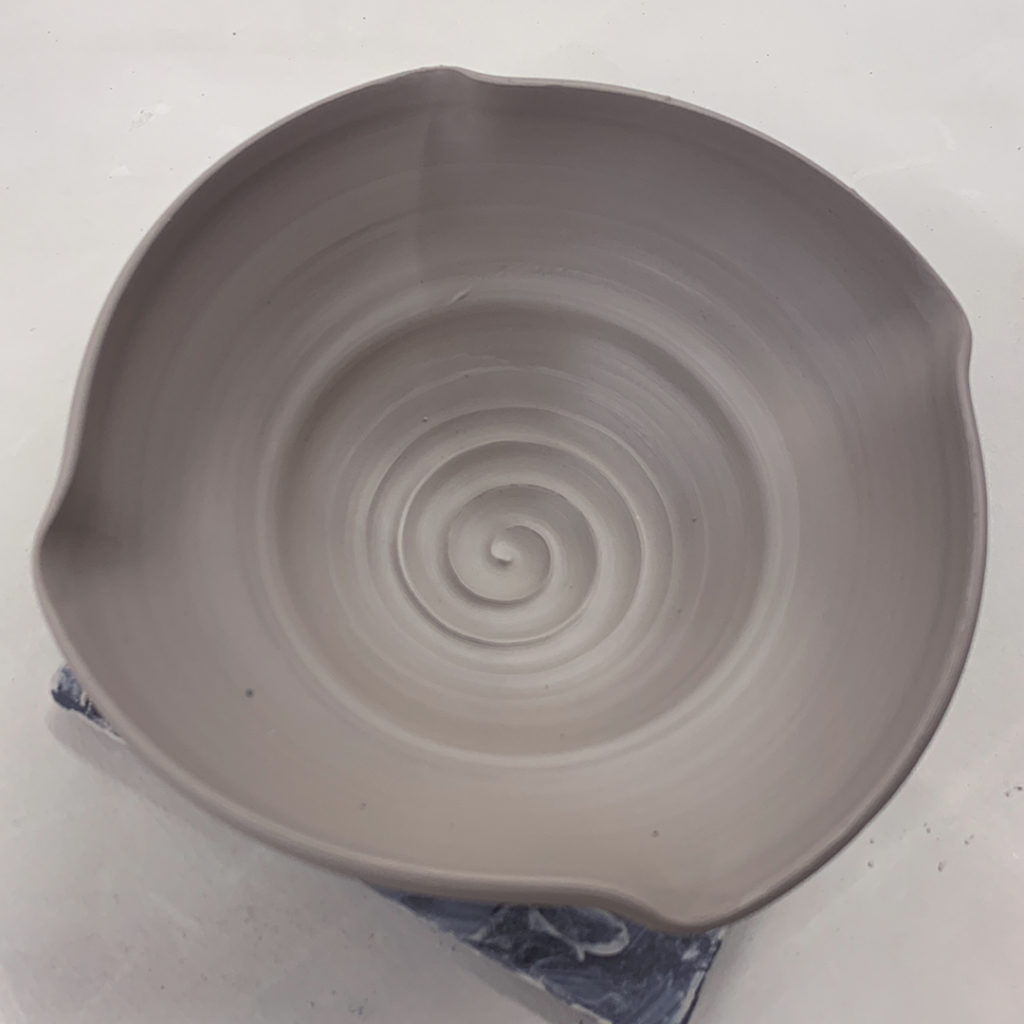
Bowl #6 – Split Rim with Pinches
With my wooden knife, I used the pointed tip to split the rim of the bowl. And then I pinched it back together in eight places.
Bowl #7 – Split Rim, Pinched & Curved
Same idea as the previous split-rim bowl… but this time I curved it outwards in between the pinches.
Bowl #8 – Split Rim Quatrefoil
After splitting the rim, I used the side of my wood knife to press it inwards in four places… no one ever said a bowl HAS TO BE ROUND?!!!
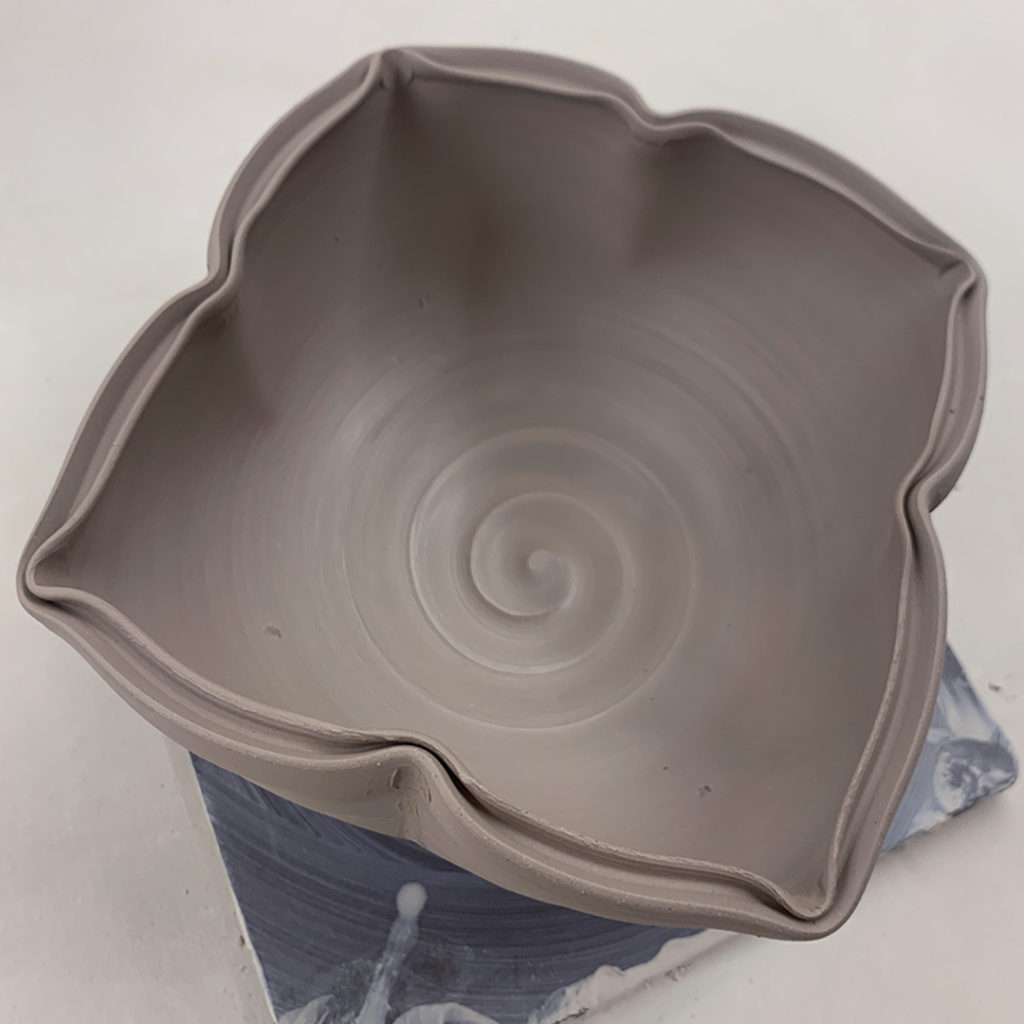
Bowl #9 – Quatrefoil Pressed Outward to Lotus
Same as Bowl #8… but this time I used the same edge of my wooden knife to press outward in between the inward pinches… kinda squaring-up the bowl.
At this point, I introduced using colored slip as an option for surface decoration. I explained that it is basically a “skin” of colored clay that you can paint on to change the color of the surface of your clay. You can cover it all, cover parts of it or paint patterns & pictures!
Bowl #10 – White Slip Coverage
I just painted the interior of this bowl with a simple layer of white slip to demonstrate how it will look different after glazing. Same glaze color.. . but lighter on the inside, darker on the outside.
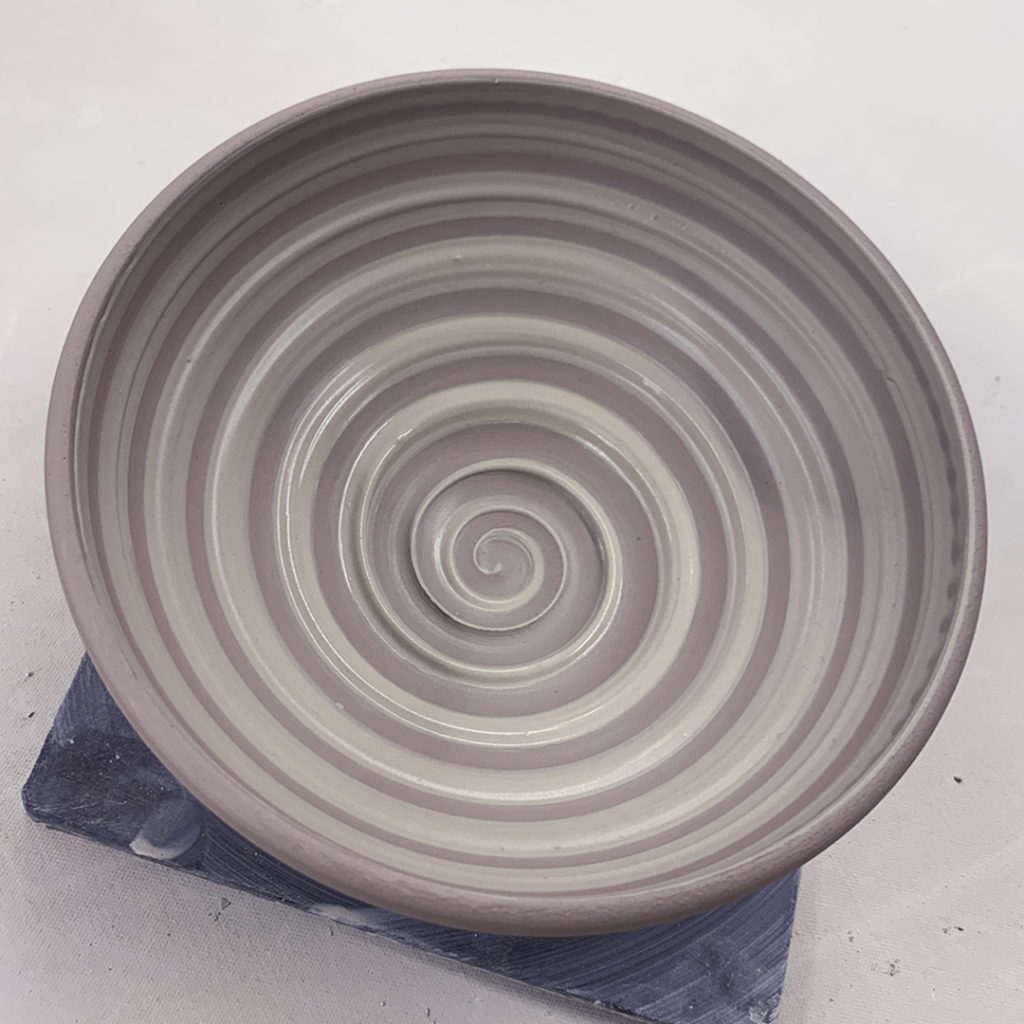
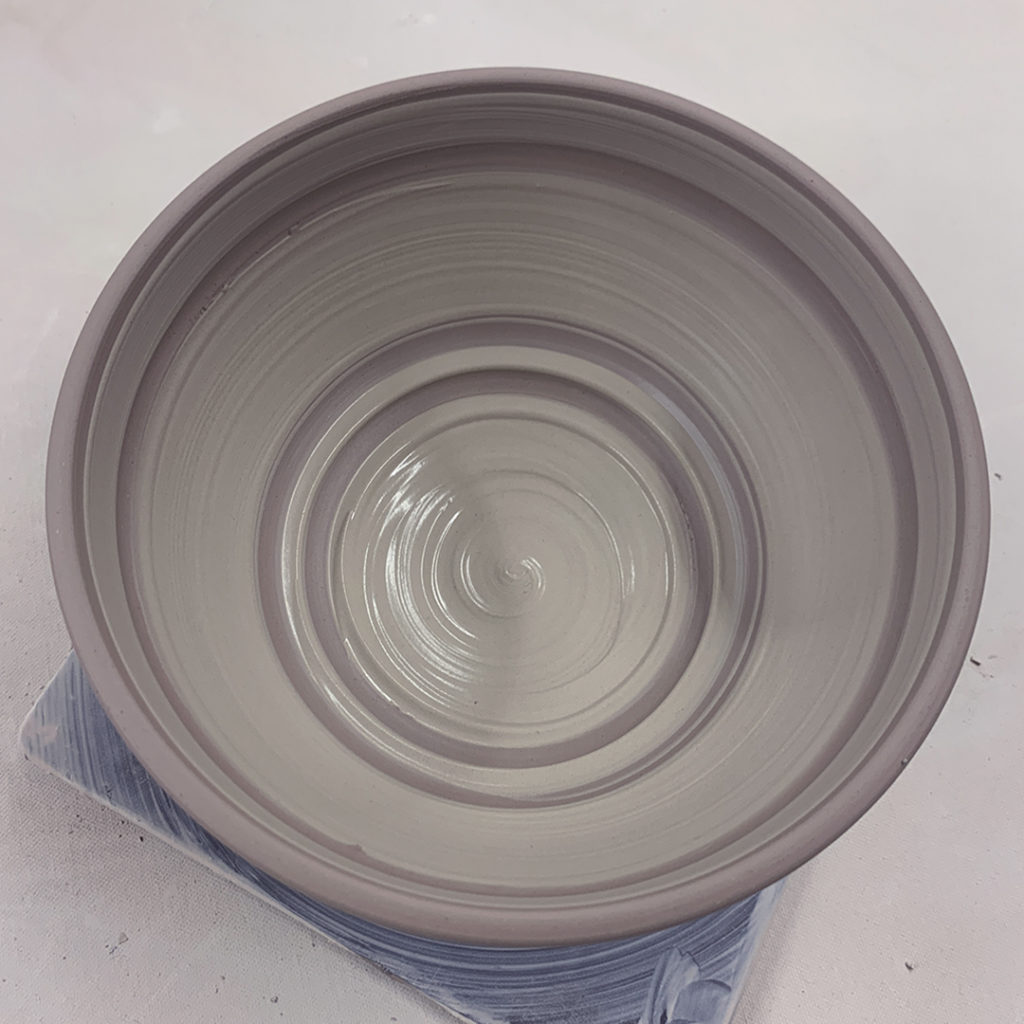
Bowl #11 – White Slip Spiral
A solid coat of white slip, then dragging the rounded end of my wooden knife through while the bowl was spinning on the wheel.
Bowl #12 – White Slip Banding
Horizontal banding… leaving a wide space that “might” be carved with a pattern later?! A solid color layer, then removed by dragging the rounded end of my wooden knife through in bands.
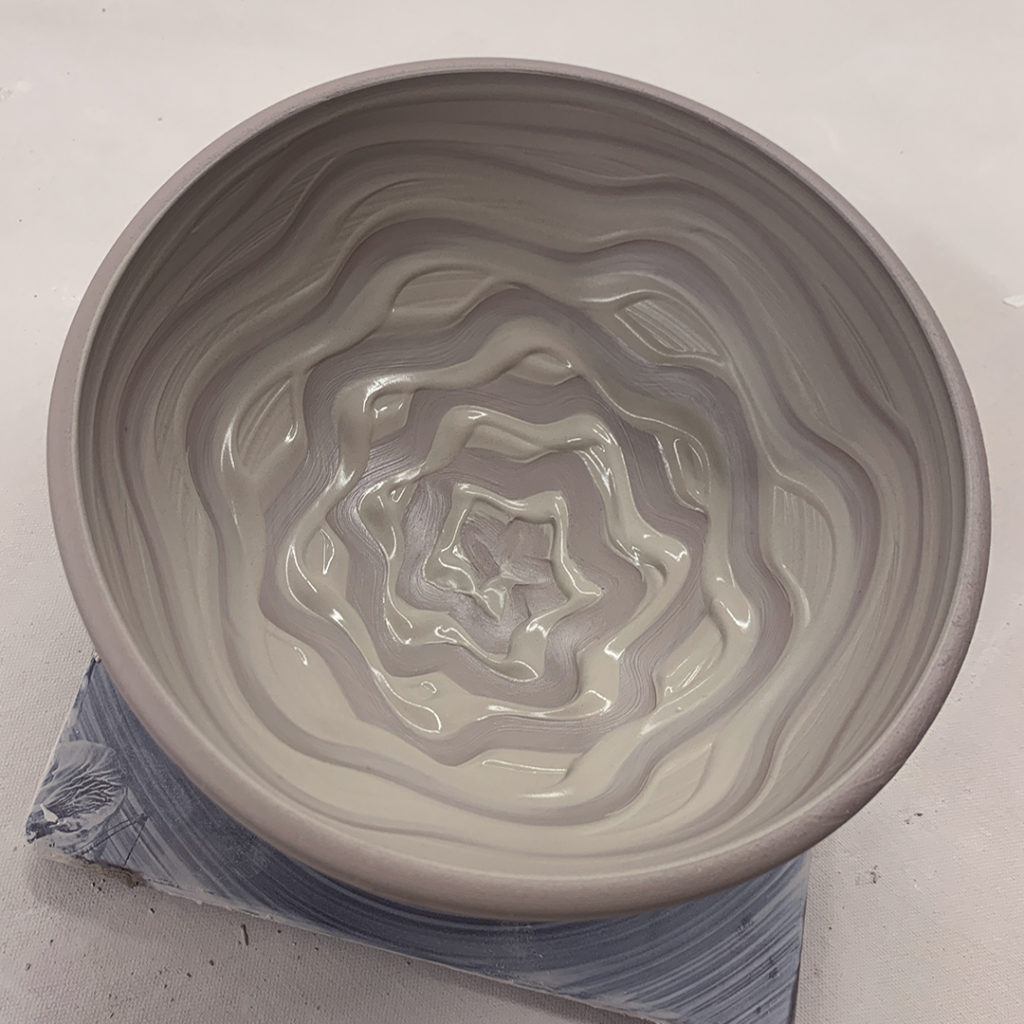
Bowl #13 – White Slip Squiggles
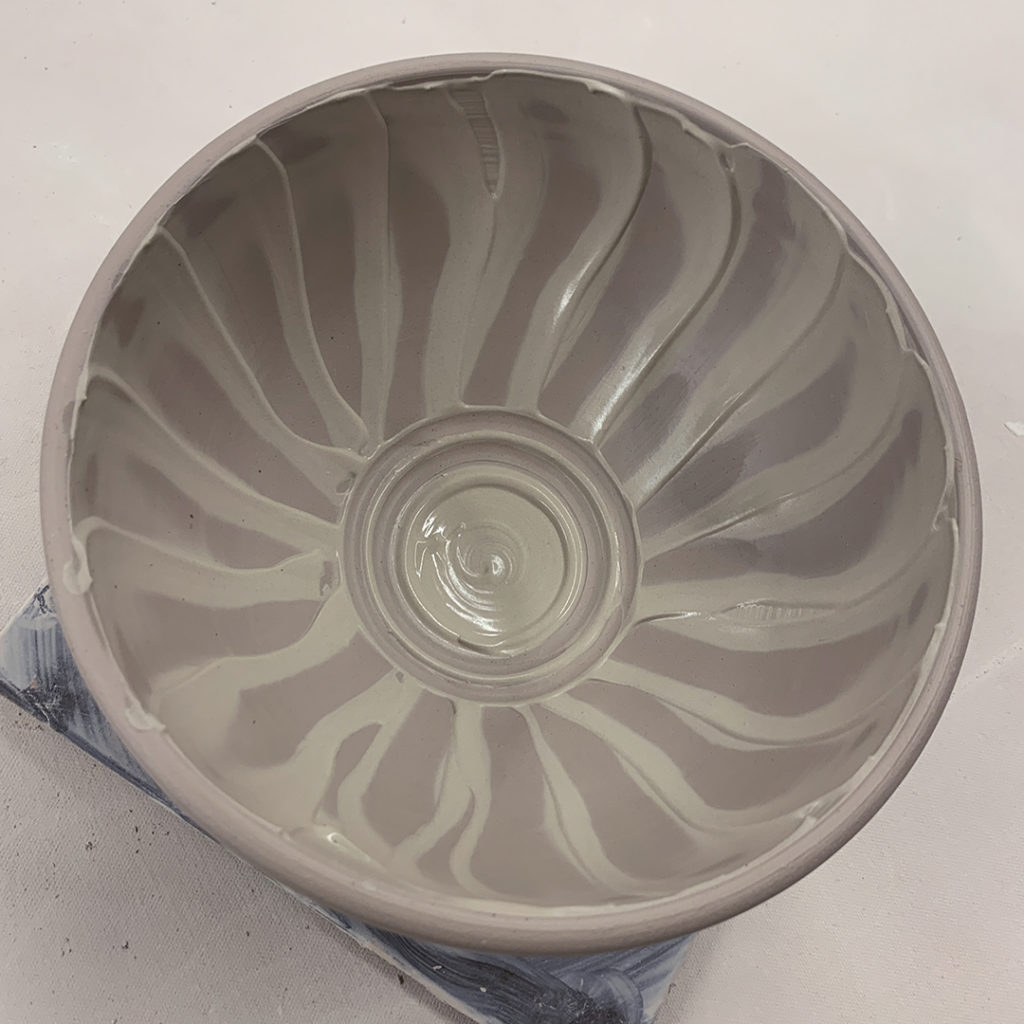
A thick layer of white slip, then a little finger-painting… squiggling back & forth as the wheel turns.
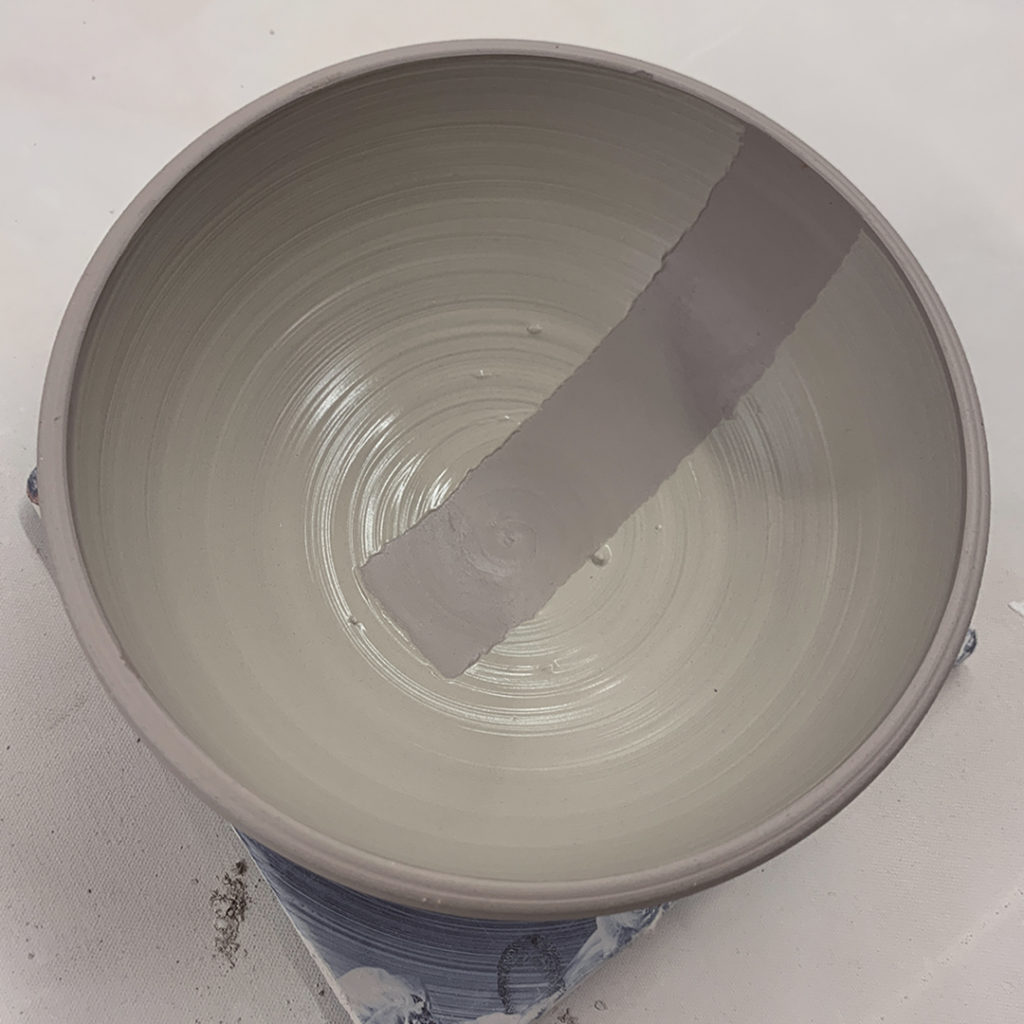
Bowl #14 – White Slip Stencil
With a torn edge of newspaper… I wet it then carefully pressed it onto the surface of the bowl. Carefully sealing down the edges by brushing white slip over the edges… and them covering the whole bowl surface. Once covered, I gently peeled away the newspaper to reveal the deckle-edge rectangle.
Bowl #15 – White Slip Chattering
After a thick coat of white slip, I did some rhythmic chattering through the slip with a green plastic rib. Gently tapping up & down, and up & outwards at the same time while the wheel is spinning.
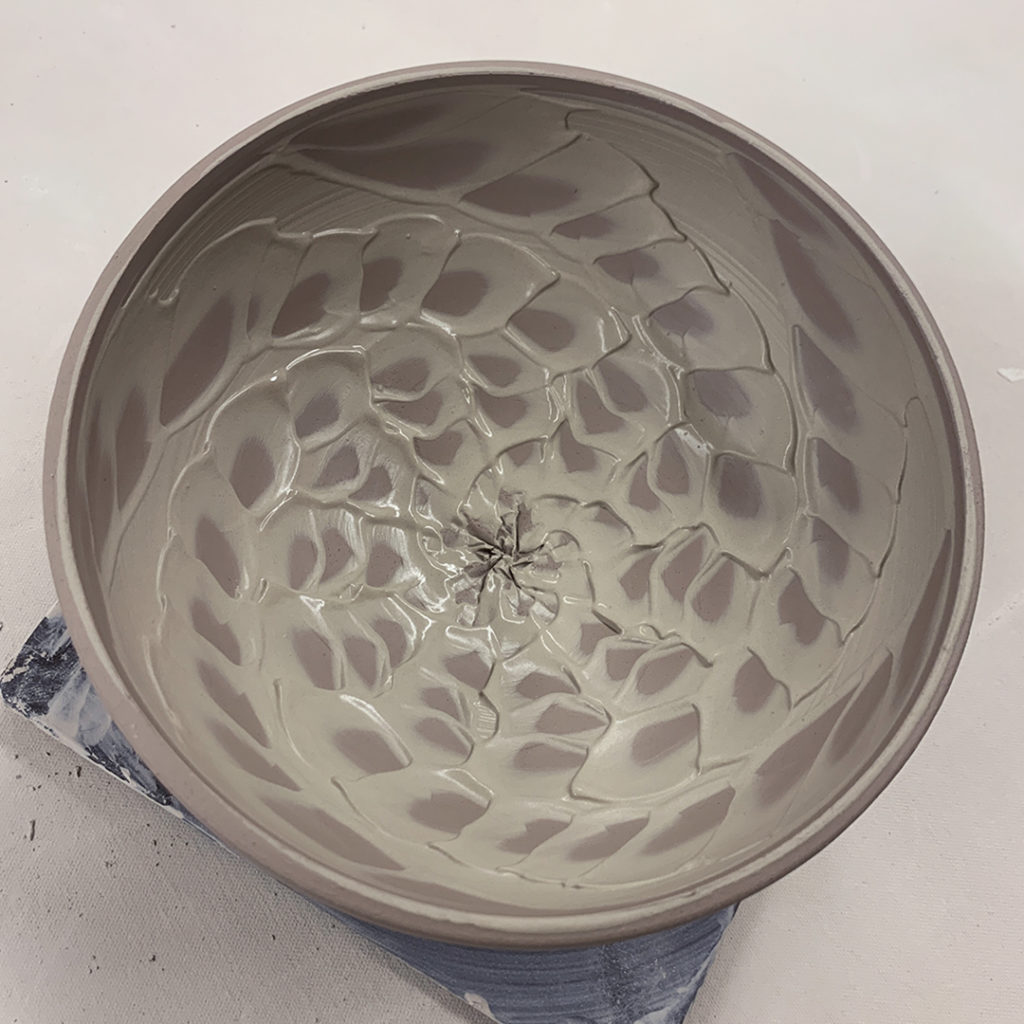
Bowl #16 – Dragged Thru White Slip
With the edge of a green rib, I gently dragged through the slip vertically… and then did a little center circle to even out the bottom where the squiggles started.
Bowl #17 – Ombre Blended Slip
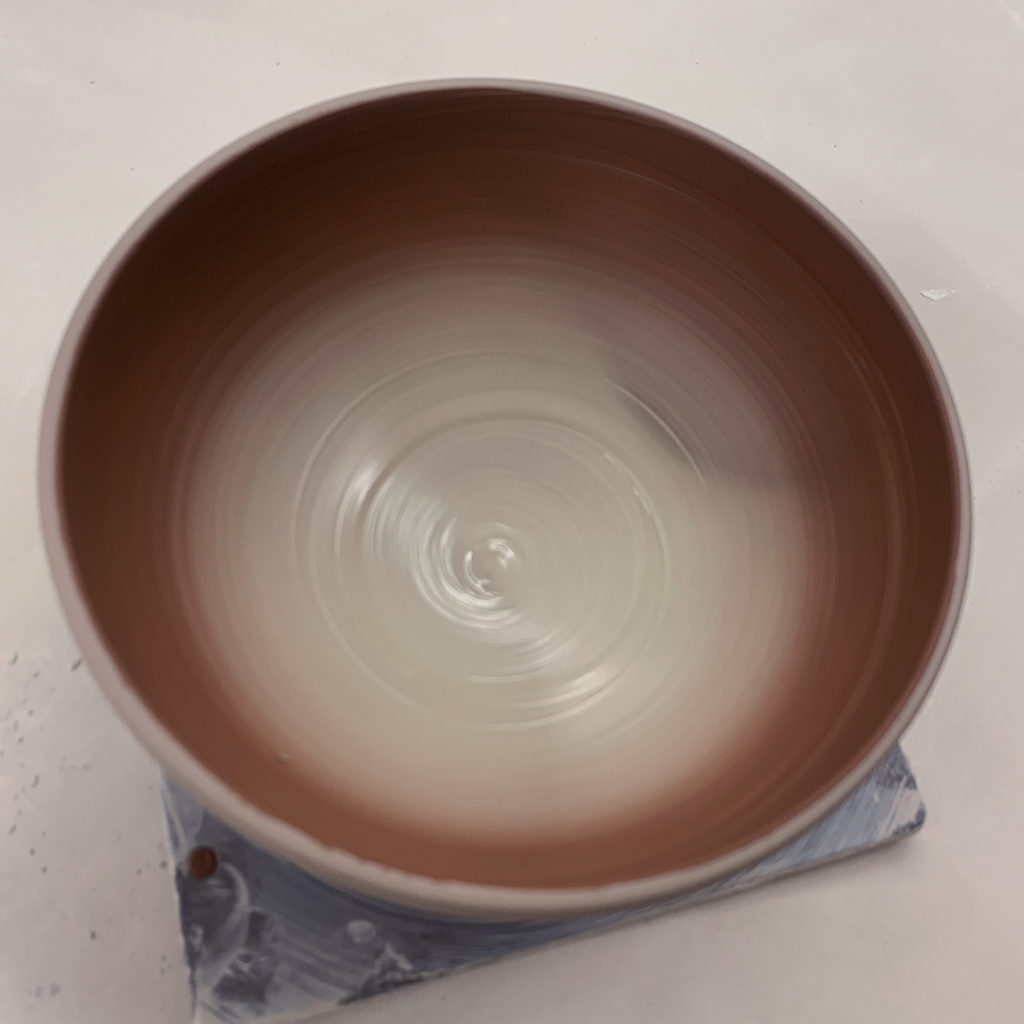
With a layer of white slip, I added a layer of iron red slip for a smooth ombre blend.
Bowl #18 – Ombre Spiral
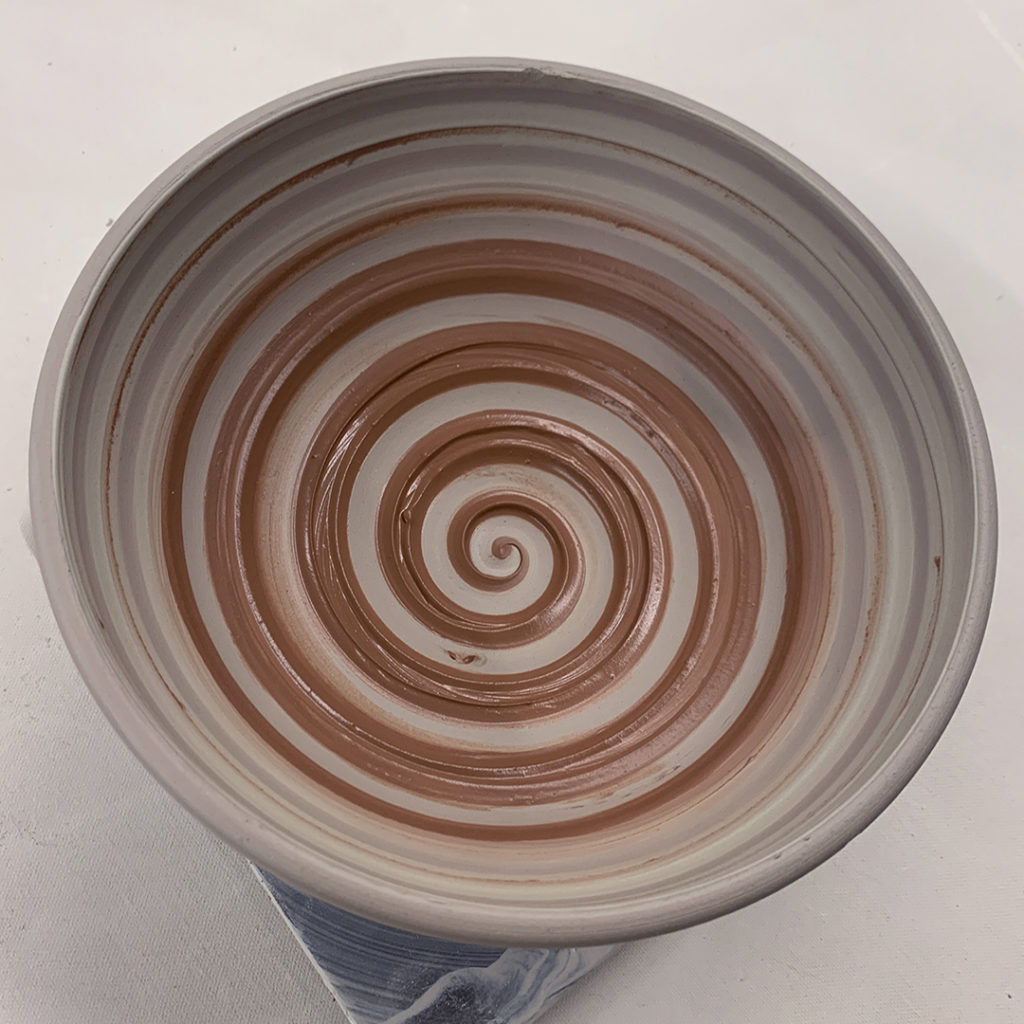
After making the same ombre blend as Bowl #17, I dragged the rounded end of my wooden knife through both slips to make the spiral while the wheel was spinning.
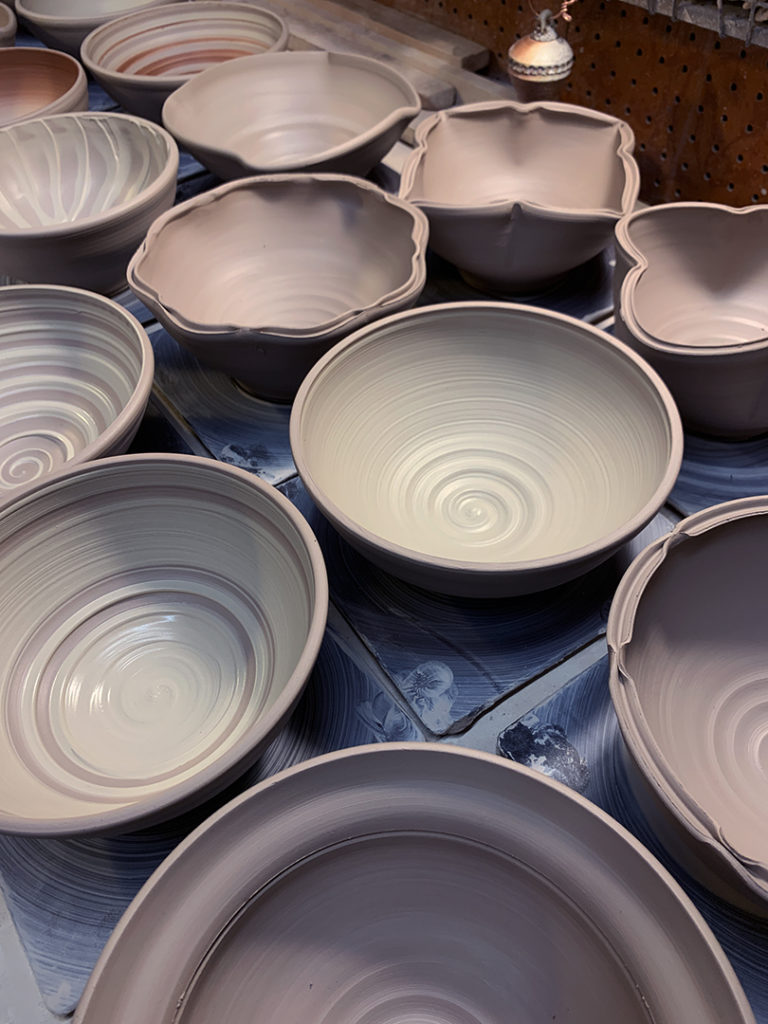
So for now they’re all up in my studio ready to go under plastic wrap for the night. I’ll keep them covered so they can dry slowly to leather-hard… and then there might be some stamping, detailing & addition. Maybe… just maybe…
