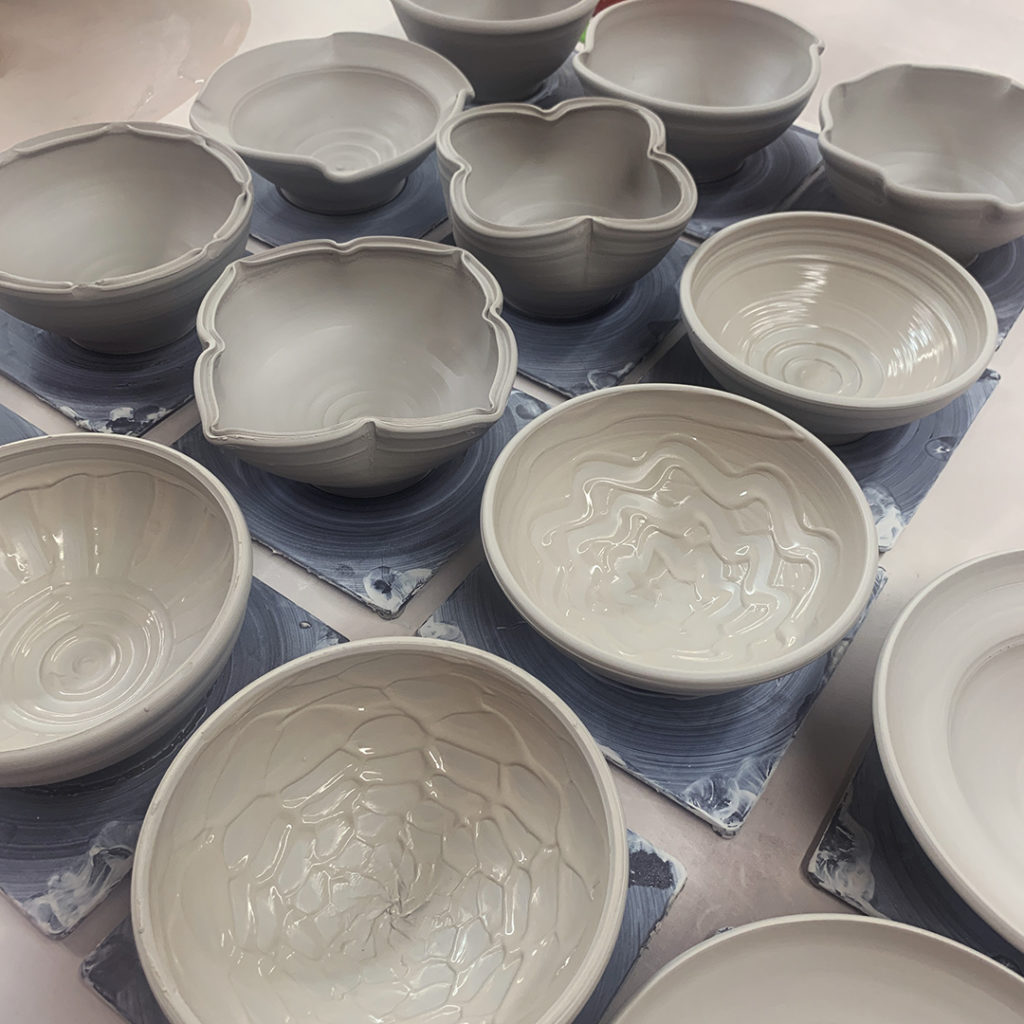
After throwing fourteen bowls that were all pretty much the same… my class re-grouped so that I could show them some quick tricks & techniques to make their own bowls more one-of-a-kind. I explained how I kinda feel like the wheel does most of the work in making a round bowl. But that it’s up to them to make it special & make it their own! Some quick alterations to help them make some “not-so-basic bowls”!!!
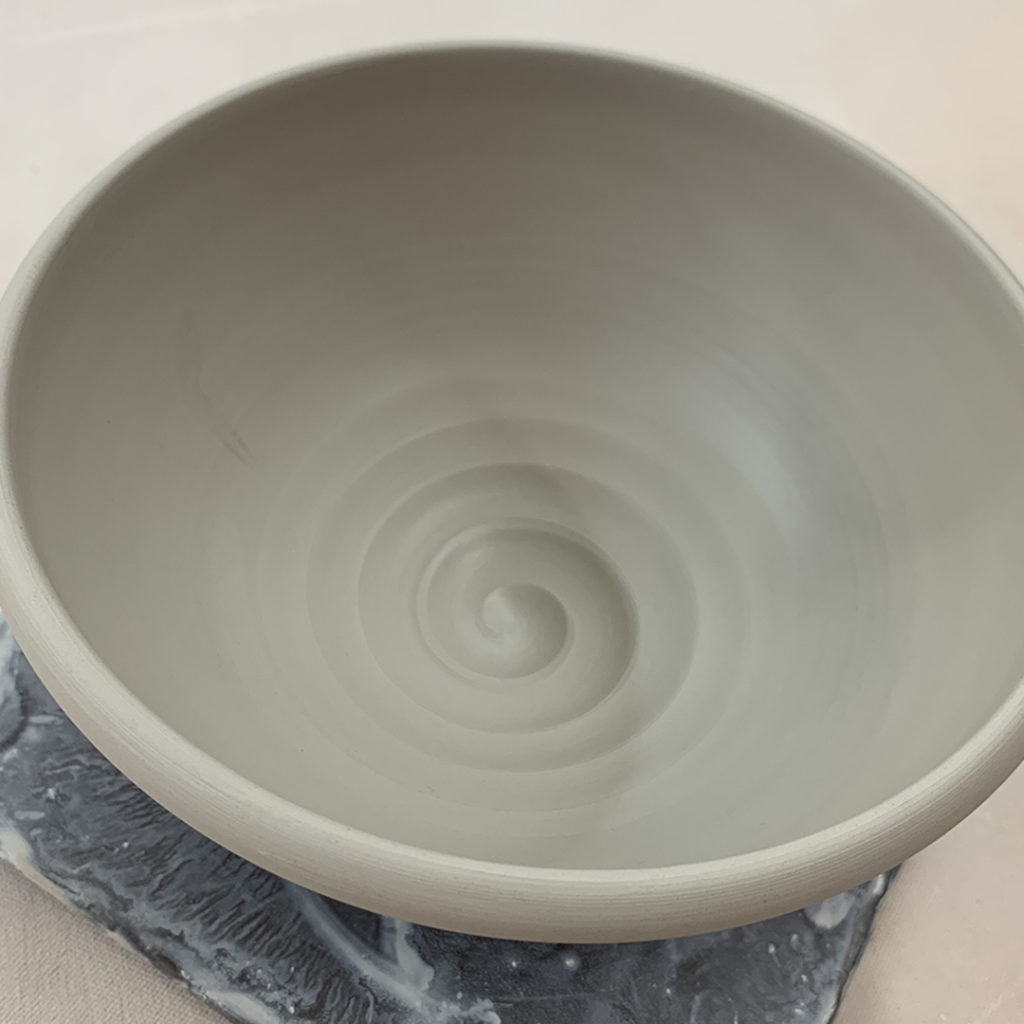
Bowl #1 – the plain one, as they all started out.
Bowl #2 – two simple finger flutes.

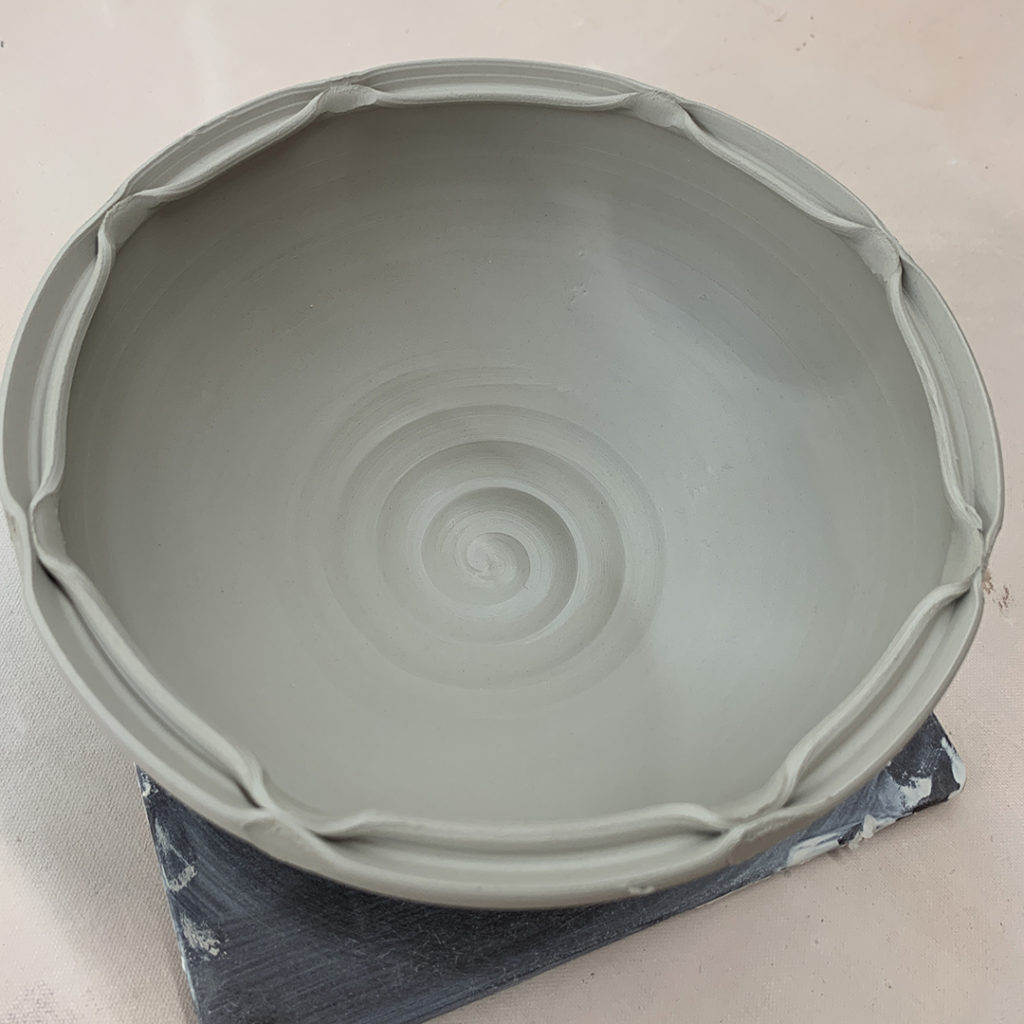
Bowl #3 – And if two are cute, maybe eight flutes are better?

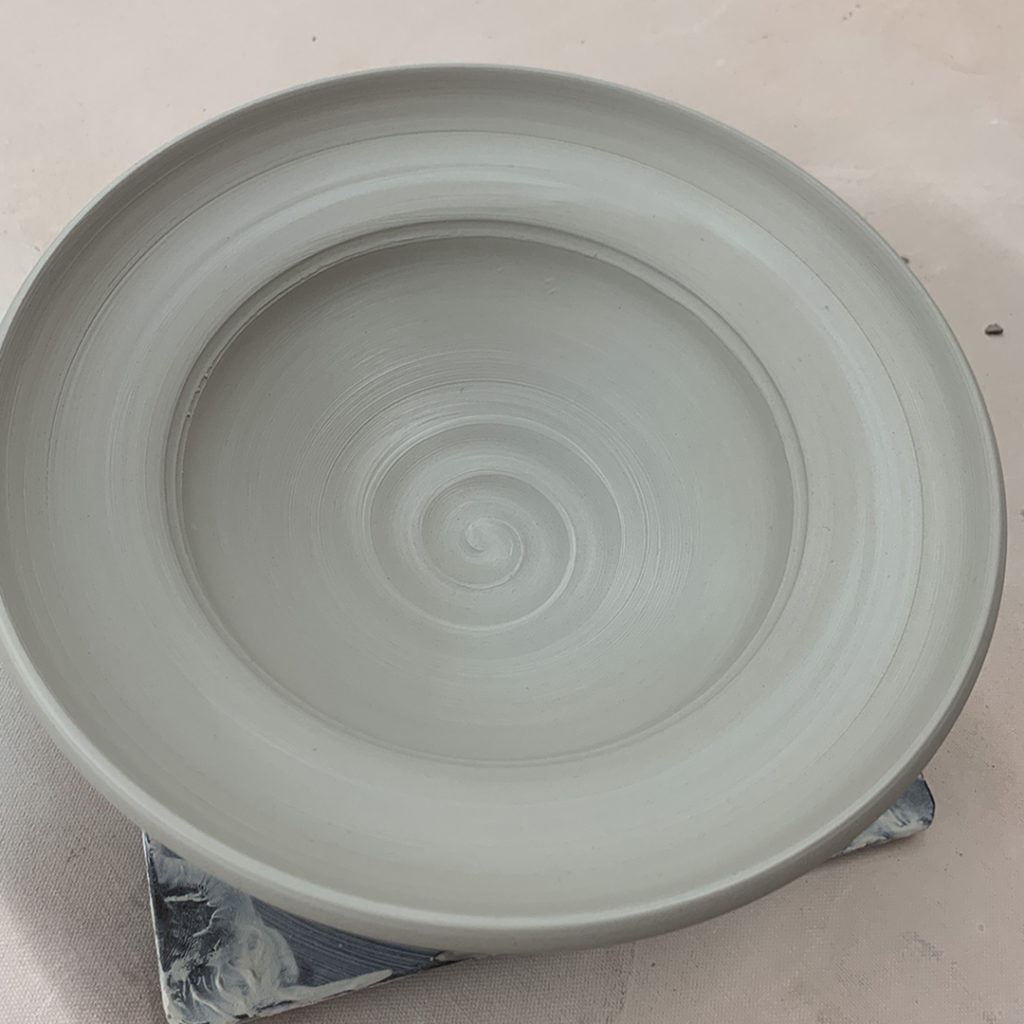
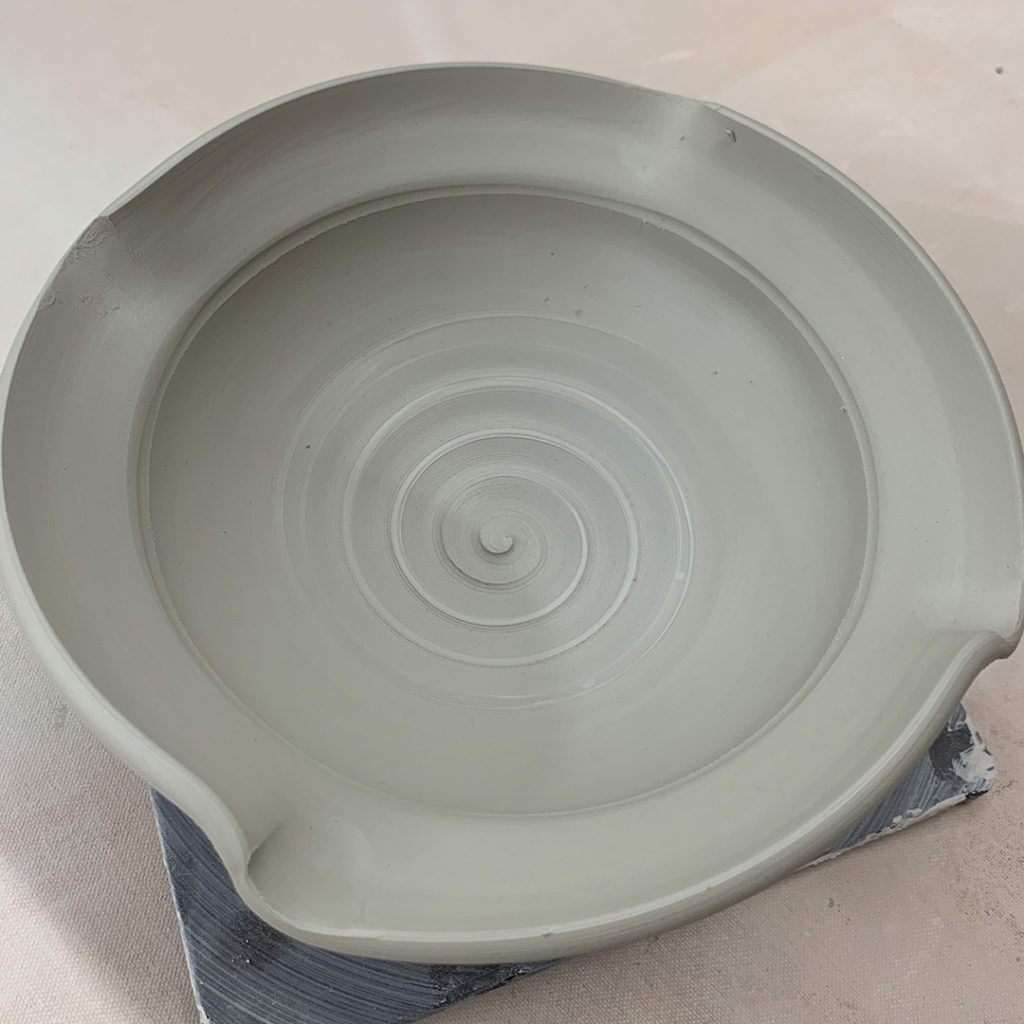
Bowl #4 – a flared out flange.
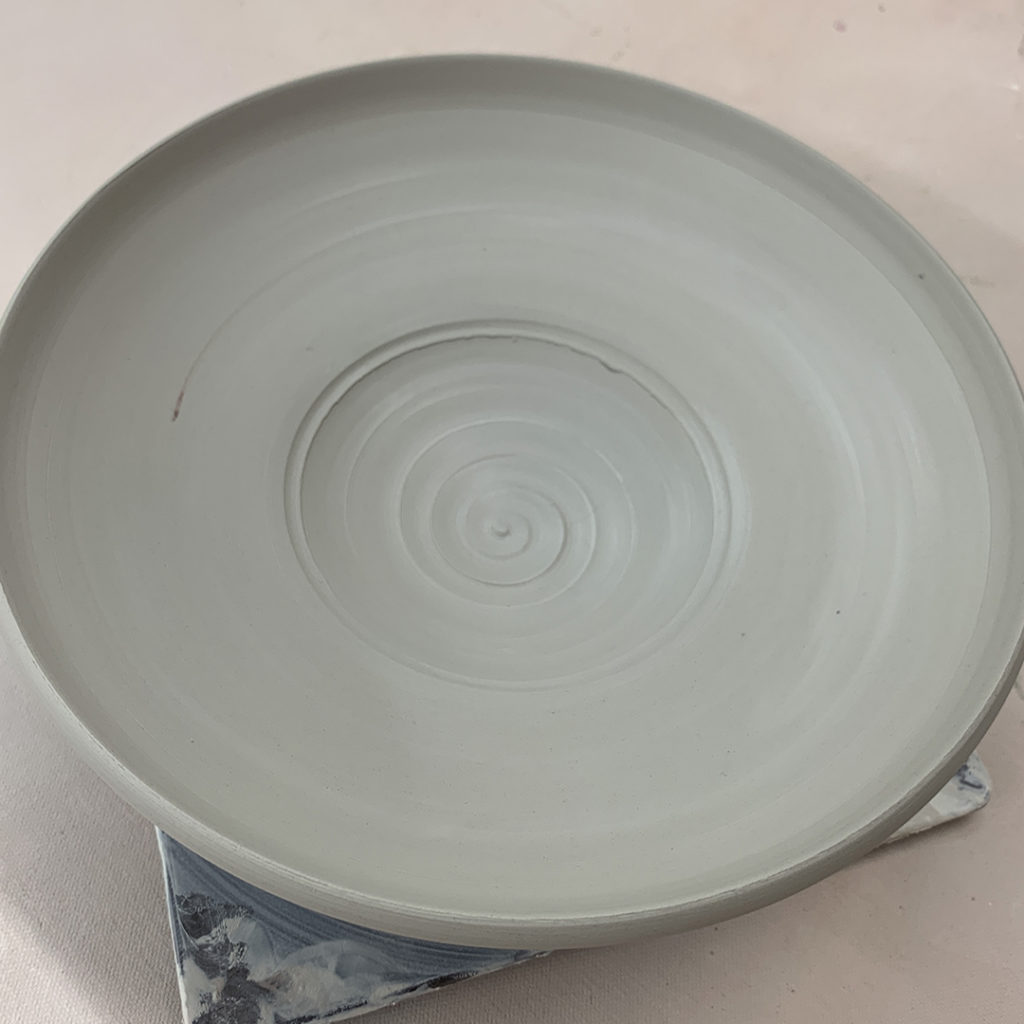
Bowl #5 – a larger flared out flange.
Bowl #6 – A flared flange combined with four fluted edges.
Bowl #7 – a split rim… then pinched back together in eight places.
Bowl #8 – another split rim, this time indented with the side of a wood knife.

Bowl #9 – another split rim – indented in wards & outwards.

After doing some altered rims, it was time to switch to colored slips. Just adding more options & decoration techniques for my students to play with.
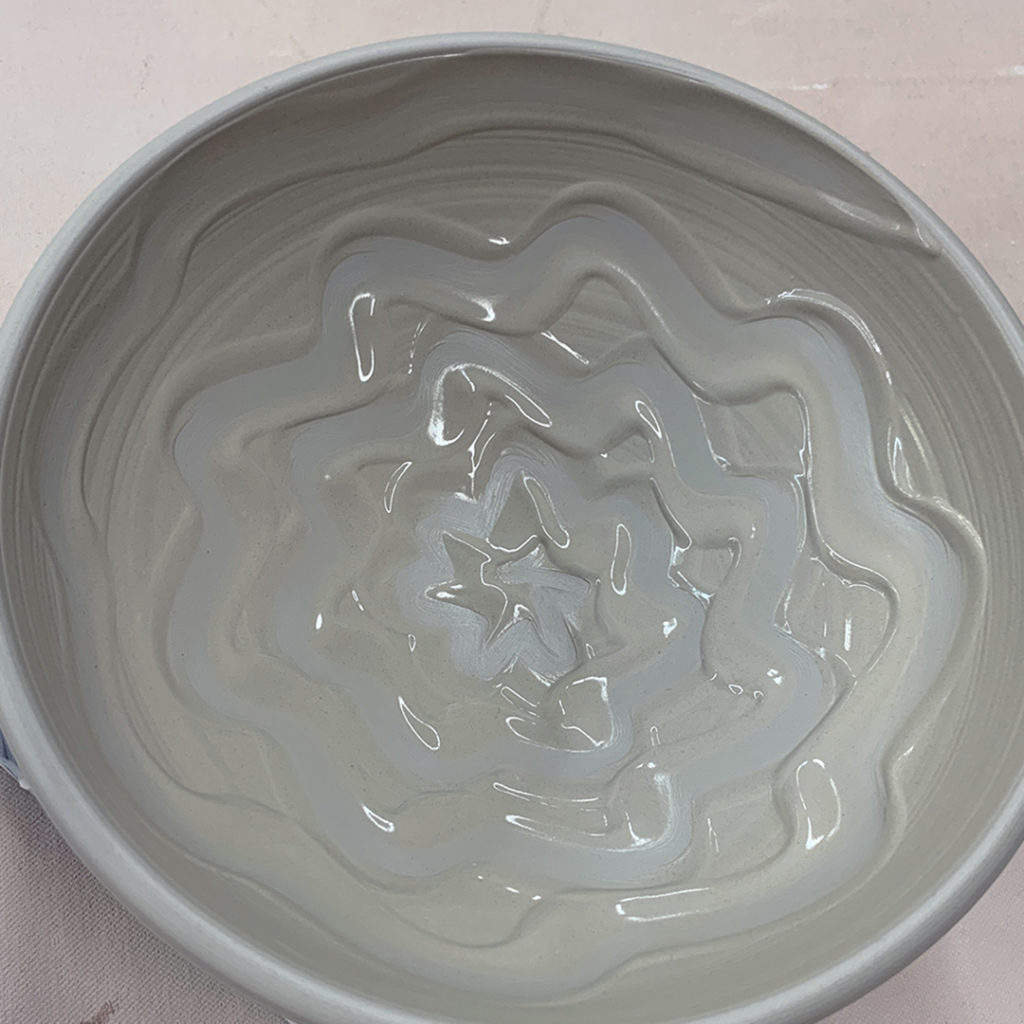
Bowl #10 – a layer of thick white slip, then dragged through with the rounded end of my wooden knife.

Bowl #11 – thick white slip with banded details.

Bowl #12 – finger squiggles through the thick white slip.
Bowl #13 – Channeling my inner-Steven Showalter and trying out some of his wonderful slip techniques!

Bowl #14 – rhythmic chattering through the thick white slip.

So for now, all of the bowls went up to my studio to spend the night under plastic. Trying to keep them form drying out too close… as there’s a “very good chance” that there may be some stamping & detailing still to come!