07.06.2022
So I’ve been doing a little stamping today… making more mugs with a bunch more stamping!!! So I thought it might be fun to show-off the before & after… and the stamps that did most of the work!
MUG #1 –


MUG #2 –
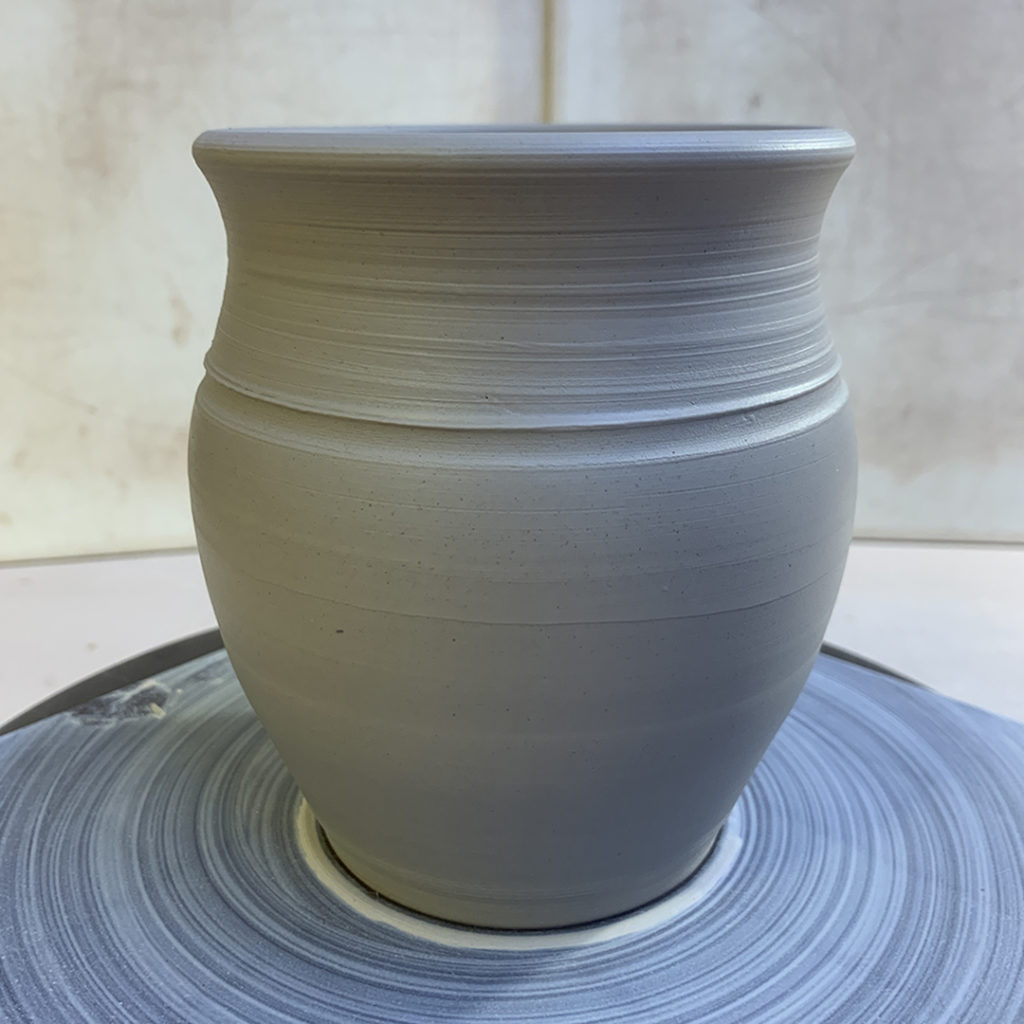

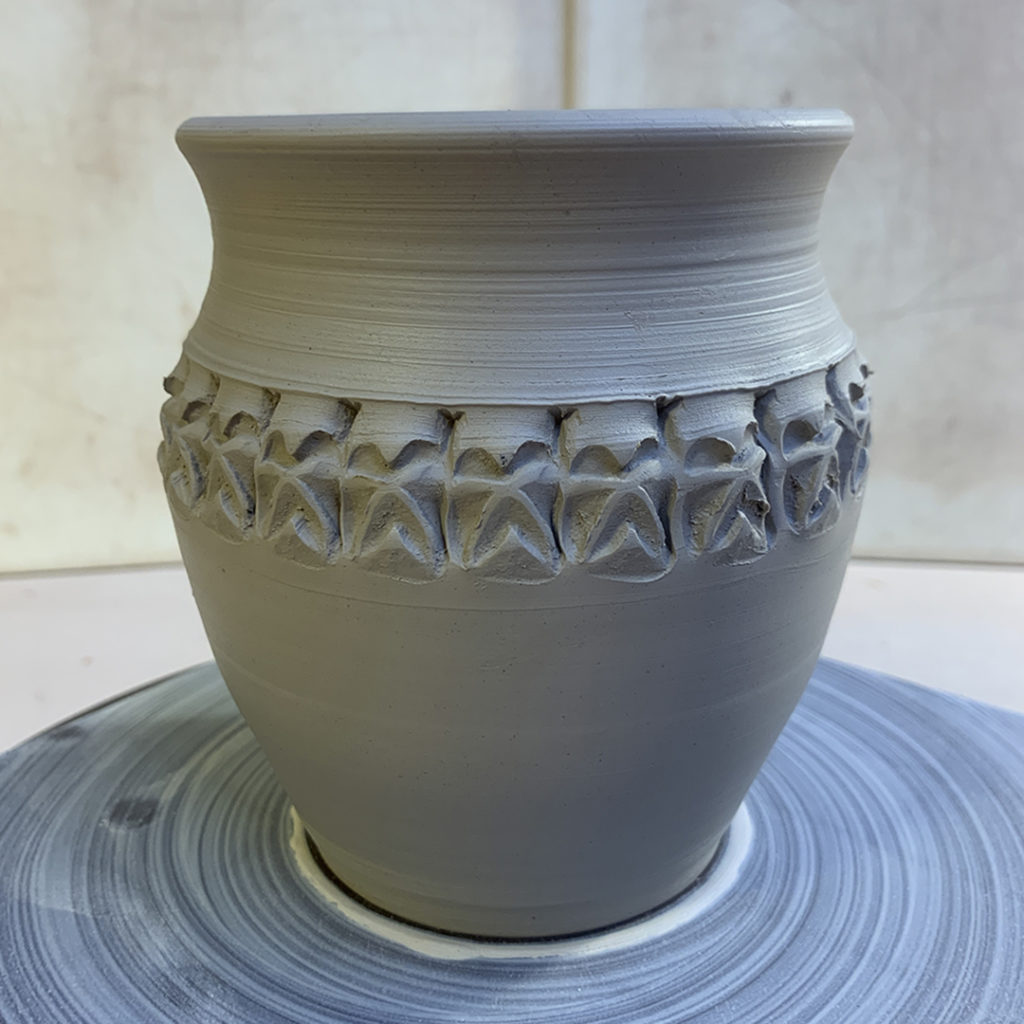
MUG #3 –


MUG #4 –


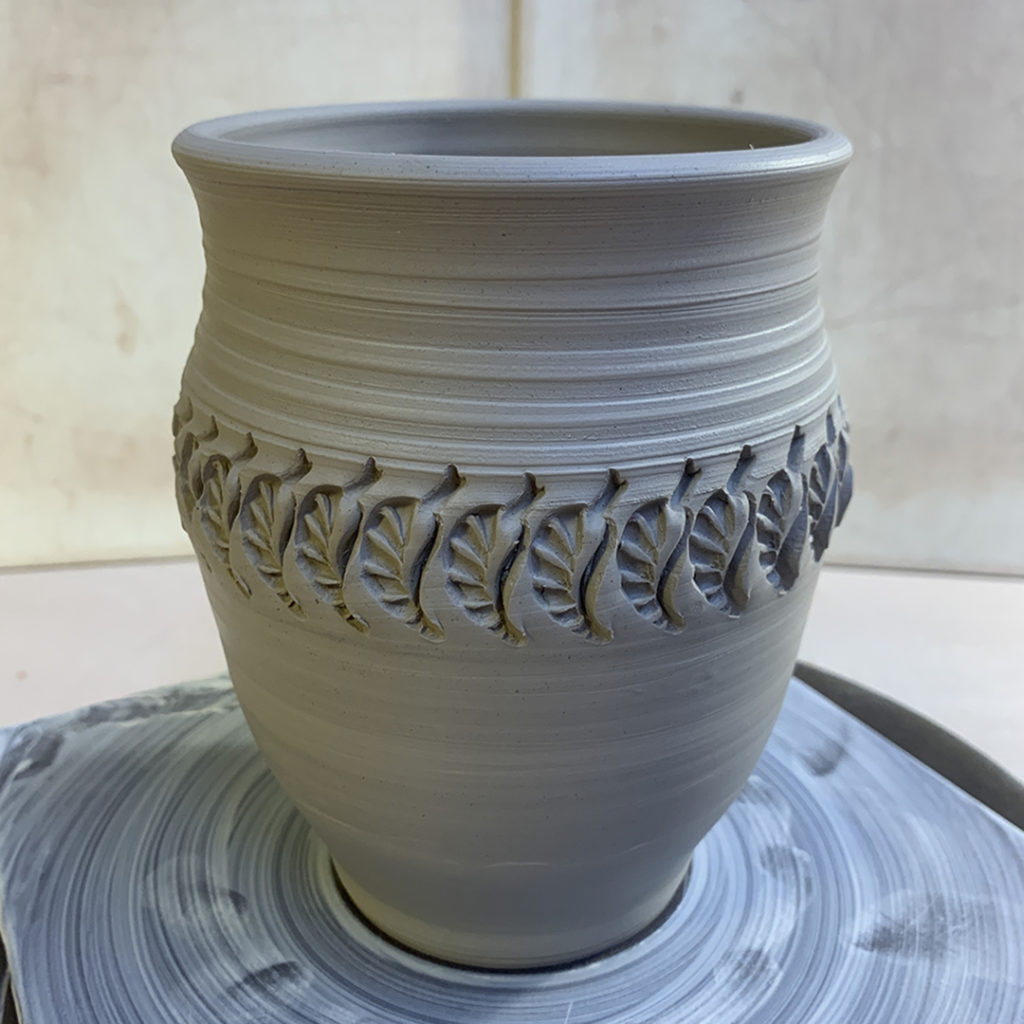
MUG #5 –
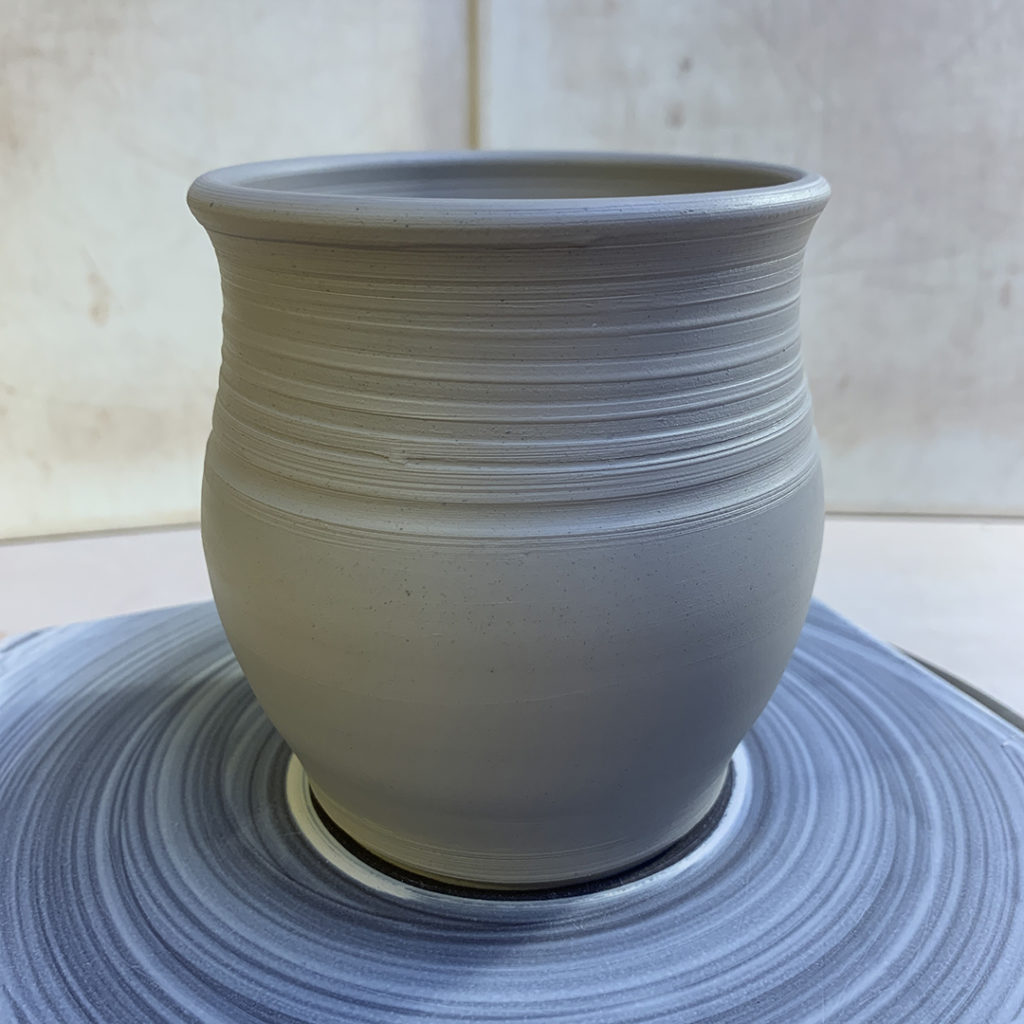
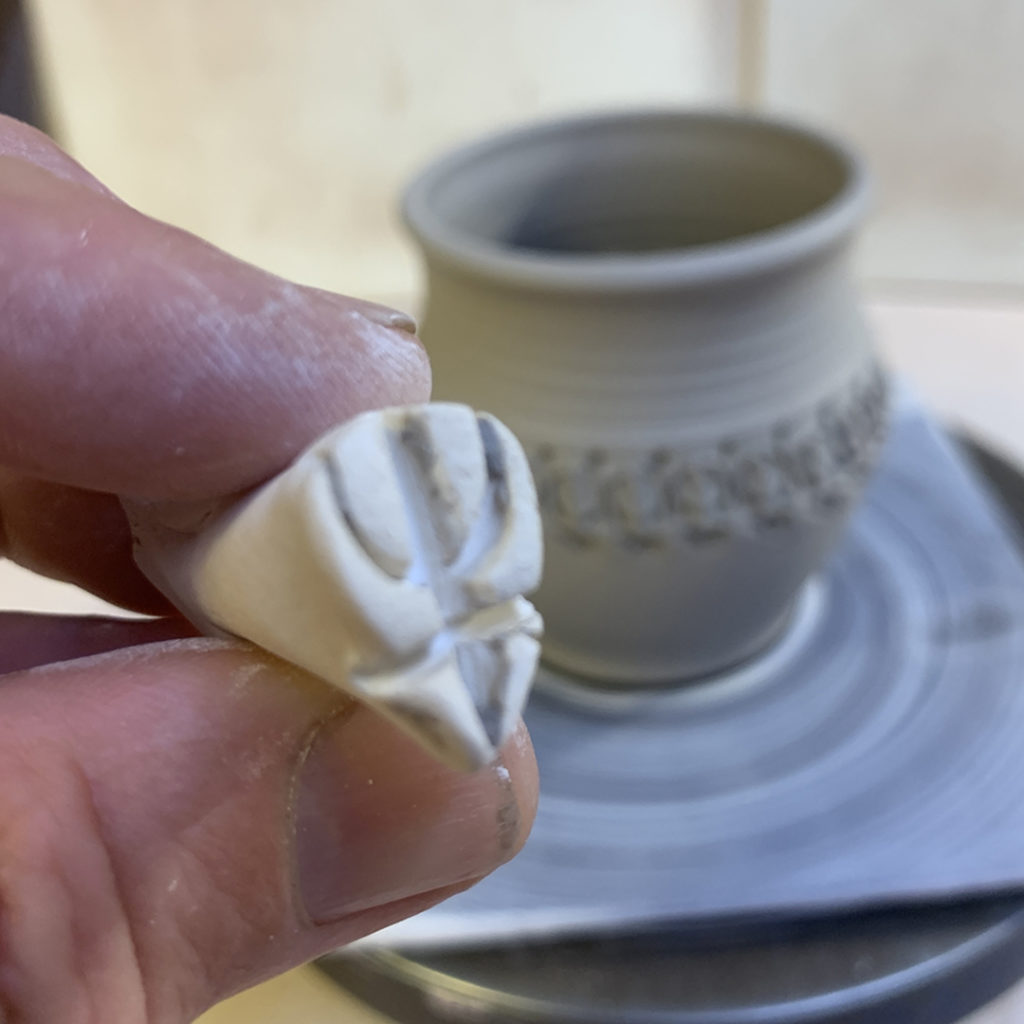

MUG #6 –


MUG #7 –
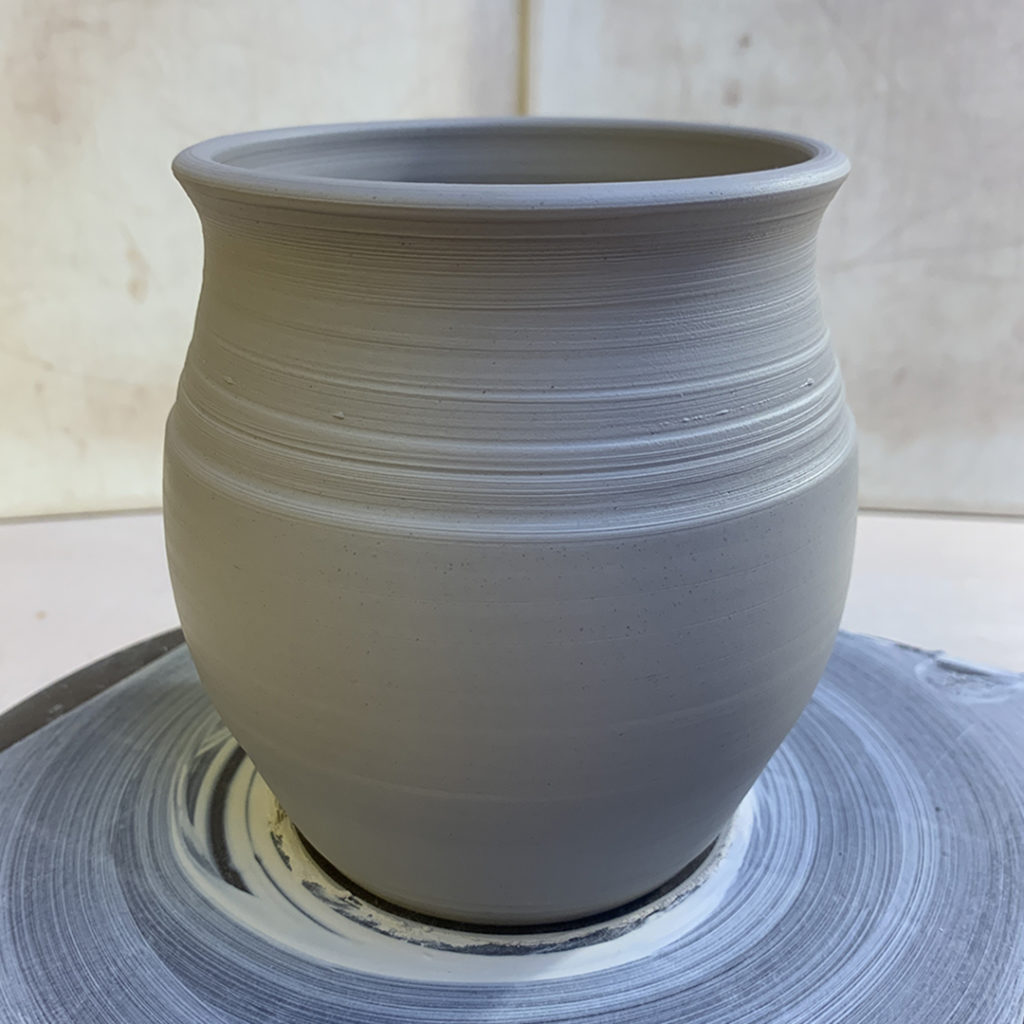


MUG #8 –


MUG #9 –


MUG #10 –
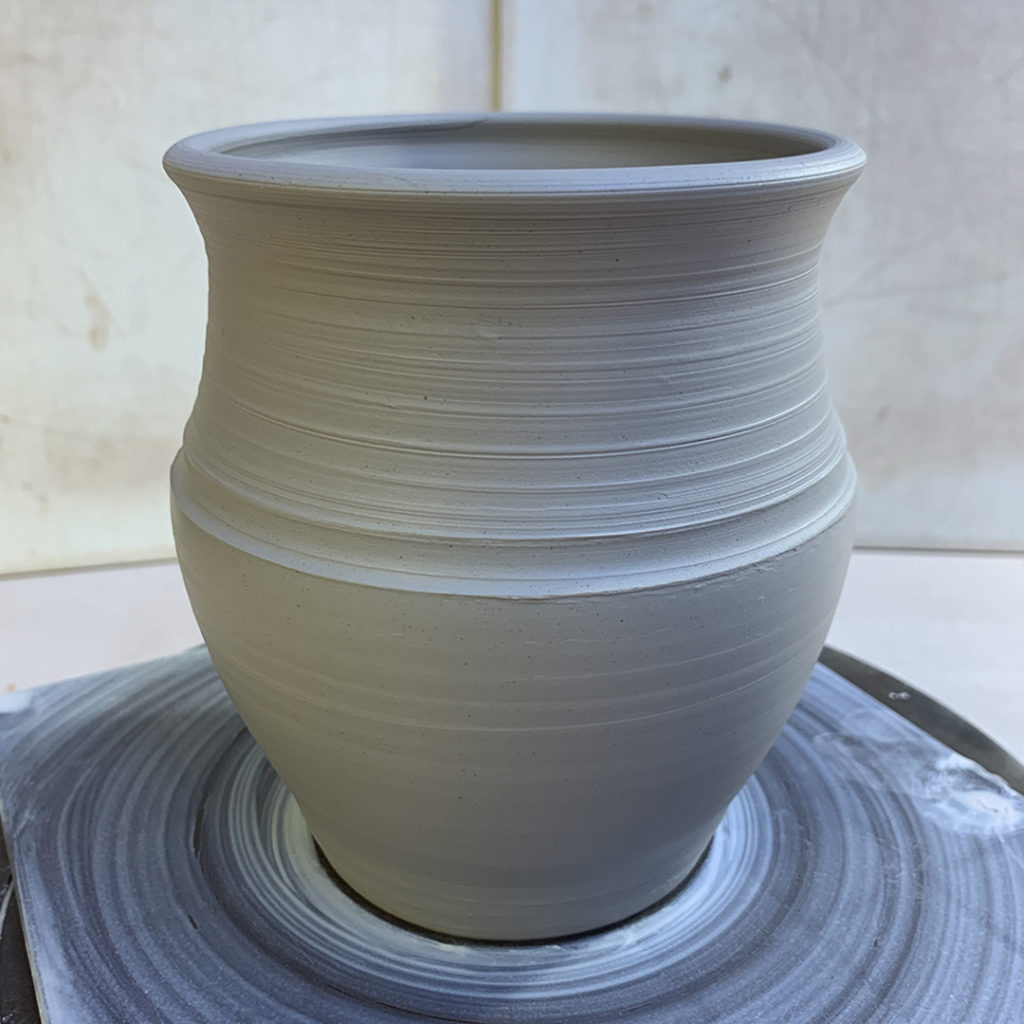

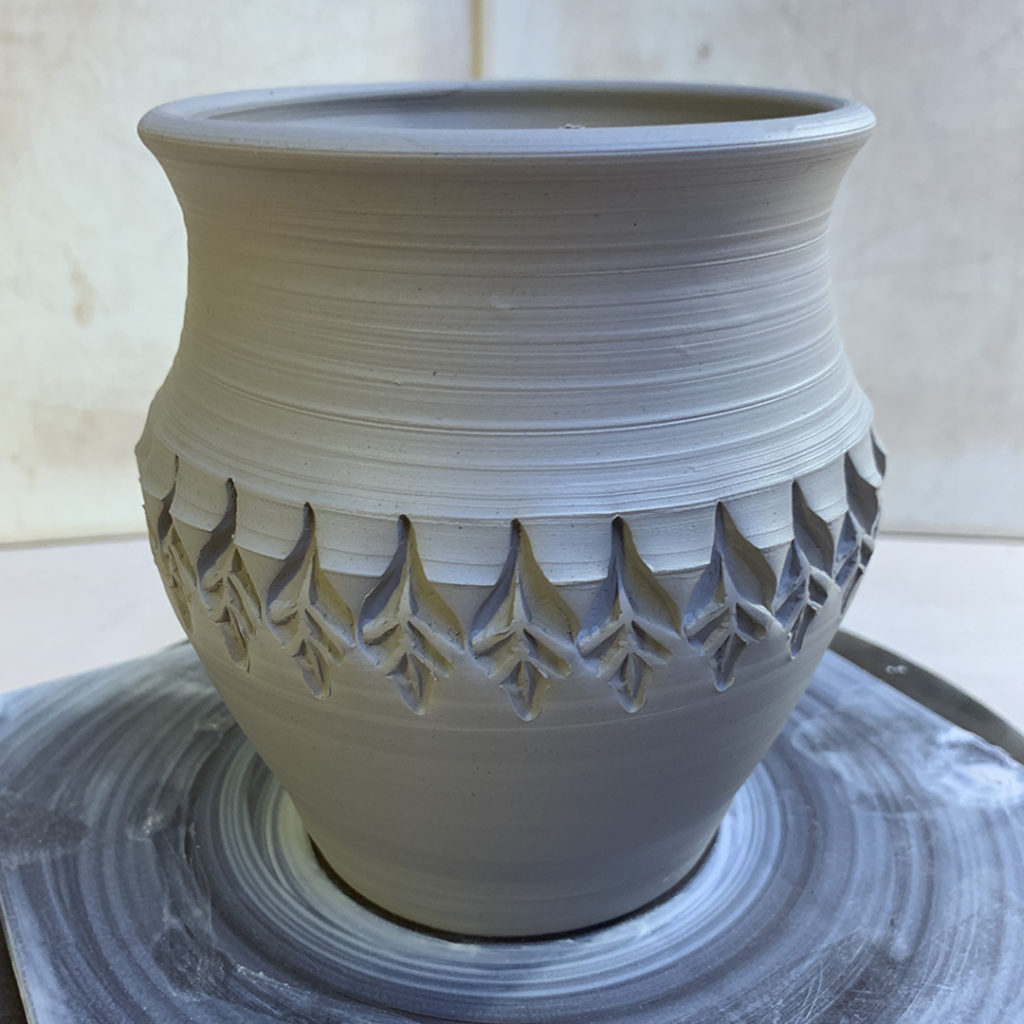
MUG #11 –

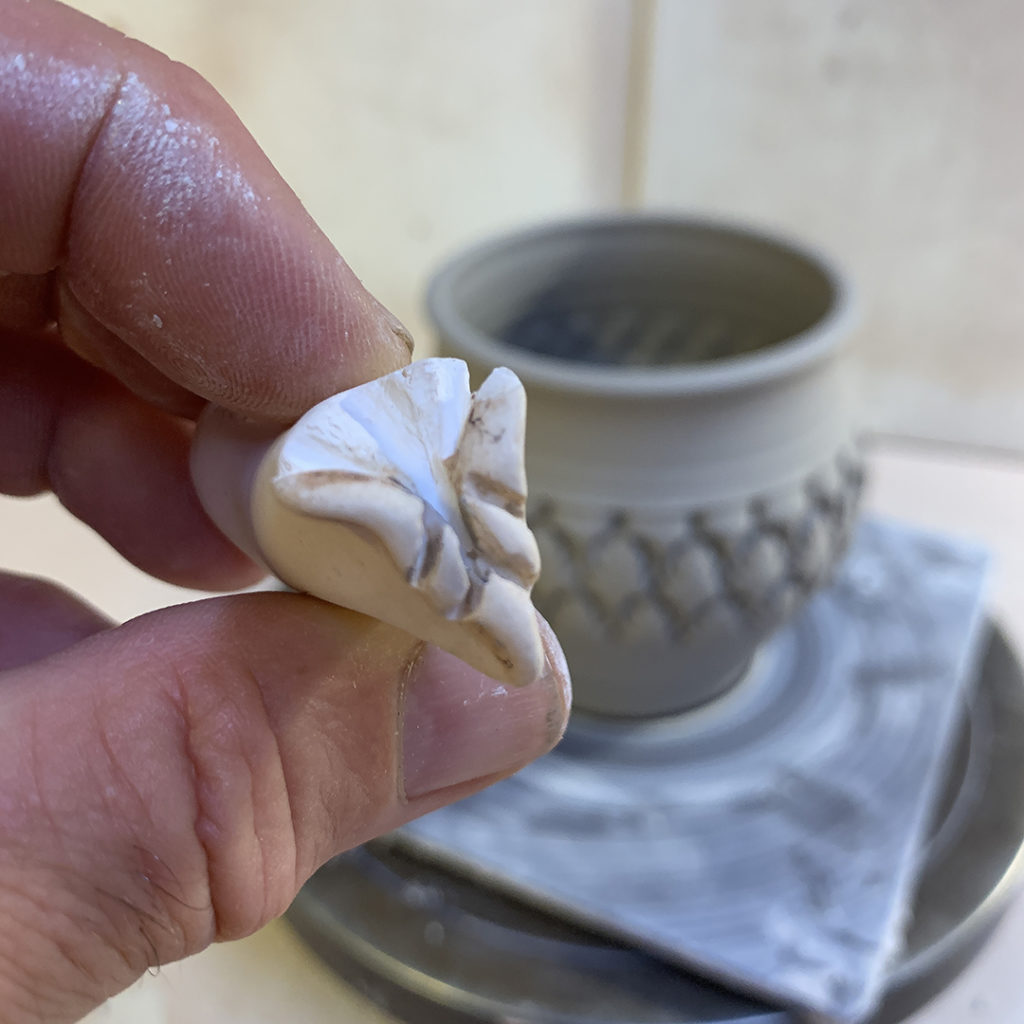

MUG #12 –
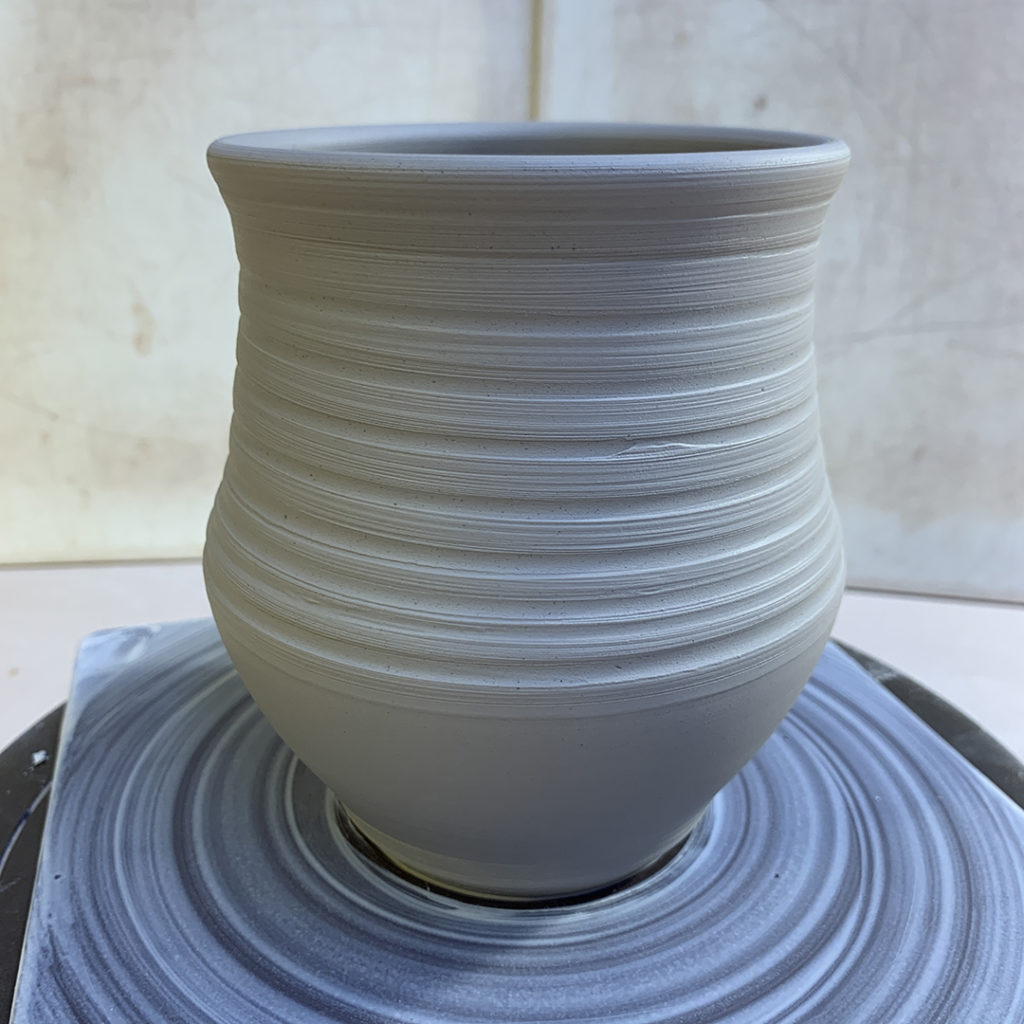


MUG #13 –


MUG #14 –
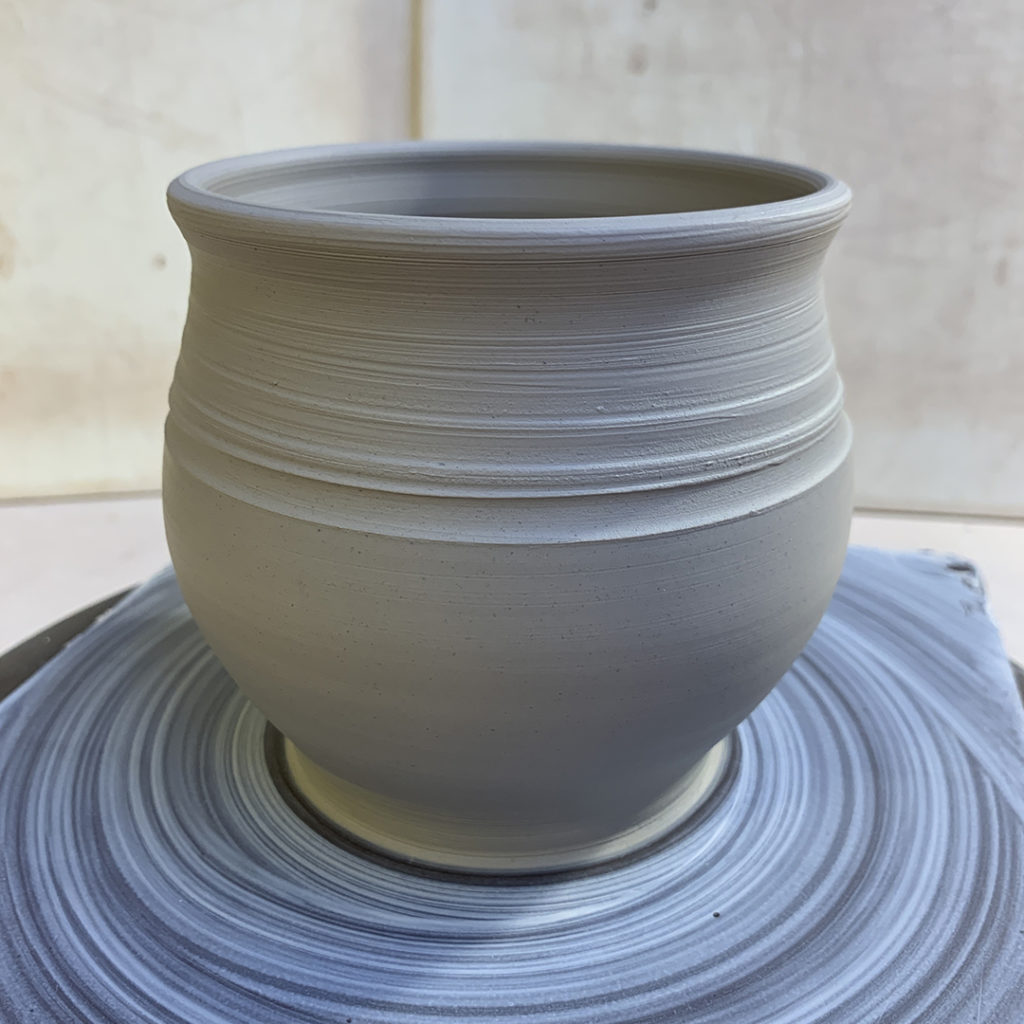

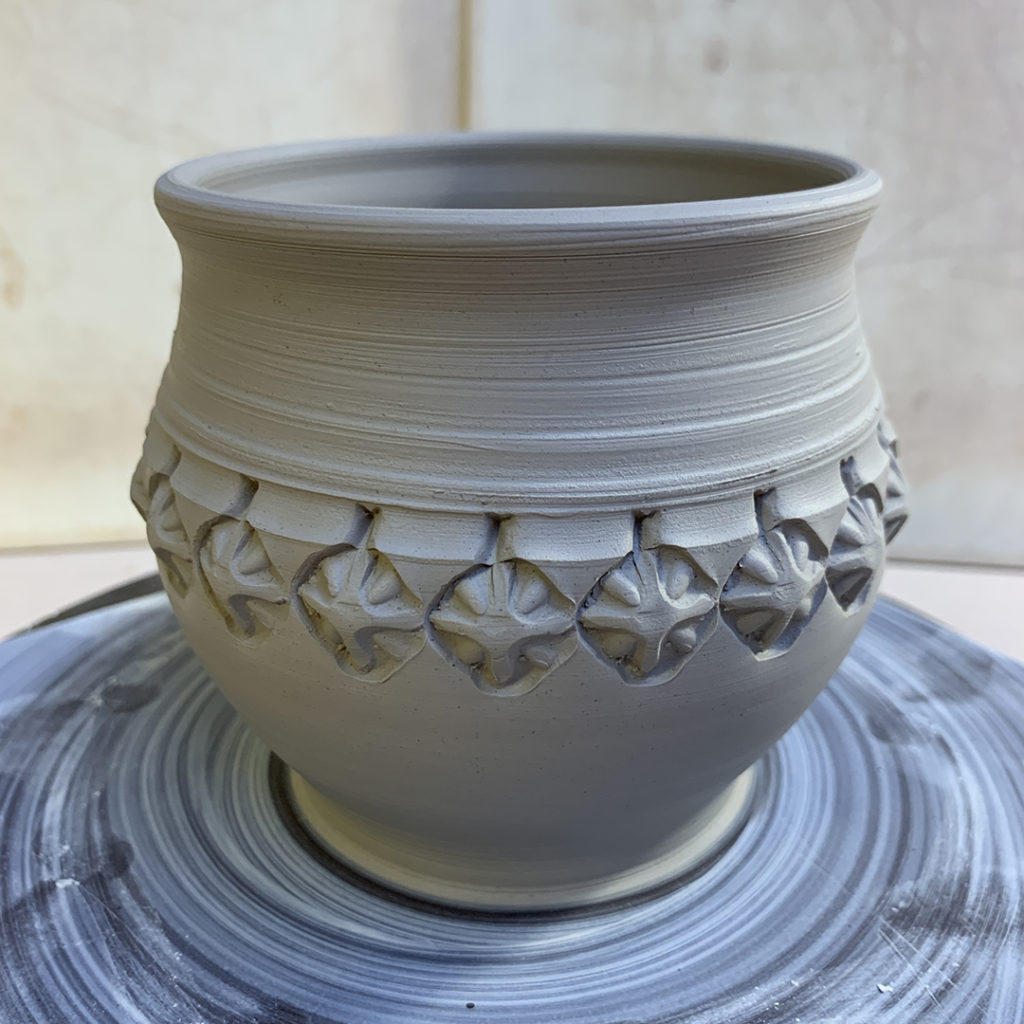
So for now, they’re wrapped up under plastic… waiting to be trimmed & handled on another day!
Would you be willing to give a Tutorial on how to make these stamps and how to apply them to your cups without distorting them? Each stamp is unique and the results are fantastic.
LINDA – If you go back into my blog, there are a LOT of tutorials on making stamps & my stamping process. Check out the right hand column of blog categories… click on STAMPS or STAMPED to see a bunch about how I stamp my pottery. Also, if you go to YouTube and do a quick search for “Fire When Ready Pottery” there are a few videos of my stamping process as well. Thanks for checking in… and I hope these links might help answer your questions! – GARY
Hi Gary! I love your work and have a quick question on your stamped mugs. It seems that some of your patterns have intentions just above and in between each stamp, as if you took a separate tool and made tick marks above. Is that an extra step you take or am I mistaken?
Good eye Andrea!!! And YES, I do add another little “tick mark” above & below some of the stamped impressions. Generally made with another stamp after the “main stamped” pattern has been done. More is more, right?!