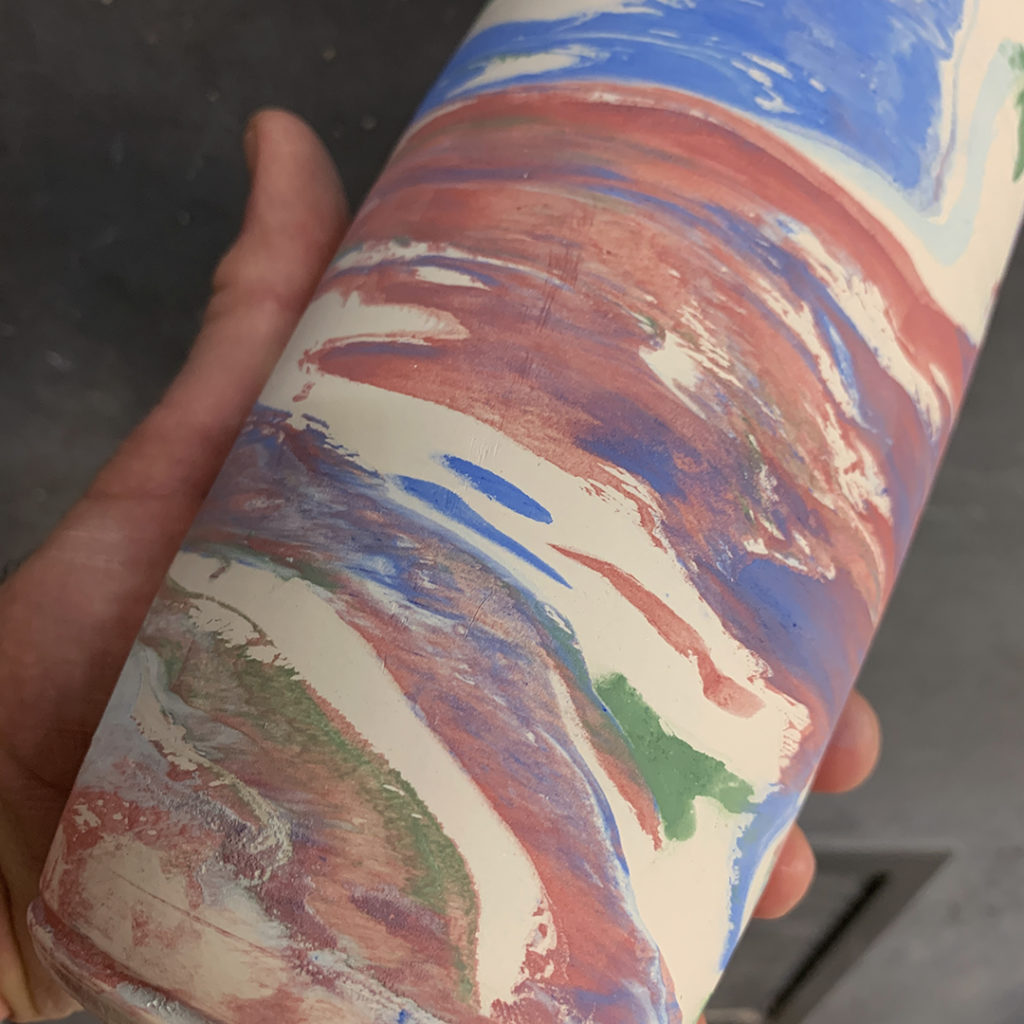
After marbling & spinning, we started our final “tie-dye” demo of the night… shockingly with a thin layer of shaving cream on newspaper. I know my students were pretty darn confused at this point.

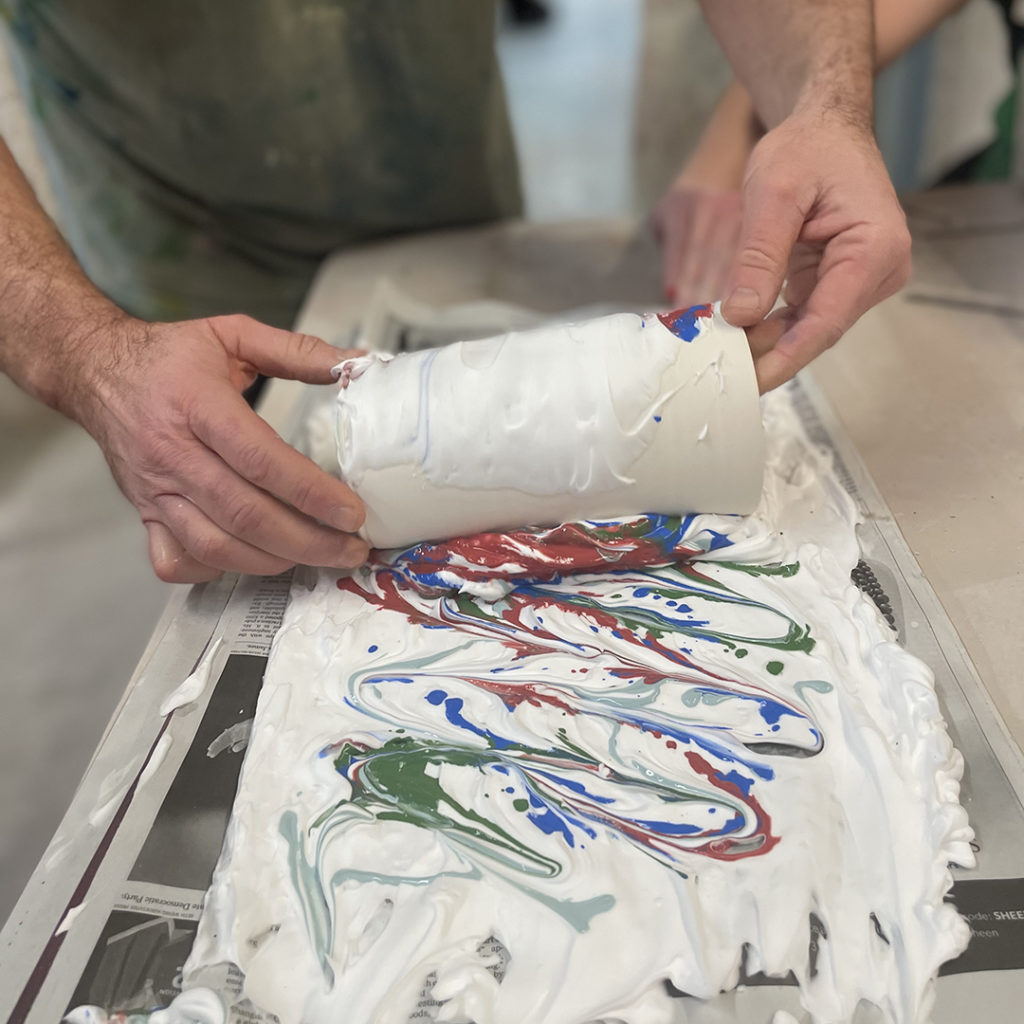
Then I took some colored underglazes and dribbled drops & squiggles all over it. I thought I could use a large straw to move the underglazes… kinda like a big pipette… using my thumb or pinching off the other end to keep it stuck in the straw. FYI… didn’t work so well.


Once I had the underglaze colors spread out over the shaving cream, I dragged a tool through it to swirl the colors a bit. And yes, my students were still confused & intrigued…

Then I took a straight-sided & smooth vase… pre-bisqued… and literally rolled it over the top of the colorful swirls. The porous bisque piece grabs the underglaze & shaving cream You want the underglaze to touch the pot… more than the shaving cream. You want the color, NOT the aromatic white fluffy stuff!!!


Once I had rolled the whole surface, I let it sit for a few minutes… and everyone was STILL intrigued…


After letting it sit for a bit, we moved to the classroom sinks…
And yes, we LITERALLY just ran the water over the surface!!! It dissolves off the shaving cream, but leaves most of the color “attached” to the pot. The water does most of the work… so don’t scrub it or rub it off.


Once the shaving cream is gone… all you have left is colorful “tie-dyed” underglazes!!! You’ll need to let it dry overnight before glazing it. My “plan” is to do a bright color inside… maybe blue… and then a thin coat of spayed clear over the outside to help the colors POP!
Of course, these are underglazes… and we’re firing to cone 10… so there’s really no guarantee that these colors will all “survive” the firing. But we talked about high-fire underglazes in case they really like this technique!


