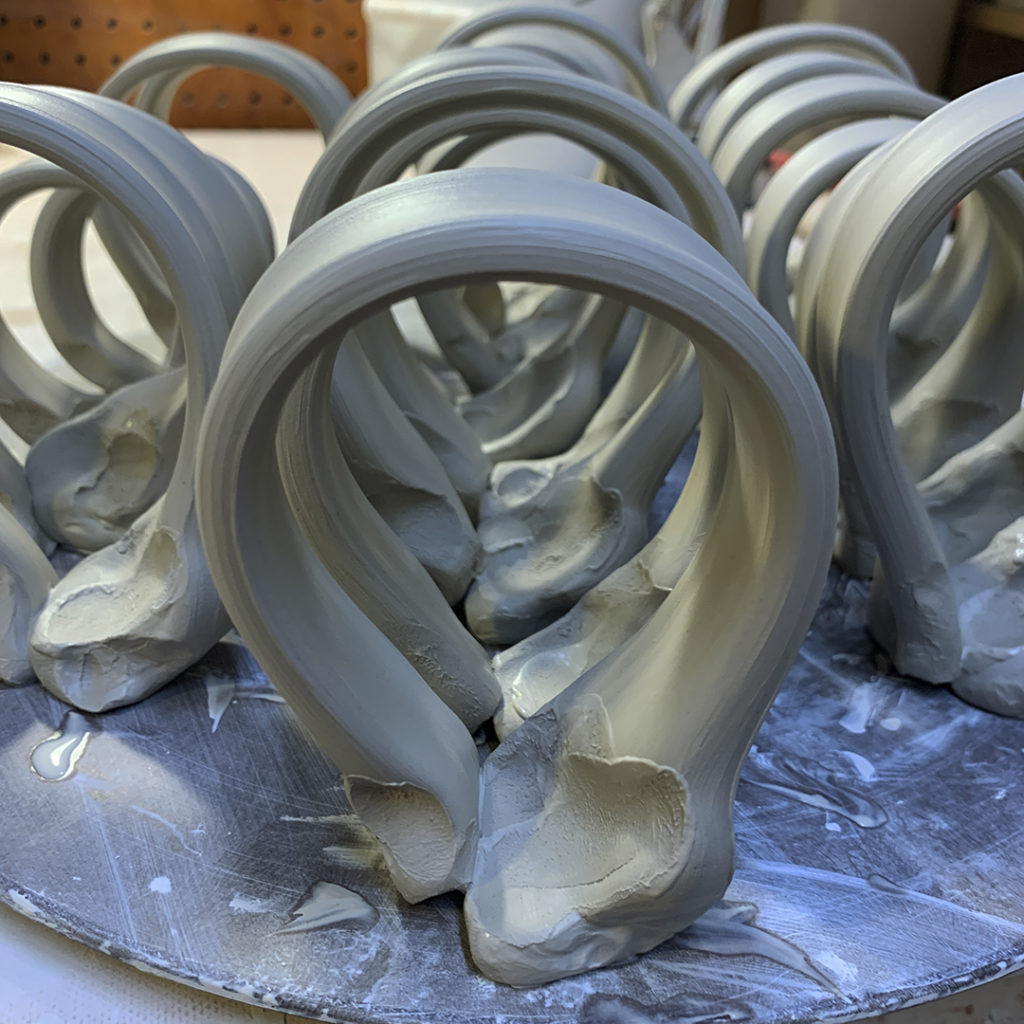
Handles pulled the old-fashioned way… curled over & standing up so that they can stiffen up a bit before I start attaching them to my stamped & trimmed mug cylinders!

Gary Jackson: Fire When Ready Pottery
A Chicago potter’s somewhat slanted view of clay & play |

Handles pulled the old-fashioned way… curled over & standing up so that they can stiffen up a bit before I start attaching them to my stamped & trimmed mug cylinders!

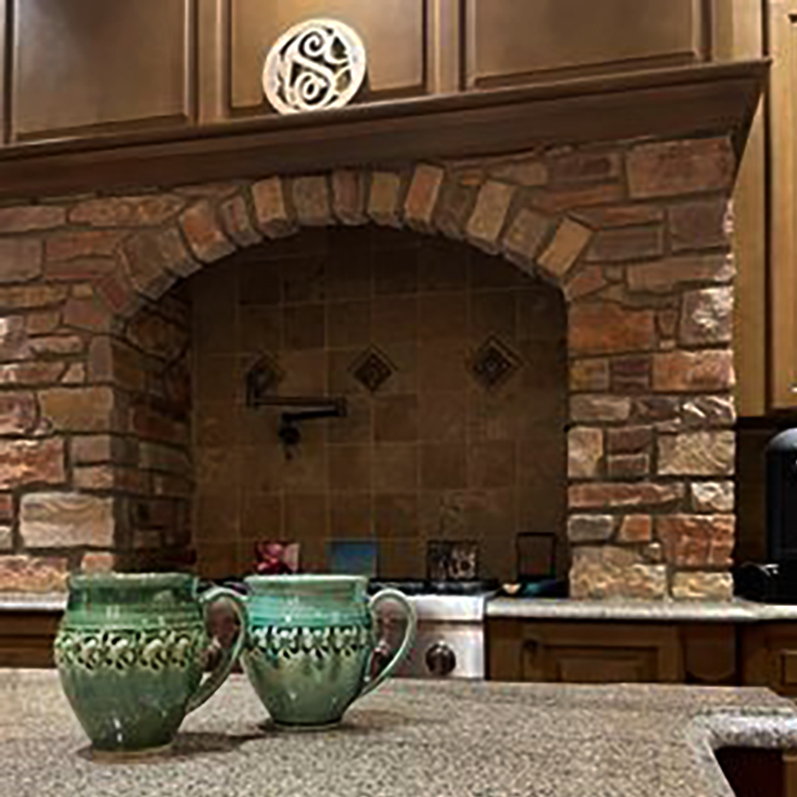
Looks like this pair of Shamrock Mugs have made it safely to their new home… and looking great in your beautiful kitchen Melissa!!!
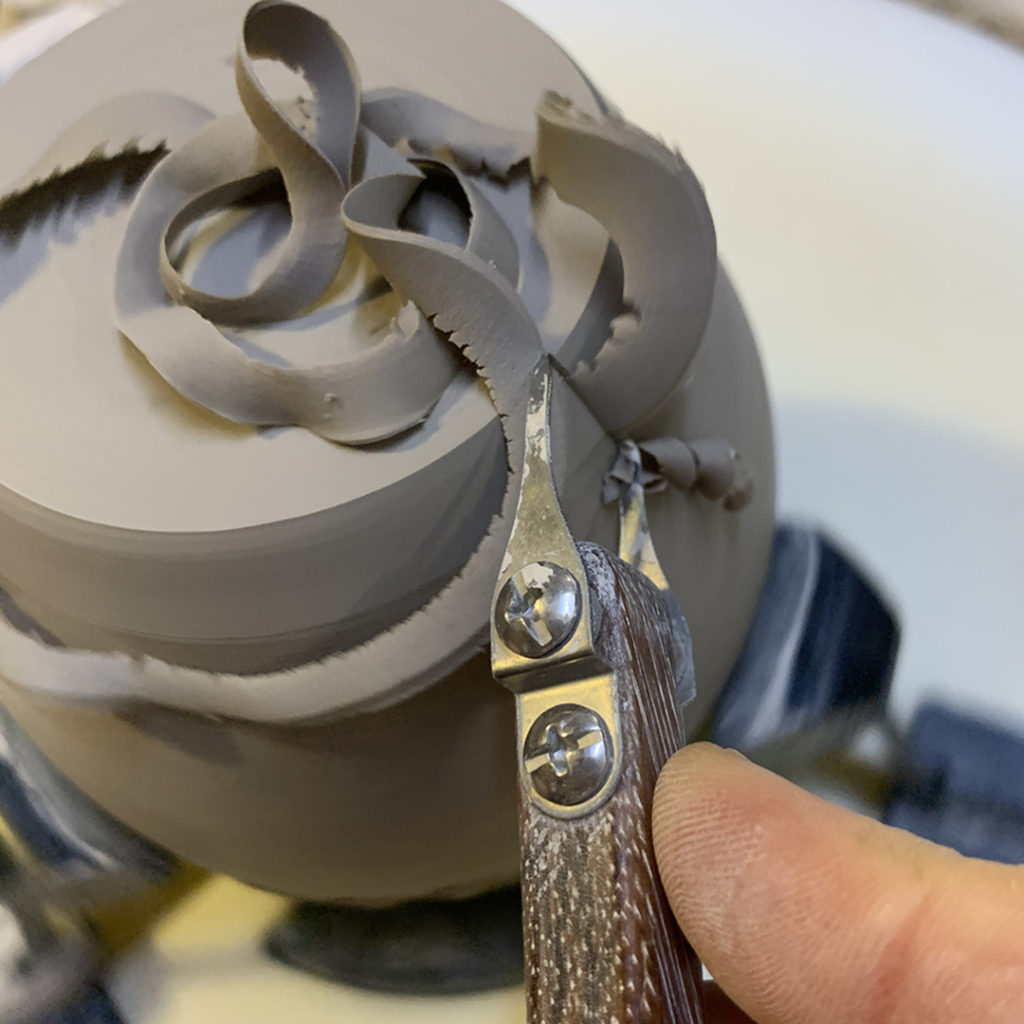
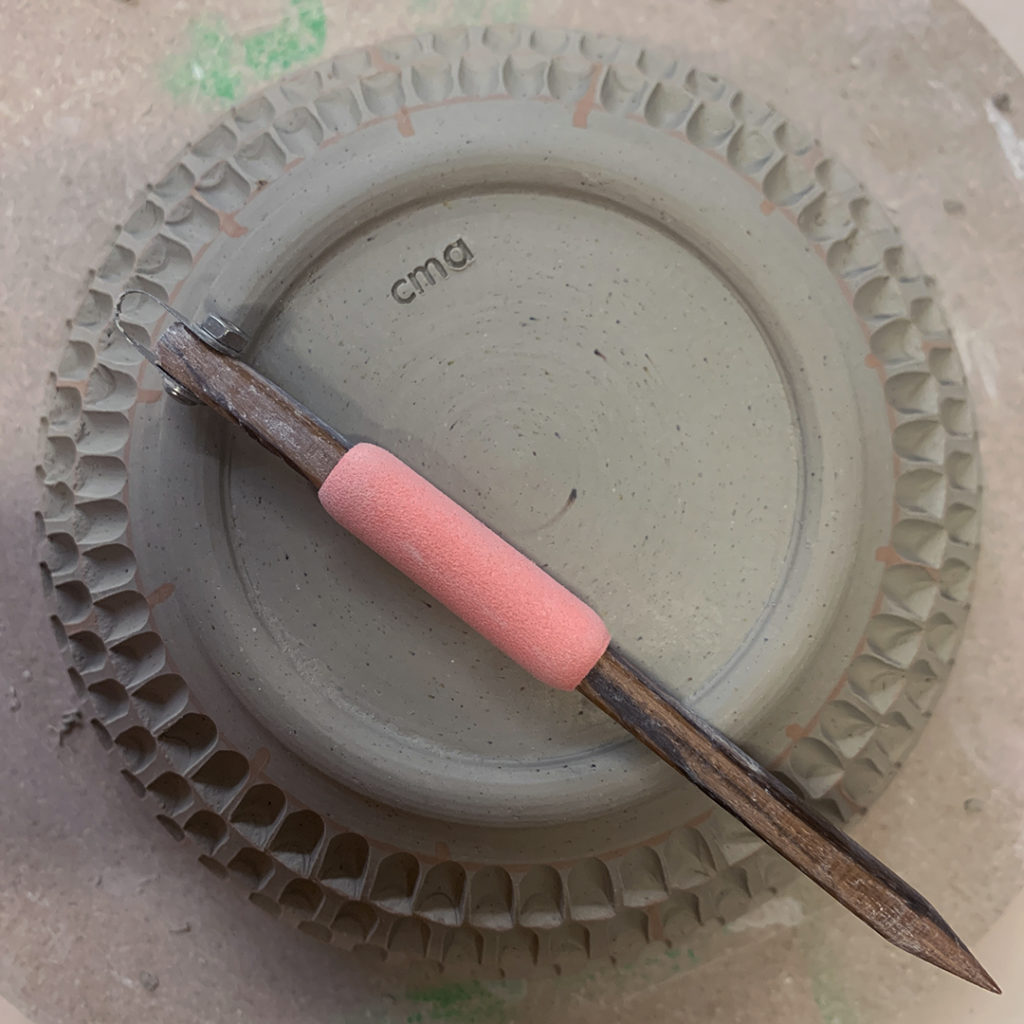
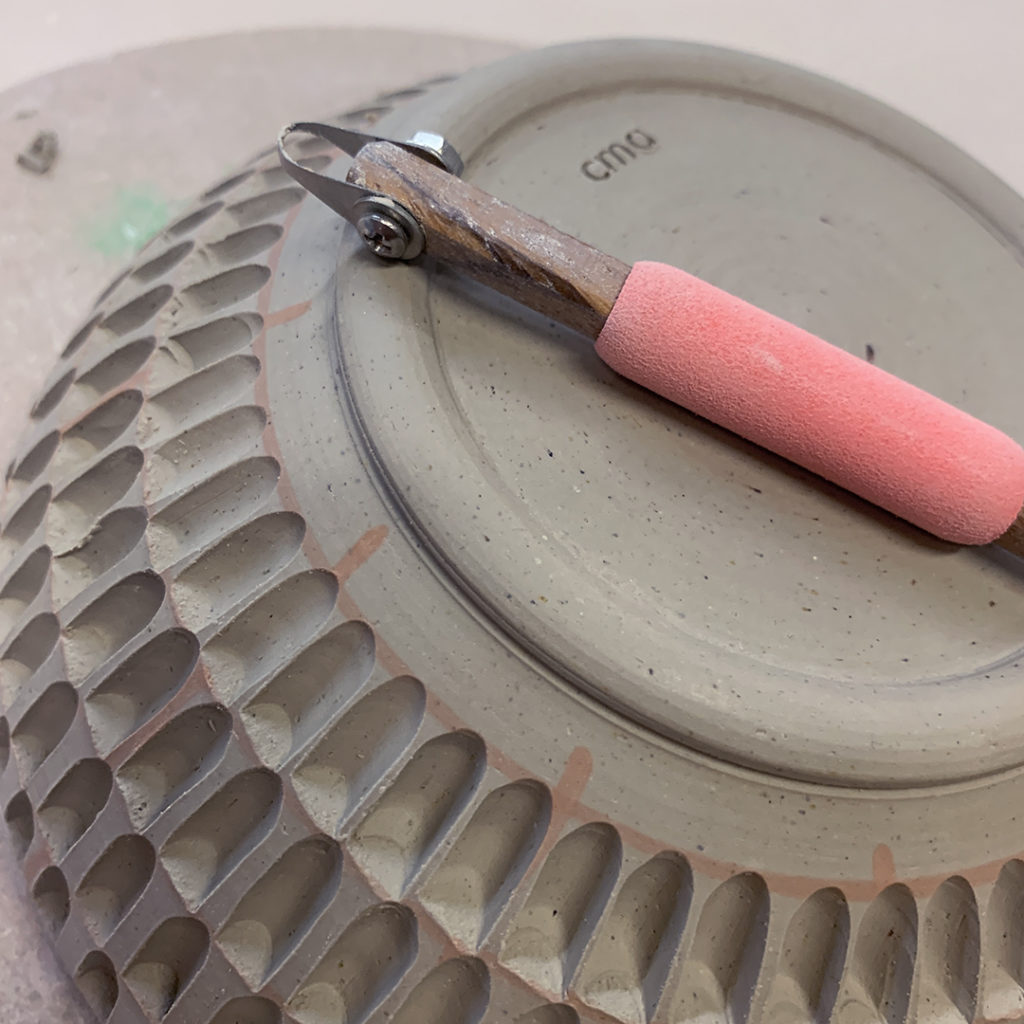
Cutting ribbons… spinning clay… trimming bottoms! So much easier, quicker, cleaner & a lot more fun with DiamondCore Tools & my Giffin Grip – the perfect pottery studio duo!!!
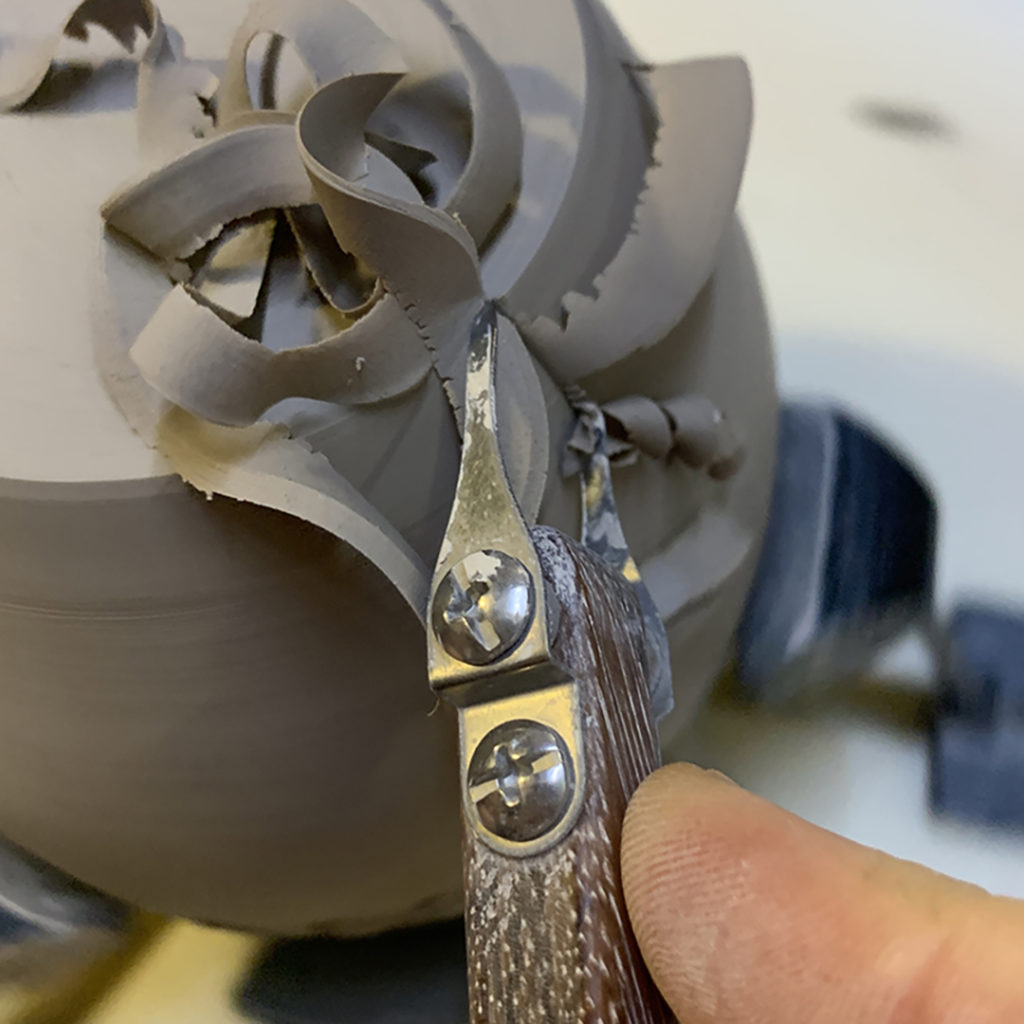
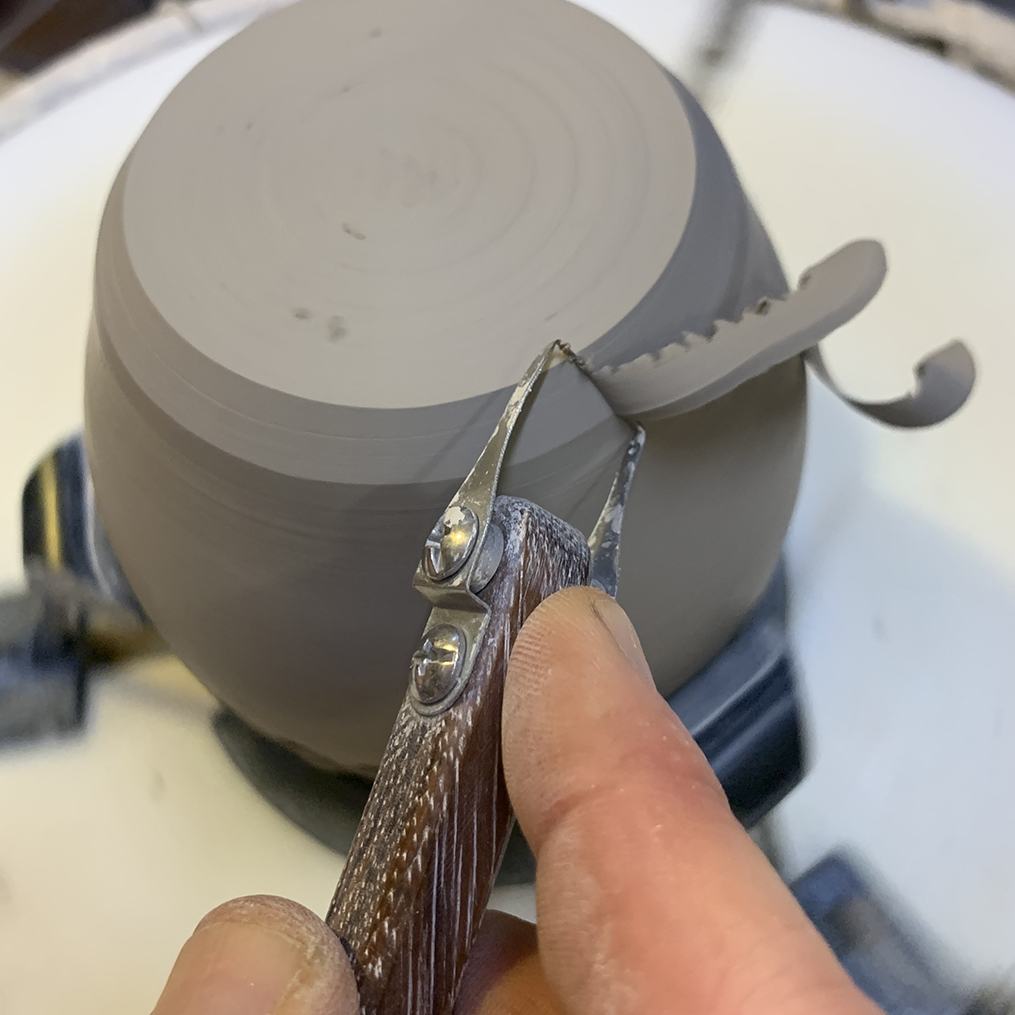
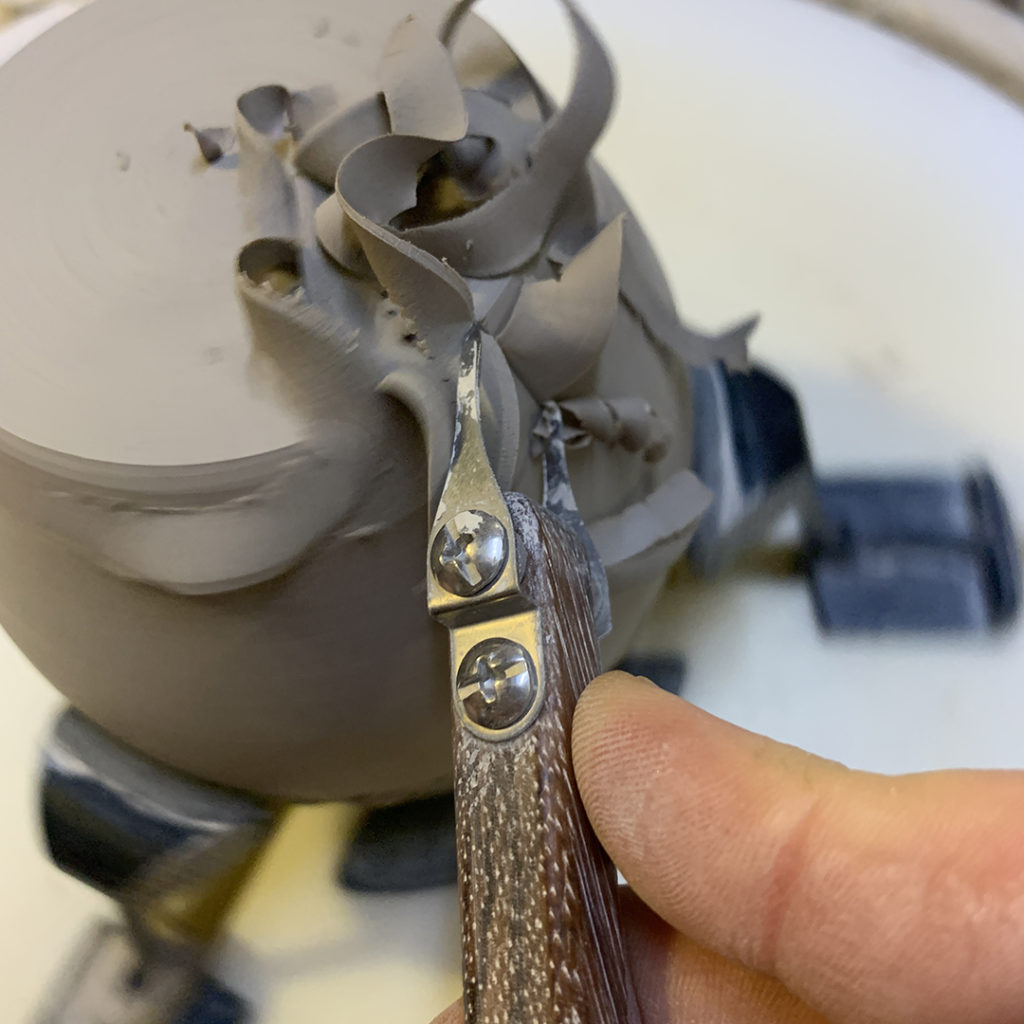
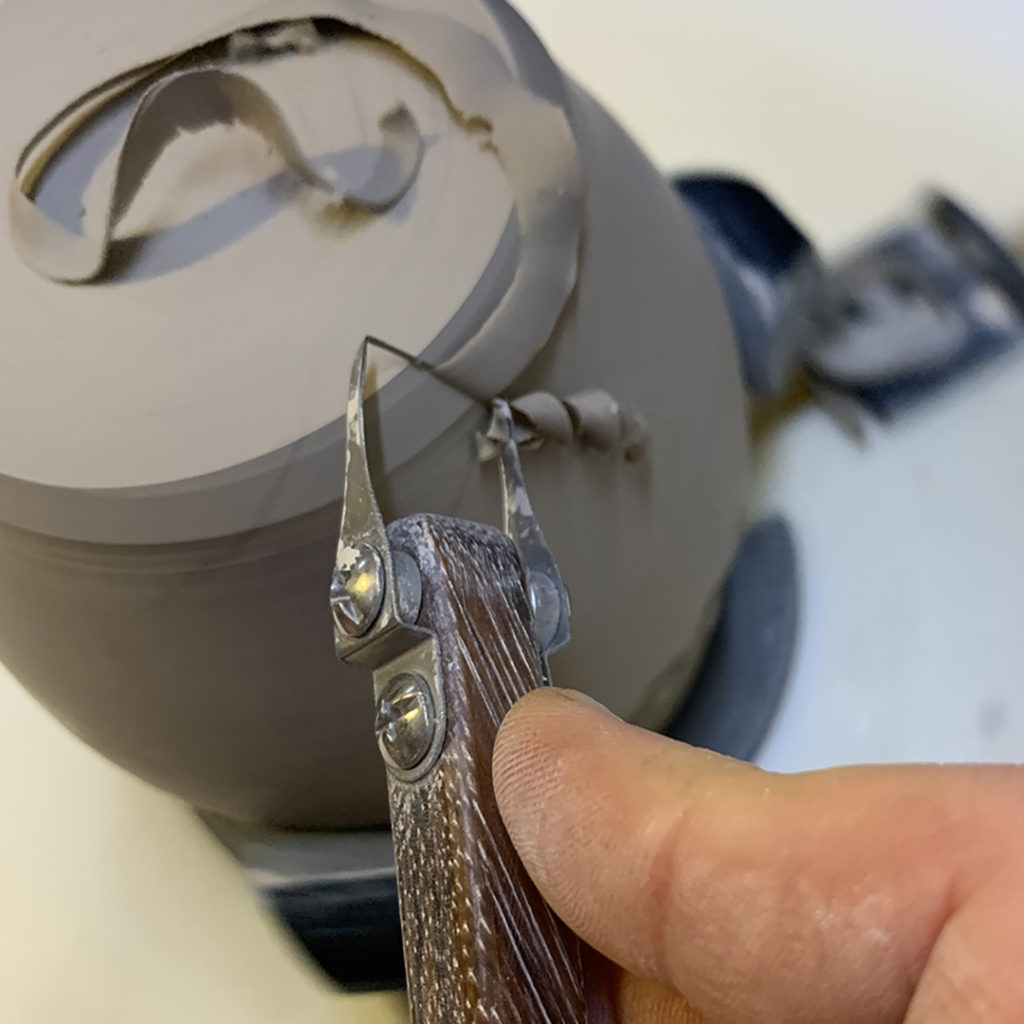
Just getting ready to tackle a new batch of mugs… getting ready for some fun trimming, which we all know I LOVE!!! Especially with my line-up of trimming tools from DiamondCore Tools.

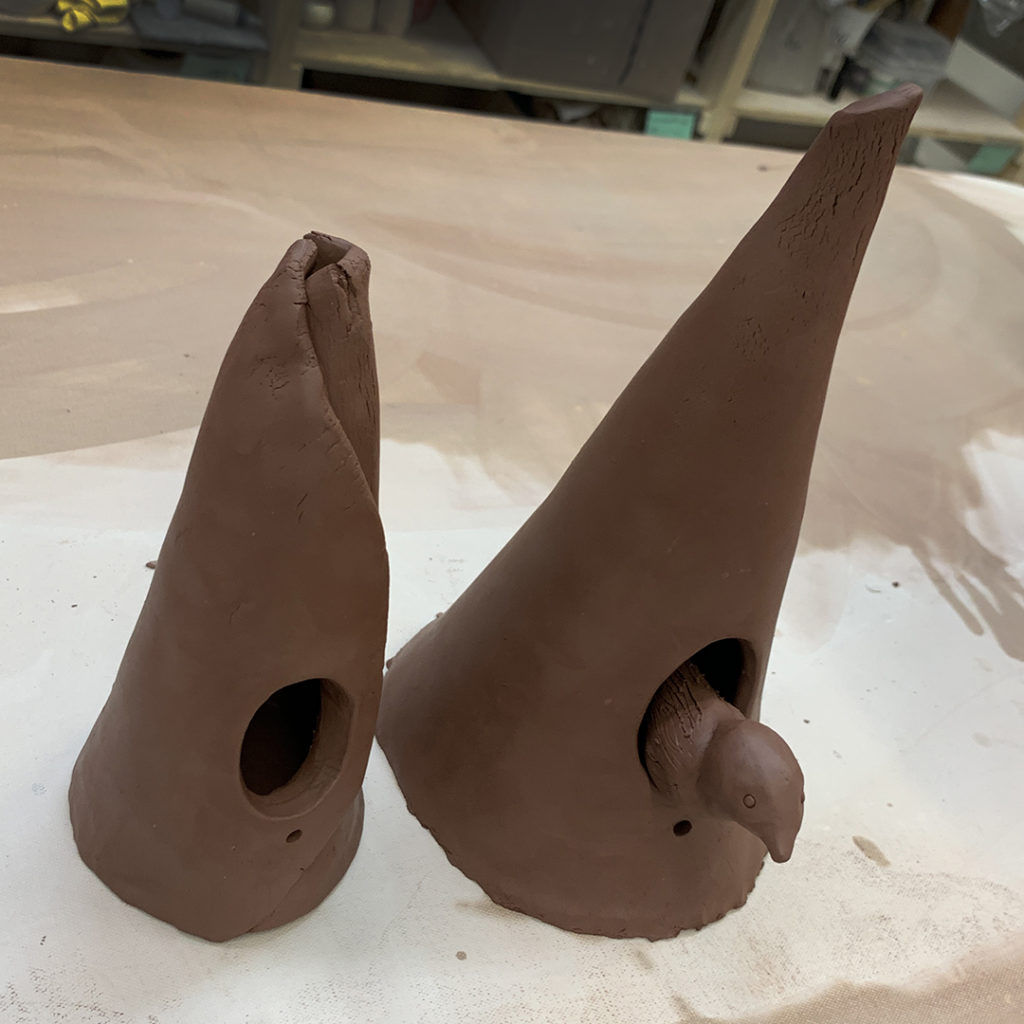
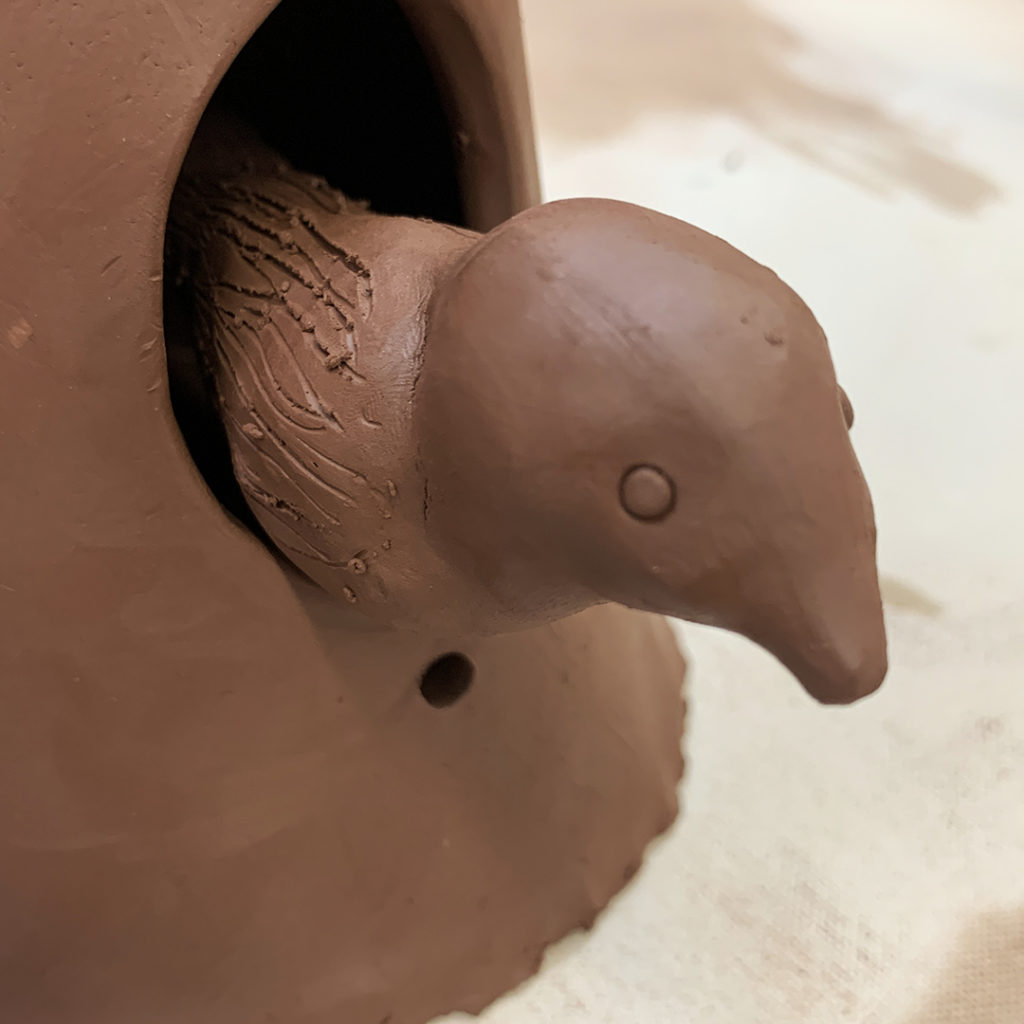
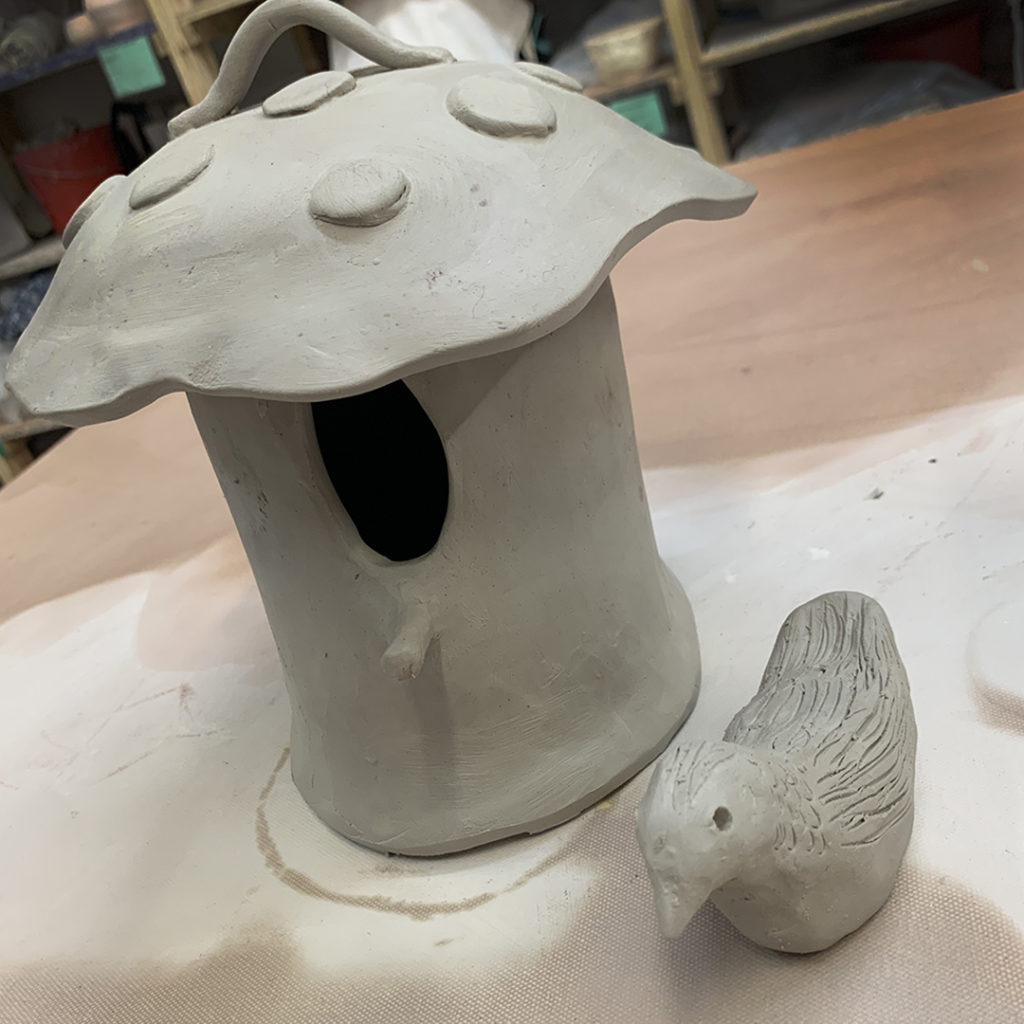
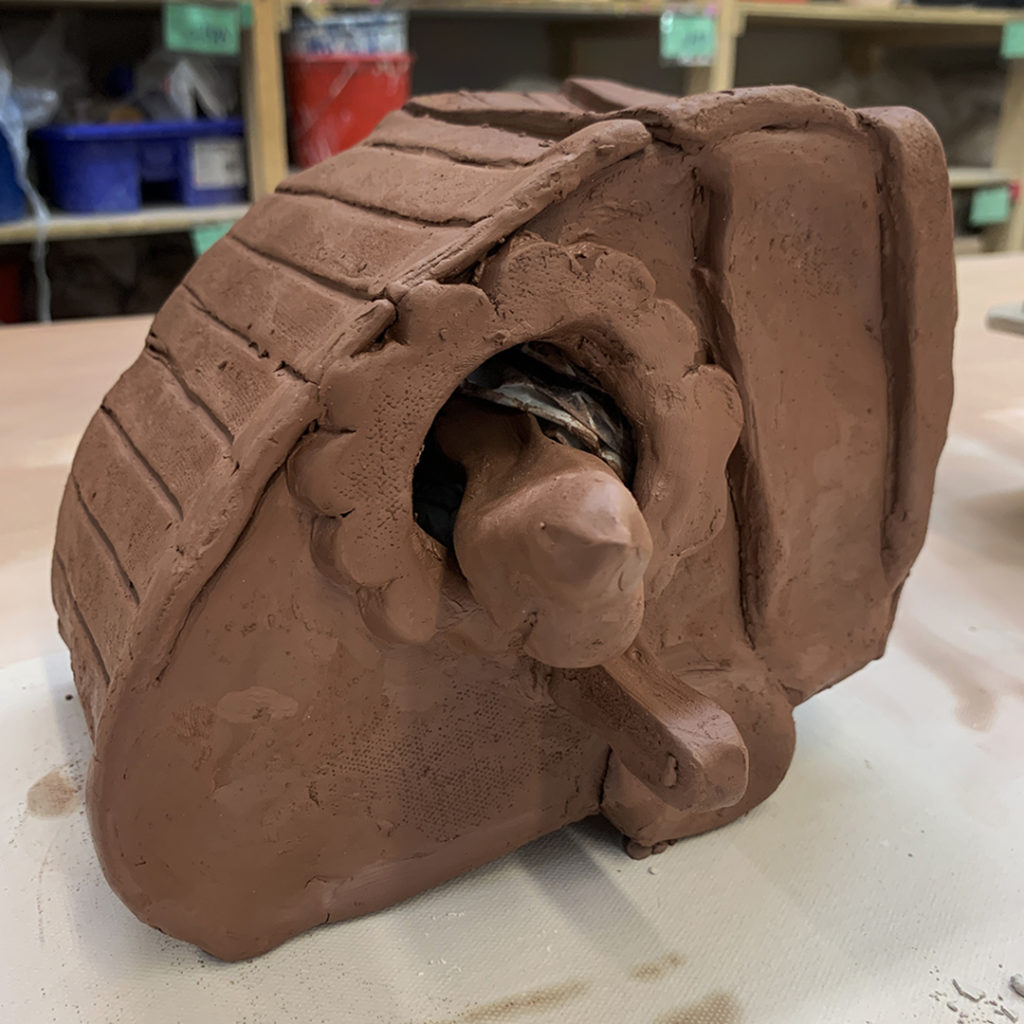
This week during our LILLSTREET THROWDOWN class, my students tackled another challenge… handbuilt birdhouses!!! They had just about 2-1/2 hours to complete their projects.
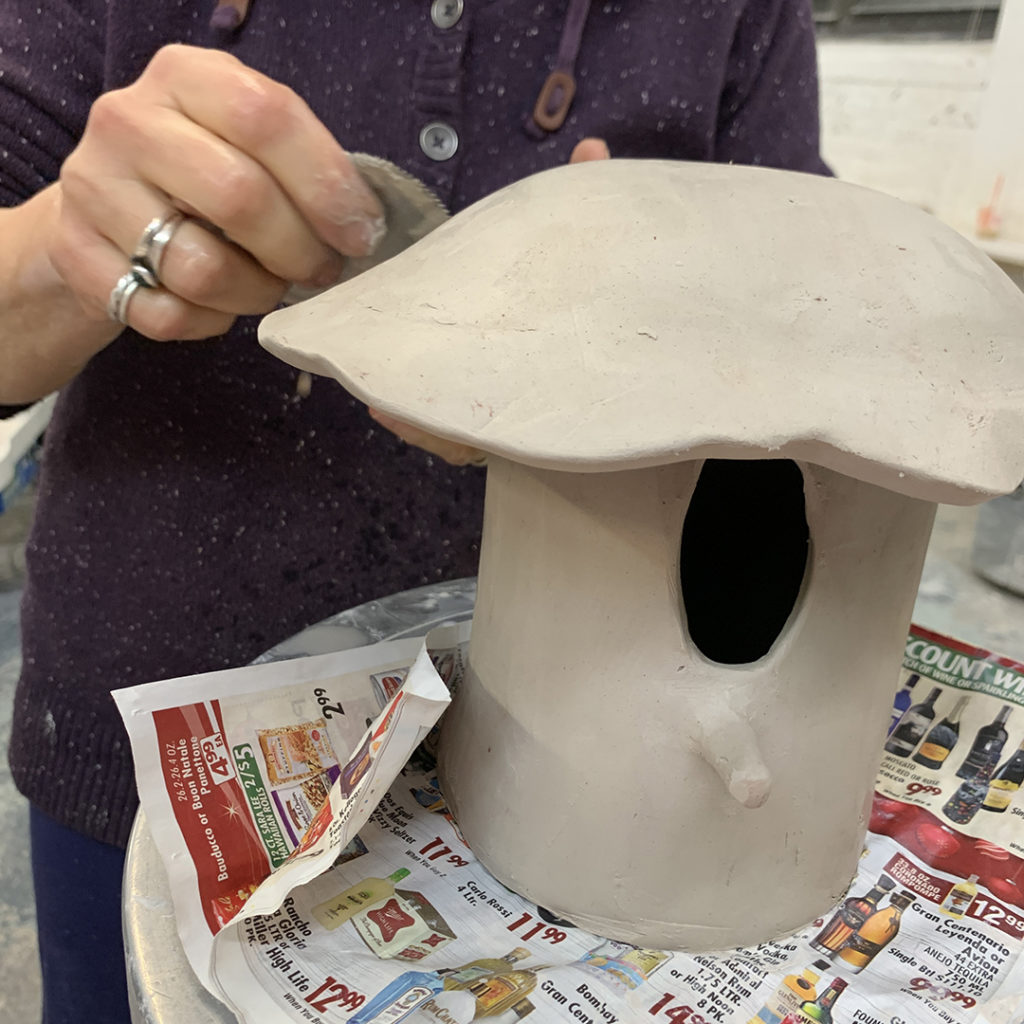
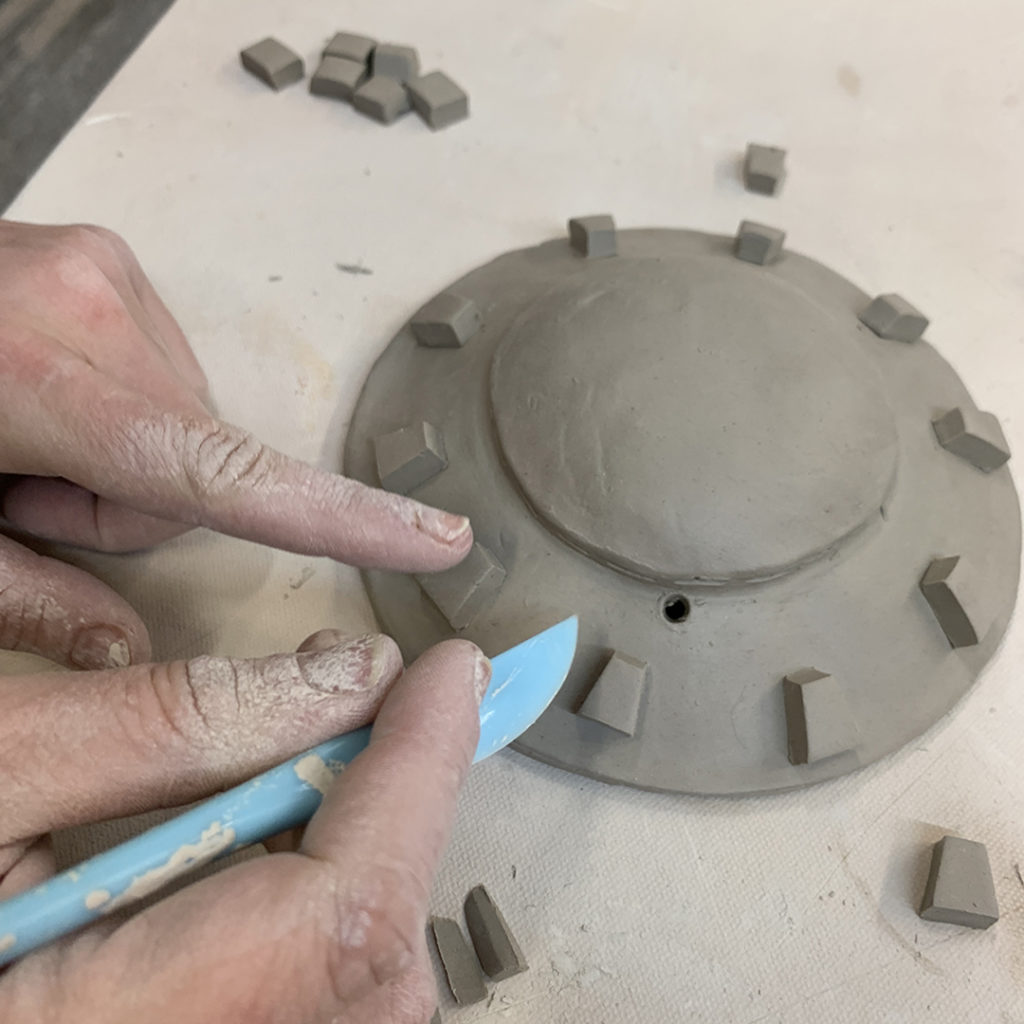
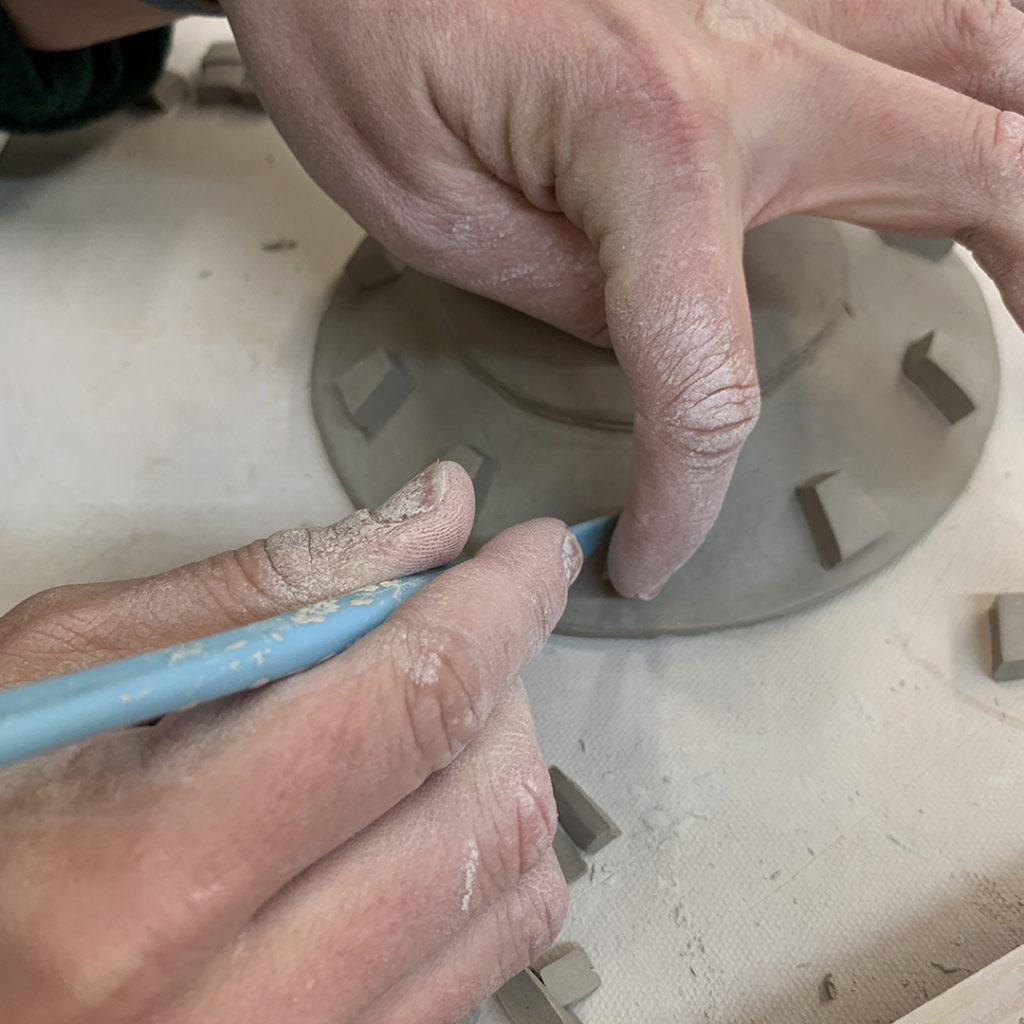

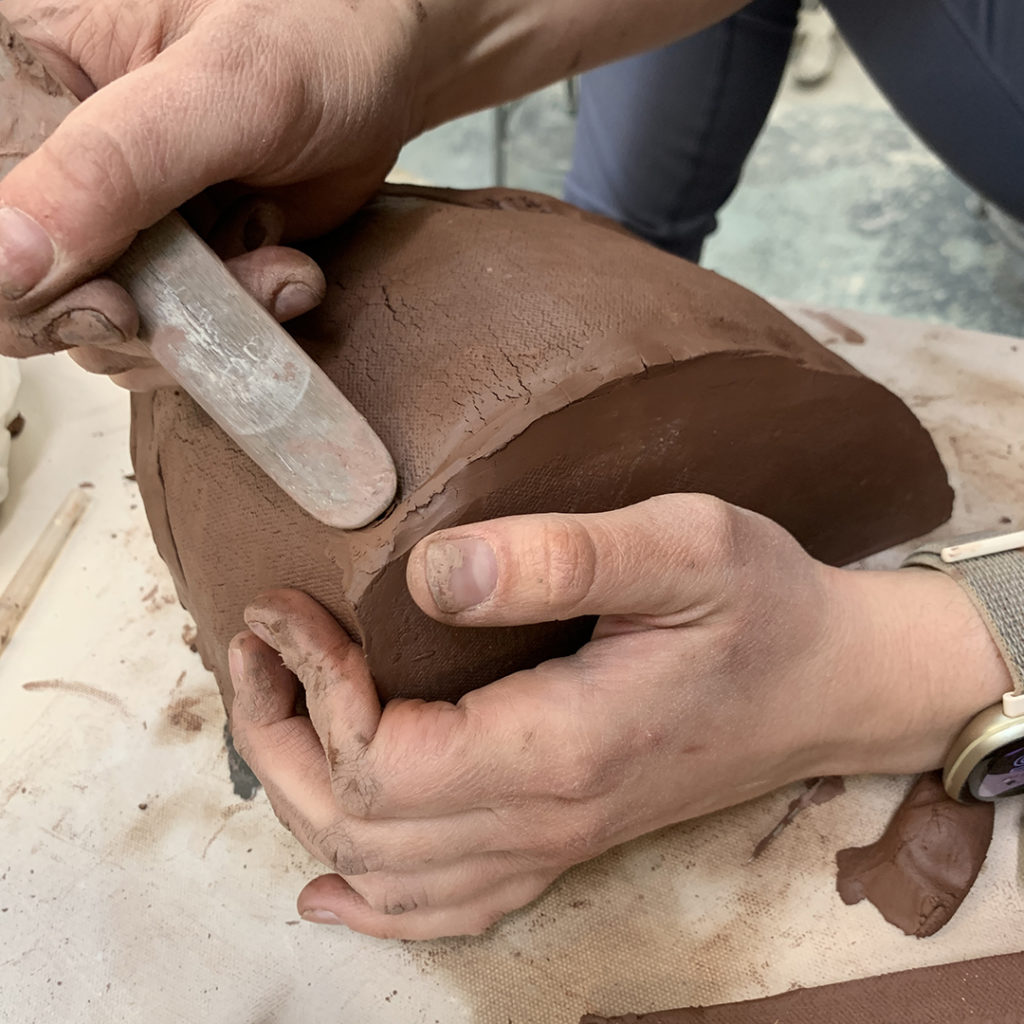
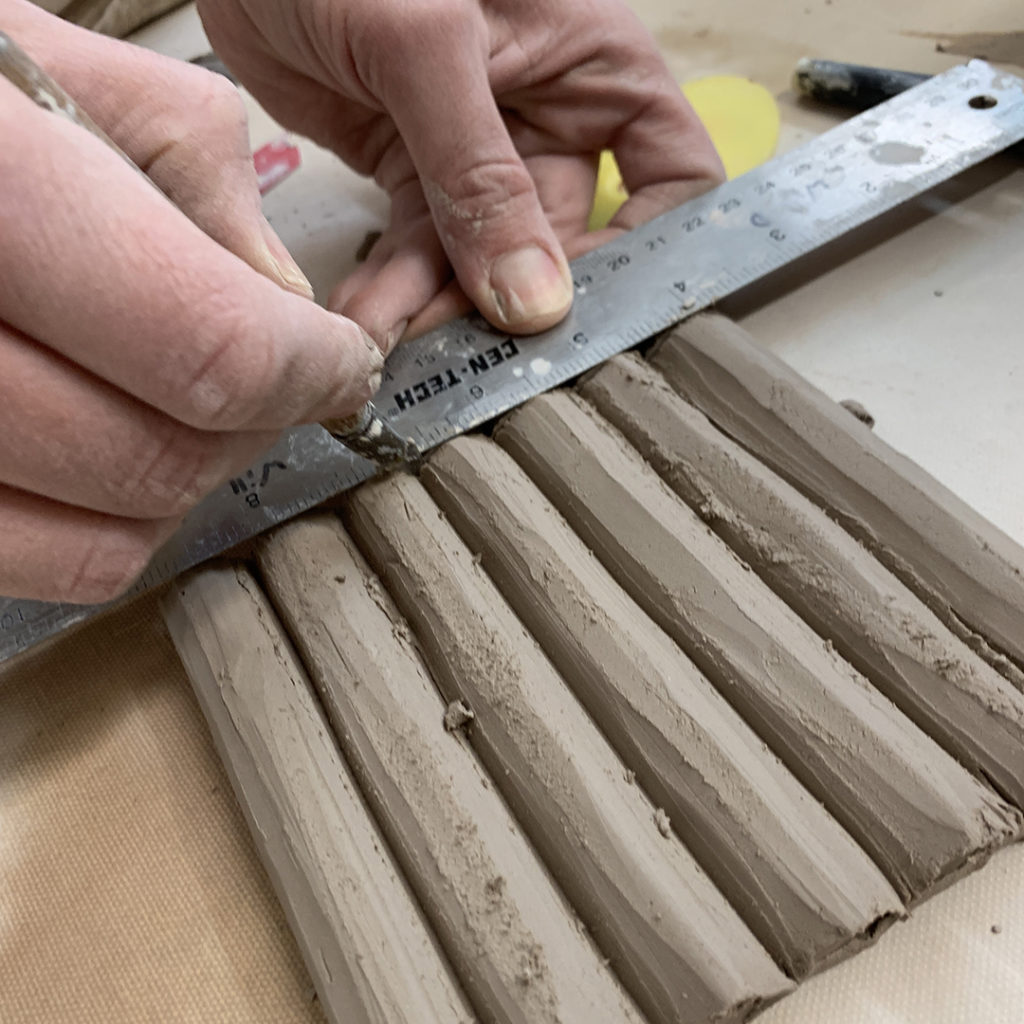

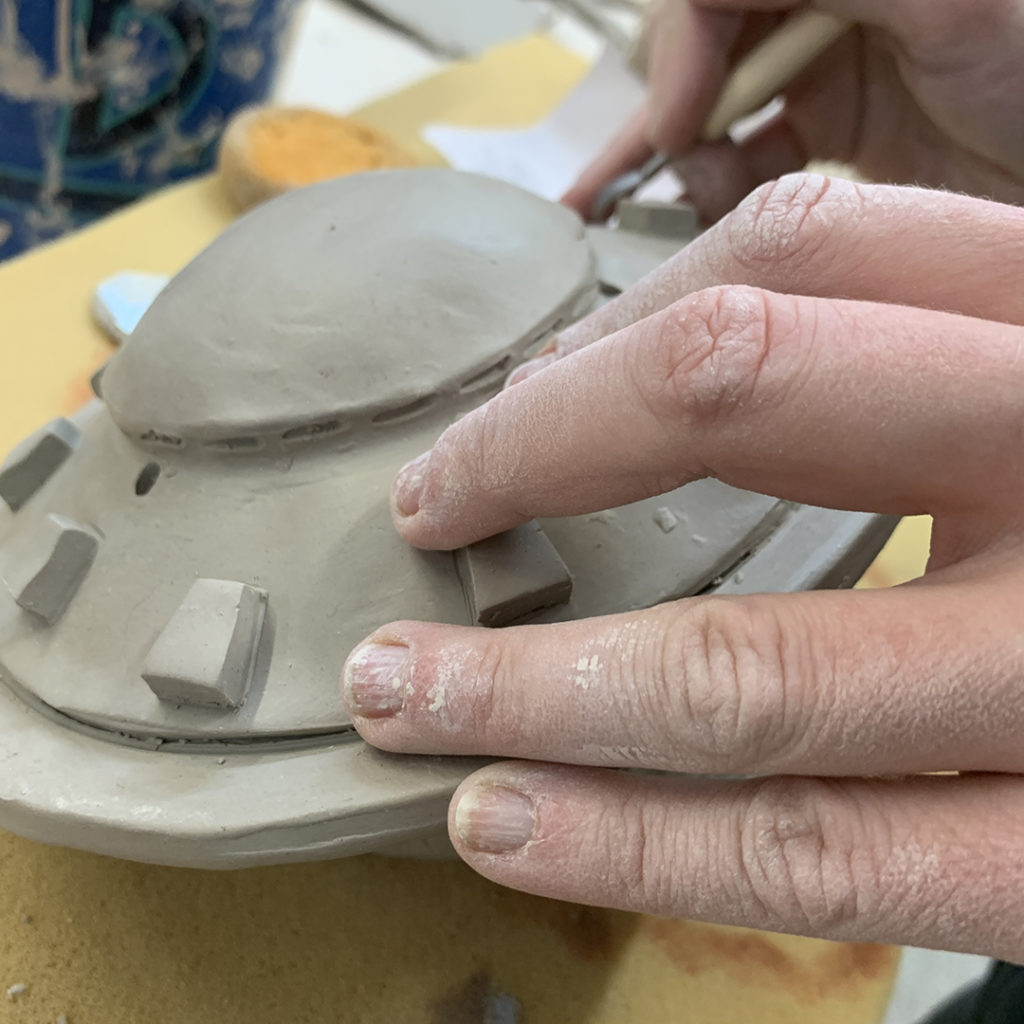
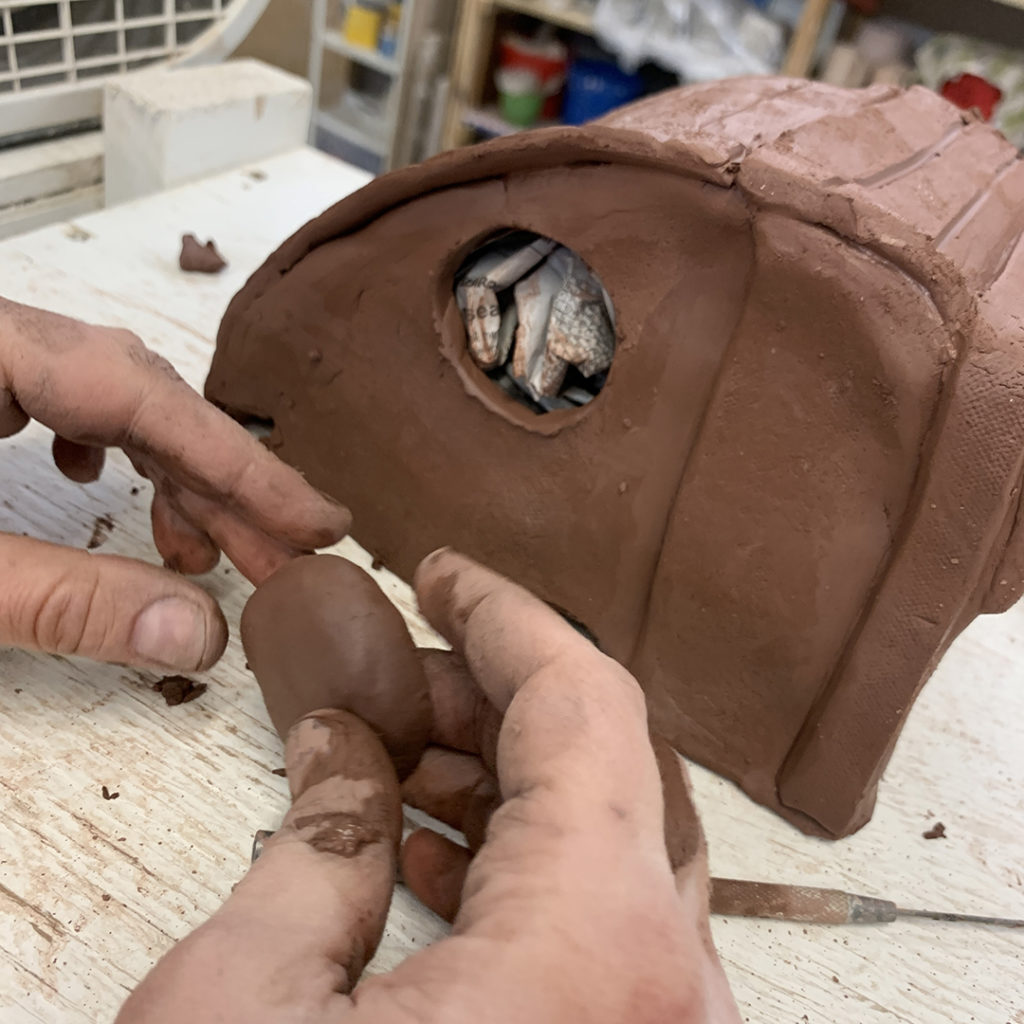
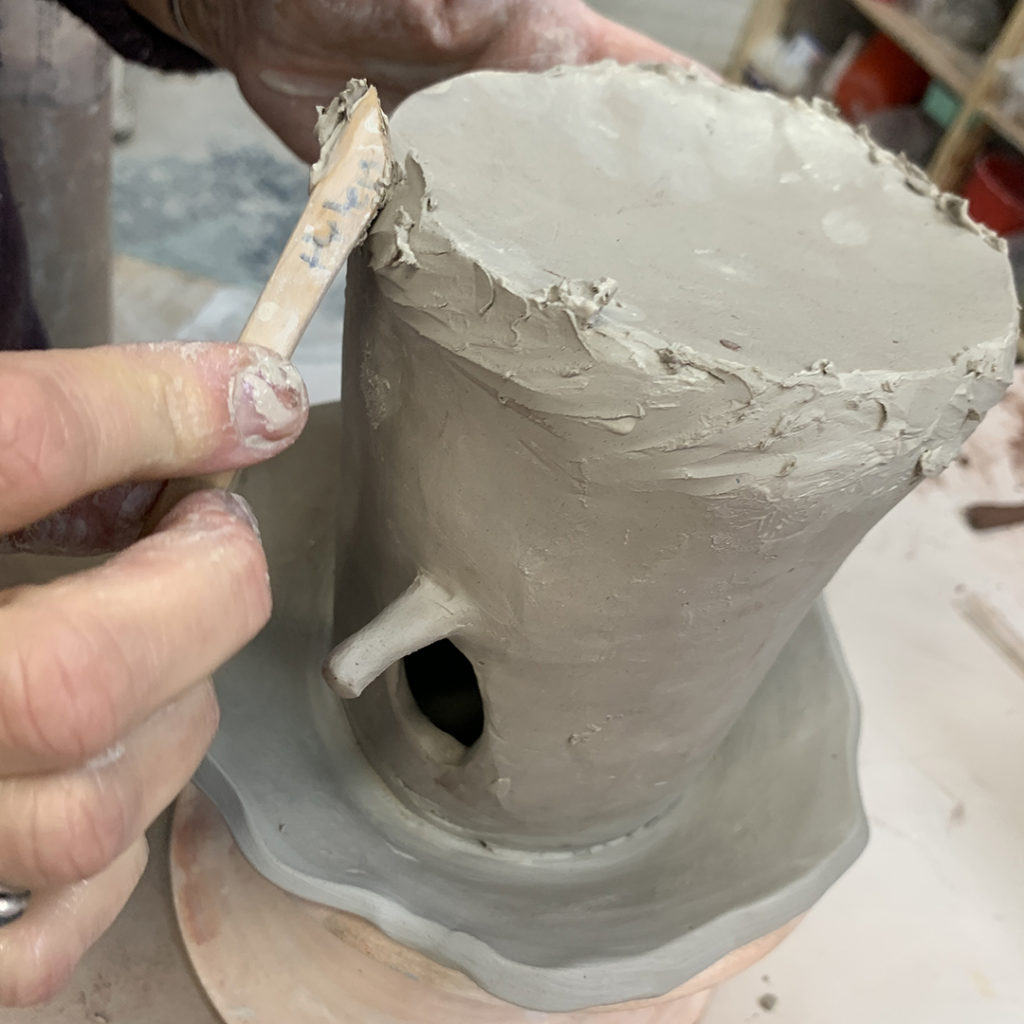
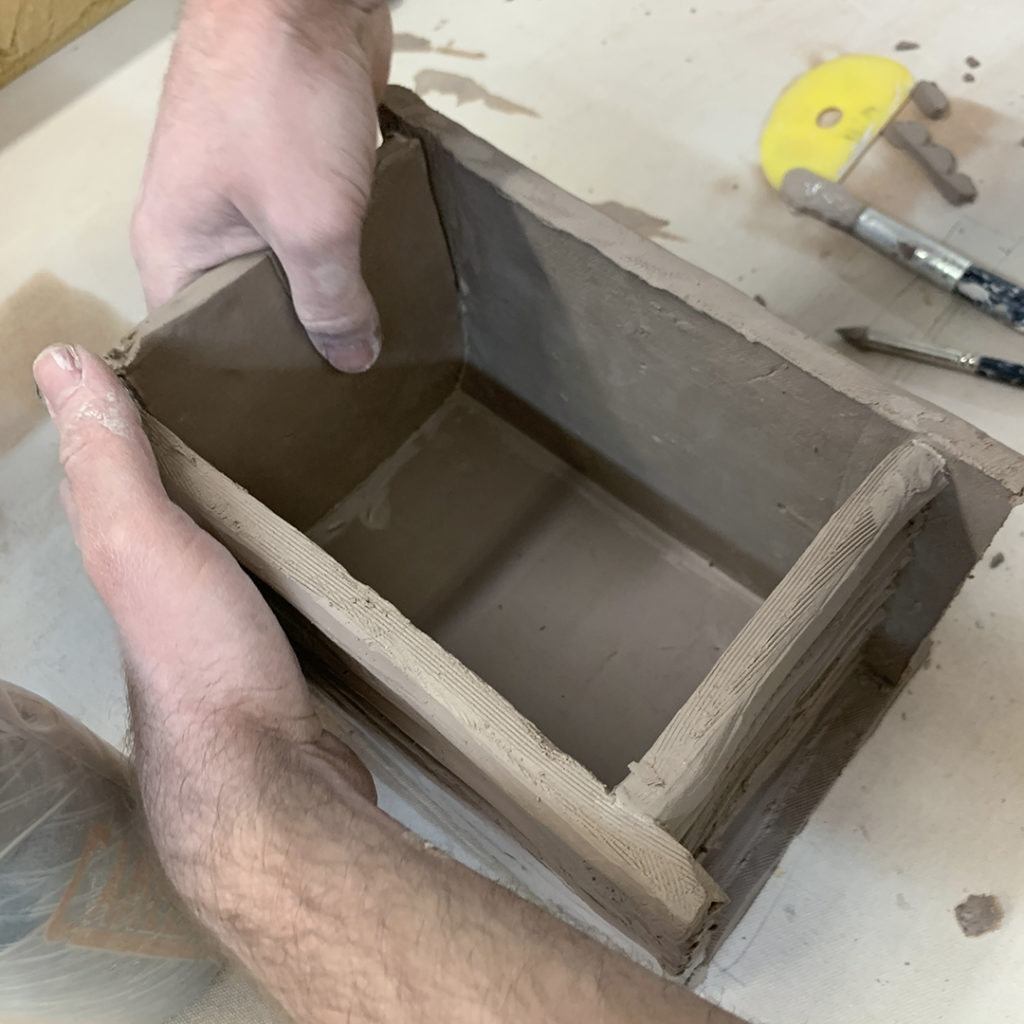
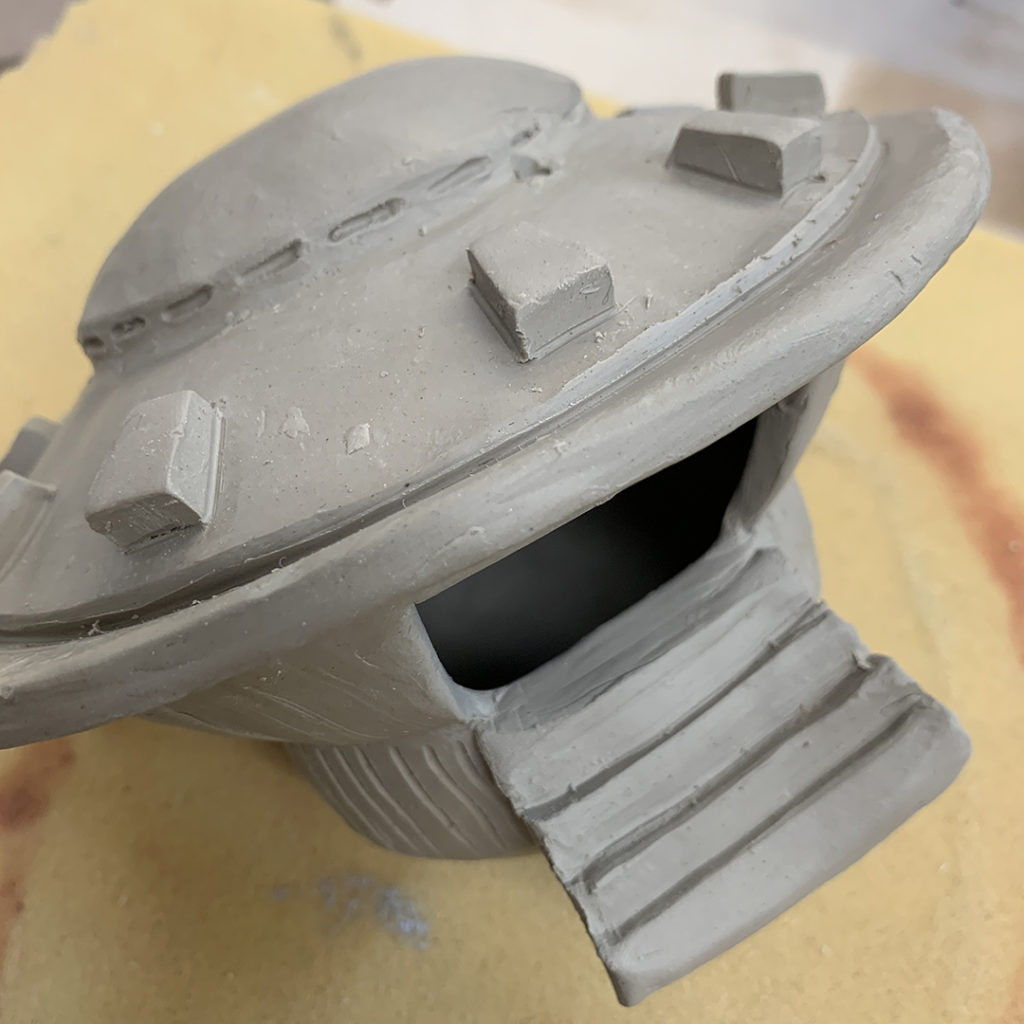
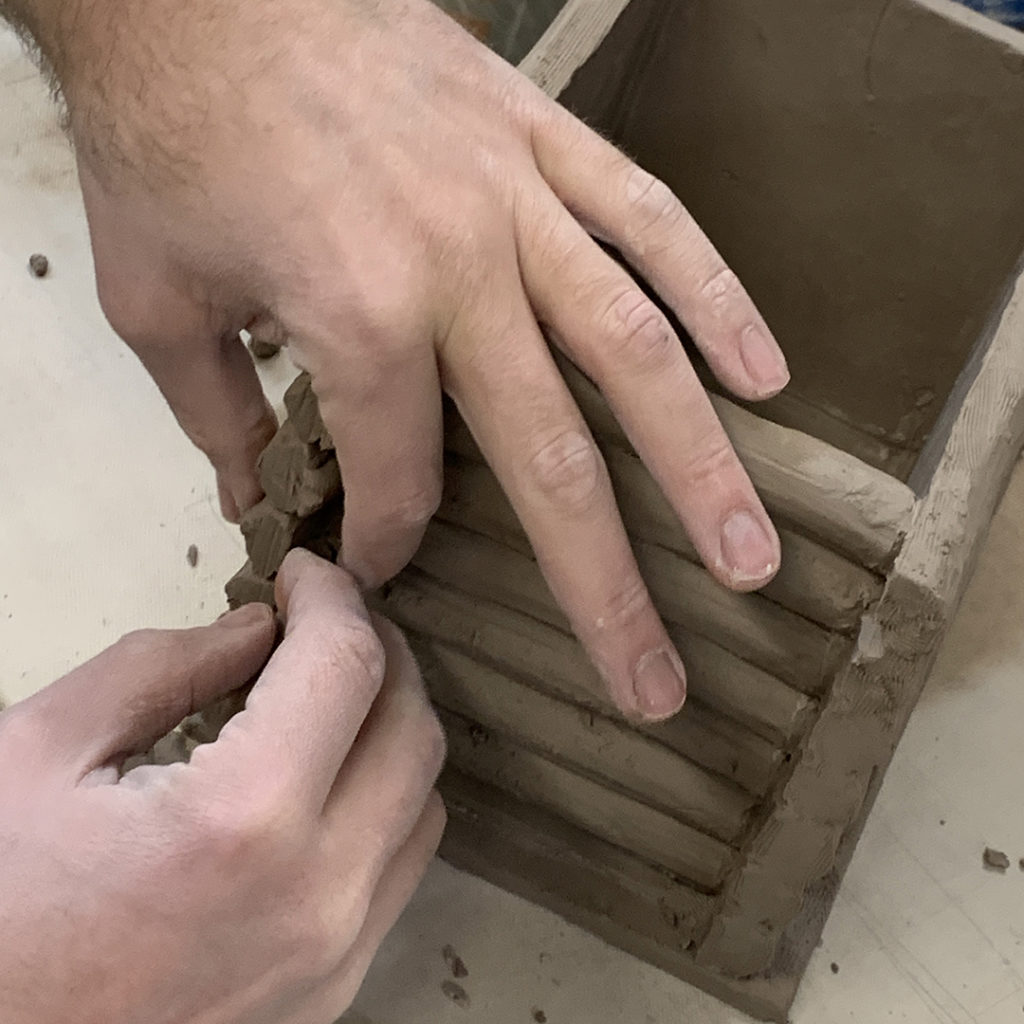
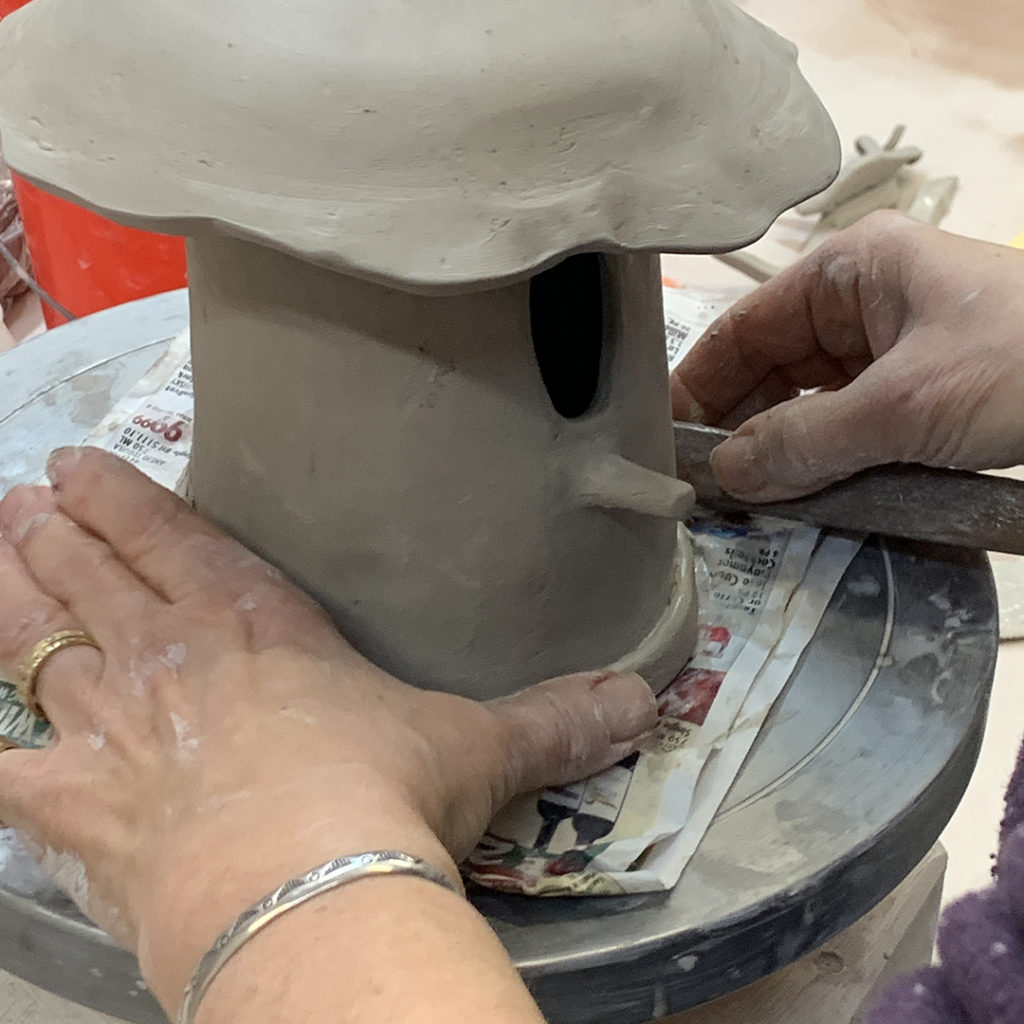
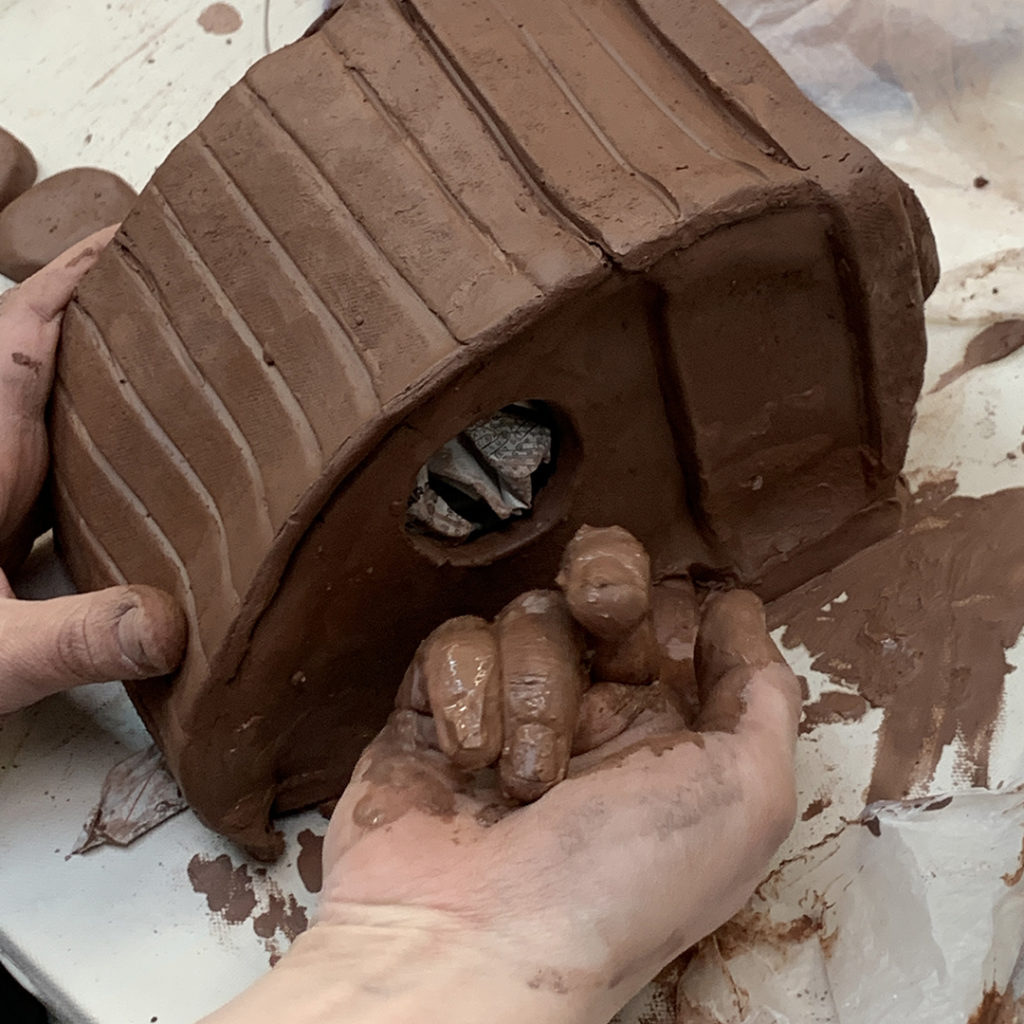
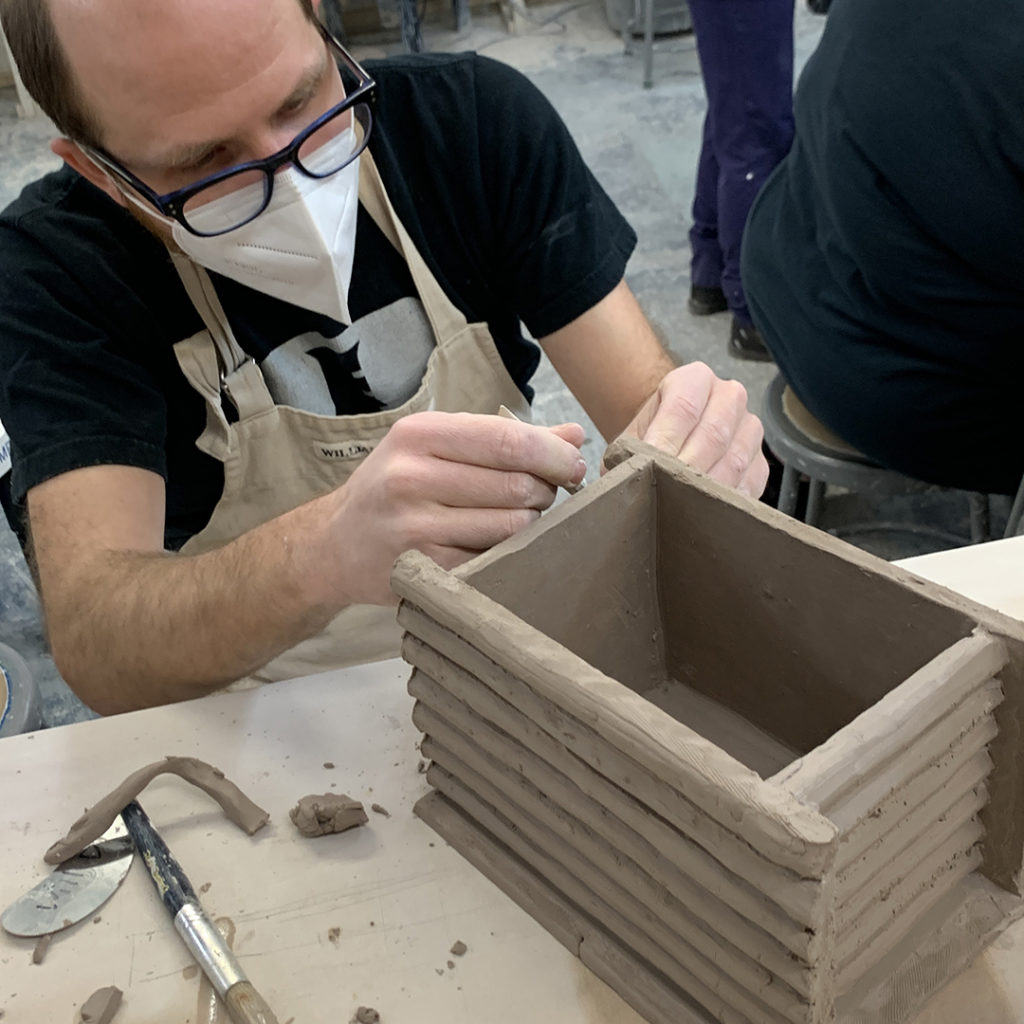
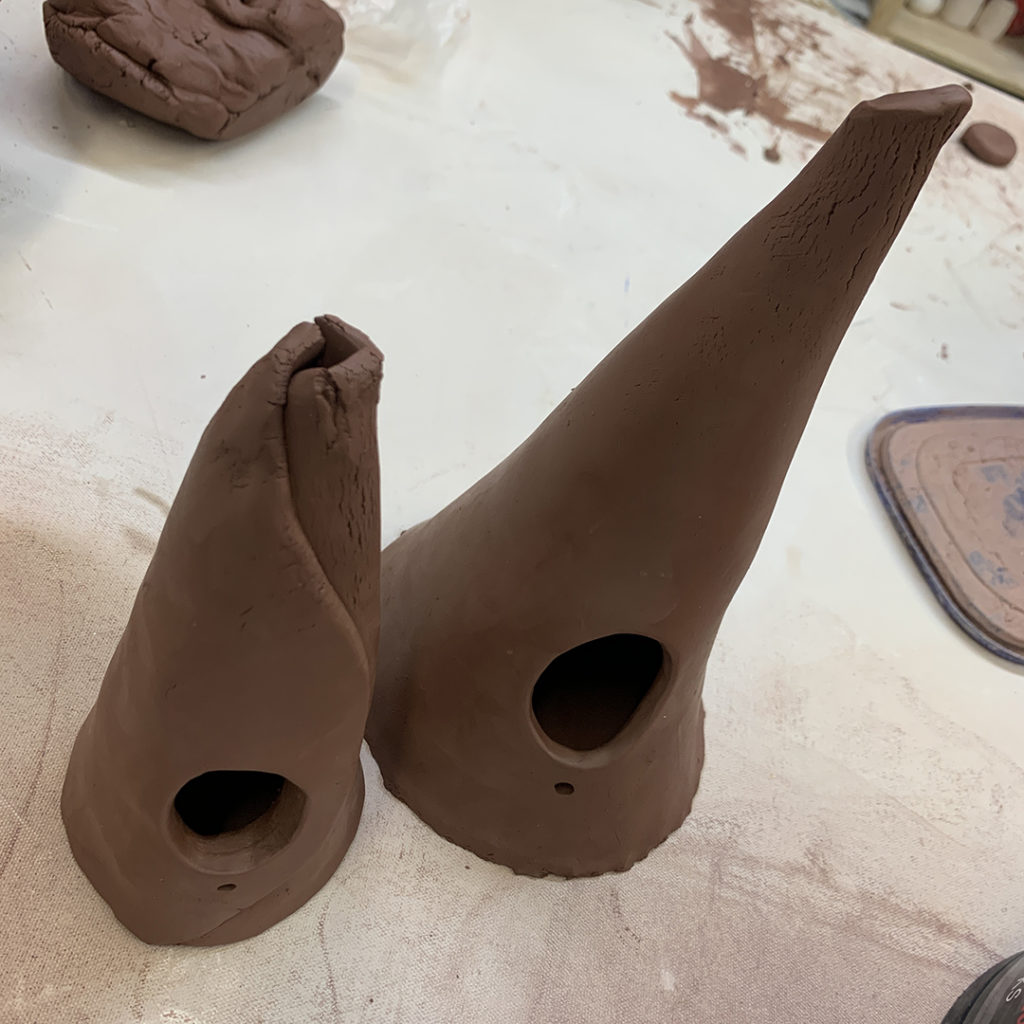
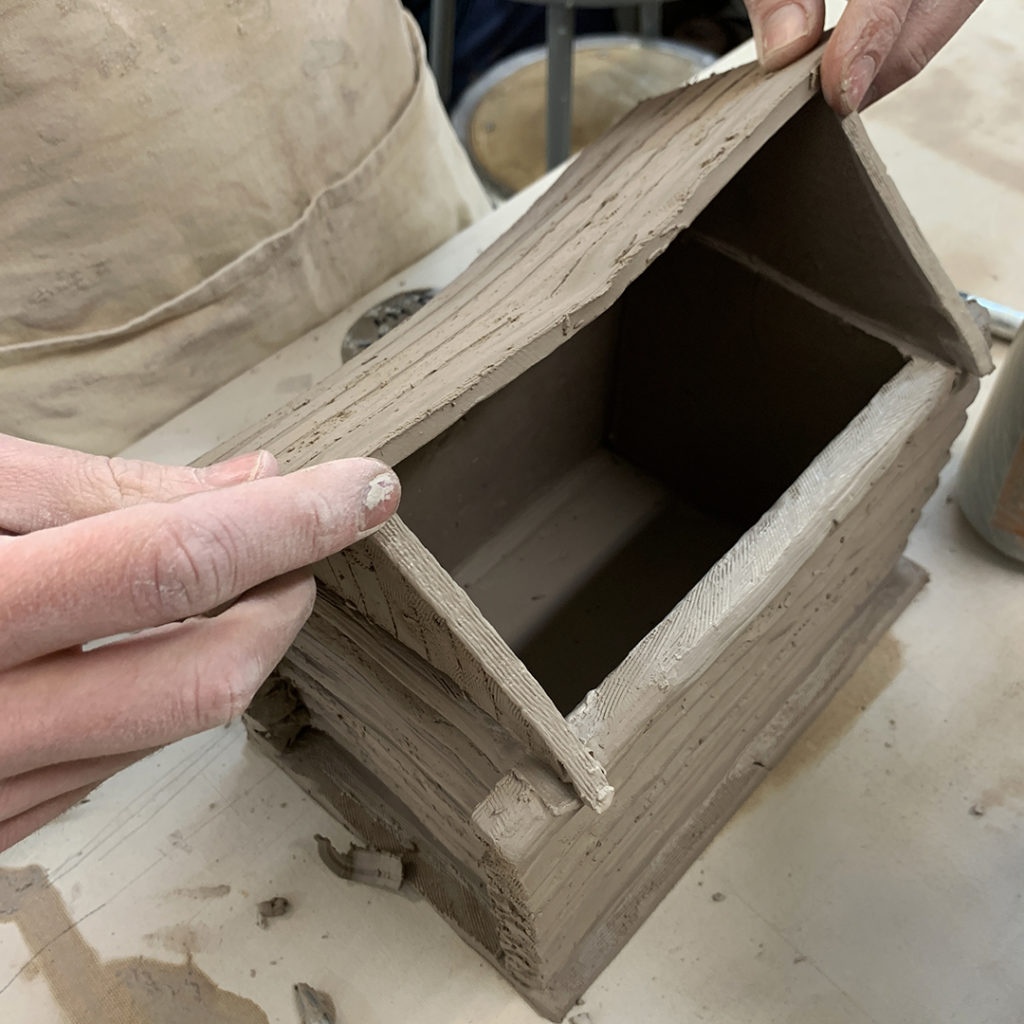
And, as if that weren’t tough enough… about 30 minutes before the deadline, they found out they needed to make a bird that would fit into their houses too!!!
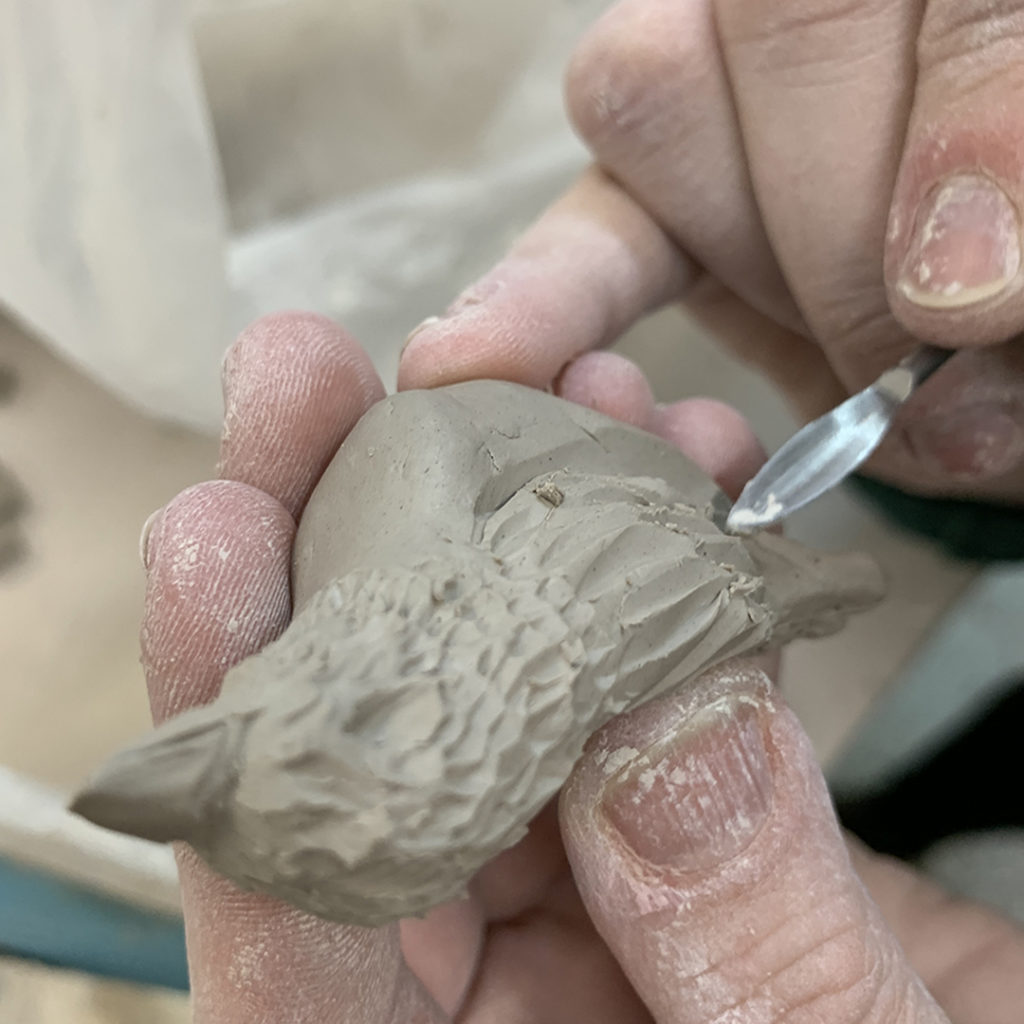
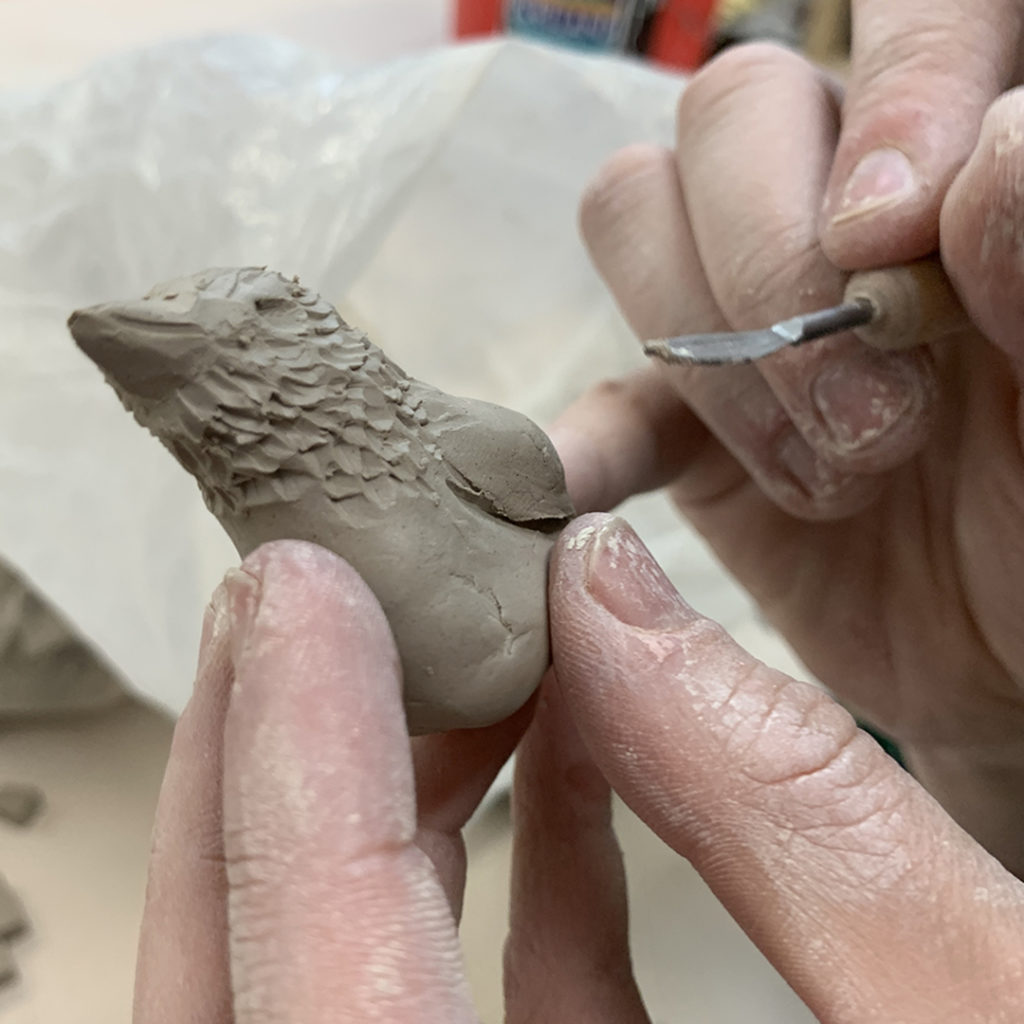
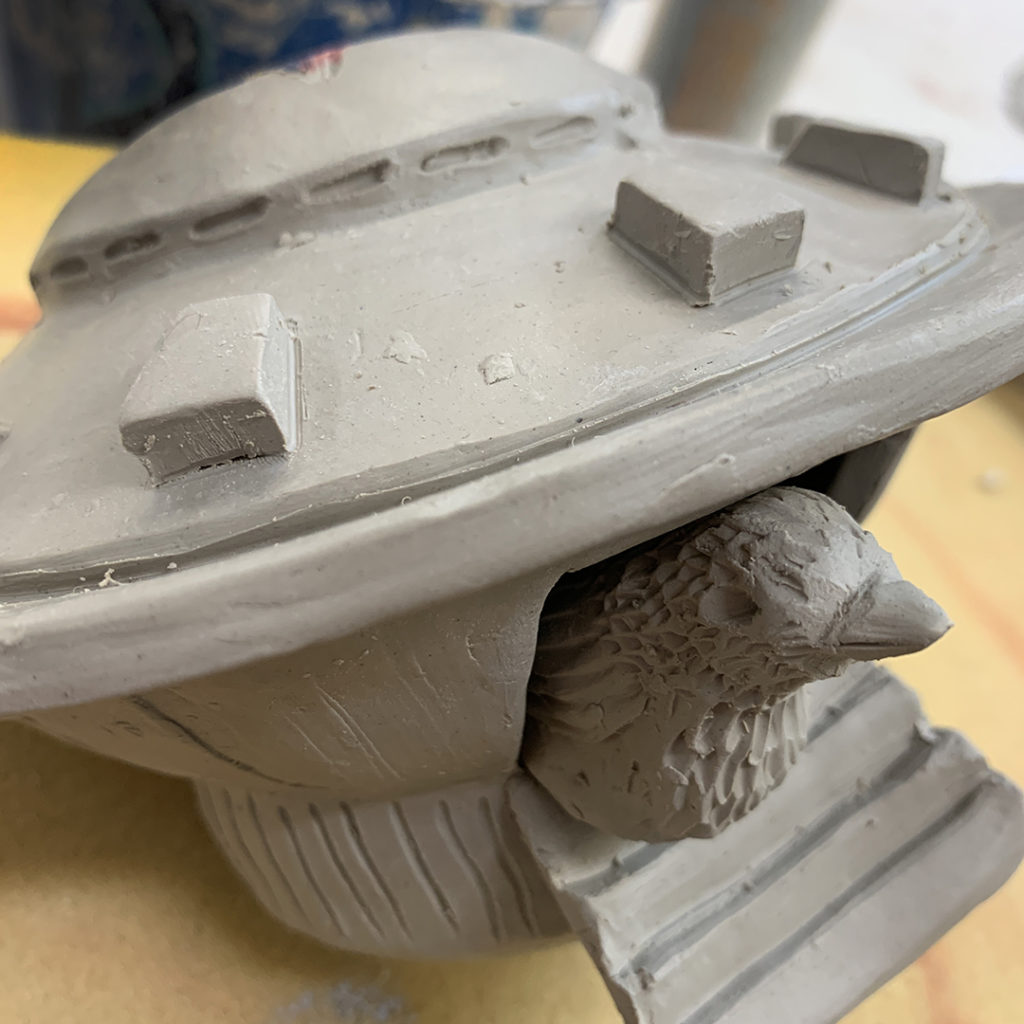
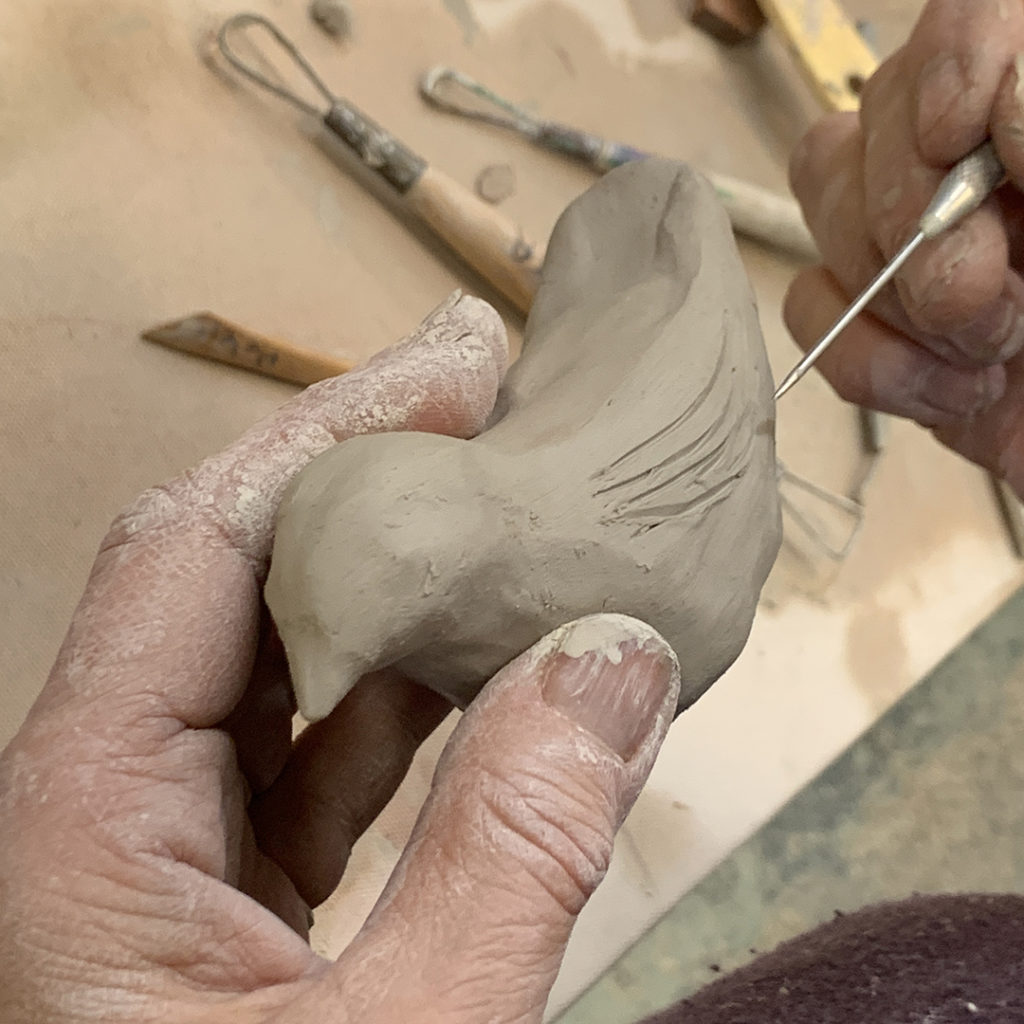
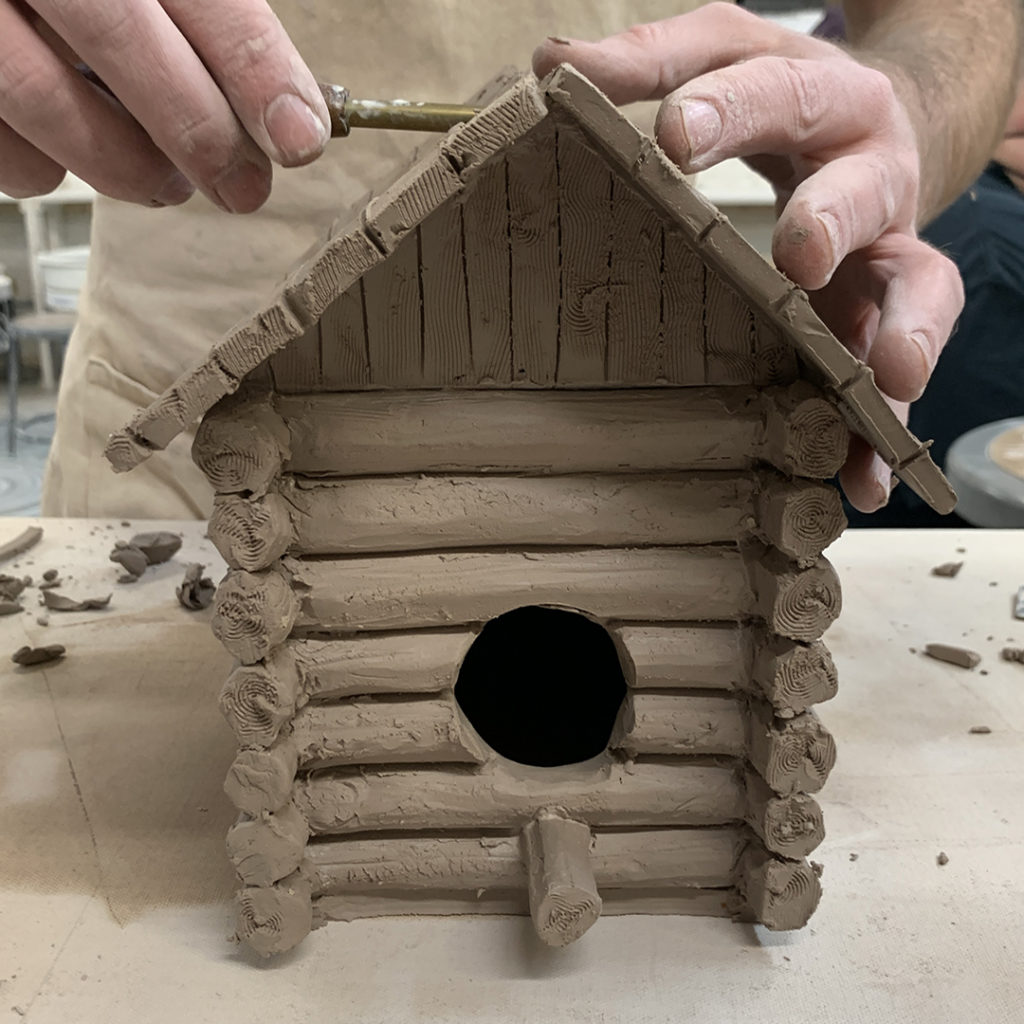
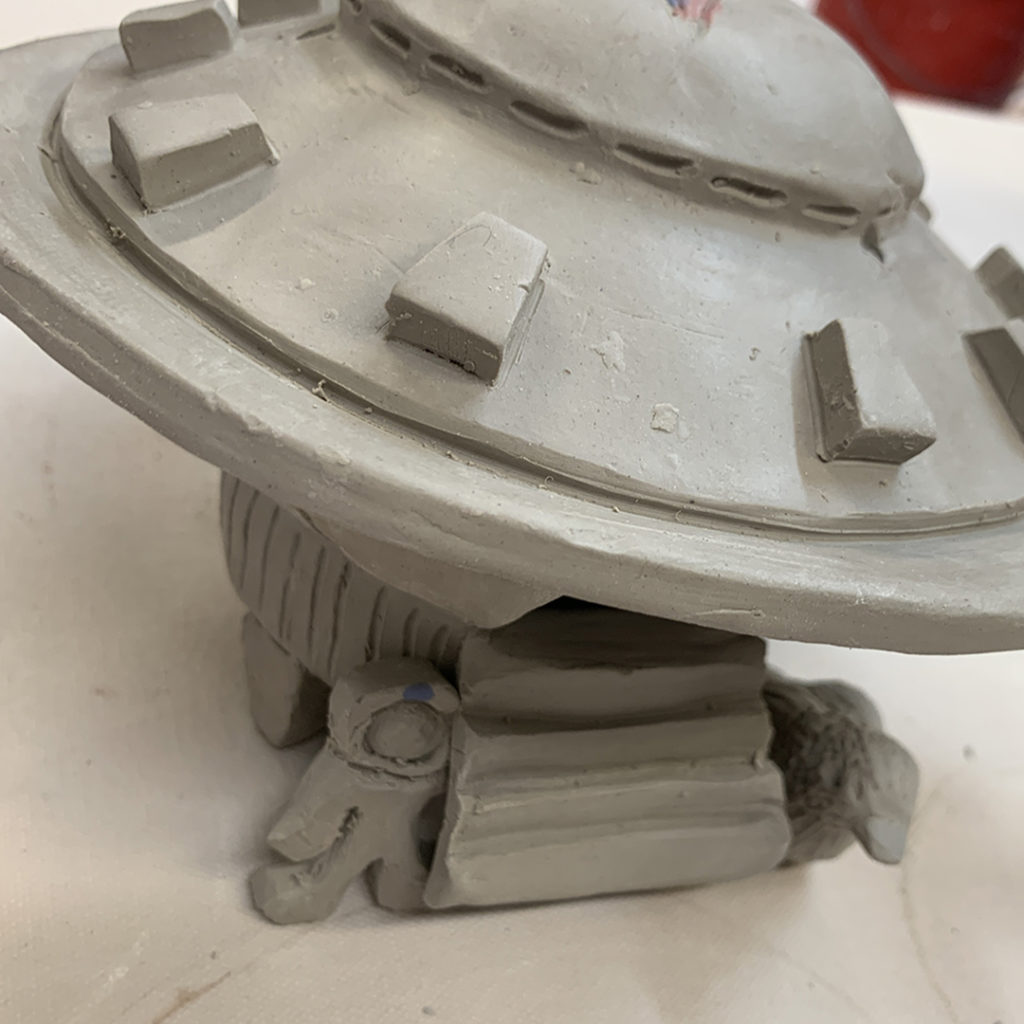
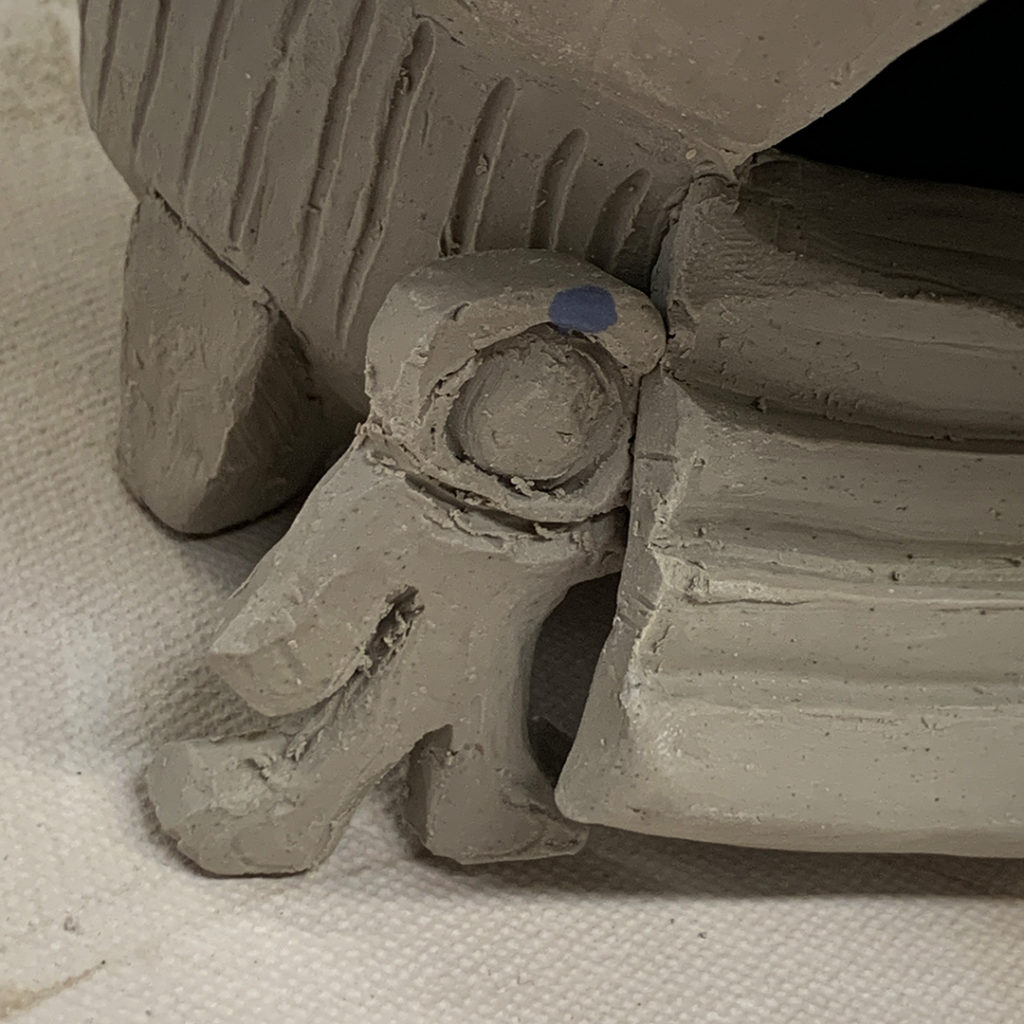
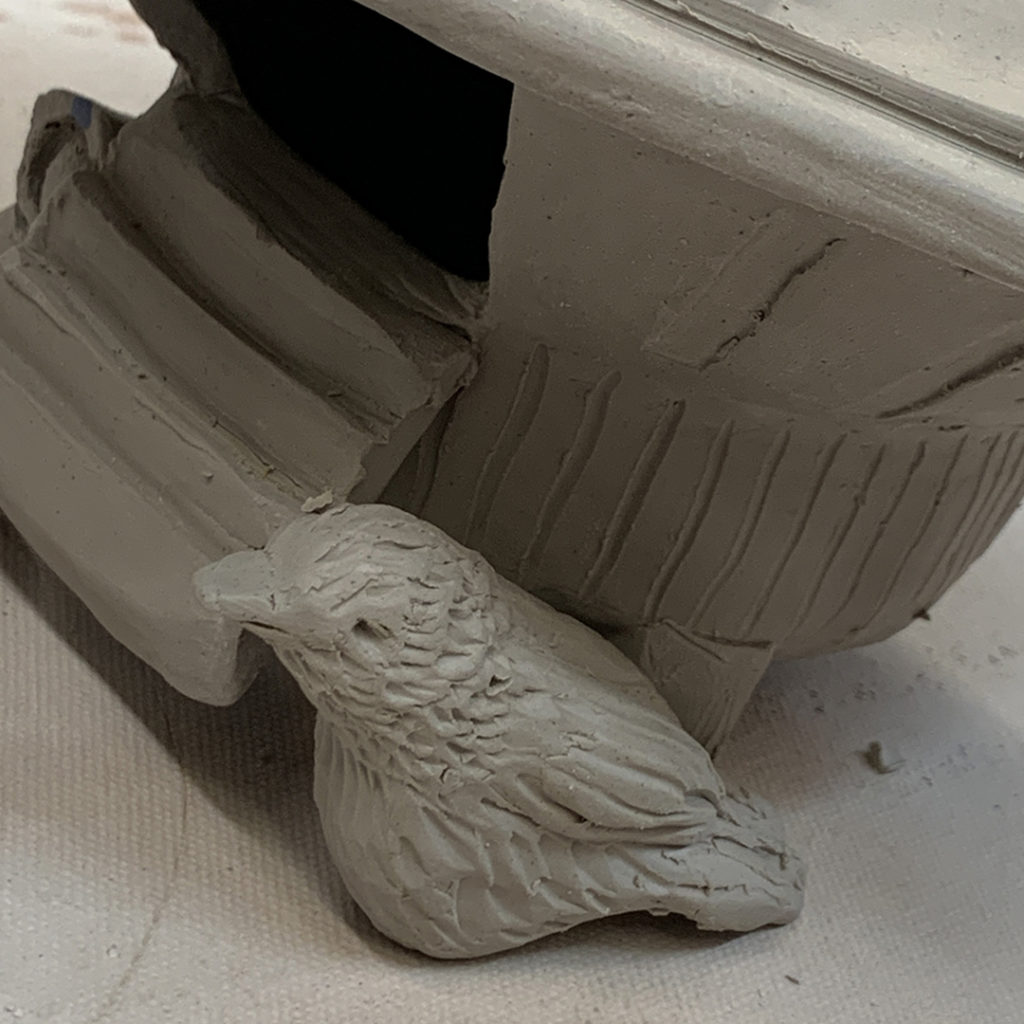
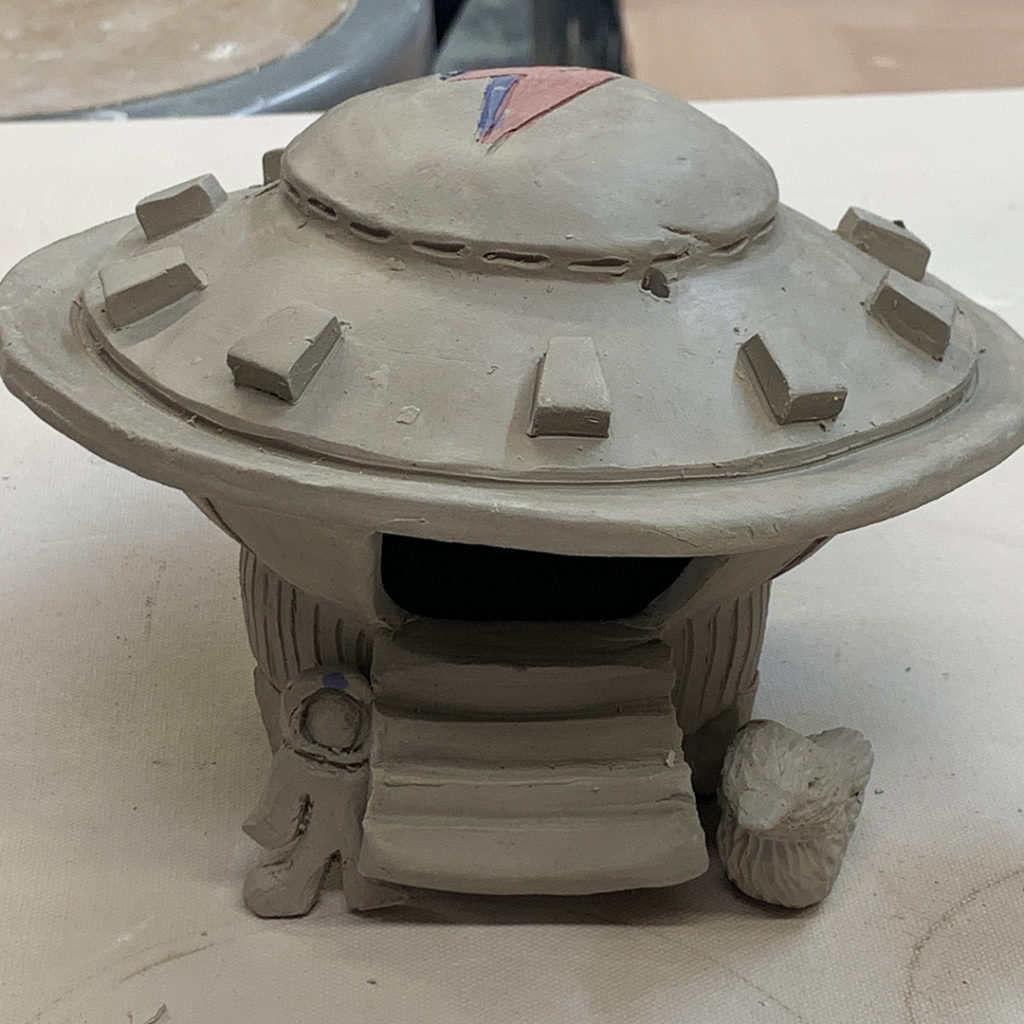

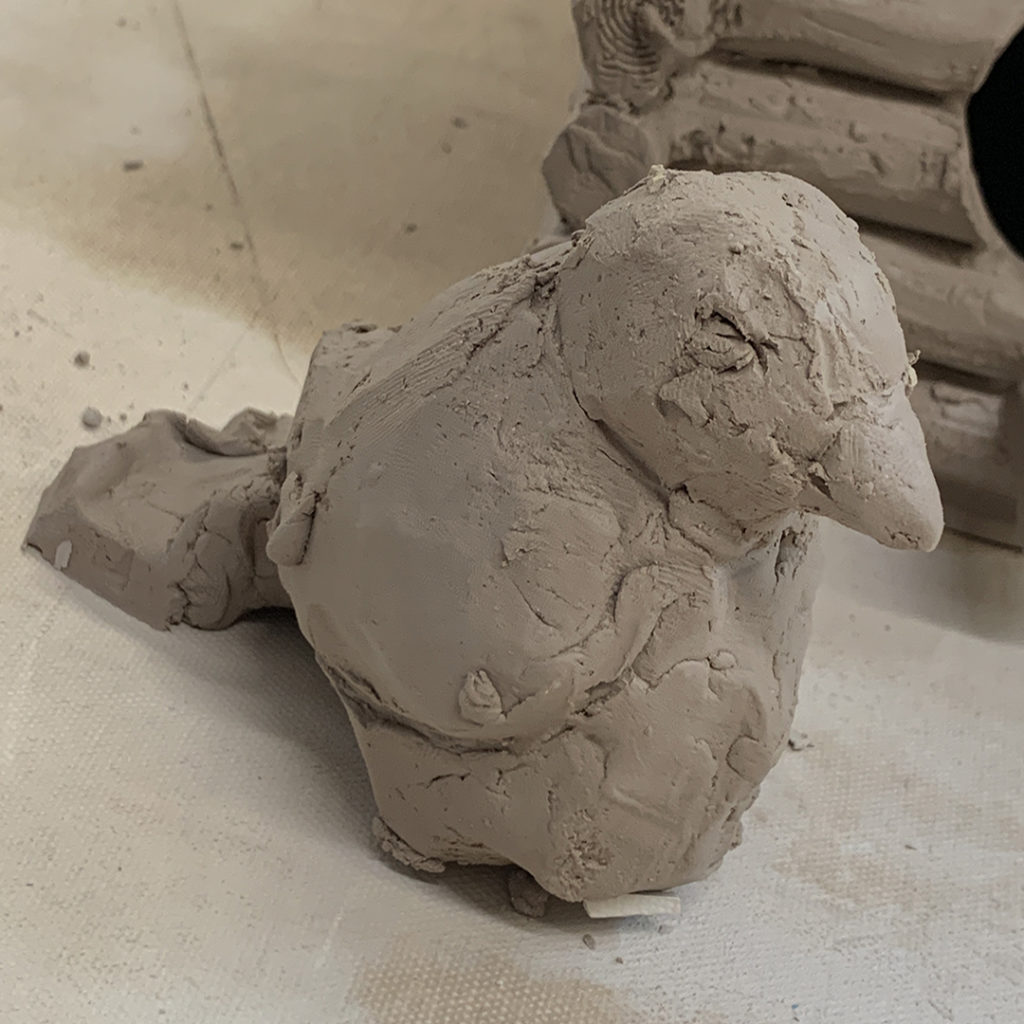
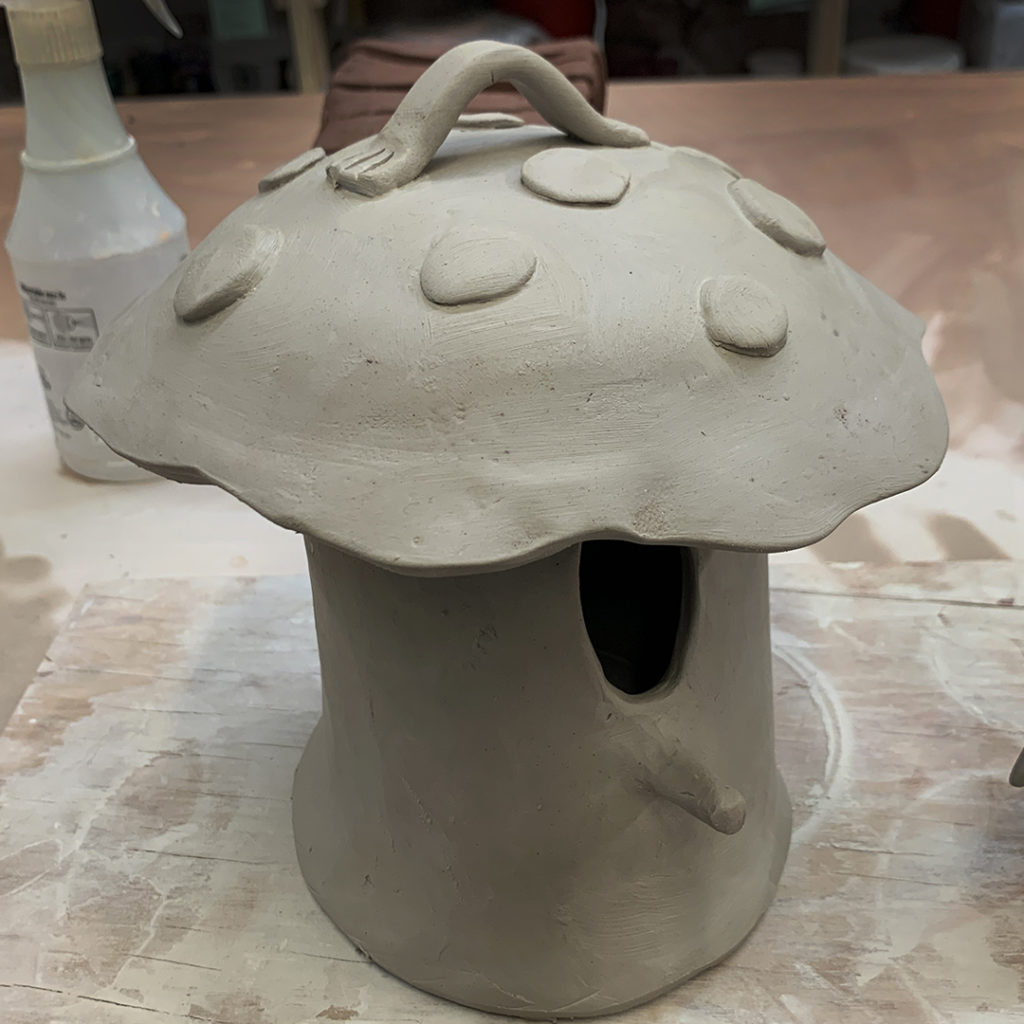
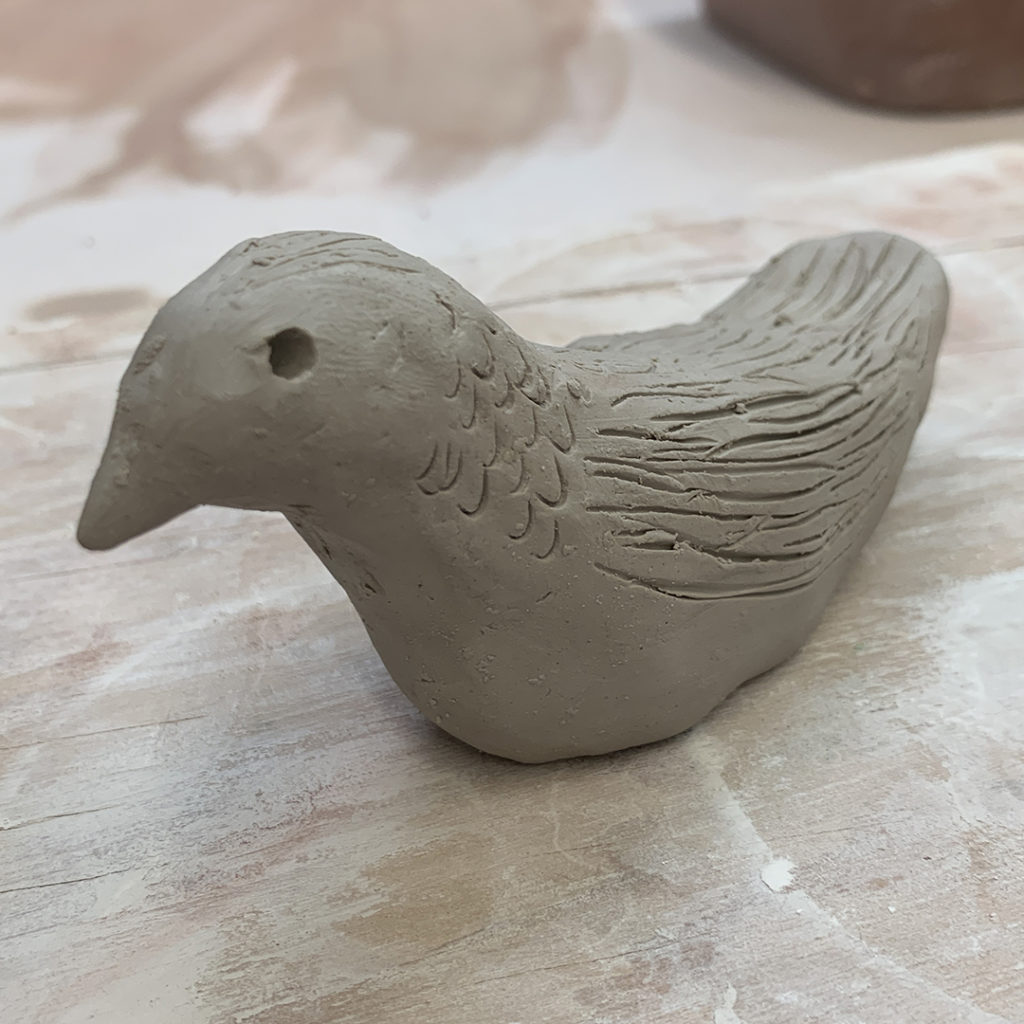
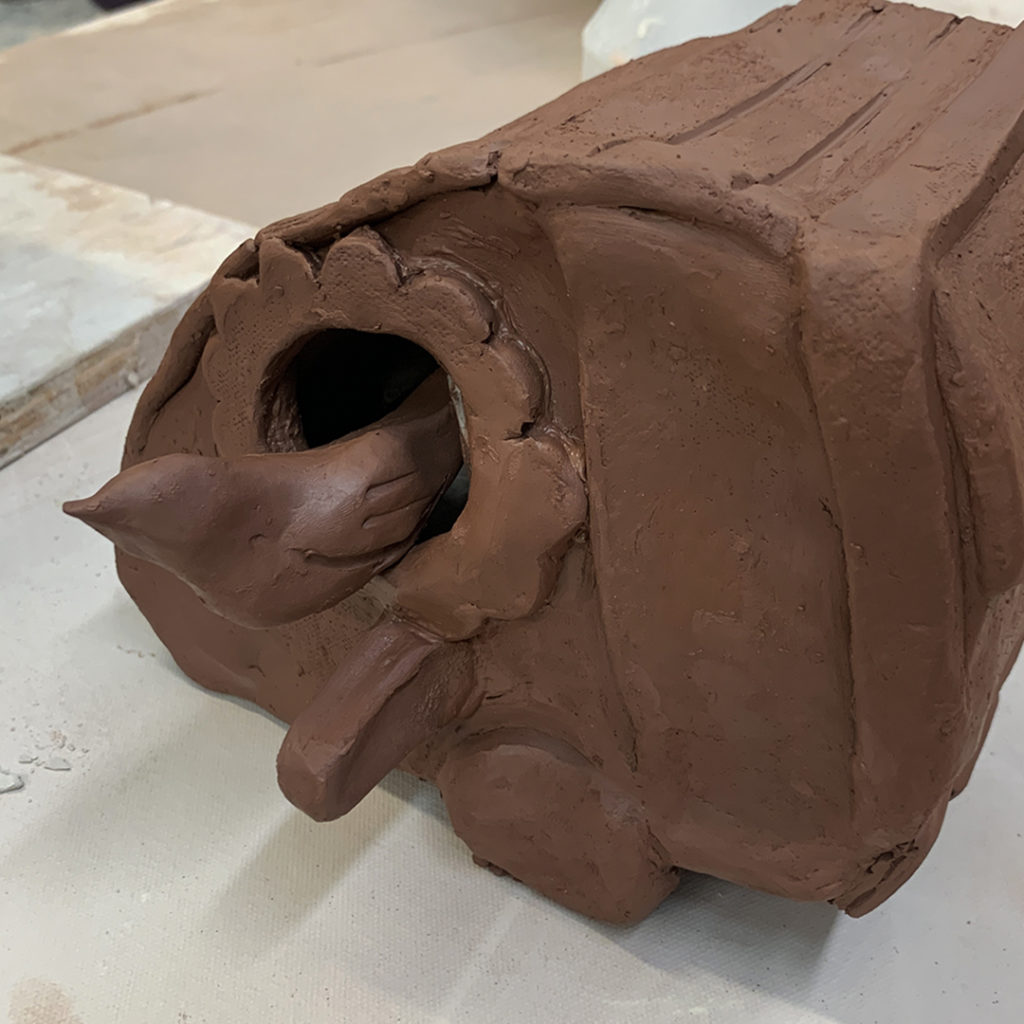

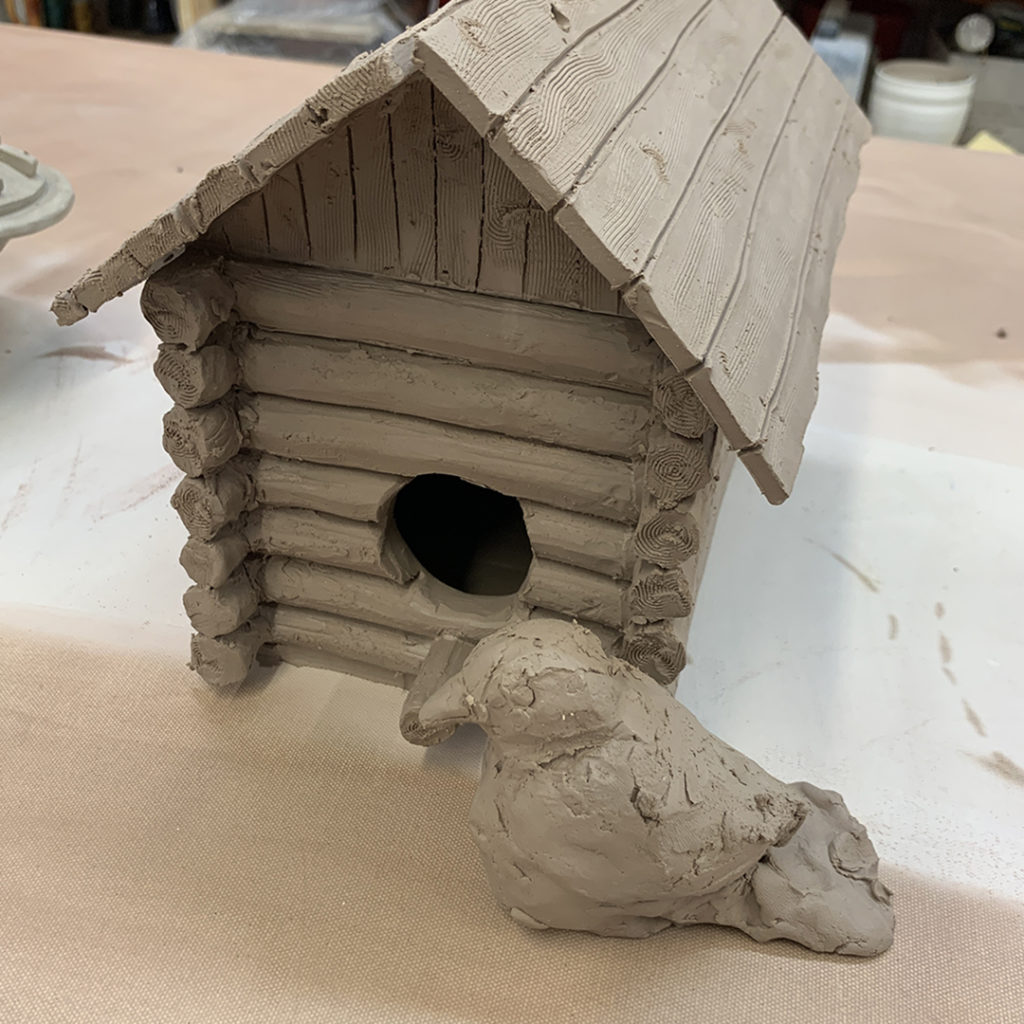
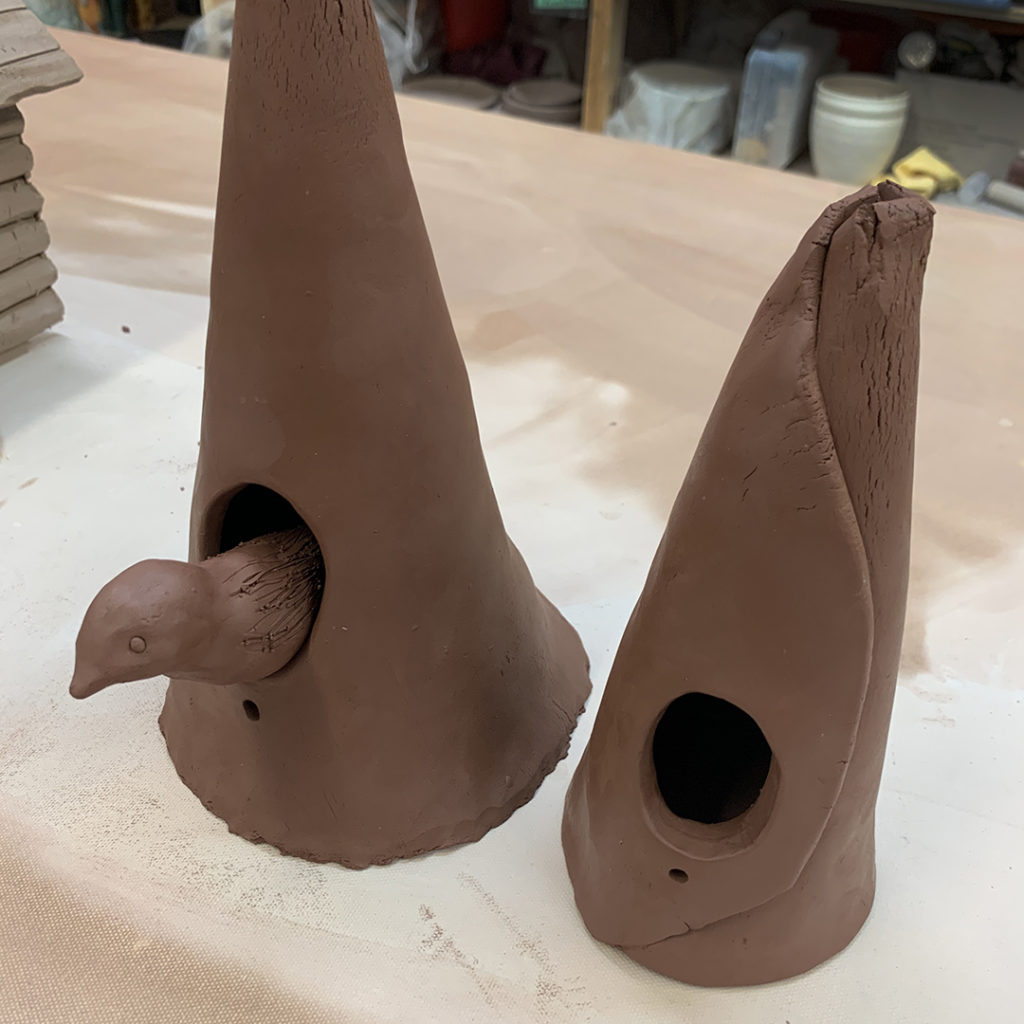
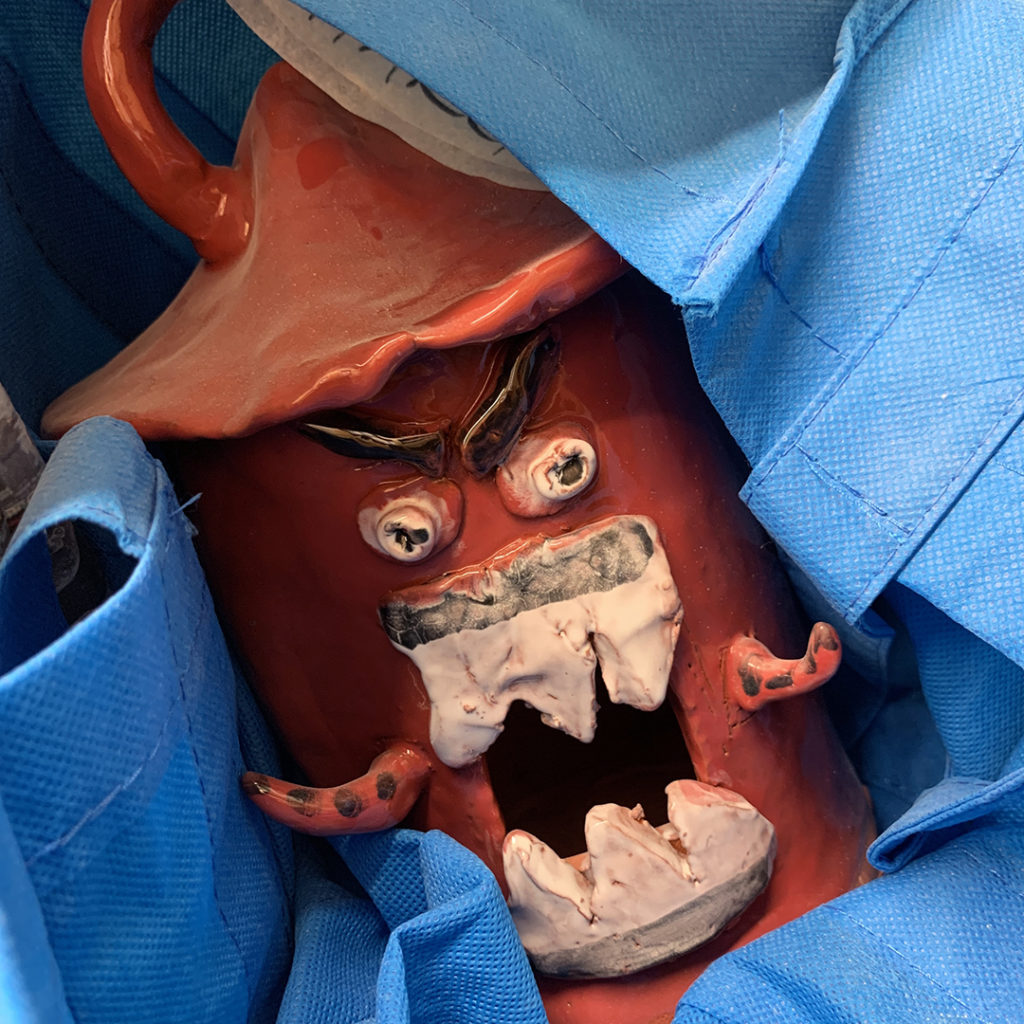
And speaking of handmade birdhouses… I saw this wonderful one downstairs on the Kidstreet shelves. A sad little monster still sitting down there from last Summer. It’s one of the clay pieces we made in my Sculpture Camp last summer… so sad that it’s sitting down there on the shelves unclaimed. Who knows… he “might” just need to come home with me at some point!
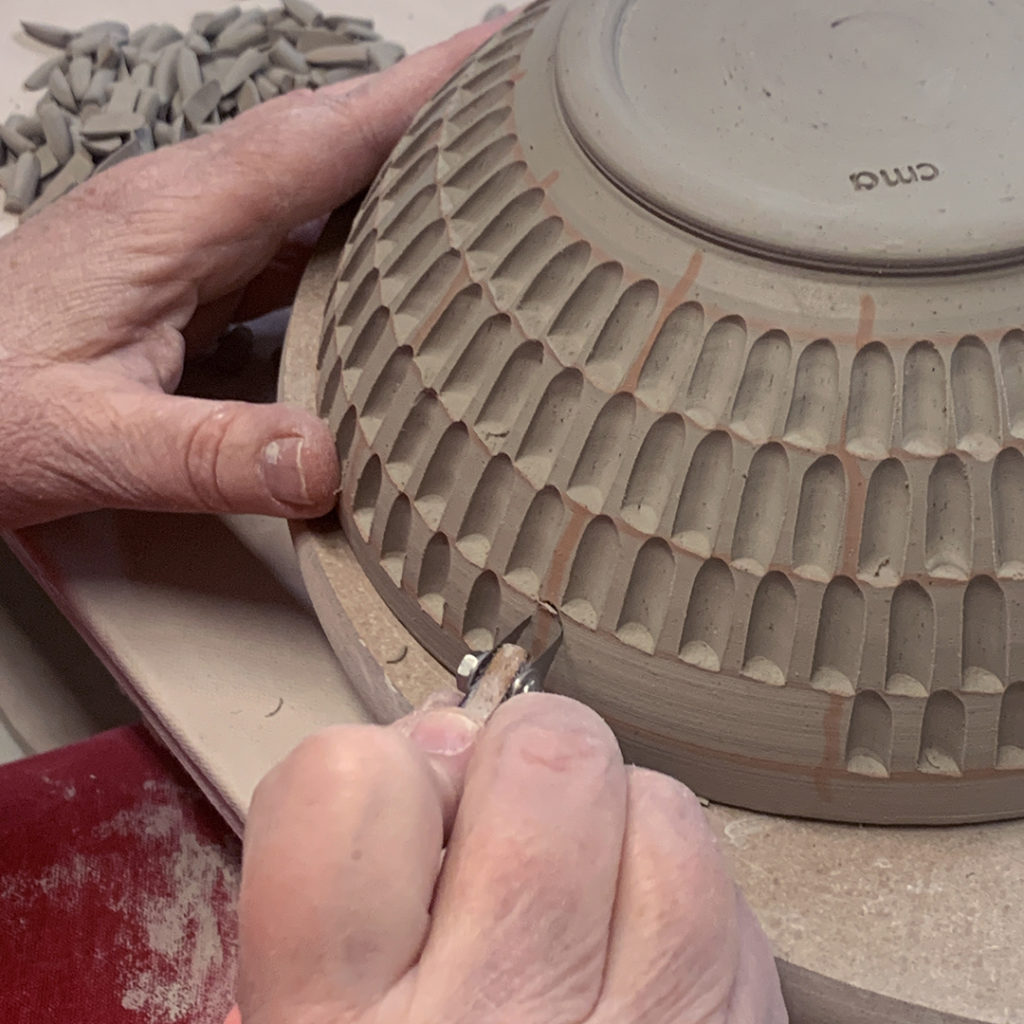
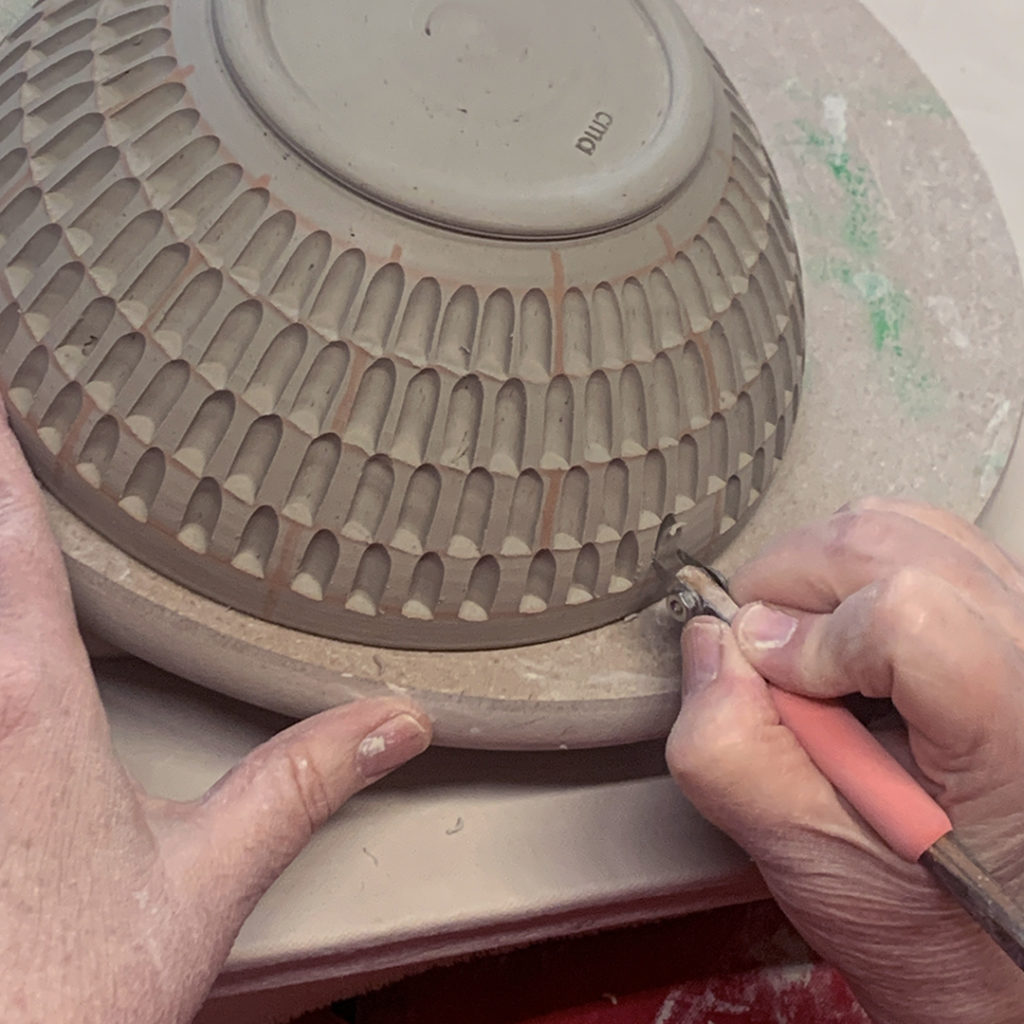
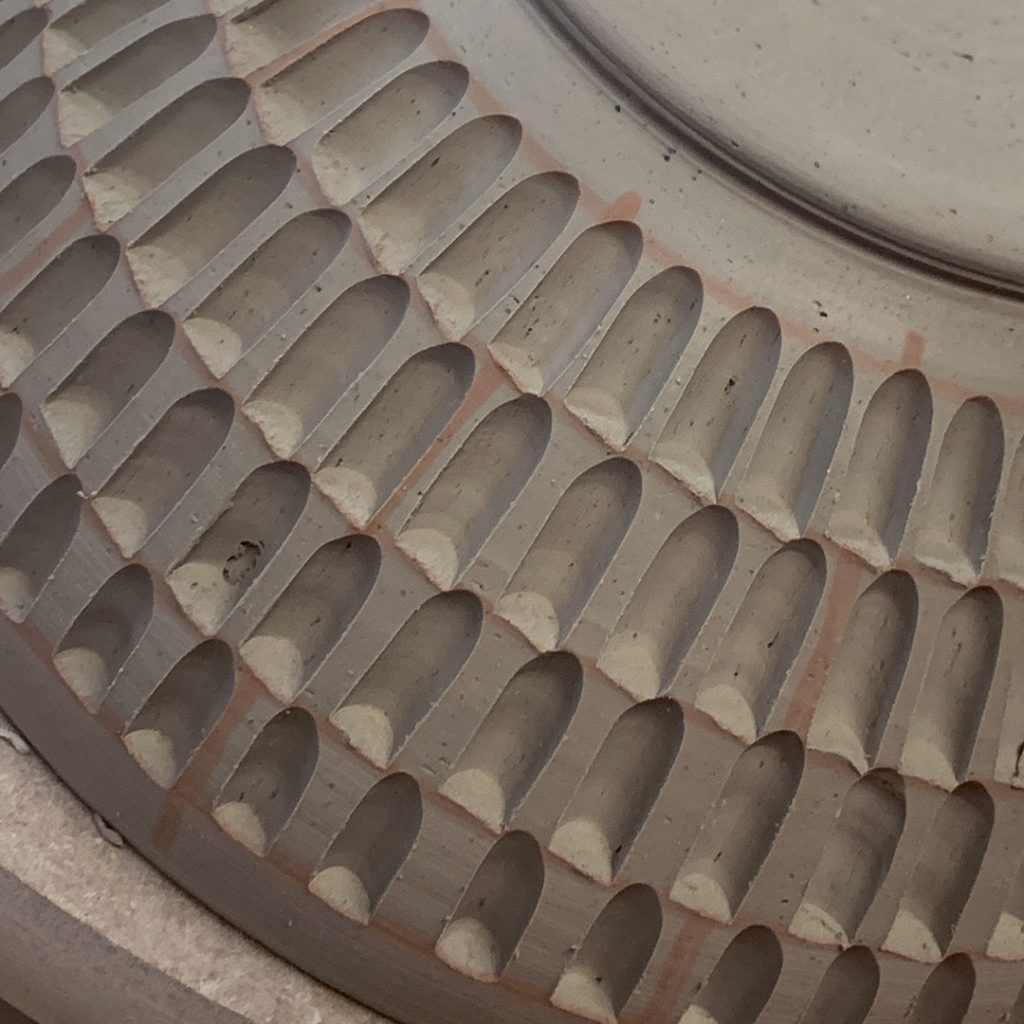
After our carving demo in my Intermediate Wheel class, it was great to see Christine still at it a week later… still making such crisp & clean lines with a DiamondCore Carving Tool in hand!
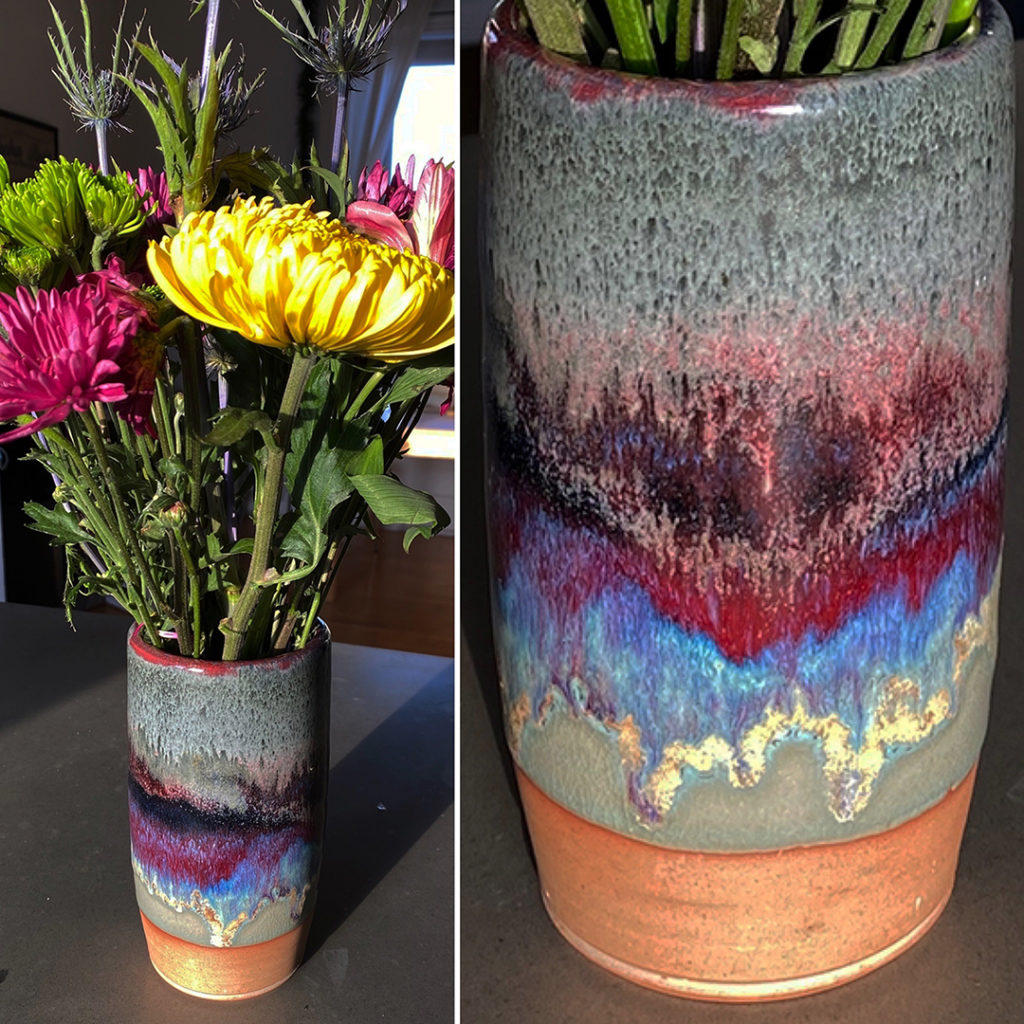
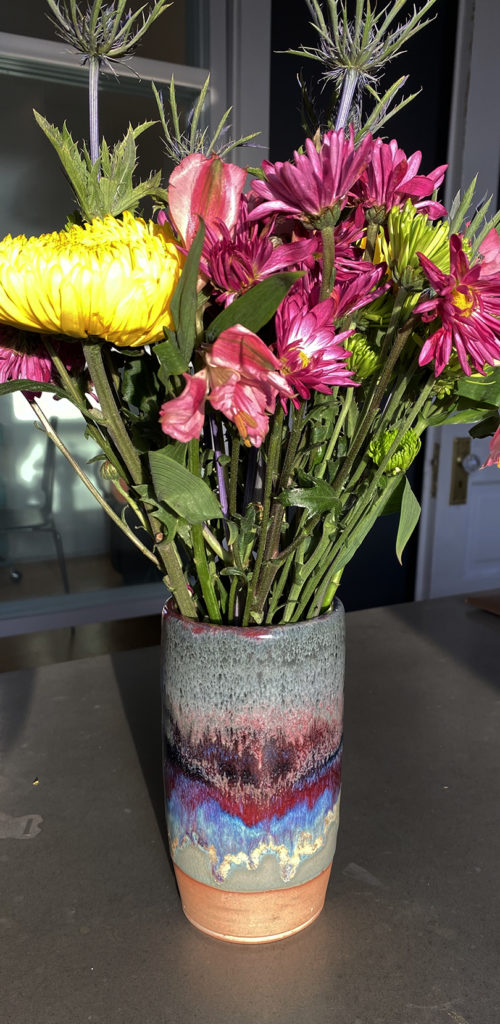
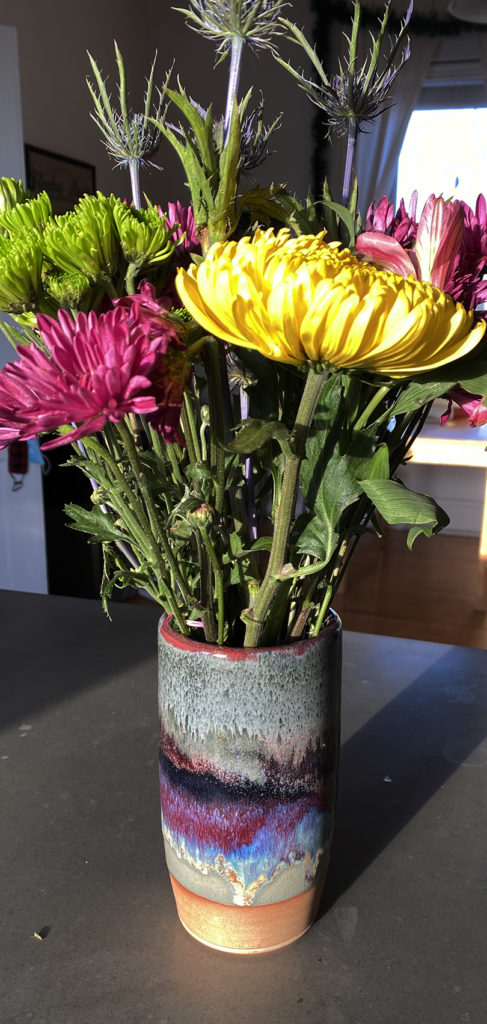
A FULL CIRCLE MOMENT!!!
Here’s a great story… follow along…
So I made some plain vases for my LILLSTREET THROWDOWN class for their Glazing Challenge. I had an extra one, so my friend & fellow teacher Chelsea glazed it during the LILLSTREET THROWDOWN class. It came out beautiful. And then Chelsea gifted it to Clara for her birthday… and Clara is in my THROWDOWN class. So what started in THROWDOWN is now back for good with a THROWDOWN for good!
Happy Birthday Clara!!!
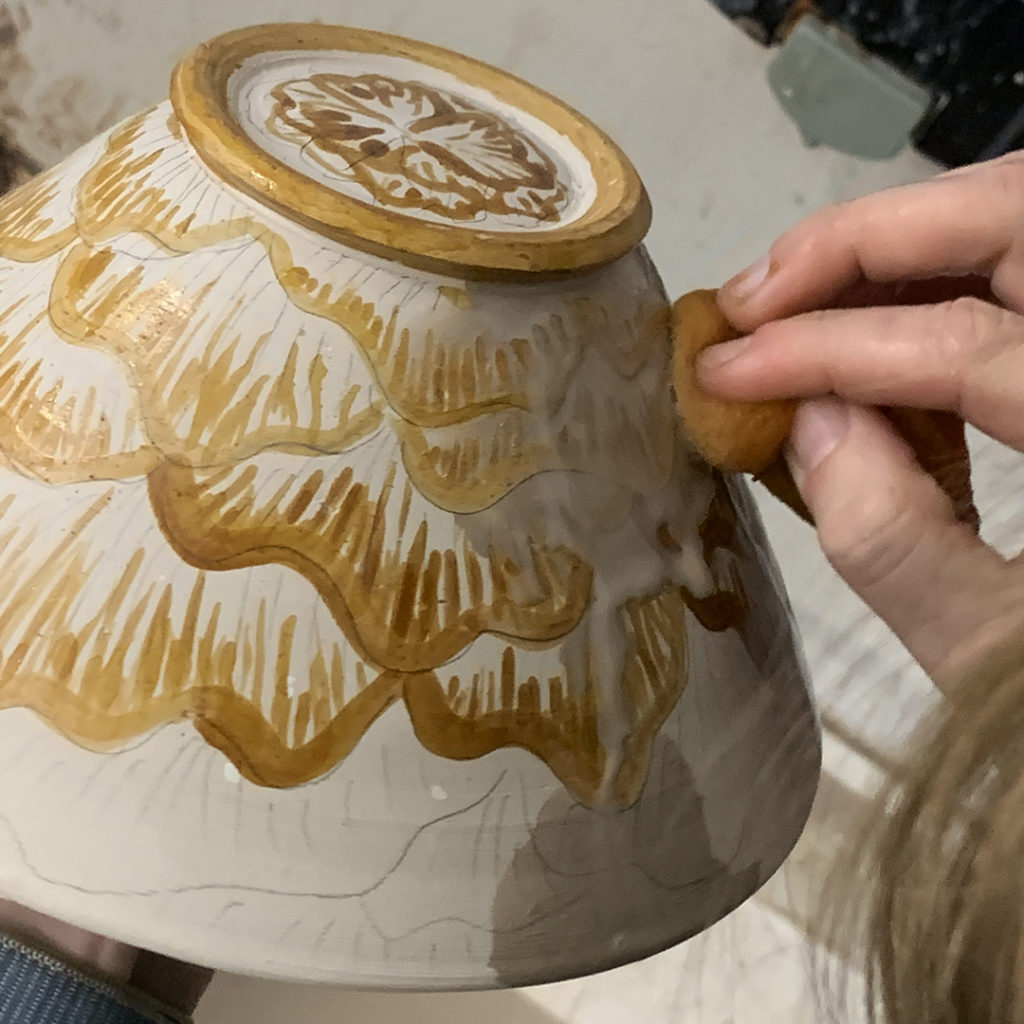
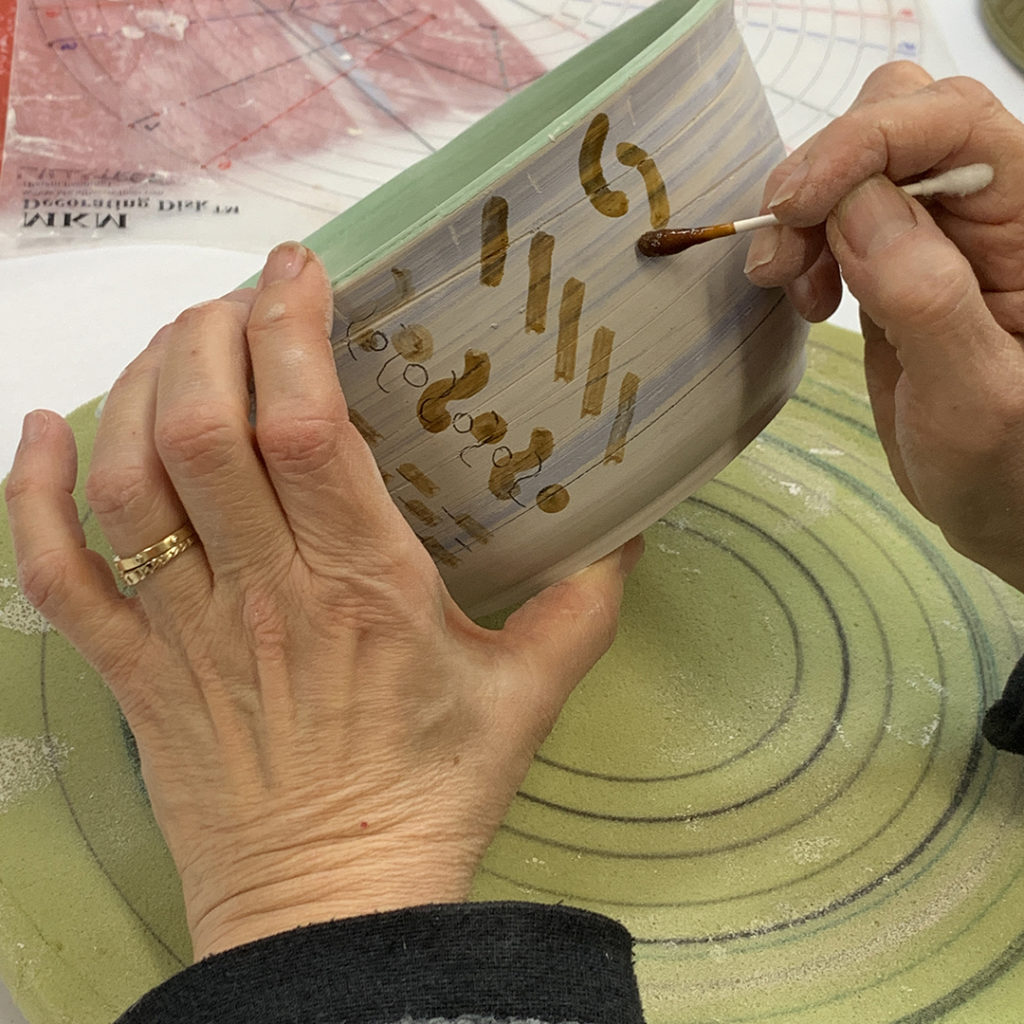
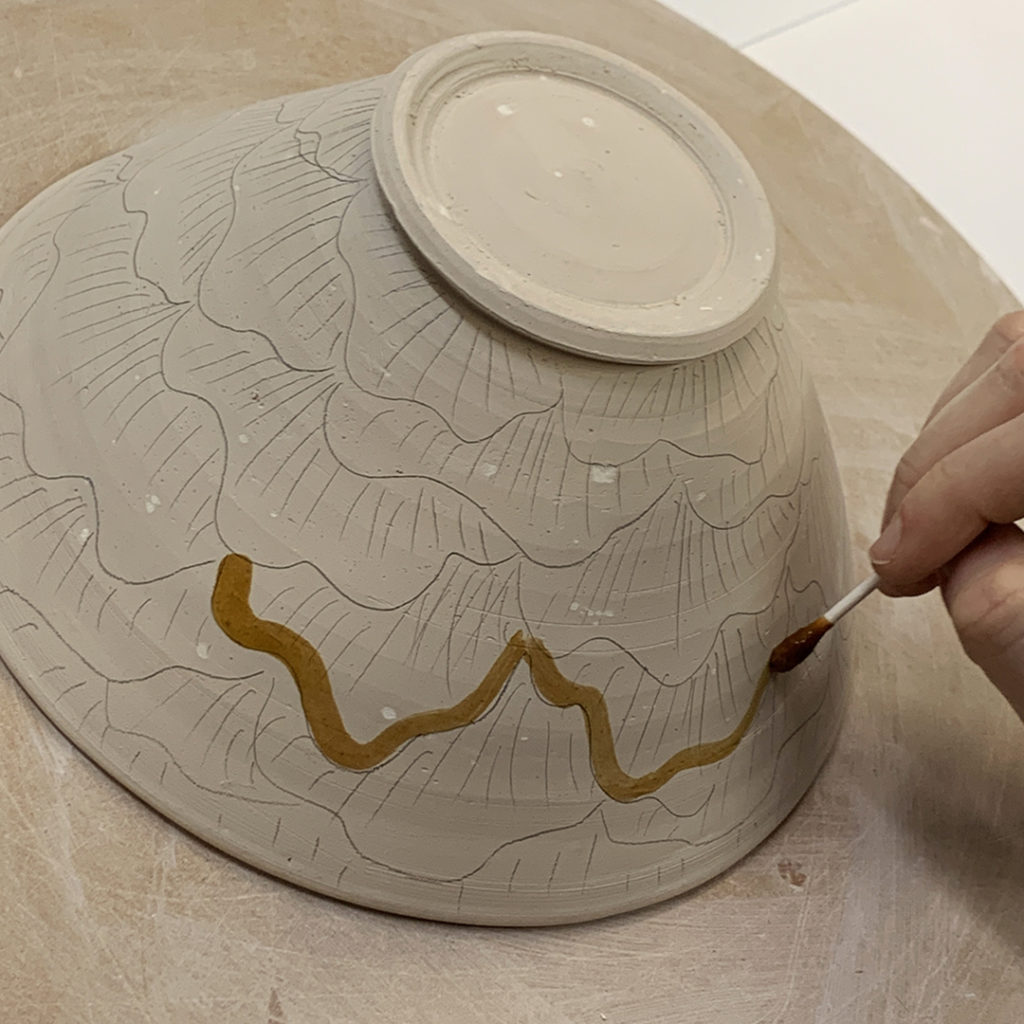
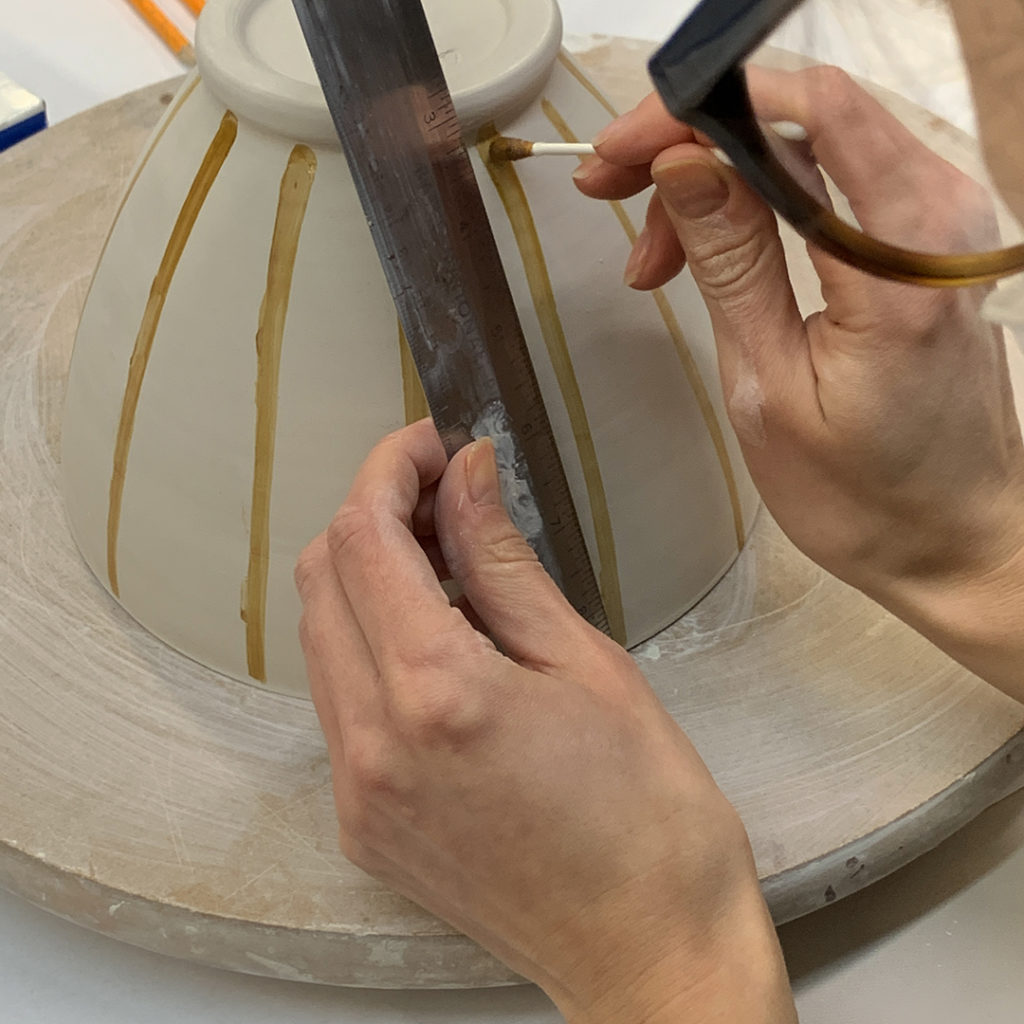
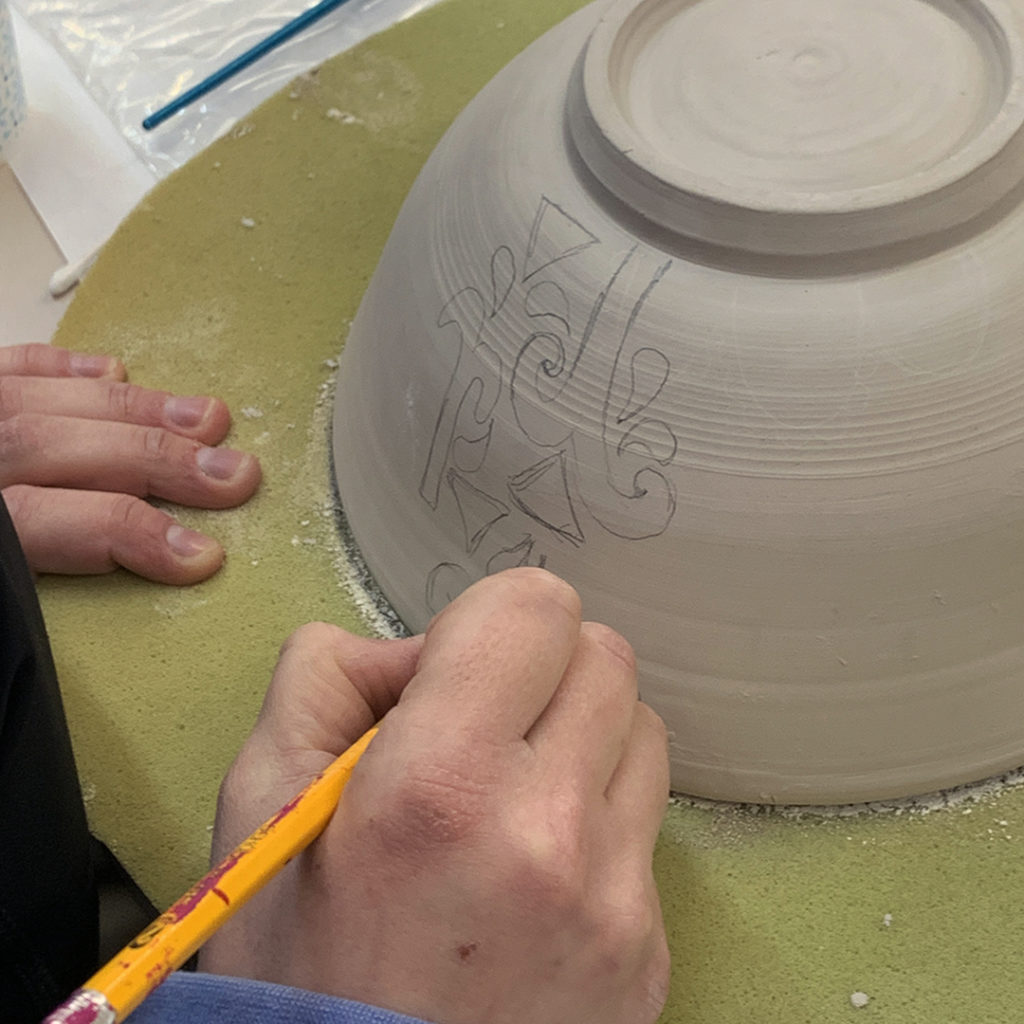
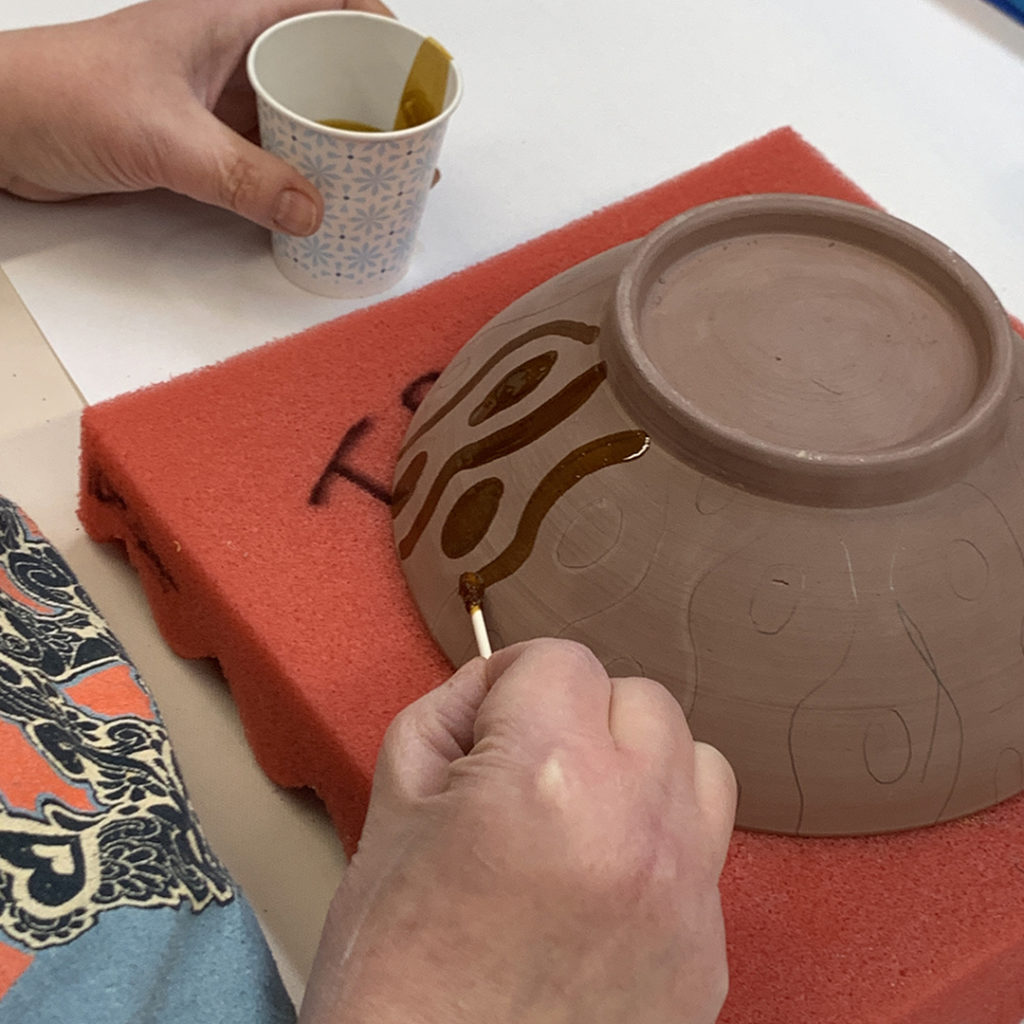
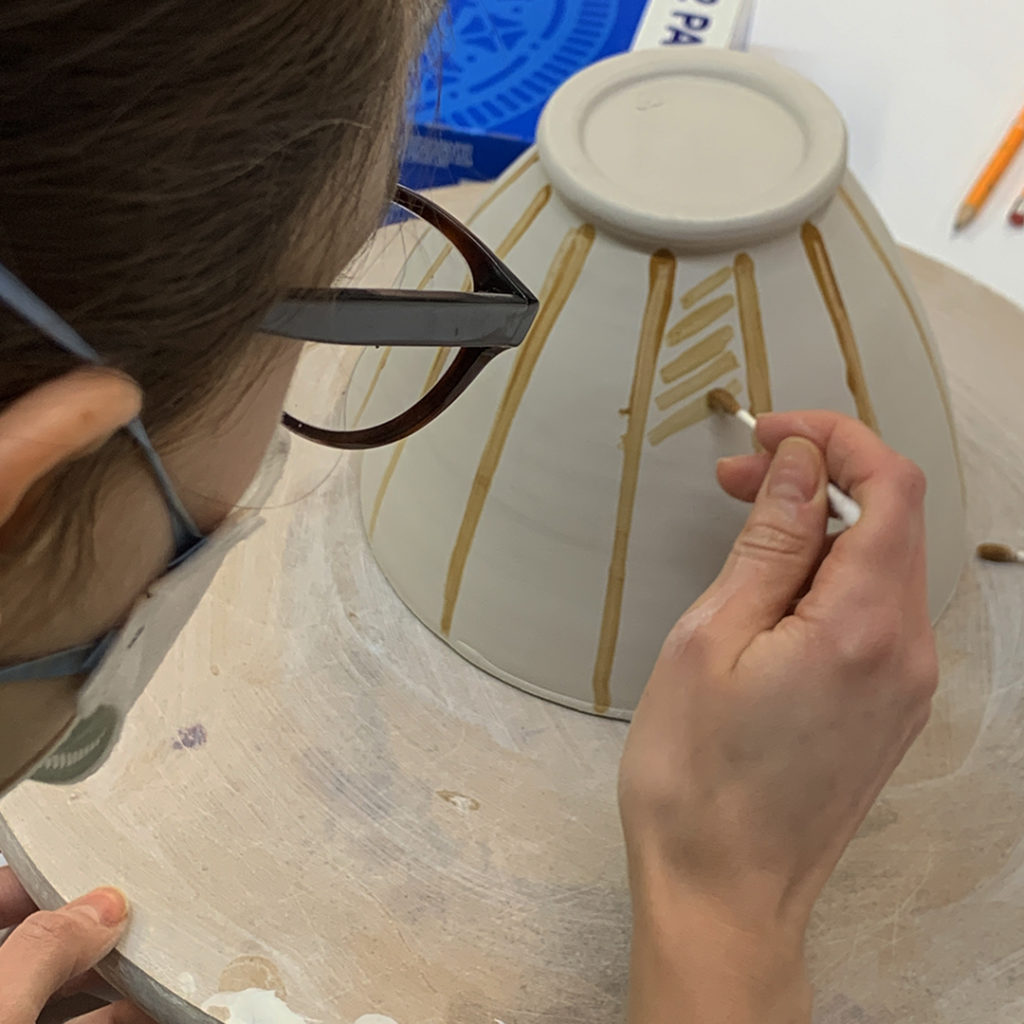
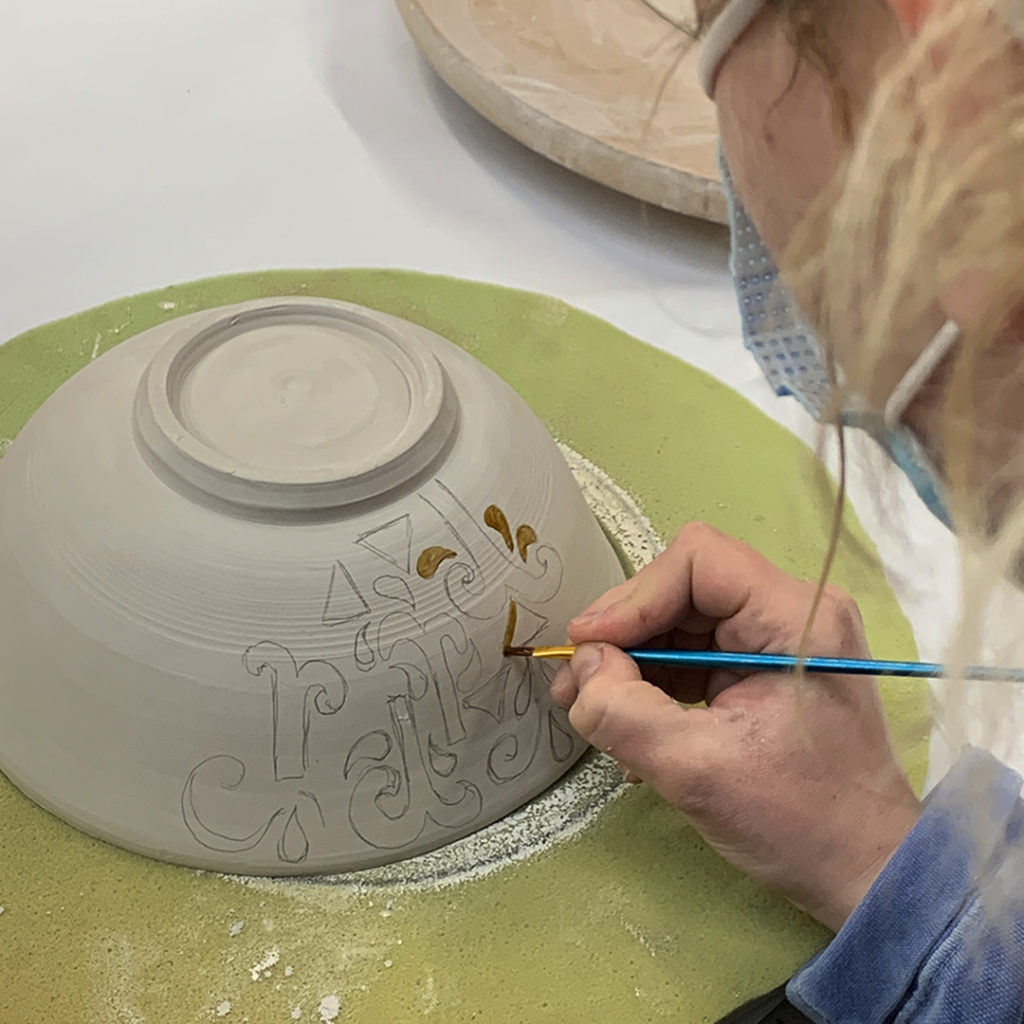
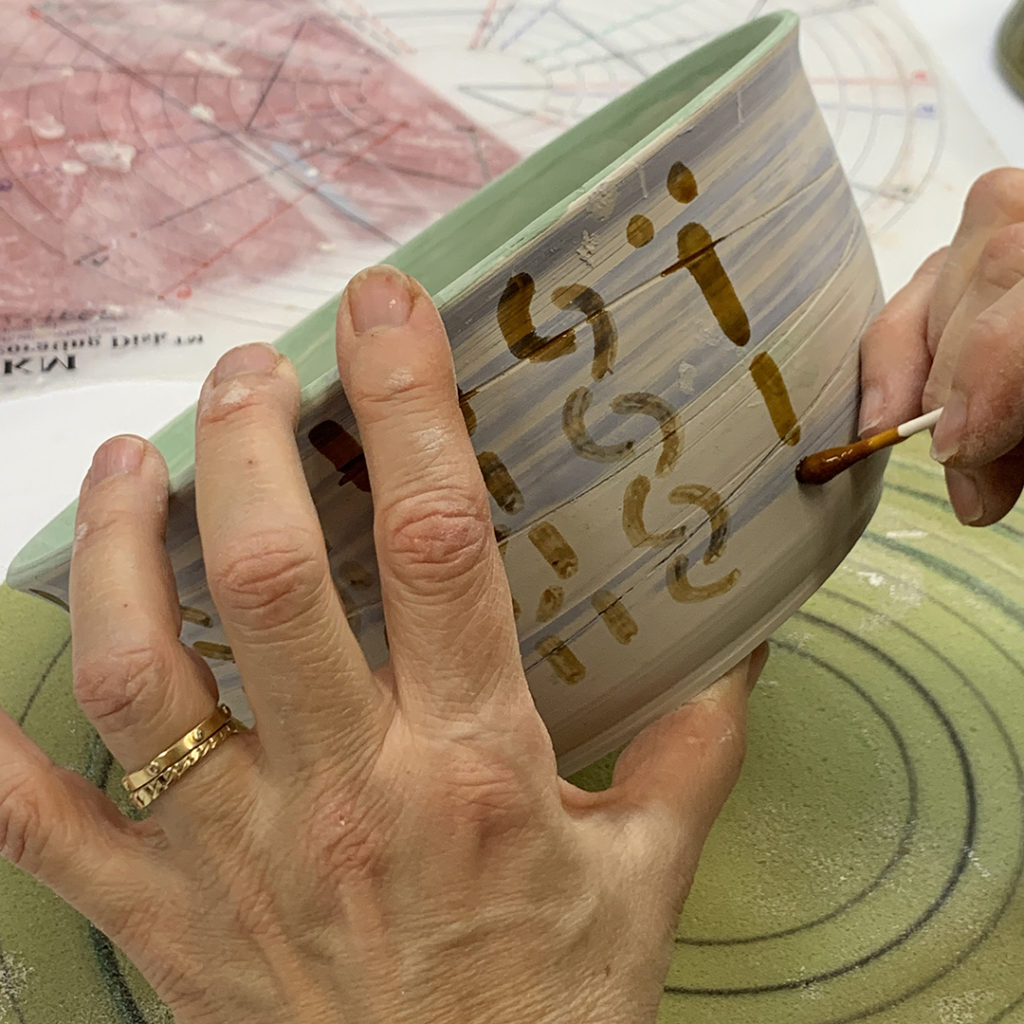
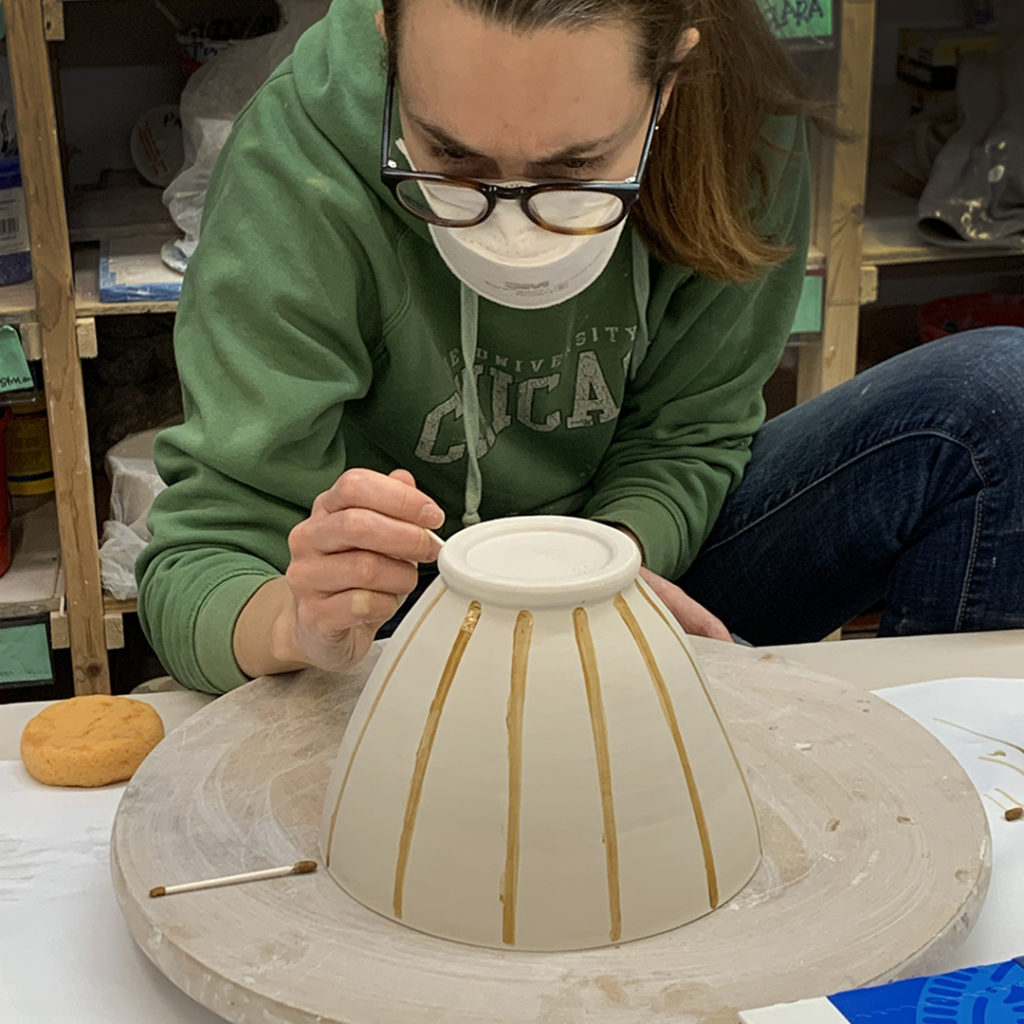
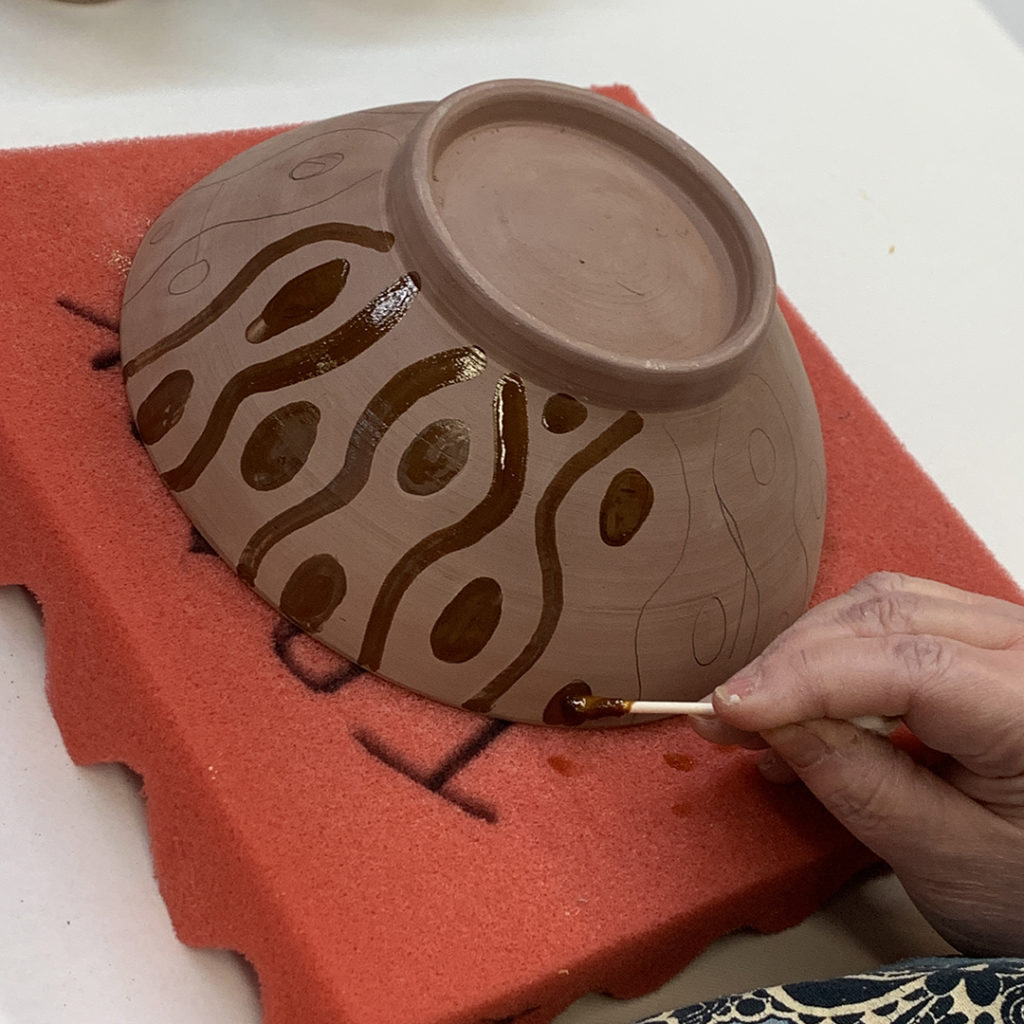
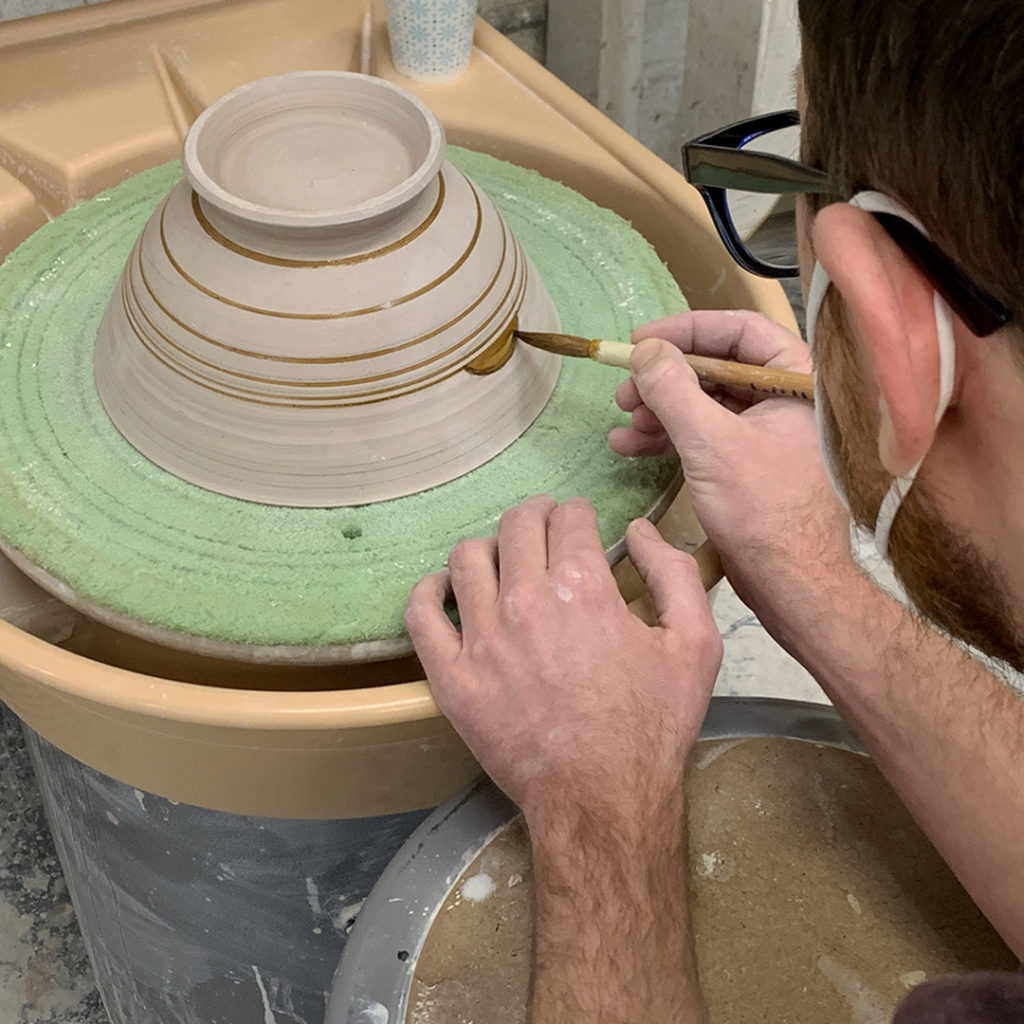
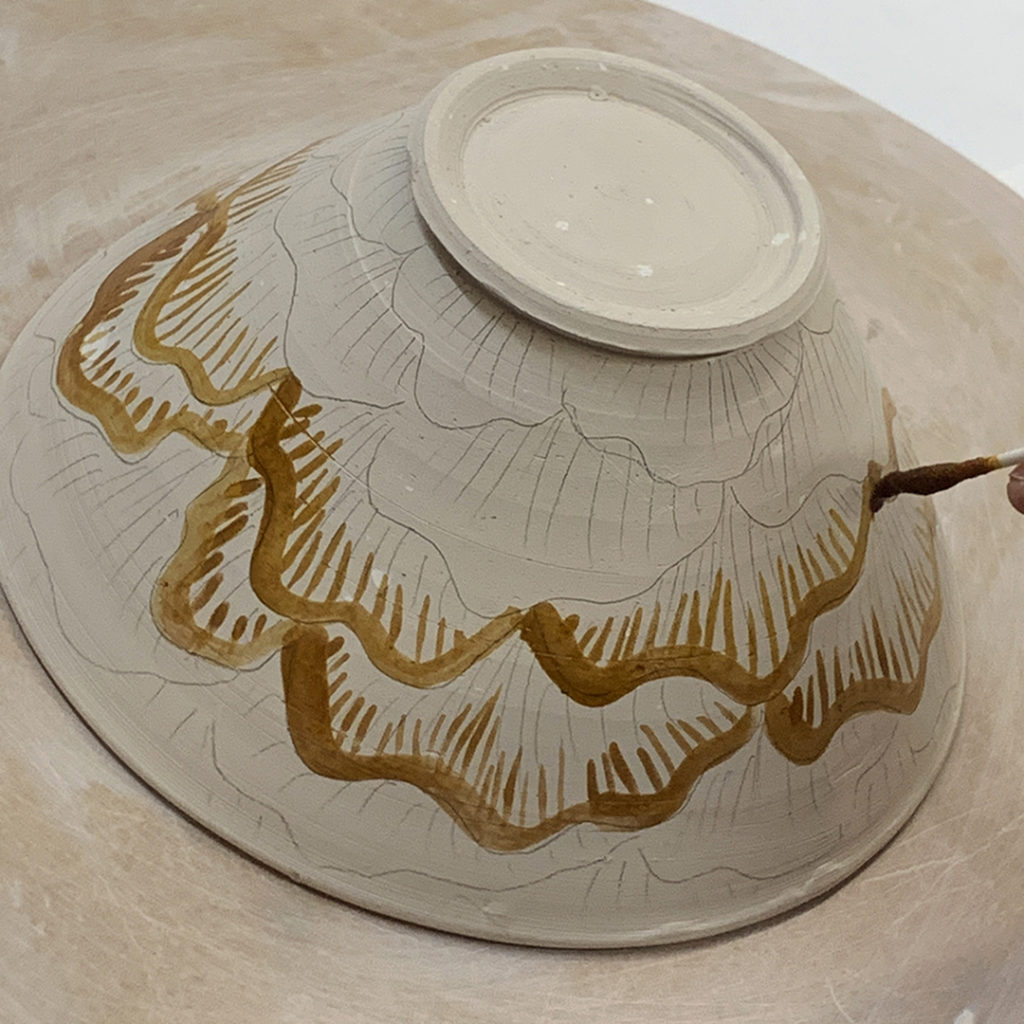
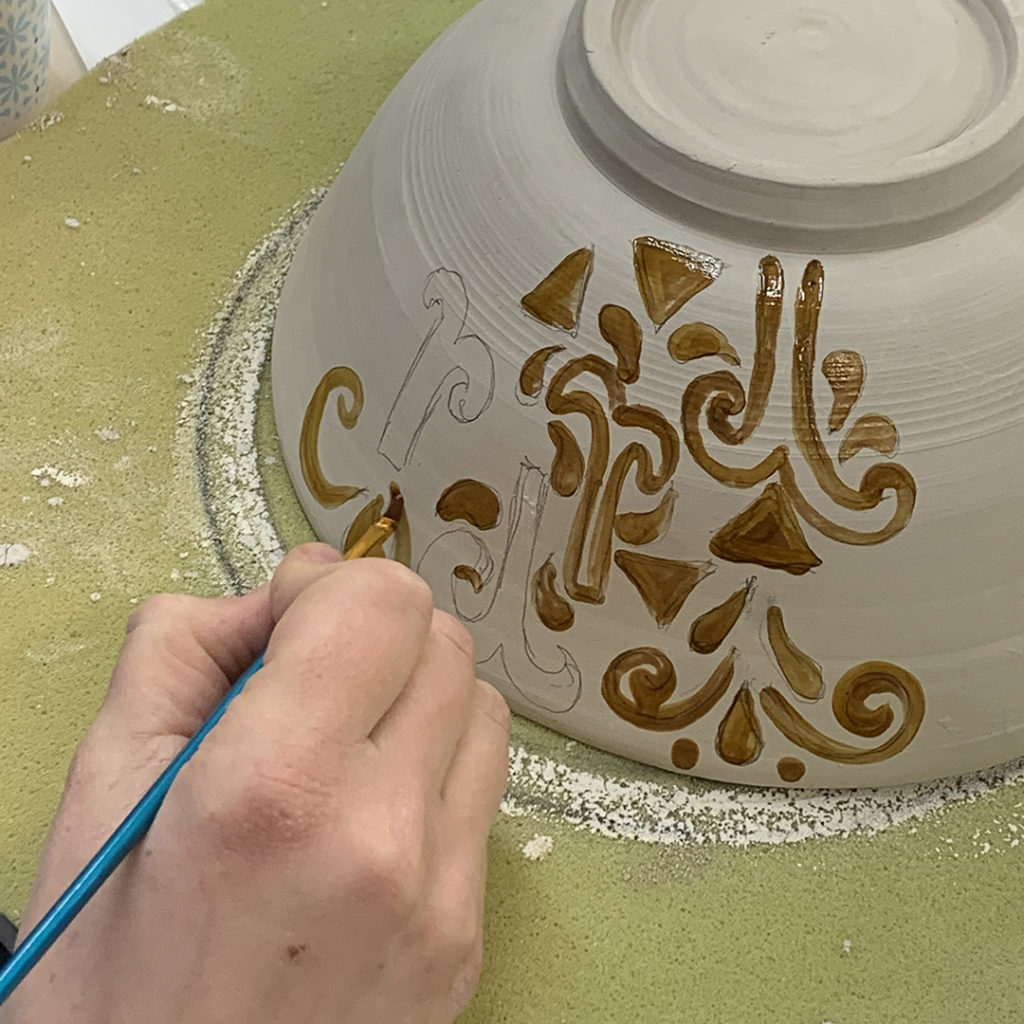
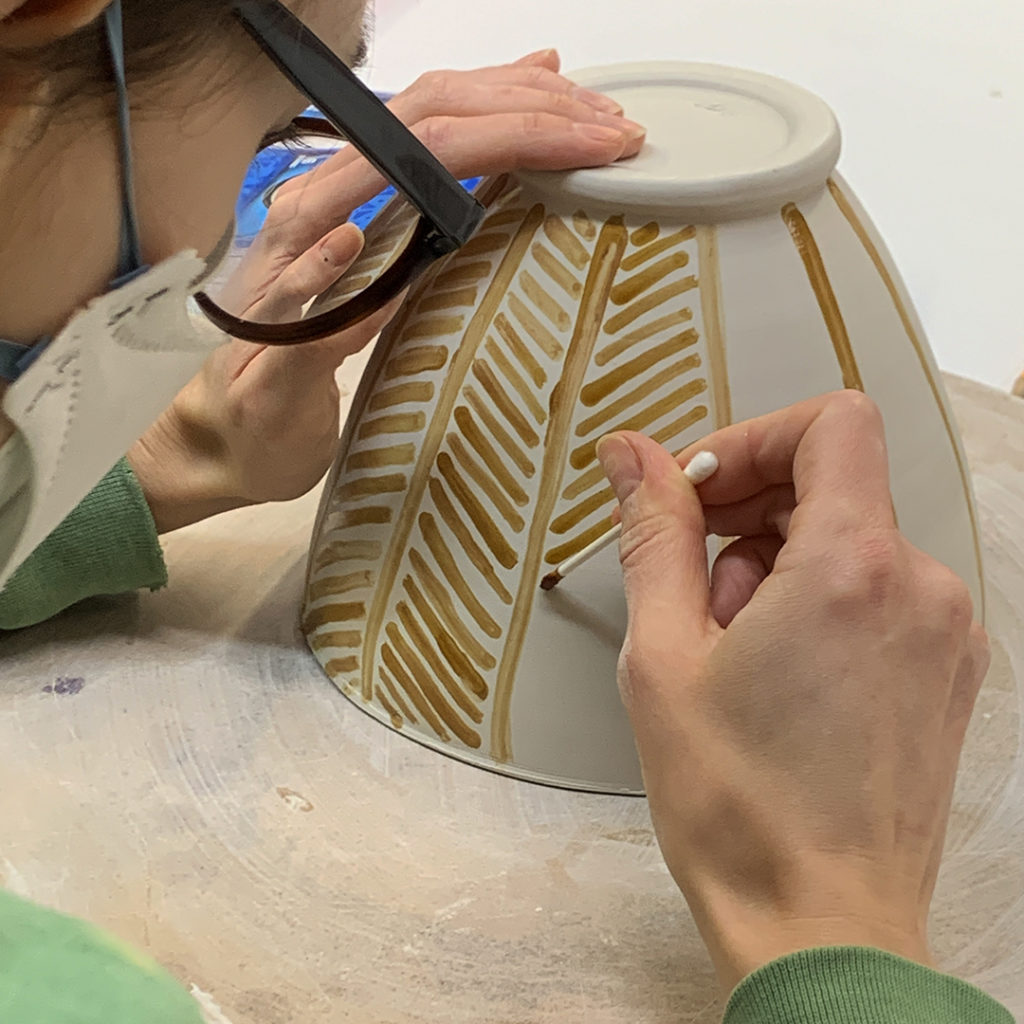
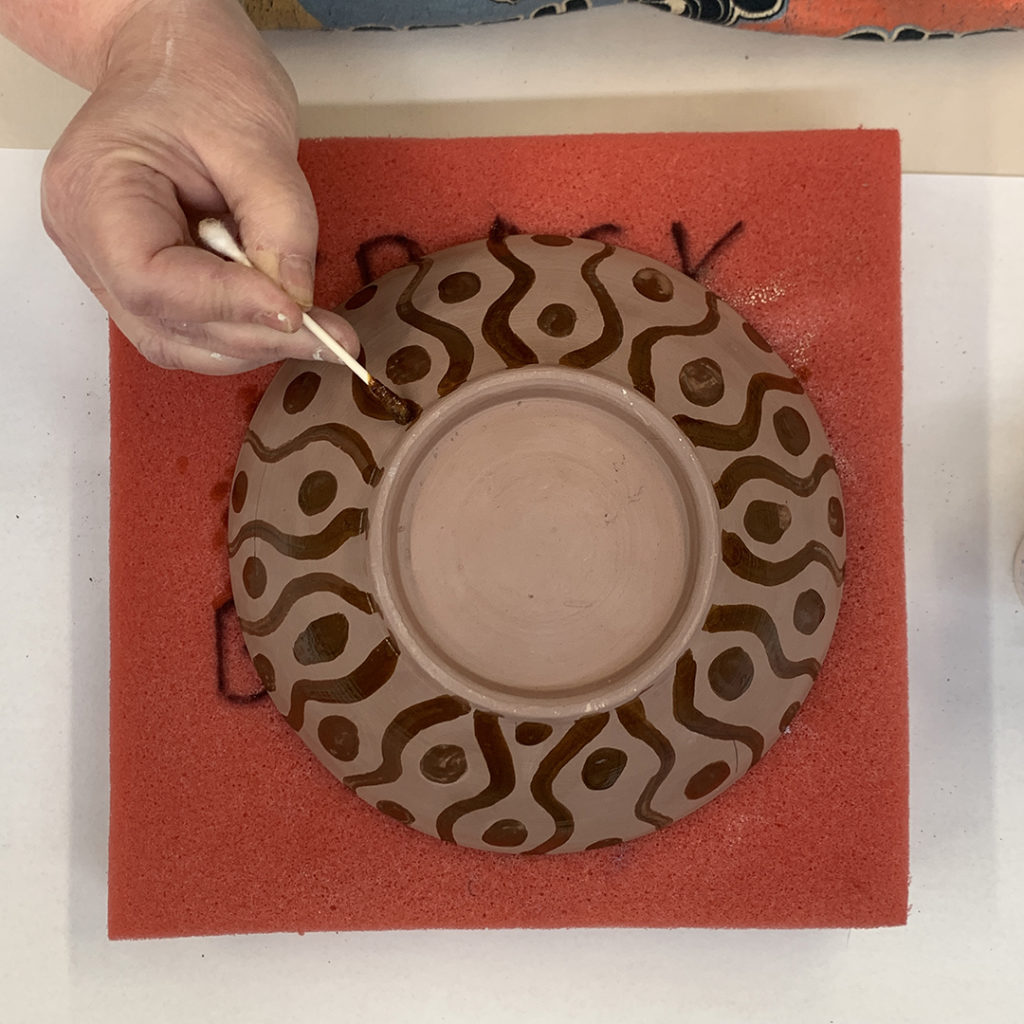
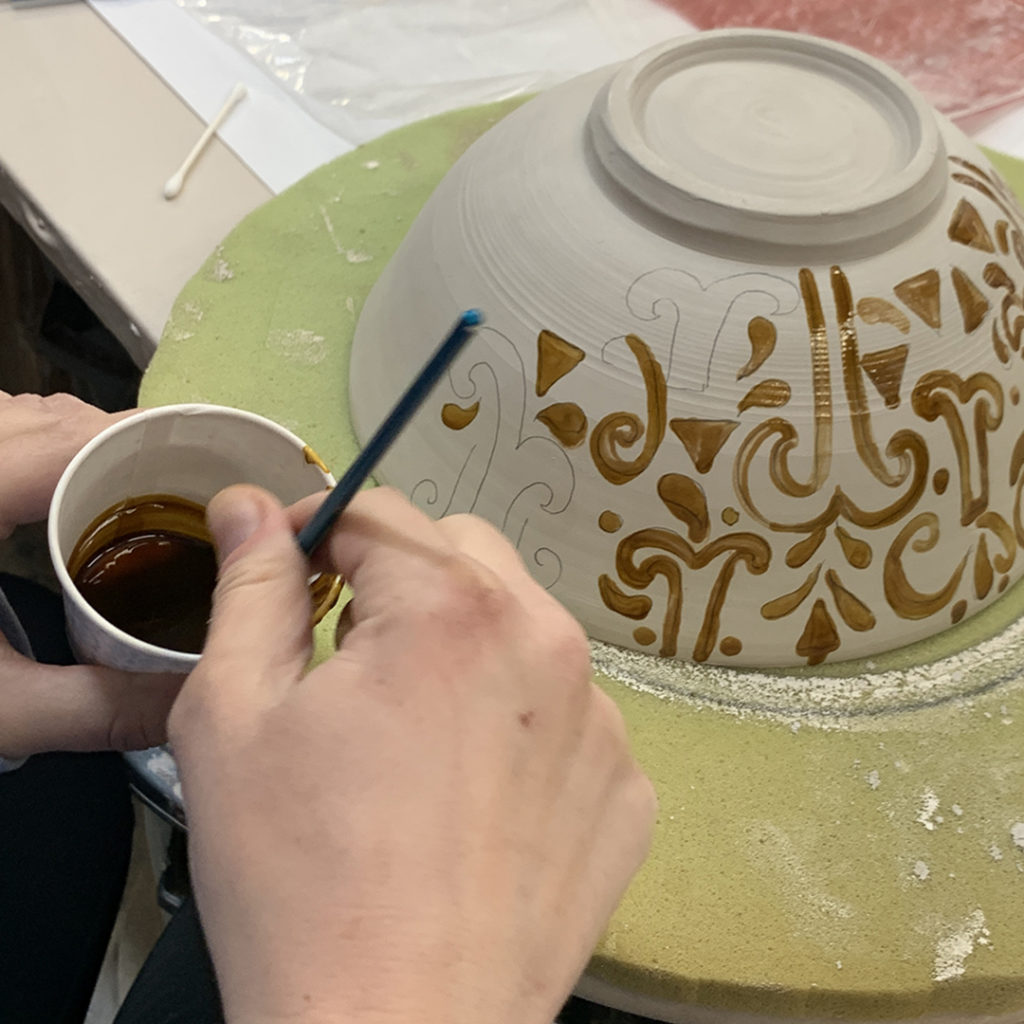
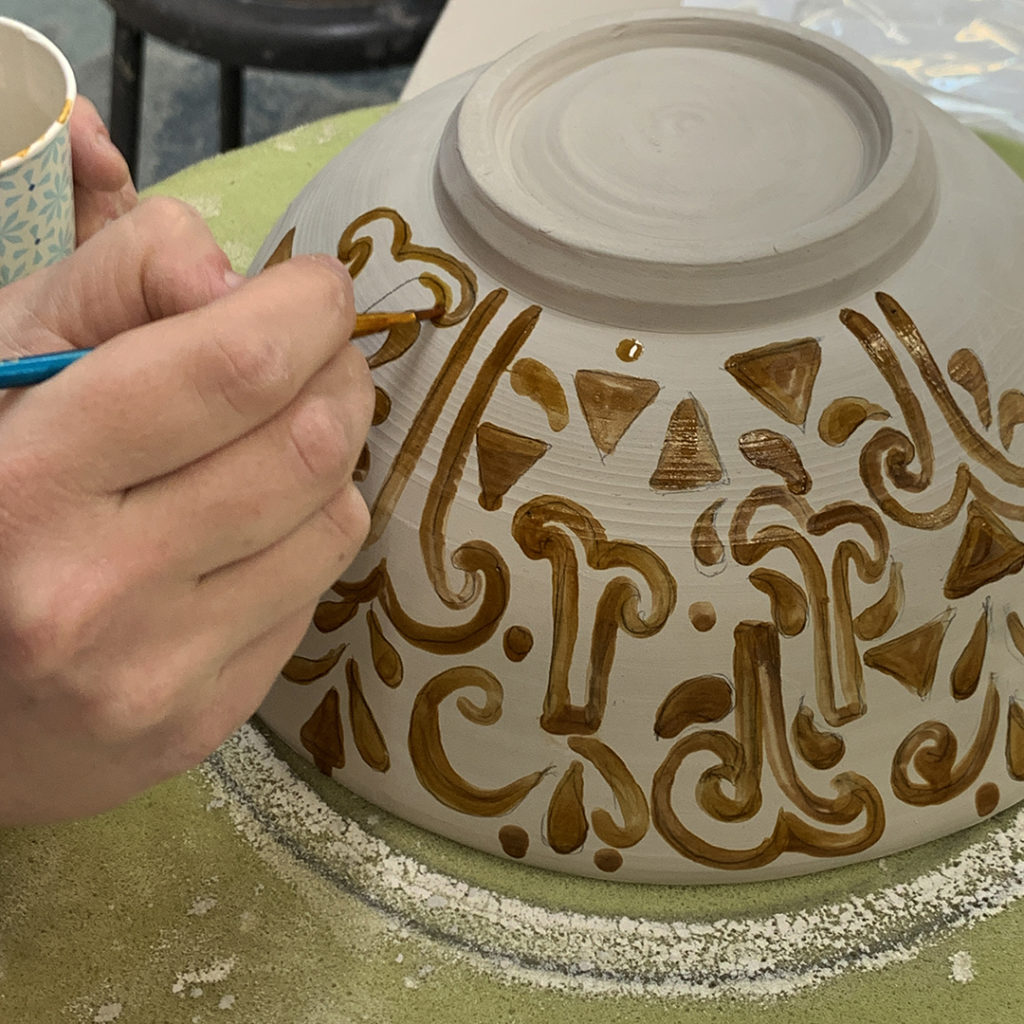
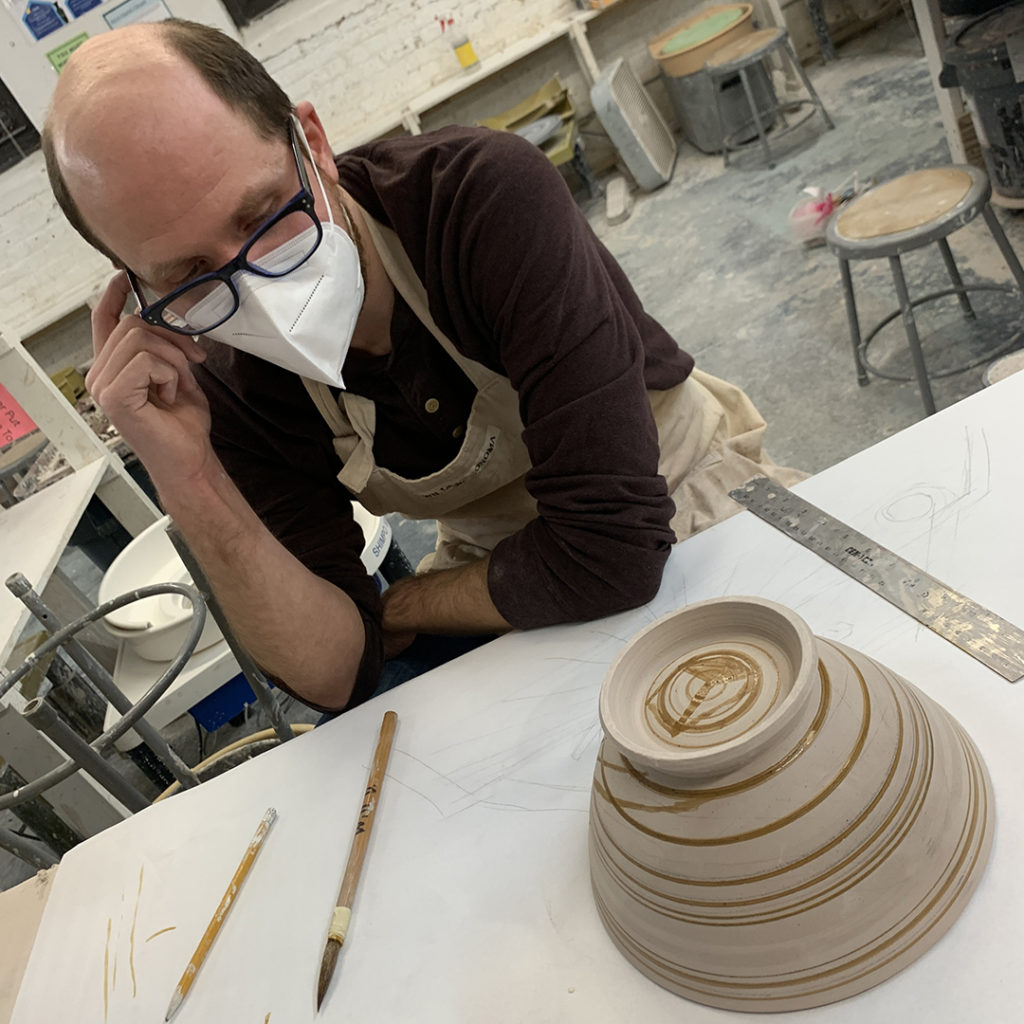
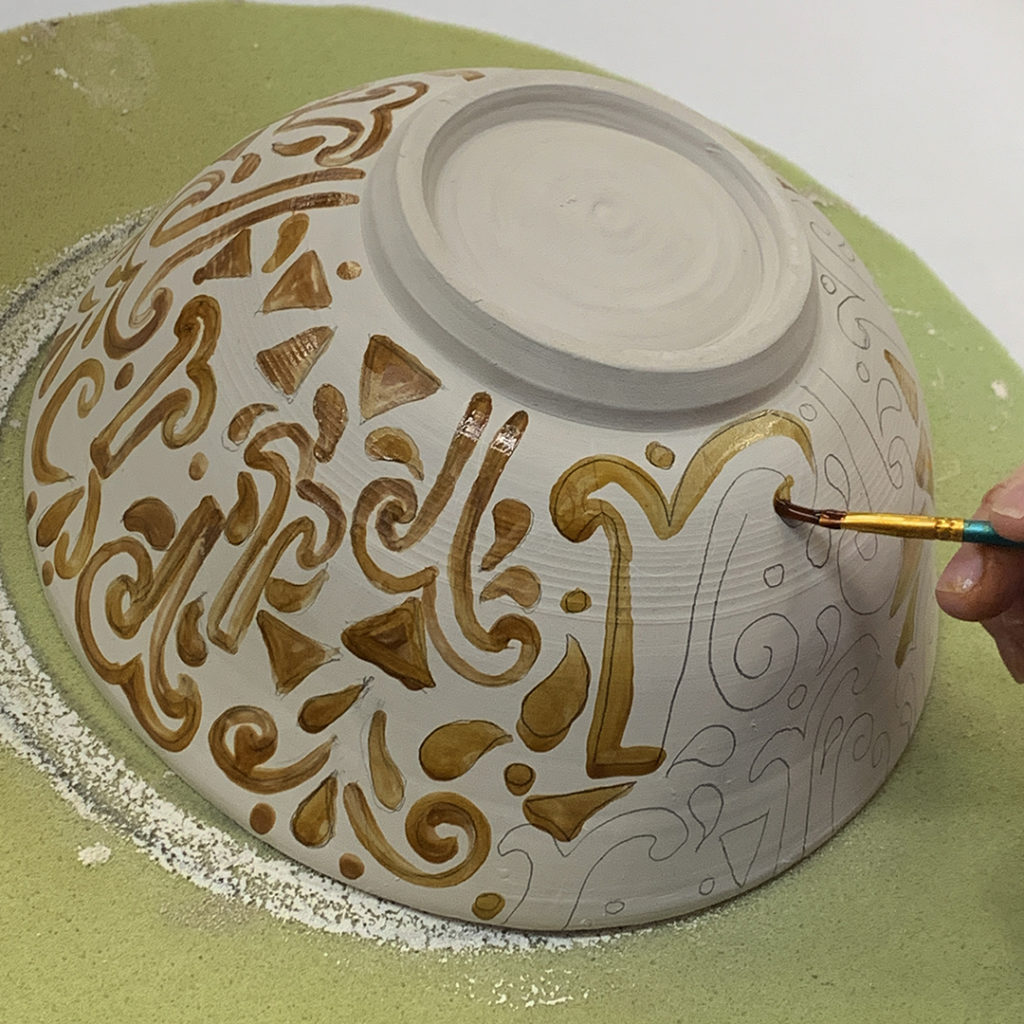
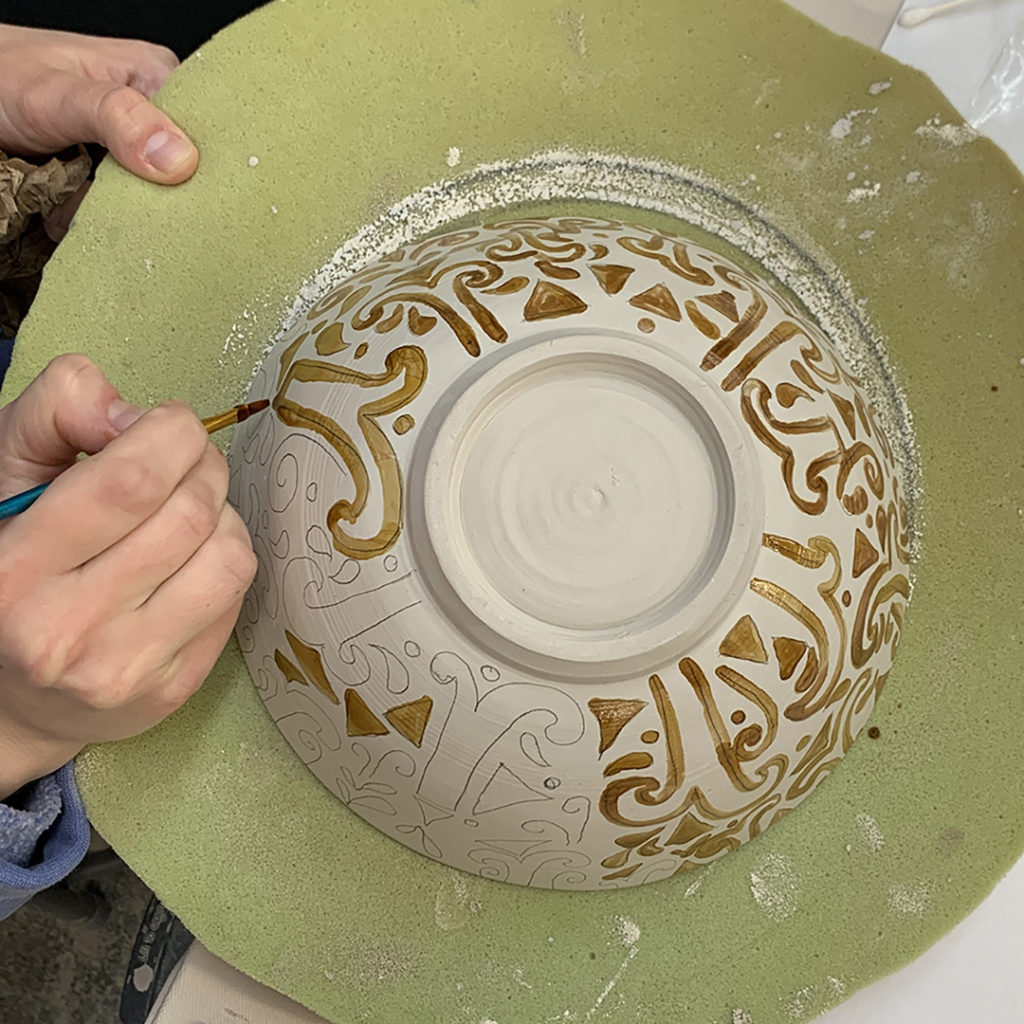
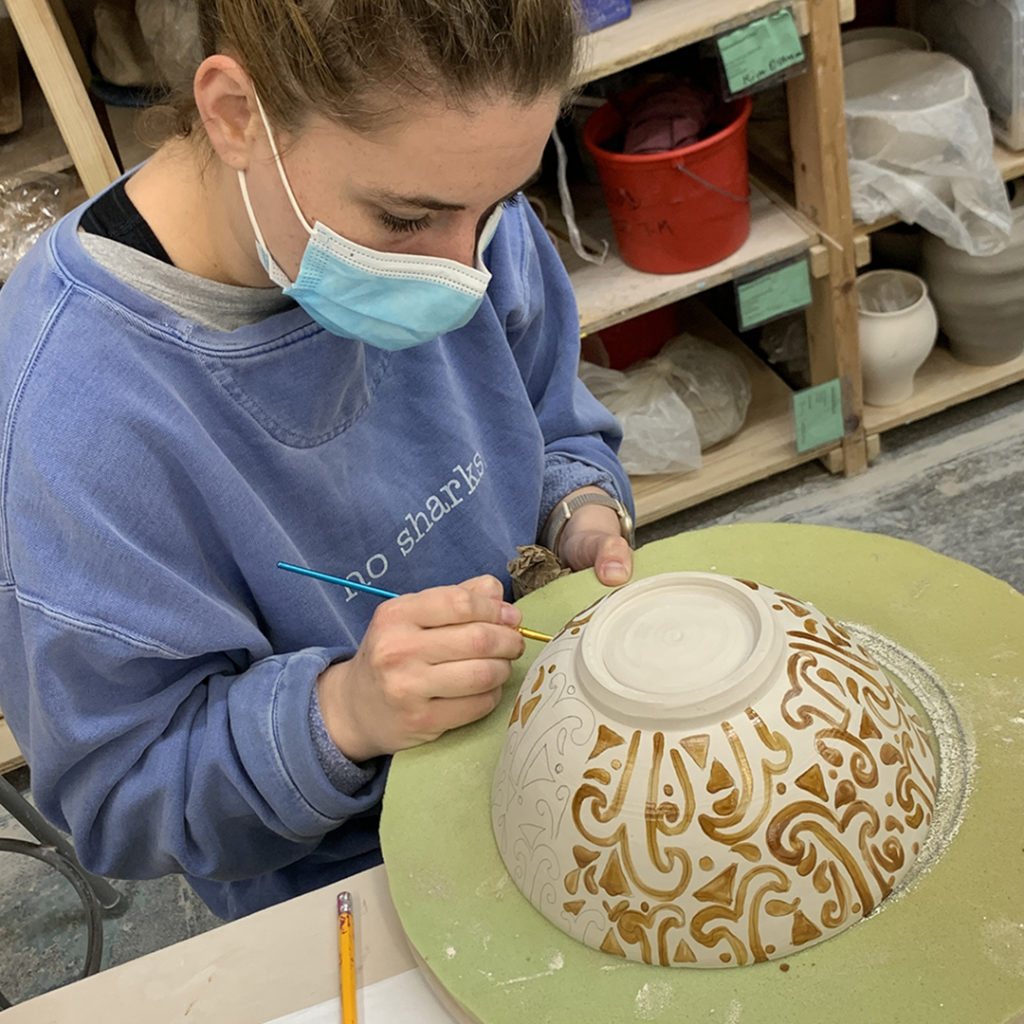
After the shellac had dried, it was time to start wiping away the “background” with a sponge & cold water. As you’re wiping, you need to be careful not to scrub away the shellac… but instead, wipe away just the background areas. As you wipe, you start to reveal a height difference.. . with a nice edge along the shellac’d areas. The shellac will disappear during the bisque firing… so the finished surface it layered & ready for glazing! Well done my LILLSTREET THROWDOWNers!!!

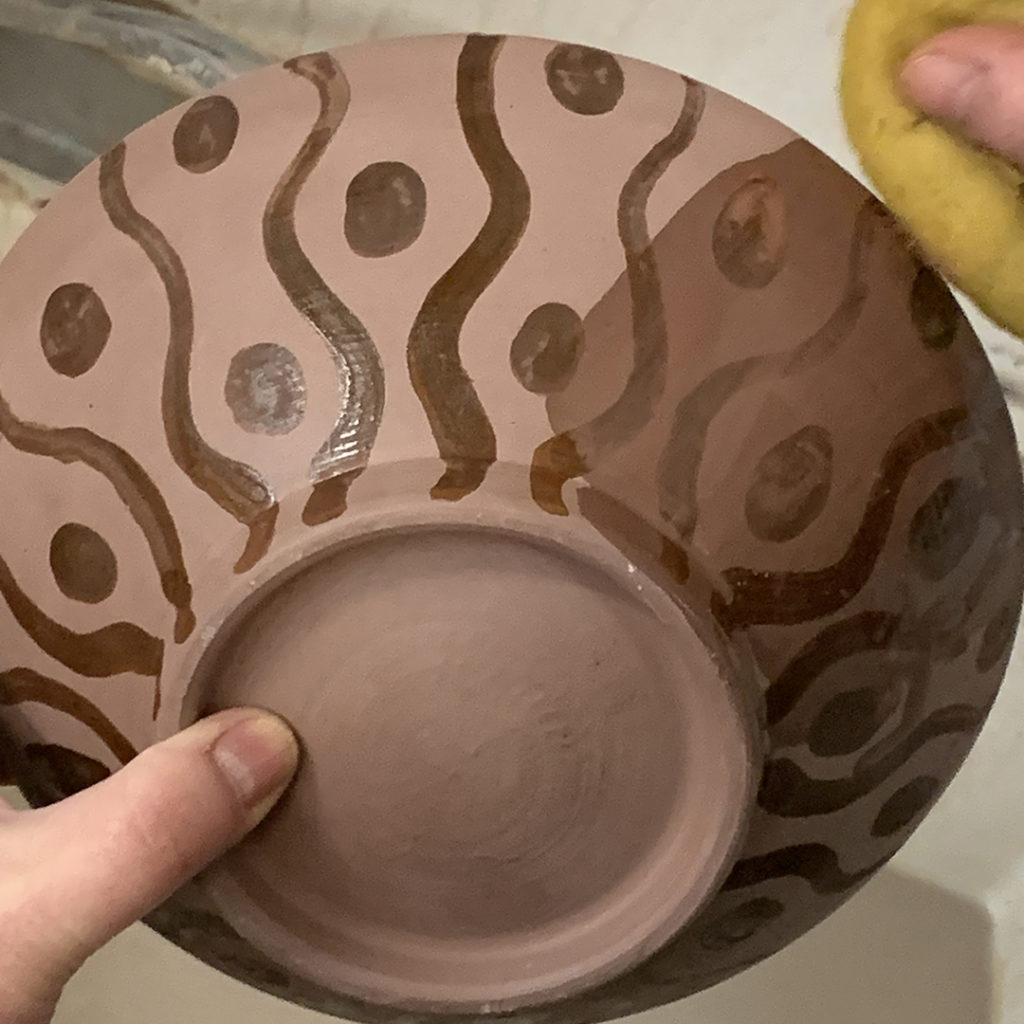
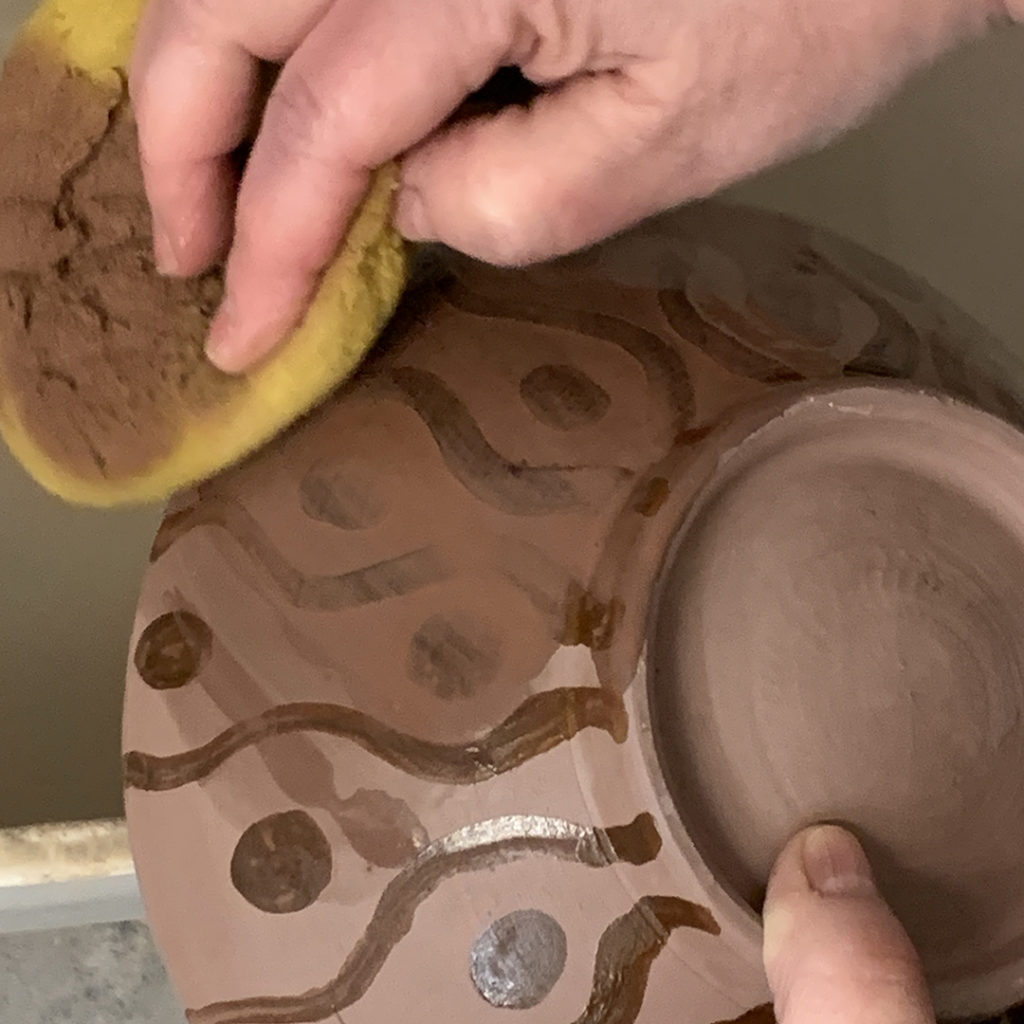

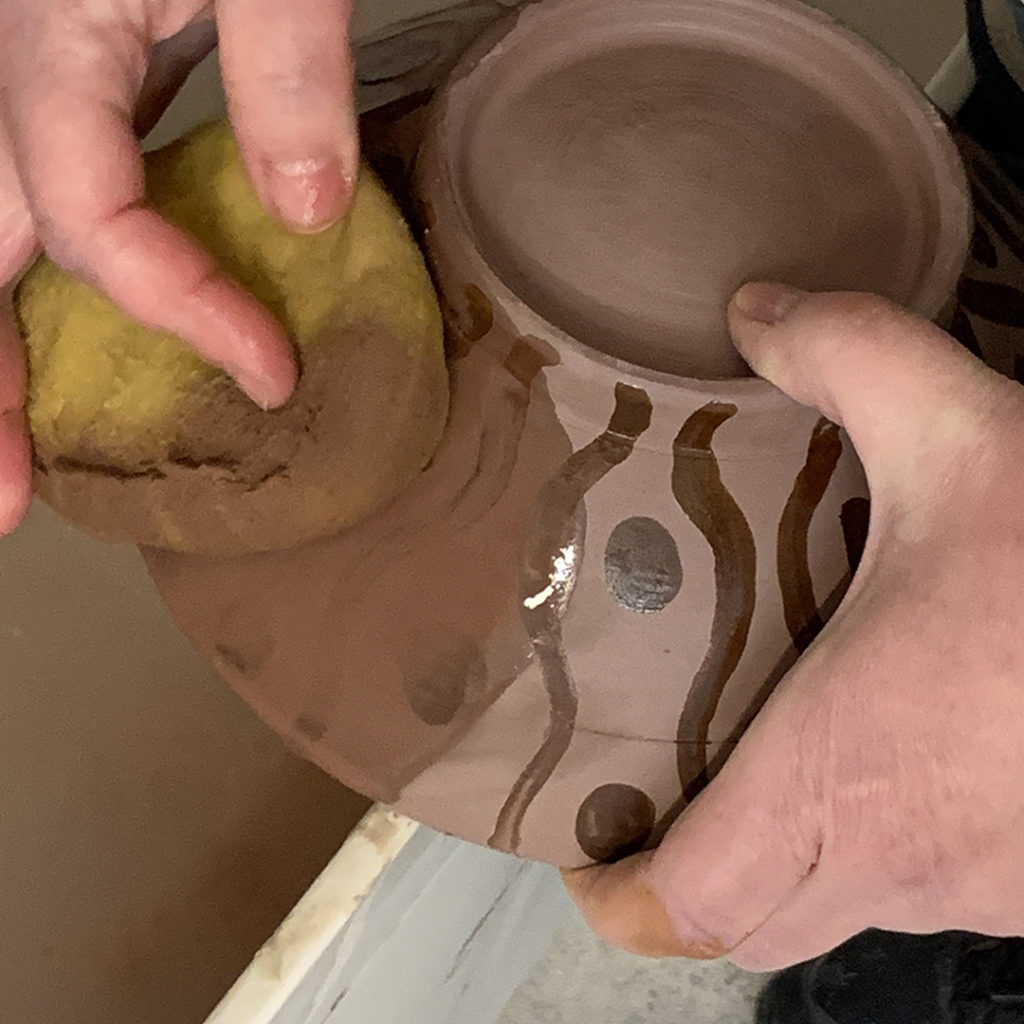


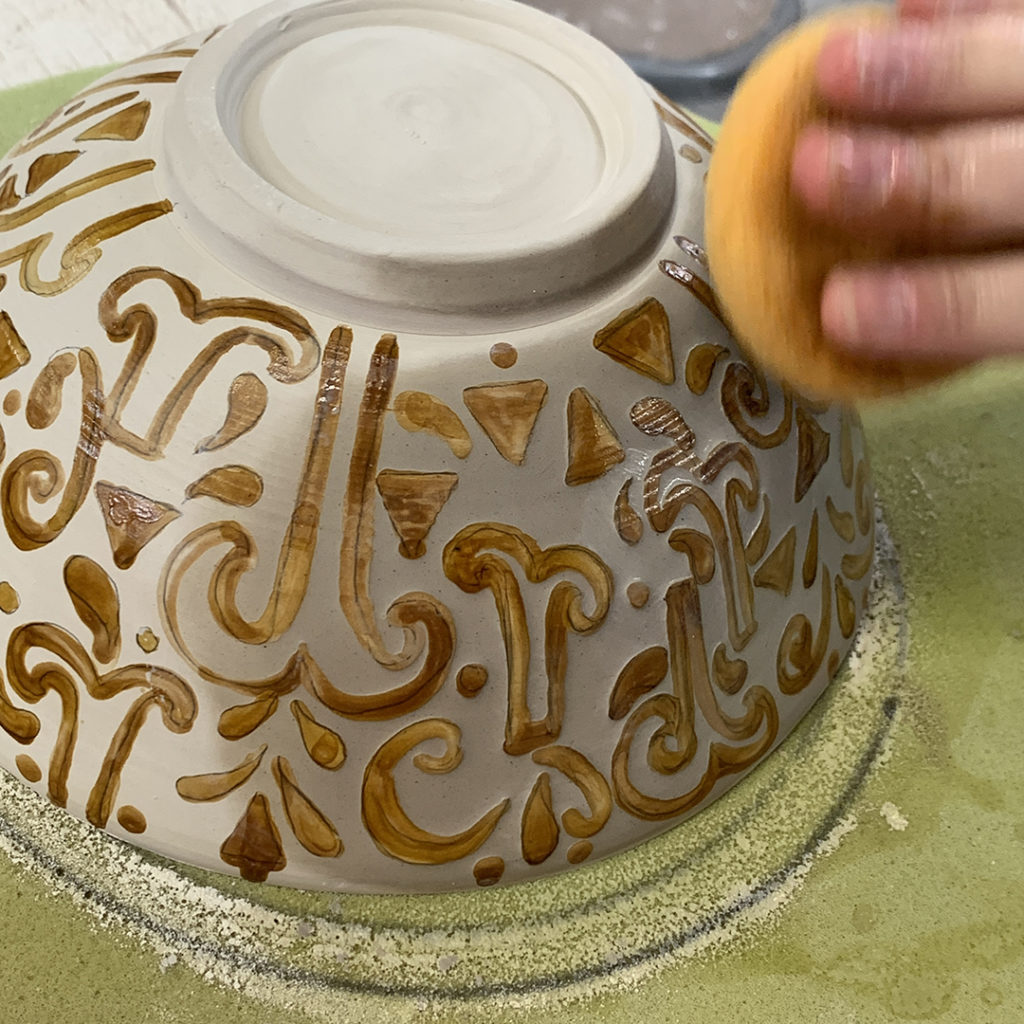


Last week in our LILLSTREET THROWDOWN class, we tackled some surface decoration with a bit of water etching. The basic idea is that you paint on some patterns using wax resist or shellac onto a bone dry bowl. When dry, the areas that are not “protected” by the wax or shellac will then be wiped away with cold water… taking those surfaces down a bit, while leaving the protected layers “higher” at their original level. It was a new technique for a few of them, and they more than stepped-up to the challenge!!!


|
Gary Jackson: Fire When Ready Pottery
Lillstreet Studios ∙ 4401 North Ravenswood, Chicago, Illinois 60640 ∙ 773-307-8664 gary@firewhenreadypottery.com |