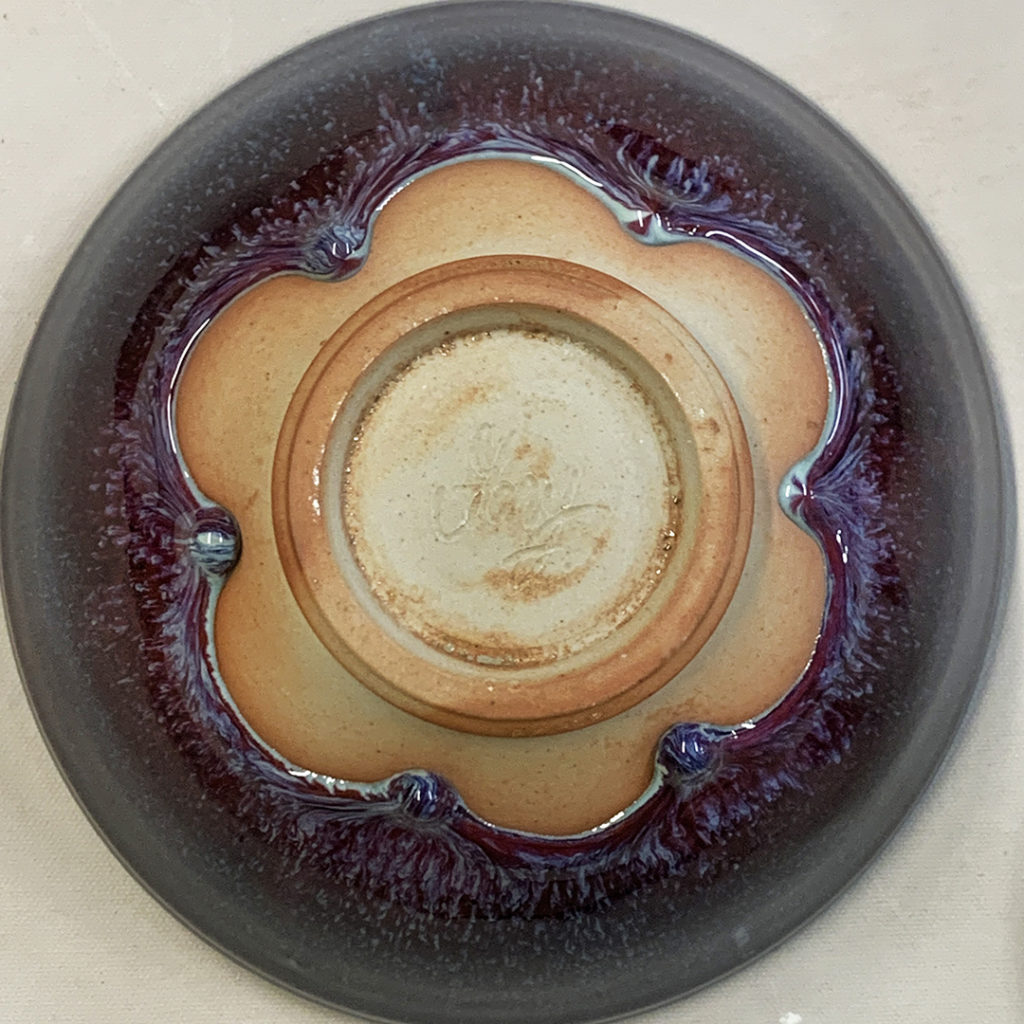
Okay, so there’s been a good bit of “buzz” about this bowl around the glaze carts… everyone asking how I did it. And I didn’t… but because my name is in the bottom everyone assumes it’s my glazing too?! But it’s NOT.
Chelsea was looking for some bisqued bowls for her glaze class demos… and I gave her a couple to play with. This one turned out STUNNING!!! Beautifully vibrant colors, incredible ombre’ blends, gravity-defying drips, the WHOLE THING!!!
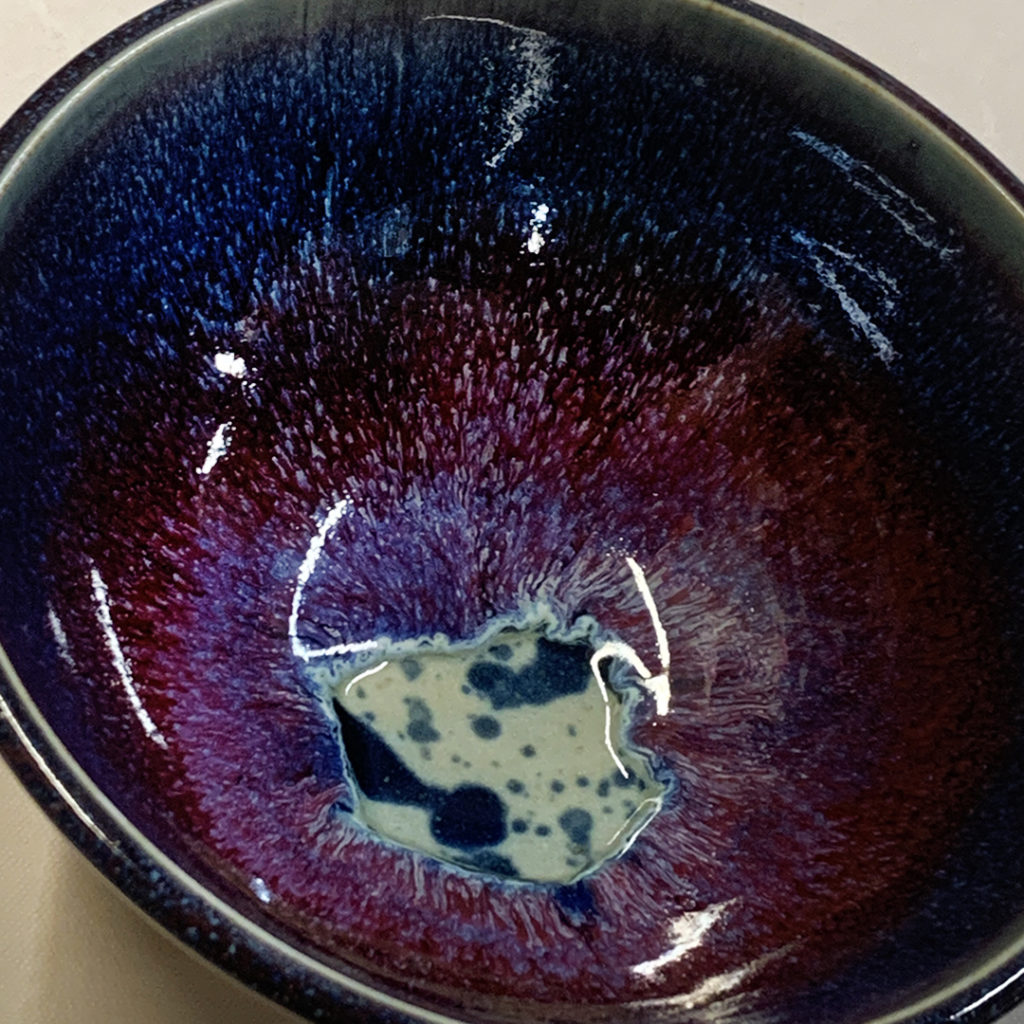

So here’s the glaze plan…
as best I understand it from Chelsea, Queen of All Glazing…
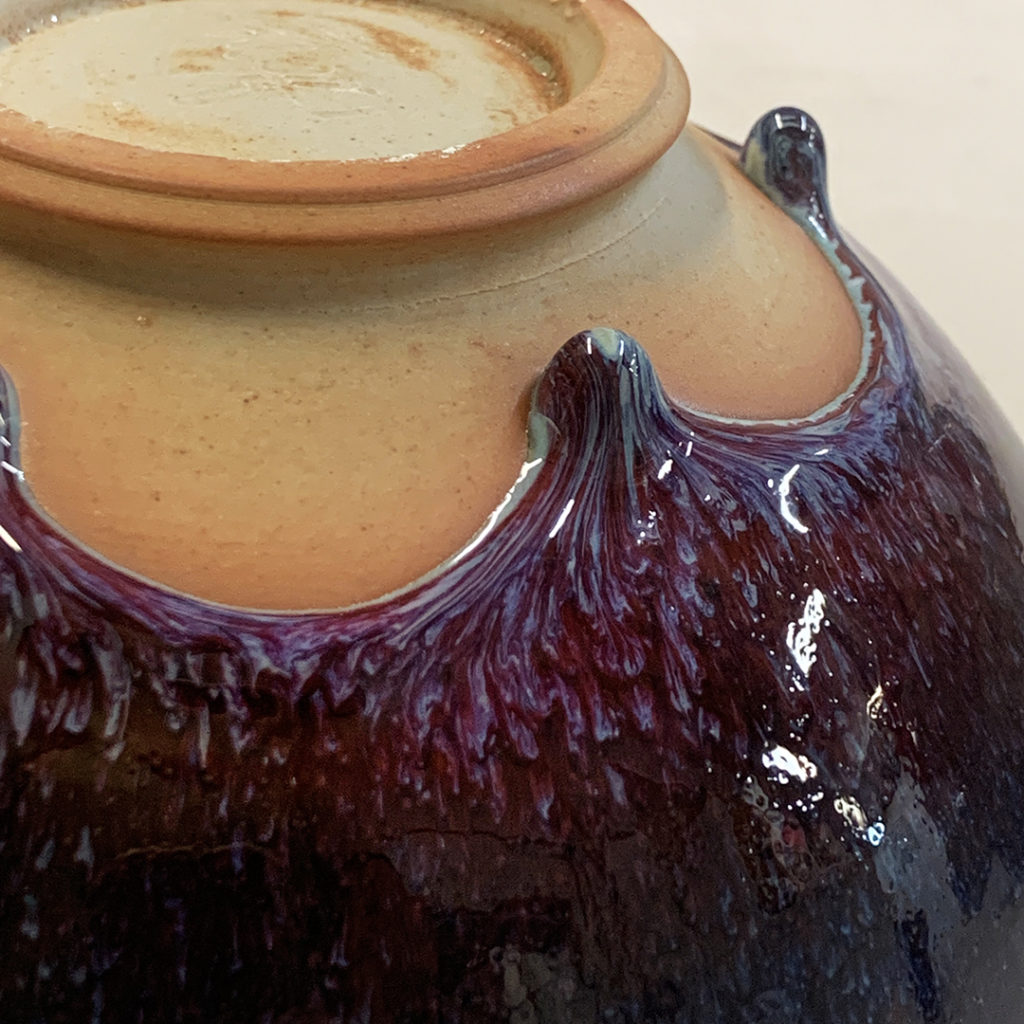
1. Waxed the bottom with decorative scalloping.
2. Dip fully in Chun Blue.
3. Dip the top rim inside & outside with Galaxy Black.
4. Just below that, paint a thick band of Tom’s Purple.
5. Dip the top rim inside & out to cover those two bands of black & purple.
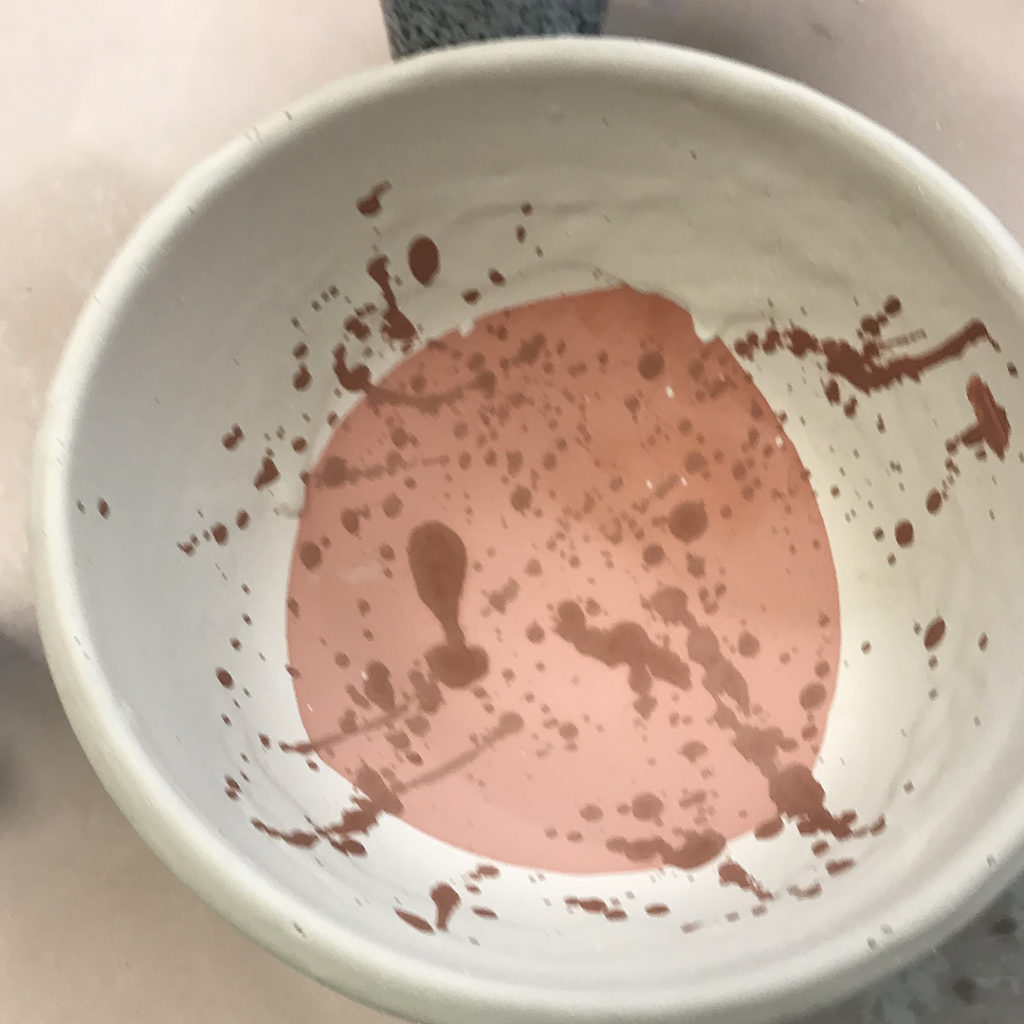
6. Then add a few splatters of Galaxy Black on the interior.
7. And then fingers crossed for some kiln magic… which she definitely got!!!