Last night’s class demo how to throw basic bowls.
And that’s basic bowls on purpose… and NOT cylinders gone bad. I like to teach my Beginner’s how to throw a bowl from the start with a nice smooth & even curve inside. No flat bottoms. No beginner’s ledge. No divots. So I do a demo for the with one bowl – and then set them off to work on their own bowls!
While they’re throwing their bowls, I continue throwing more basic bowls. After I finish making them all, we re-group for Part Two of the class demo. For this part I like to show them some quick & easy ways to alter & decorate their bowls. I tell them that “The Wheel” pretty much did all of the work making a round bowl. Now it’s up to THEM to do something to it to make it their own! And encourage playing with their clay. To try something new. And if it doesn’t work… no biggie. Just squish it up, wedge it and throw it again!
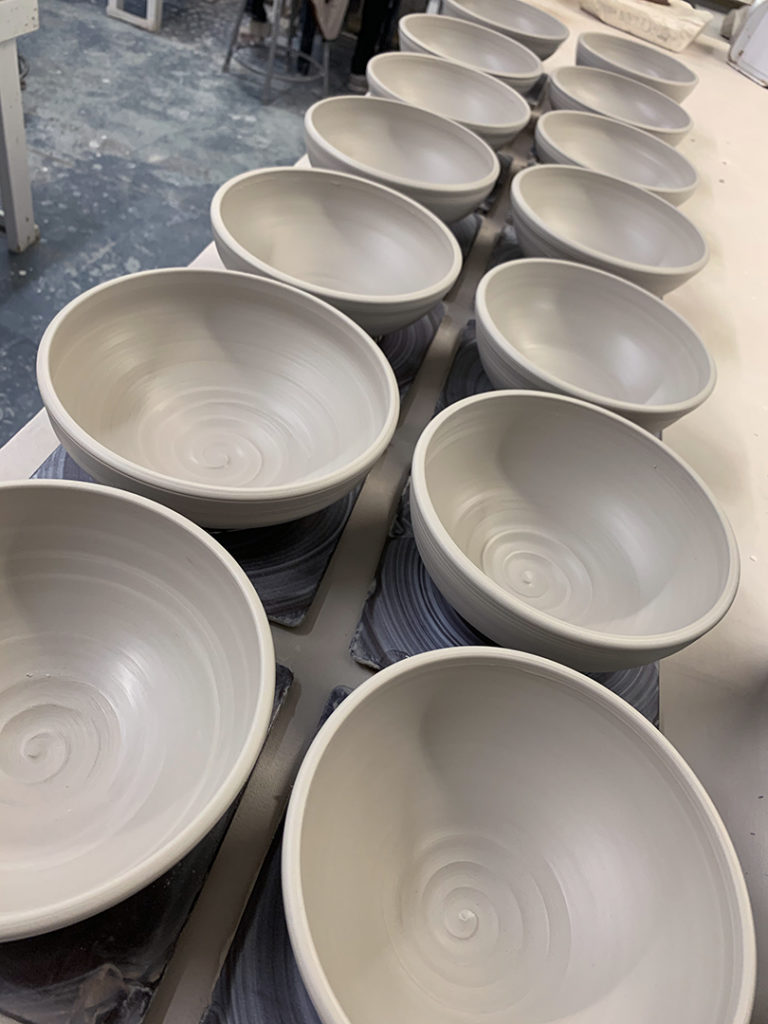
So here are my bowl demos from last night…
each with some simple decorative alterations!
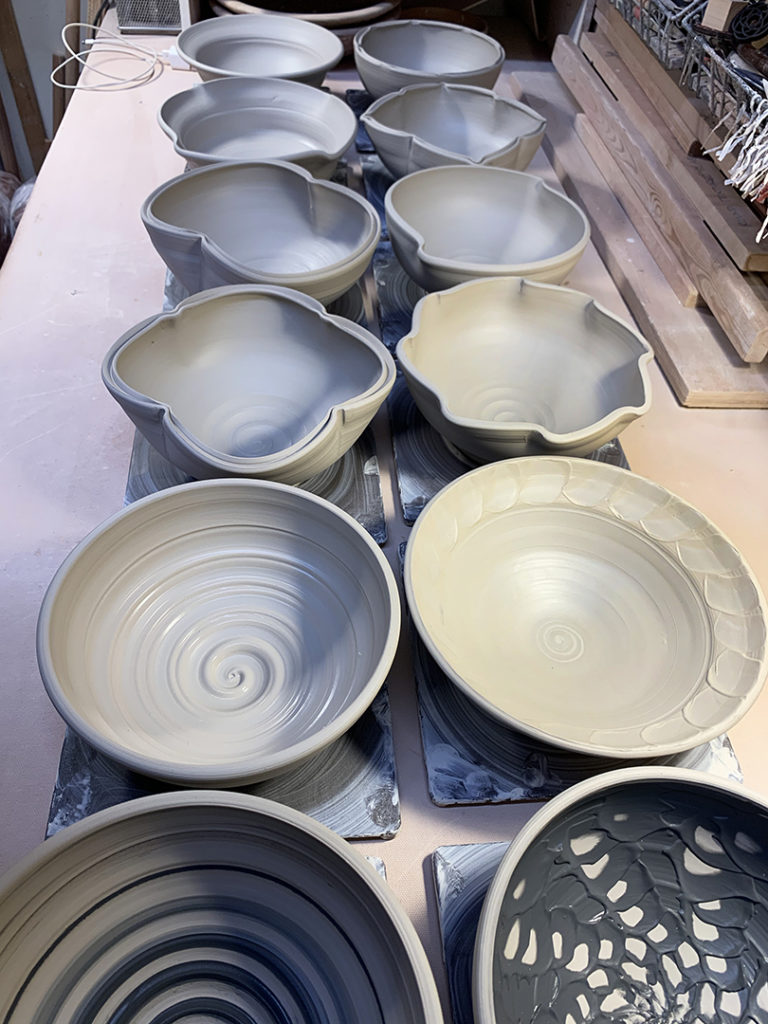
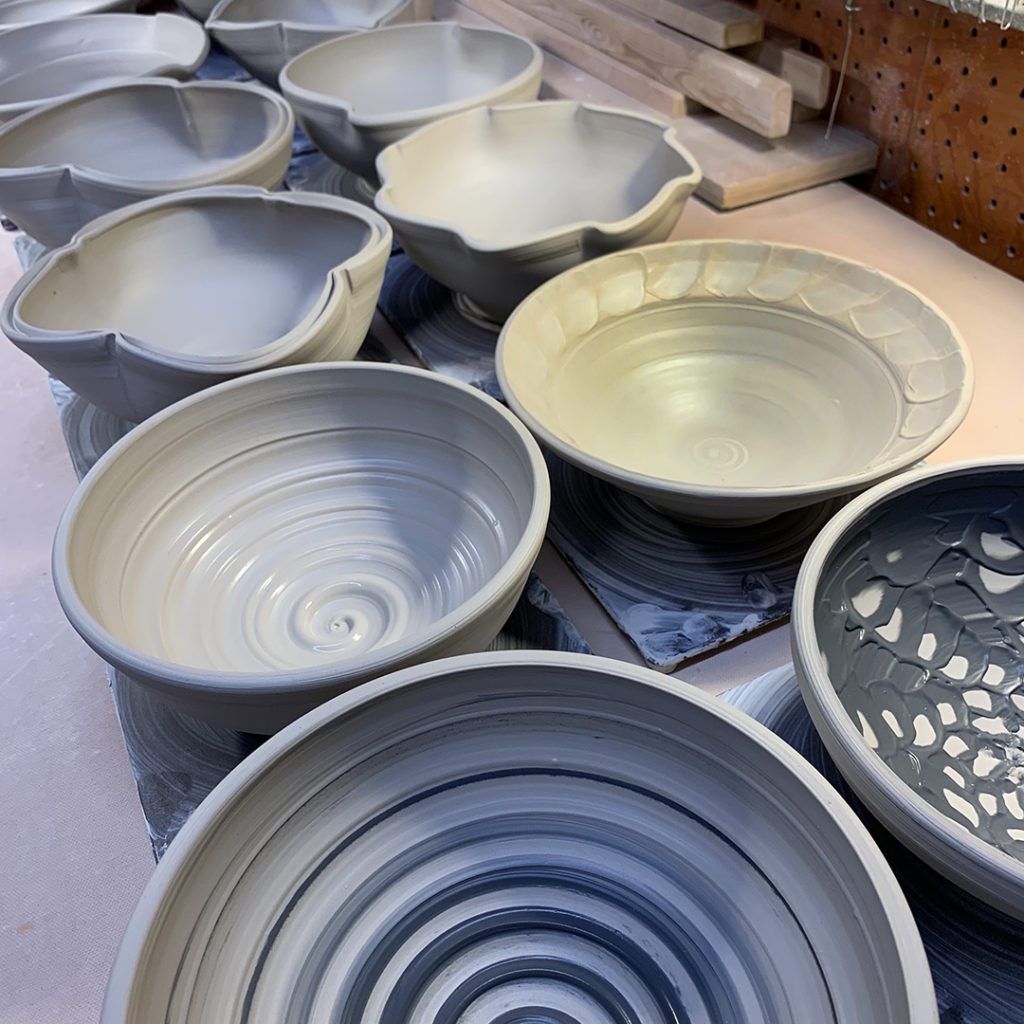
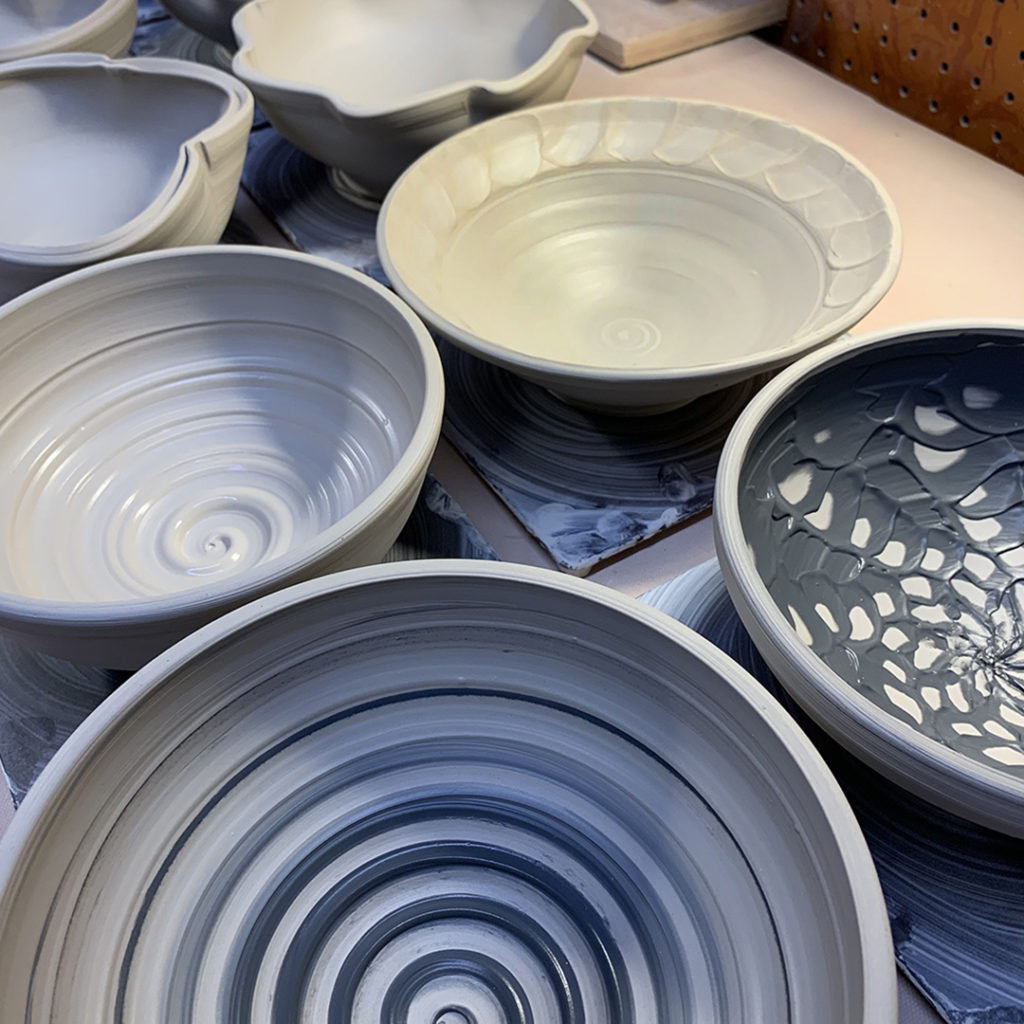
Bowl #1 – Two simple fluted edges
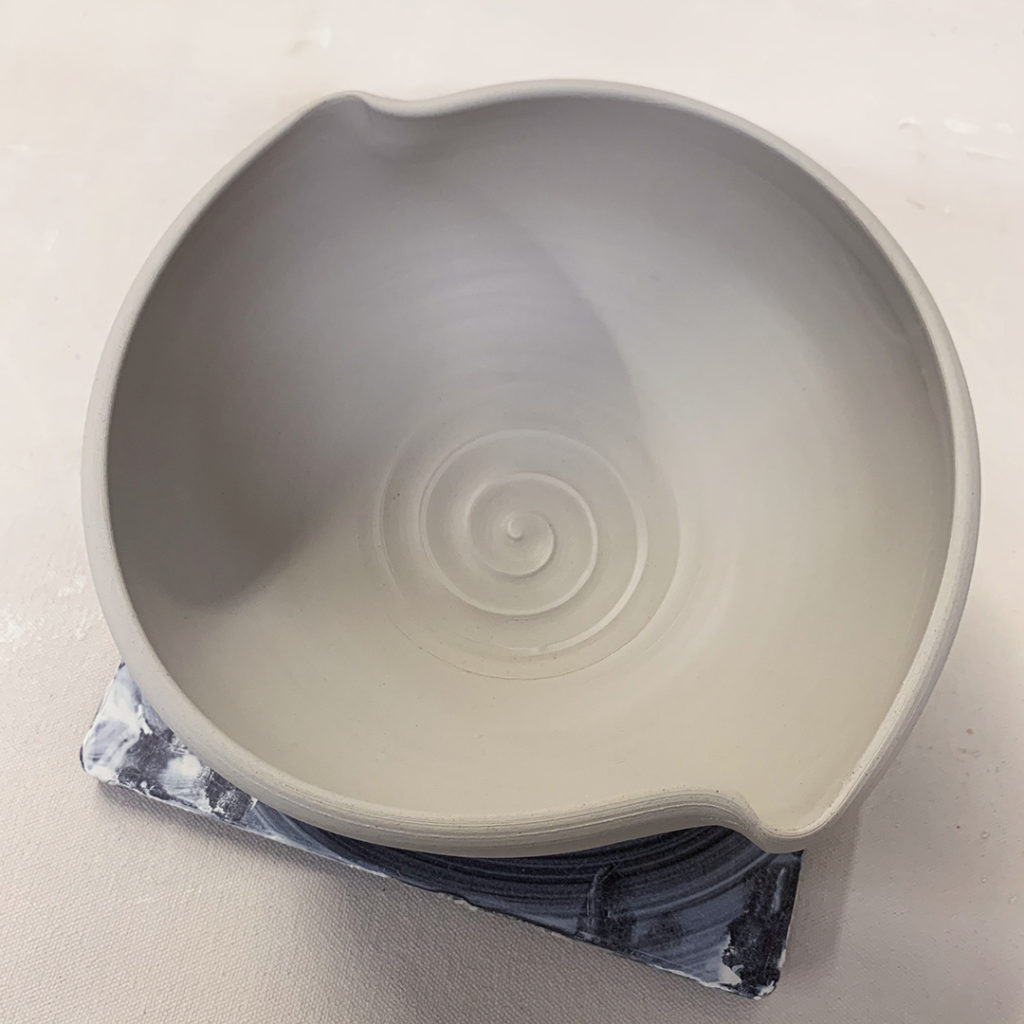
Bowl #2 – Eight fluted edges

Bowl #3 – Flared-out flange
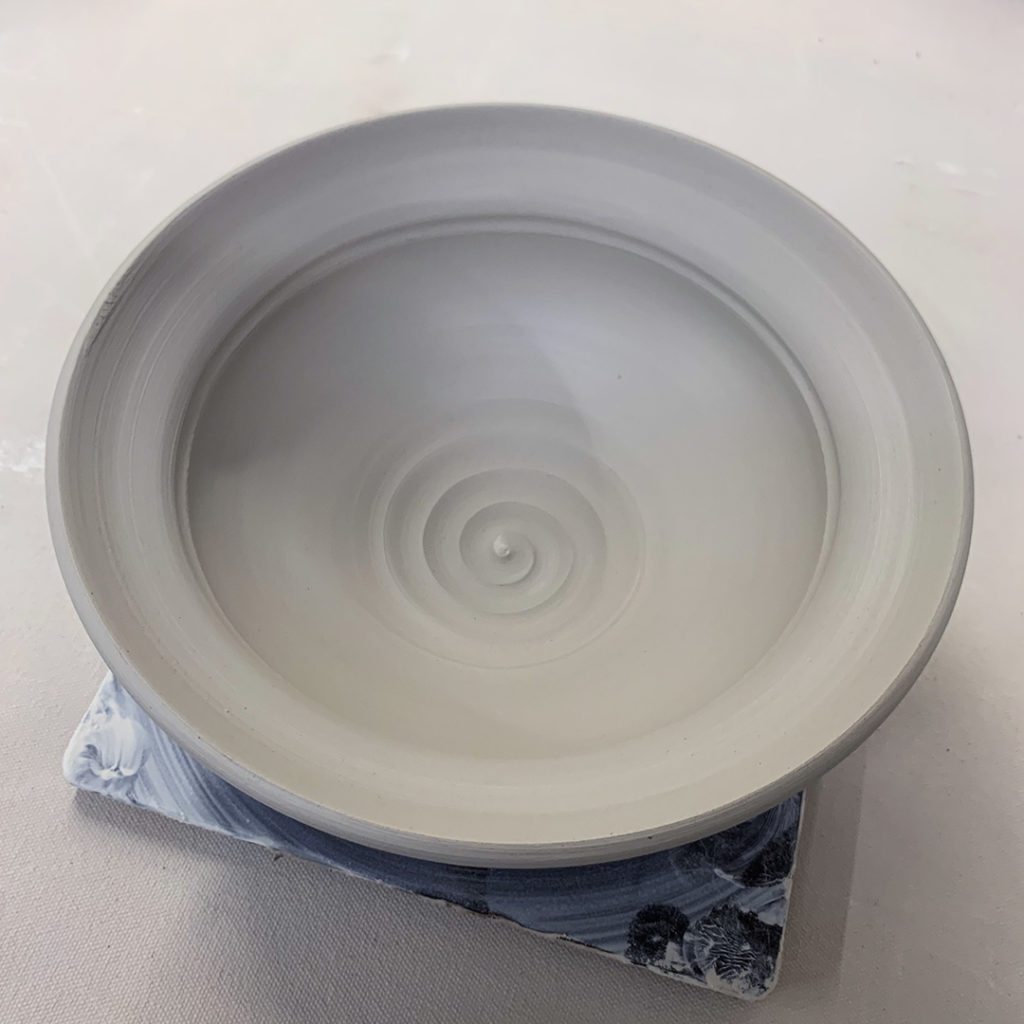
Bowl #4 – Flared flange & four fluted edges
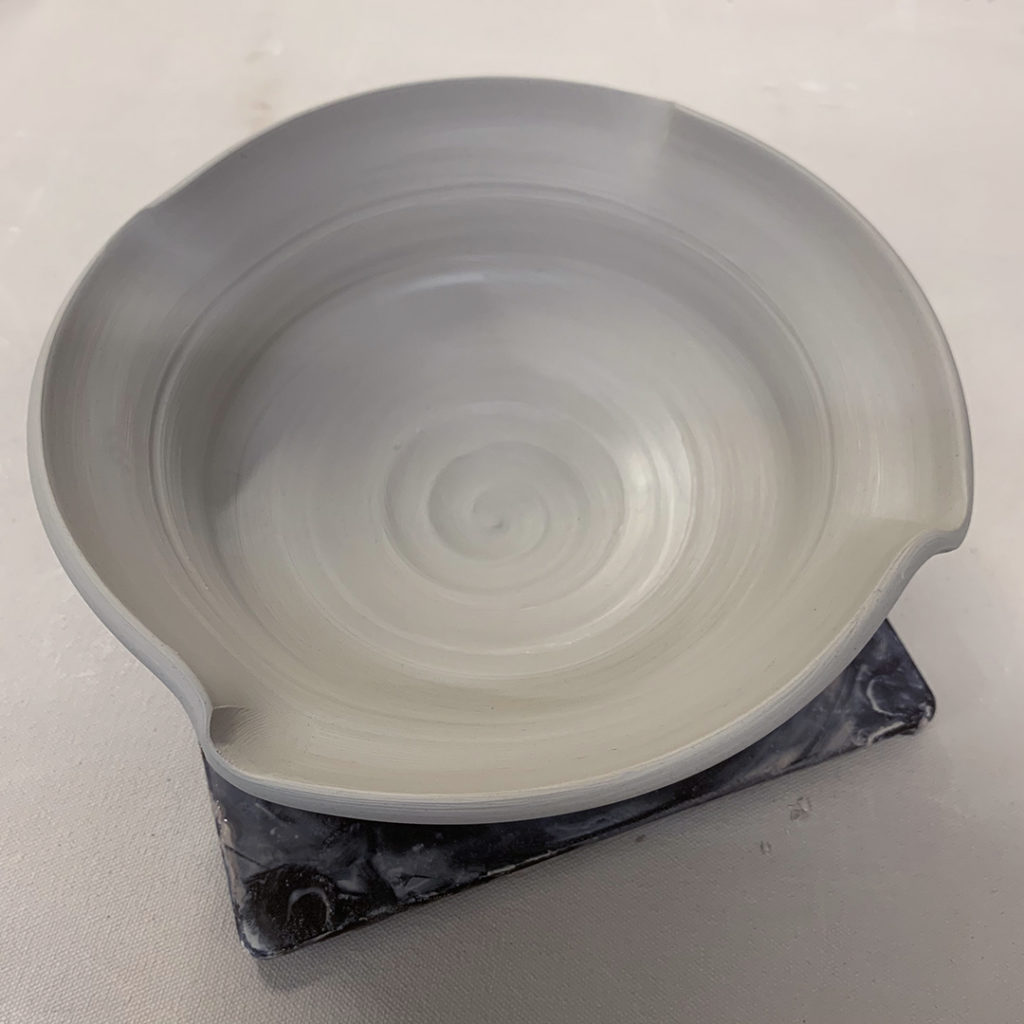
Bowl #5 – Split rim with eight pinches
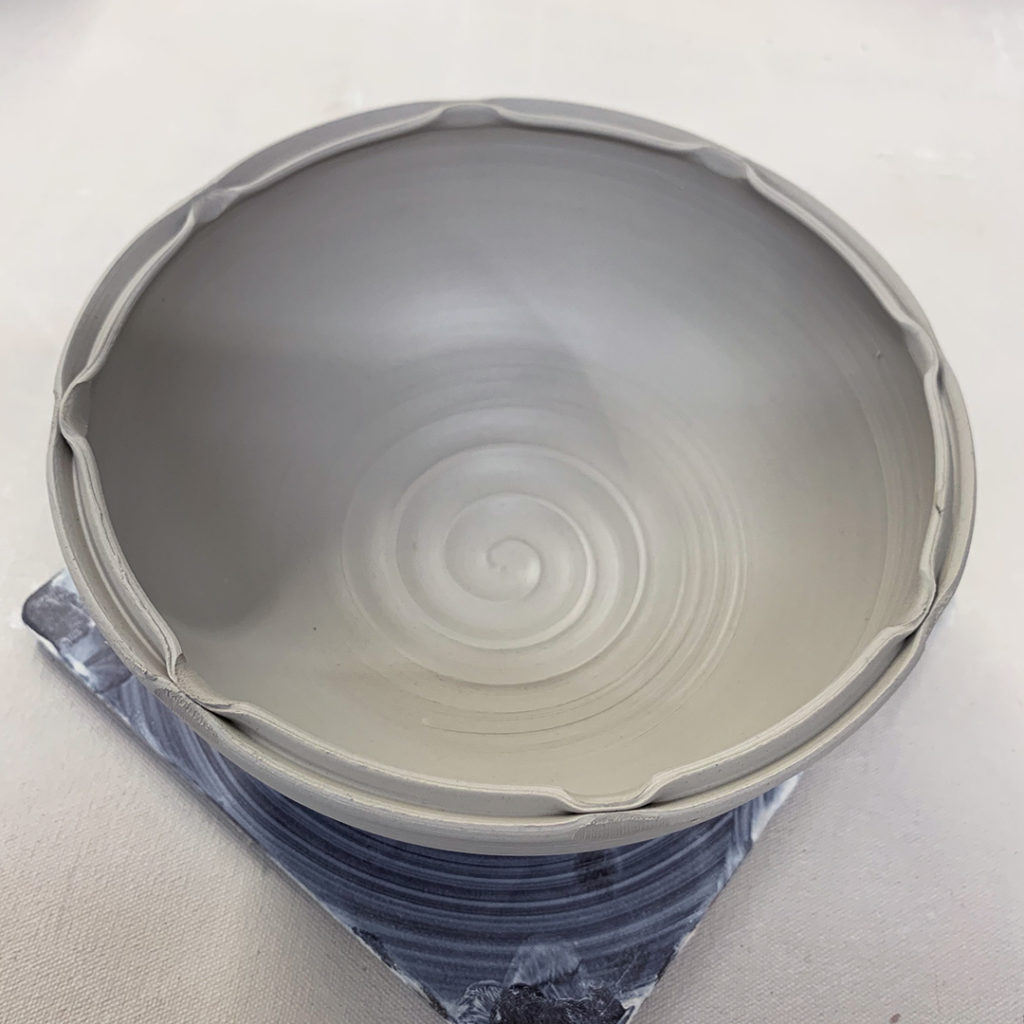
Bowl #6 – Split rim with two indentations… waiting for an “over the top” handle to make it like a basket.
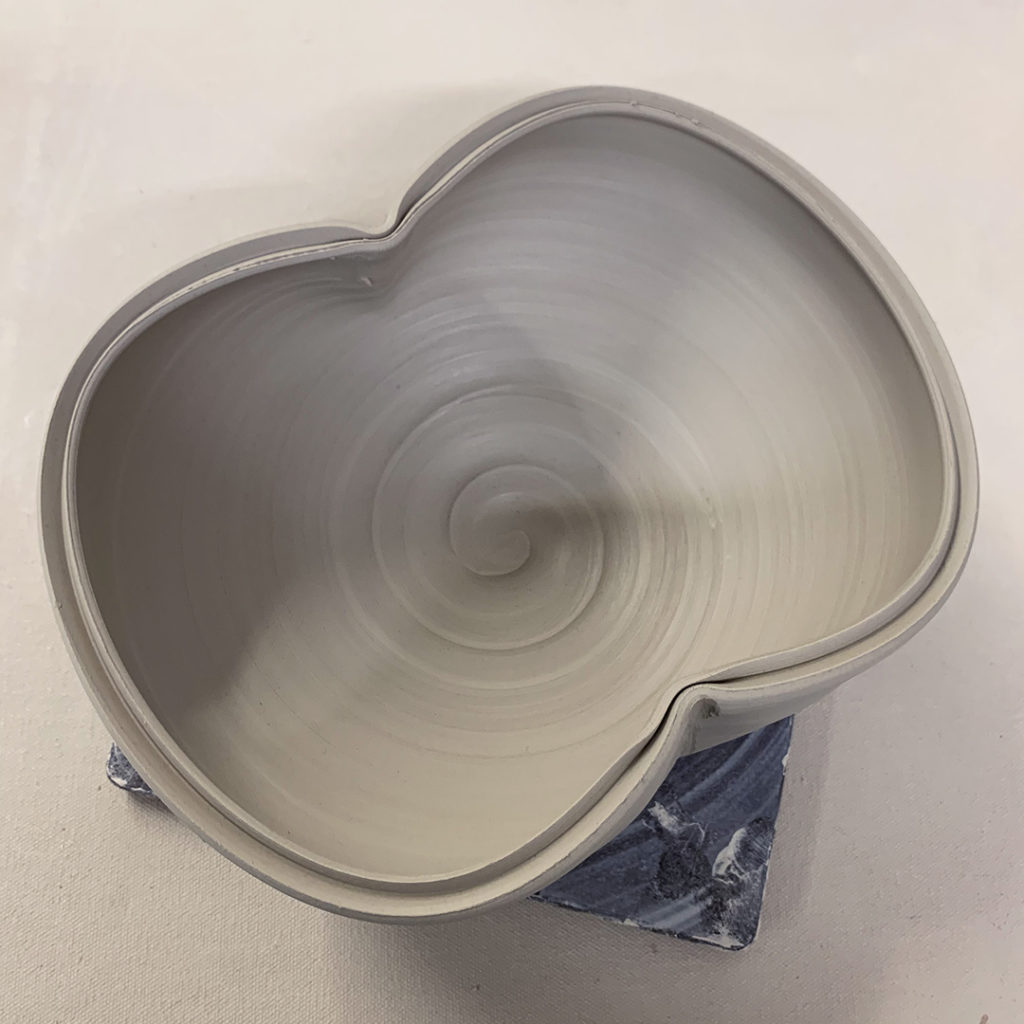
Bowl #7 – Split rim with four side indentations
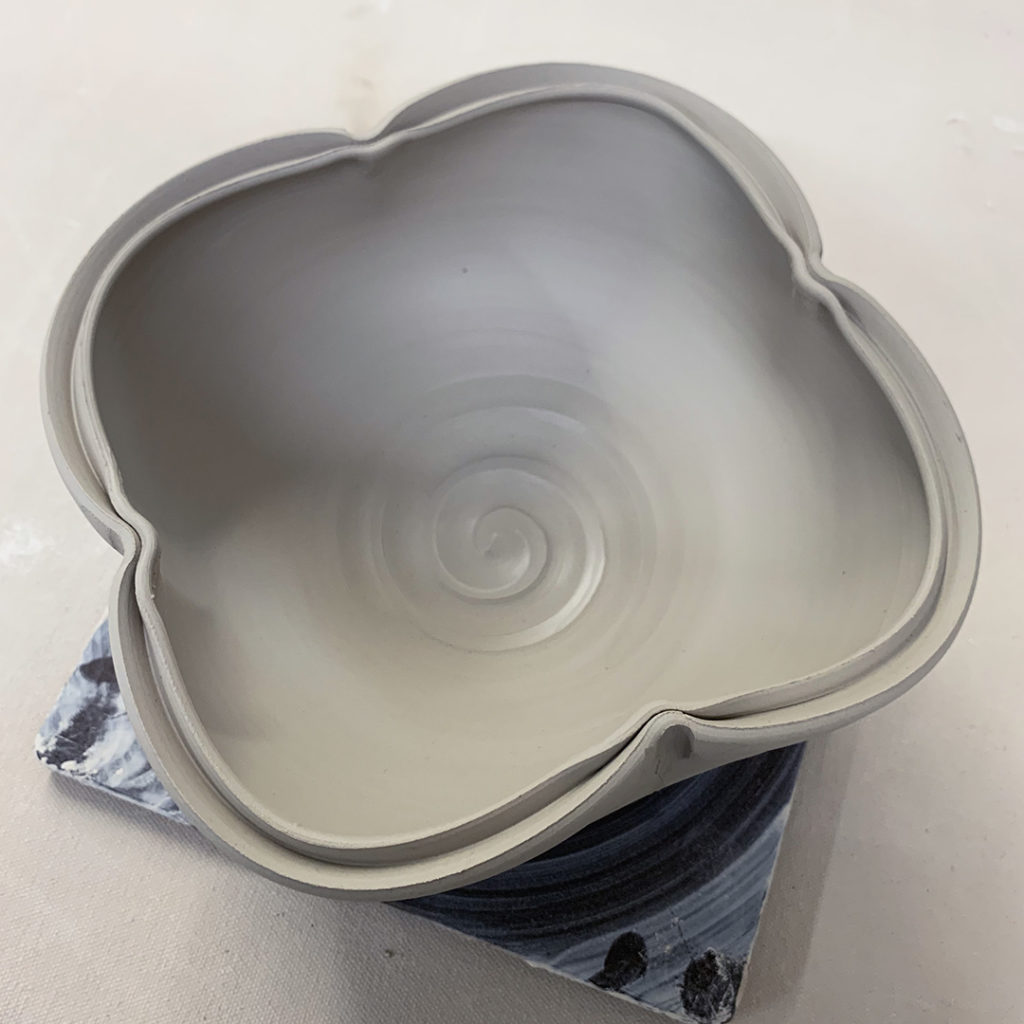
Bowl #8 – Split rim with four indentations IN, and four indentations OUT.
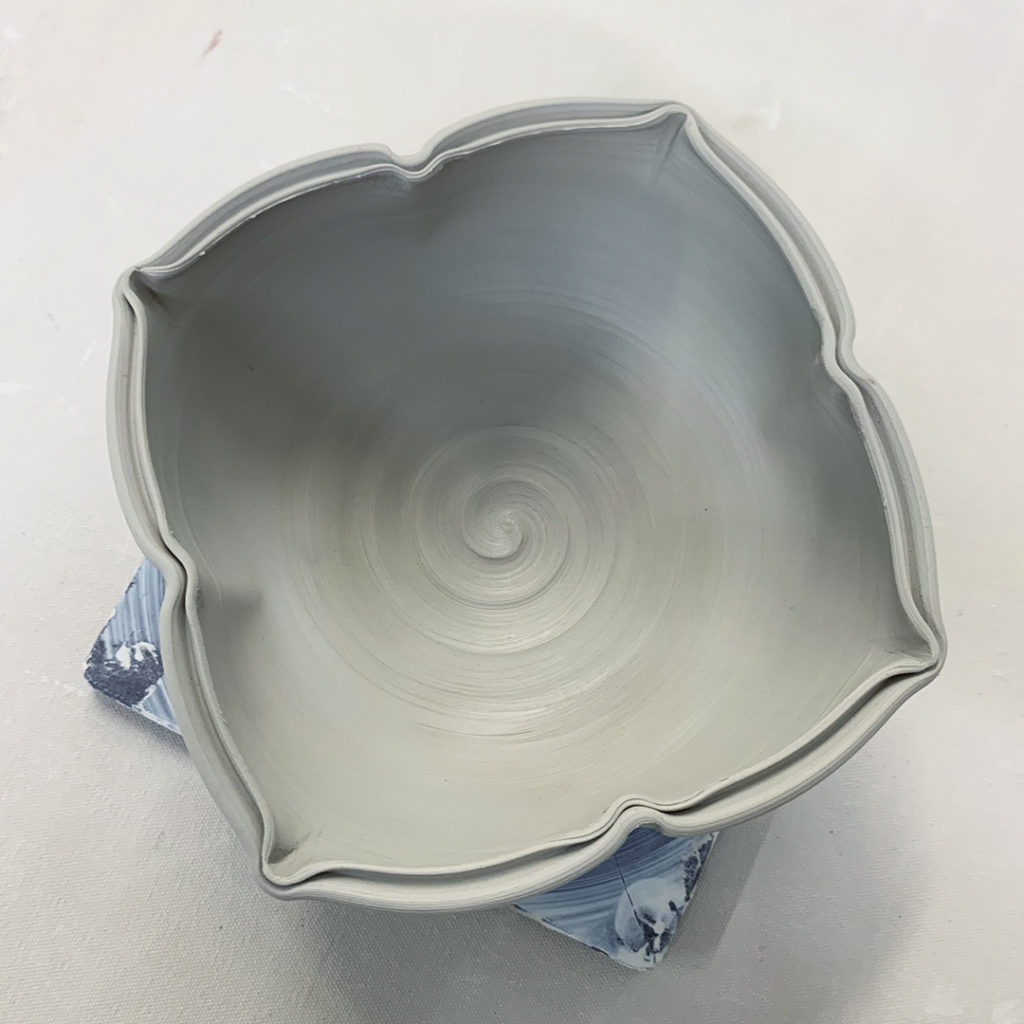
Bowl #9 – A thick white slip spiral.

Bowl #10 – Thick white slip finger squiggles.
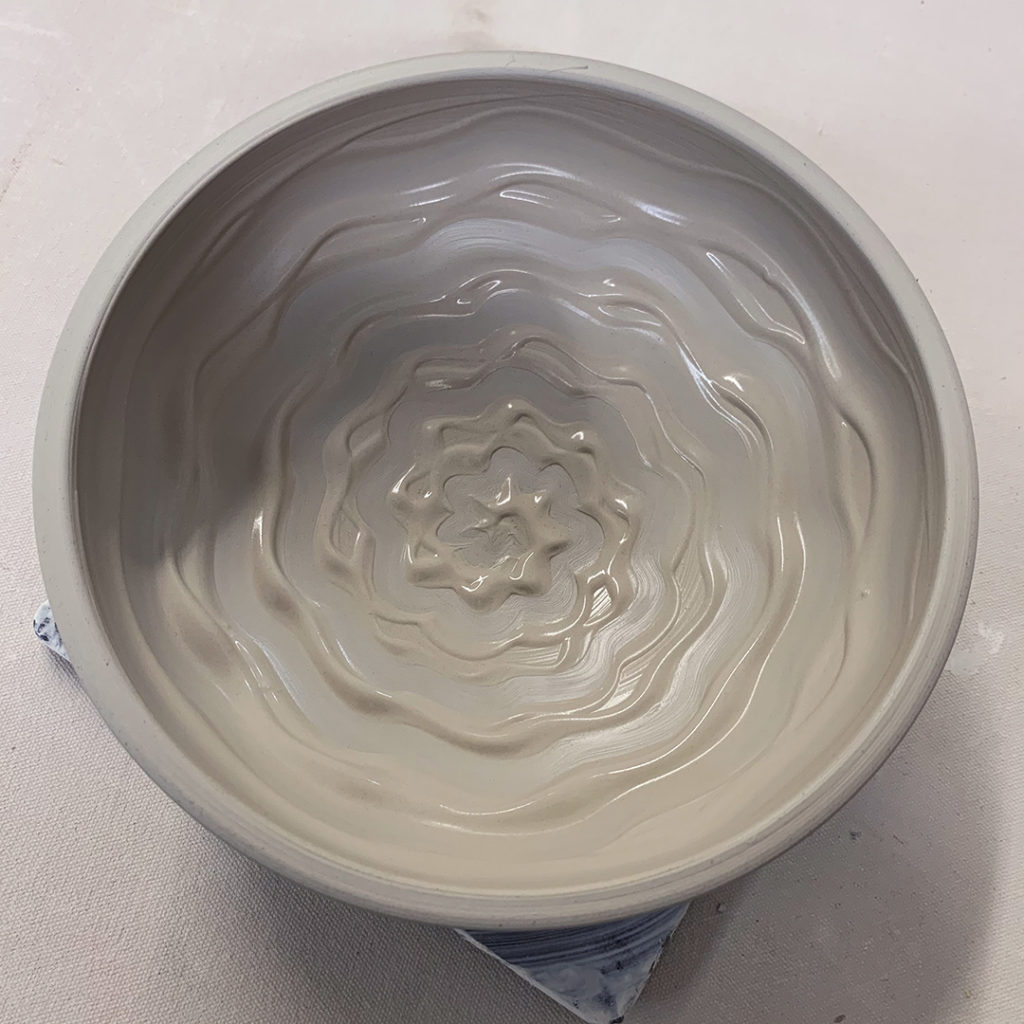
Bowl #11 – Thick black slip chattering with a rubber rib.
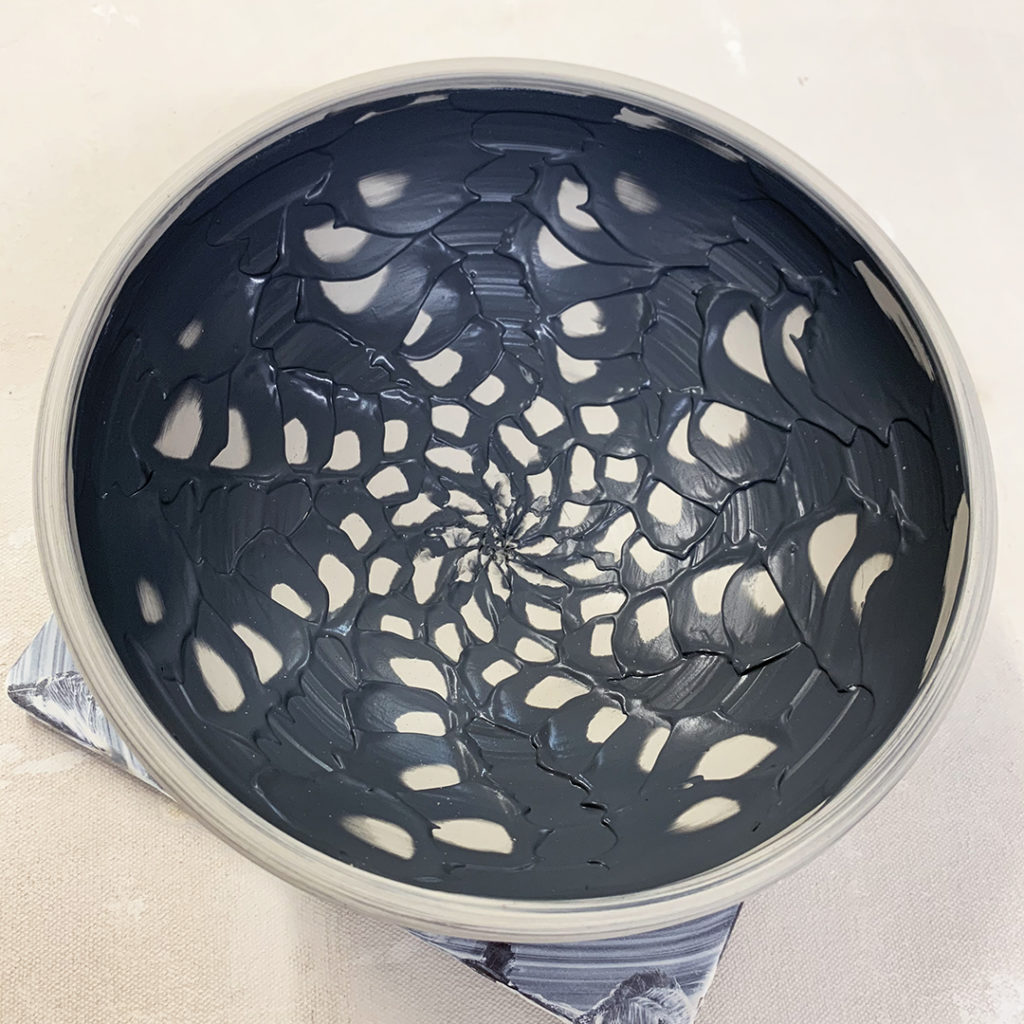
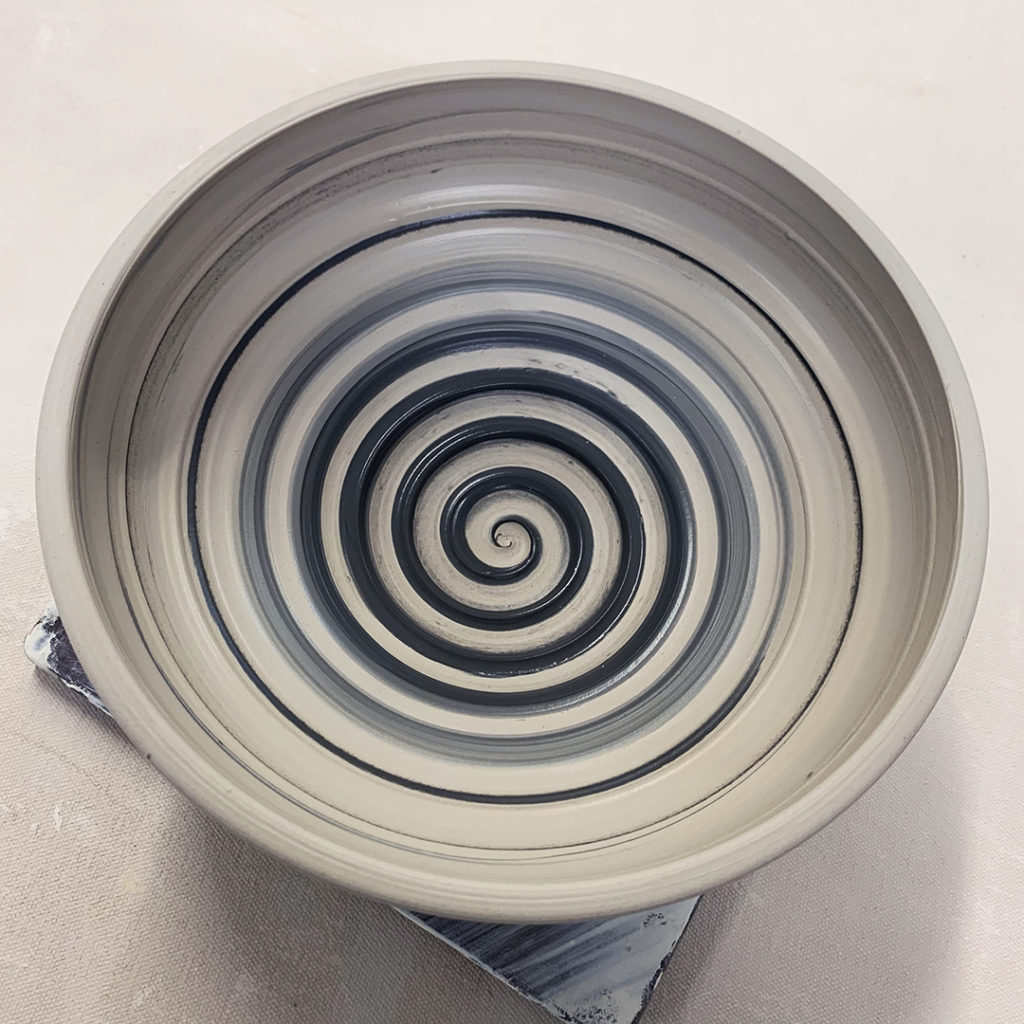
Bowl #12 – Ombre’ black -to-white slip with a spiral dragged through.
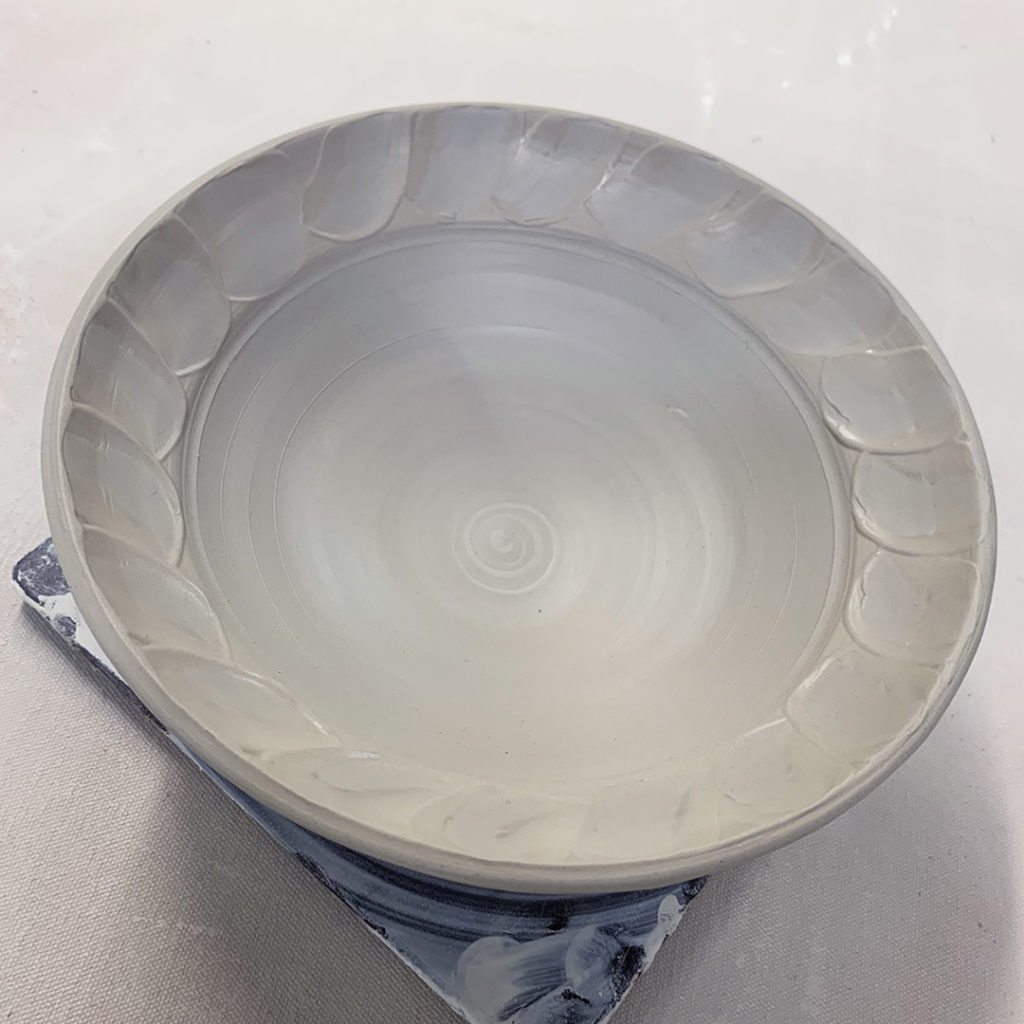
Bowl #13 – Thick white slip on a flared flange then wiped through with a rubber rib.
And for now they’re all under plastic… as there’s a “pretty good chance” that there might just be some stamping & detailing of these bowls before I need to start trimming the bottoms.