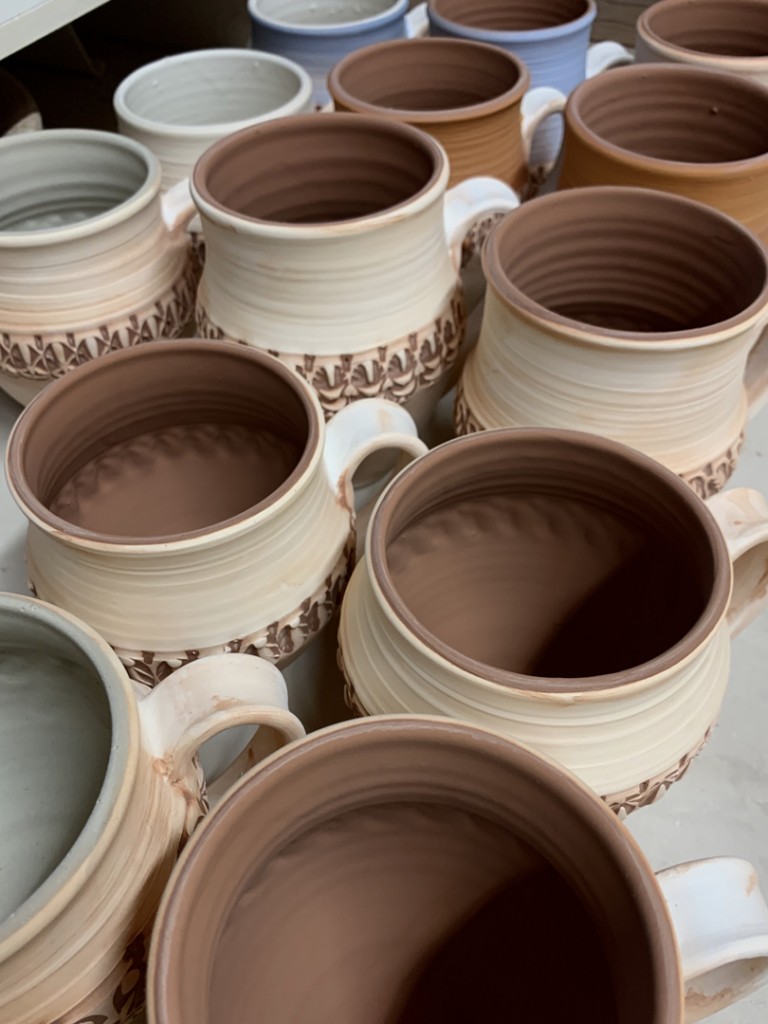
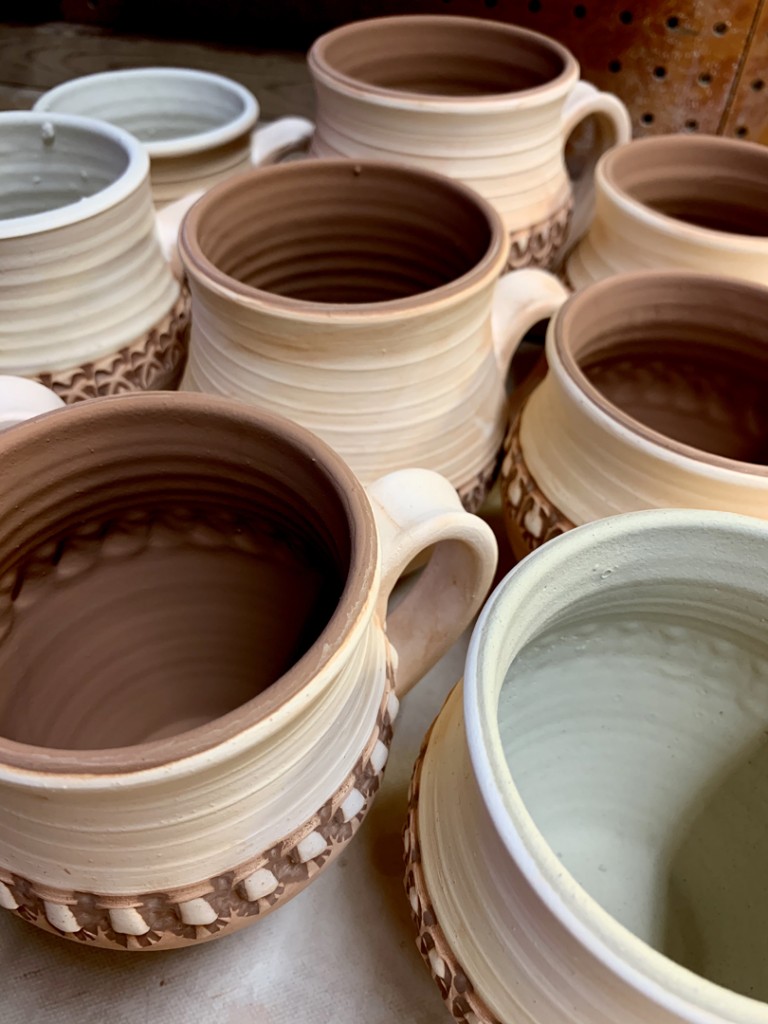
Just doing a little early morning glazing…
yes, on a “different†set of mugs than the ones I finished making last night!
Gary Jackson: Fire When Ready Pottery
A Chicago potter’s somewhat slanted view of clay & play |
Just doing a little early morning glazing…
yes, on a “different†set of mugs than the ones I finished making last night!


Just finished painting some accents of colored flashing slip on this latest batch of mugs. Now they can dry & prepare for their first trip to the kiln!

So I’ve been a fan of tie-dyed t-shirts for a VERY long time.
And for those who are not at Lillstreet on a regular basis, you might be surprised that I wear one pretty much every day that I’m in the studio! I think it’s the colors, the patterns, the fun activity of making the tie-dye… and some sort of childhood flashback to Summer Camp fun. Yes, my very first job ever was a Summer Camp counselor… and look at me now… STILL a Summer Camp counselor!!!
And with Summer Camp coming up again… and PROJECT RUNWAY focusing on tie-dye as high fashion last week… I felt it was time to step-up my game and make some new t-shirts!!! And thanks to my friend Jill Miller of Hooey Batiks for inspiring me with a little tutorial advice on how to ice-dye! Didn’t sound too difficult… so here I go…
No need to tie them all up with tight rubber bands… more of a crumpling and “holding in place” with a couple rubber bands. Its going to be the ice and the dye that does all the work! So I decided to start with four shirts… two new white ones, and two colored shirts that have a couple stains “to be creative-camouflaged away.”

And then I covered the four t-shirts with a bag of ice cubes from the convenient store.
I tried my best to cover every part of the shirts.

Then you sprinkle dry dye powder on top of the ice. It’s kind of “random” as you’re sprinkling… I’m more accustomed to dipping into colors where you can “control” what part you dip into what. Sure, the folding, twisting & crumpling are all part of the pattern & end result… but I’m not so confident on the colors I”m going to get out of this pile of ice & color?!!! I’m thinking this might come with practice… but this is my first try… so here we go!


As the ice melts, the powder dye dissolves and kind of “travels” with the water as it drips & seeps into the fabric.


And it seemed like this batch went well… my first time ice-dying…
so why not do two more quick while I’m all set-up?

So here’s a quick peek at my new tie-dyed shirts… actually more “ice-dyed”… but you get the idea. I’m pretty excited for these new designs & patterns. I’m kinda digging the ice-dyed technique. A lot easier, quicker and “newer” than traditional tie-dye with a ton of rubber bands! Don’t get me wrong… I still have rubber bands… I still have dye… and I still have t-shirts… never say never!
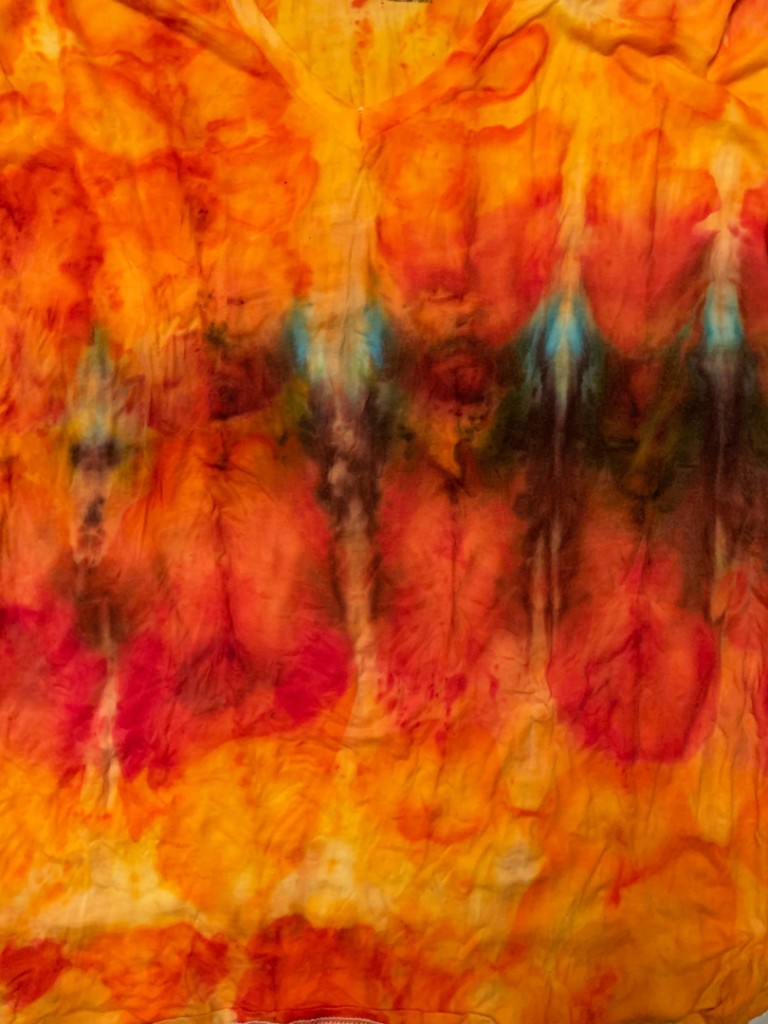

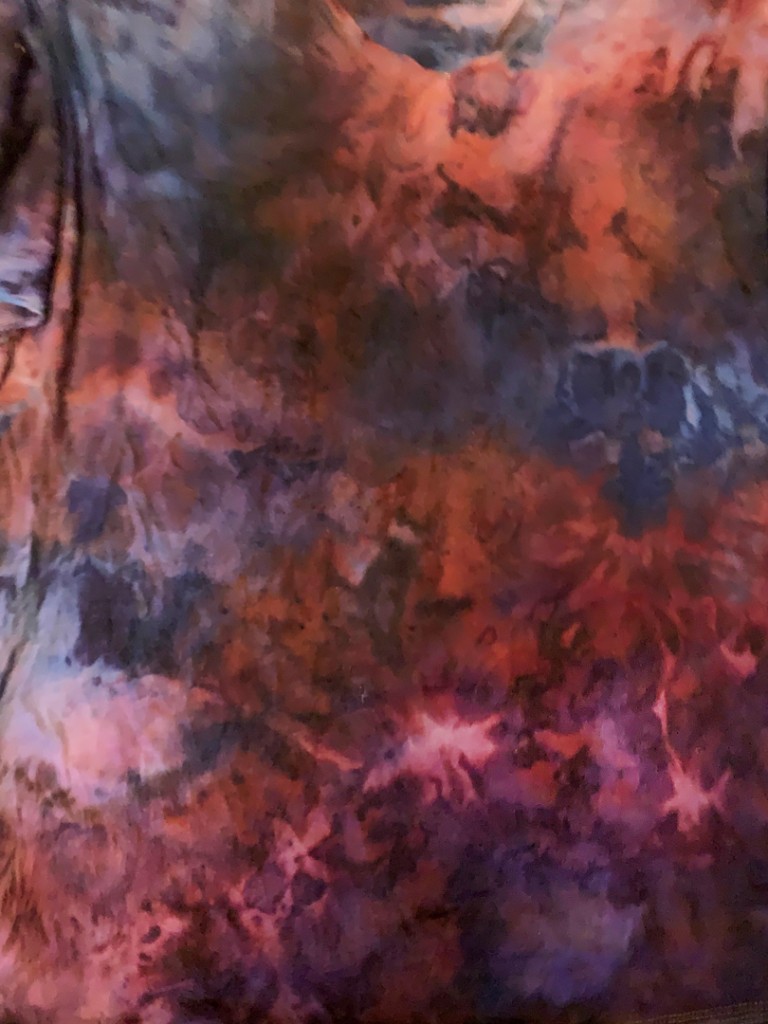


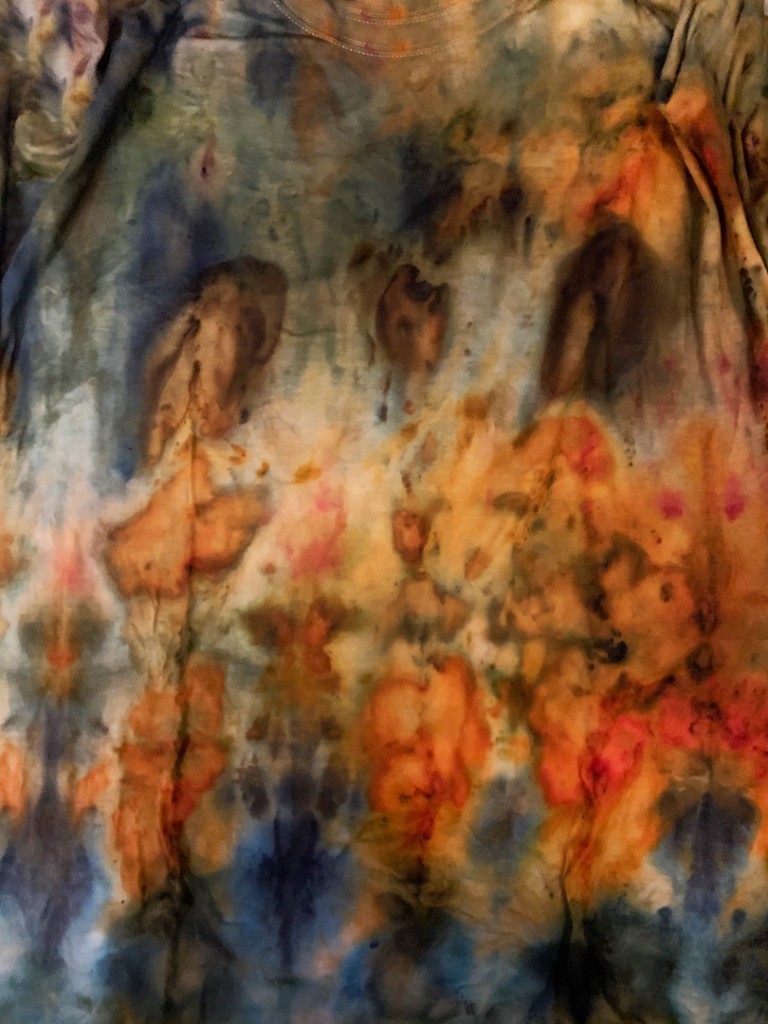
Unfortunately, these still need to be washed to get some of the extra dye out…
which is also when you lose some of the beautifully vibrant colors.
I wish there was a way to keep them this bright… but they’re just t-shirts, right?!!!

Another night… another two dozen mugs!!!
Happy Mugshot Monday… making my favorites!!!
Now just for a little clean-up & colored slip accents tomorrow.
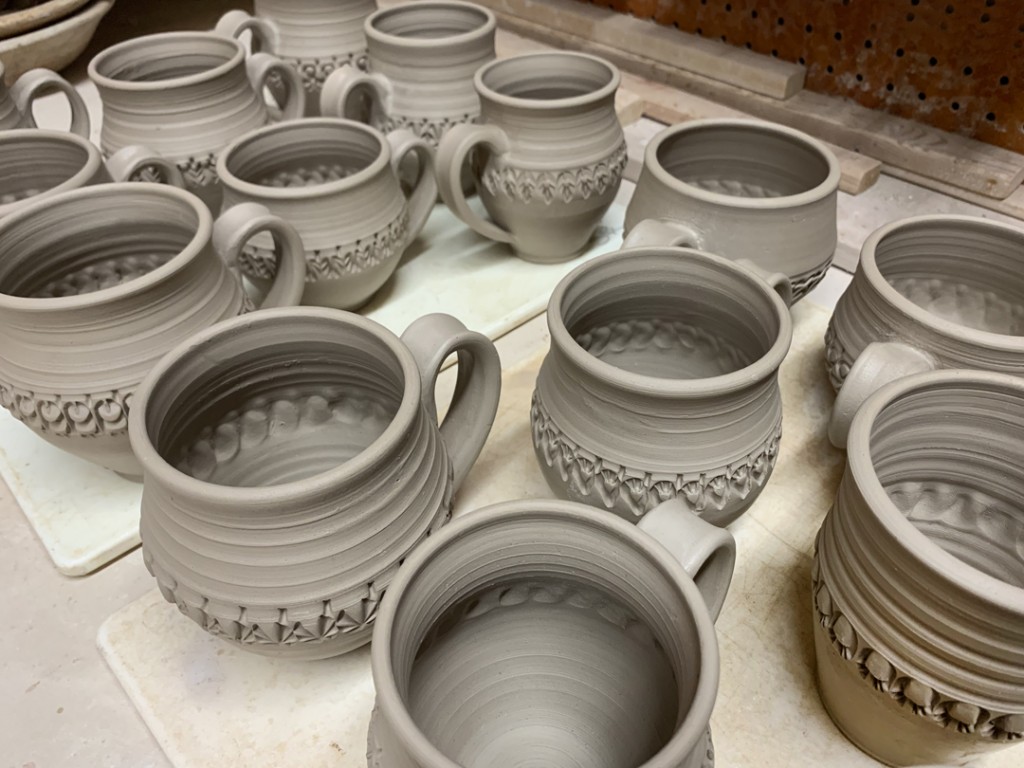
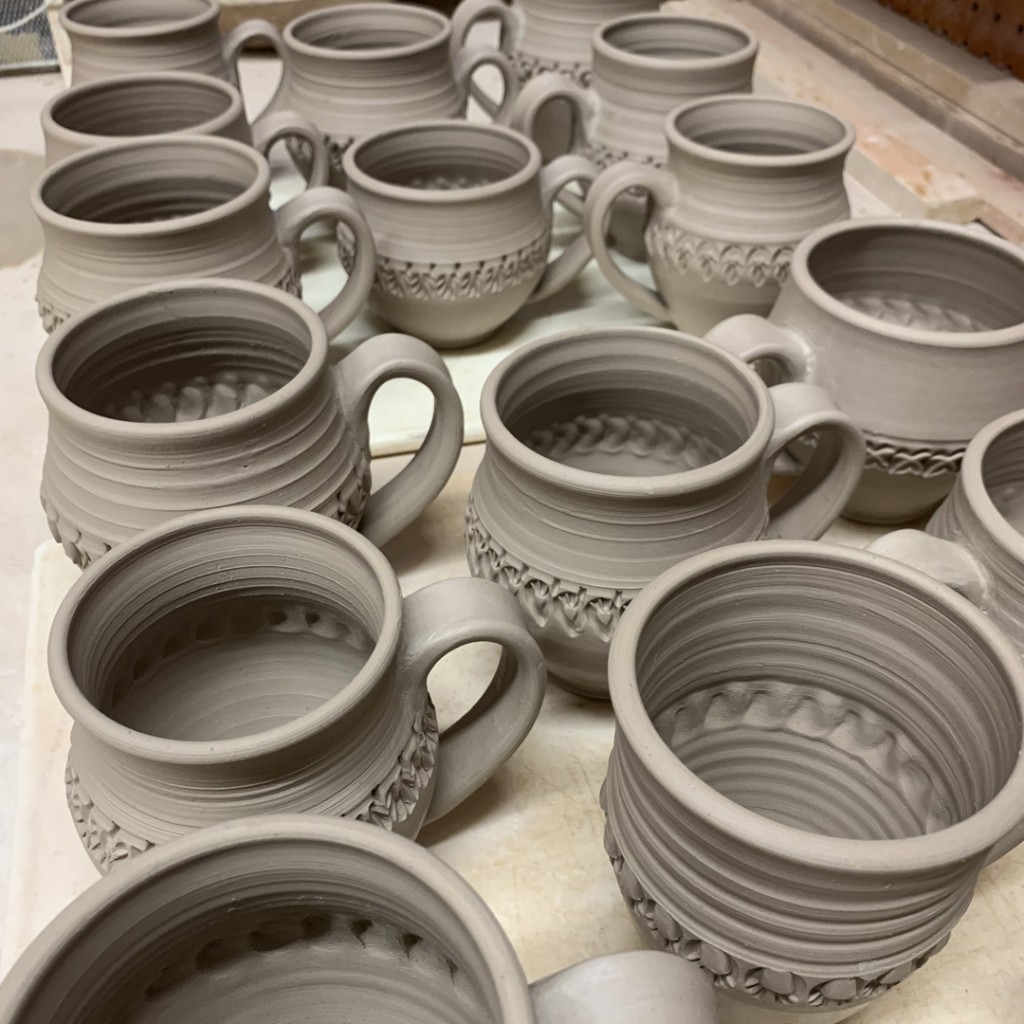
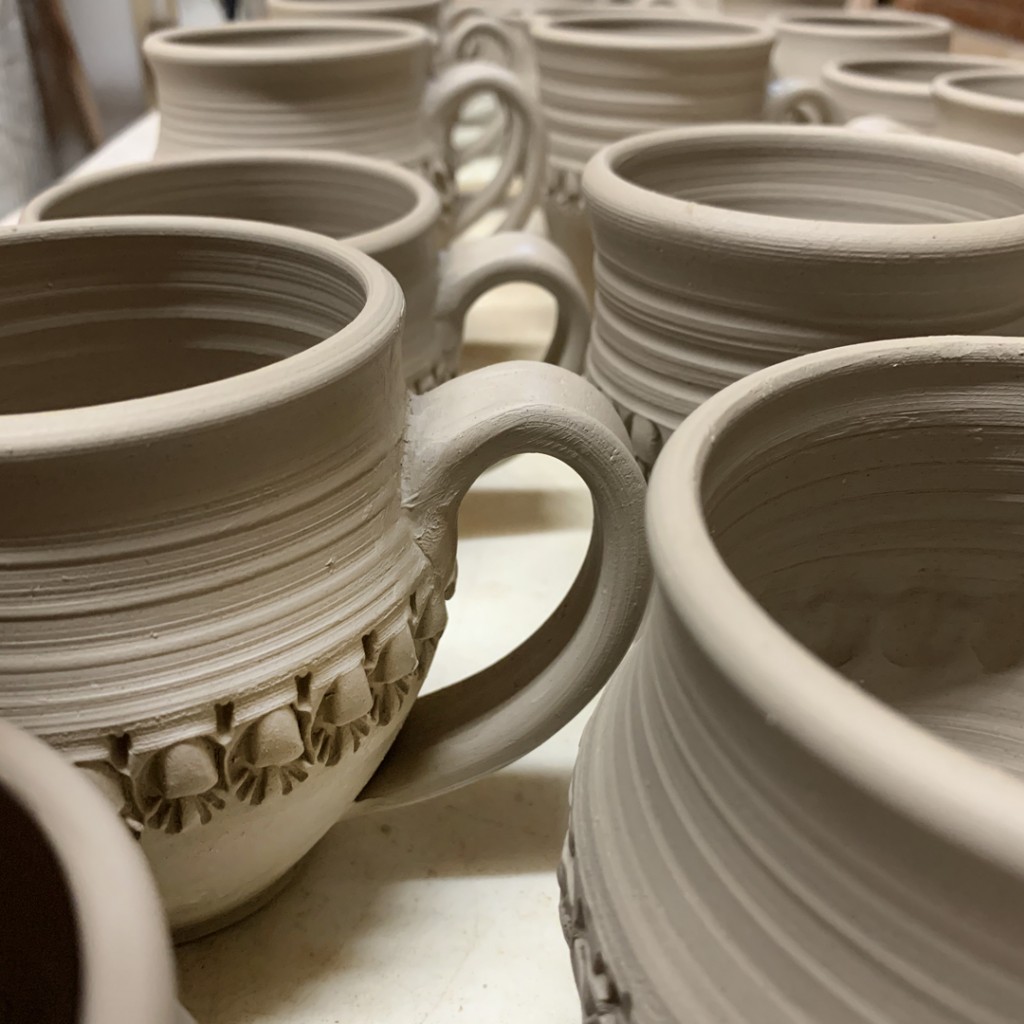
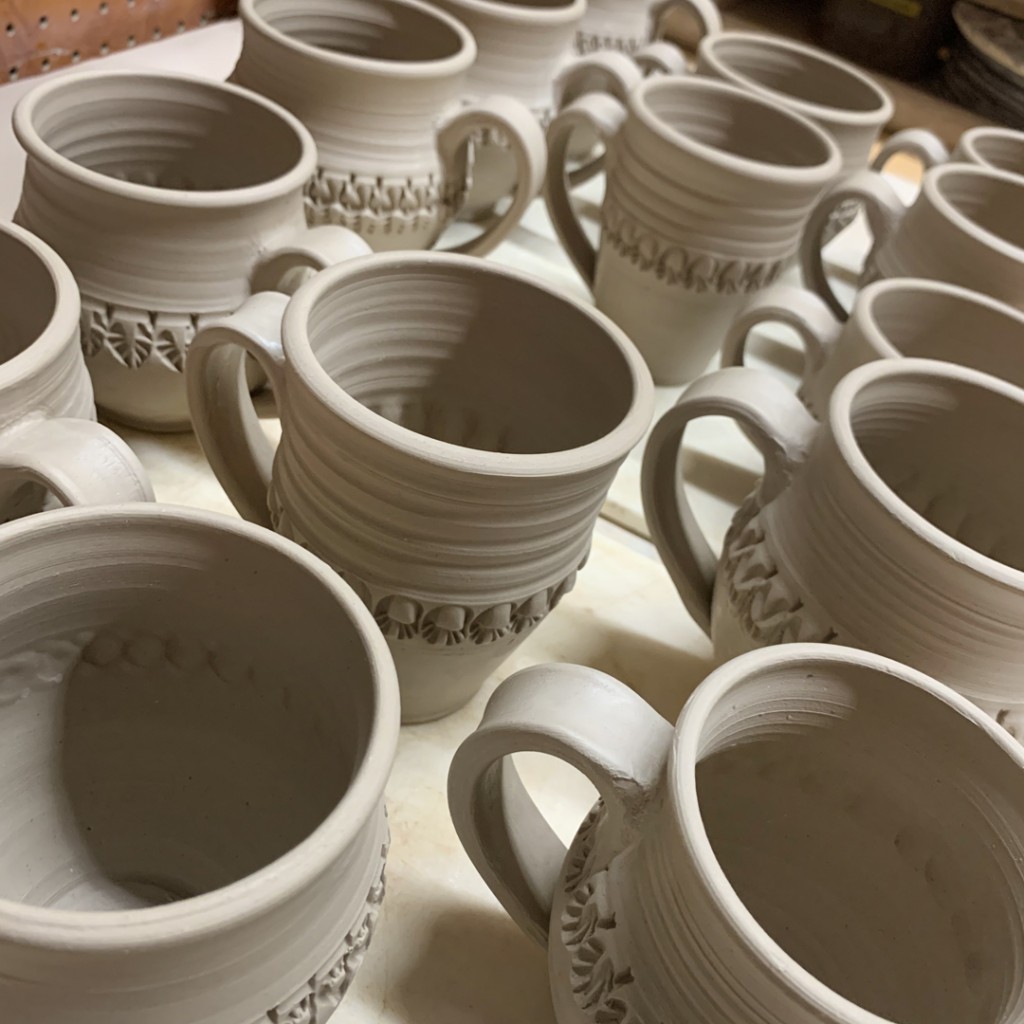
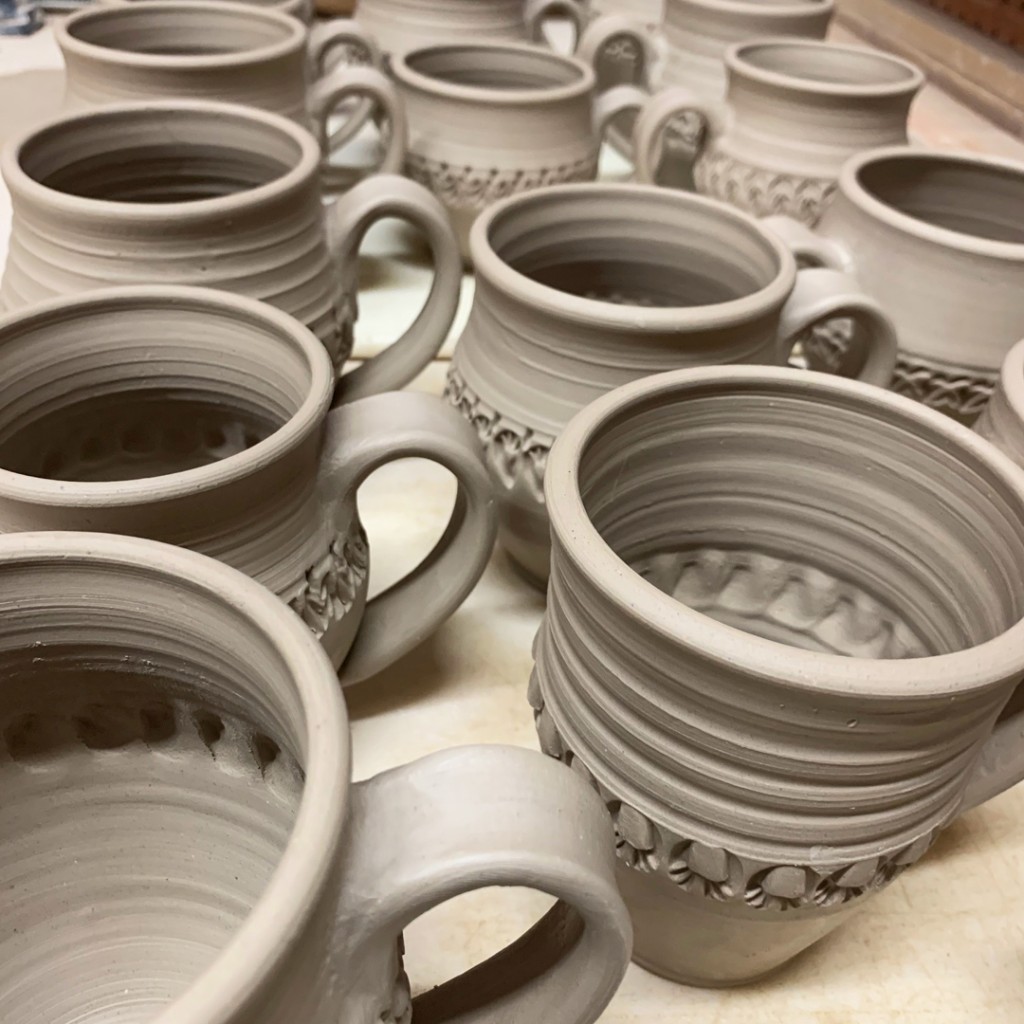
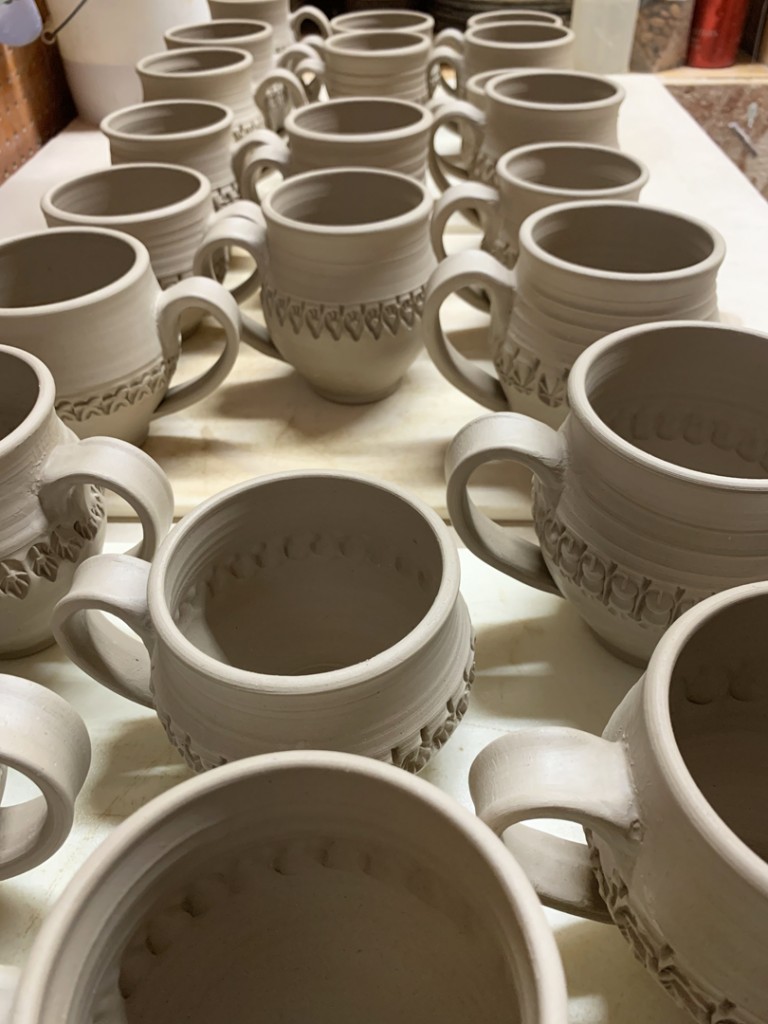
Score… slip… attach… repeat… repeat… repeat…

Let the handle attachments commence… round two for tonight…
making mugs out of cylinders!!!

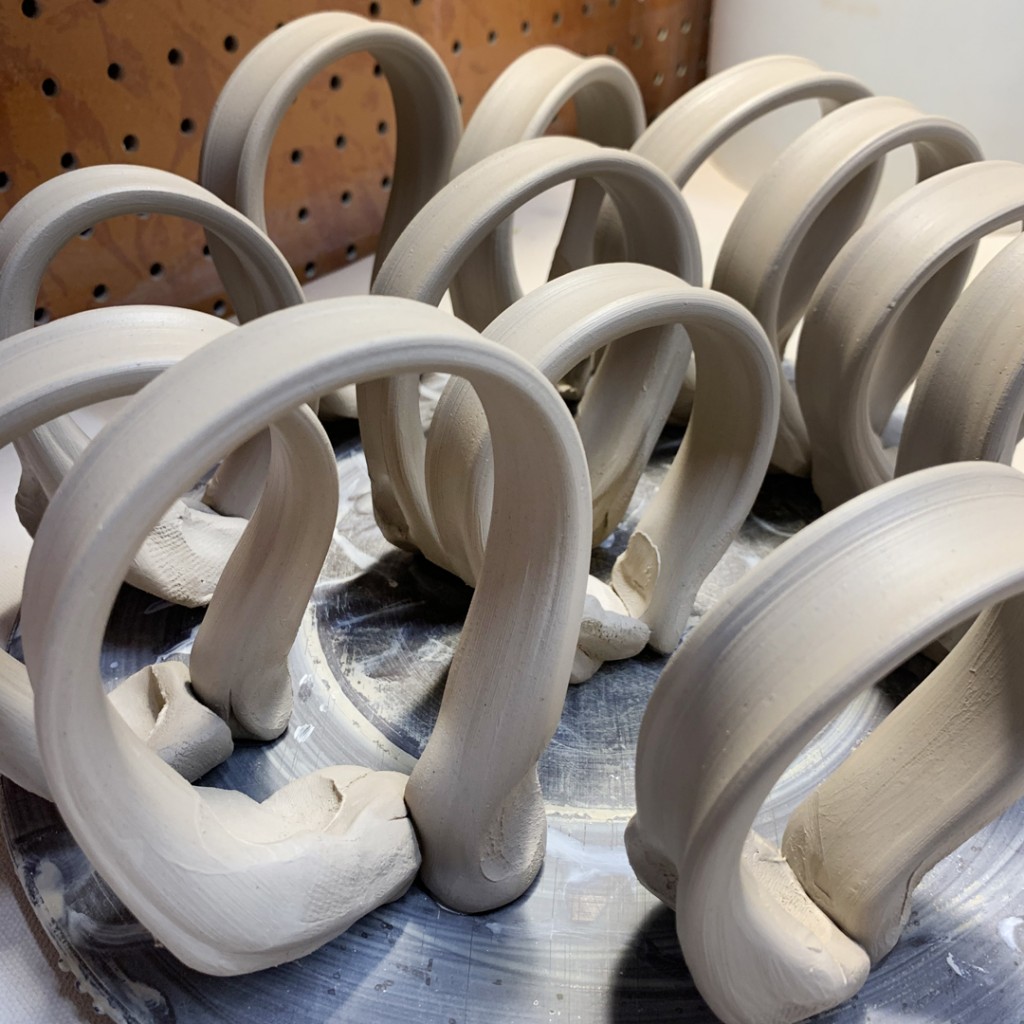
Just pulled another batch of handles…
I’m in the middle of a long night of adding handles to make mugs!
One dozen done… got another dozen to go!!!
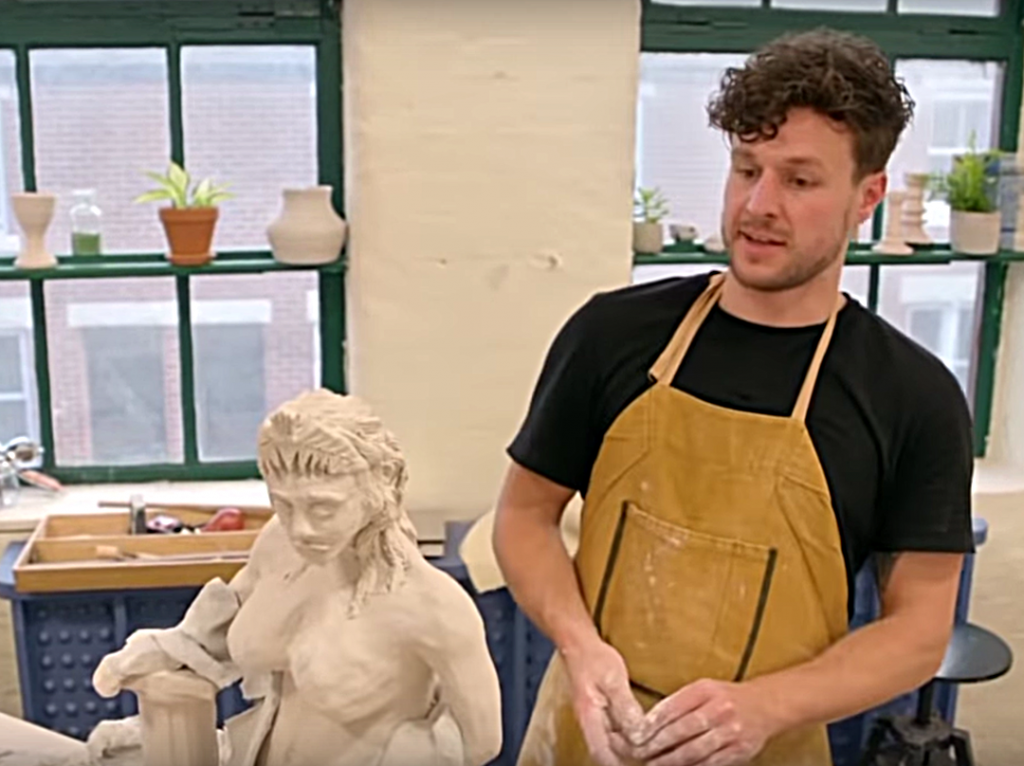
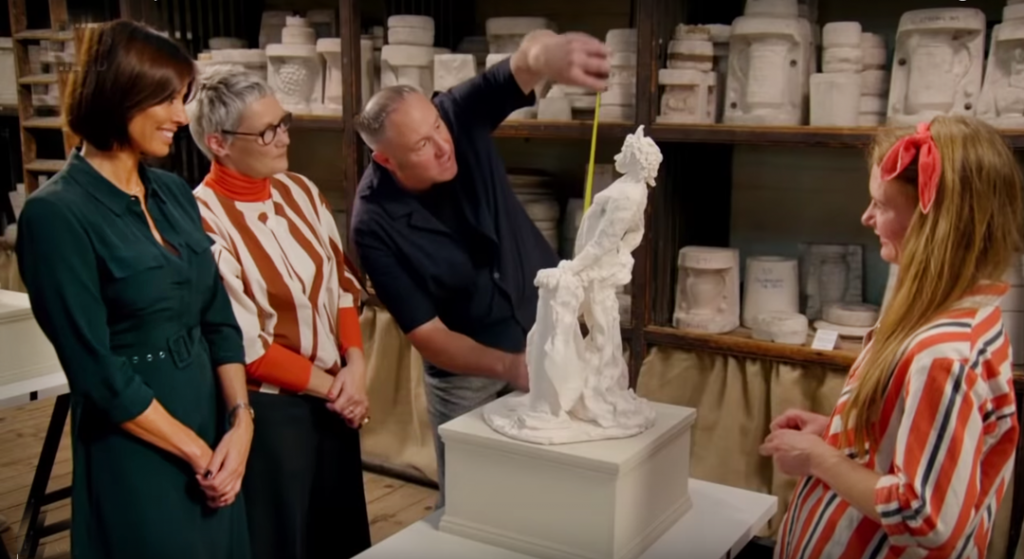
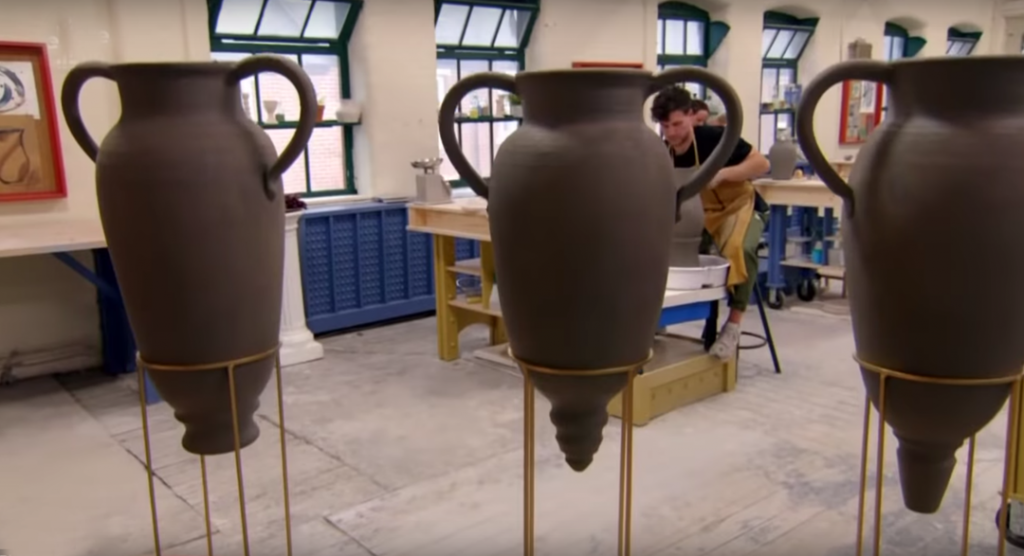
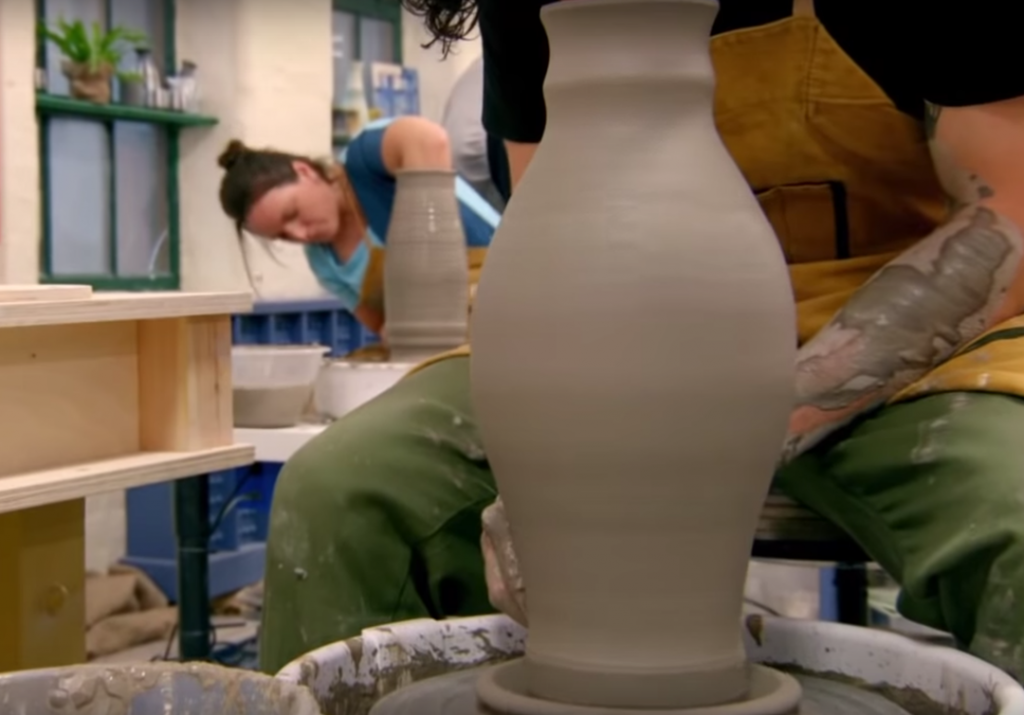
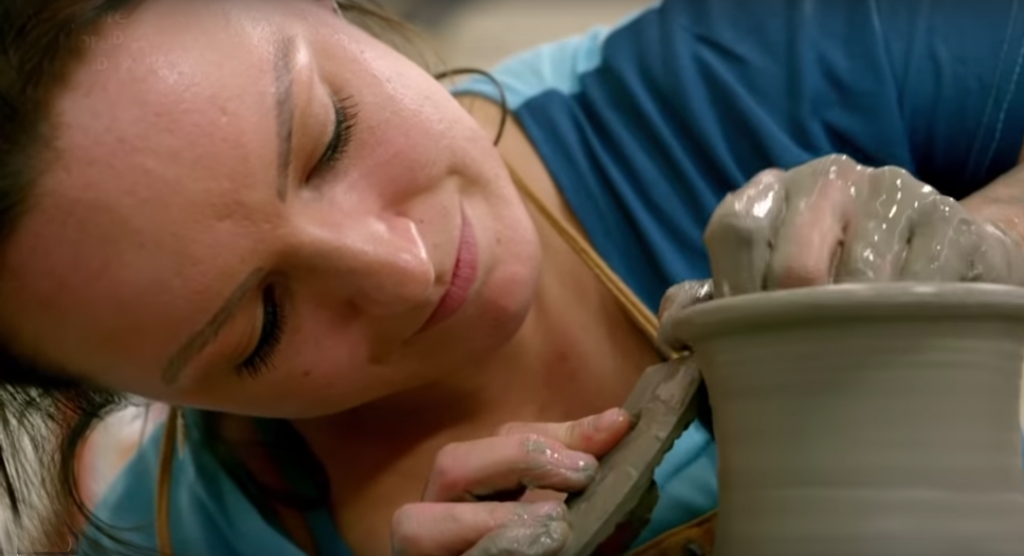
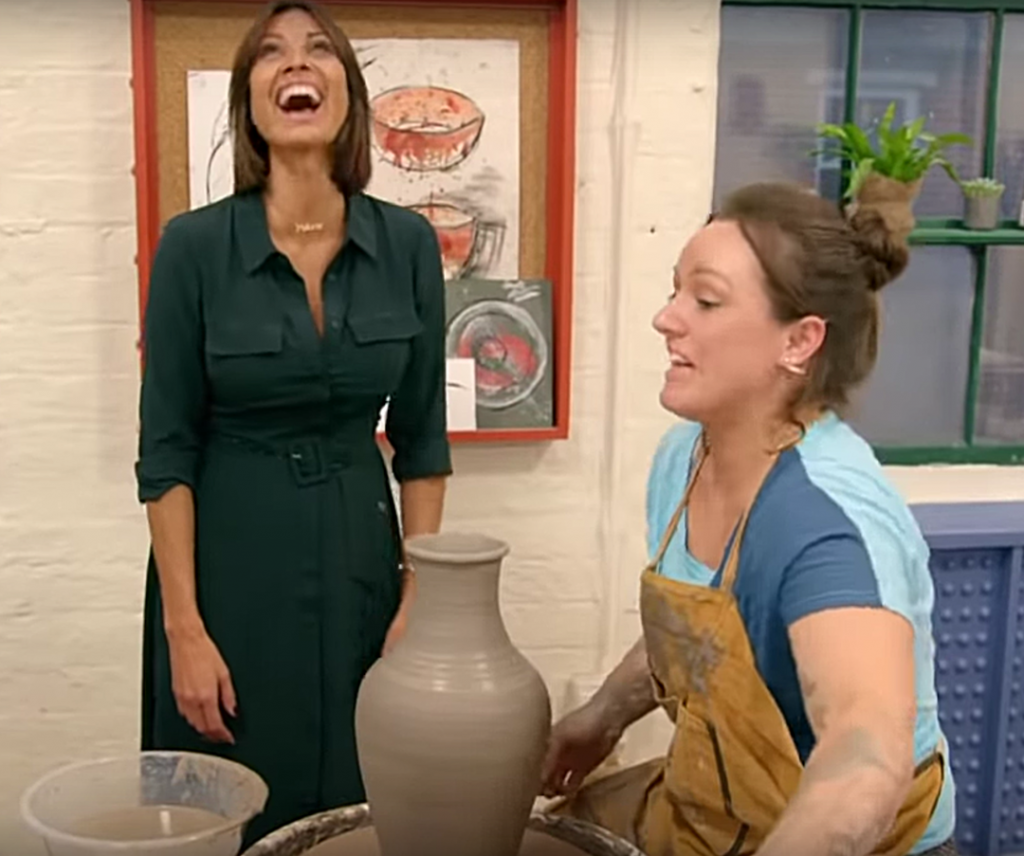
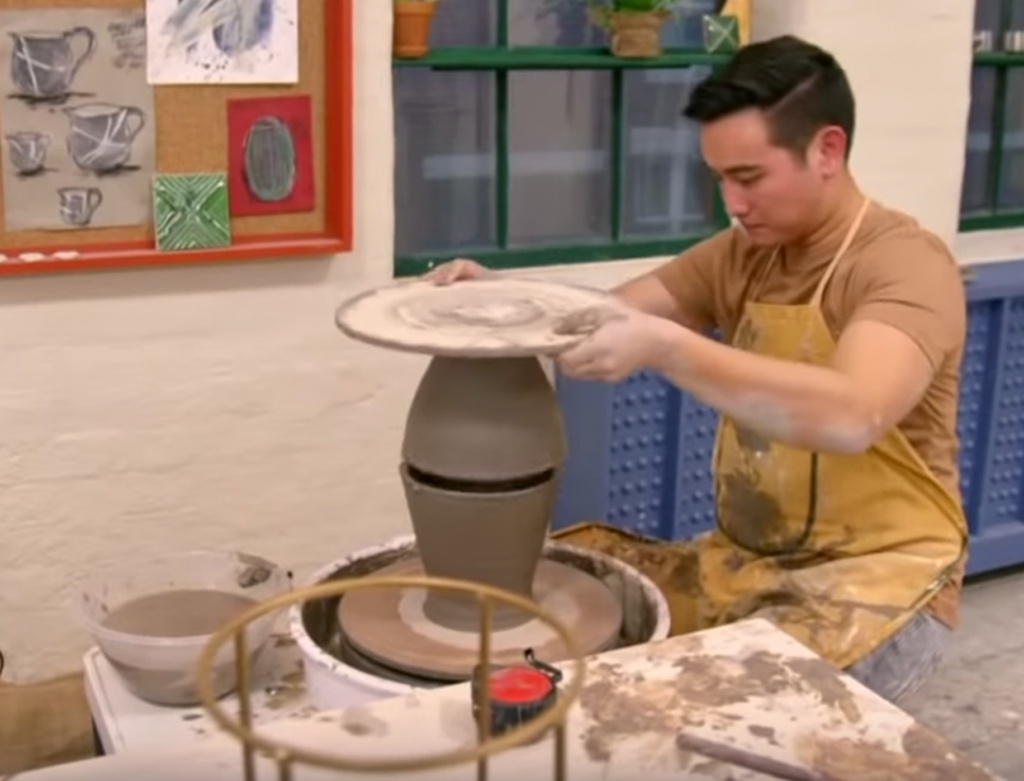
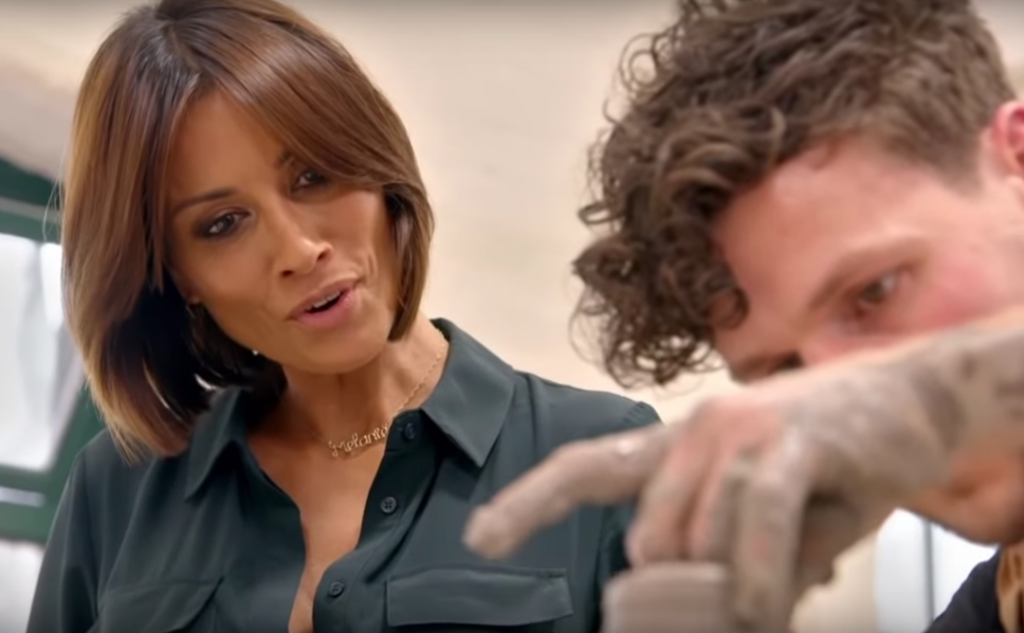
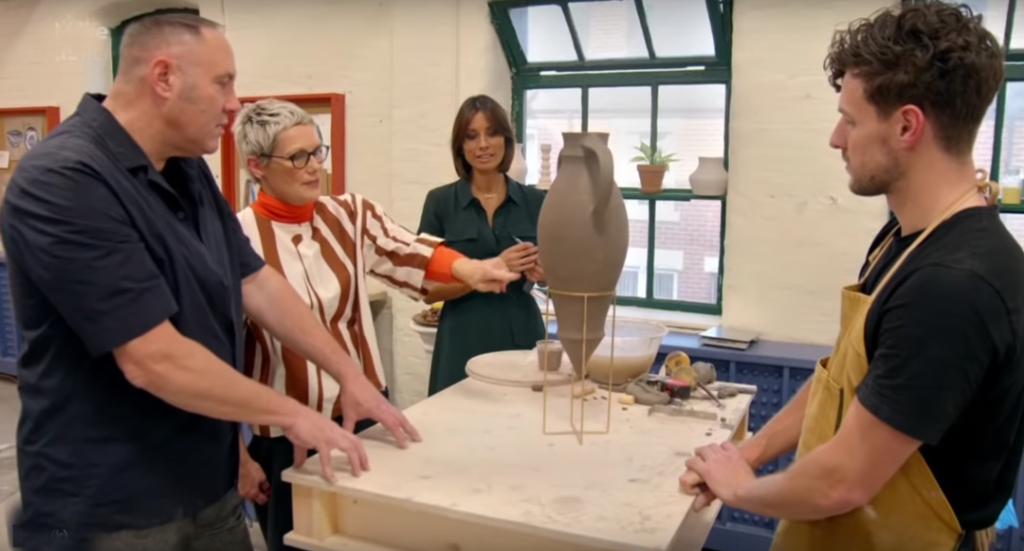
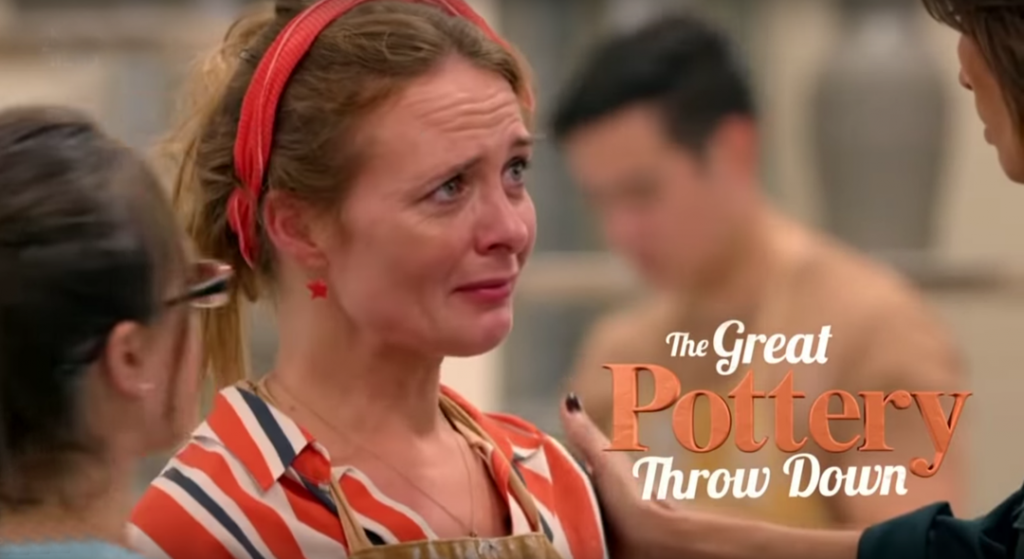
Another week of fun on the British TV show “The Great Pottery Throw Down.” This was GREEK WEEK in the pottery studio… with a handbuilding sculpture challenge, and a wheelthrown amphora challenge! So fun to watch these potters working on their projects… many of them so far out of their own comfort zones. Not only with an oversized sculpture challenge… but also with TWO NAKED PEOPLE standing right there just feet away!
Click here to watch episode six of “The Great Pottery Throw Down” on YouTube.
So we started with the Greek sculpture challenge…

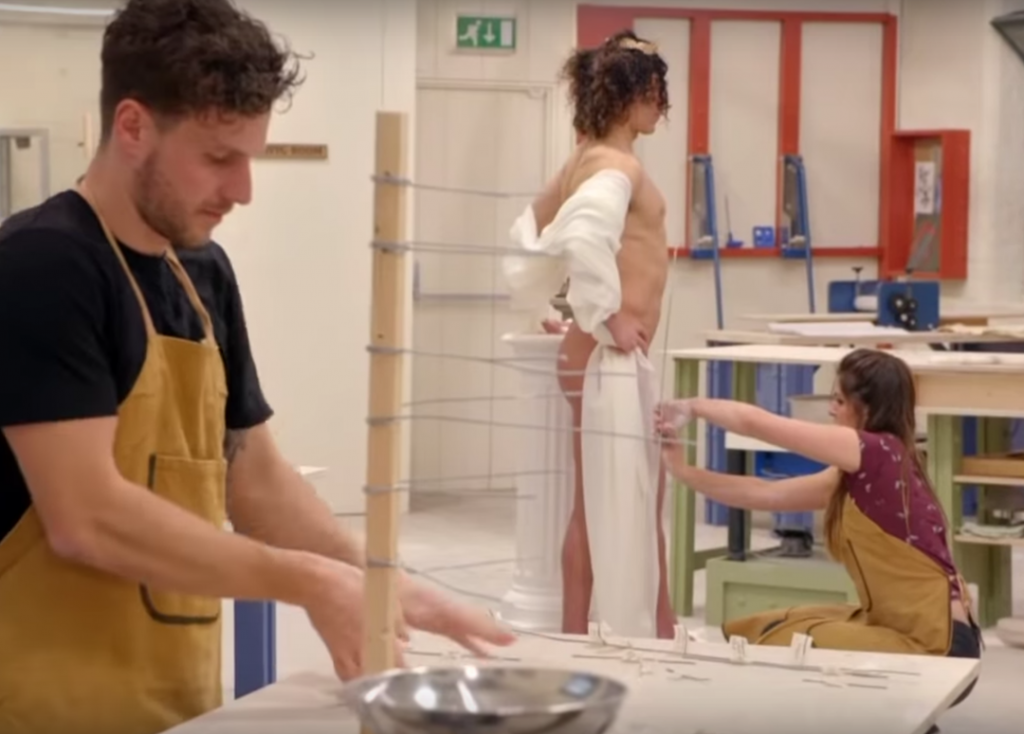
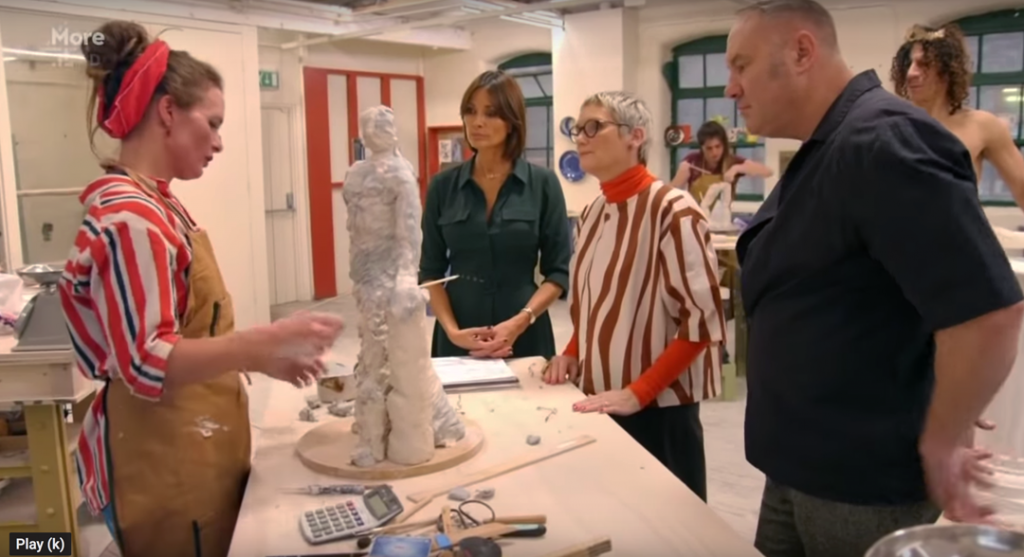
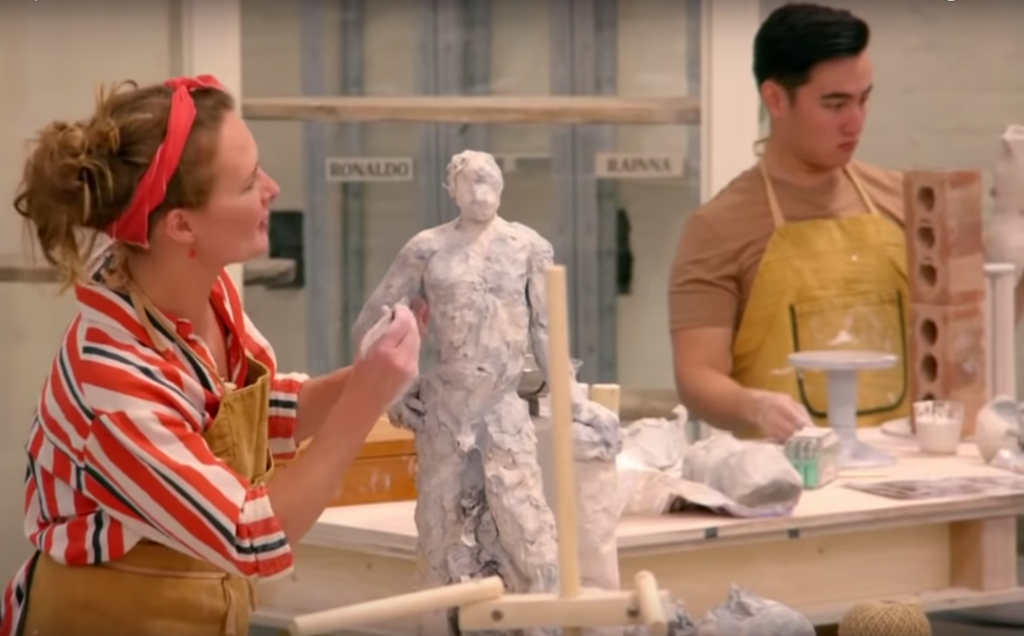
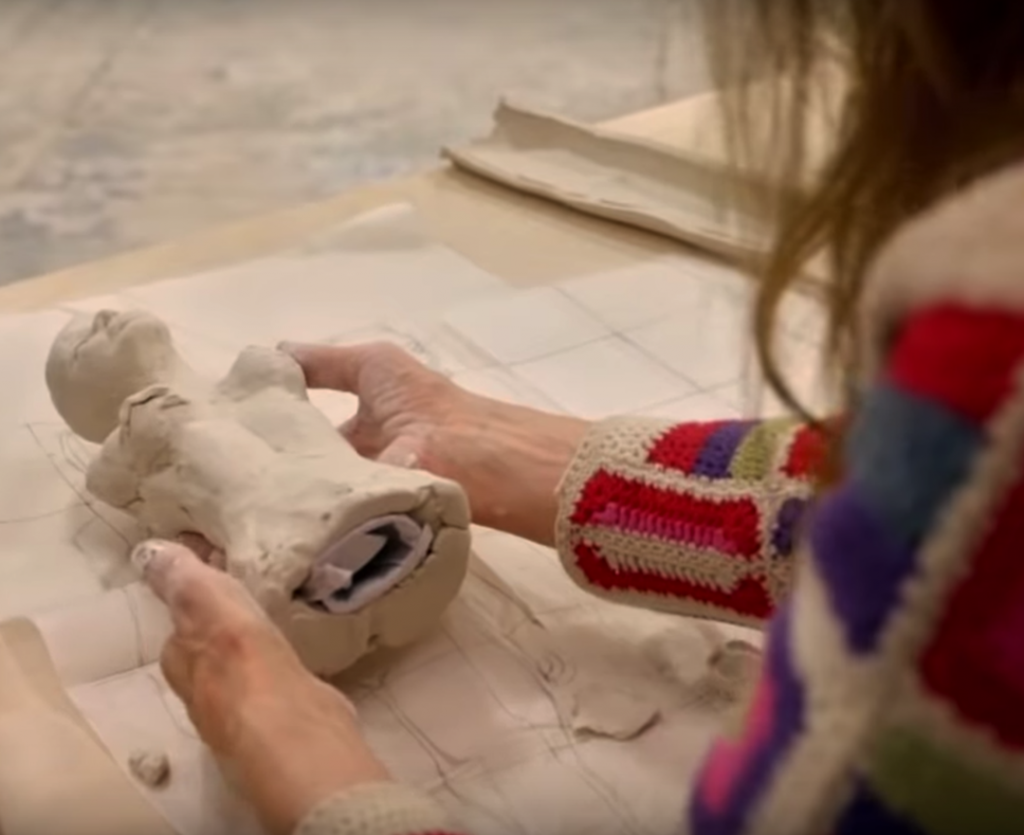
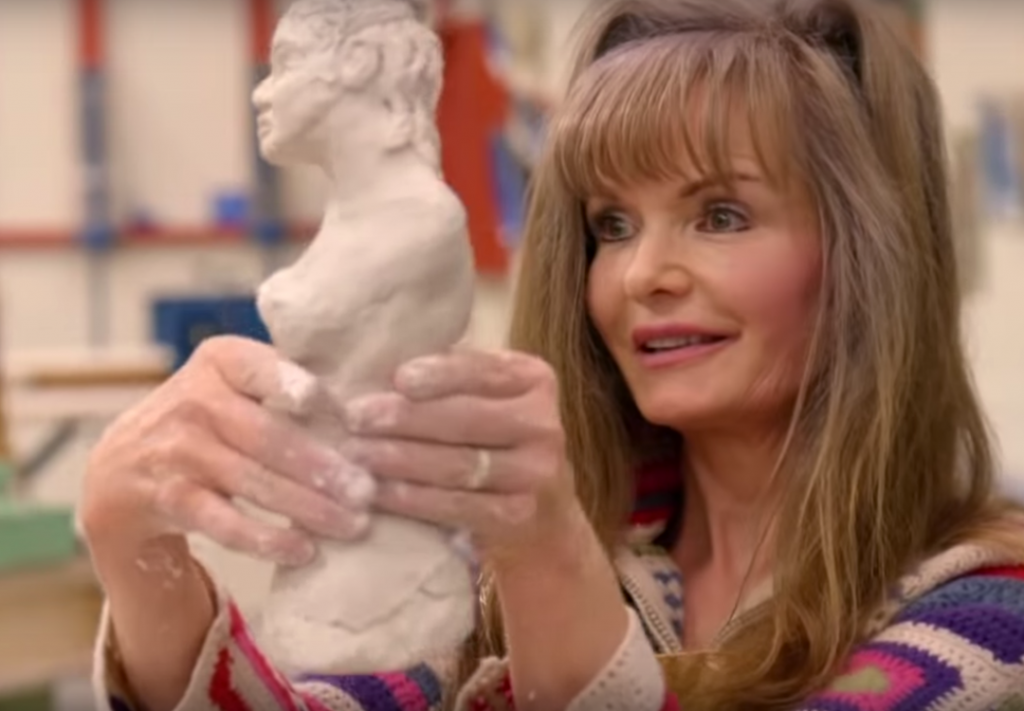
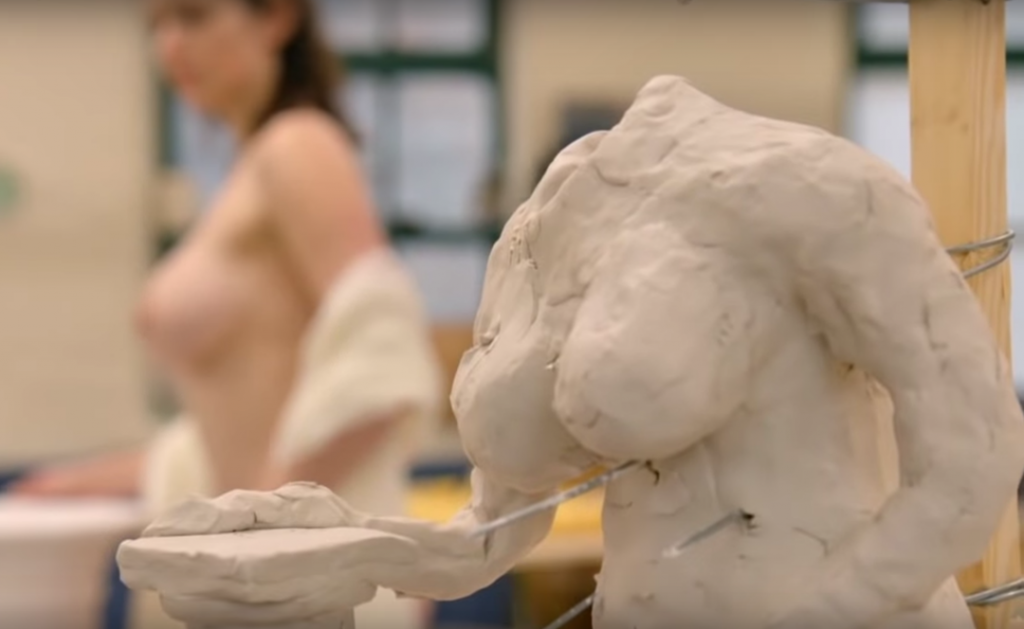
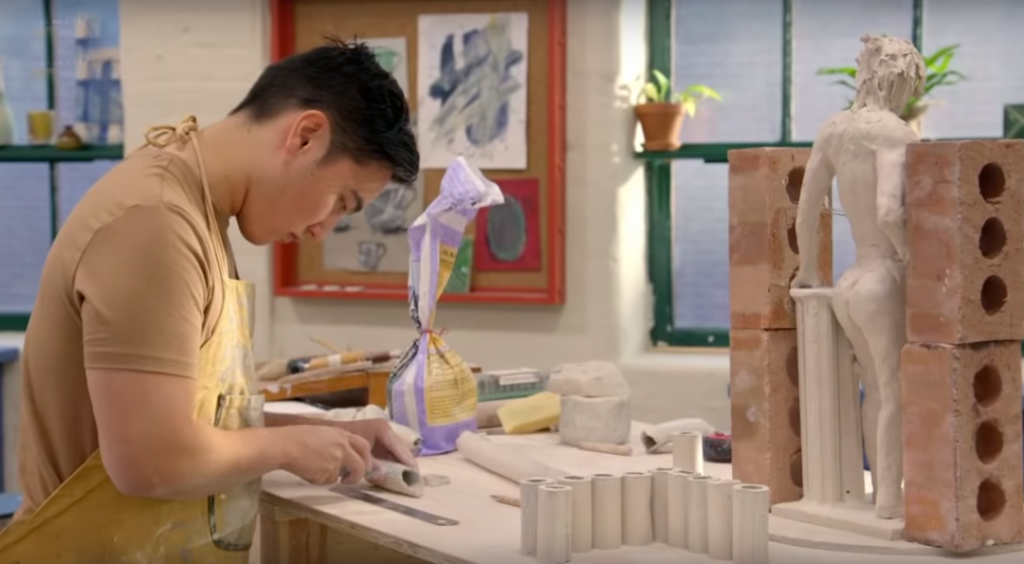
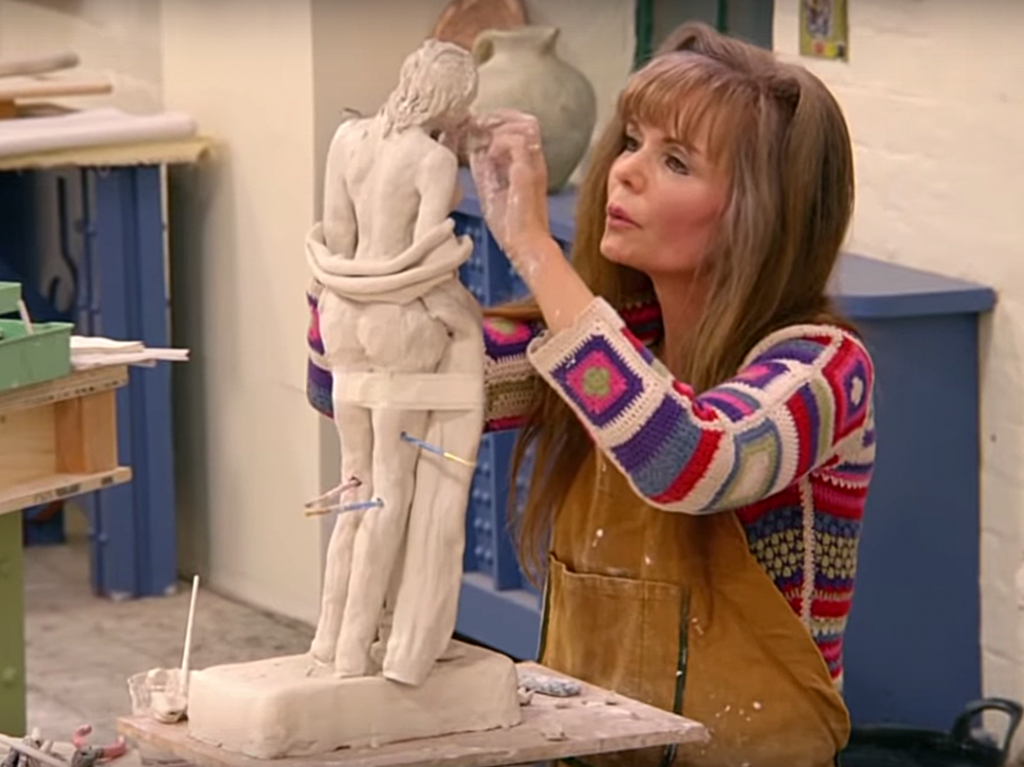
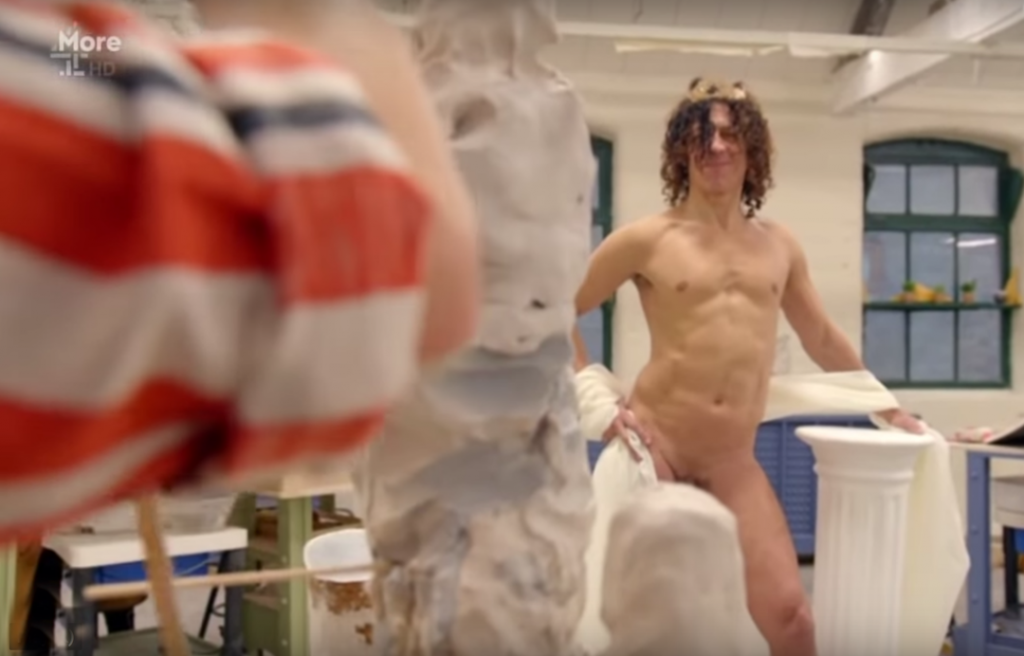
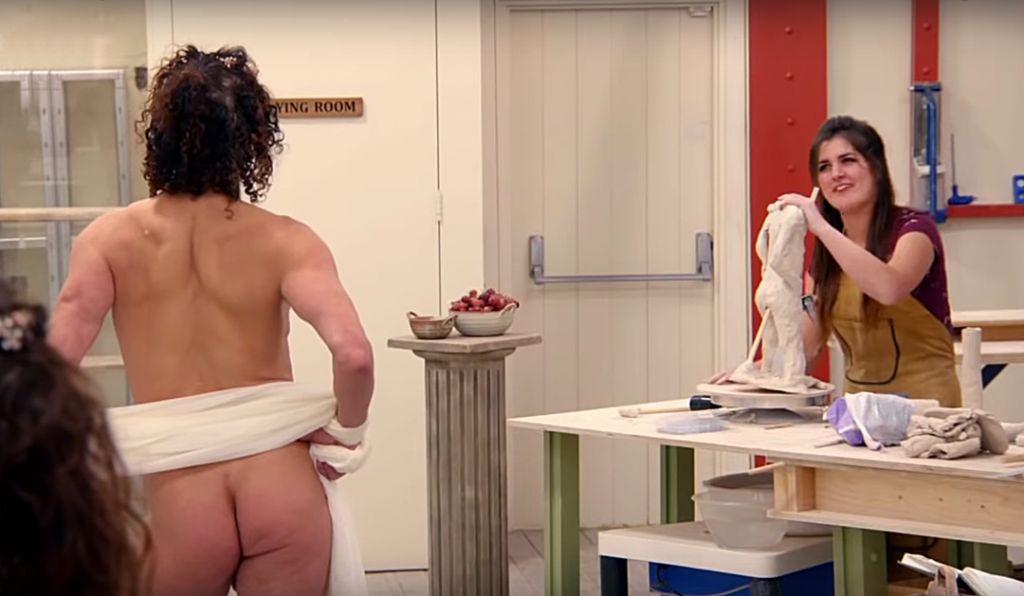
I mean, c;mon… who’s not loving some Rainna???
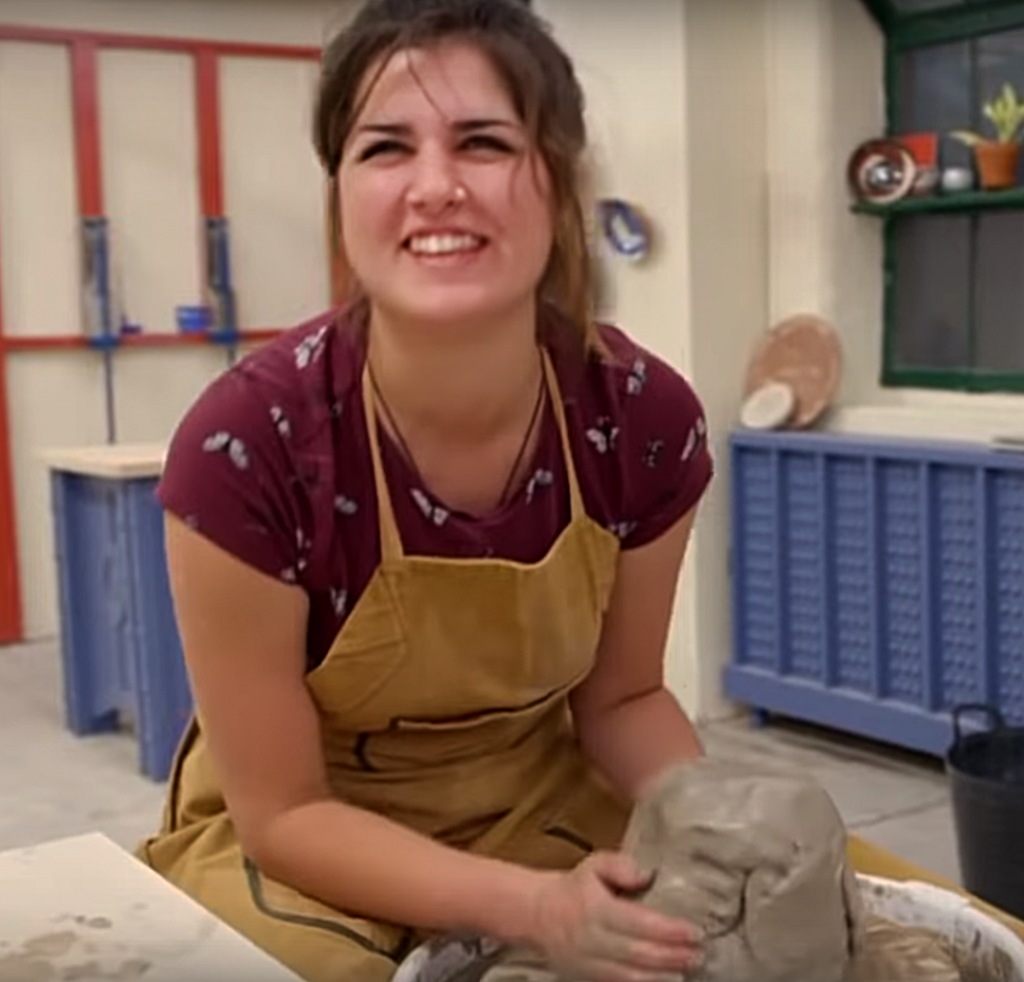
And yes, apparently in Greek sculpture week… size DOES matter!!!
And then switched to the amphora throwing challenge…
After decorating their tiles, I decided to do some quick demos for them on three basic bowls. I had the best intentions… but this time it didn’t go all that well. Valiant effort… loved one of the demos… ha some slip issues.. and some timing concerns!
Anyways… we started here with three basic bowls…
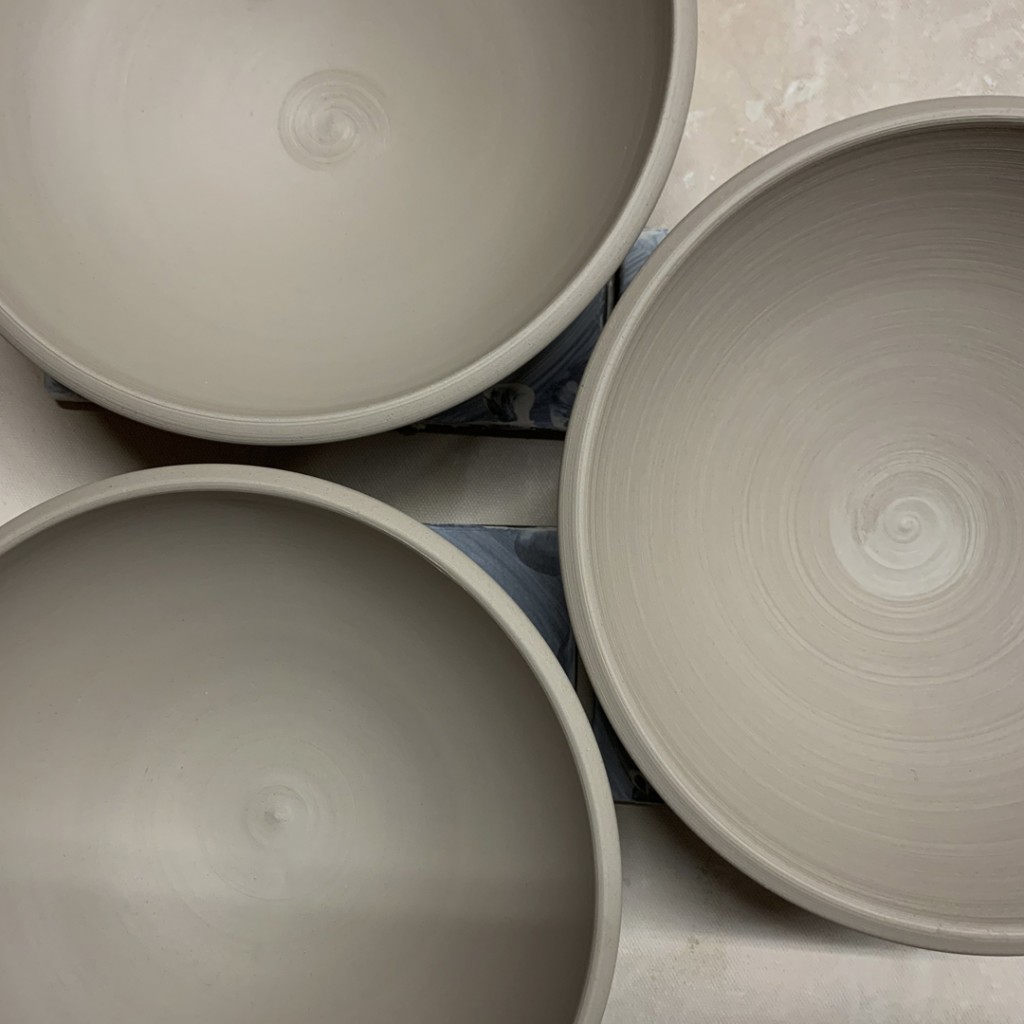
BOWL DEMO #1 –
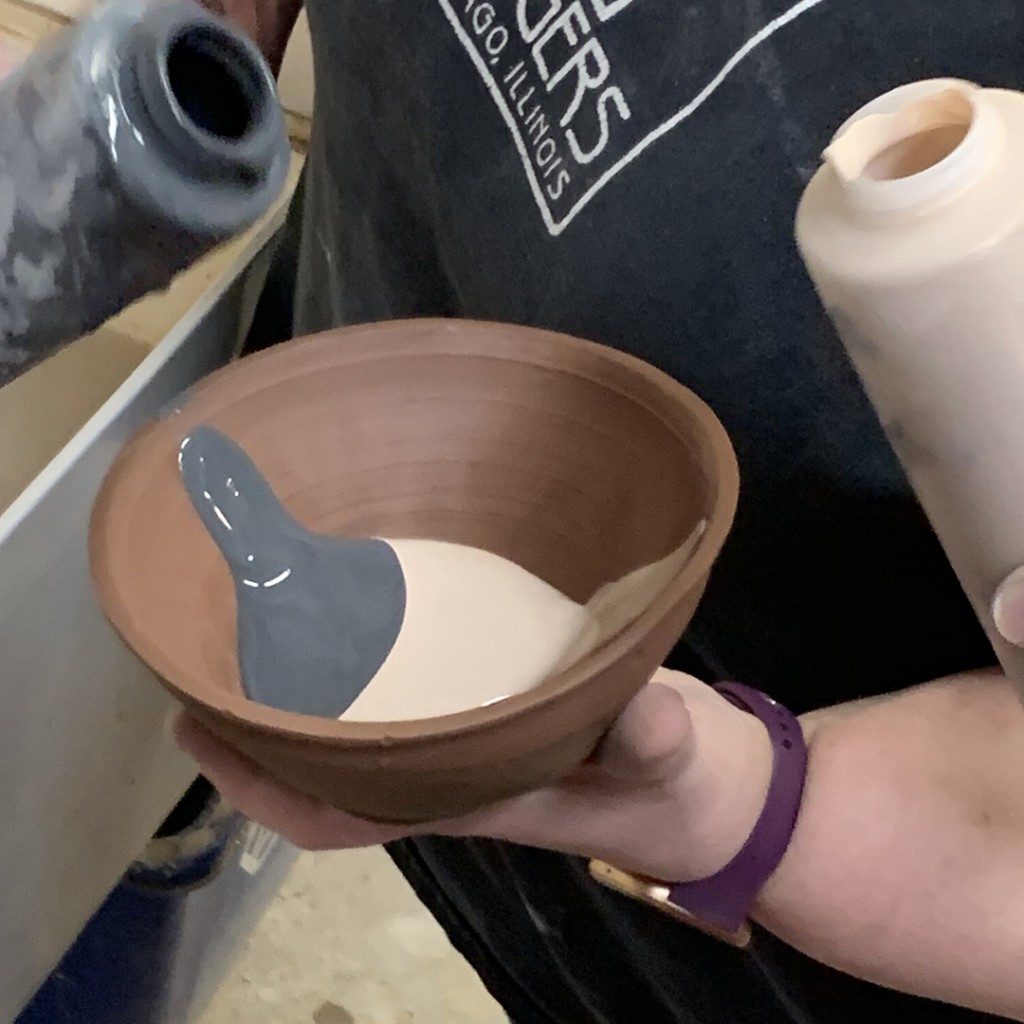
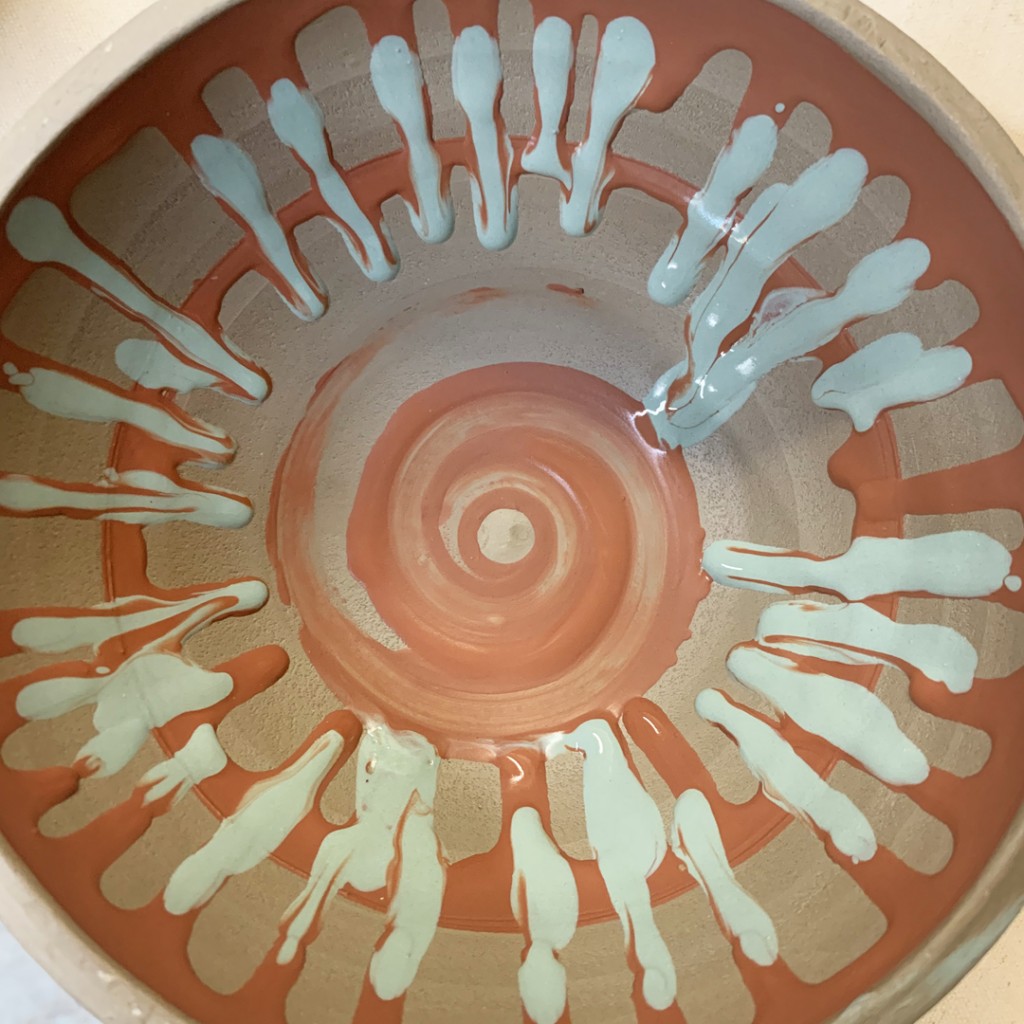
My first”plan” was to take a bunch of colored slip and do some well-planned dripping effects on the interior of the bowl. In theory, it’s not that hard. However… the full layer fo white slip was great, the bands of black were good too… bu tthe green slip was FAR TOO THICK!!! It just kinda clumped on in place, and didn’t do any running down!!! And then to make matters worse, the red slip was far too watery!!! Yep, shoulda checked all that out before class, right?! If all goes well, the colored slips “glide” down the side and kinda pushes the colors down along the way. You can see a bit of the black bands being pushed down by the green.
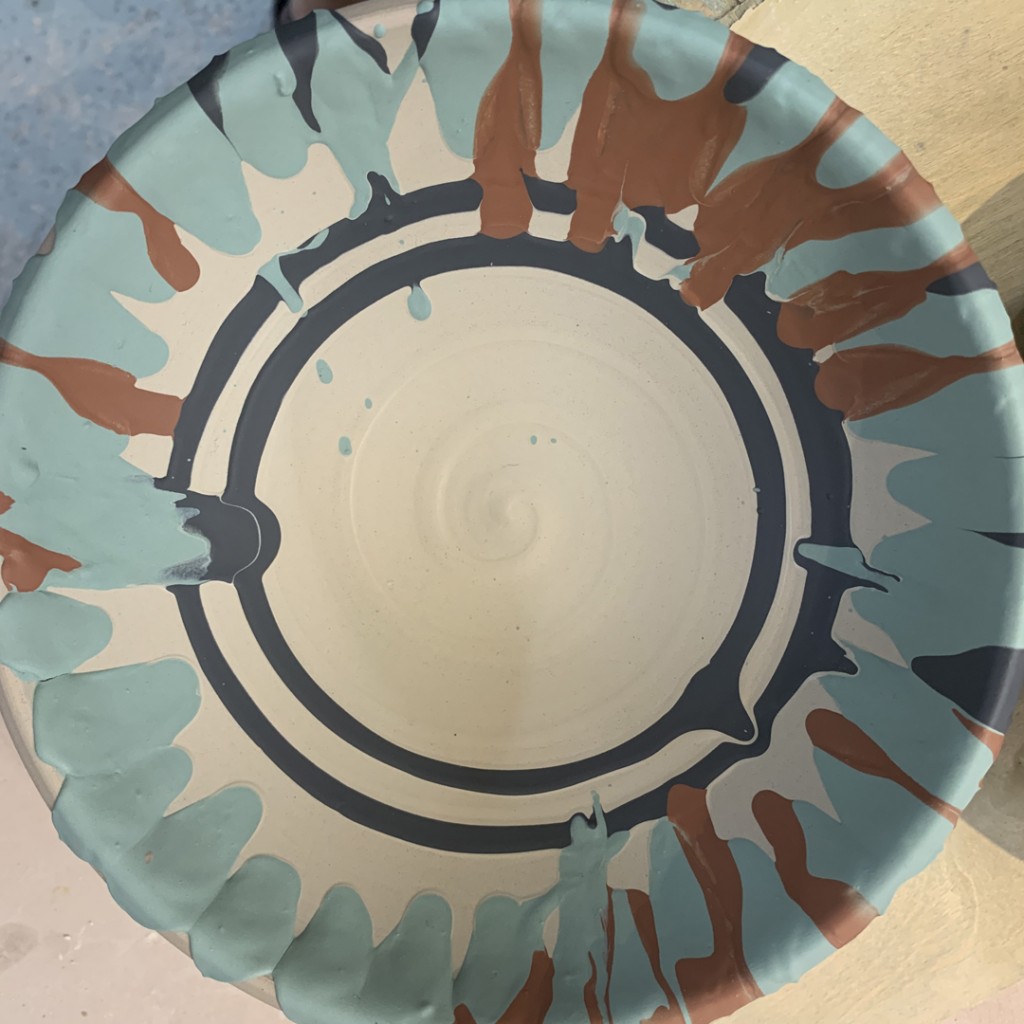
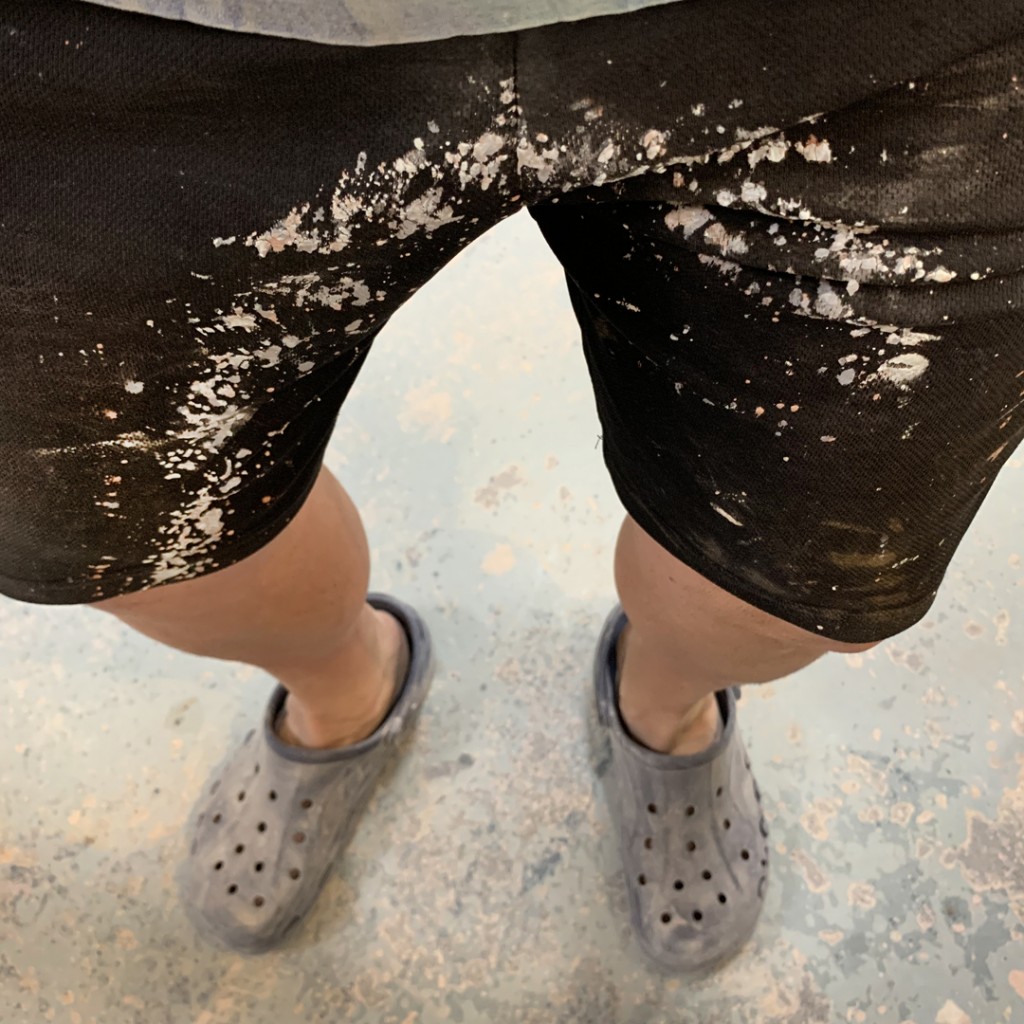
But if you look closely… you can also see that there is a black drip in the lower right corner that is pushing UP!!! Well, after the demo wasn’t going to well, I decided to just push the pedal down all the way and let the slip fly!!! I expected the slip to blend more like old-school spin art… still too thick… but it did splatter & fly. Not into the splash pan… but luckily my shorts were there to catch the flying slip!!!
BOWL DEMO #2 –
My second plan was to do a “tie-dye” effect with colored slip… in honor of PROJECT RUNWAY!!! Yes, seems like this week’s episode of PROJECT RUNWAY was focusing on tie-dye becoming high fashion! Who knew that I’ve been a tie-dyed trendsetter for so many years and never quite knew it?!
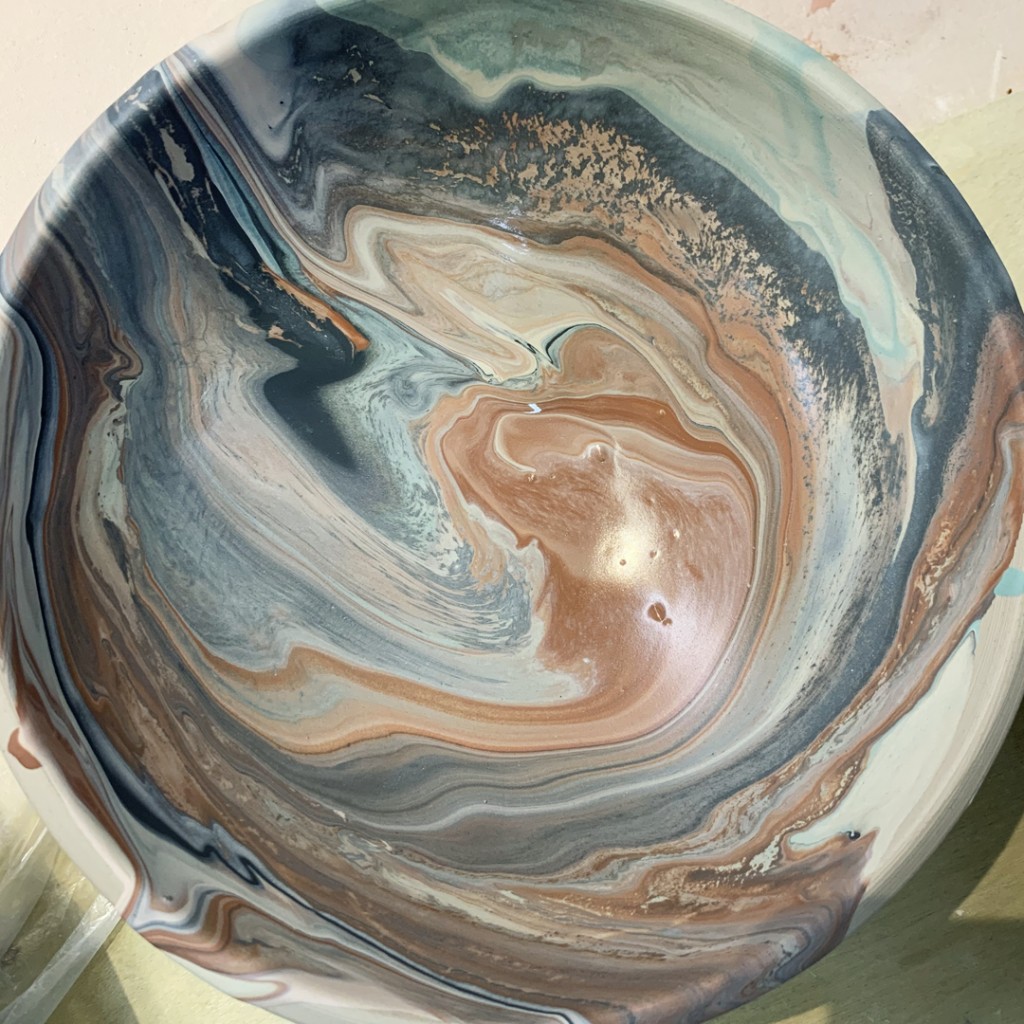
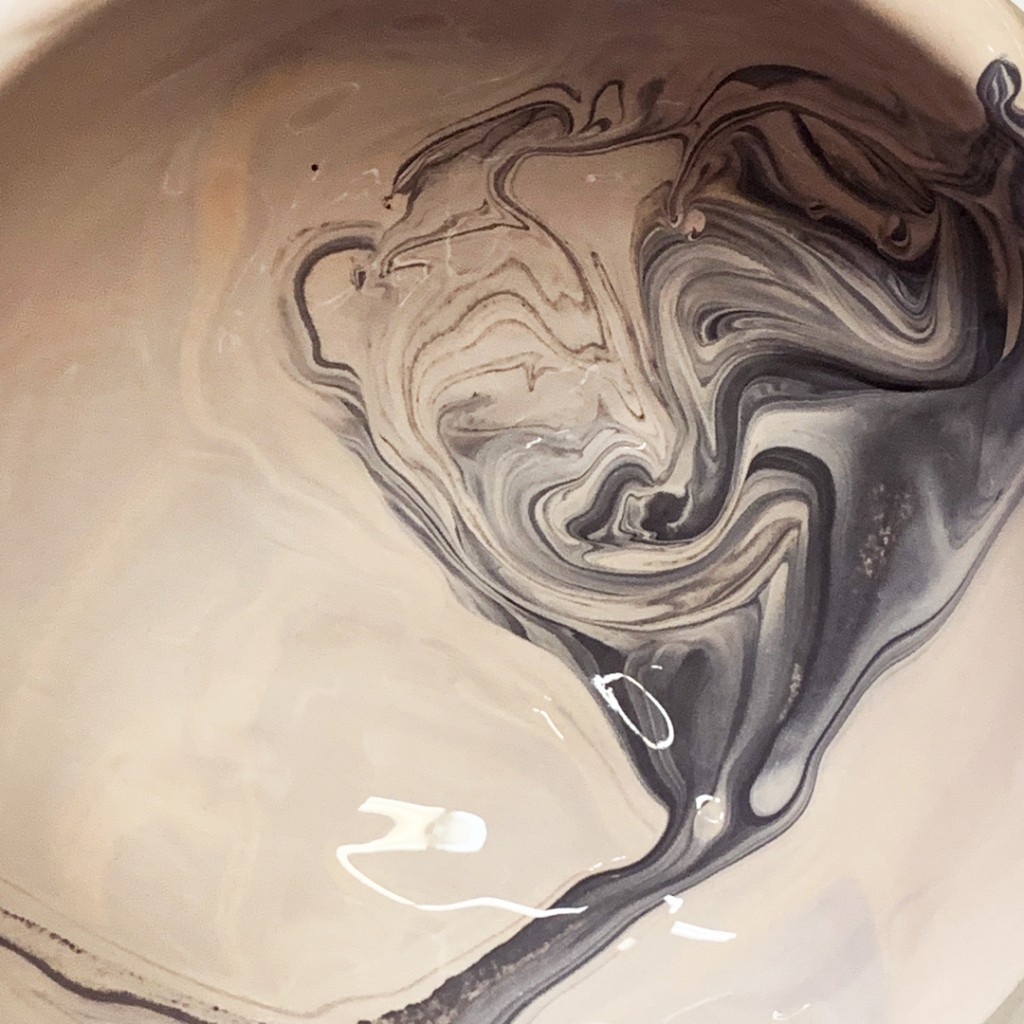
Anyway… I should my students how to do some marbling with colored slips…
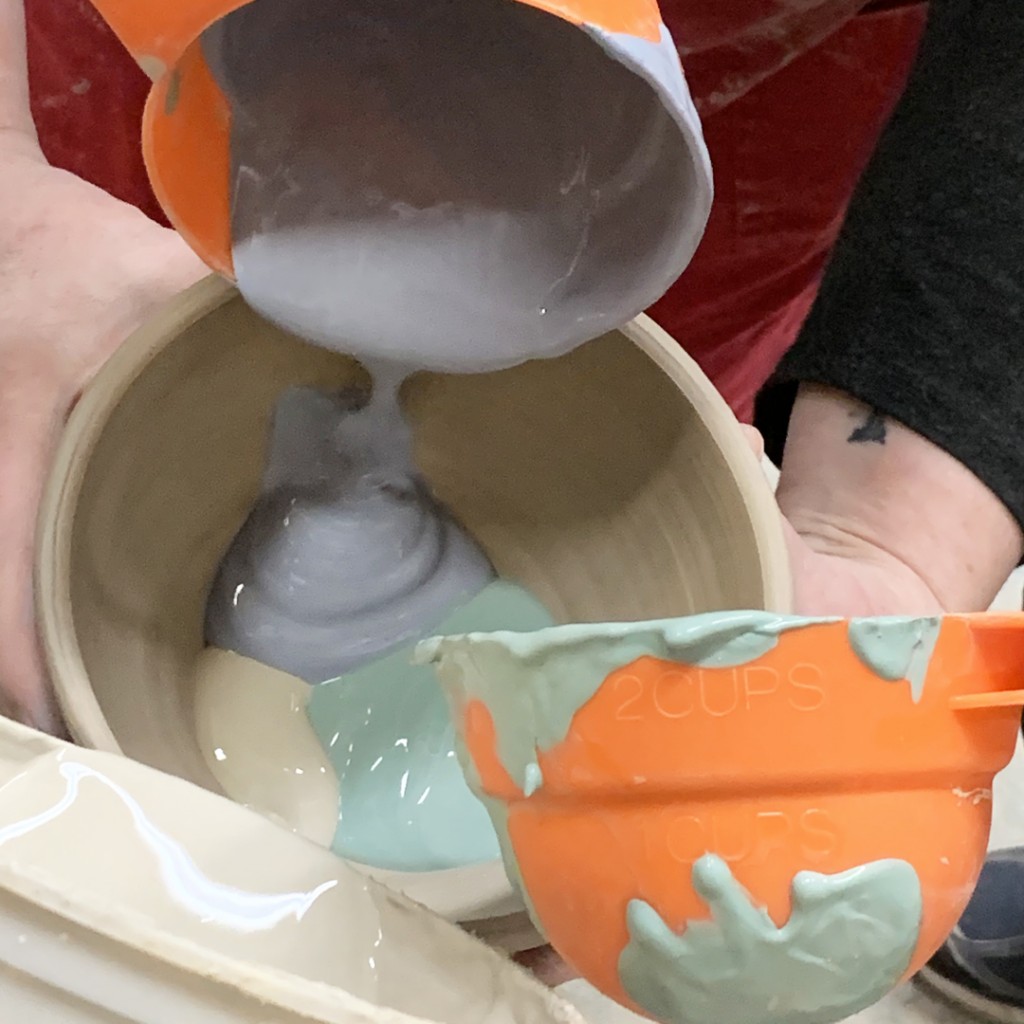
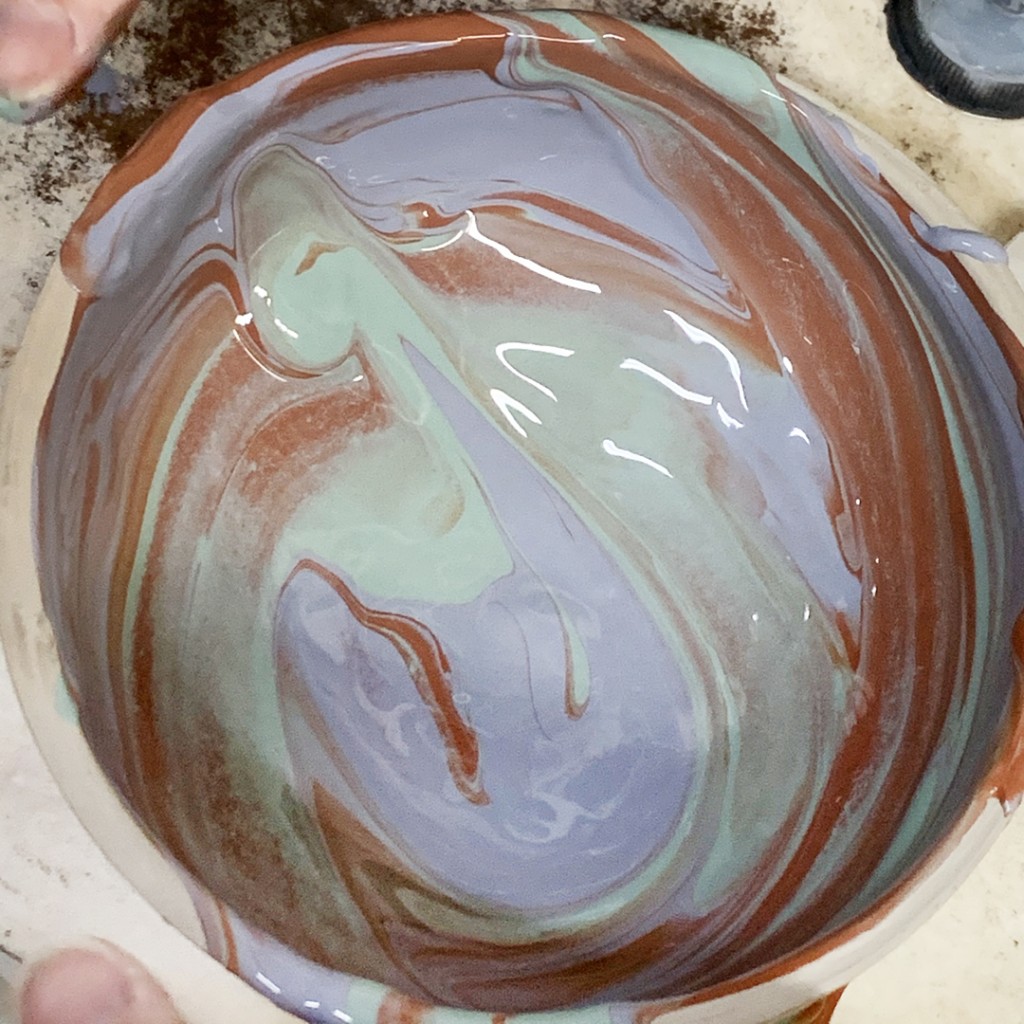
the closest I could come up with to be a tie-dyed effect! Just pour some “puddles” of colored lsip into the bowl, and then swirl. twist, squiggle and swirl some more… and then pour out the excess. Just that easy… easy-peezy!
BOWL #3 –
My third plan was to do several layers of color slips squiggled & painted on some newspaper. The plan is that the water seeps into the newspaper and lets the slip stiffen up. After several layers of slip, and enough time on the newspaper, you can cut out sections, lift them up carefully and place them onto the surface of the bowl almost like an applique. Sadly, I didn’t start the squiggles & layers soon enough… as I was having too much fun watching them play with their tiles… time got away from me… and my slip never quite set-up enough to cut * apply. So I told them we would try to do it again next week… and I would start a LOT sooner!!
Luckily, my students LOVED the marbled “tie-dye” effect… and all fun & excitement ensued!!!
And they were “tasked” with another challenge…. to decorate their “blindfolded bowl” with one of the tree techniques. And since only one of them really worked… there was a lot of marbling of slip!

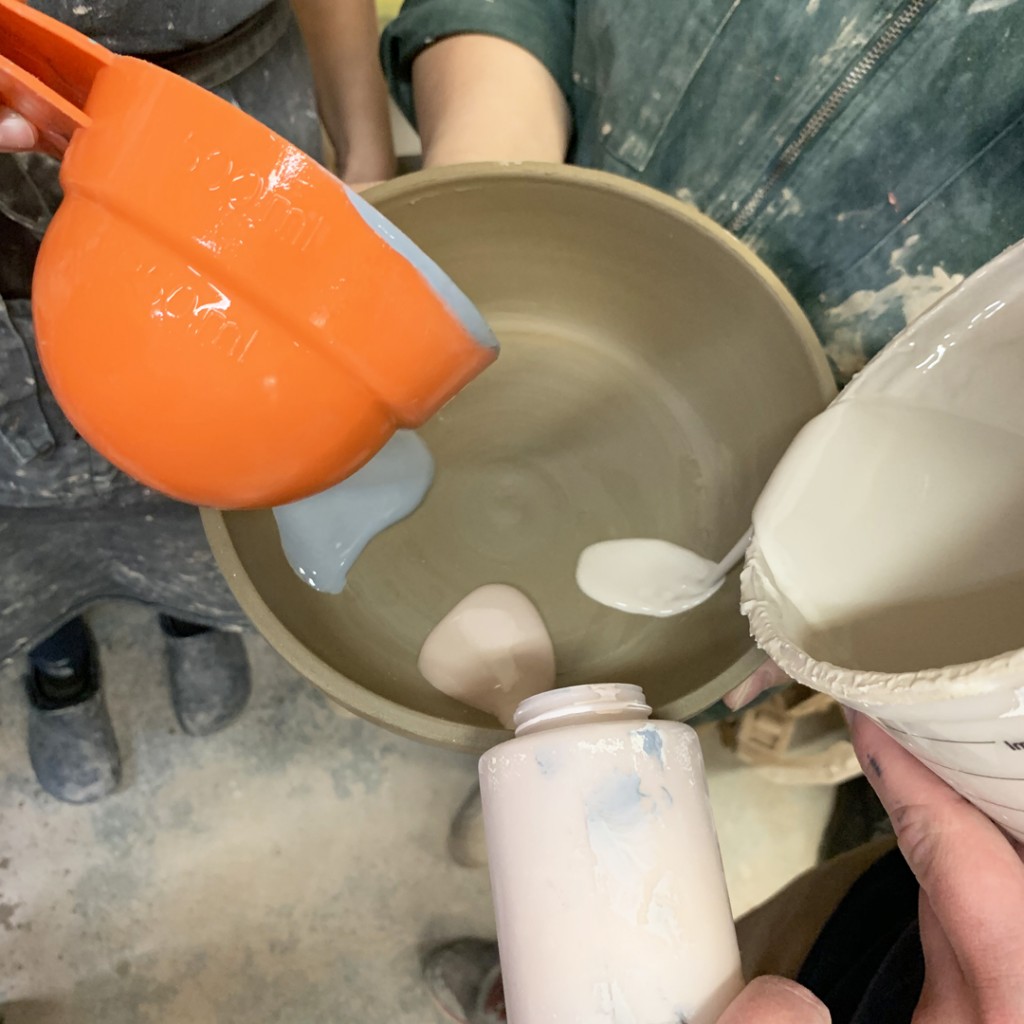
While others were too busy finger-painting… and loving it like a four-year old!!!
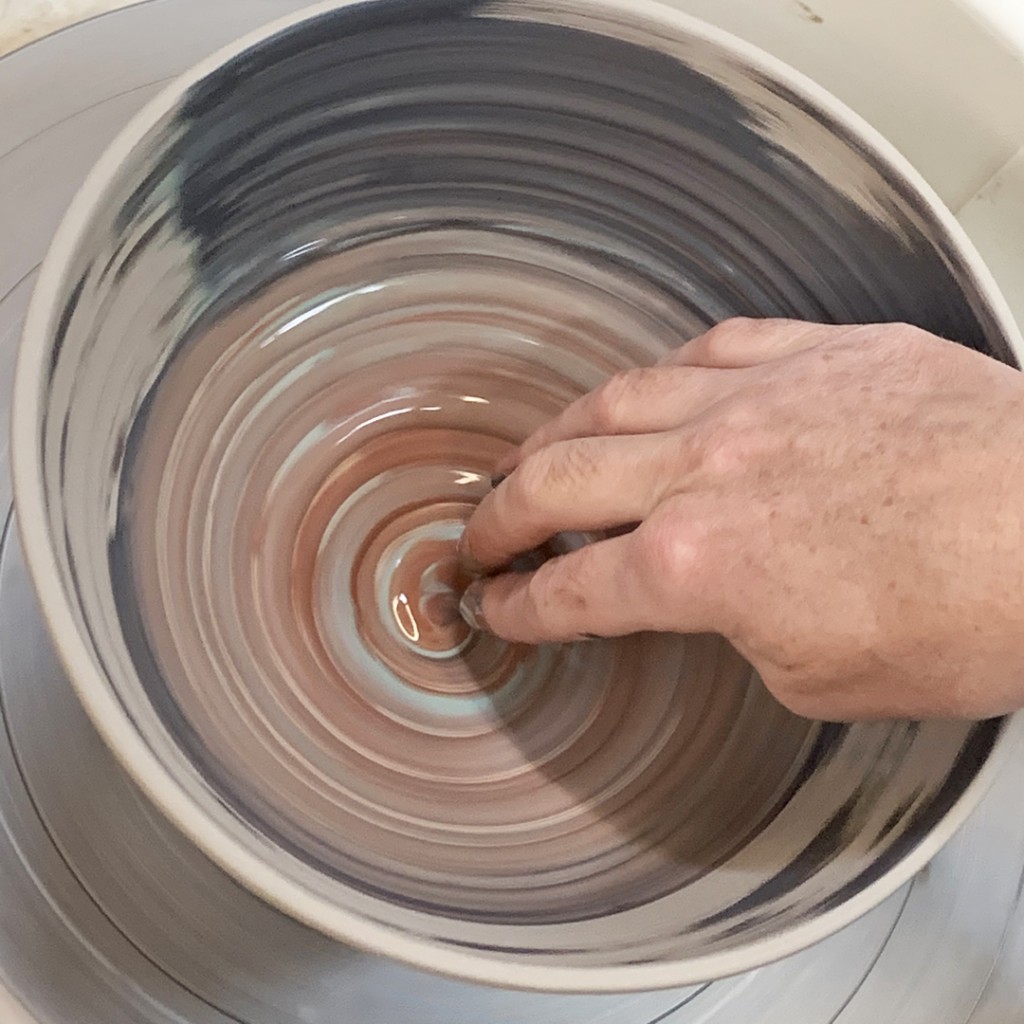
So here are a couple of our “tie-dyed” bowls…
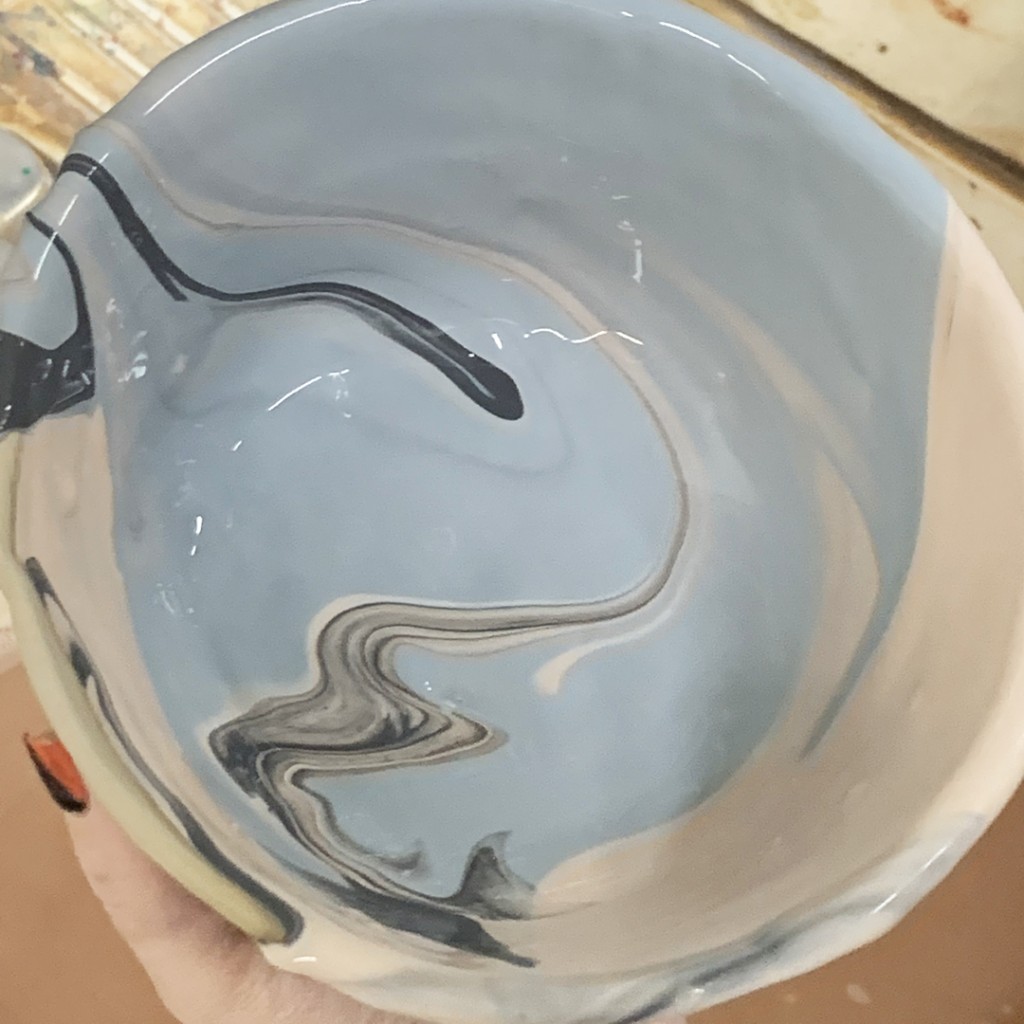


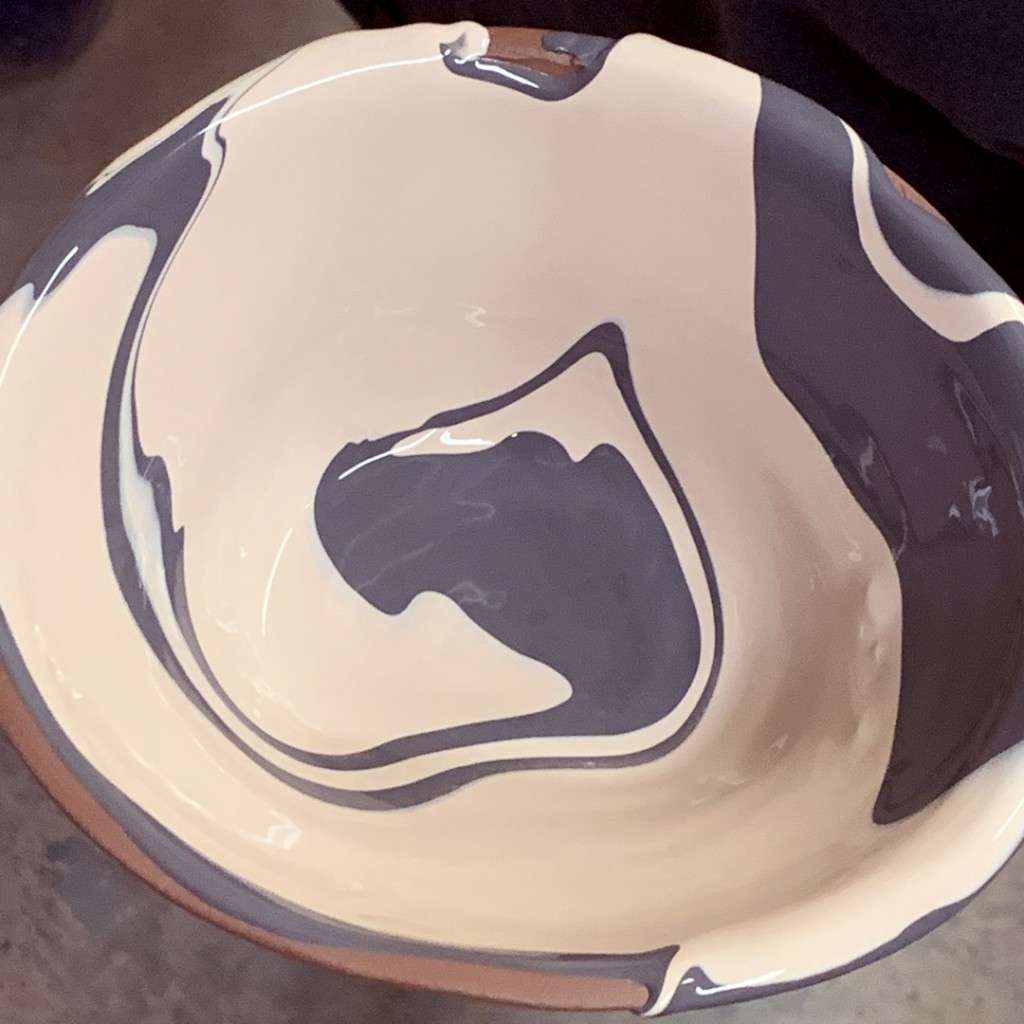
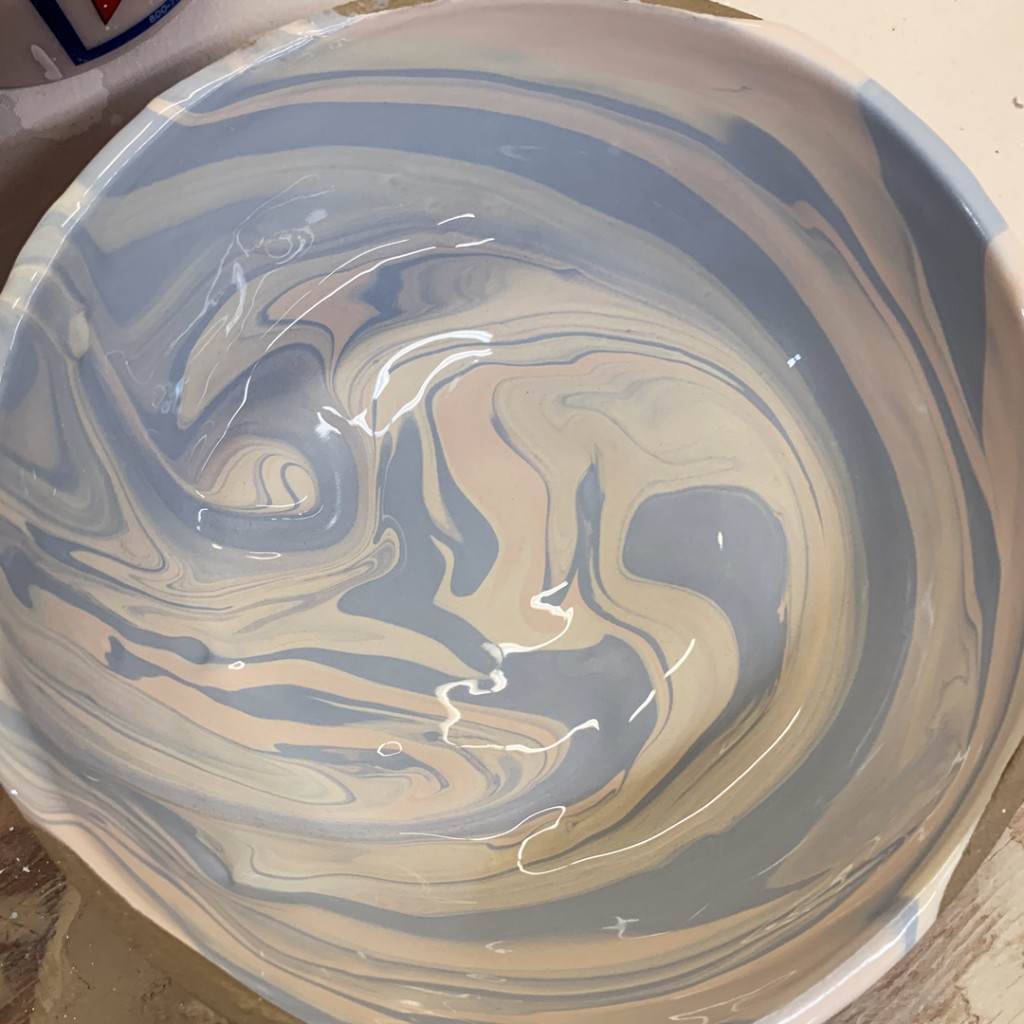
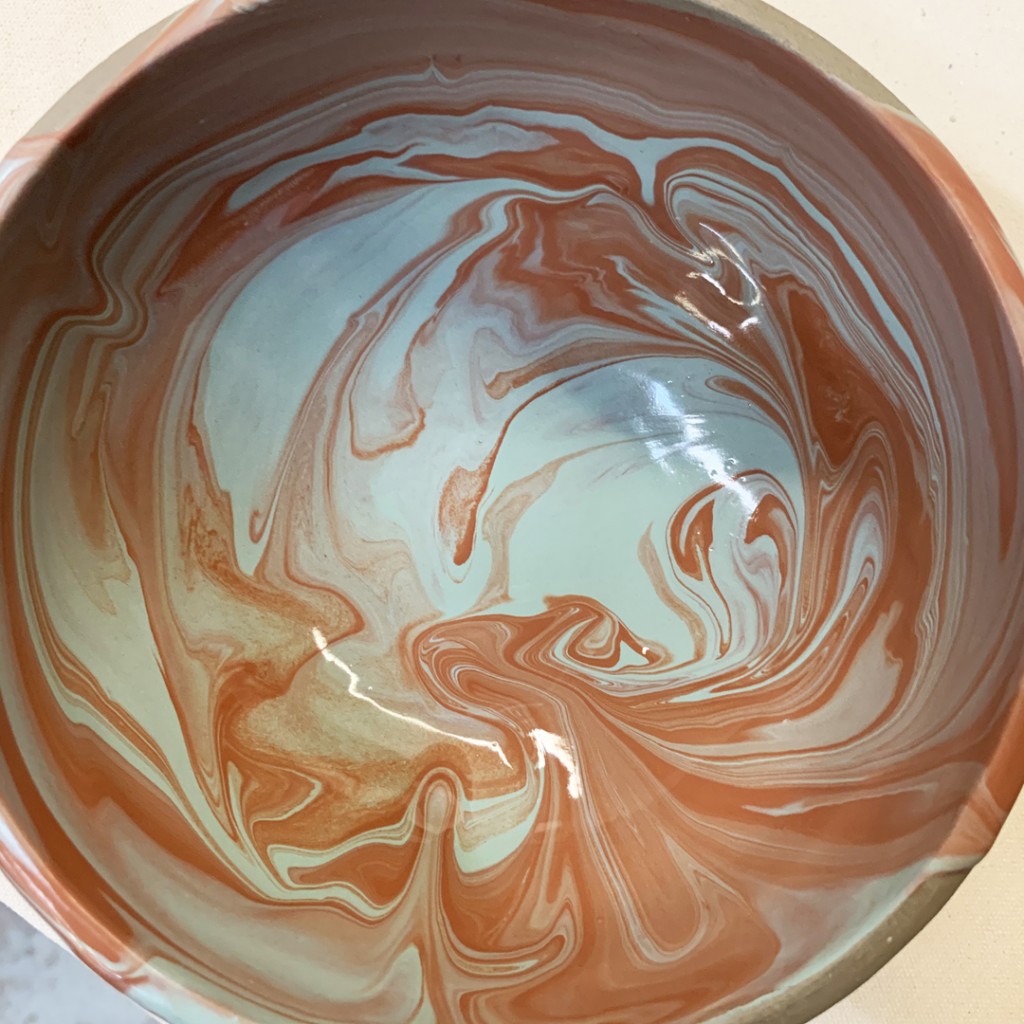
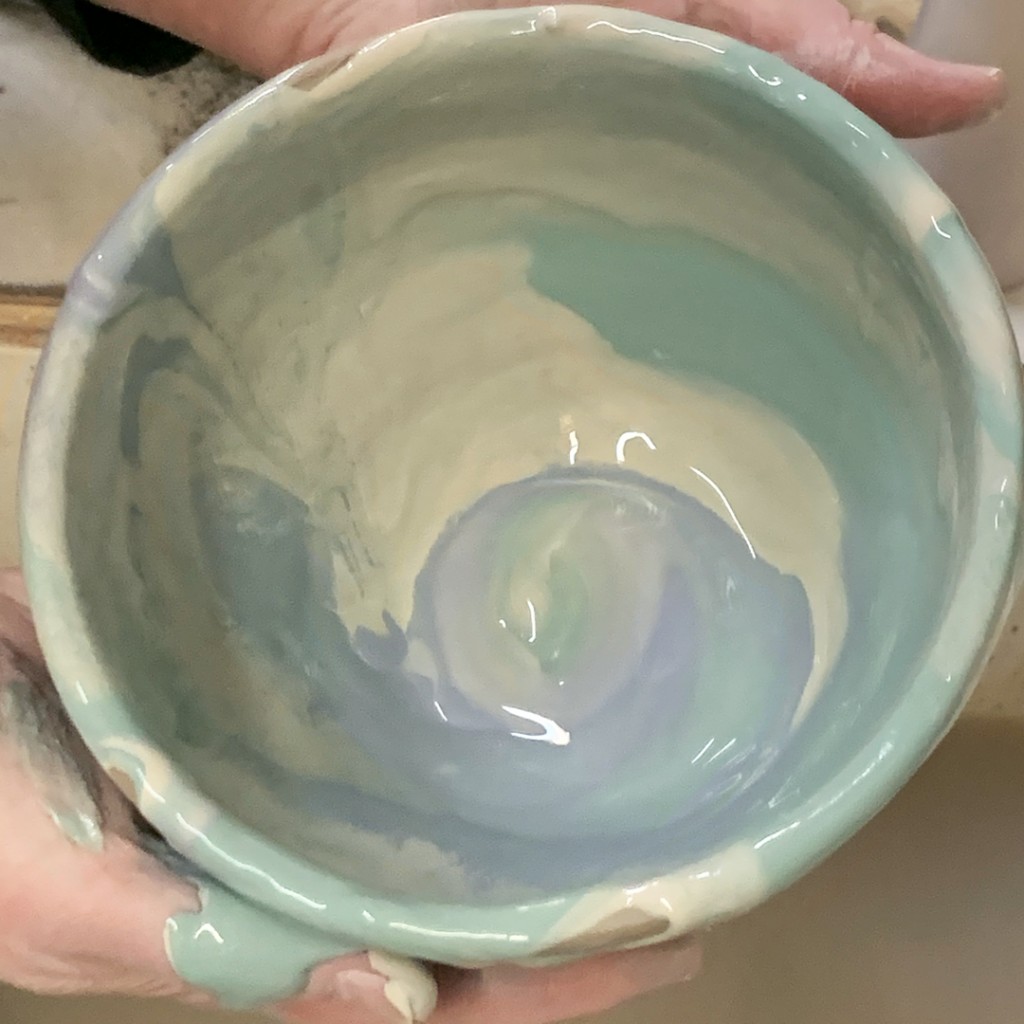
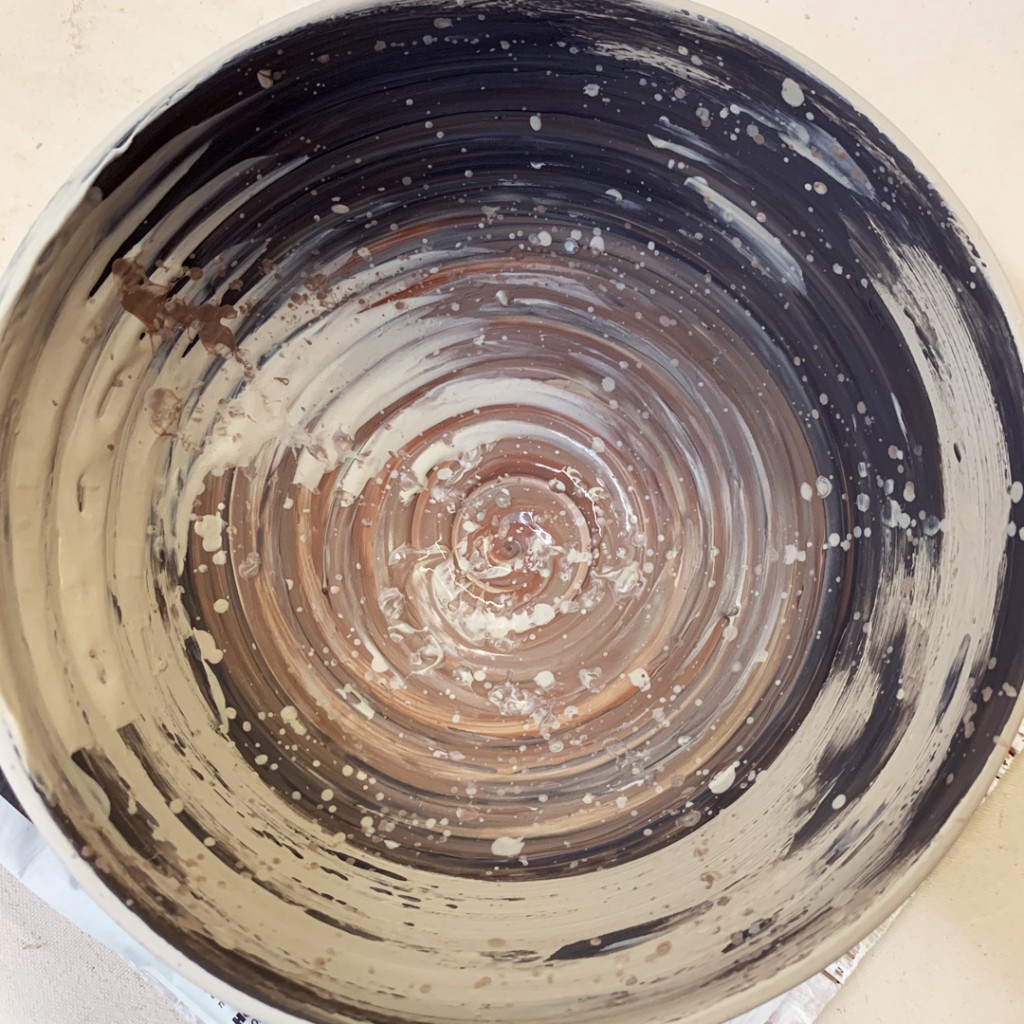
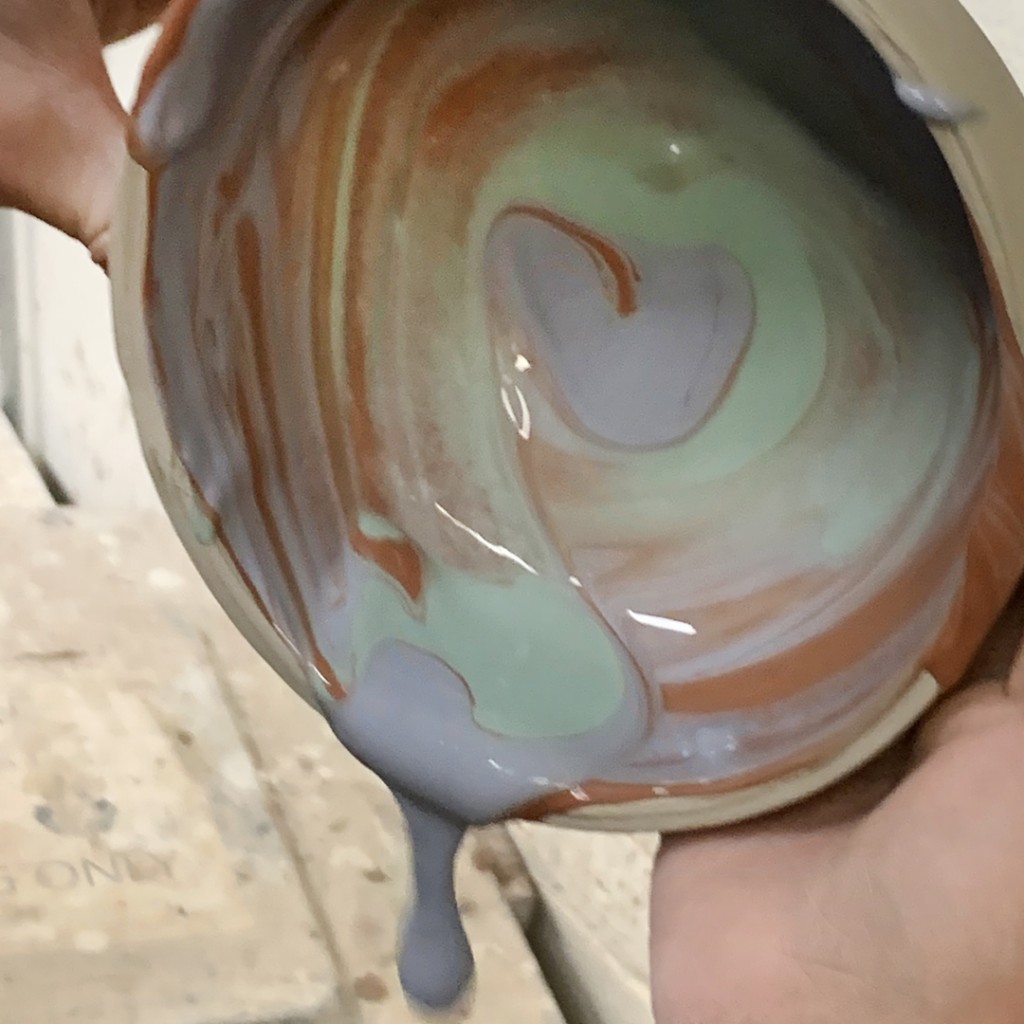
And one of the dripped slip technique… working a bit better than MY demo!!!
And does anyone see a face in this one, or is it just me?!!!
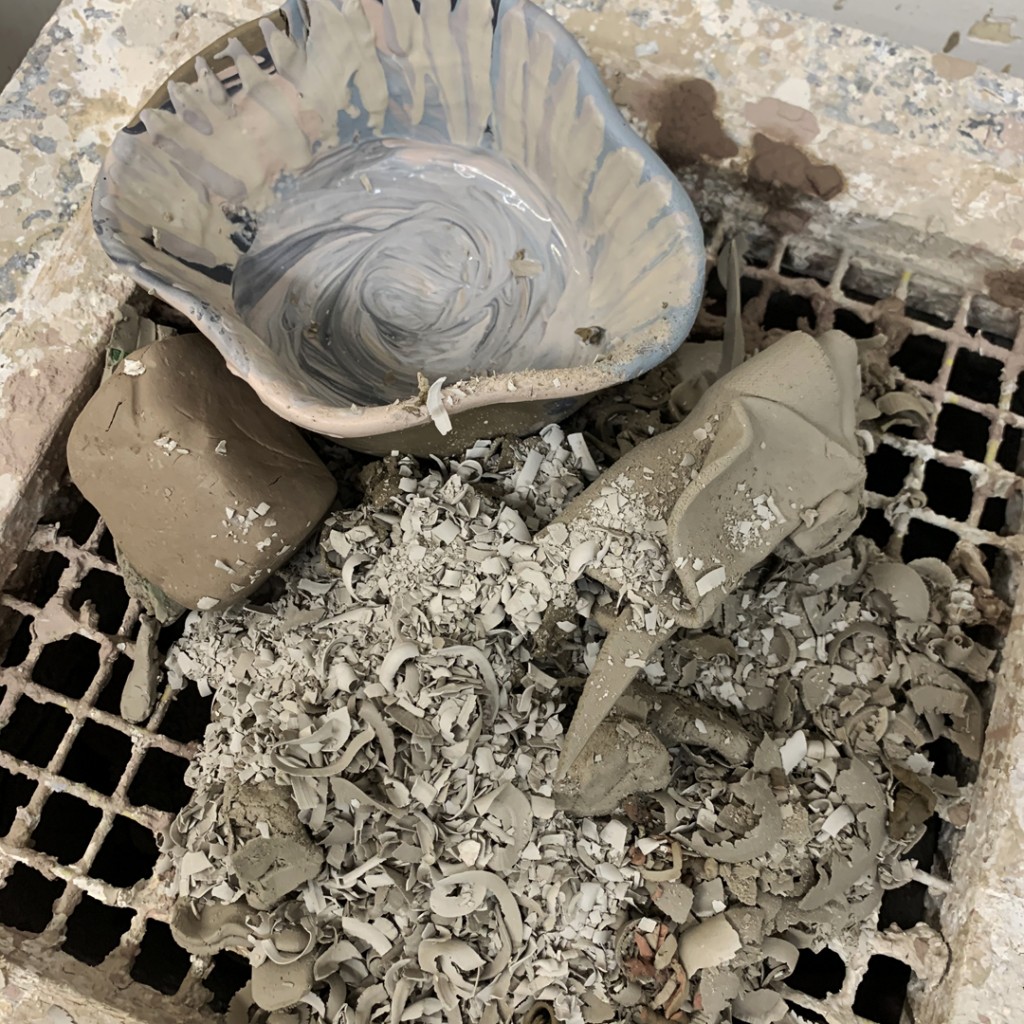
Unfortunately, one of the “blindfold bowls” didn’t quite survive.
It was far too wet going into the challenge.. and the layers of slip just didn’t help any!
This week in my Lillstreet Throwdown class, they all returned with their “blindfold-thrown bowls” as they had to refine & trim them a bit. I think most of them thought we would be working on decorating them in class as “part two” of the assignment. Instead, I had them spray their bowls with water and wrap them up with plastic. We “might” decorate them… but not right away!
Instead we switched to tile-making!!!
They were tasked with making nine 4″x 4″ tiles in twenty minutes. The goal was even thickness, clean edges & good corners. So they started by wedging their clay, throwing slabs and then cutting them into flat tiles. It was fun to see them approach the task… most with rulers… none of them considering the slab roller… and Melanie making a template to use to cut them all nice & square!
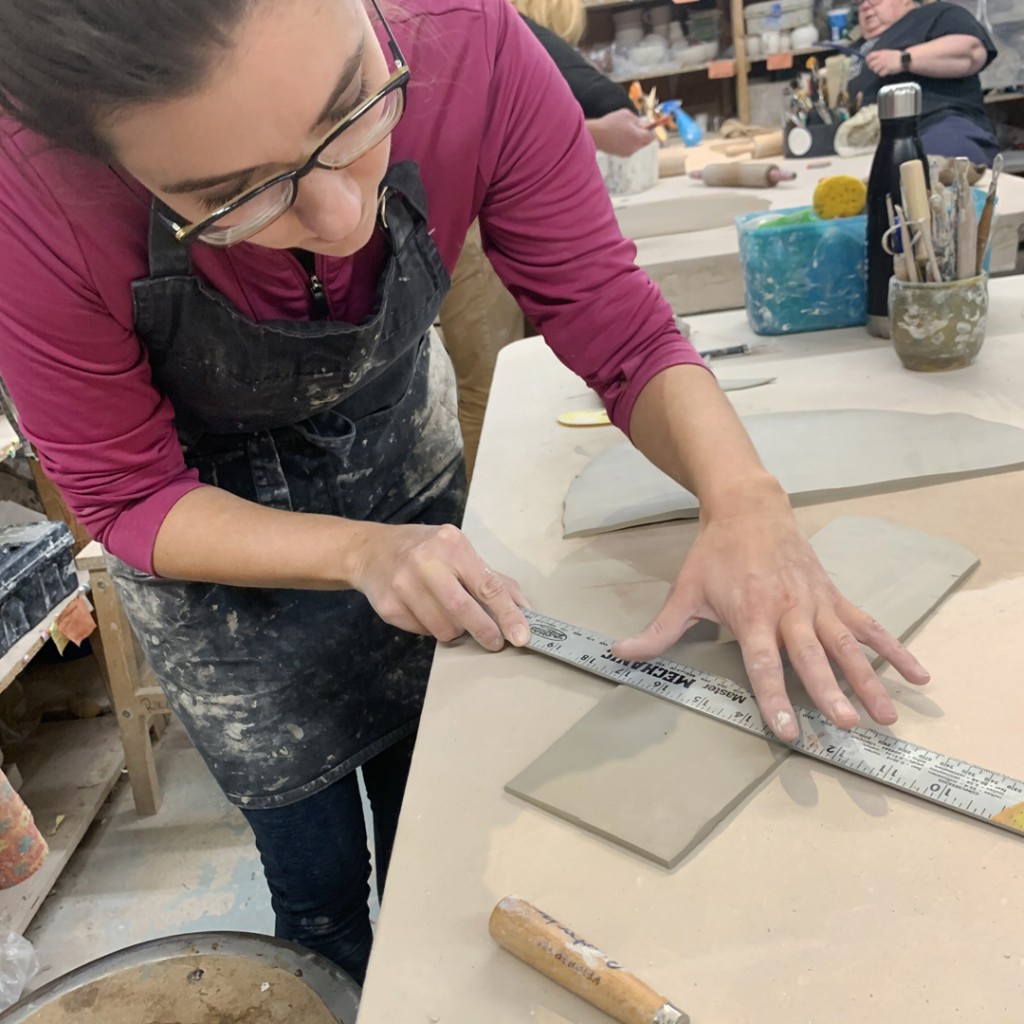
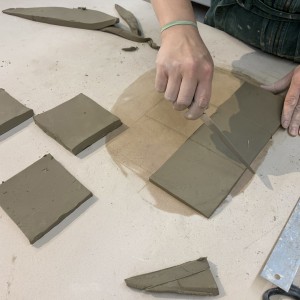
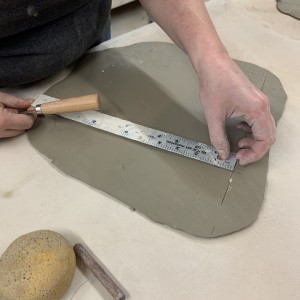
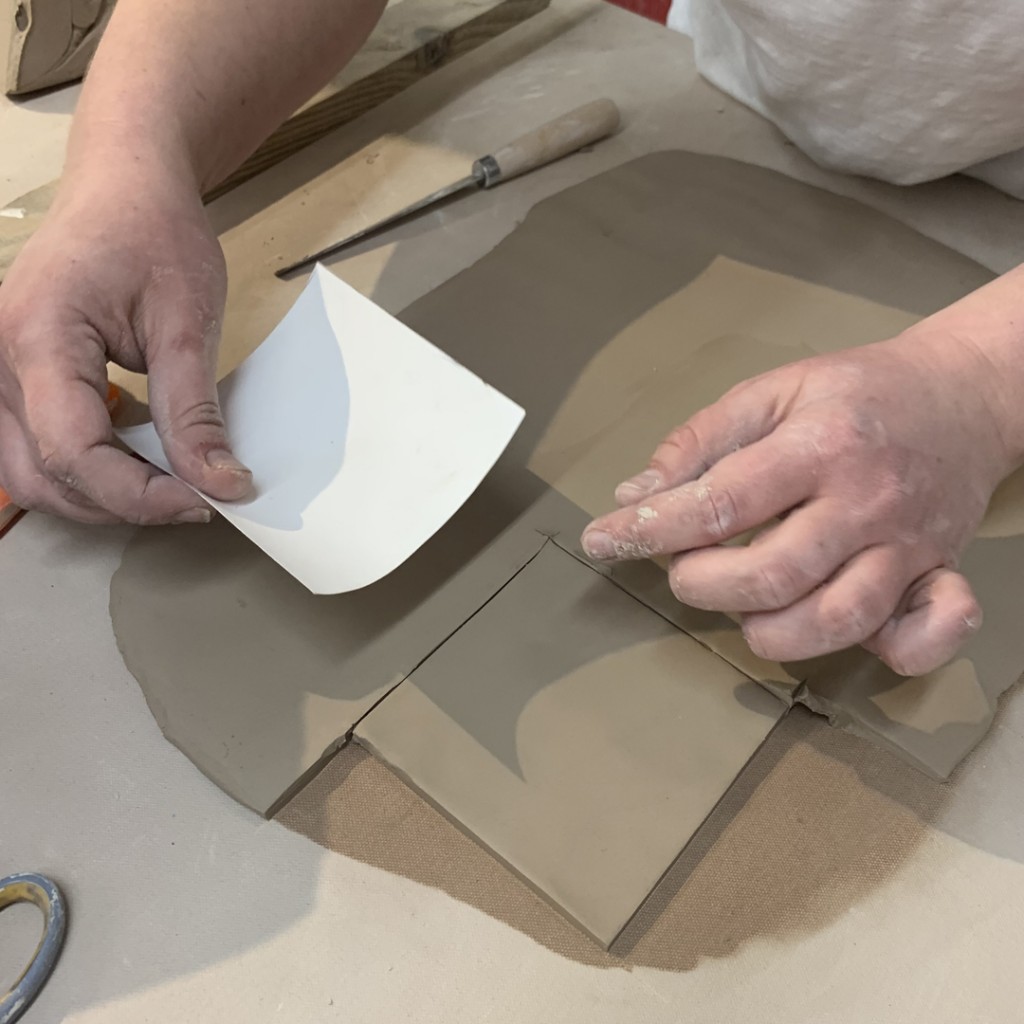
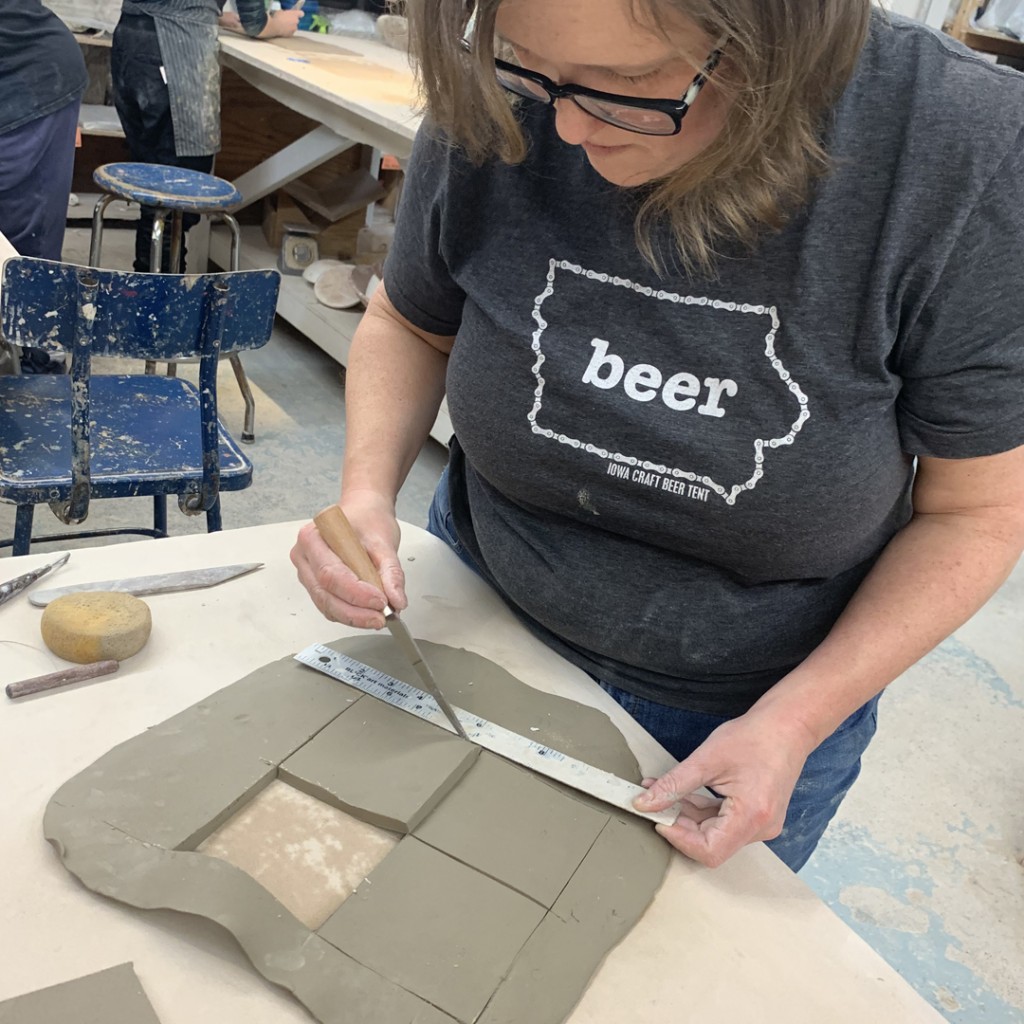
After we critiqued & judged the tiles, they began to decorate them with colored slips. They had 45 minutes to finish all nine tiles… which sounds like plenty of time, until you start figuring out how many minutes per tile that works out to be! The challenge for this project was that their group of tiles should coordinate with a common color palette. Their tiles should NOT match as they had to utilize a different slip application technique on each tile. We were looking for creativity, technique, style, cleanliness and overall impression. Basically I was looking for people to embrace the spirit of the challenge… and have a good time exploring different slip possibilities!
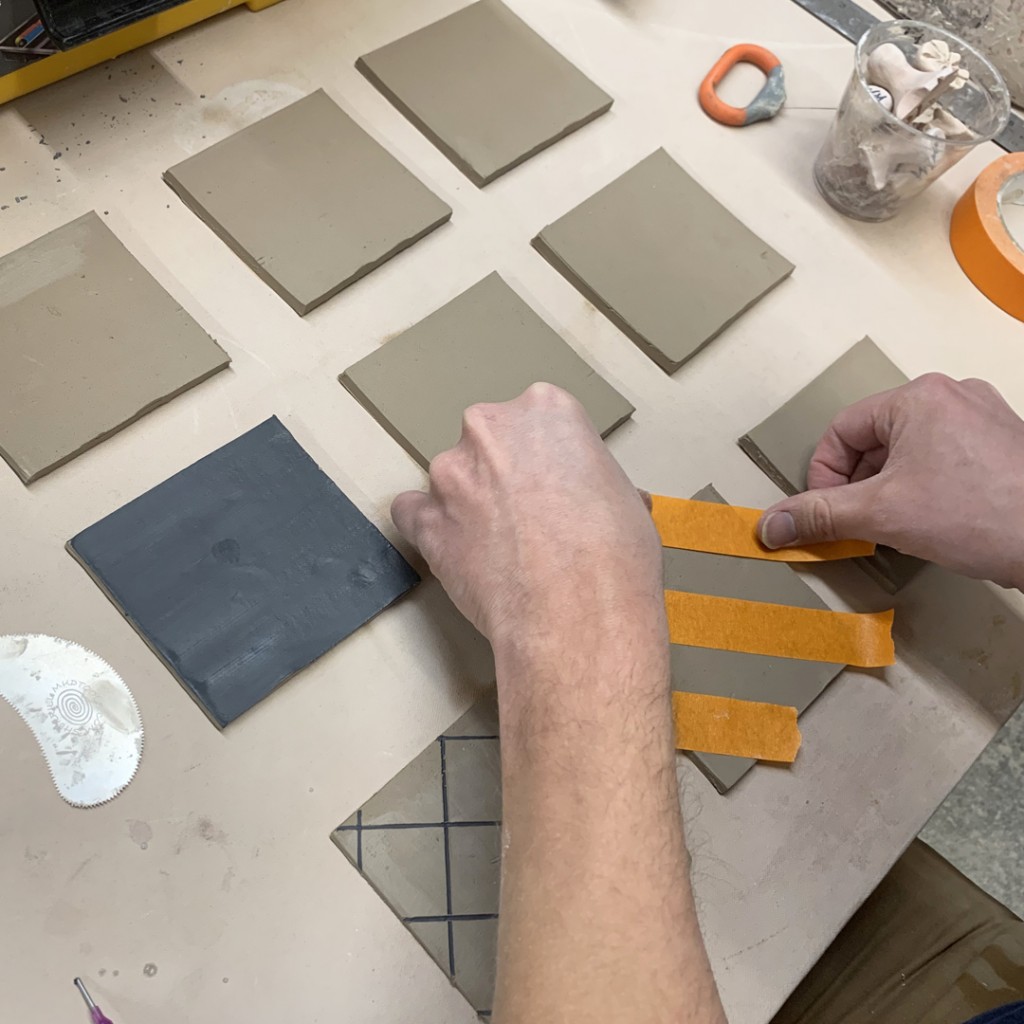
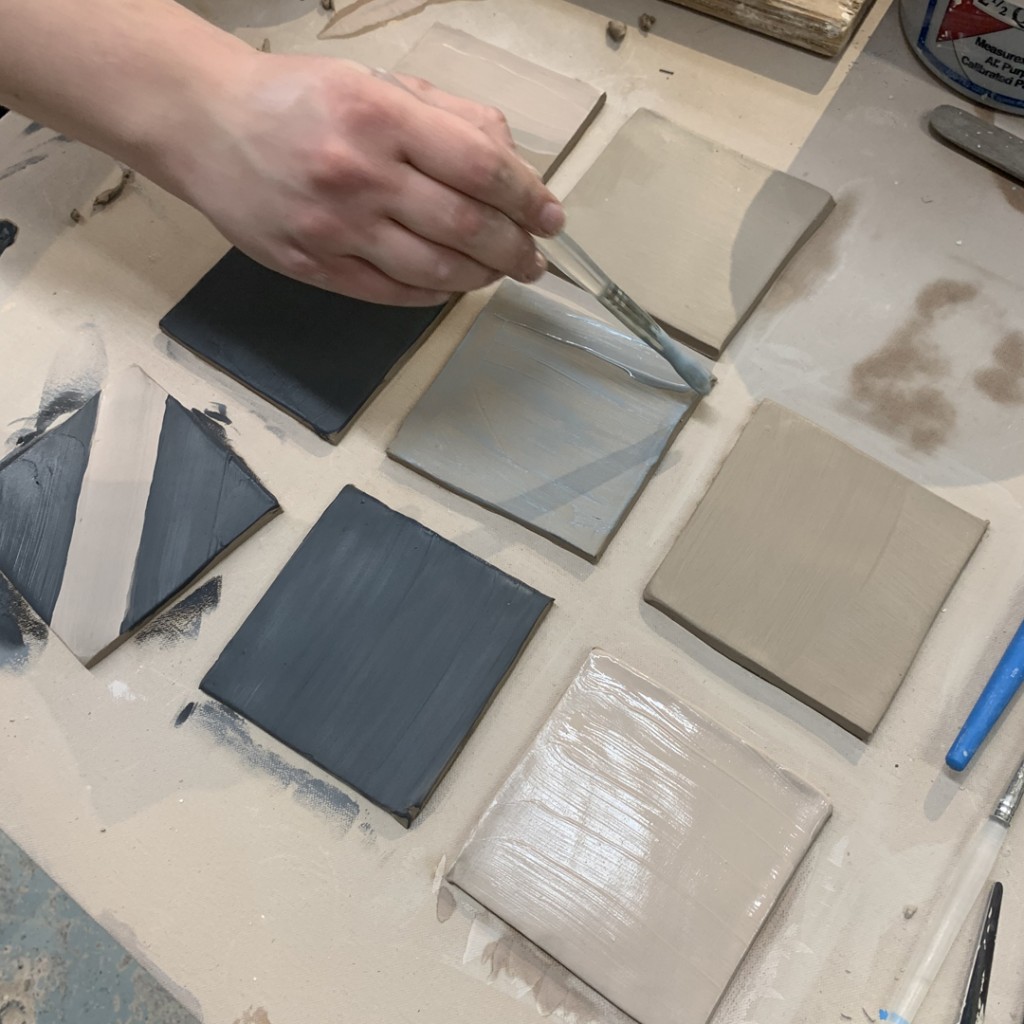
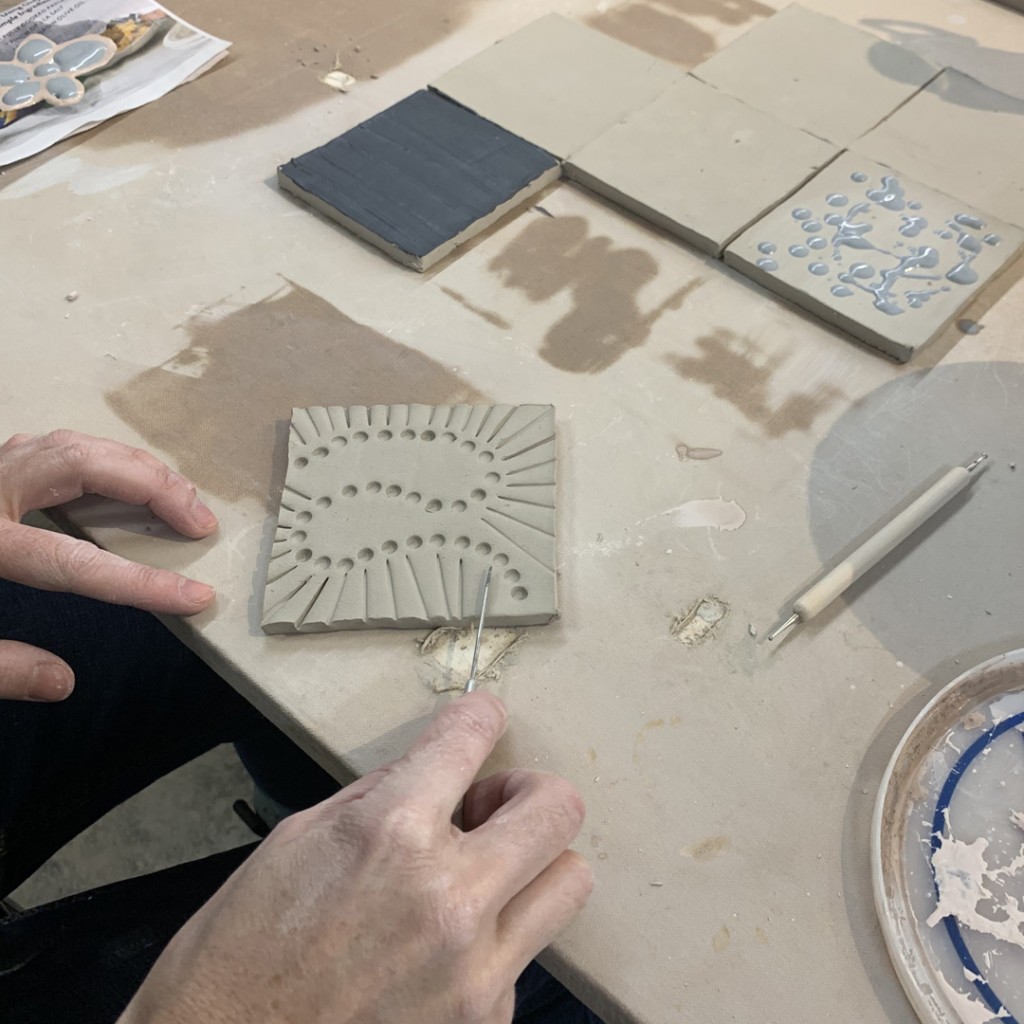
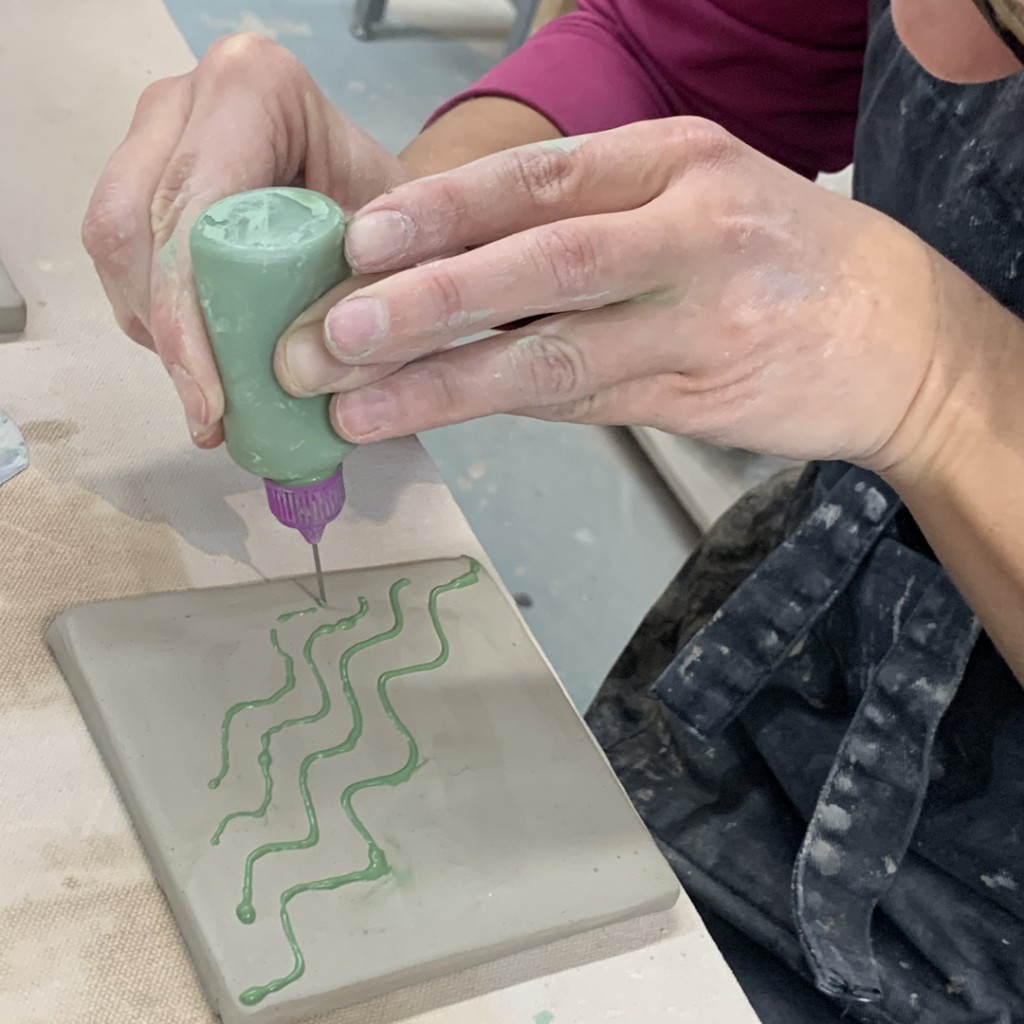
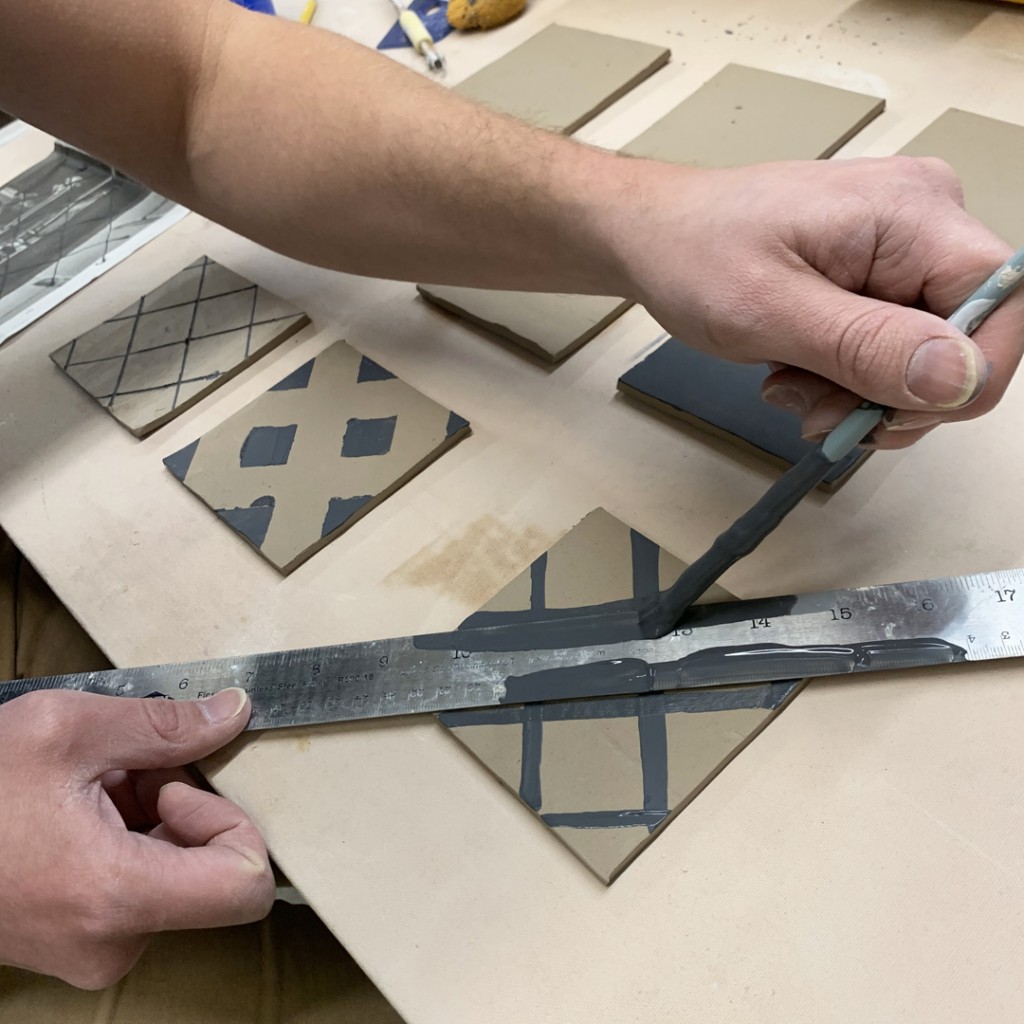
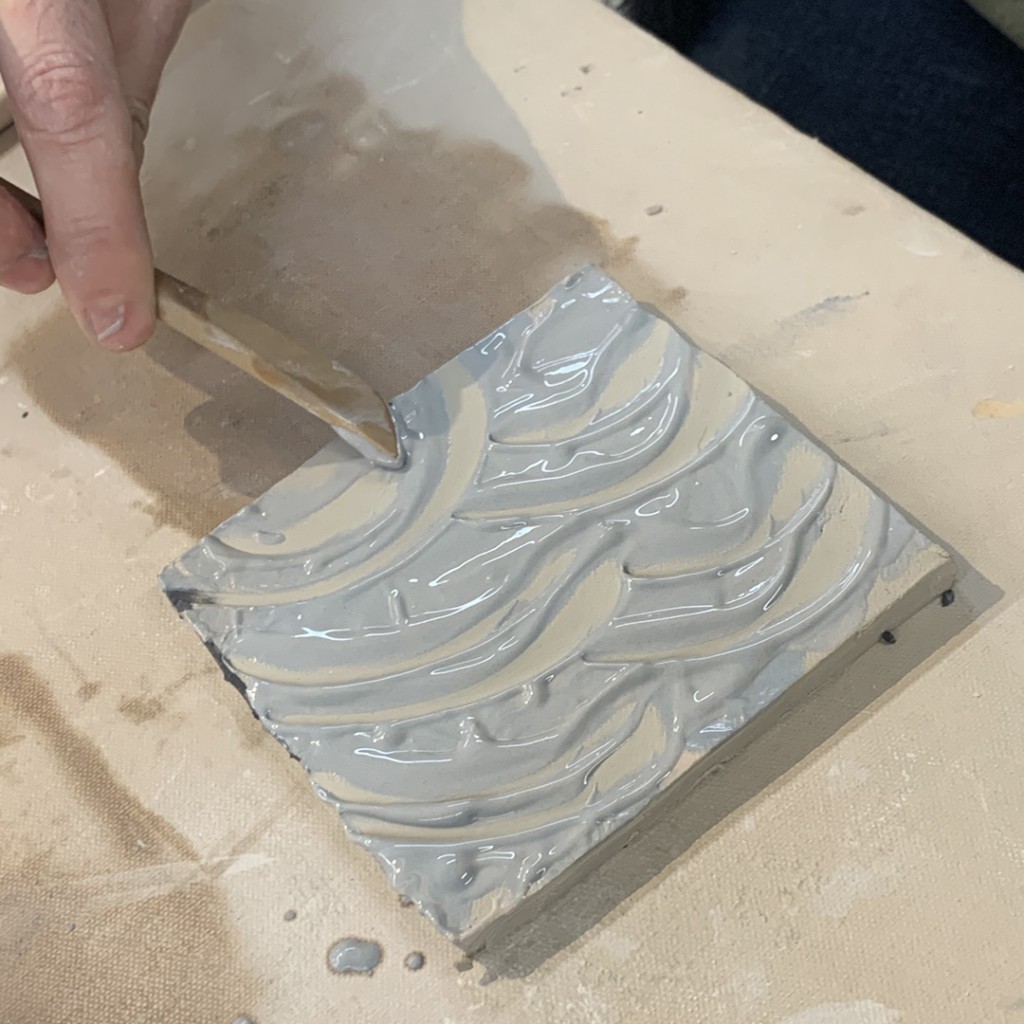
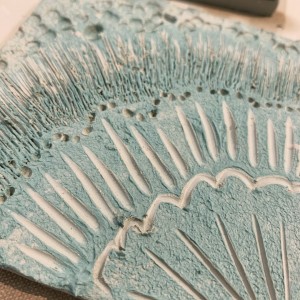
Just a couple tile close-ups… loving the textures, patterns and techniques!
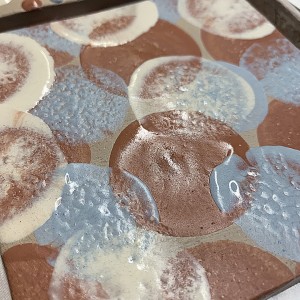
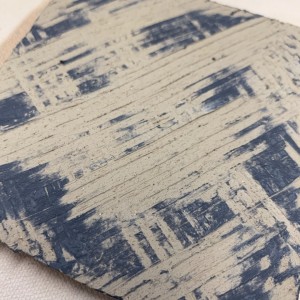
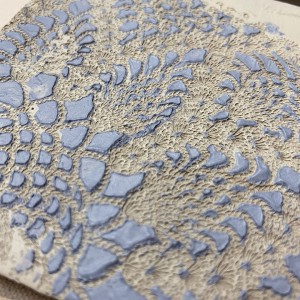
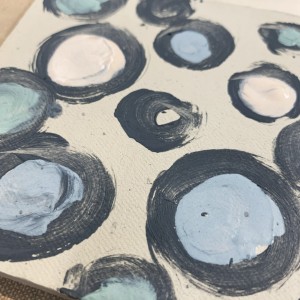
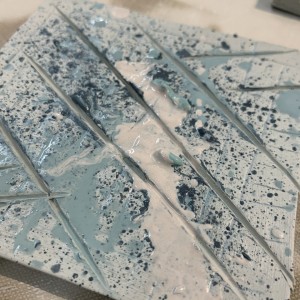
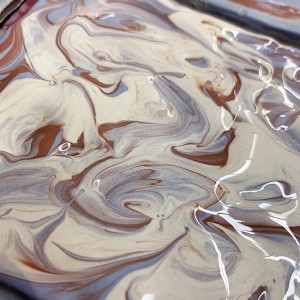
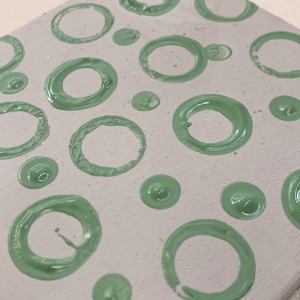
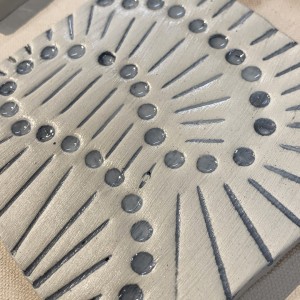
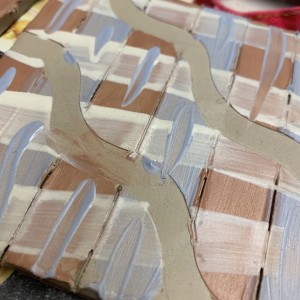
At the end of their time, we went around and looked at all of the sets of nine. Some people kept it simple with one color, some went for multiple colors. Some when over-the-top while others kept it minimal. Some kept exploring a common pattern in different ways, while others went for deconstructed versions of the same!
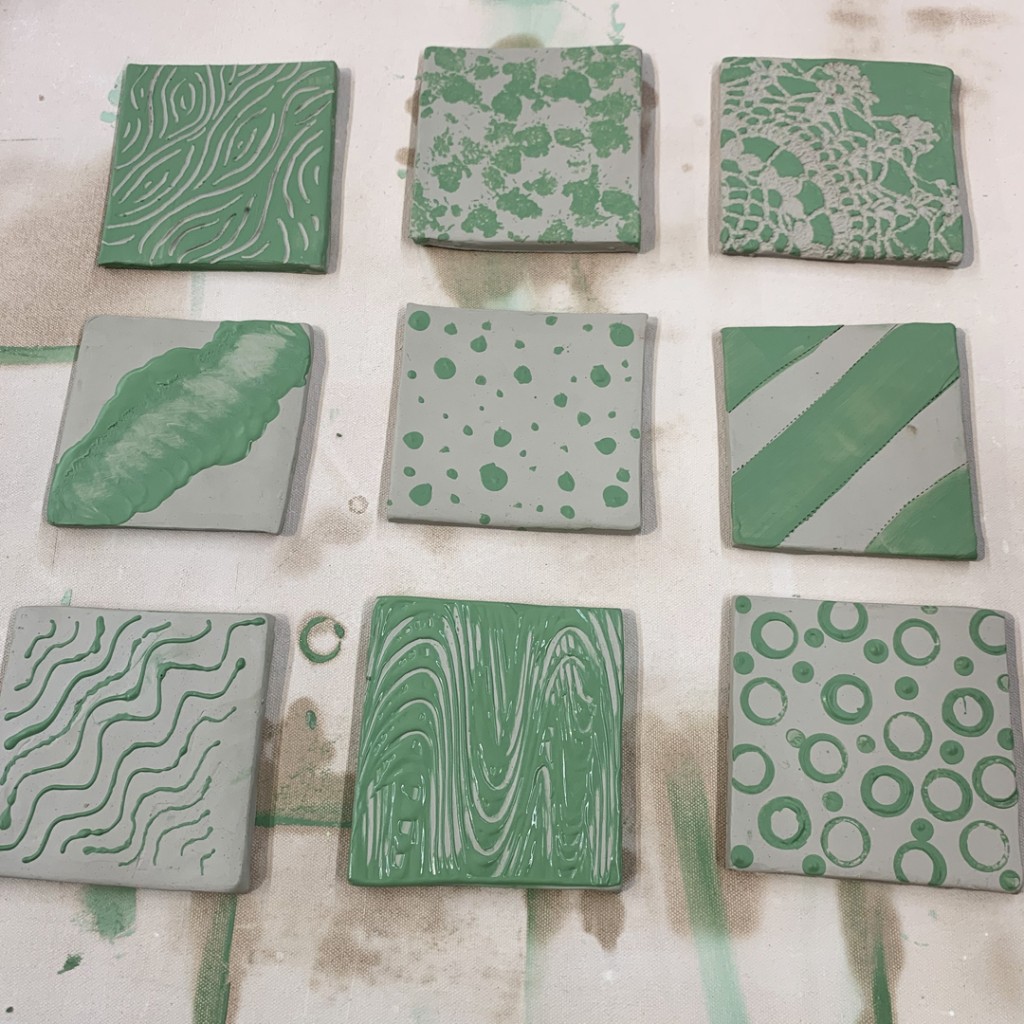
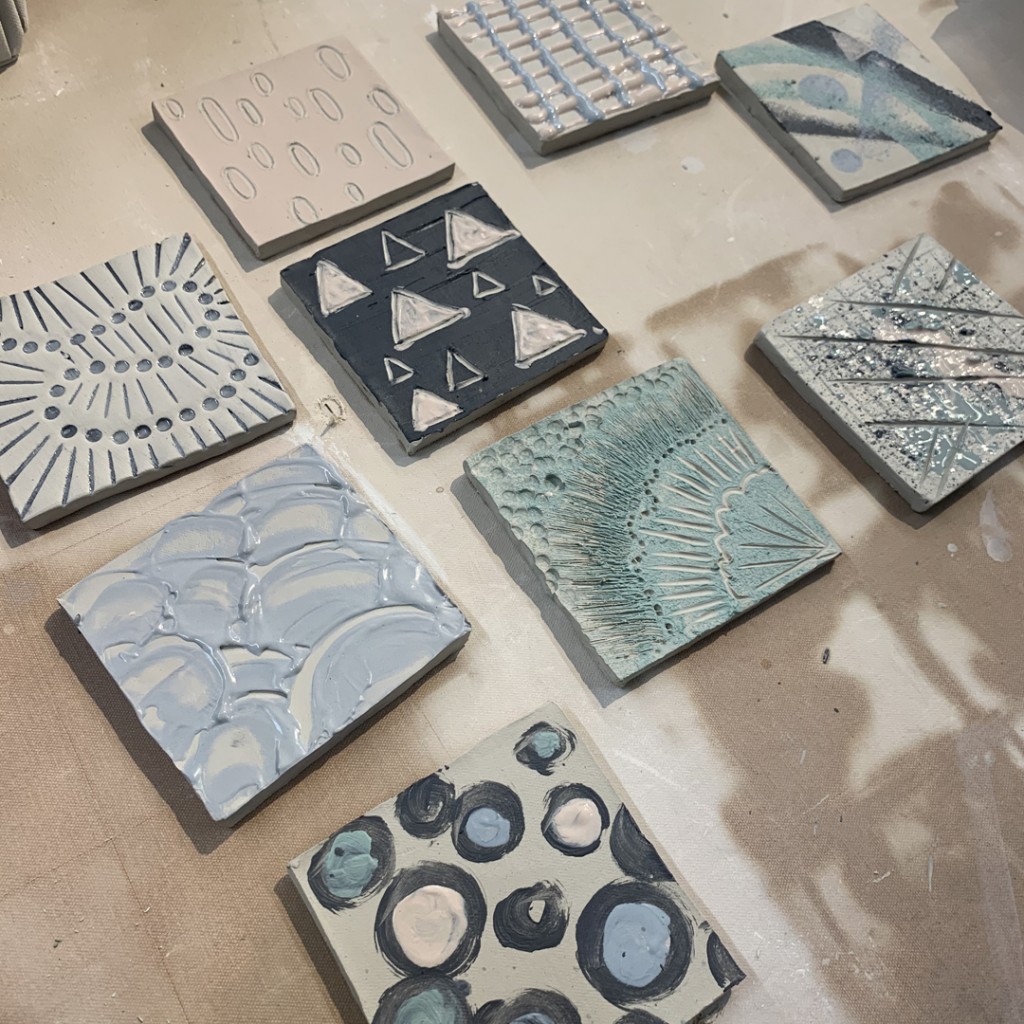
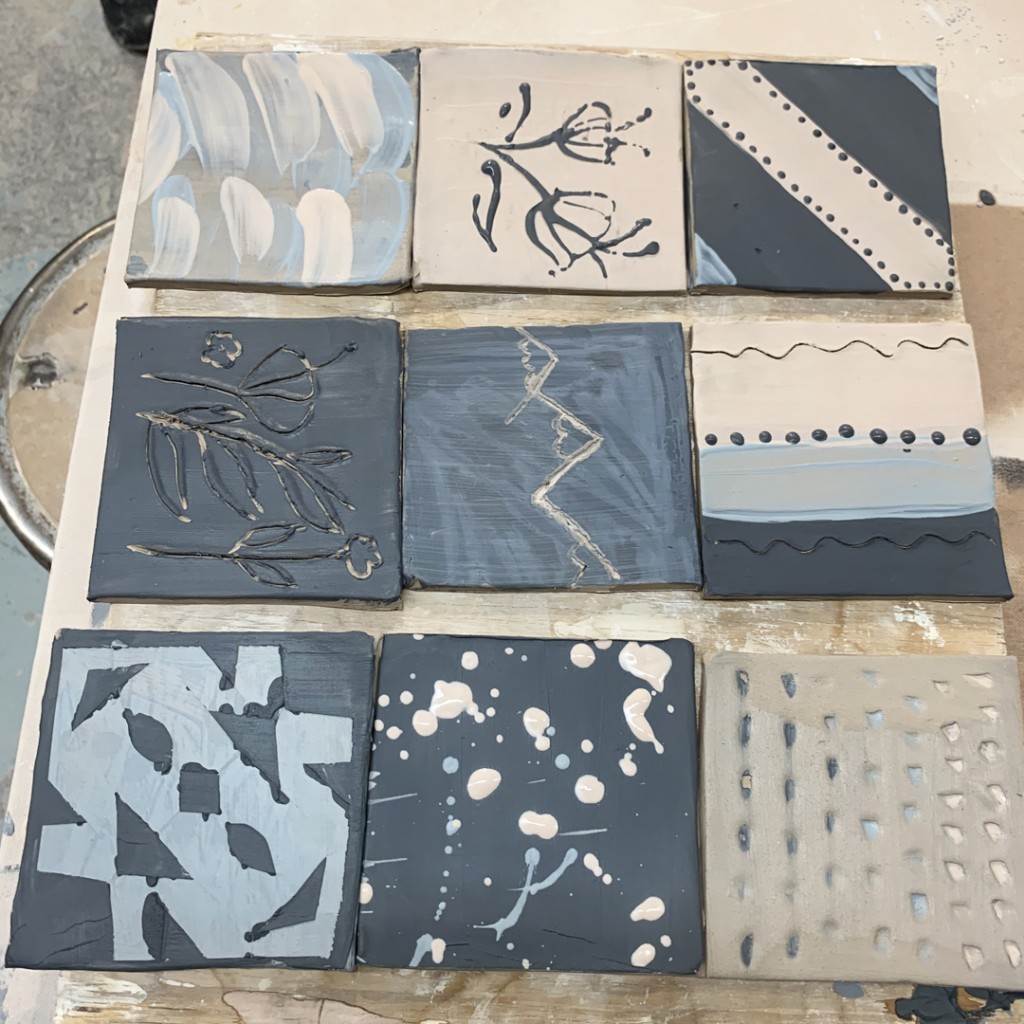
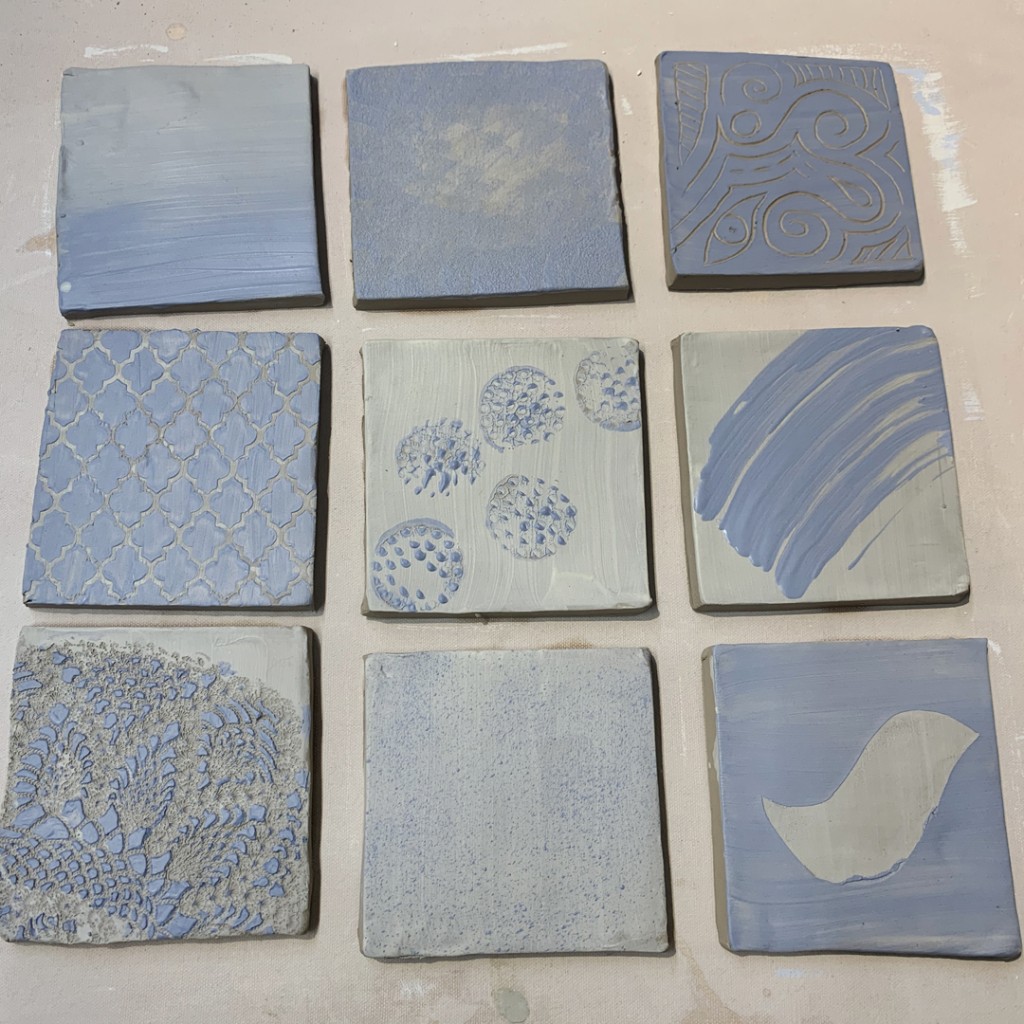
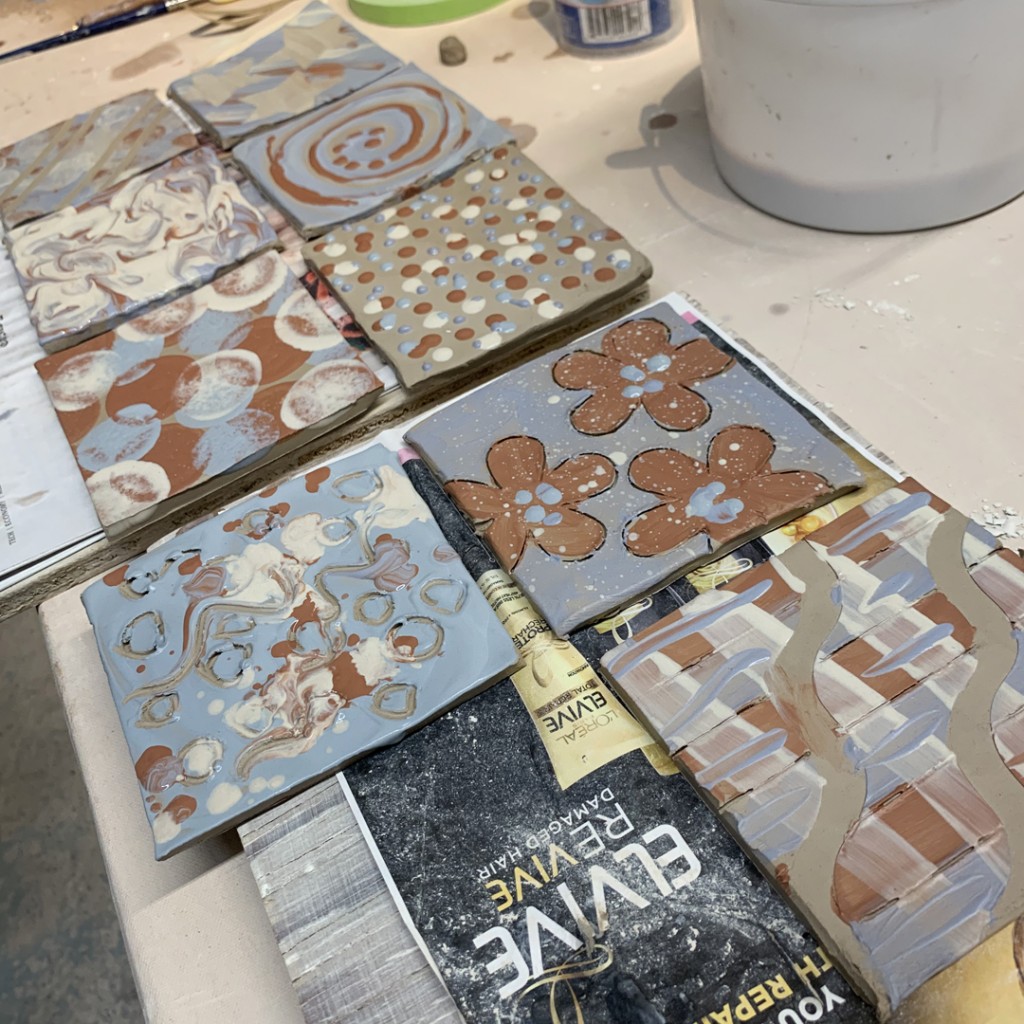
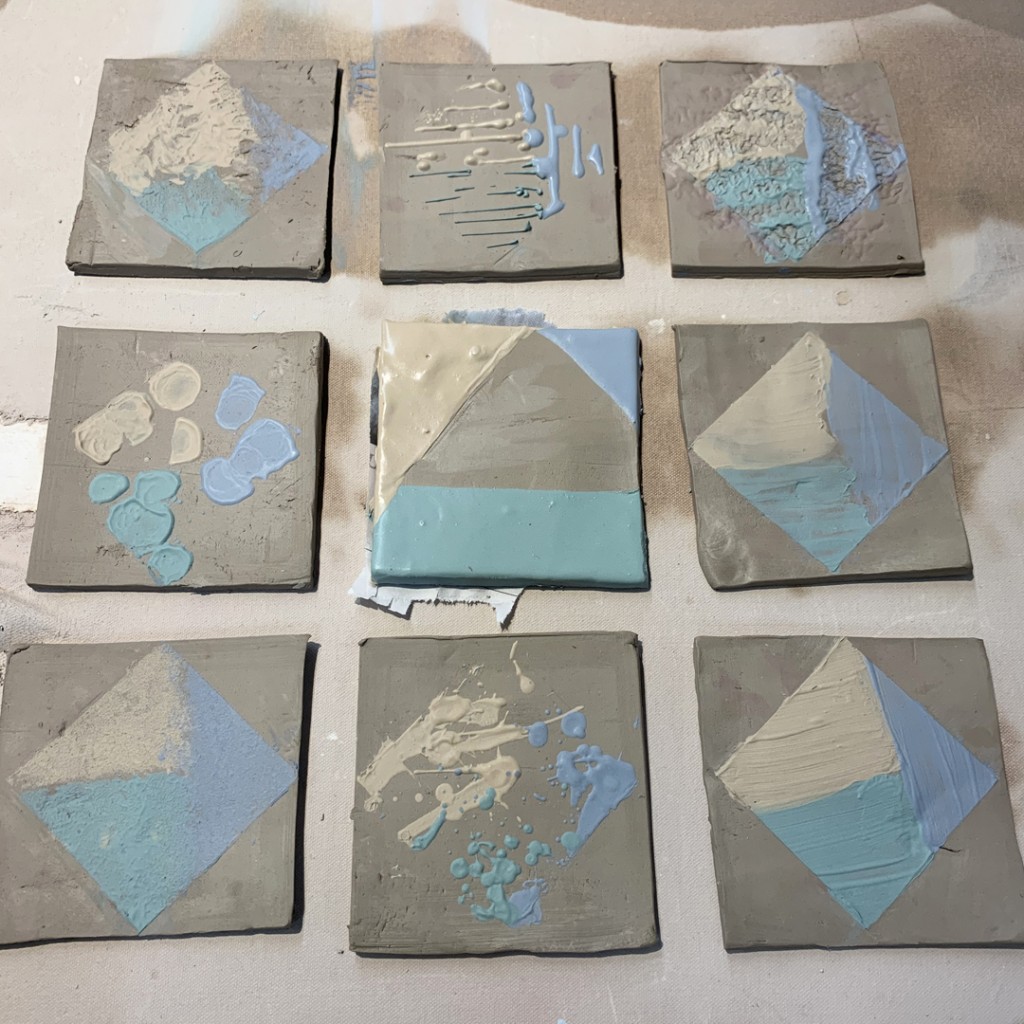
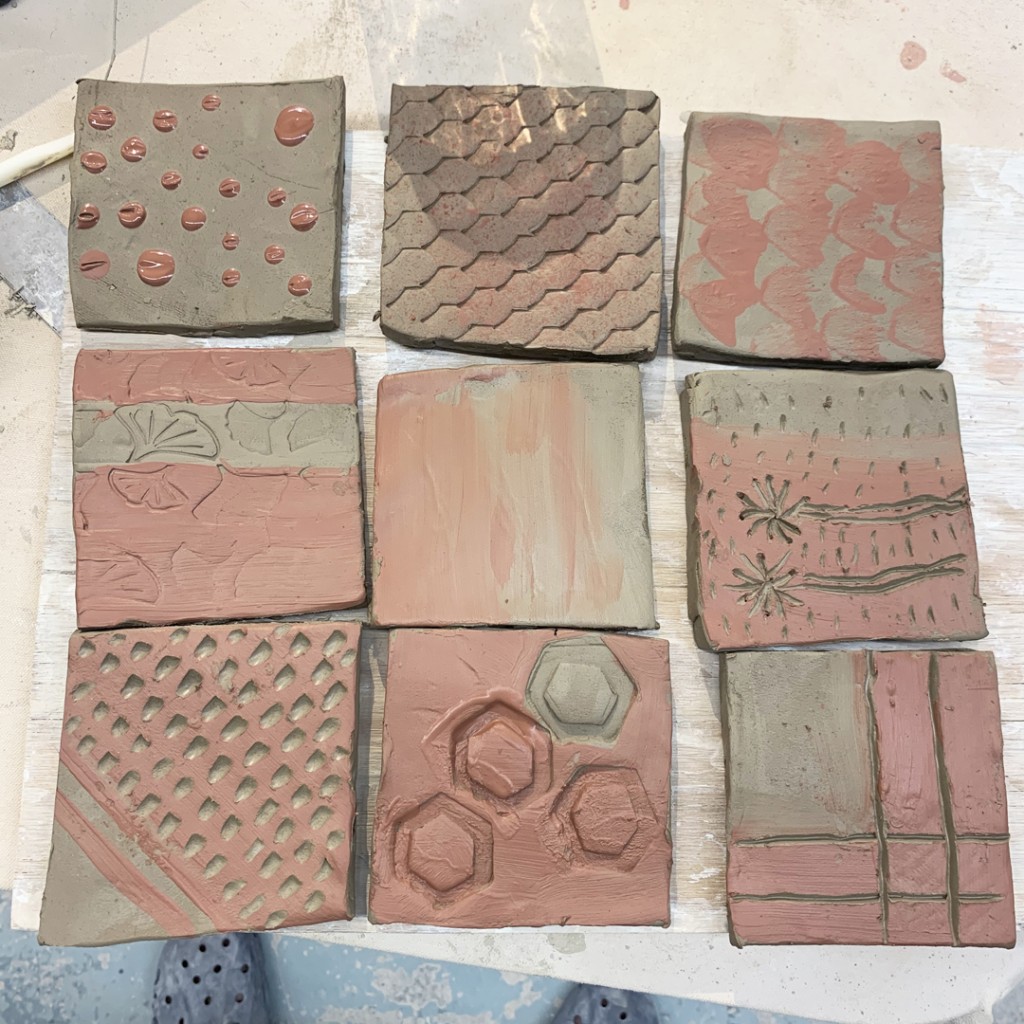
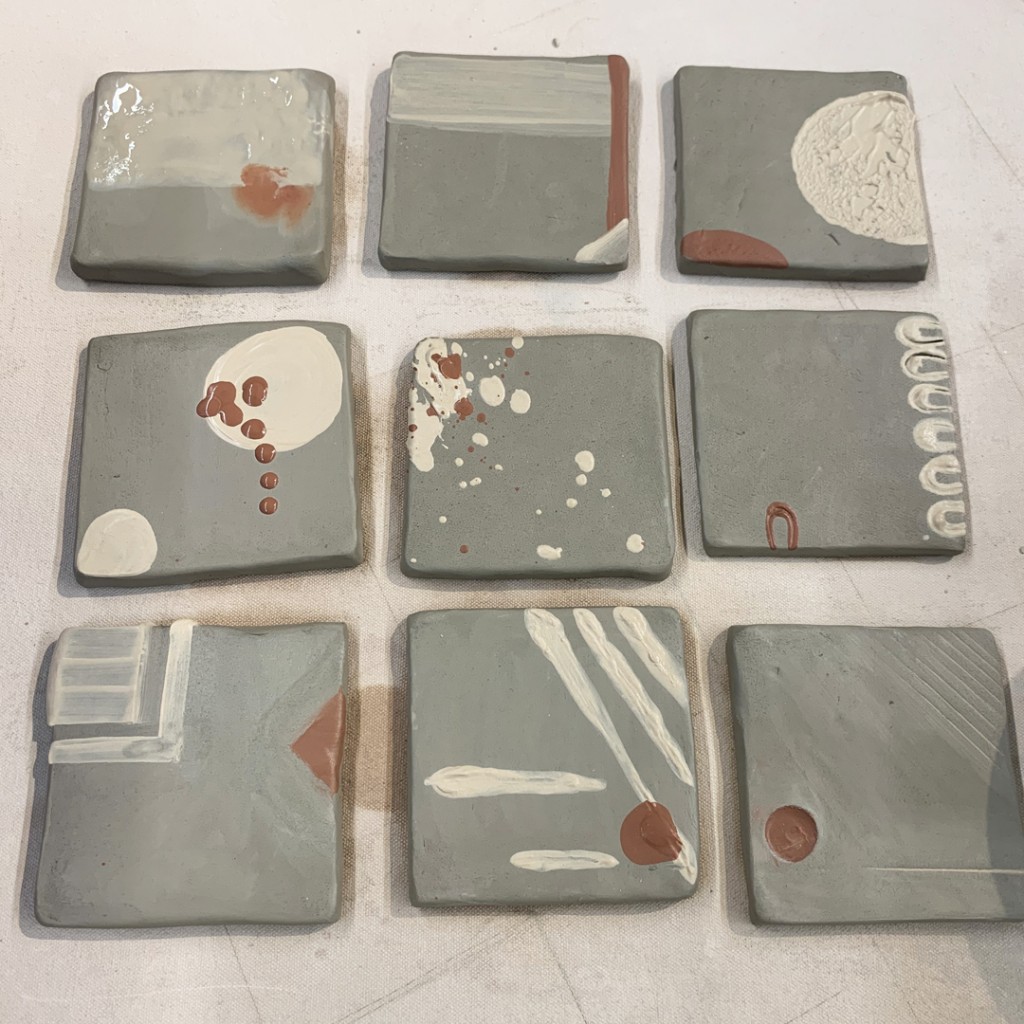
Alwasy fun to see how they all approach the project… and then what they come up with. And with a bit of a time-restraint, they also had to work a bit faster and not over-think things too much. Maybe have a little more fun… and trip upon some new, fun decorative techniques!
|
Gary Jackson: Fire When Ready Pottery
Lillstreet Studios ∙ 4401 North Ravenswood, Chicago, Illinois 60640 ∙ 773-307-8664 gary@firewhenreadypottery.com |