Last Tuesday night I did my favorite demo for my wheelthrowing pottery class…
BOWLS ON PURPOSE… and not a cylinder gone bad!
I started by showing them all how to make a nicely rounded bowl from the git-go. Establishing the interior curve right from the start. Compressing the curve. Never letting an indented groove-ledge happen while pinching & lifting the clay. The using a plastic rib to flare it our and make a nice smooth curve. After that first demo, I “released” them all so they could get to working… making bowls! Meanwhile, I threw a full bag of clay to make nineteen bowls. I then called them all back to Part Two of the demo. This is when I encourage them to “play with their clay”… and tot try new techniques to alter & decorate their simple wheelthrown forms. To show them some quick tricks & techniques to give them some ideas of what they can do…and to show them that there are a million options… just try something! Have fun!!!
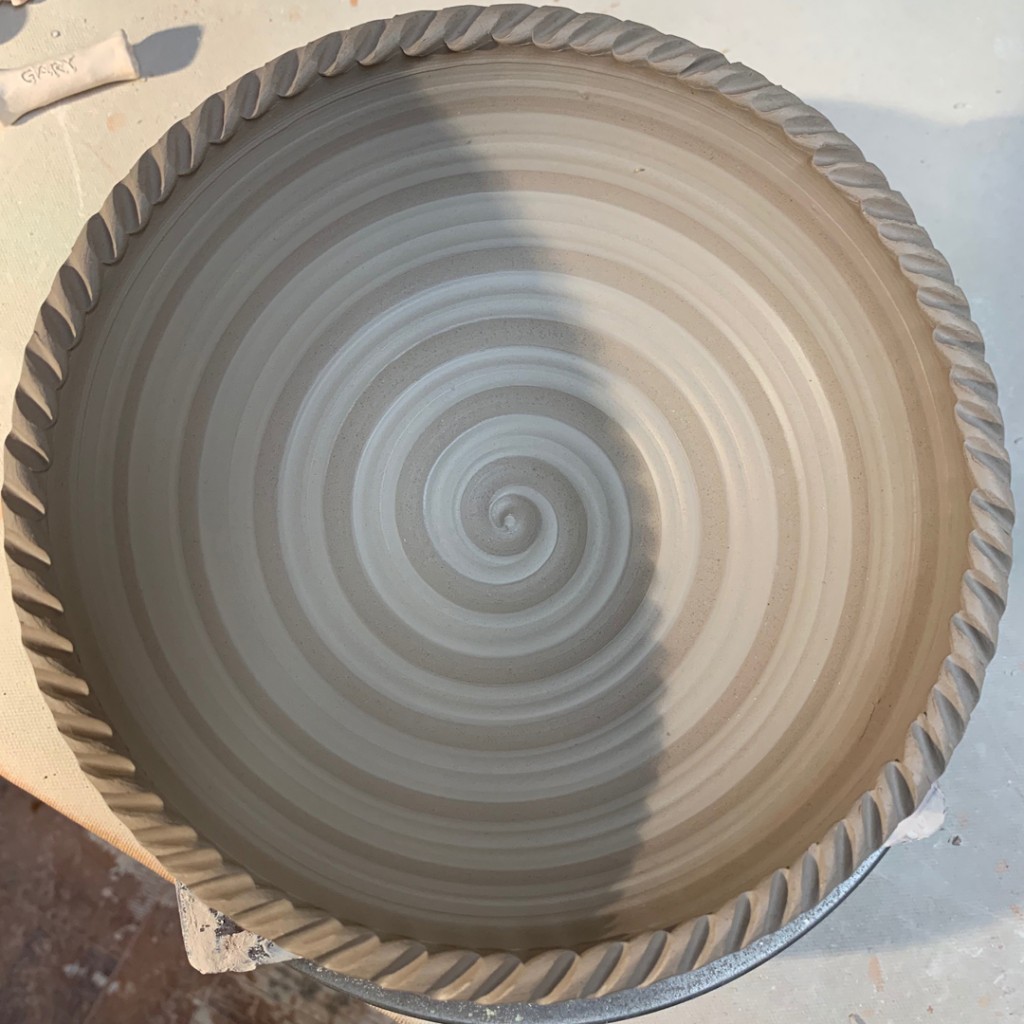
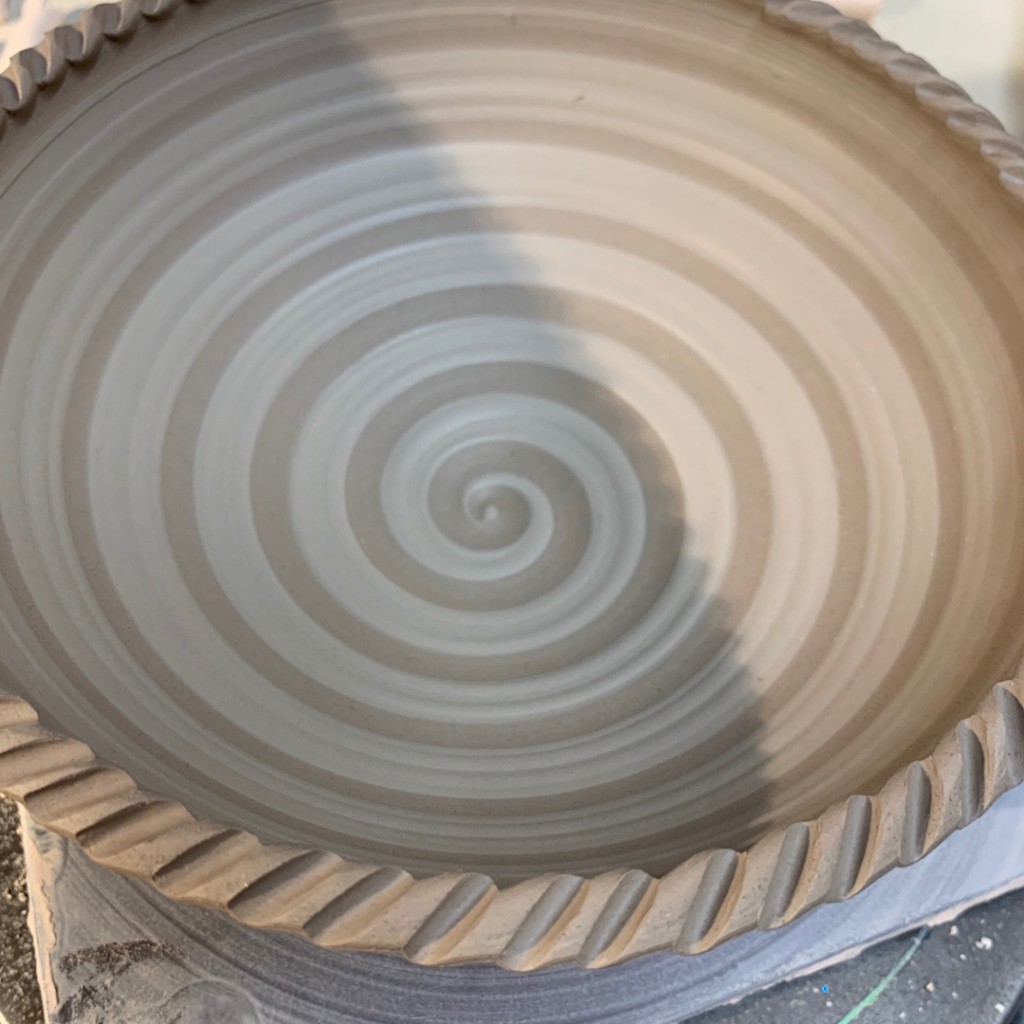
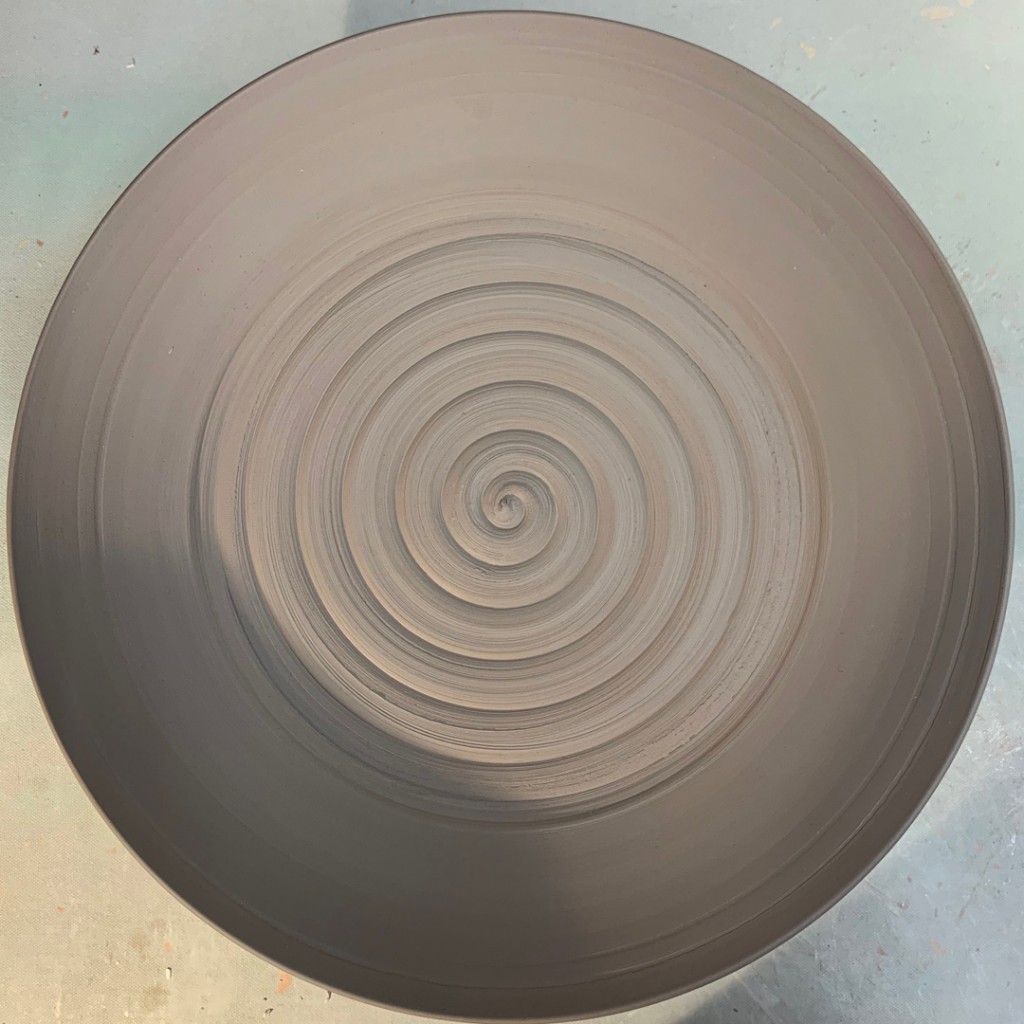
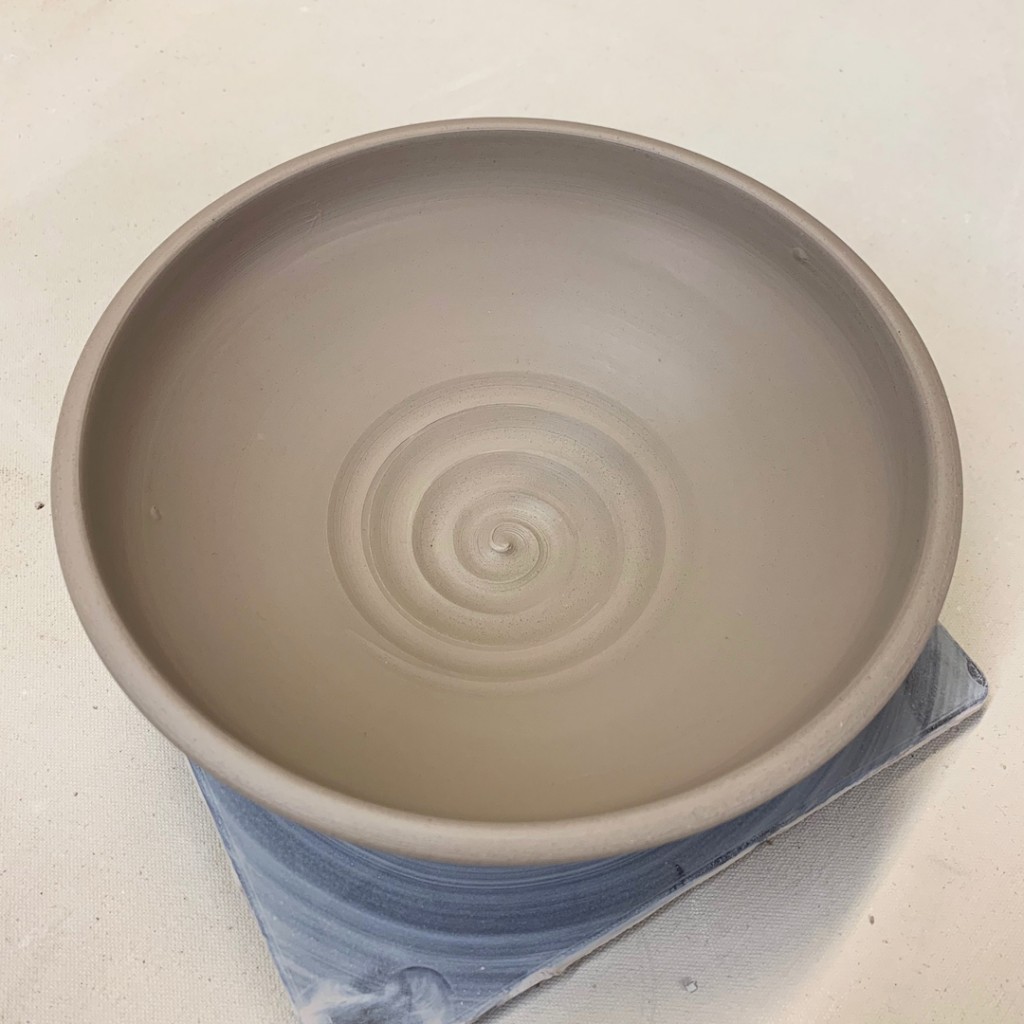
Bowl #1 – Here’s the basic bowl… simple spiral… the basis of all the bowls to come!
Bowl #2 – Tweaked – just two simple finger twists on opposite sides. Simple. Cute.

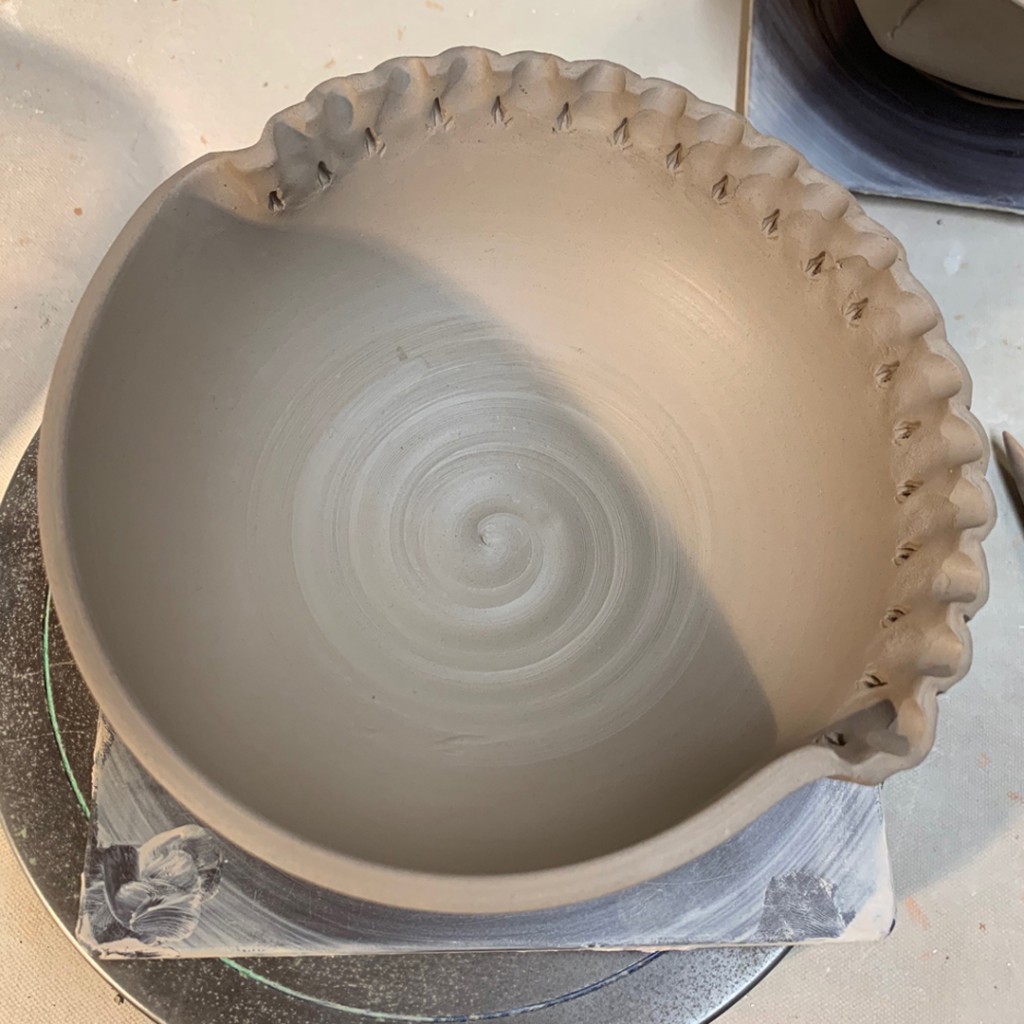
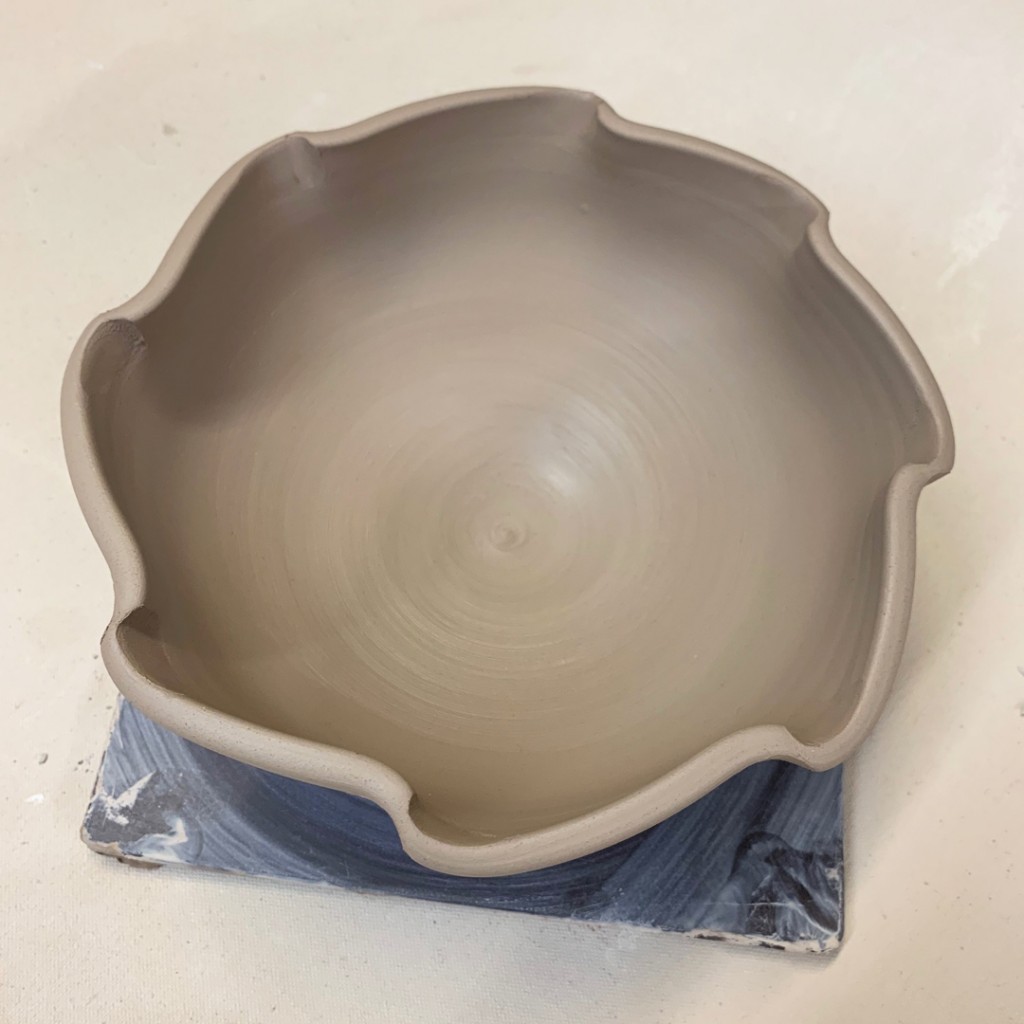
Bowl #3 – Fluted. If two tweaks are cute, maybe eight flutes are better?
Bowl #4 – Narrow Flange – Just an inch of the rim flared out to widen the bowl.

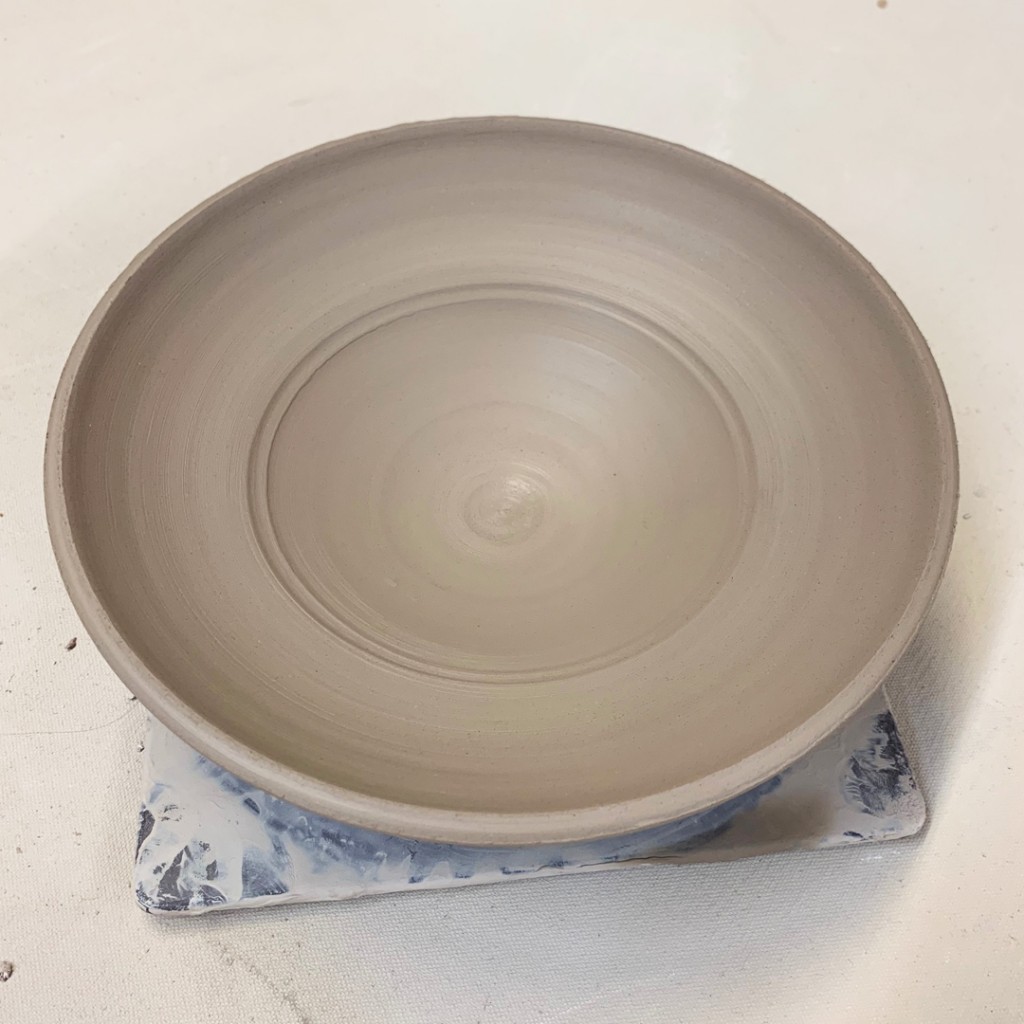
Bowl #5 – Wide Flange – If a narrow rim is good, maybe a wider flange is better?
Bowl #6 – Flared & Fluted. Combining the flared out flange and the fluted tweaks!
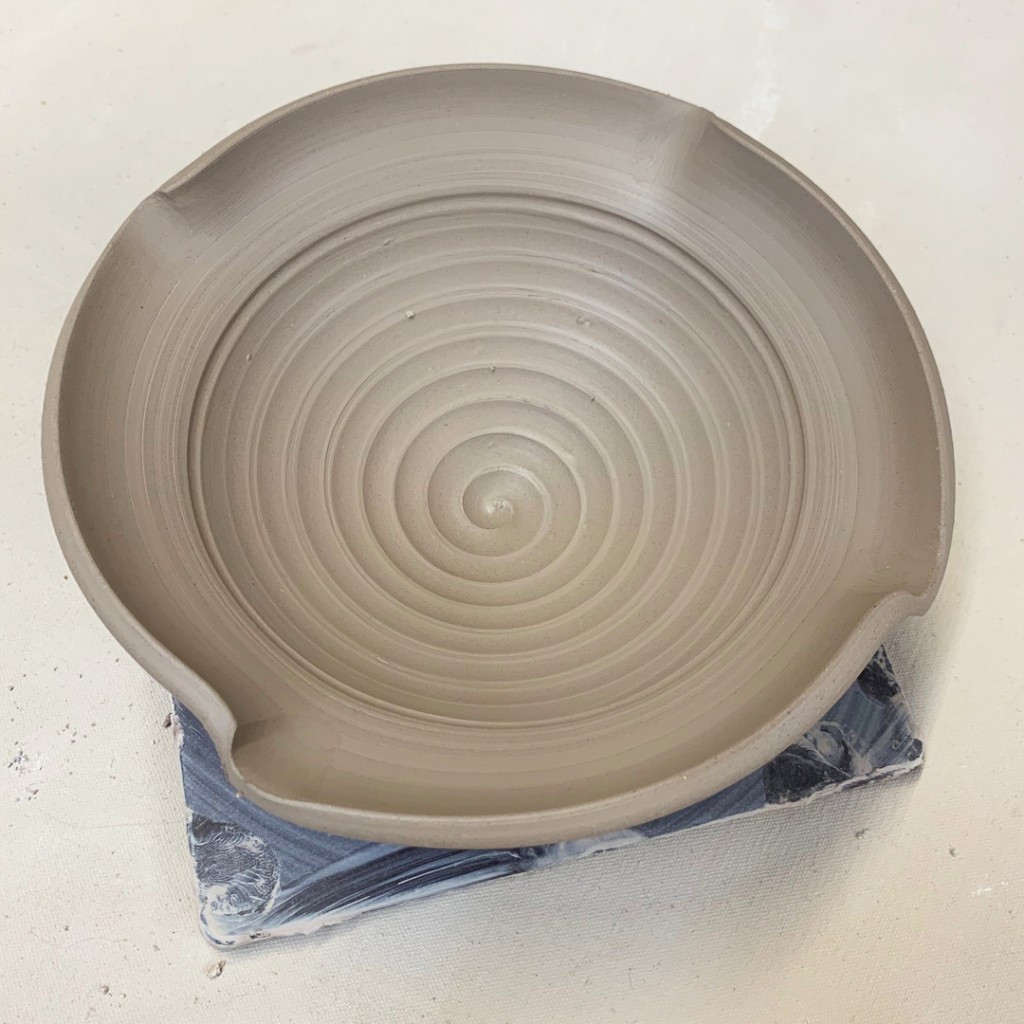
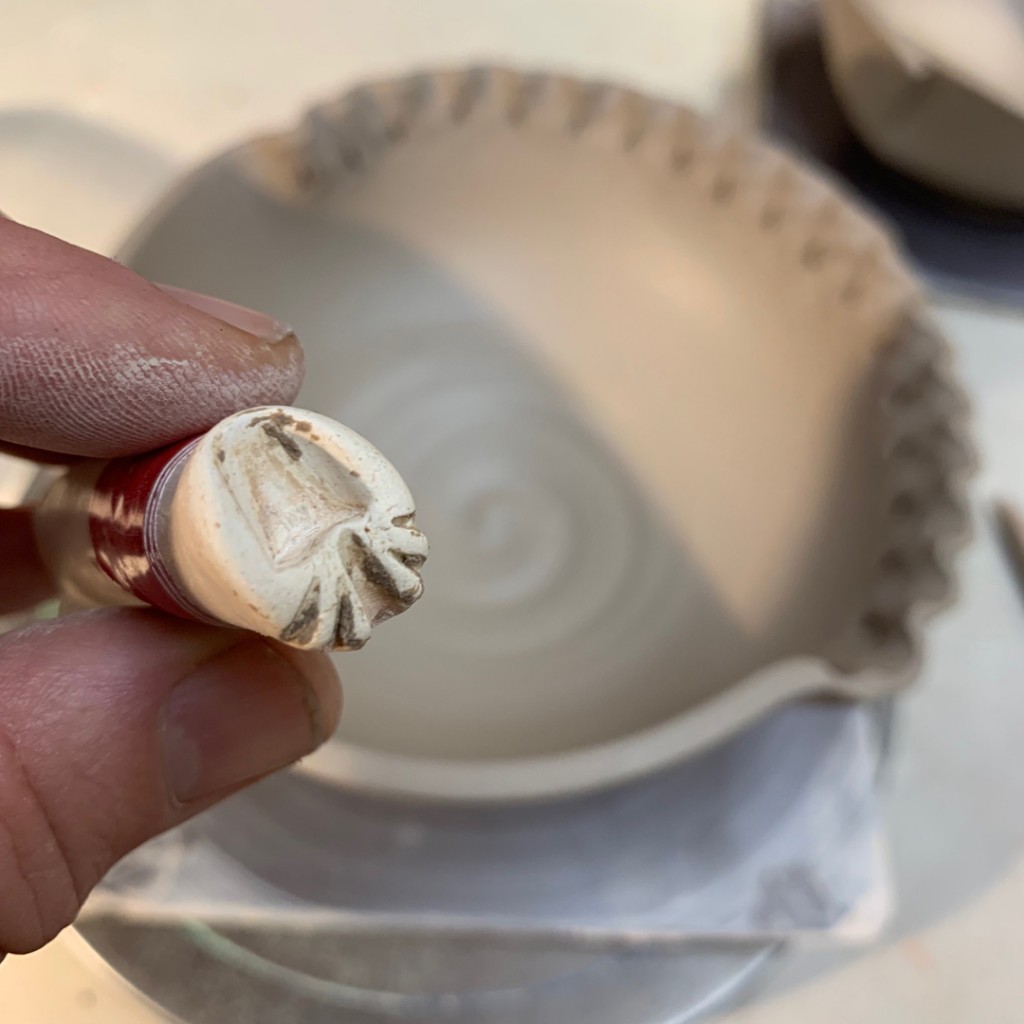
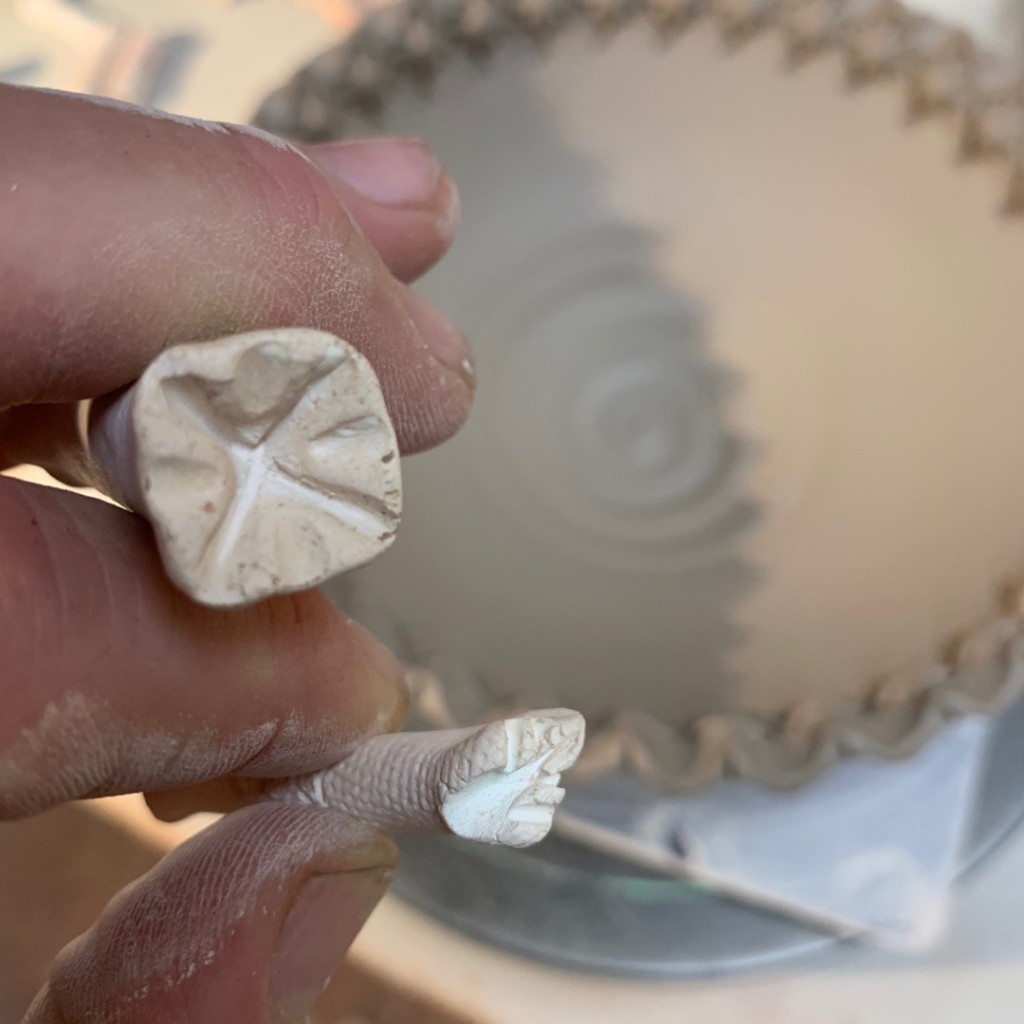
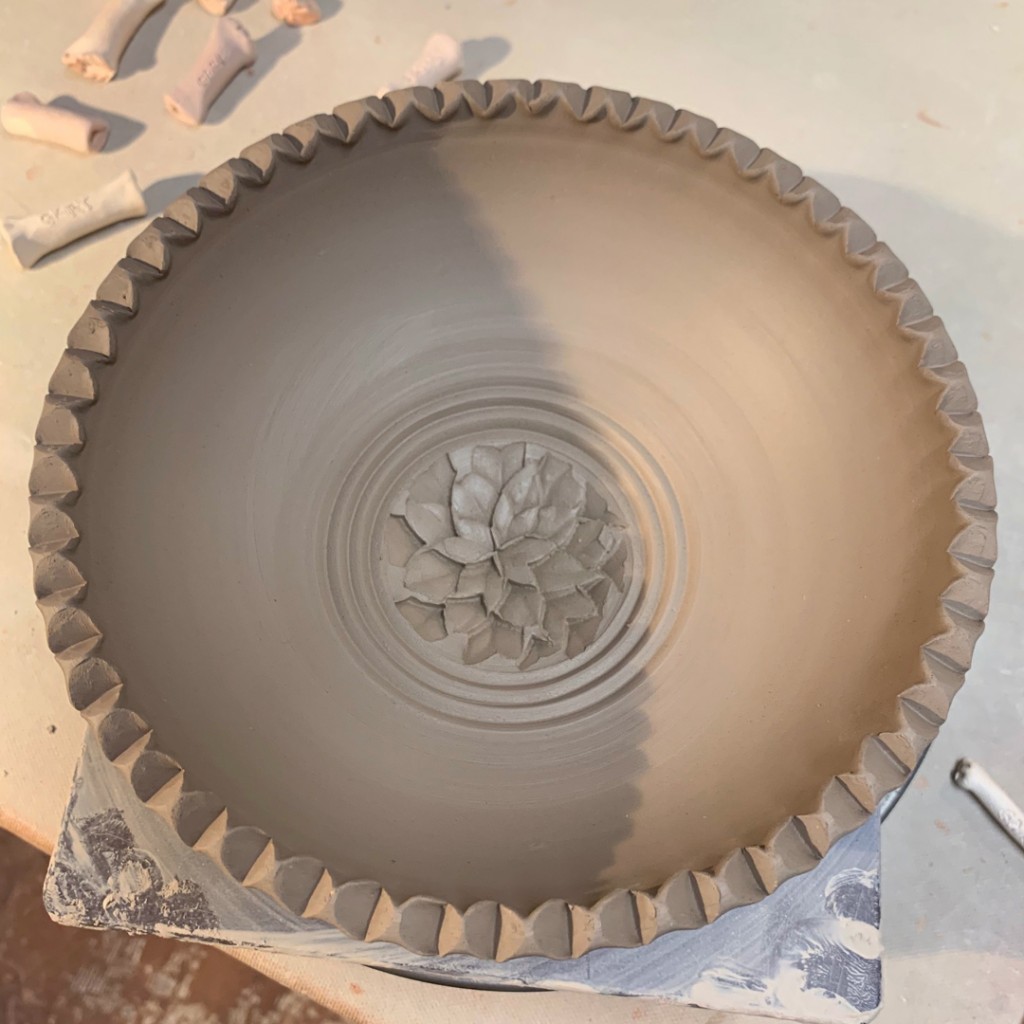
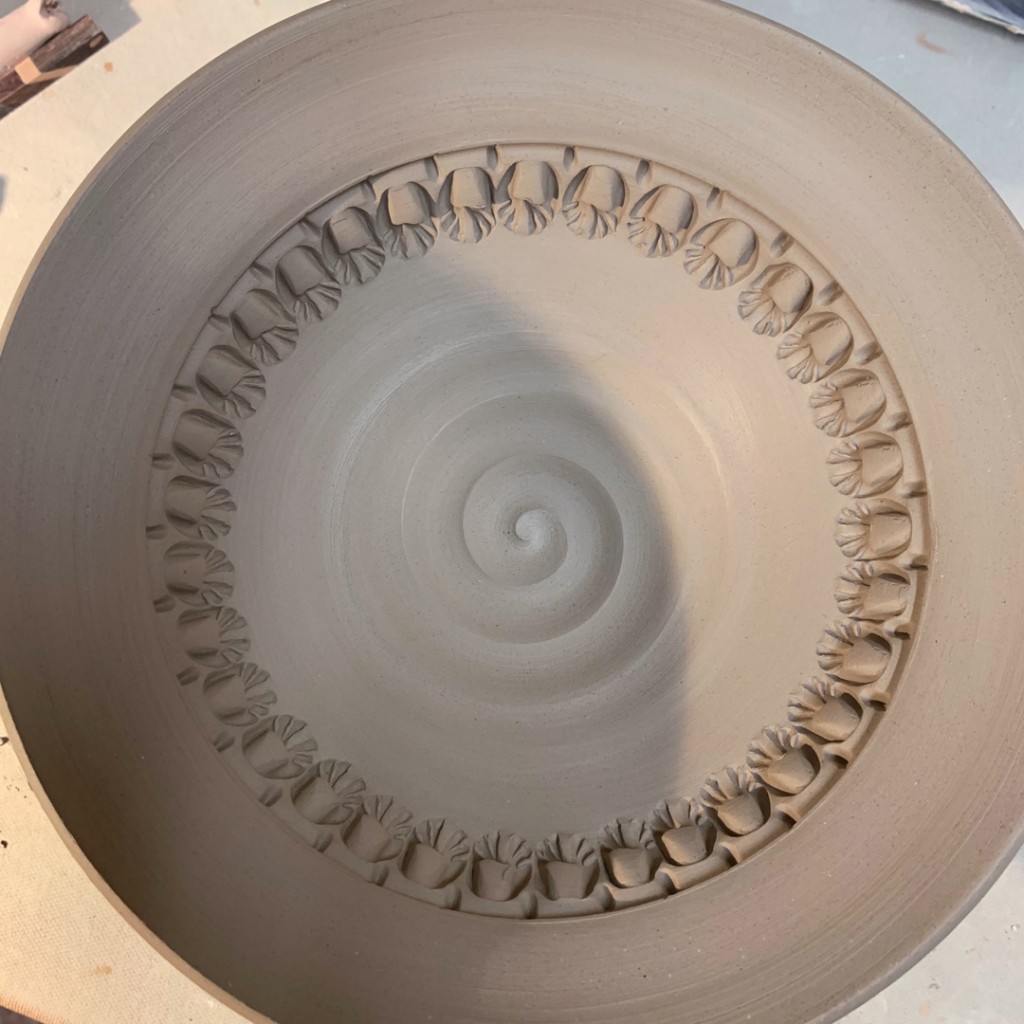
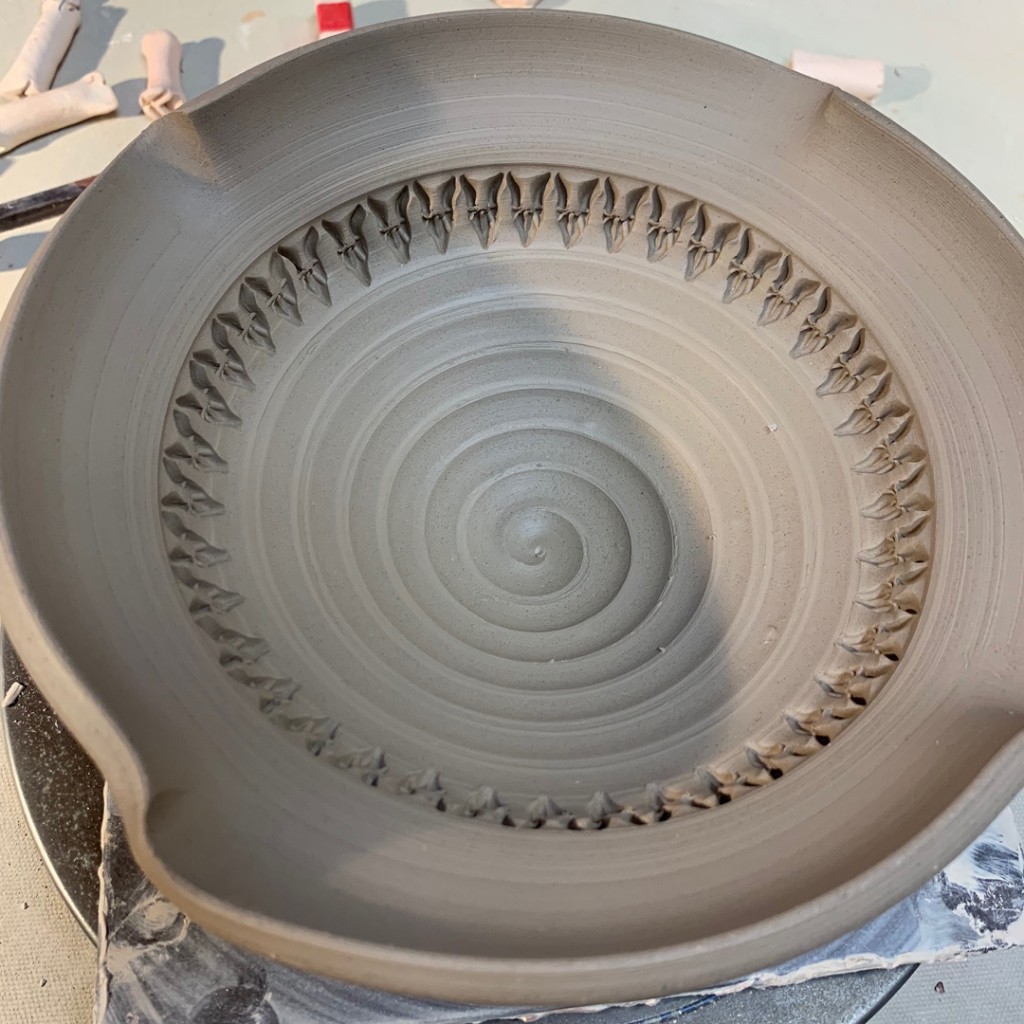
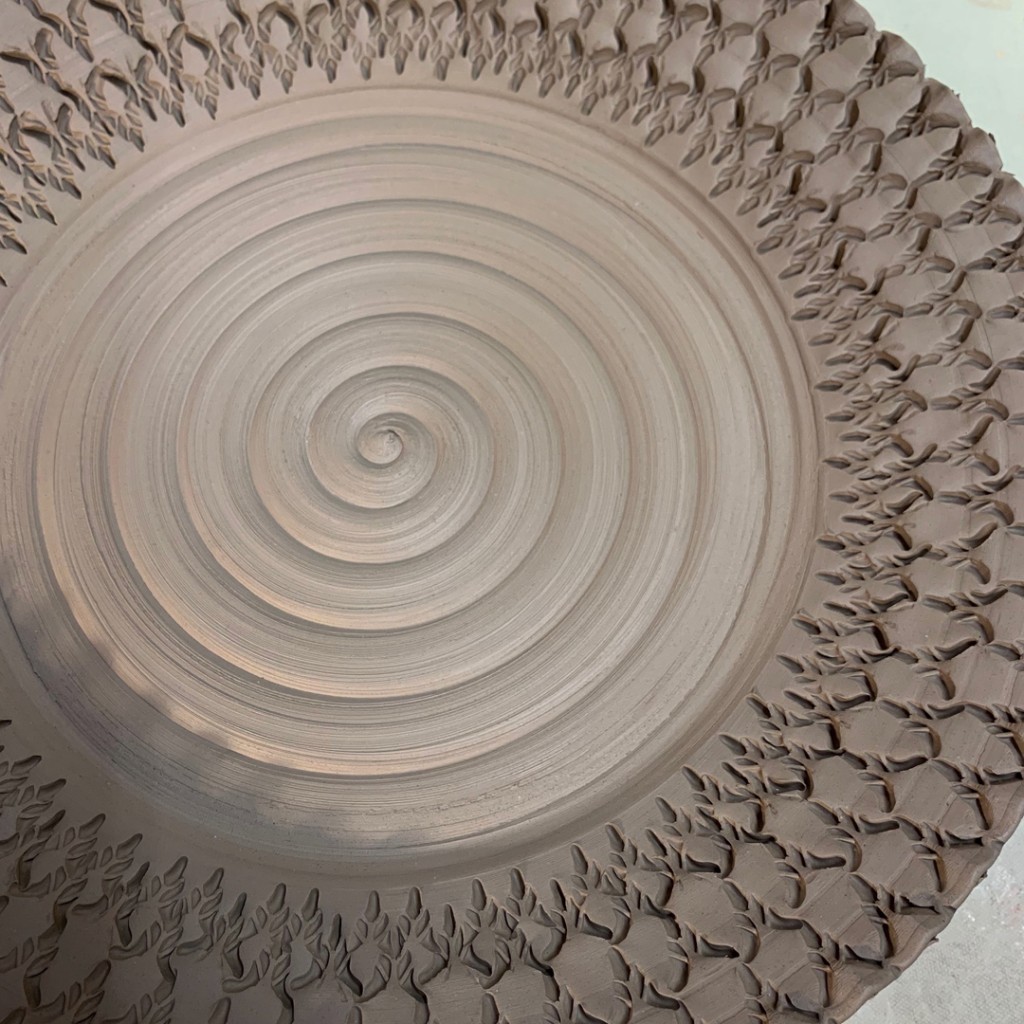
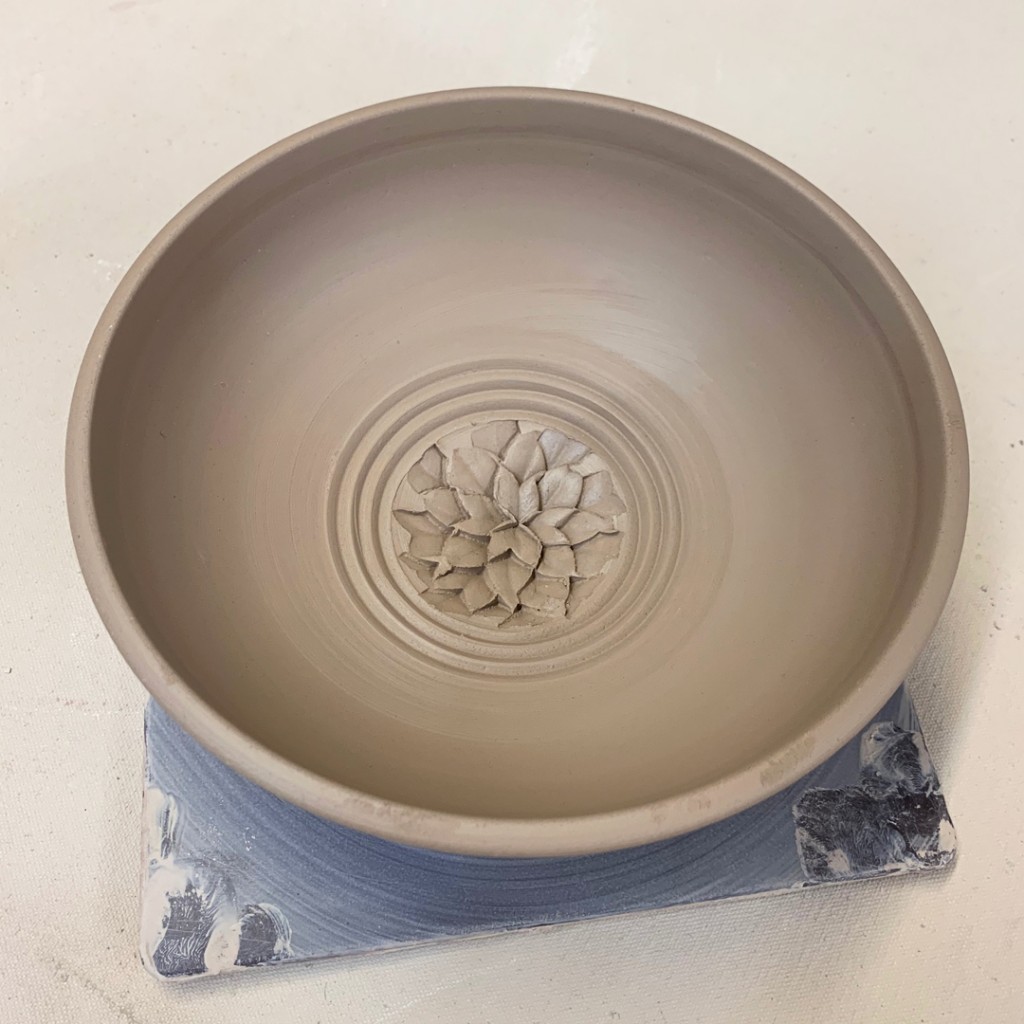
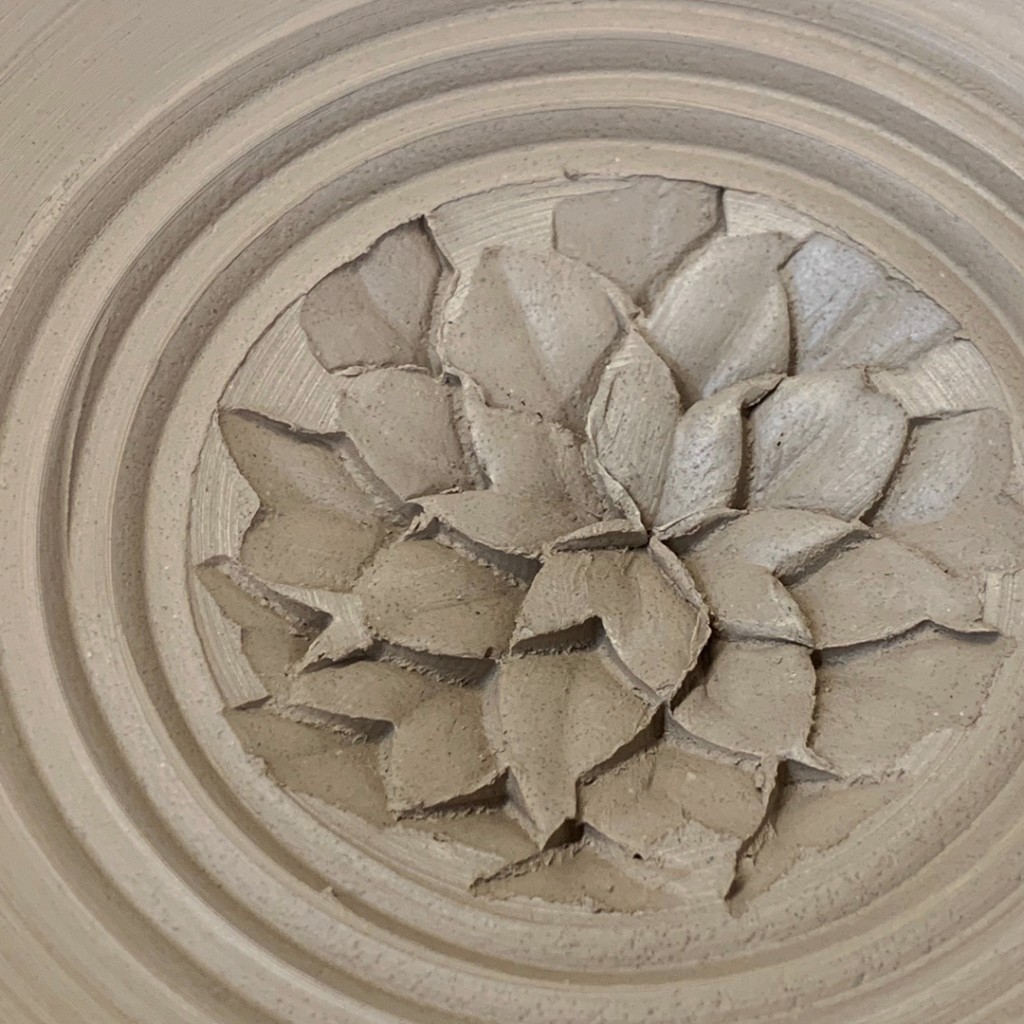
Bowl #7 – Stamped Bottom. A surprise in the bottom made with a metal dragon-scaling tool.
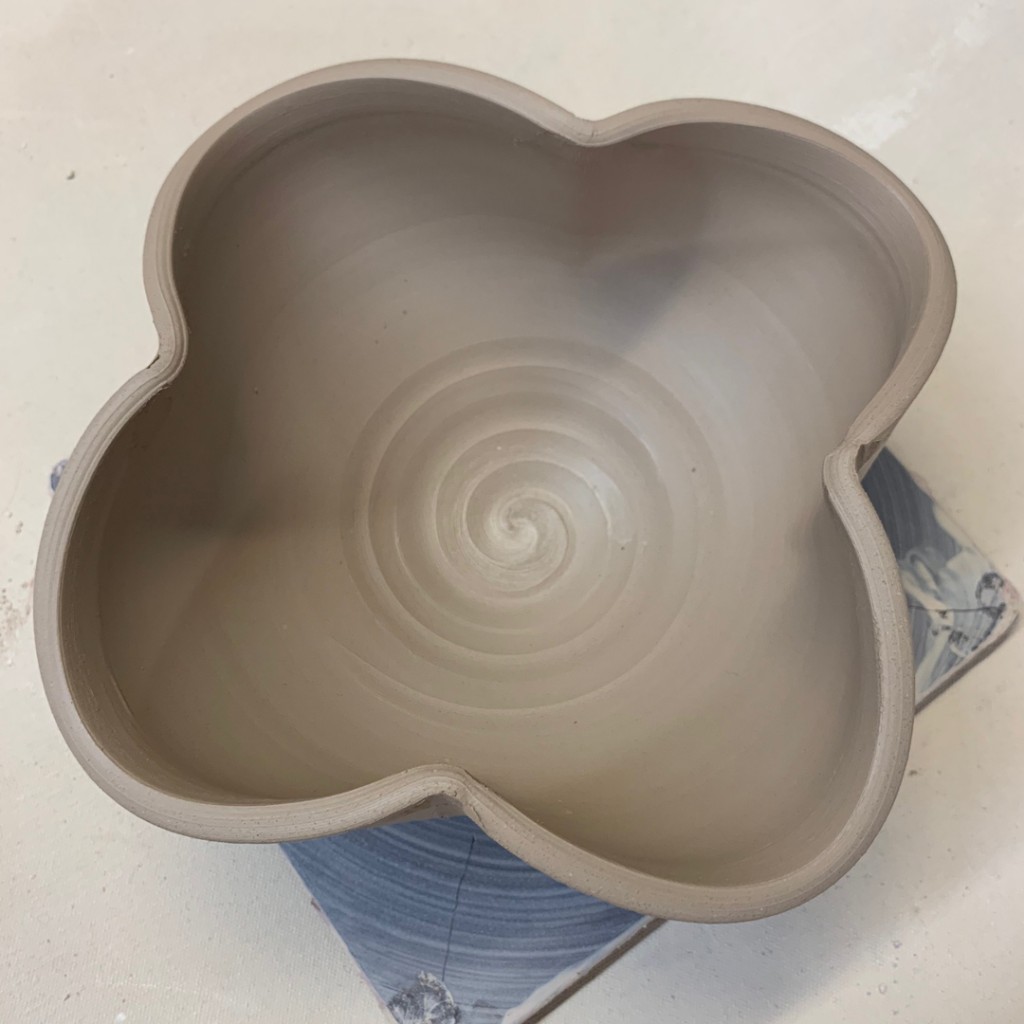
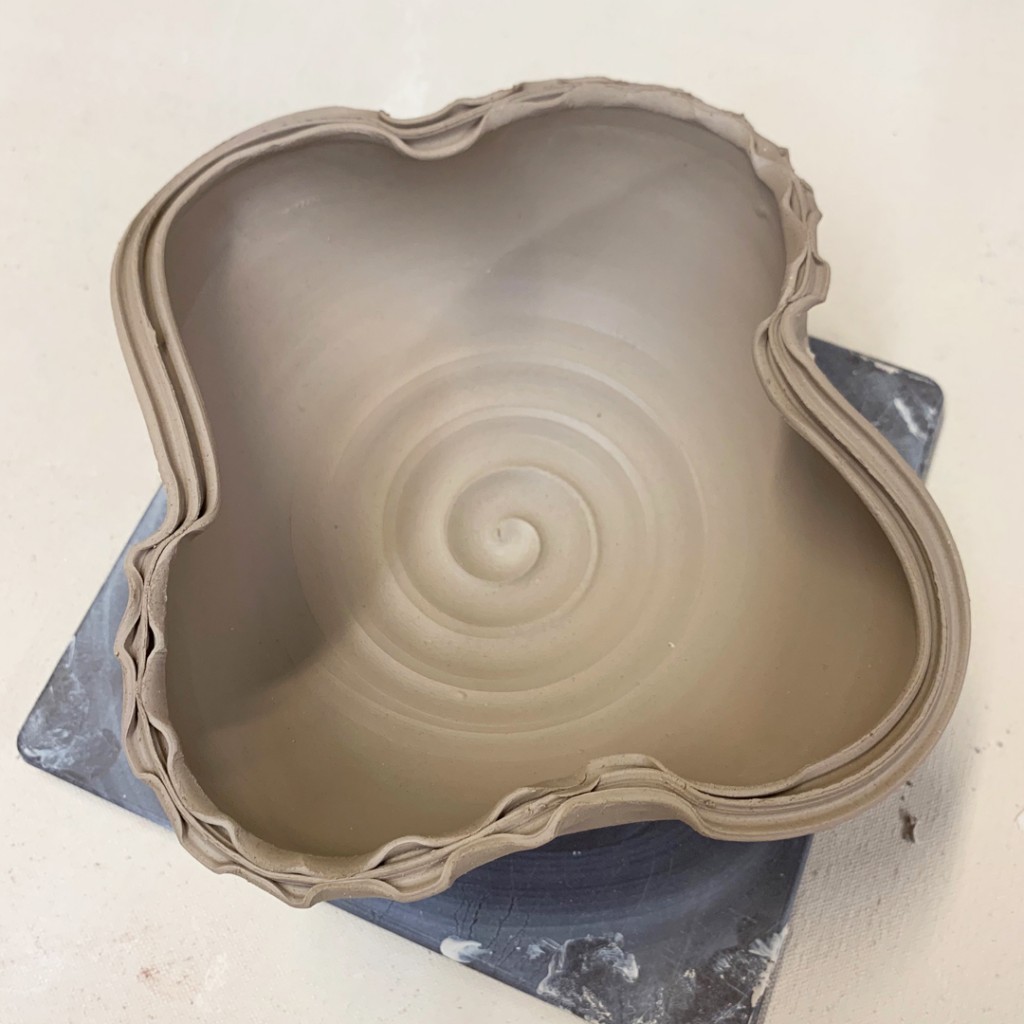
Bowl #8 – Cloverleaf – Dented in on fours sides to create a clover shape.
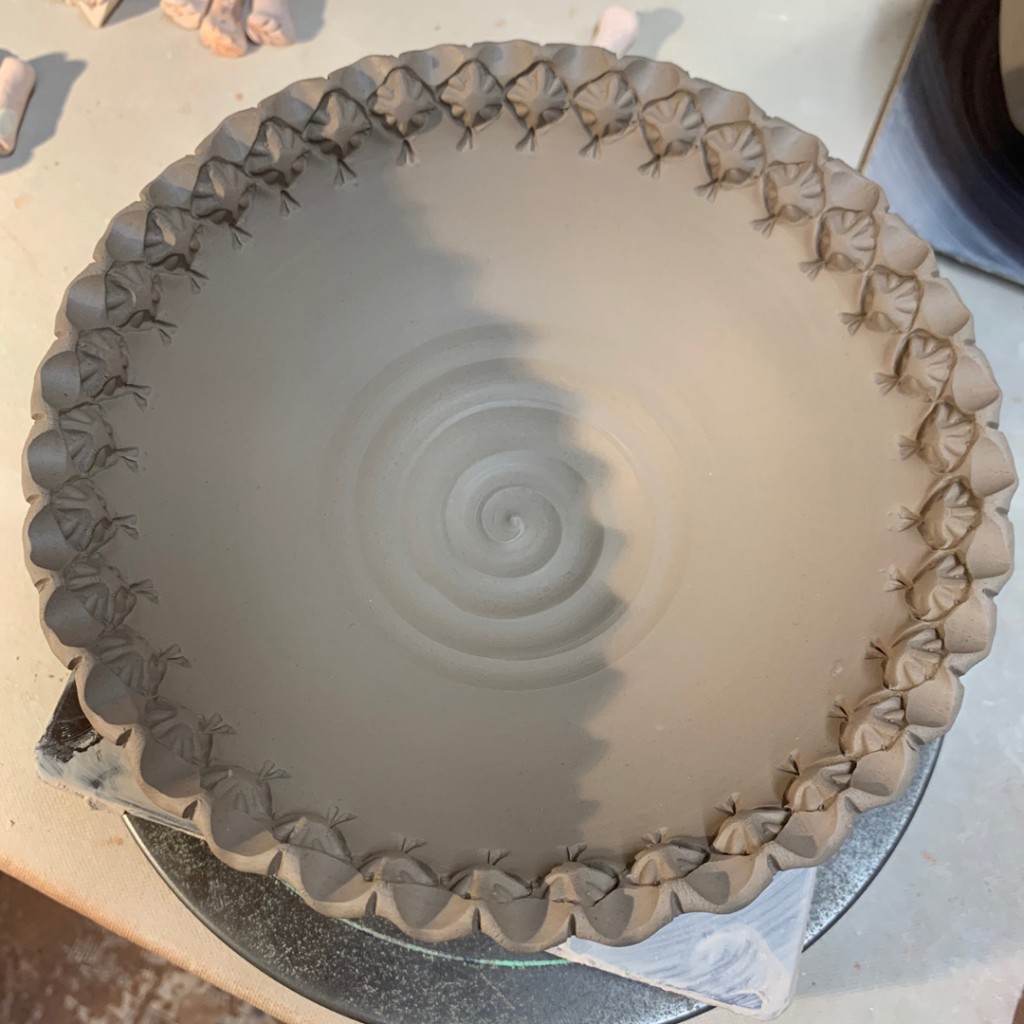
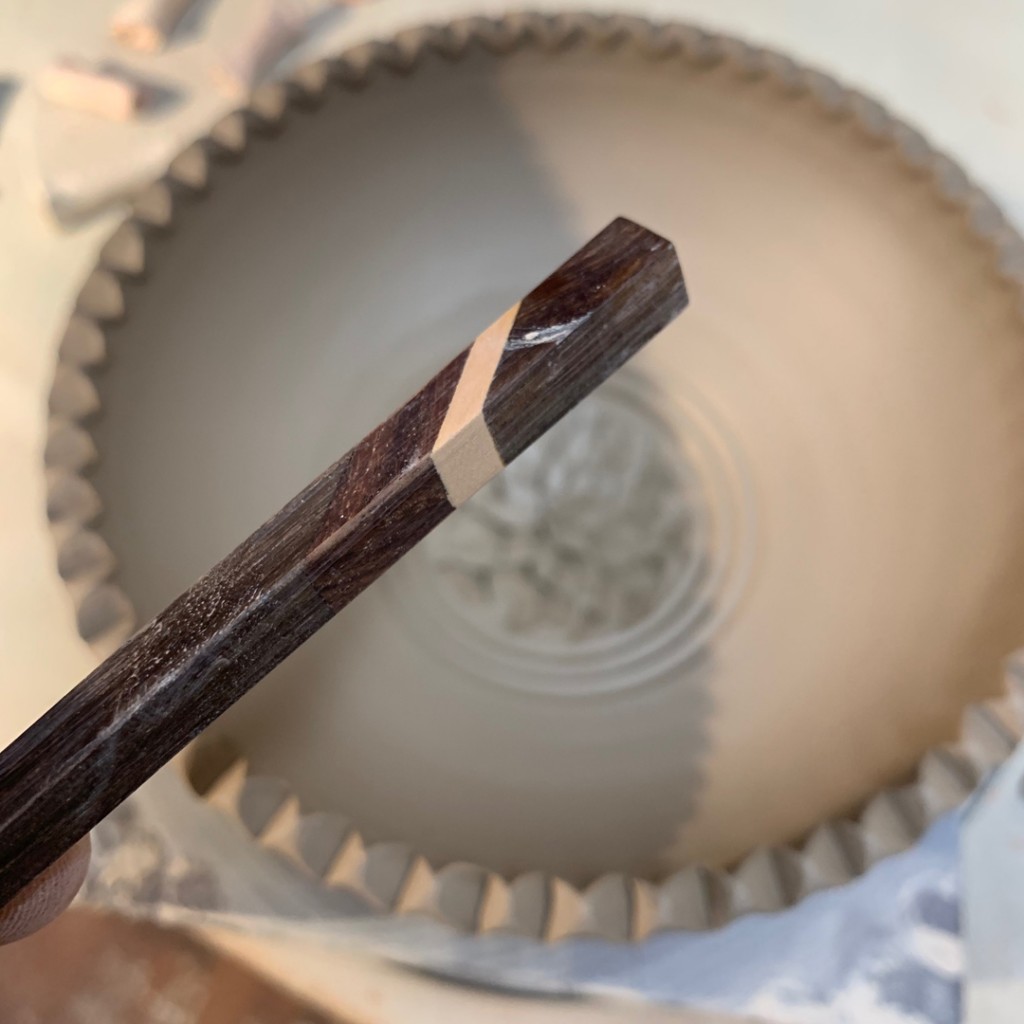
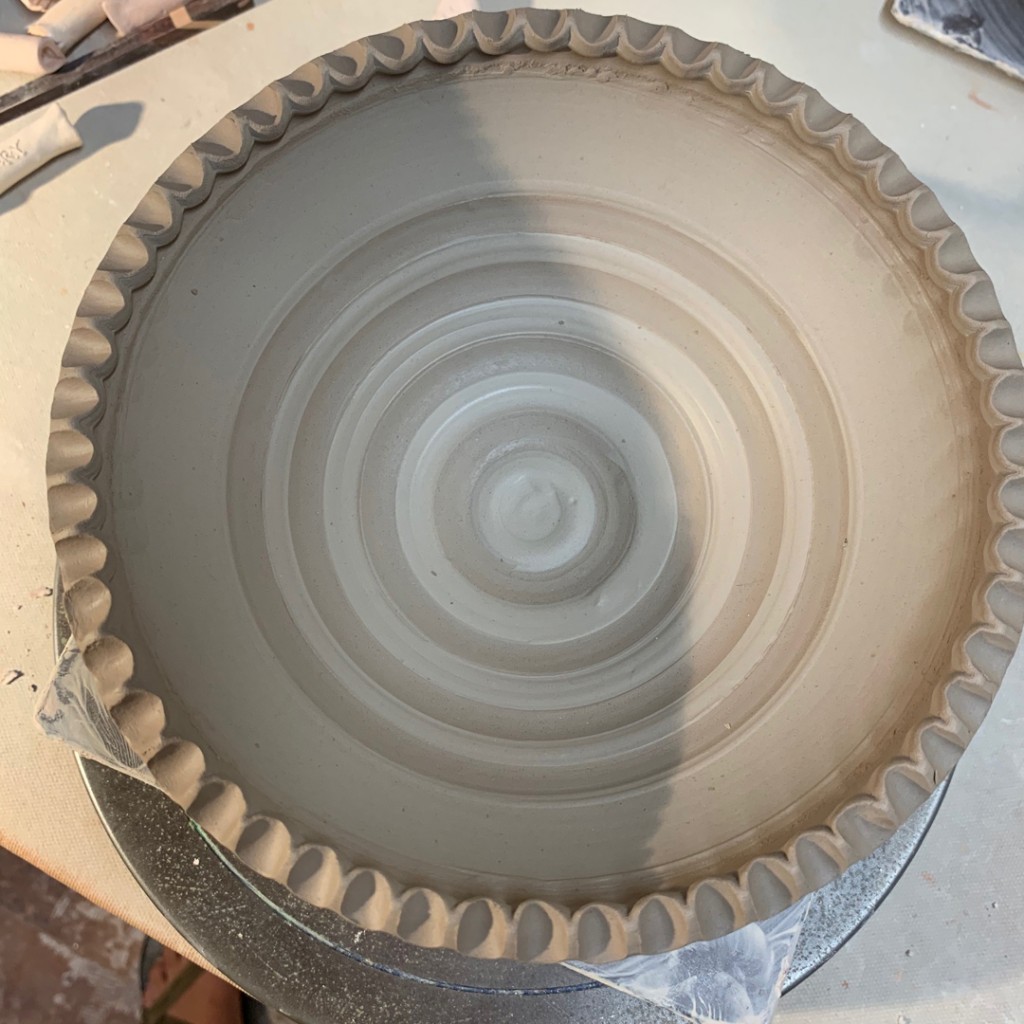
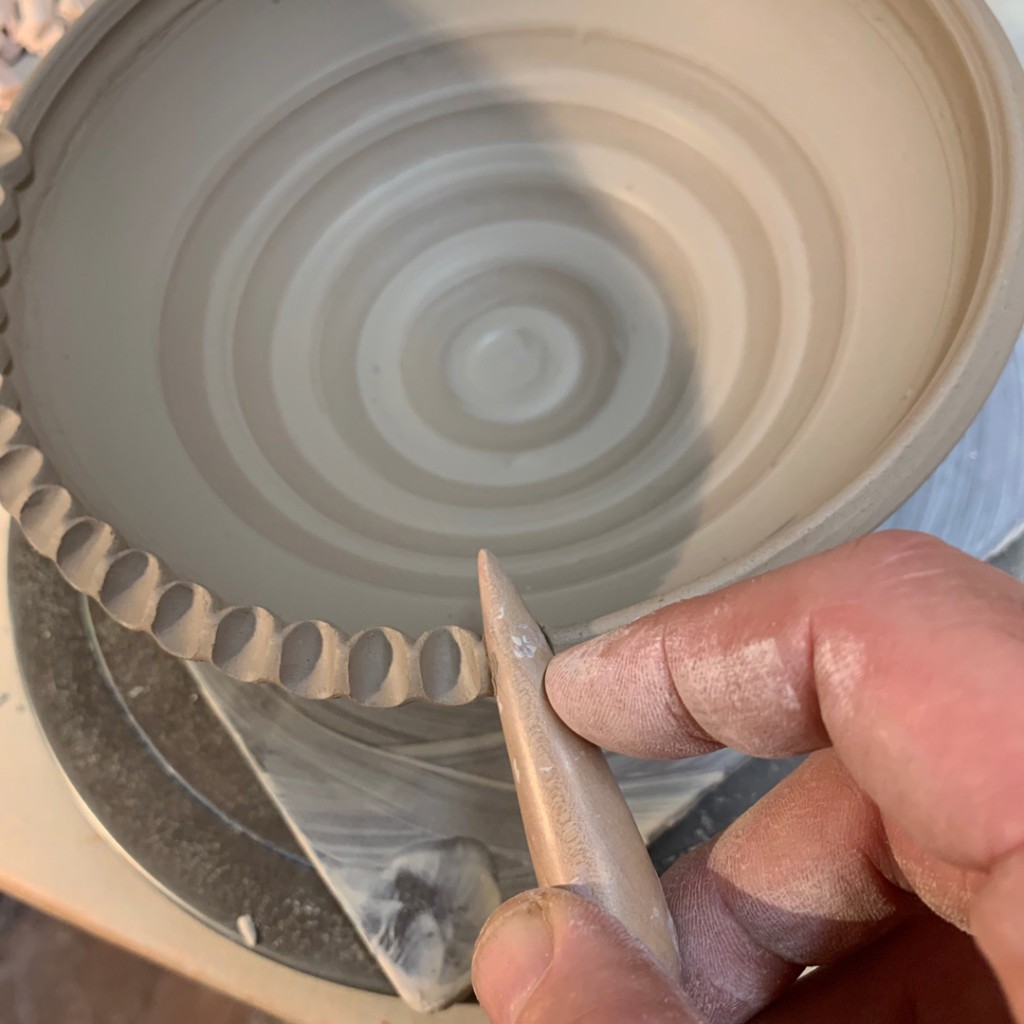
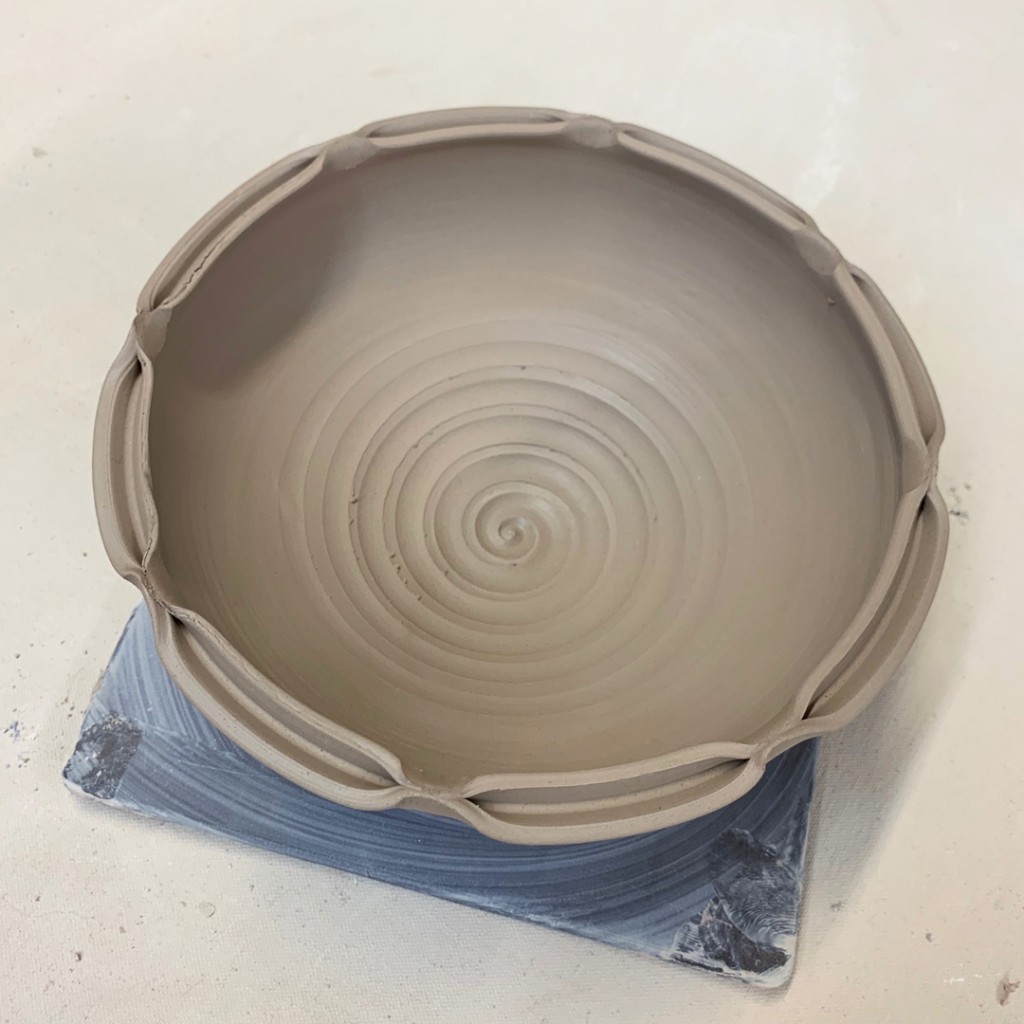
Bowl #9 – Pinched Split-Rim. First I split the rim using the pointed end of my wooden knife, and then pinched it back together in eight places.
Bowl #10 – Split-Rim Lotus. Another split-rim bowl… but then dented in & dented out.
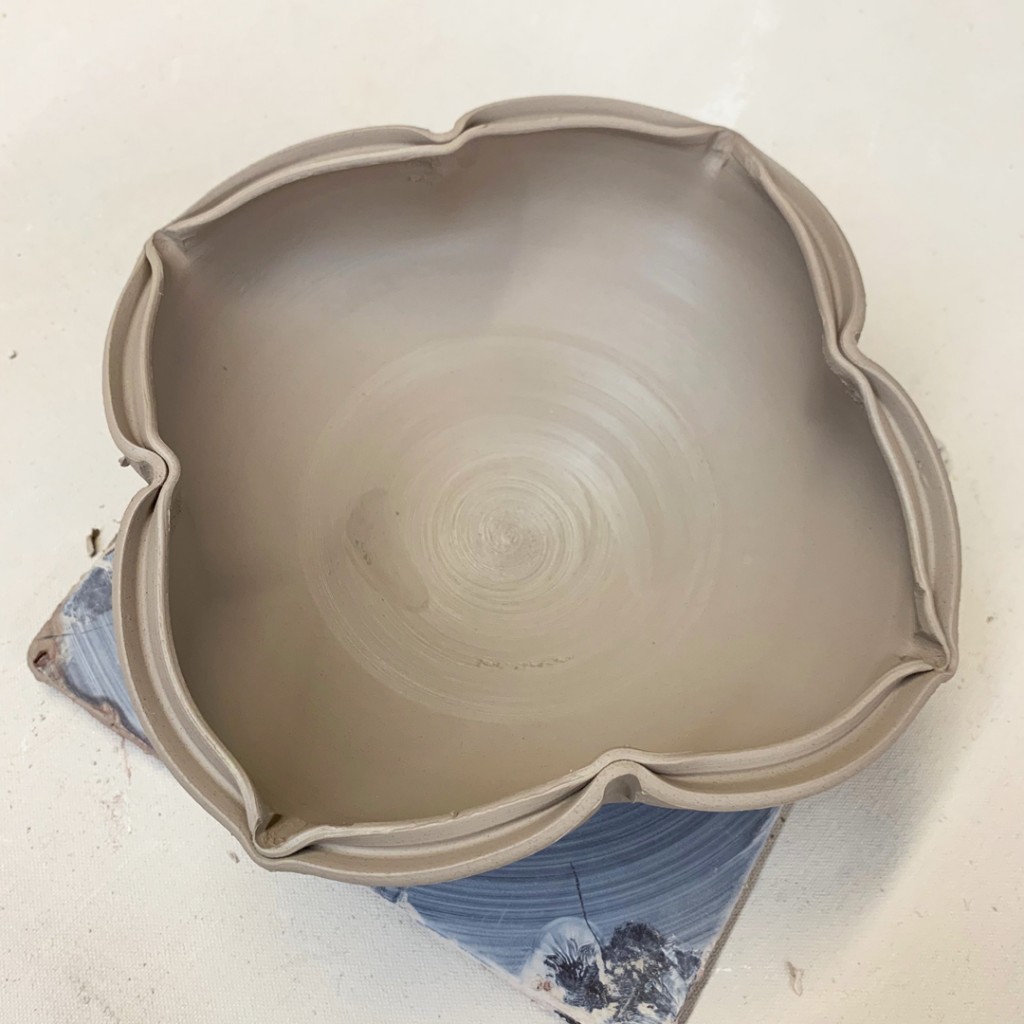
Bowl #11 – Crazy Churro – We started with a triple split-rim… but then I dented it accidentally,,, so I dented it more, and altered the shape to “camouflage” my first mistake. It got a little crazy… but might lead to something else?
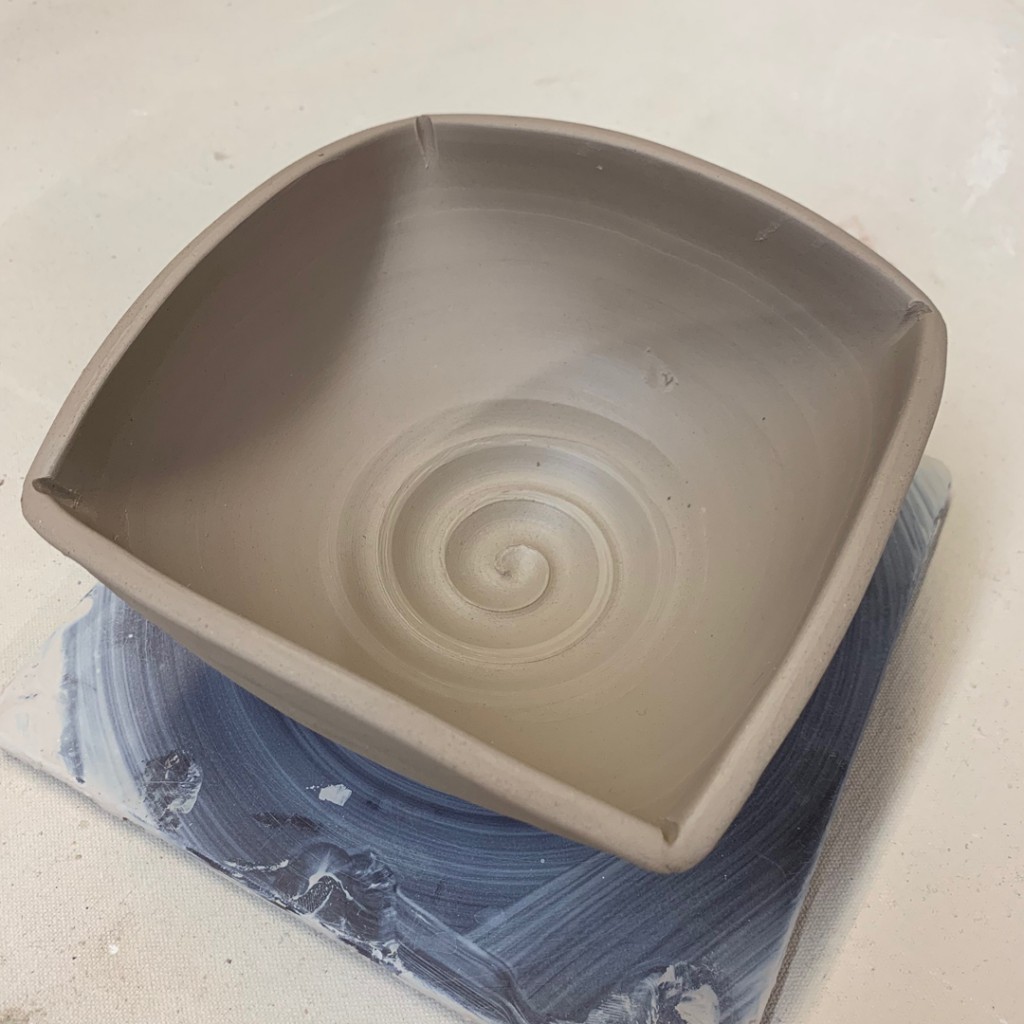
Bowl #12 – Squared – I dented four corners and then flattened the sides in.
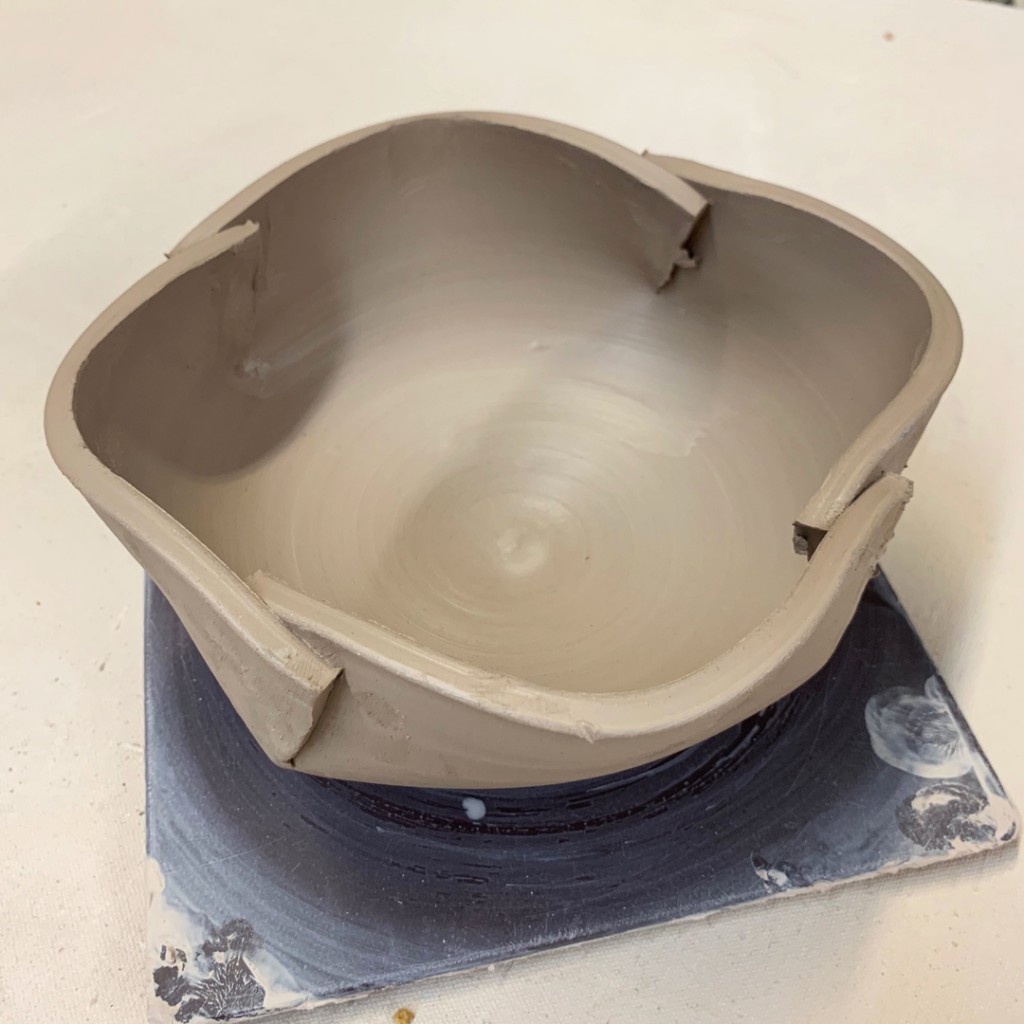
Bowl #13 – Overlapped. I cut through the sides of the bowl, and then overlapped the edges to close it in a bit more.
After altering the shapes, I decided ti was time to introduce the option of suing colored slips as a decoration technique.
Bowl #14 – White Slip Spiral. I covered the entire interior with white slip, and then dragged through the slip as it was rotating on the wheel.
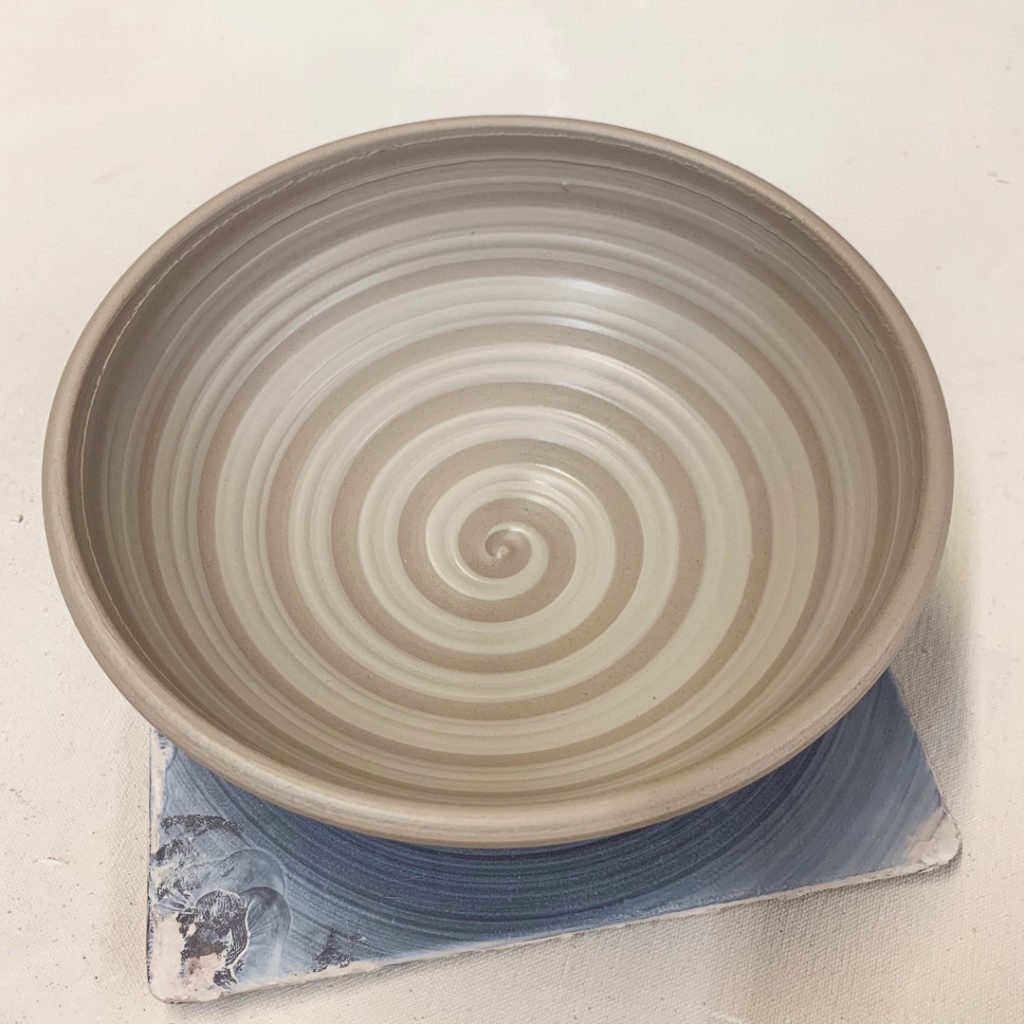
Bowl #15 – Banded. Another white slip covered bowl, this time banded with the rounded end of my wooden knife.. The Potter’s Thumb.
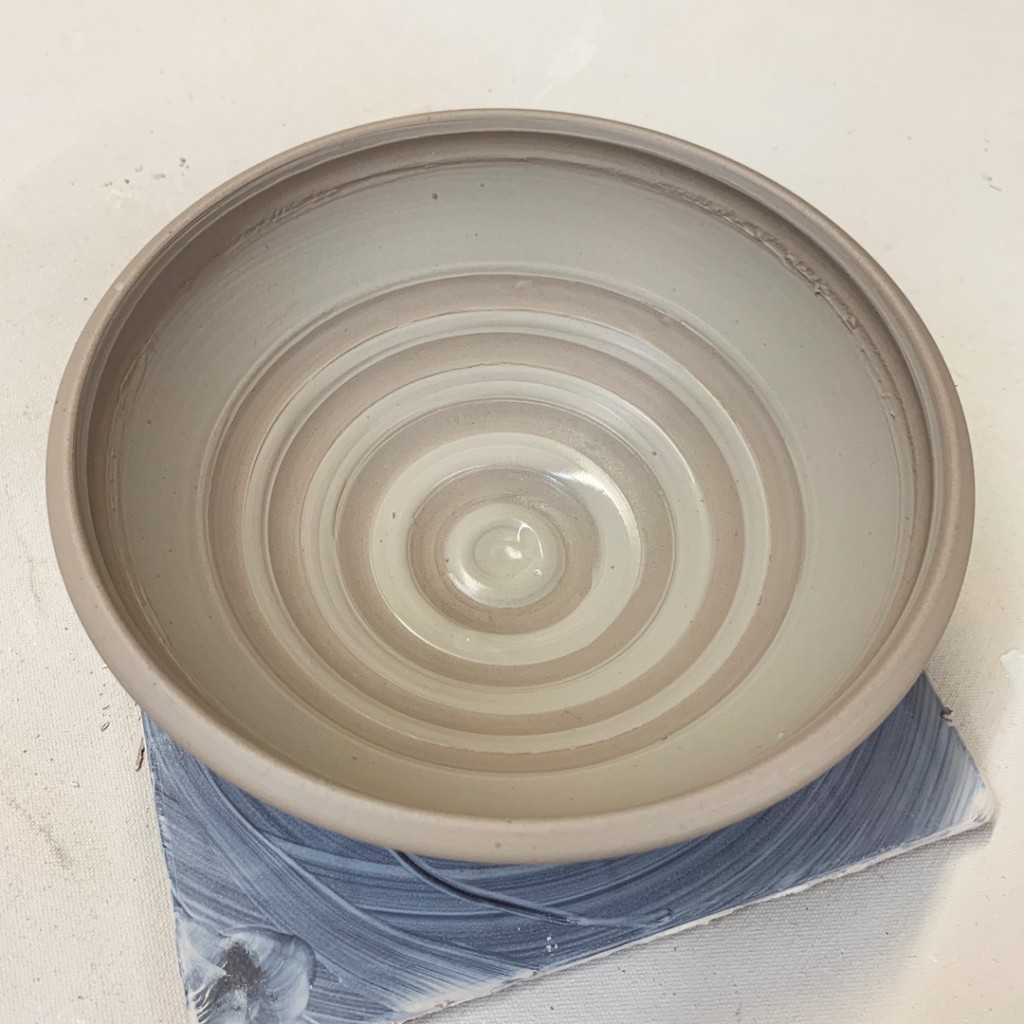
Bowl #16 – Chattered. A complete layer of thick white slip, chattered through with a green rubber rib. Rhythmic tapping of the rib through the slip as it was spinning in the wheel.
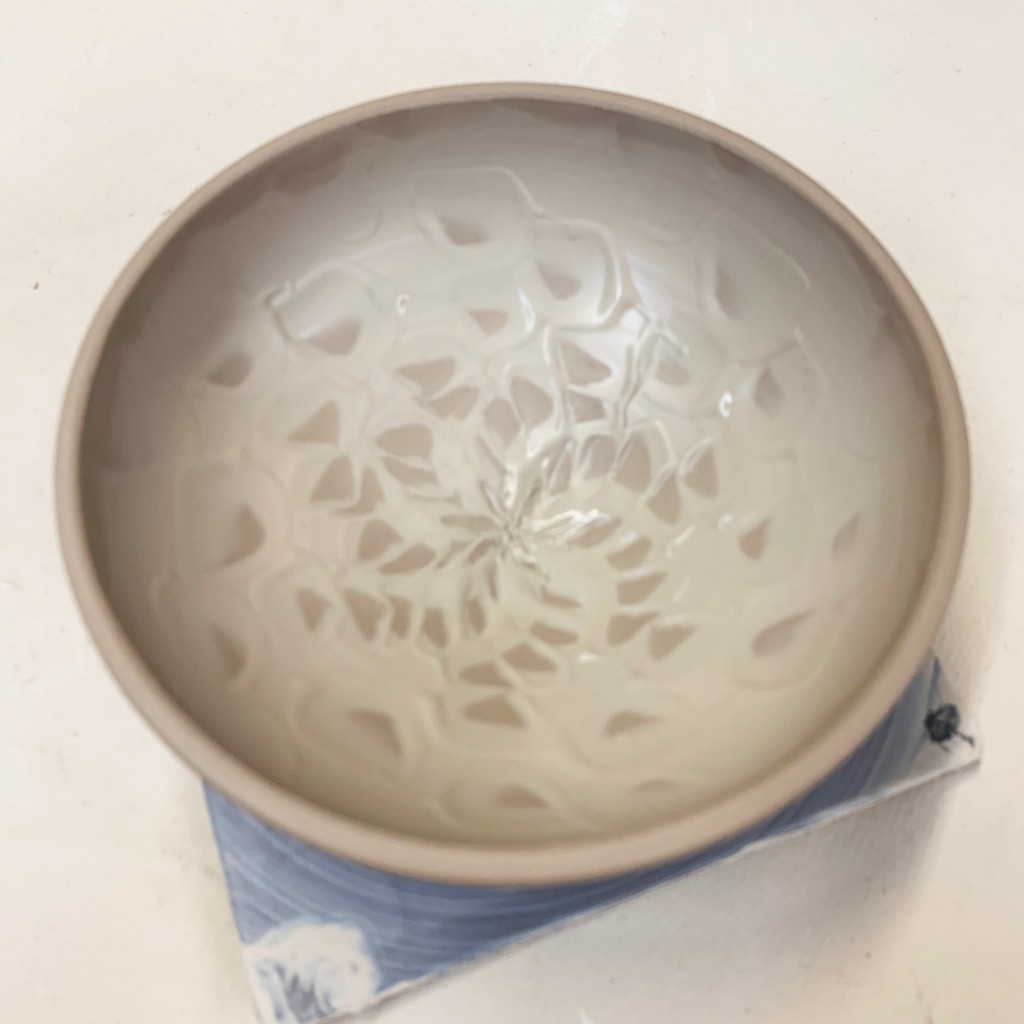
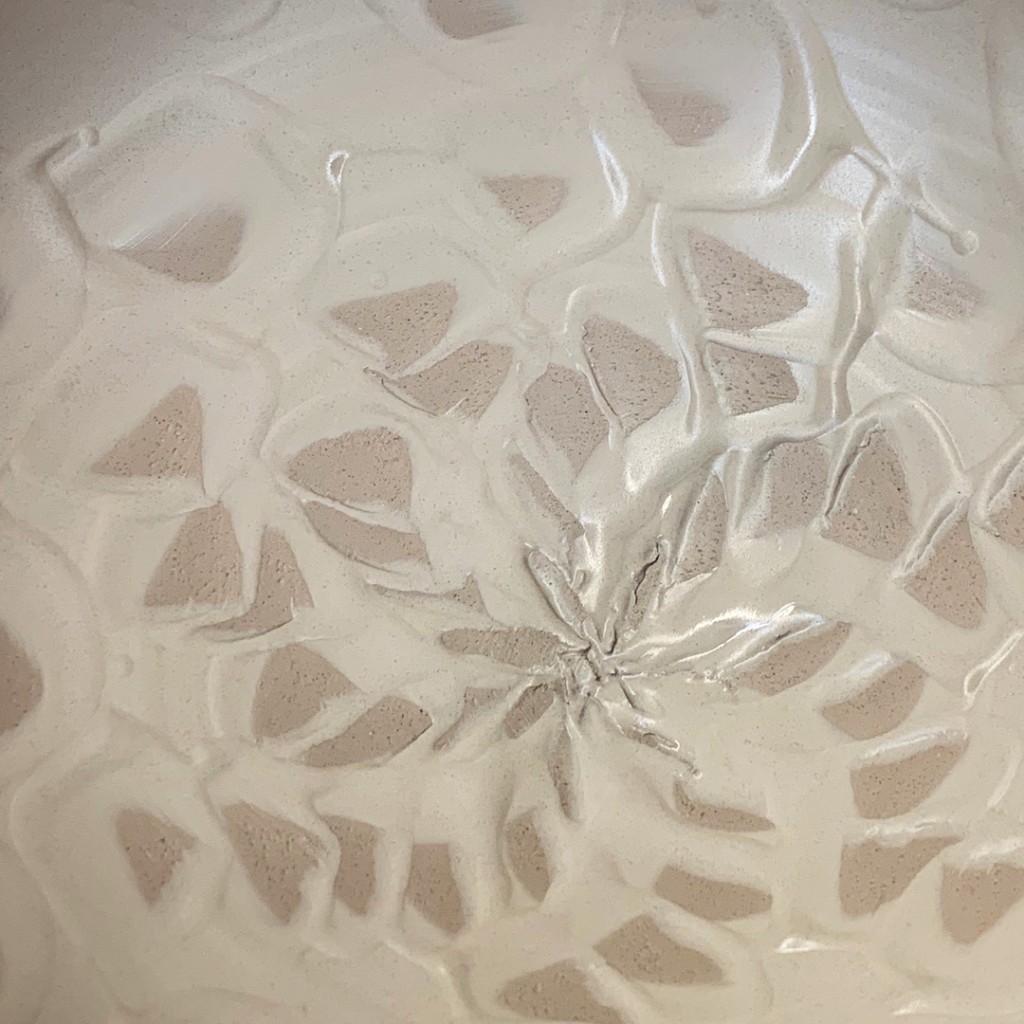
Bowl #17 – Ombre. A blended color slip mixing white and blue Mazzerine slips
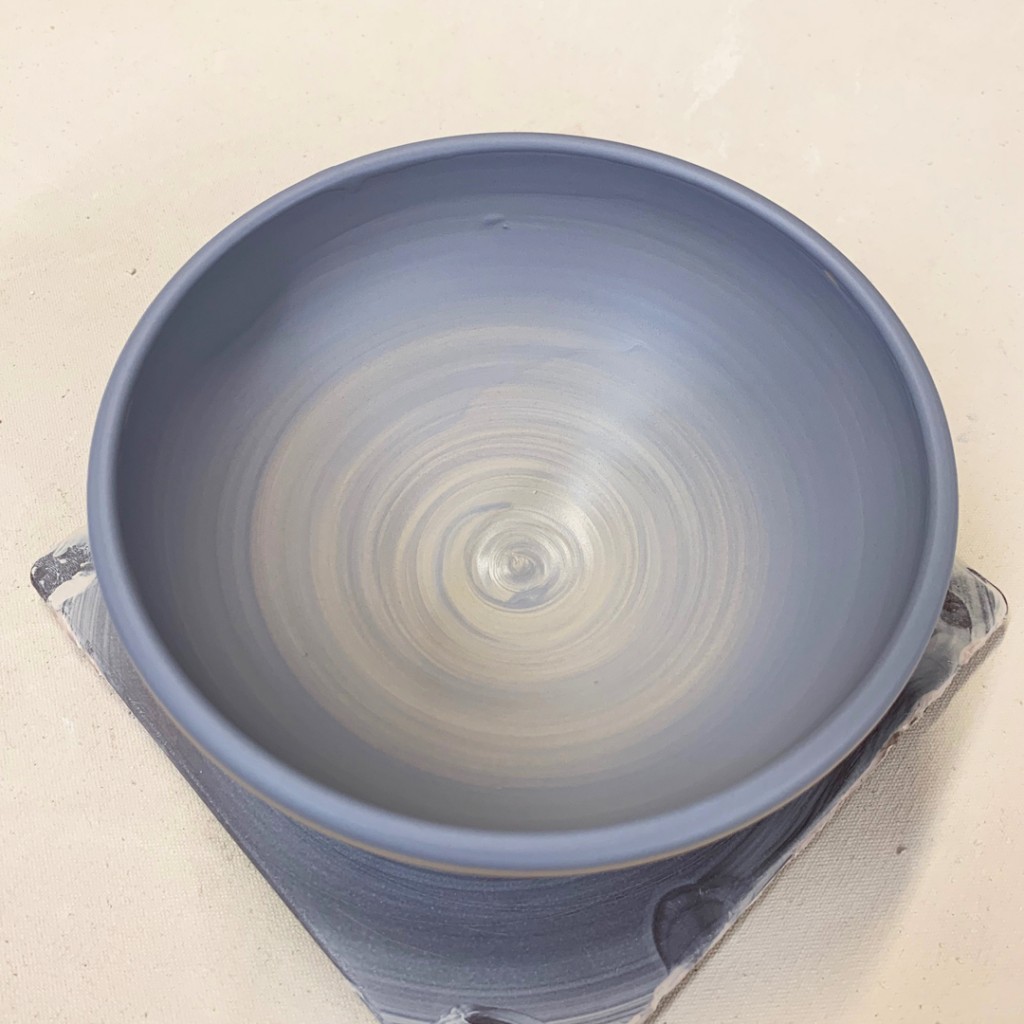
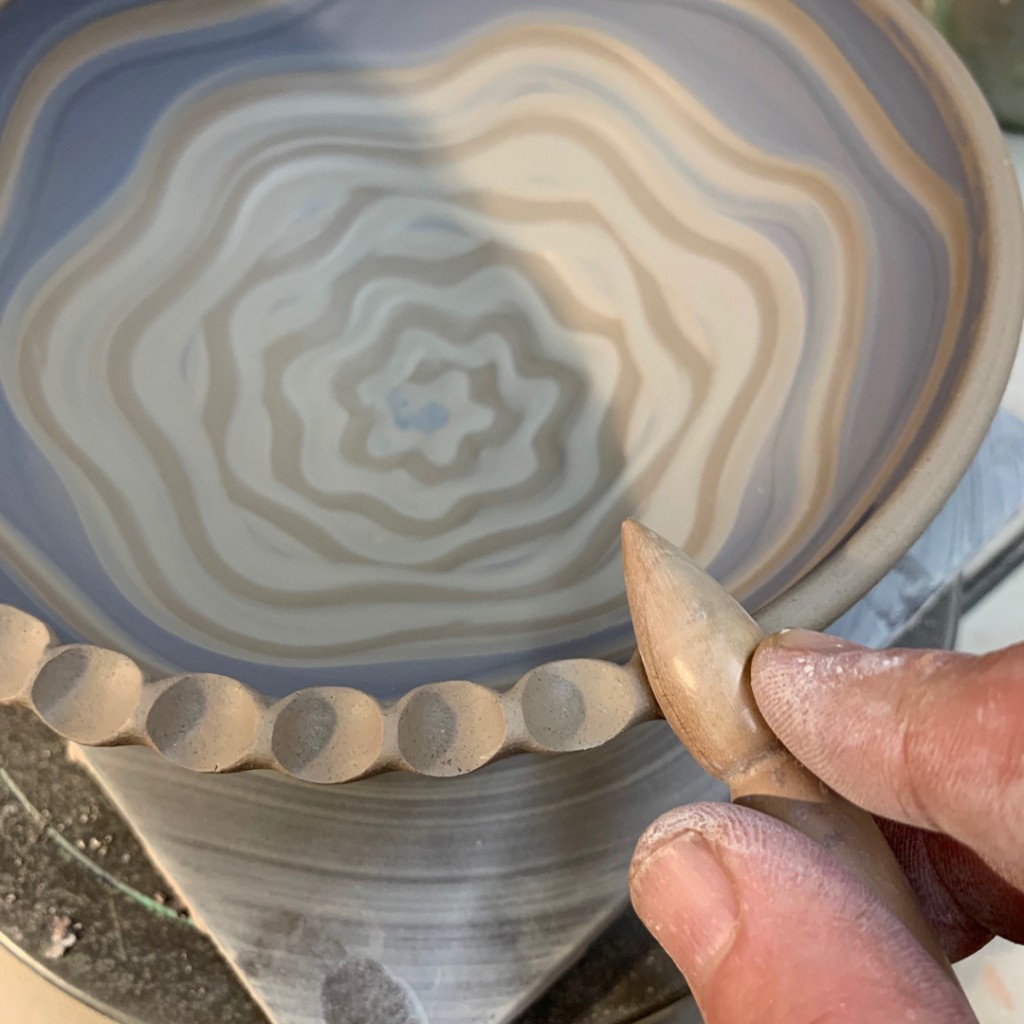
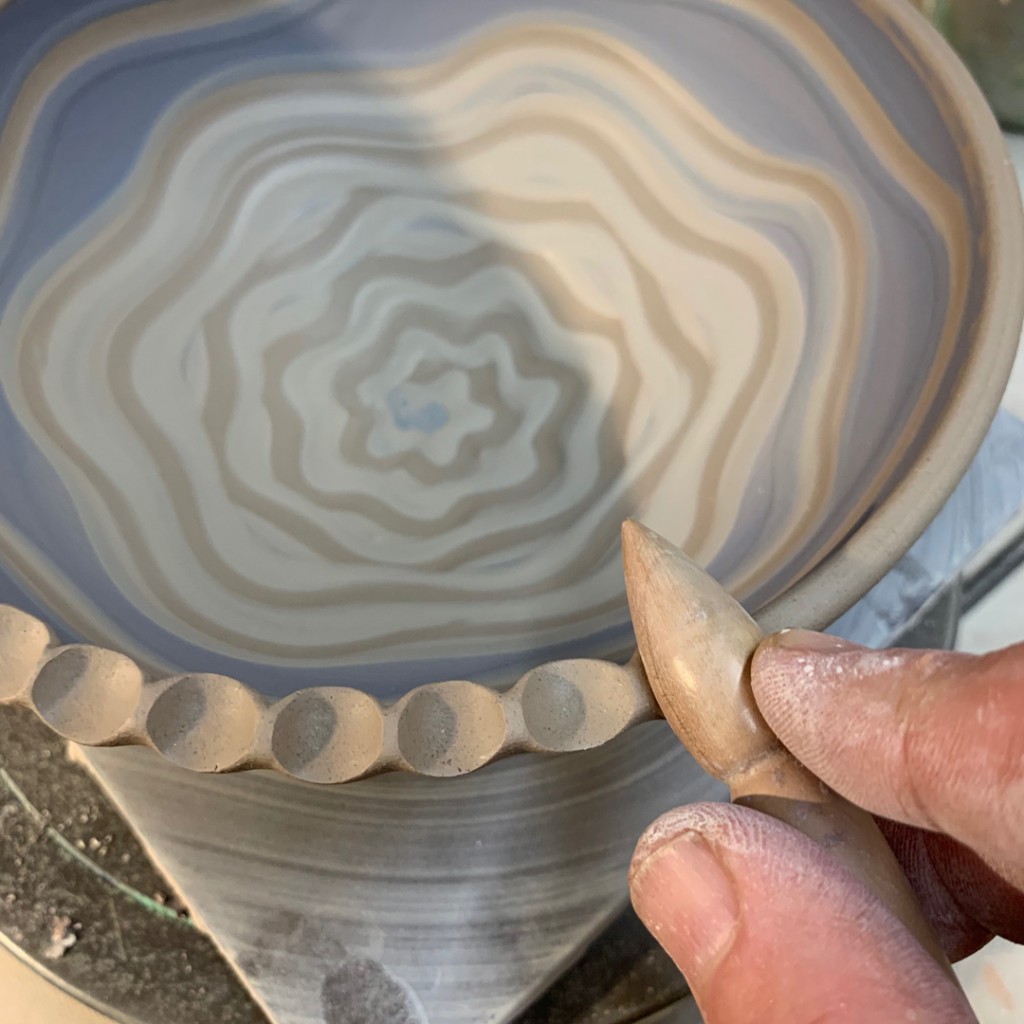
Bowl #18 – Ombre Squiggle. Another ombre blend, but then sguiggled with the rounded end of my wooden knife.
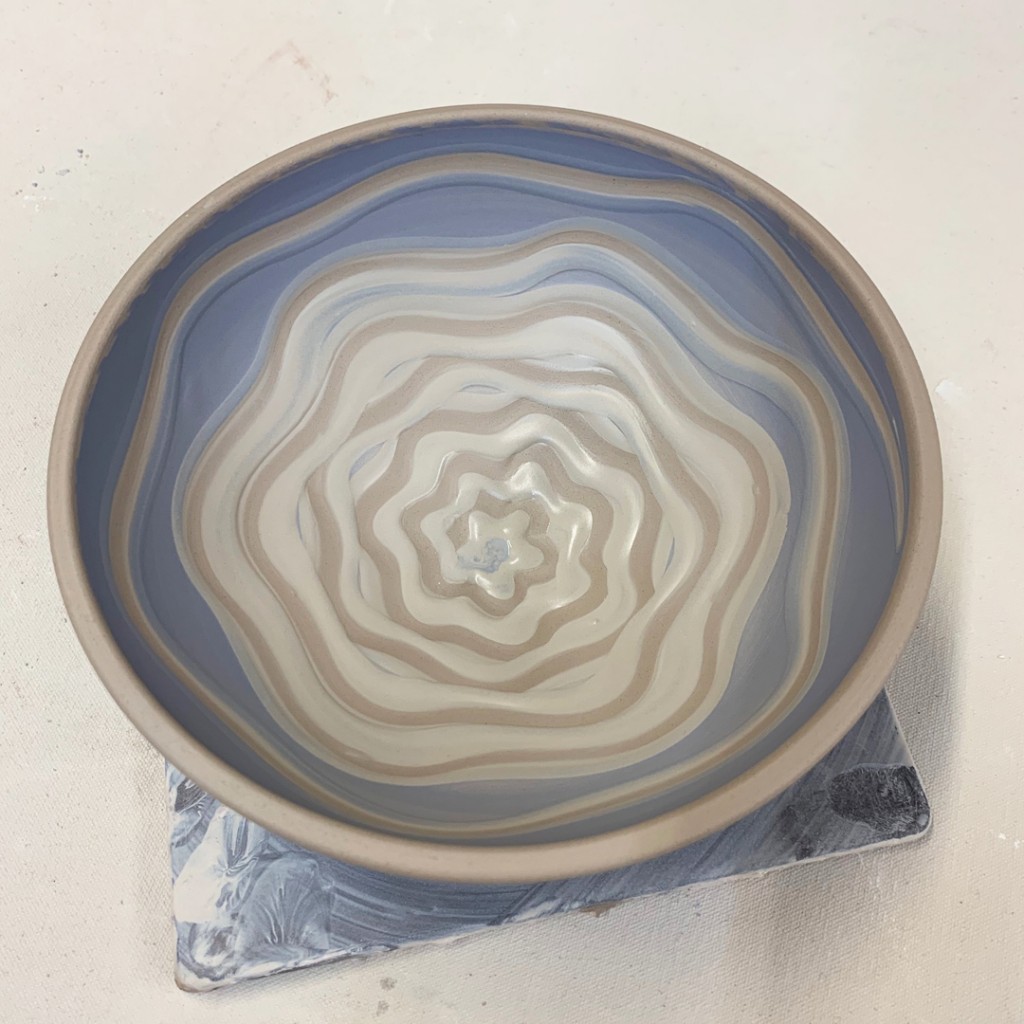
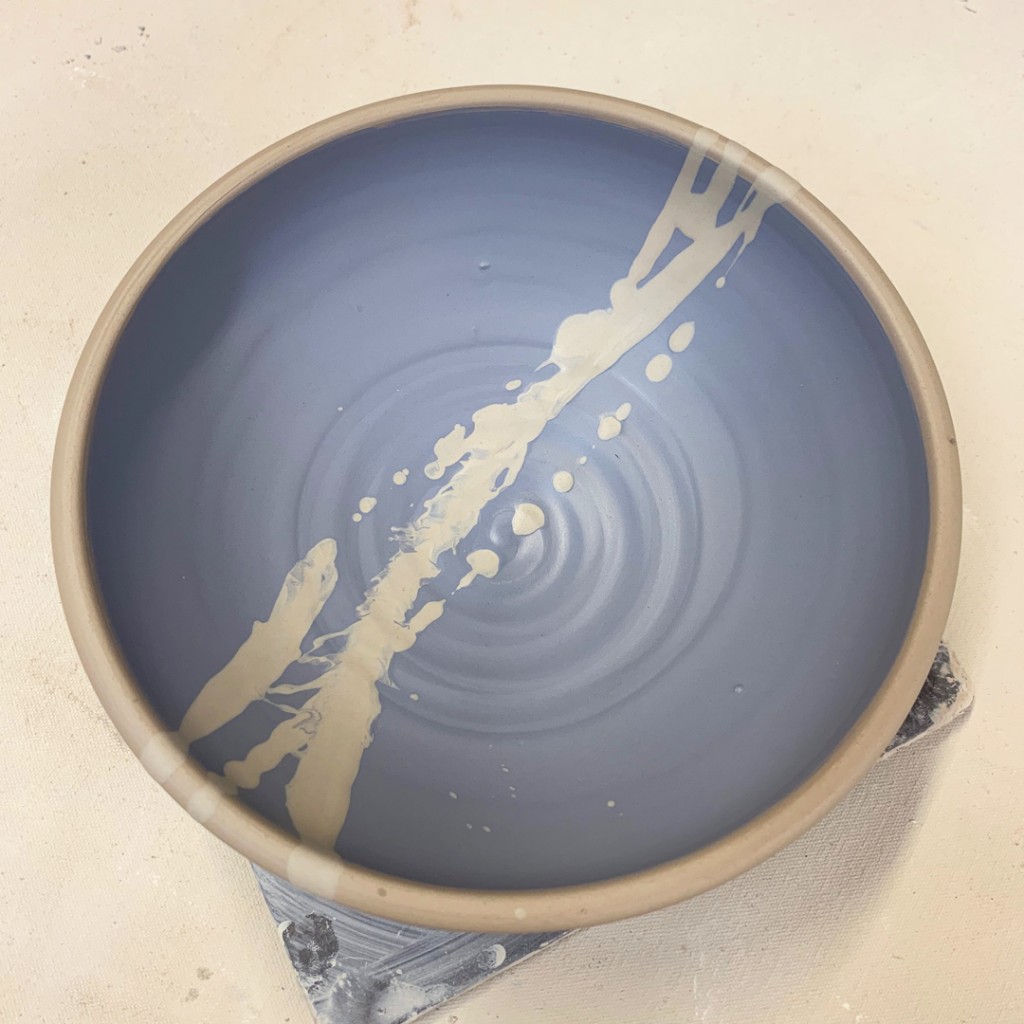
Bowl #19 – Splattered. A full layer of blue Mazzerine slip, and then a quick splatter of white slip… I had intended to do more, but the squeeze bottle got clogged. And my students all thought this looked great. So we stopped with one good splatter!
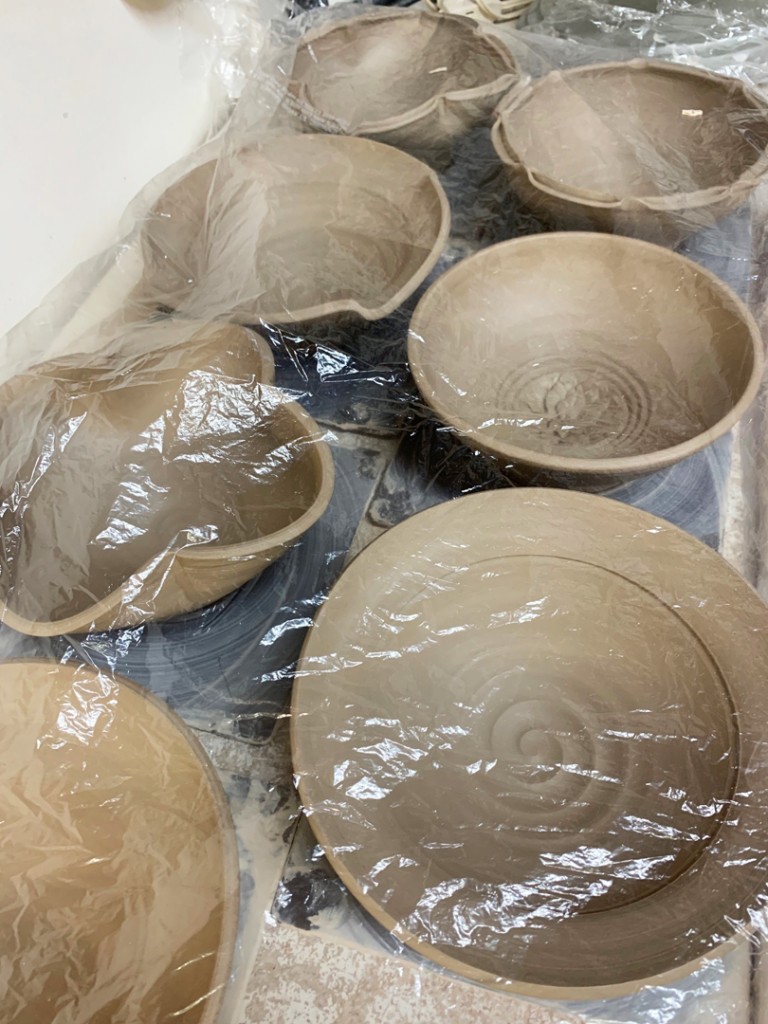
After class, I brought all of the bowls back up to my studio. They’re now under plastic as their is
a very good chance” that there might just be some more stamping & detailing that happens to these bowls before they’re done! Allegedly…
Save
