This week in my Tuesday night pottery class, we did my favorite demo of EVERY session! It’s the night when I teach my class how to make bowls on purpose.. instead of a cylinder gone bad!!! We talked about how to make one from the get-go… starting with a nice smooth curve on the inside. And NOT a flat bottom or a gouge in the side anywhere! So they all gathered around so I could do my demo where I make that one “perfect” basic bowl.
BOWL #1 – The basic round bowl. This was our “starting place.”
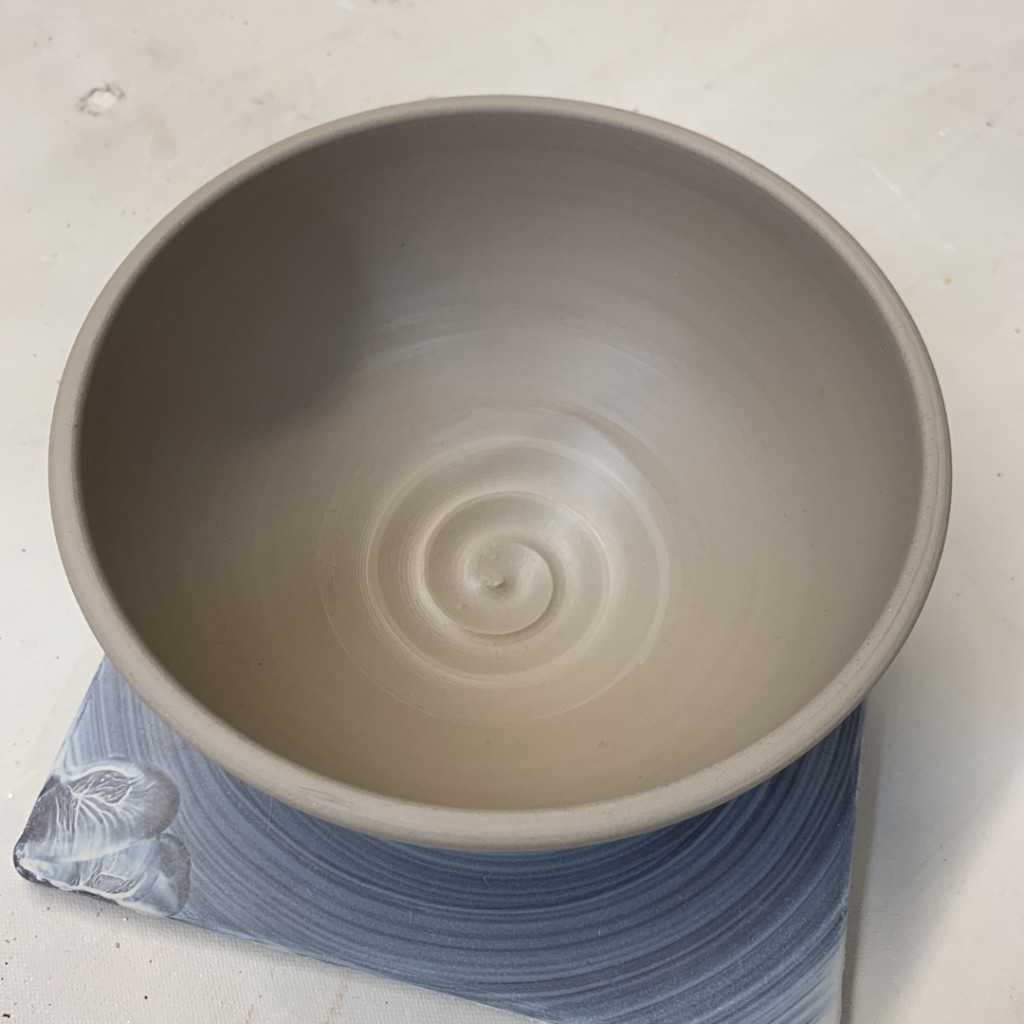
So after throwing the first bowl… I set my students free to go back to their wheels and start making some bowls. While they were throwing, I was too!!! I continued to throw more “basic” bowls… a full bag of clay-s worth… which turned out to be eighteen bowls. Pretty close to matching basic bowls.
When I was done throwing the bowls, re re-convened for Part Two of my bowl demo. This is the fun part where I show them some fun “tricks” they can use to make their own “basic” bowls not so basic any more!!!
BOWL #2 – FLUTED DUO
Two simple fluted twists, one on each side.
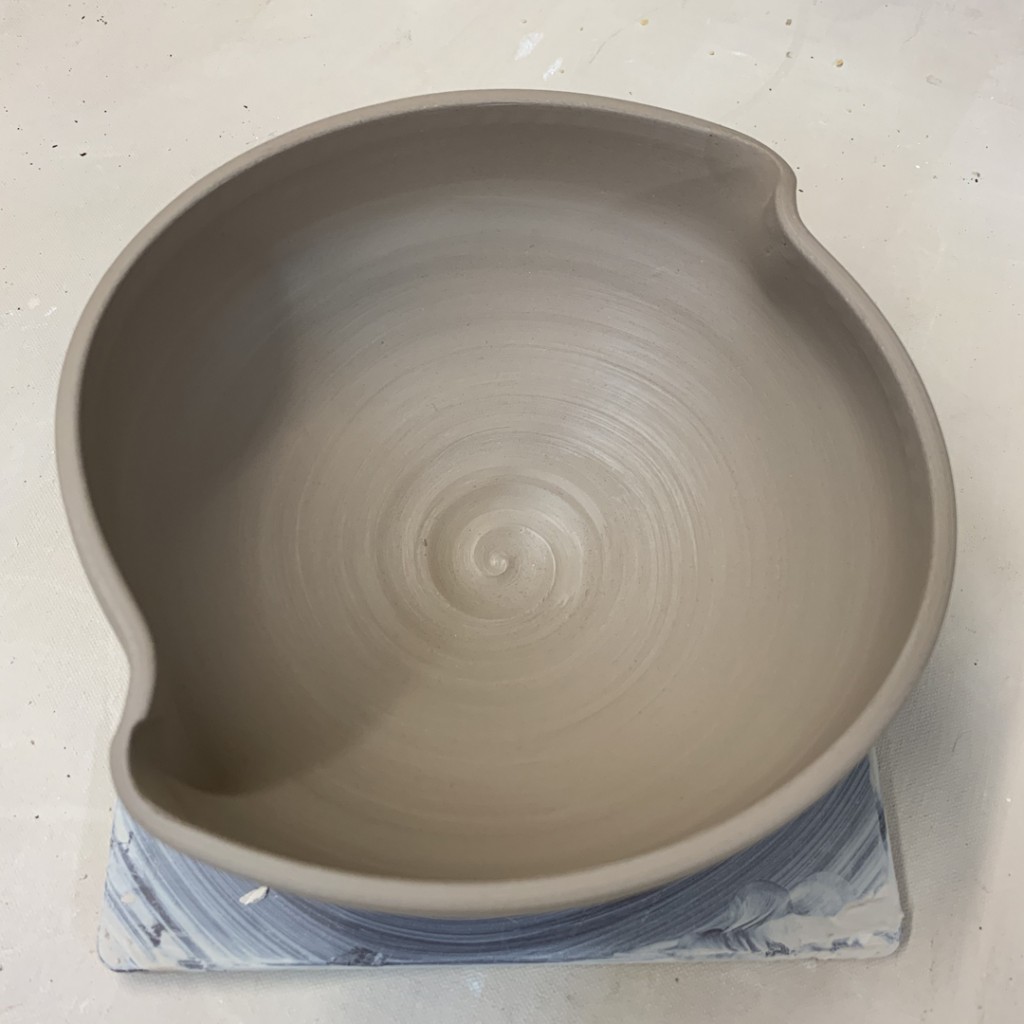
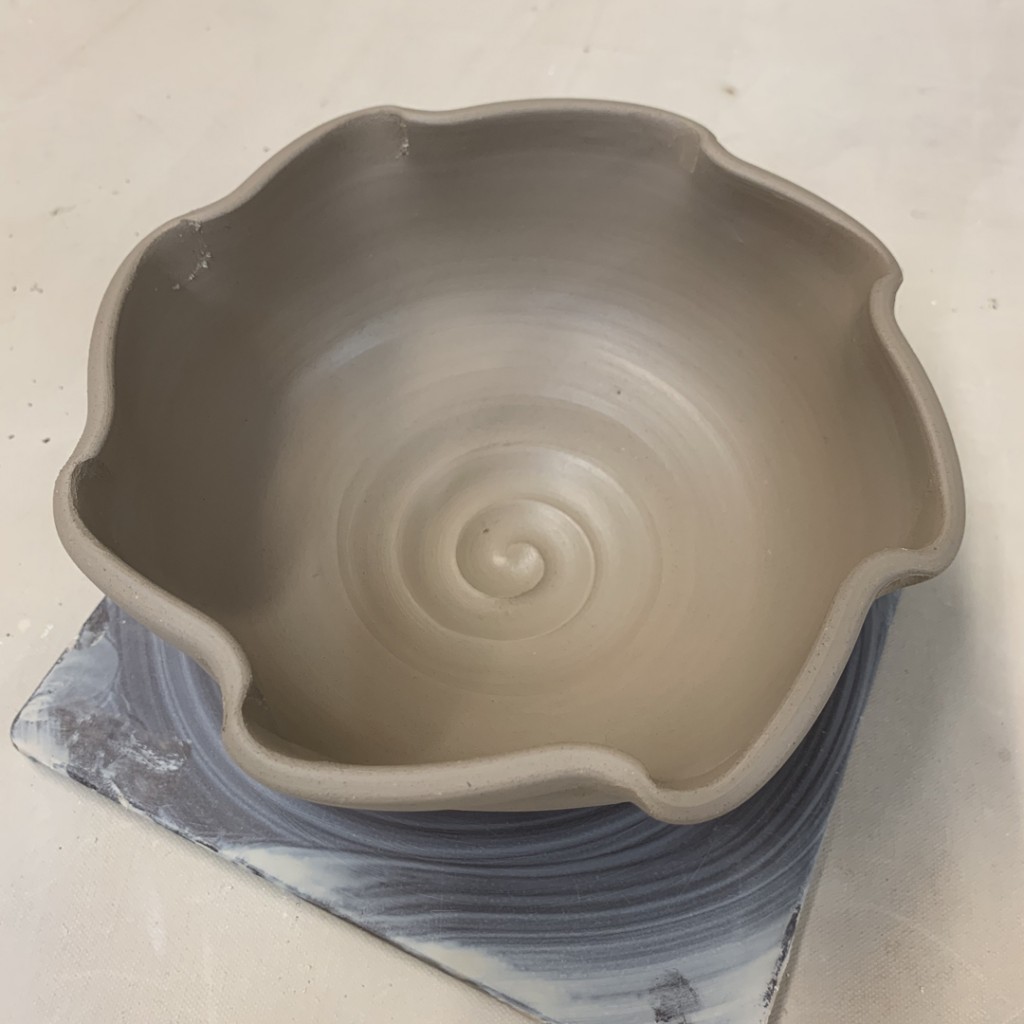
BOWL #3 – FLUTED MORE
And if two fluted twists are good, eight might be better?!
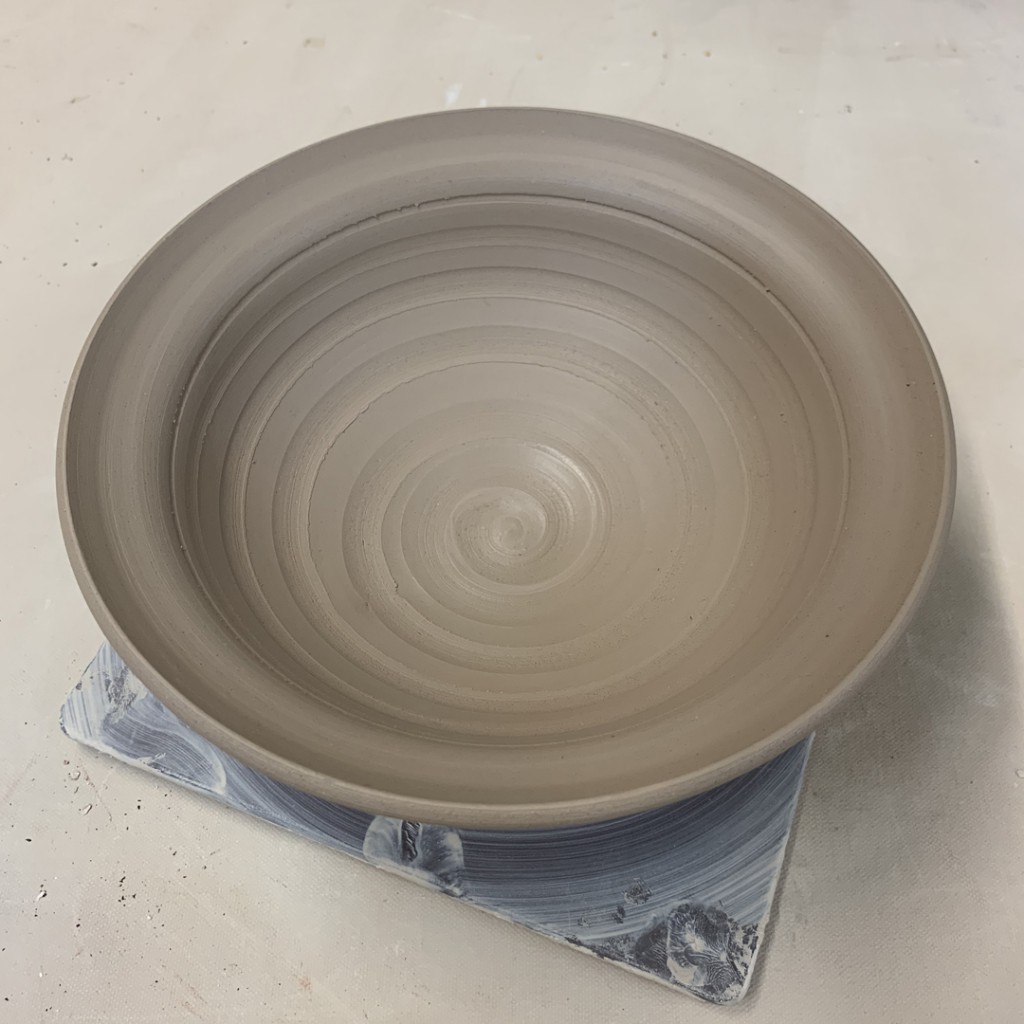
BOWL #4 – THIN FLANGE
Then we took the top rim and flared it out & down to make a thin flanged rim.
BOWL #5 – WIDE FLANGE
If the thin flange was goo, maybe a wider flange would be better?
BOWL #6 – FLANGED & FLUTED
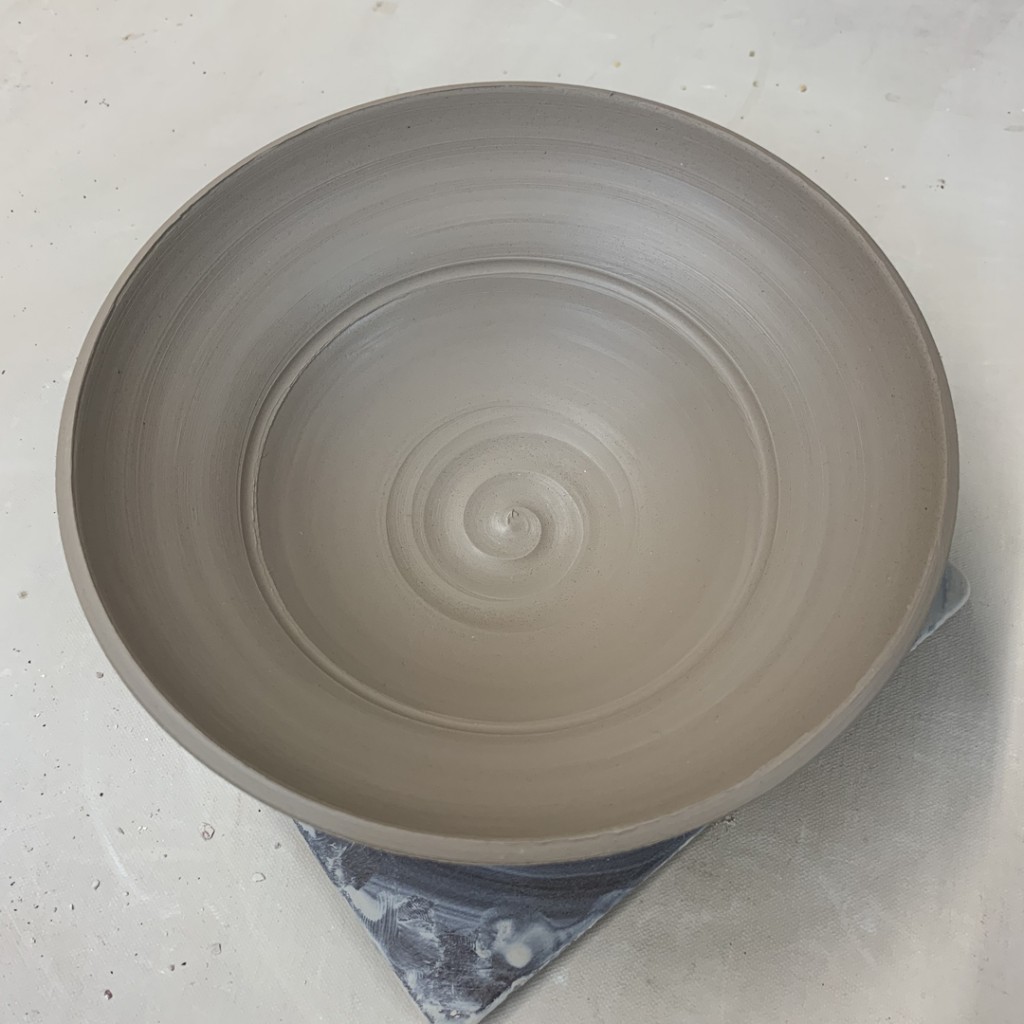
Folded out to make a thing flange and then added four fluted edges.
BOWL #7 – DOUBLE-DENTED
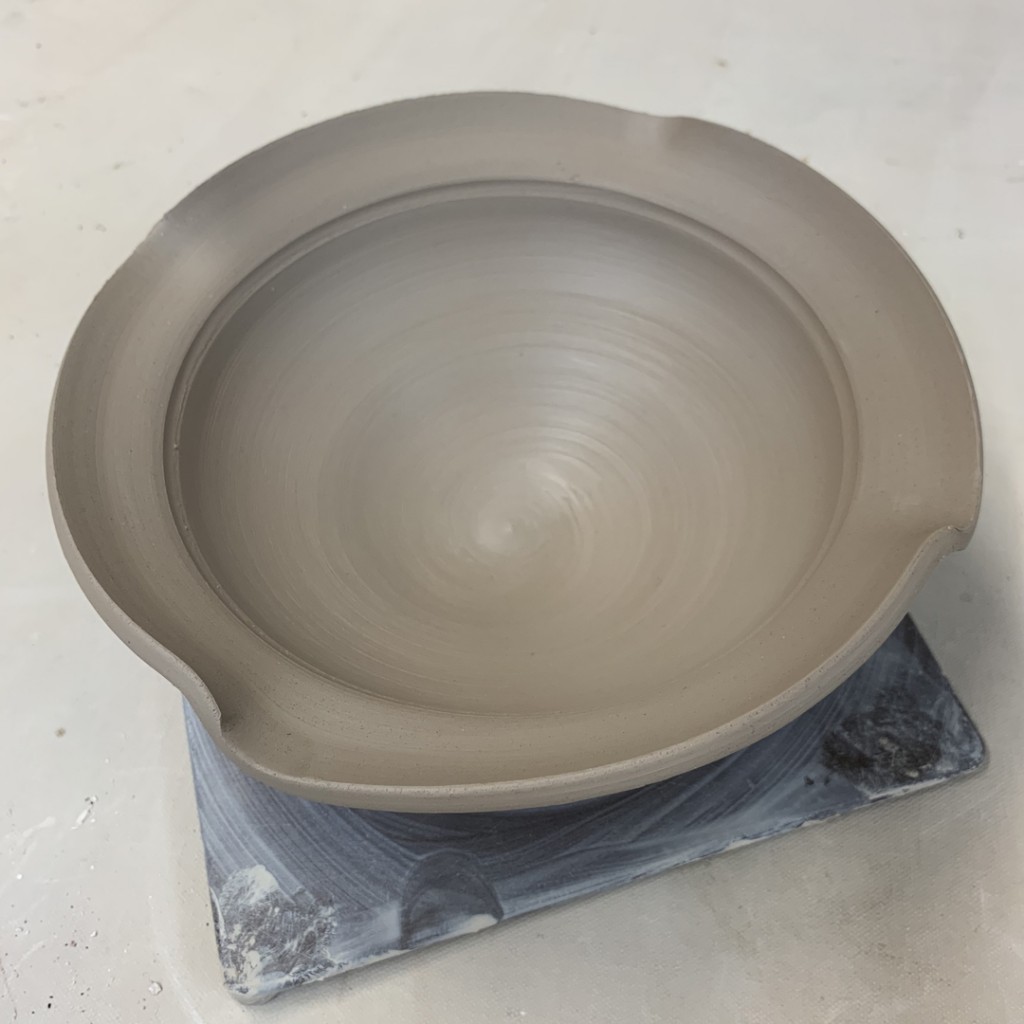
Who says a bowl needs to stay round?… and I’m thinking this might get a handle over from dent to dent.
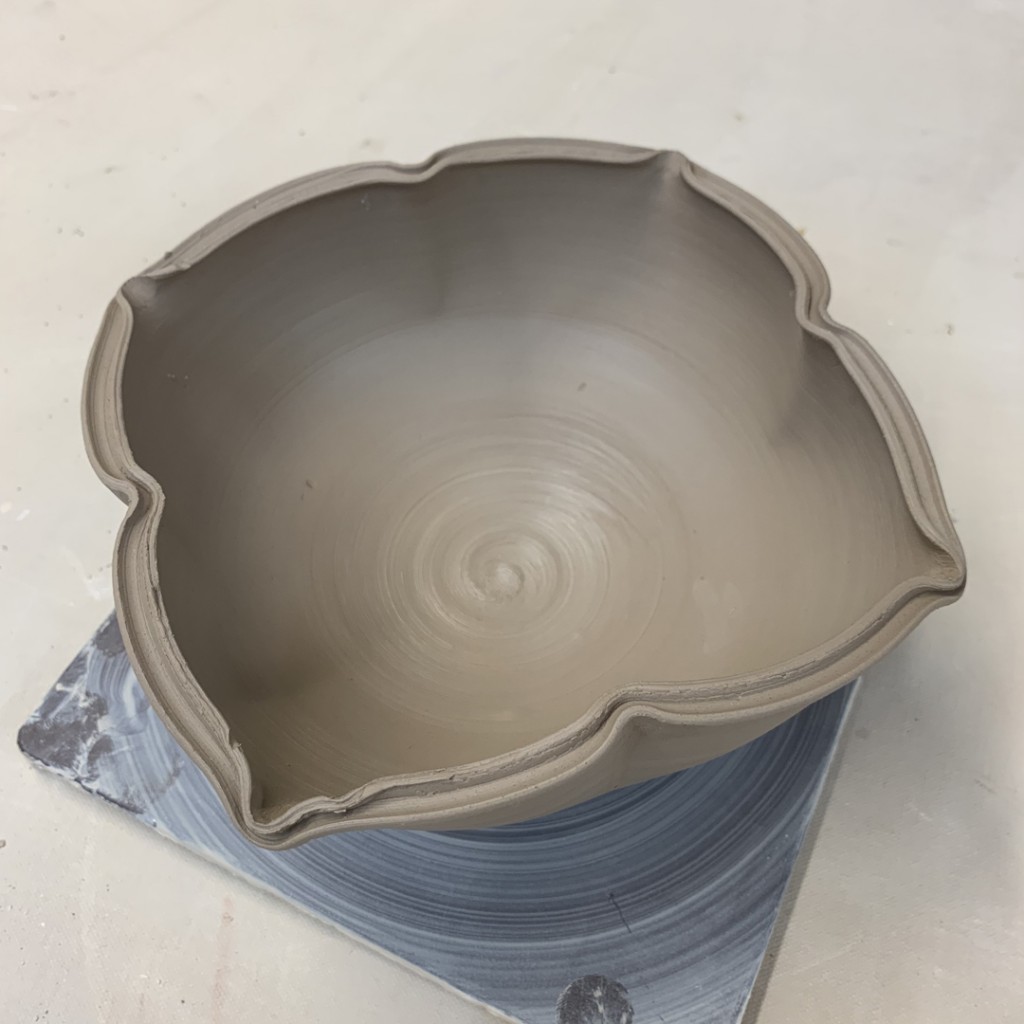
BOWL #8 – SPLIT RIM WITH FOUR DENTS
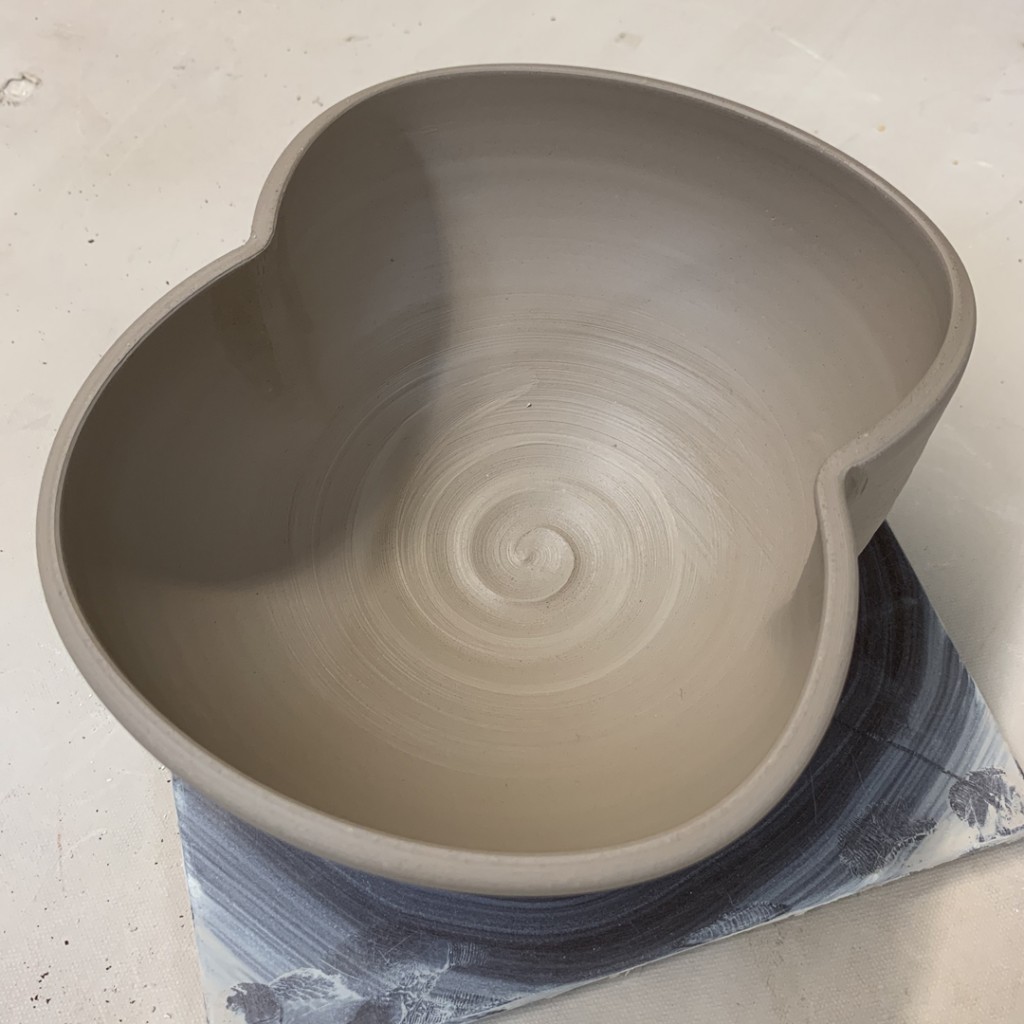
I carefully split the rim using the pointed end of my wooden knife… and then dented it in at four places.
BOWL #9 – SPLIT RIM DENTED IN & DENTED OUT
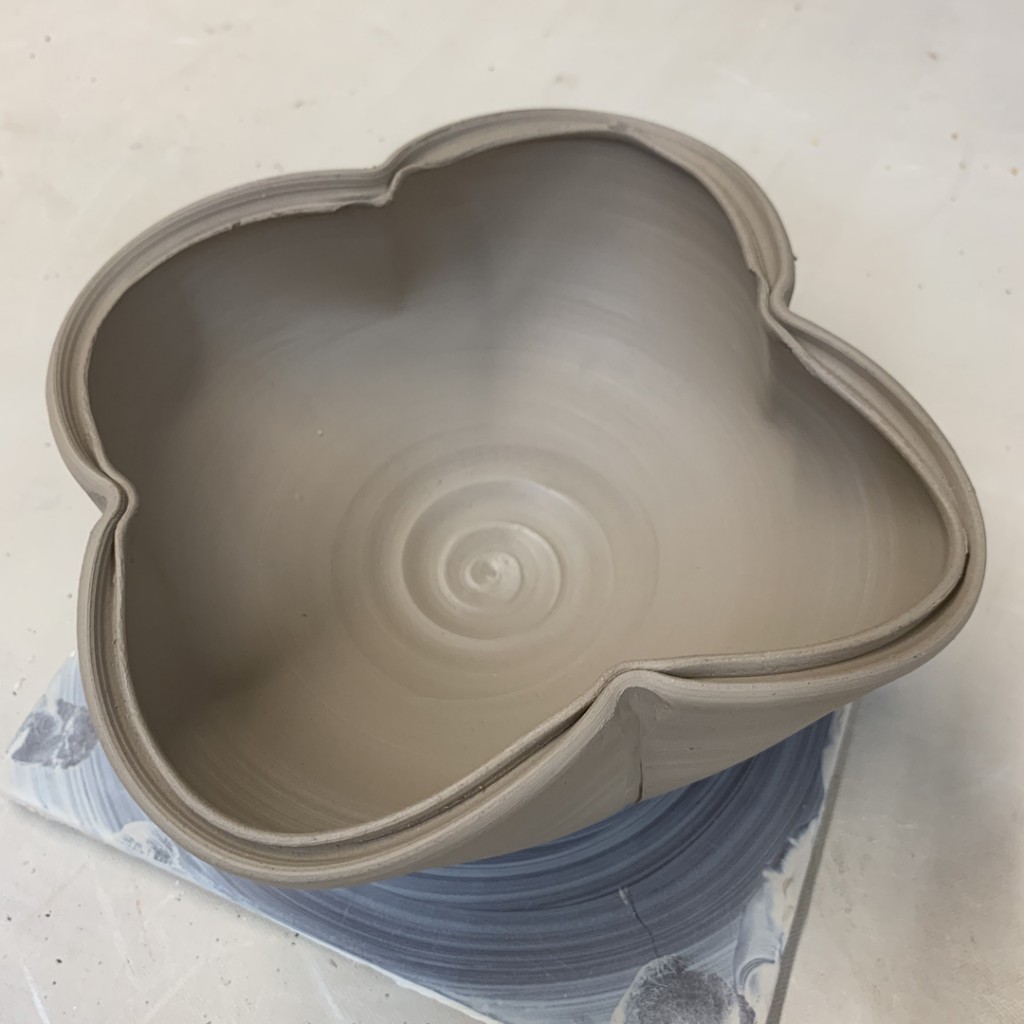
After splitting the rim, I dented four spaces inwards, and then again four spaces outwards.
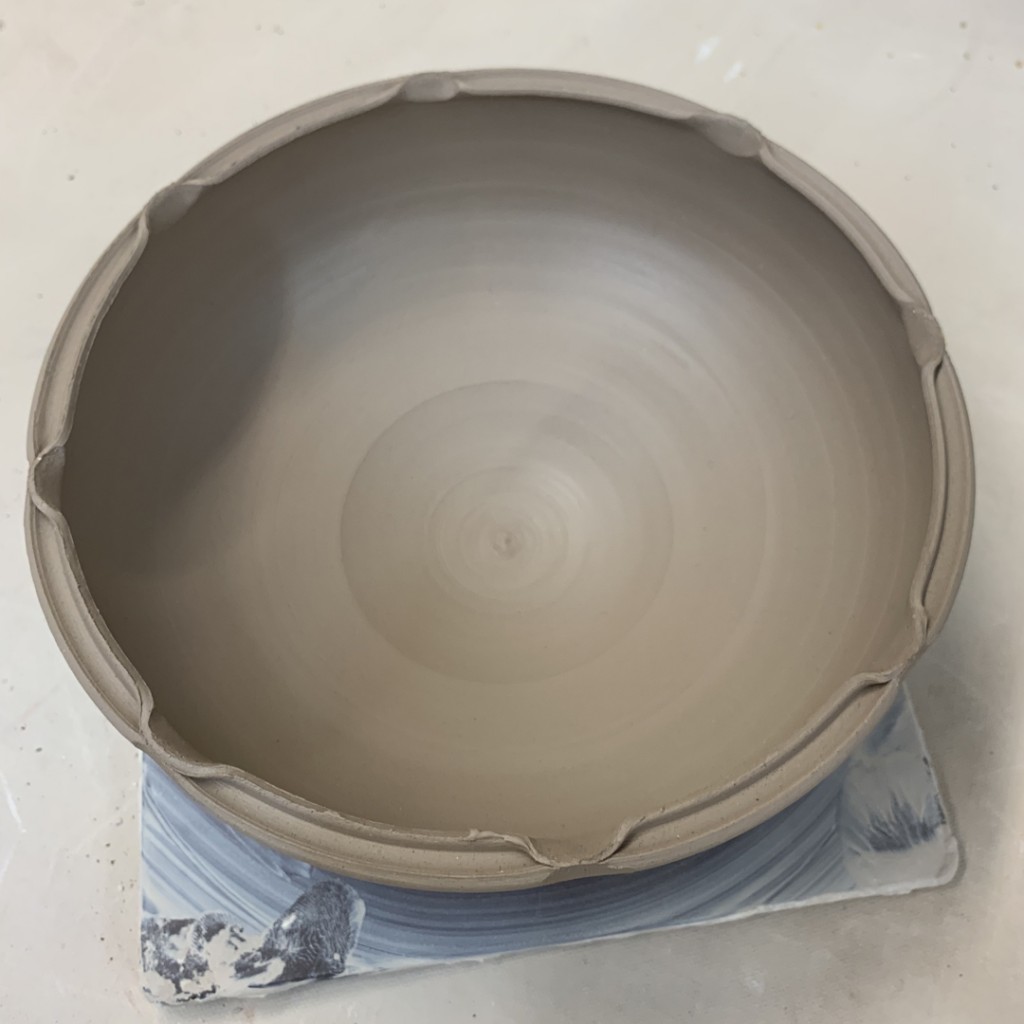
BOWL #10 – SPLIT RIM WITH EIGHT PINCHES
After splitting the rim, I carefully pinched it back together in eight places.
BOWL #11 – THE TRIPLE RIM CHALLENGE!!!
So Stacey, one of my former students who has seen the bowl demo before, challenged me to try a TRIPLE split rim!!! And you know I’m always up for a challenge!!! In retrospect, I kinda wish I had left a little more clay up in the rim if I had known I was going to go for the triple. But I perservered… and then pinched & pressed out in eight places.
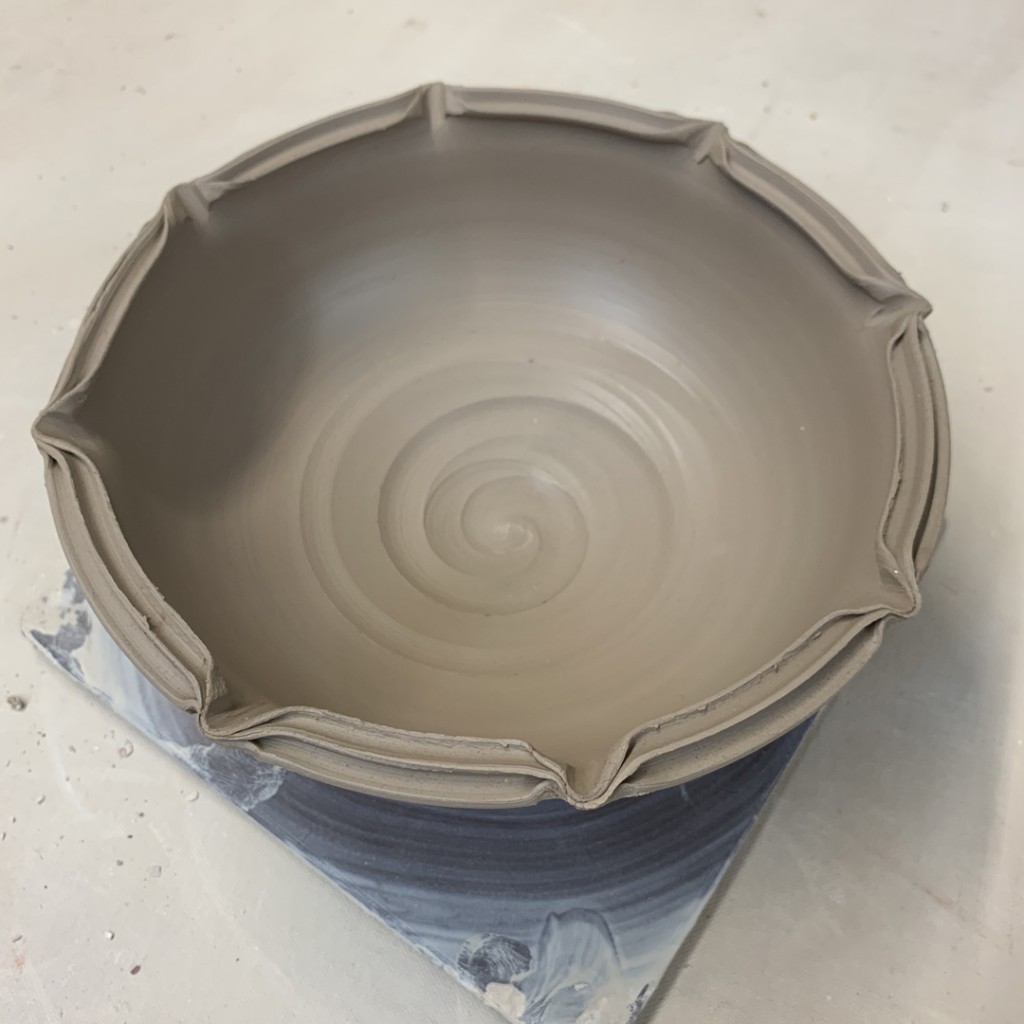
My students were impressed… and referred to this a the “churro bowl.”

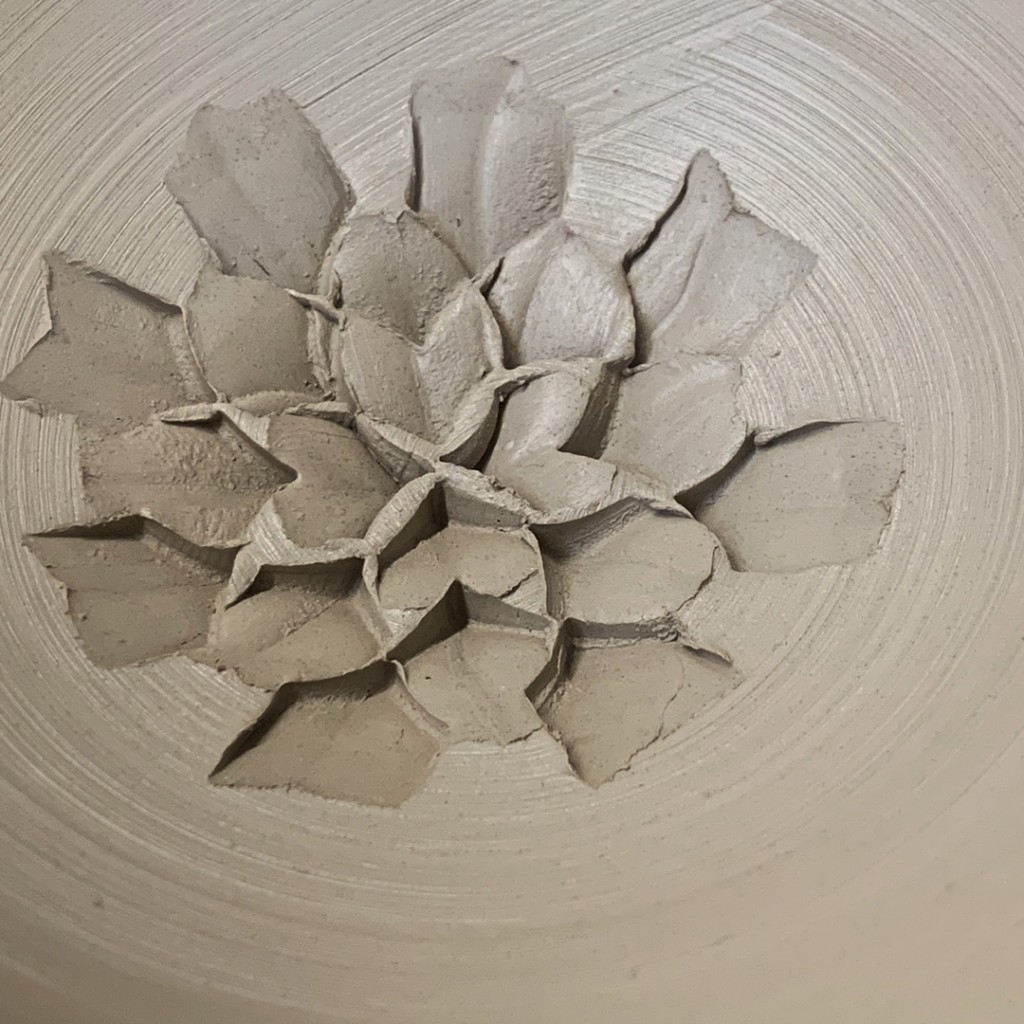
BOWL #12 – DRAGONSCALE FLOWER
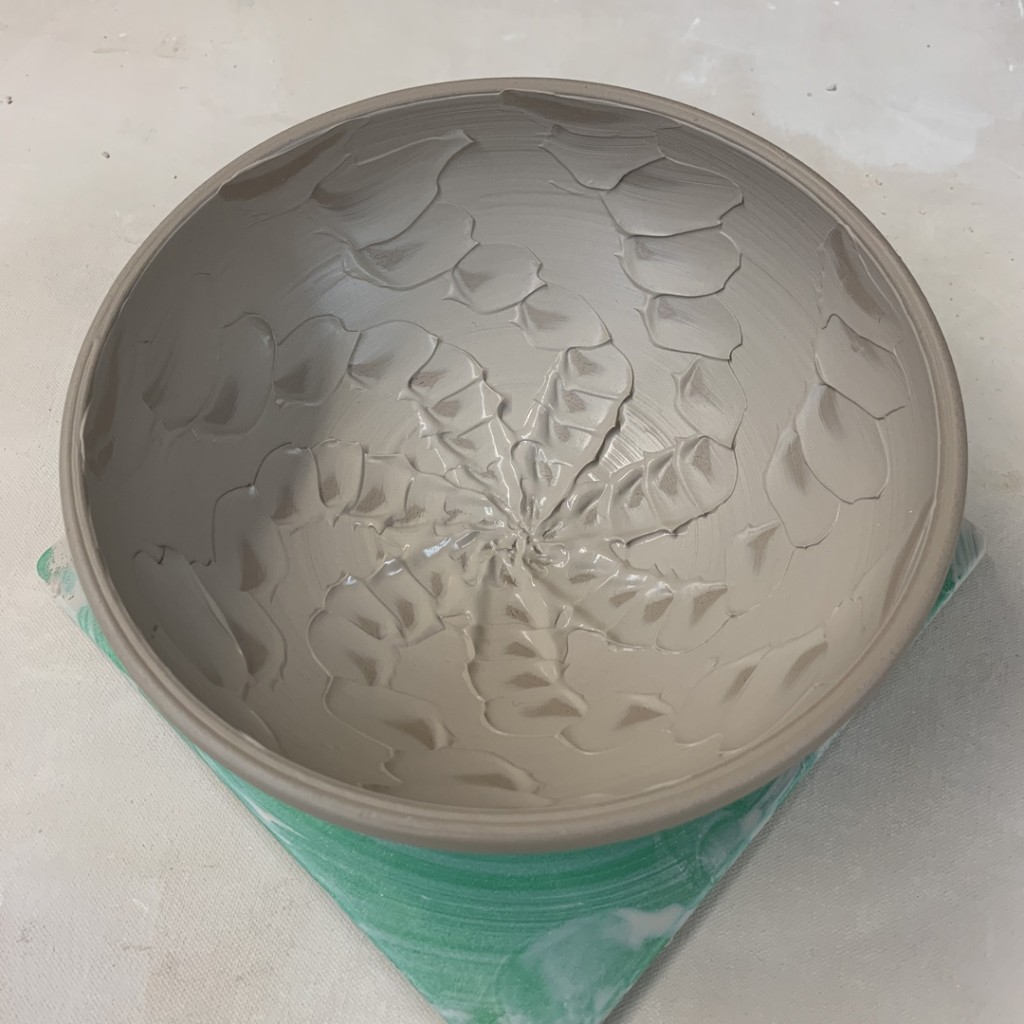
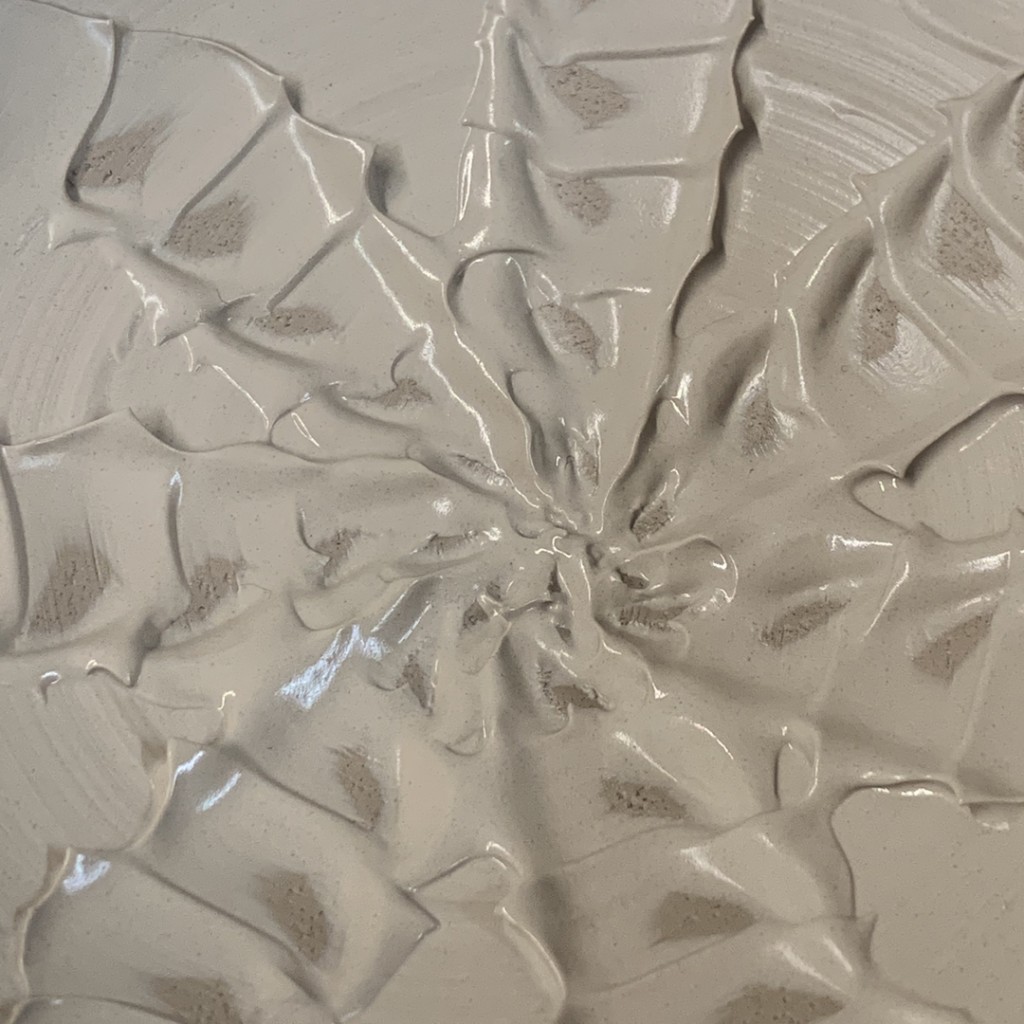
Using my metal dragonscale tool, I pressed in the edges to make a stylized flower in the bottom of the bowl

After the first dozen bowls, I shifted gears and introduced my students to colored slip.
Just another fun way of decorating their “basic” bowls… to make them less basic!!!
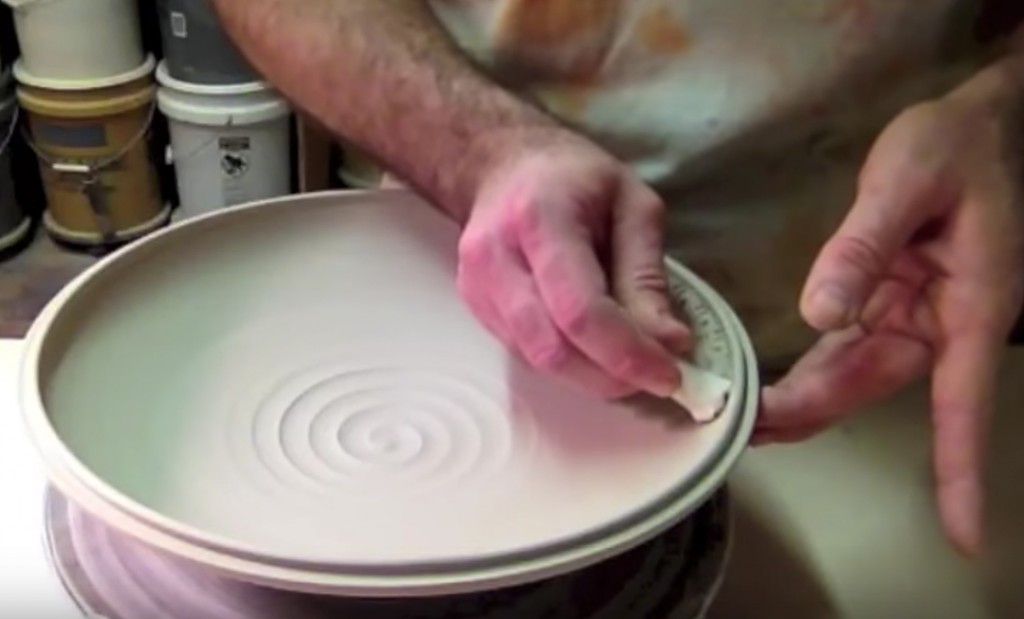
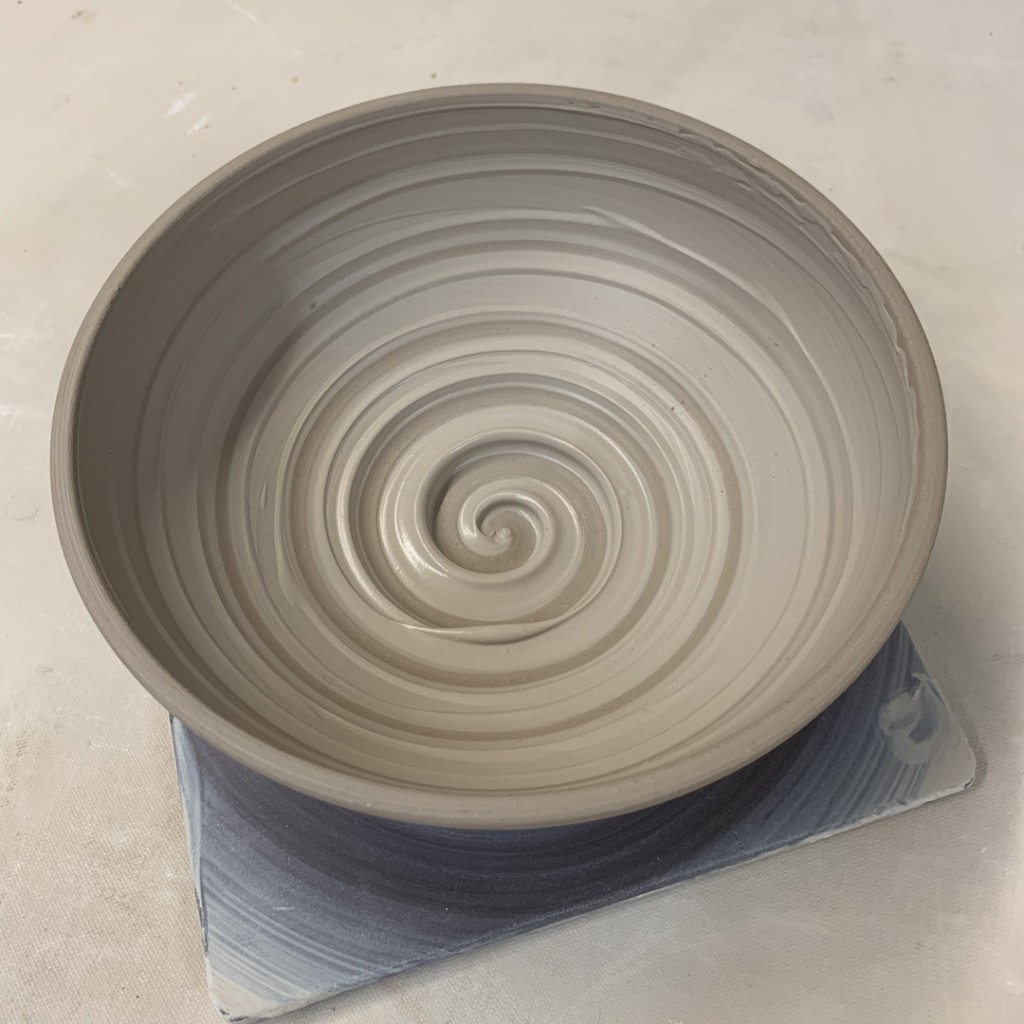
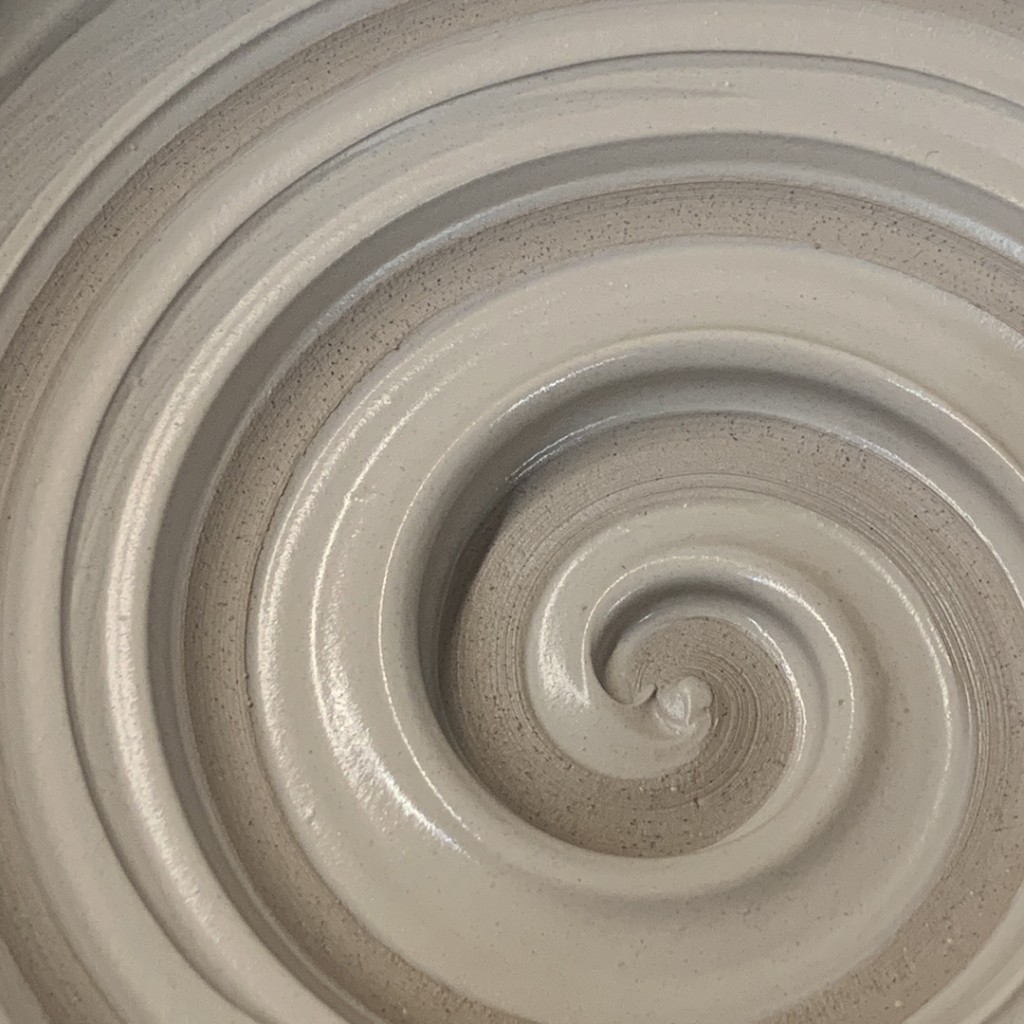
BOWL #13 – THICK SLIP SPIRAL
I slathered on a layer of thick white slip, and then dragged the curved end of my wooden knife through the slip as the bowl was rotating on my wheel.
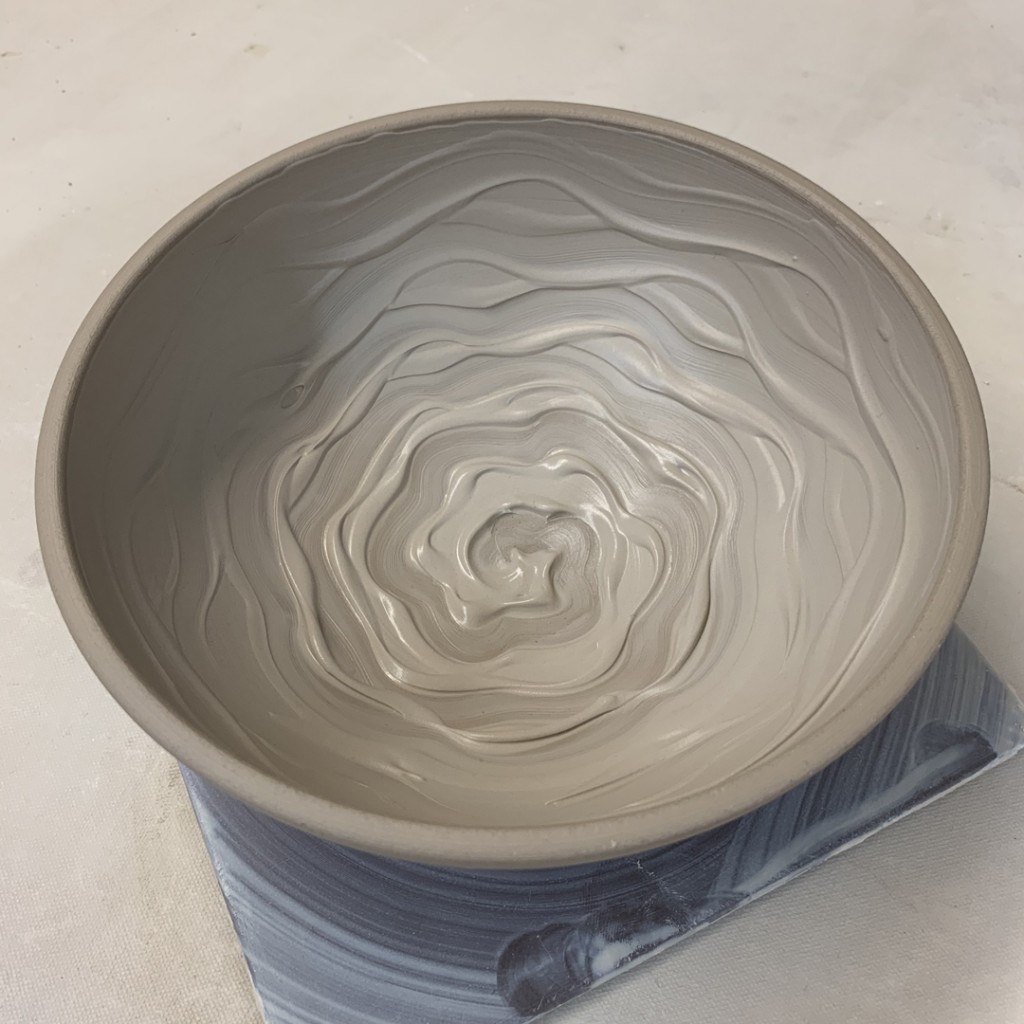
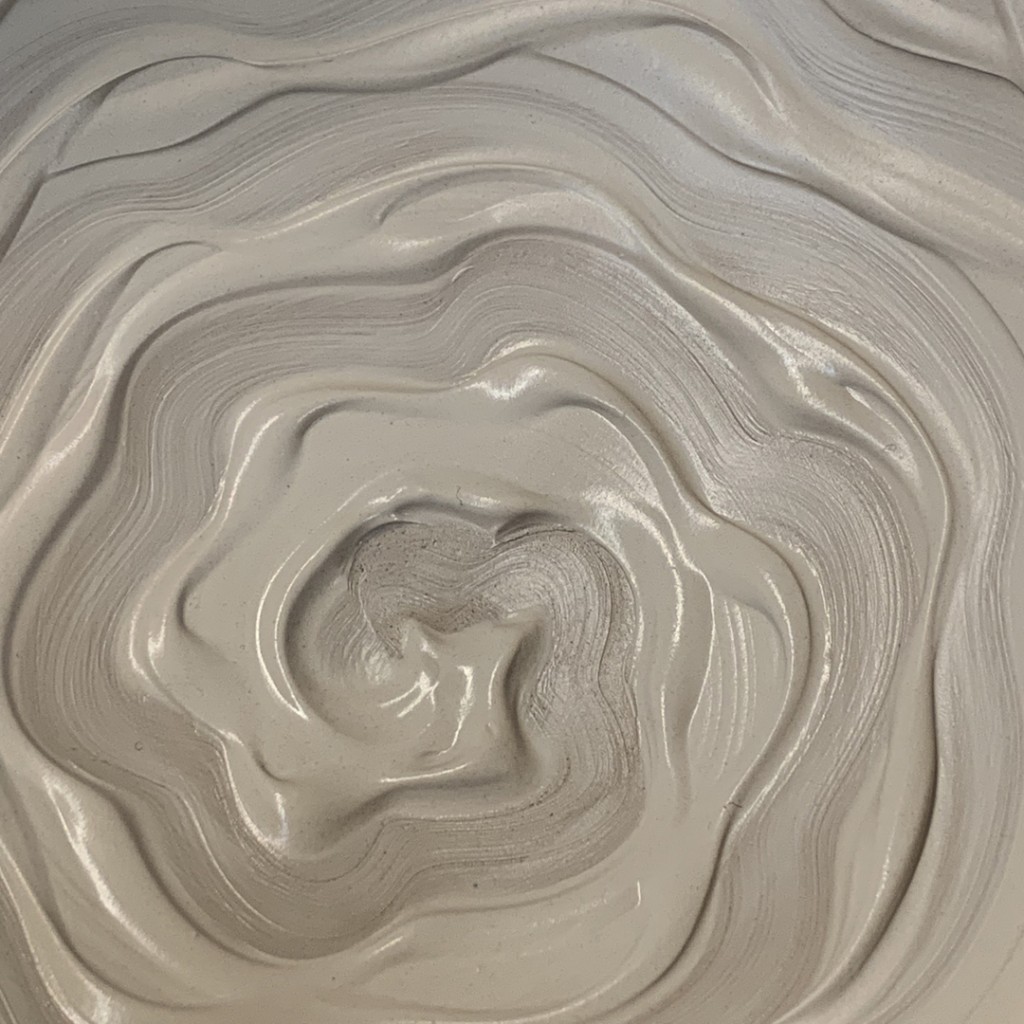
BOWL #14 – THICK SLIP SQUIGGLE
A thick layer of slip and then a little finger squiggle through for the pattern.
BOWL #15 – THICK SLIP PATCH
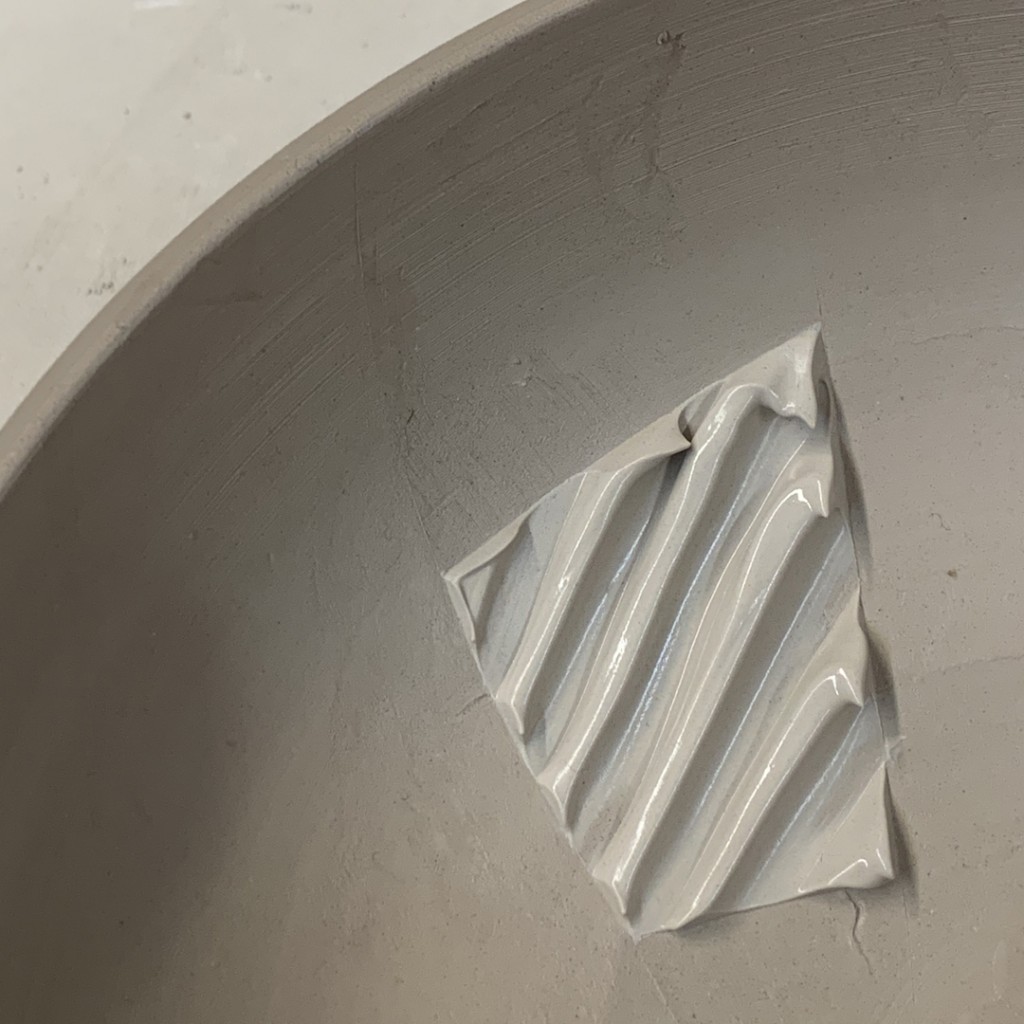
Using four pieces of newspaper dipped in water, I created a stencil by placing the newspaper pieces in an open square. I filled that open square with thick slip, dragged a tool through it for the ridges, and then carefully removed the newspaper strips to reveal clean edges.

BOWL #16 – CHATTERING
Another layer of thick white slip, with some rhythmic tapping of a plastic rib through the slip as it was rotating on the wheel.
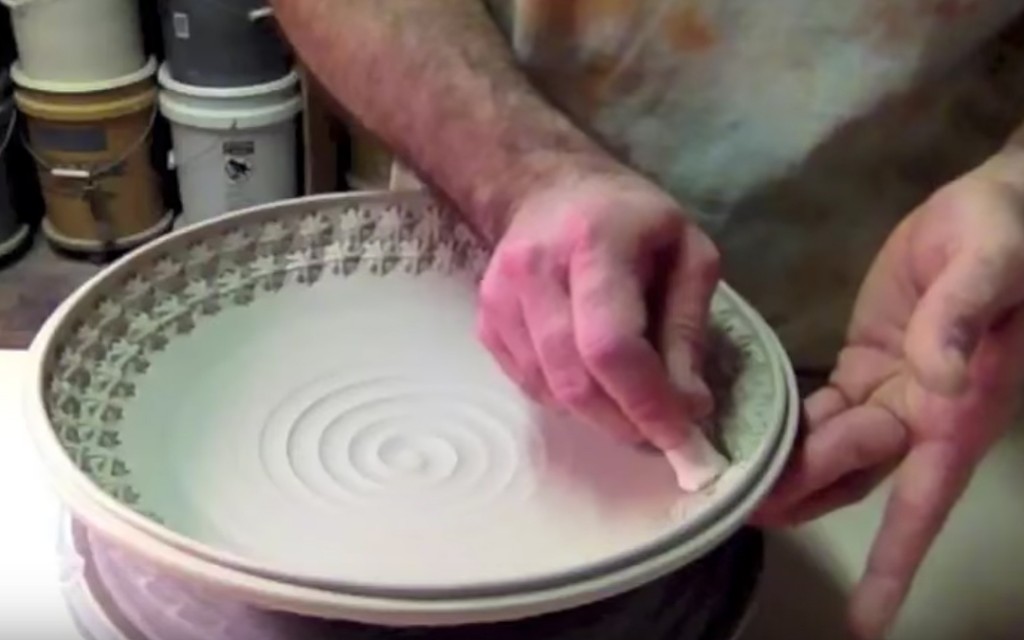
BOWL #17 – NEWSPAPER STENCIL
I carefully cut four letters out of the newspaper… I wet the letters and carefully pressed them smooth to the bowl. I carefully painted over the edges with some thin black slip, and the covered the entire bowl interior. The tough part is finding the newspaper letters to pull them out!!!

BOWL #18 – OMBRE
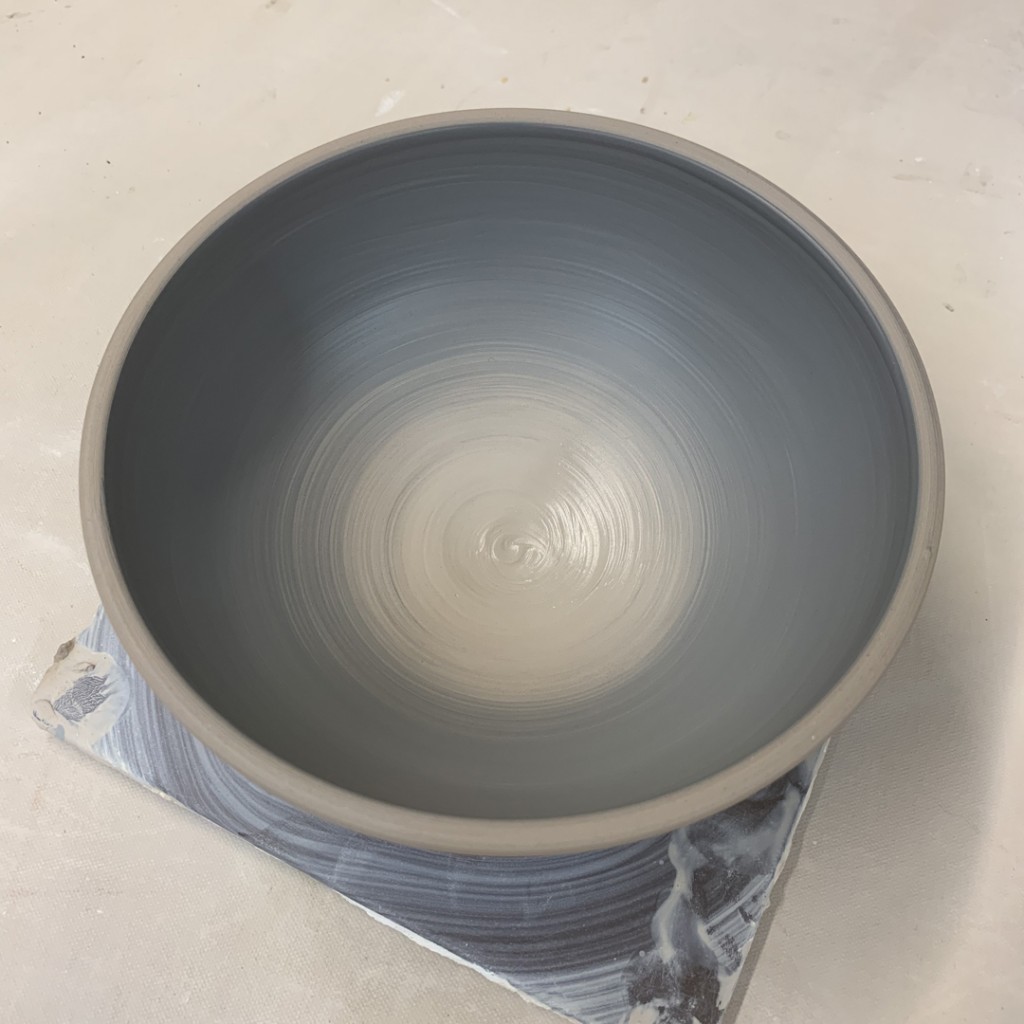
First a layer of thick white slip covering the interior, and then some thin black slip from the top edge inwards to blend and create the ombre effect.
For now they’re all under wraps in my studio. I’m pretty sure there’s a “good chance”there might be some stamping & detailing still to come before I trim the bottoms.
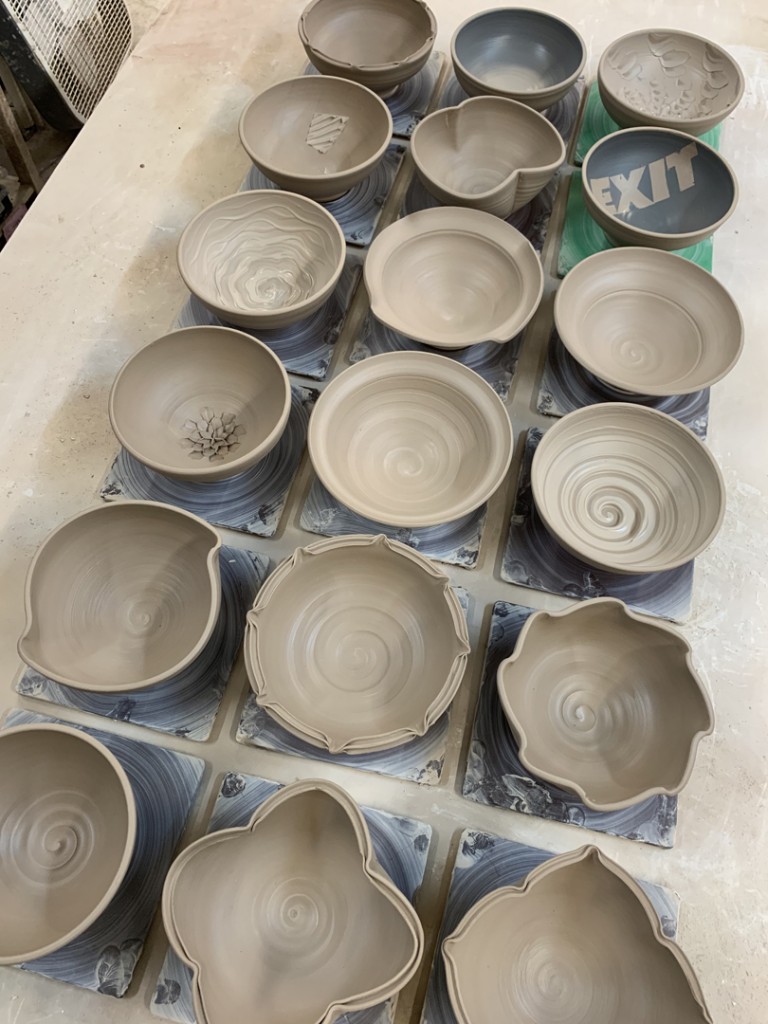
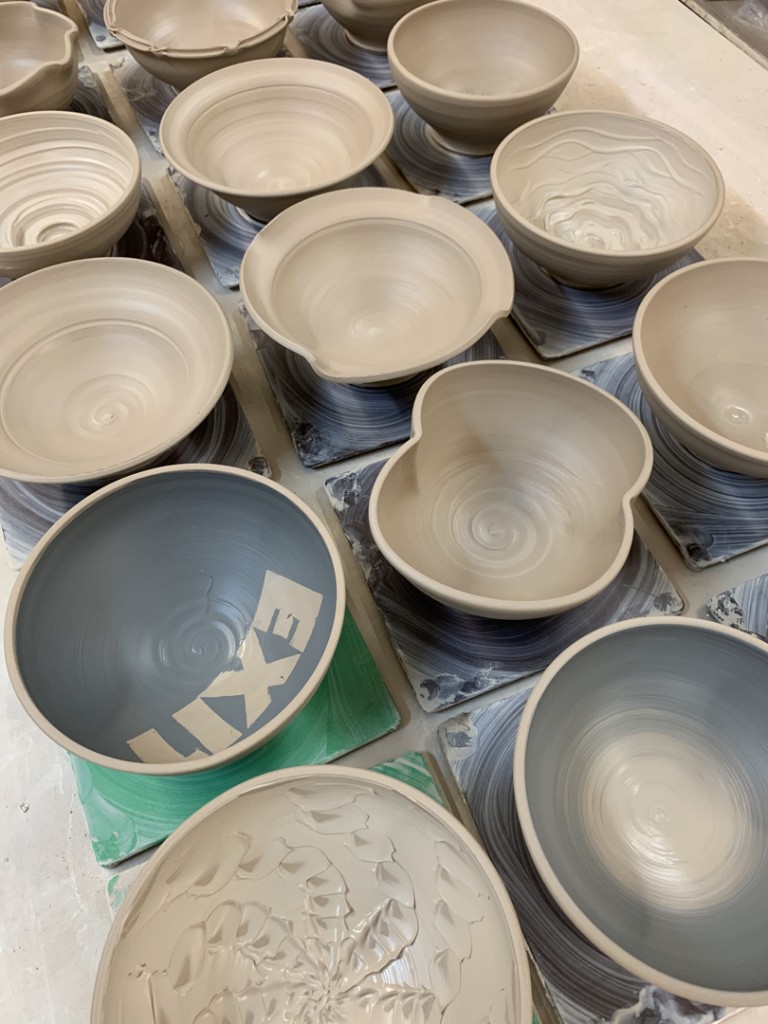
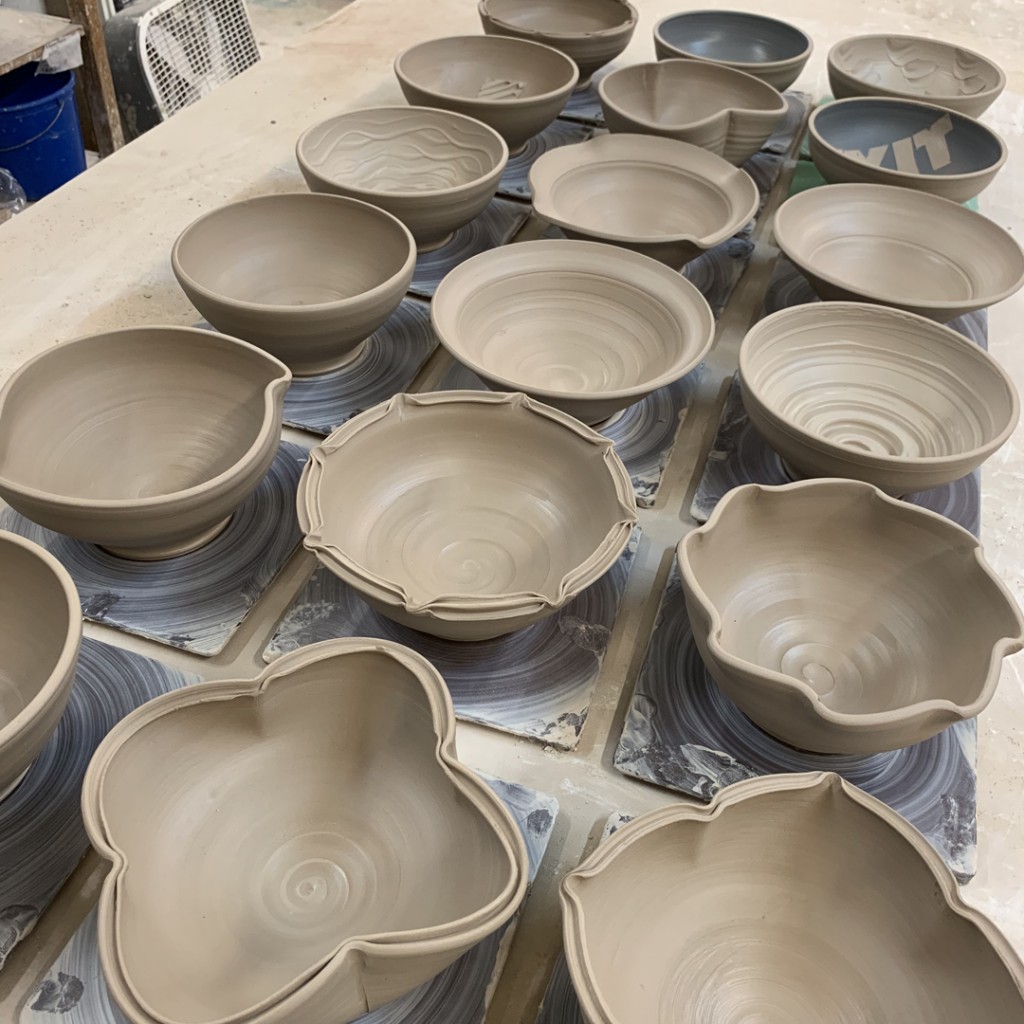
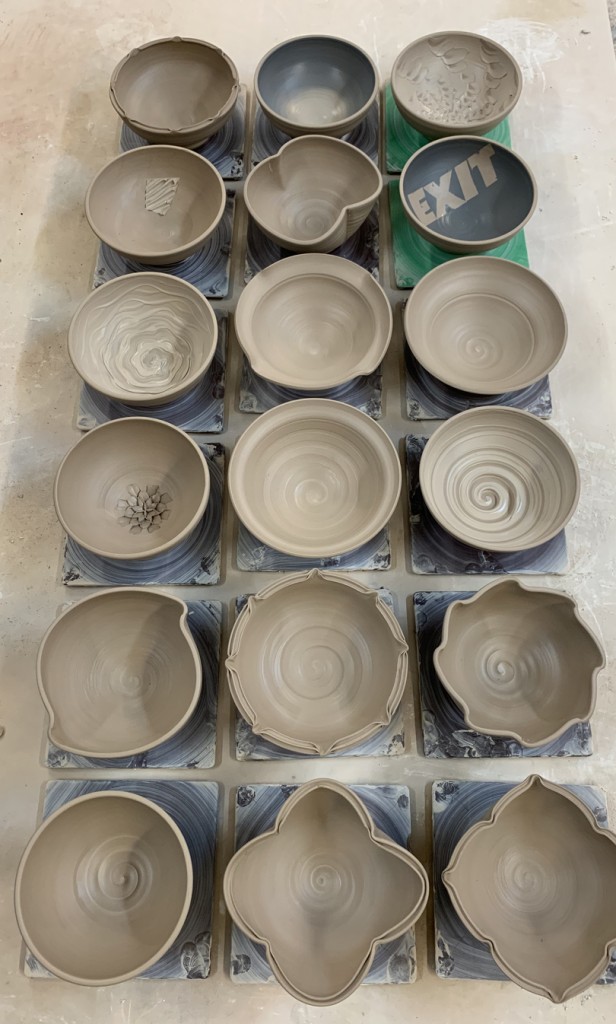
So it was another fun night – I LOVE this demo!!!
It’s so much fun to see the lights going off in my student’s heads as their eyes light up during the demo. A great combination of shock & awe as they start to see some of the possibilities. I know I might have overwhelmed thenm a bit… but my goal is that they got my main point…
Have fun.
Try something new.
Make your basic bowl not-so-basic.
Decorate it. make it yours.
I don’t care how.
But just HAVE FUN… it’s just clay!
