So I’ve been making tiles for quite awhile now…
a slightly larger size for a slightly larger installation!
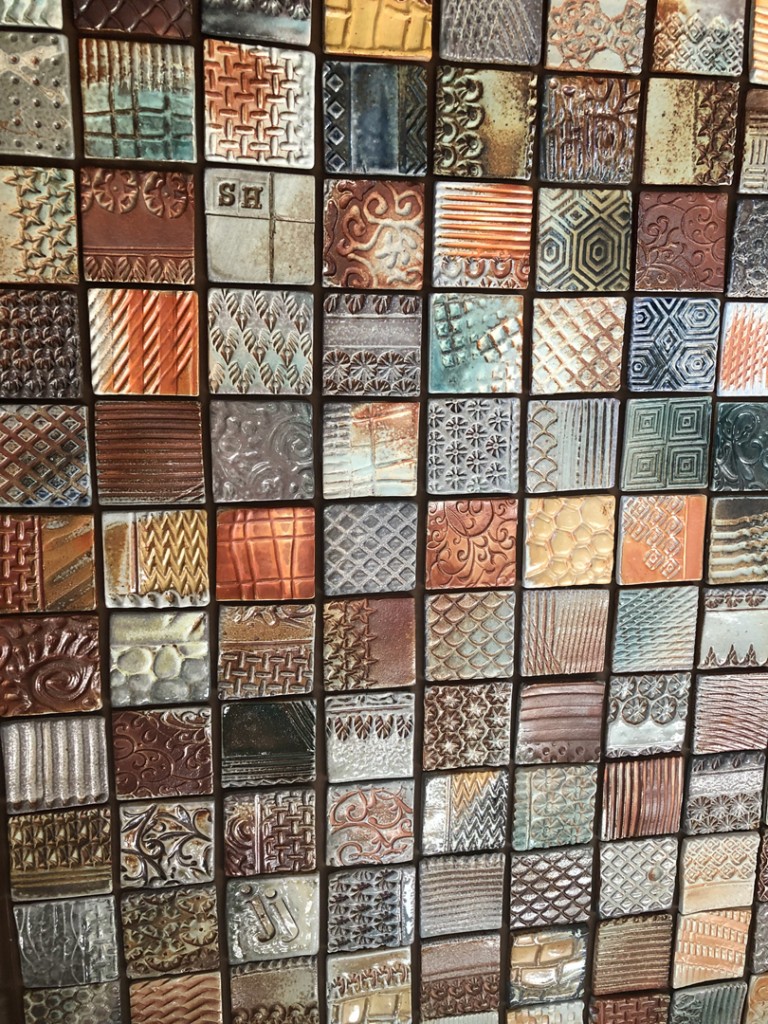
Lots of slabs. Lots of textures. Lots of soda firing!!!
It took me awhile to get them done, but I finally did. The original estimate was about 520 tiles… so I didn’t want to start until I had more than that. As we got closer, my brother-in-law did a bit more math and decided that 380 tiles should be enough for the installation. WHEW!!!… I had plenty!
We started with a template. Scott made a piece of foam core that fit into the space perfectly. The tiles were going to fit into the space within their built-in bookcase and surround the television. So he made a template – and then popped it out so we could layout all of the tiles on the dining room table to fit.
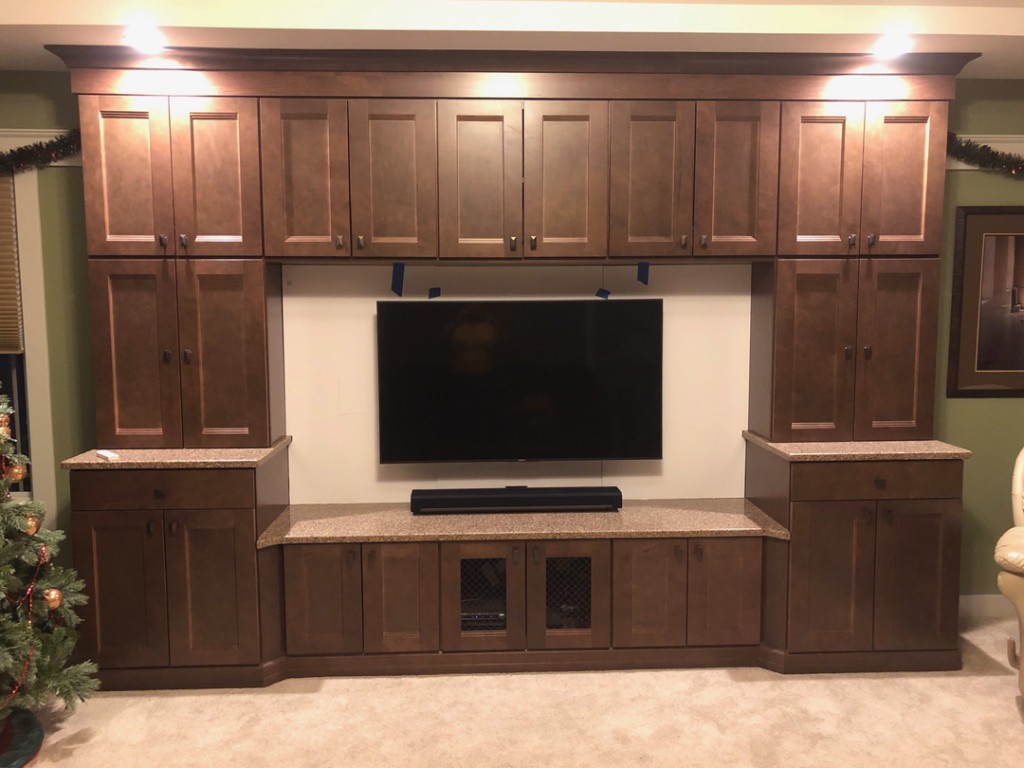
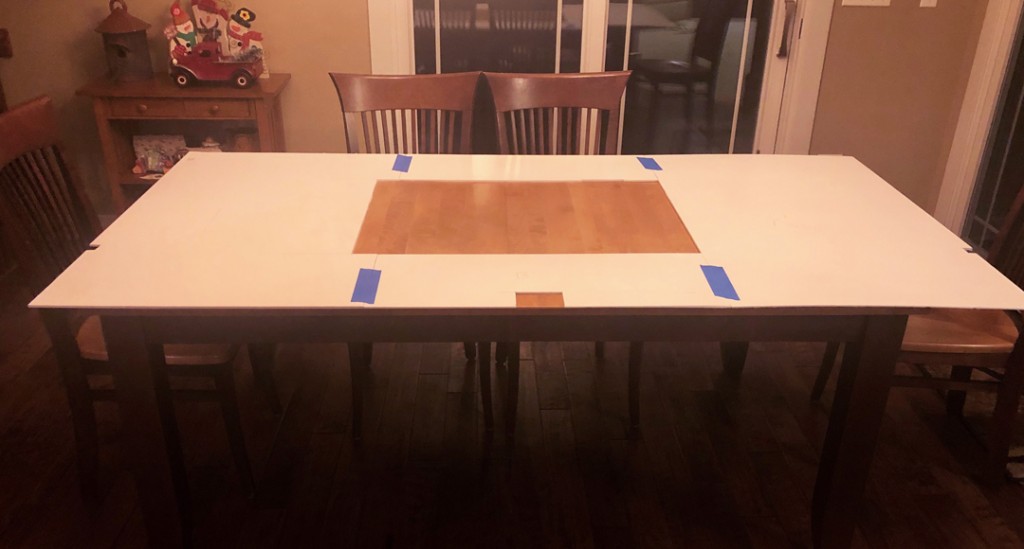
And then we started to fill in the template. Tile by tile. Square by square.
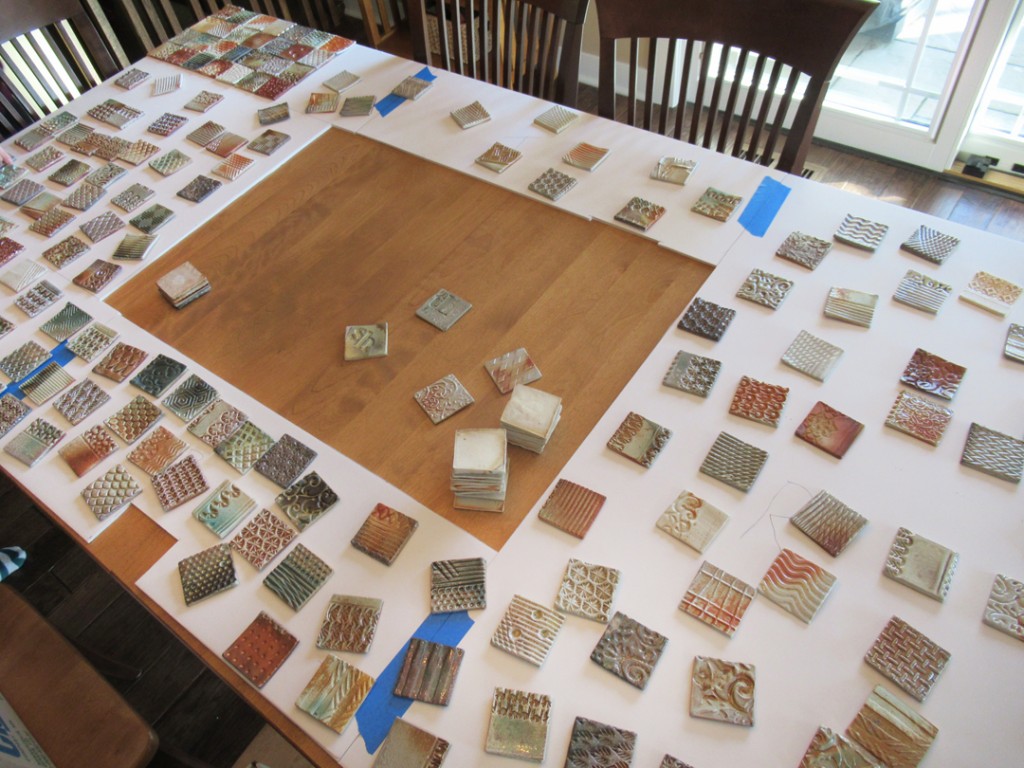
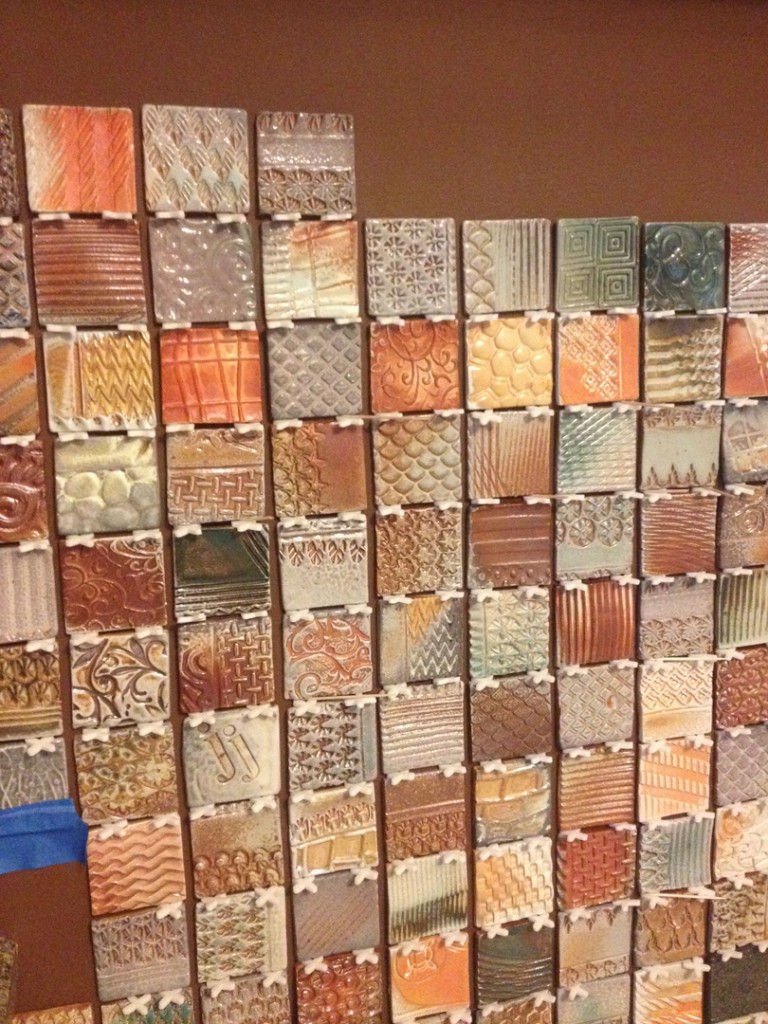
Placing them all onto the template to fill the foam core. Trying to place them all so that they “appear” to be random. So it’s a jigsaw puzzle of sorts putting them together so the textures are spread out, the colors are not too close to each other… and so on. I like to call it “forced random.”
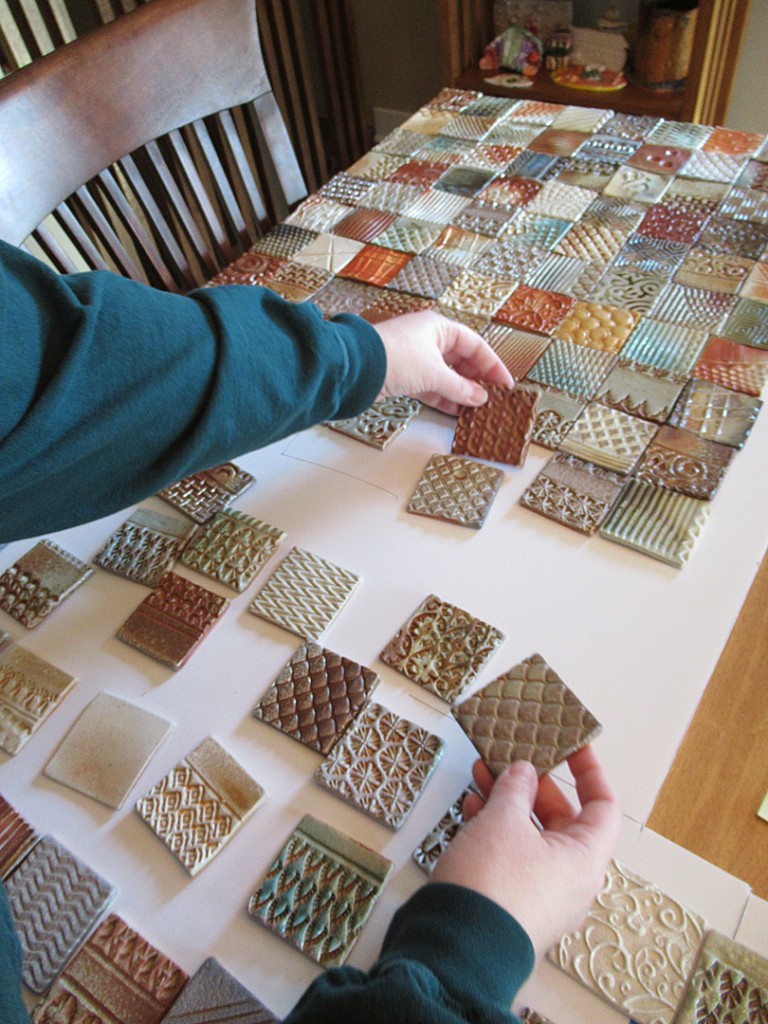
And it looks like we have a good start… in the top right corner at least!!!
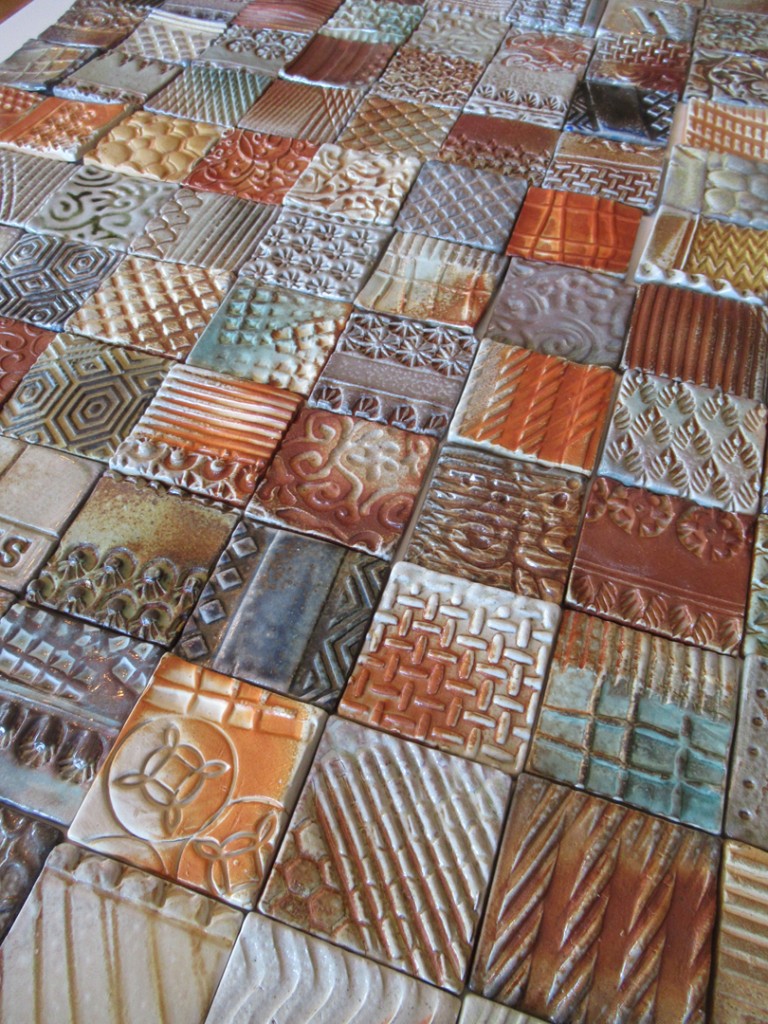
With the top corner “done”… we still have a lot of surface to cover!!!
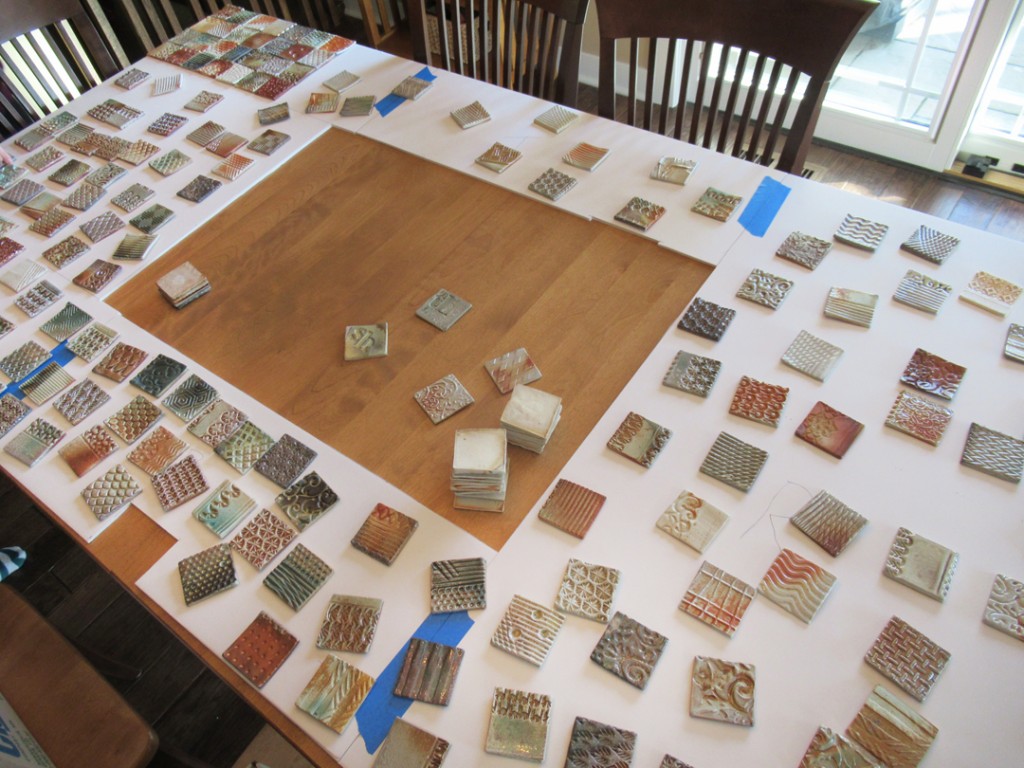
And then once the template was “full”… it was time to start finalizing it. Trying to “force” the random look.
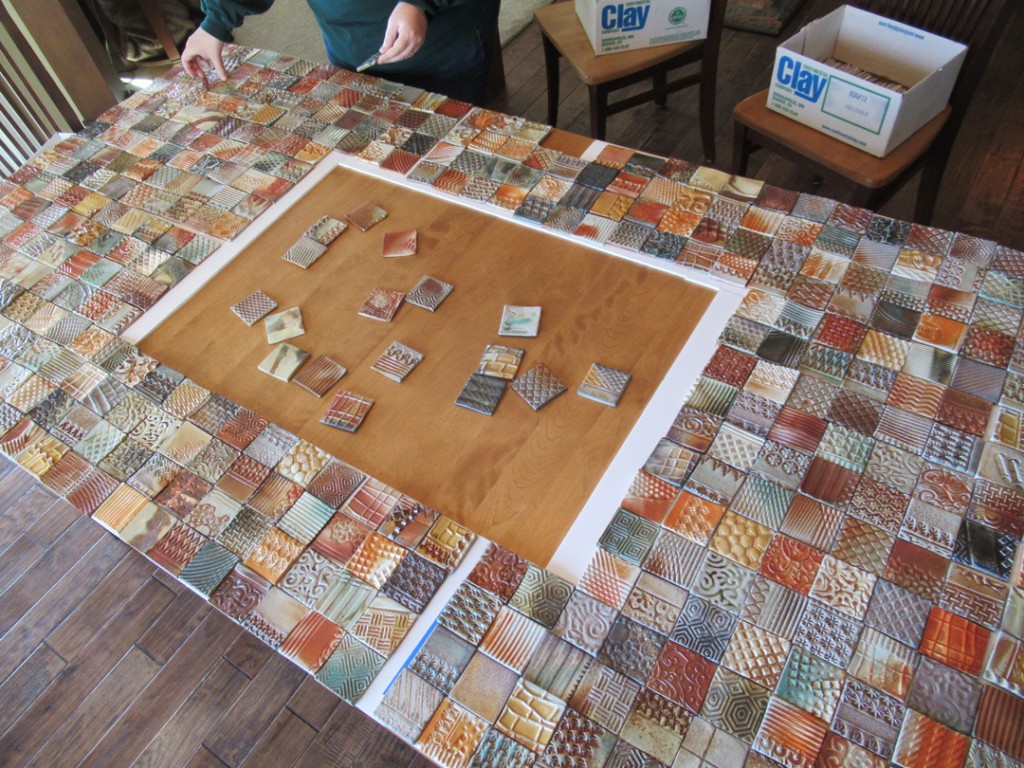
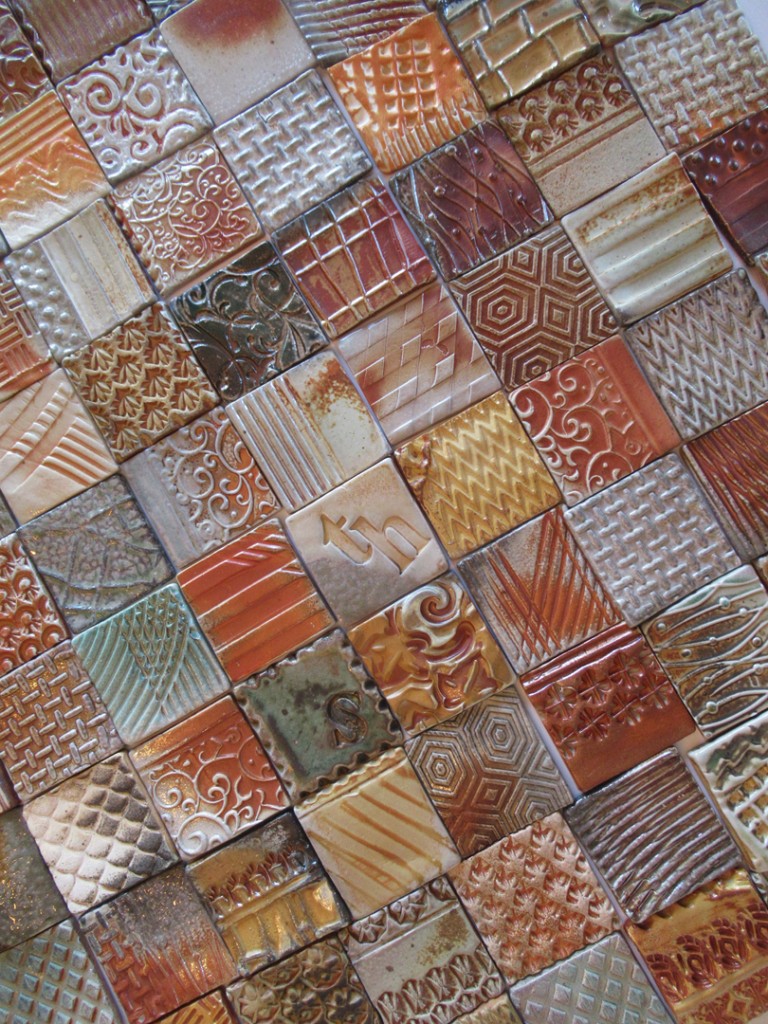


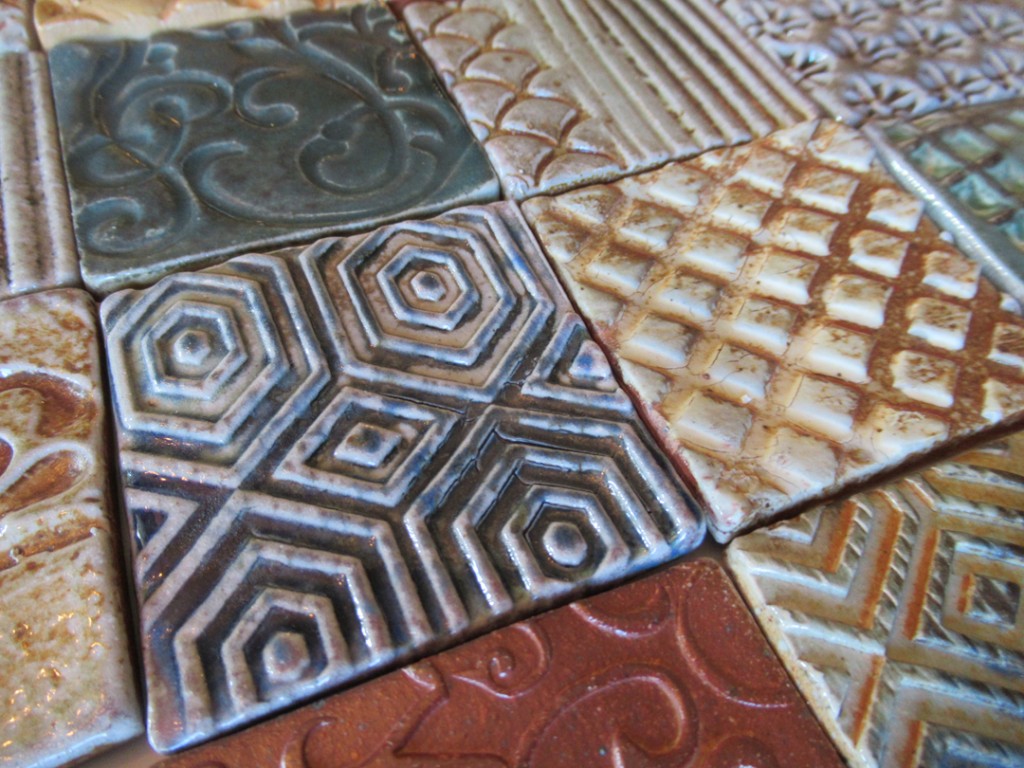
And let me just say… it’s kind of a slippery slope that could last forever!
Every time you move & switch-out one tile… then another tile looks out of place…
and then another.. and then another…
At some point you just need to call it DONE!… and apparently, we’re not there yet?!
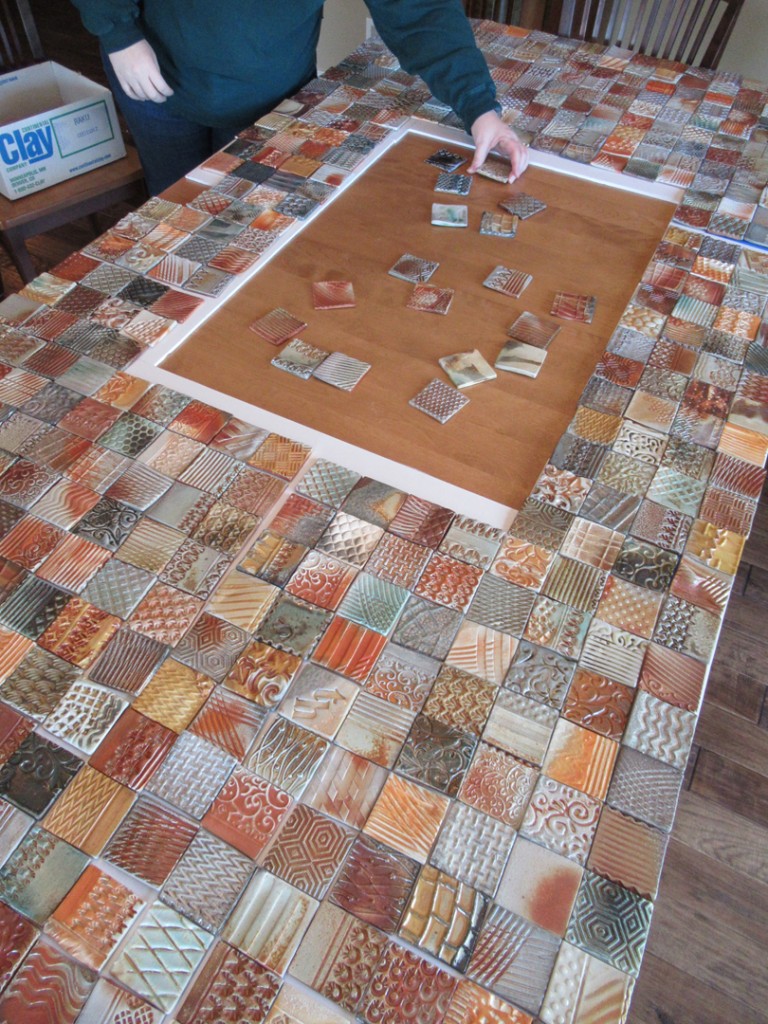
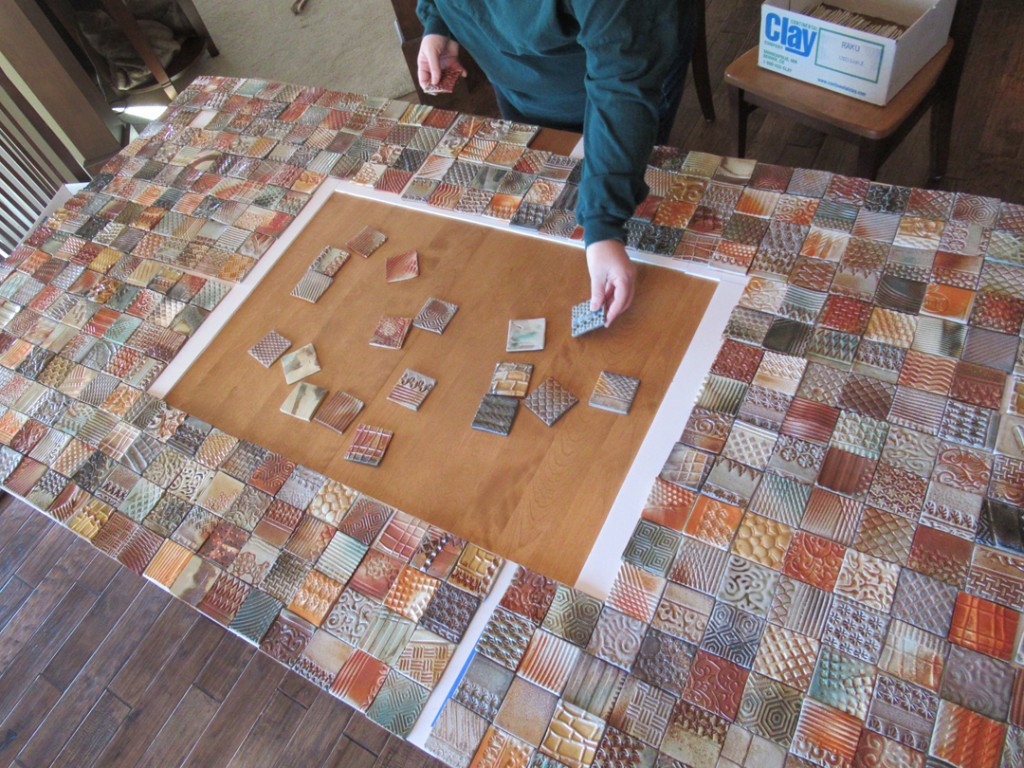
Yep… still switching them out… like I said… SLIPPERY SLOPE!
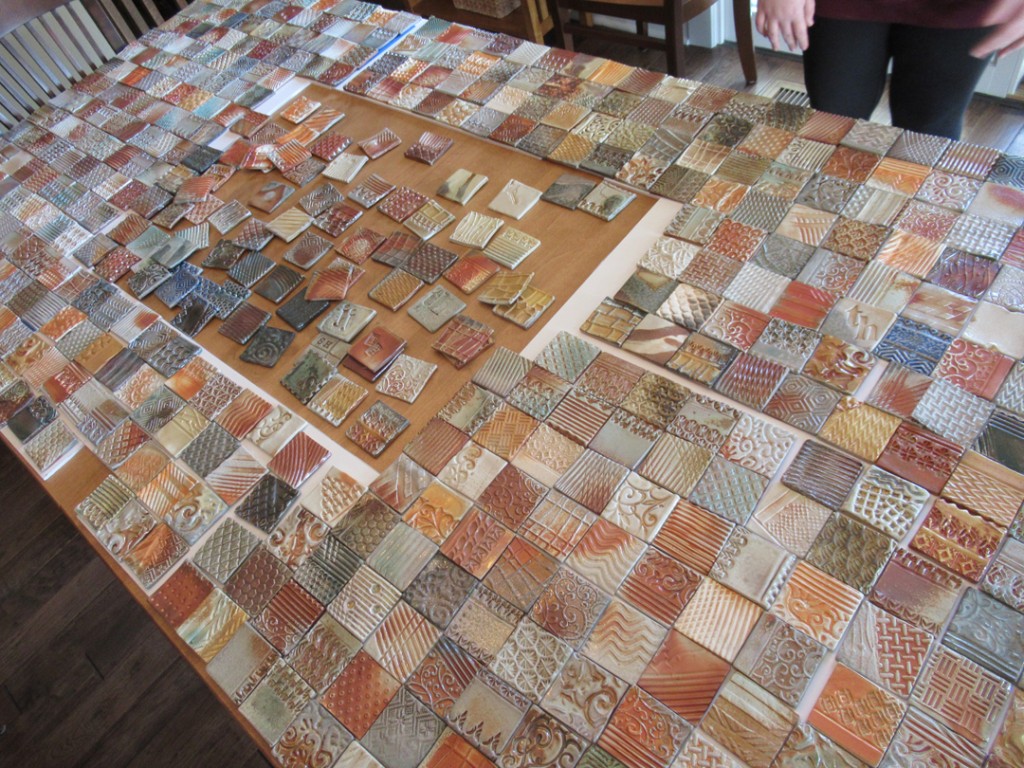
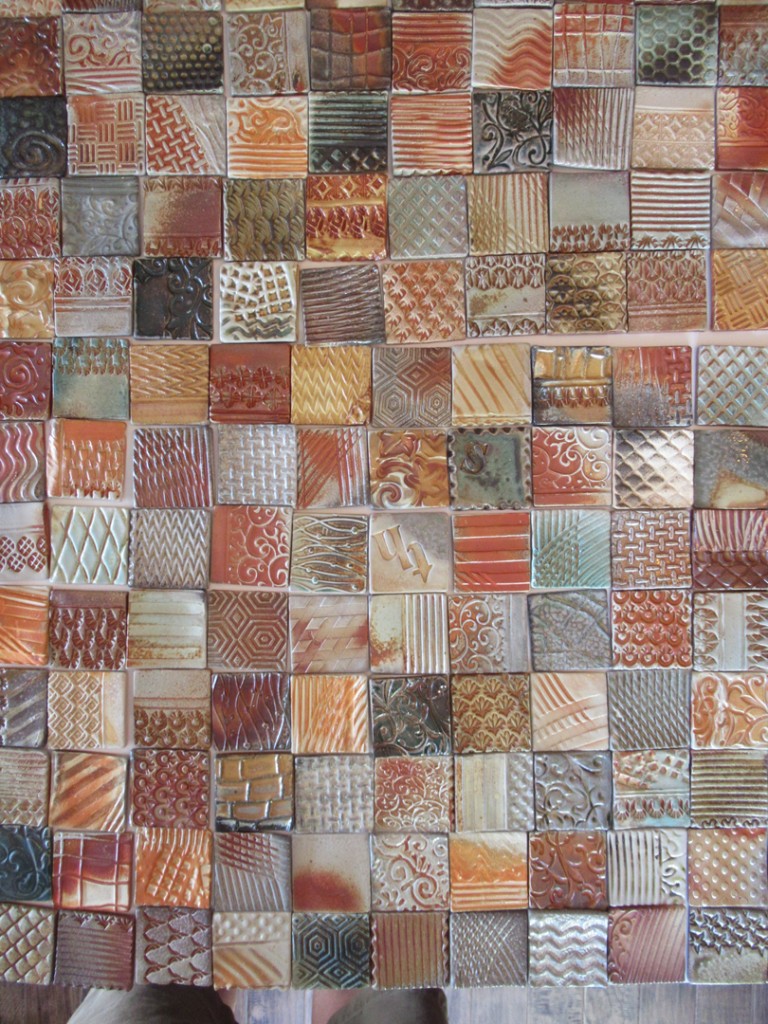
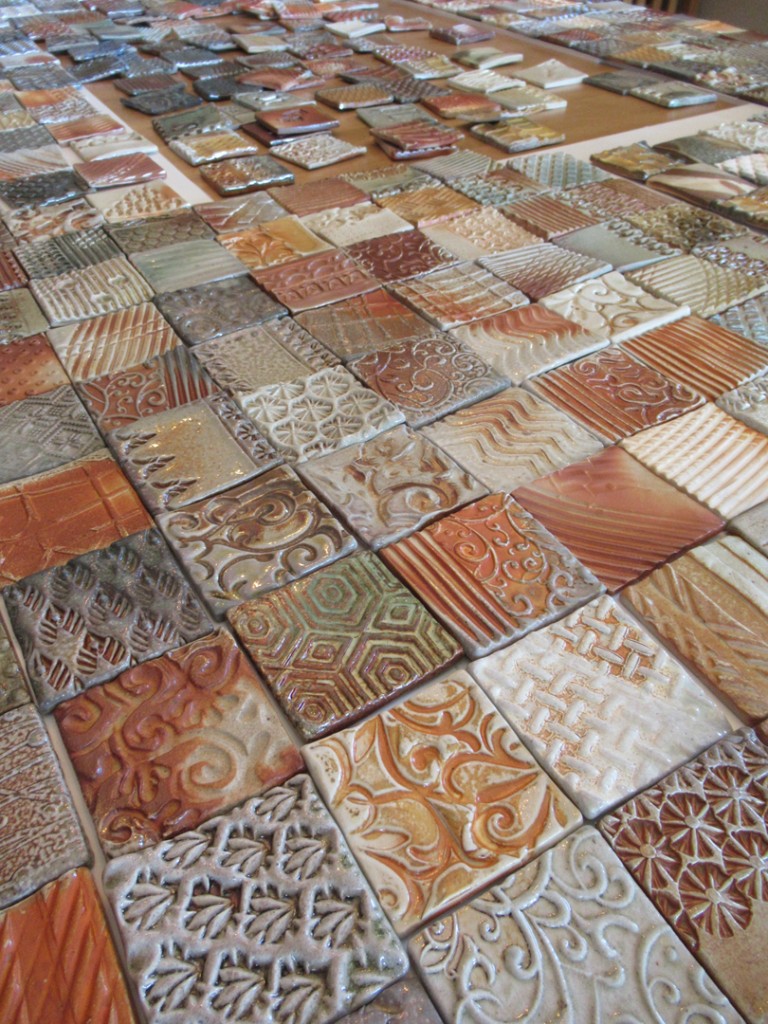
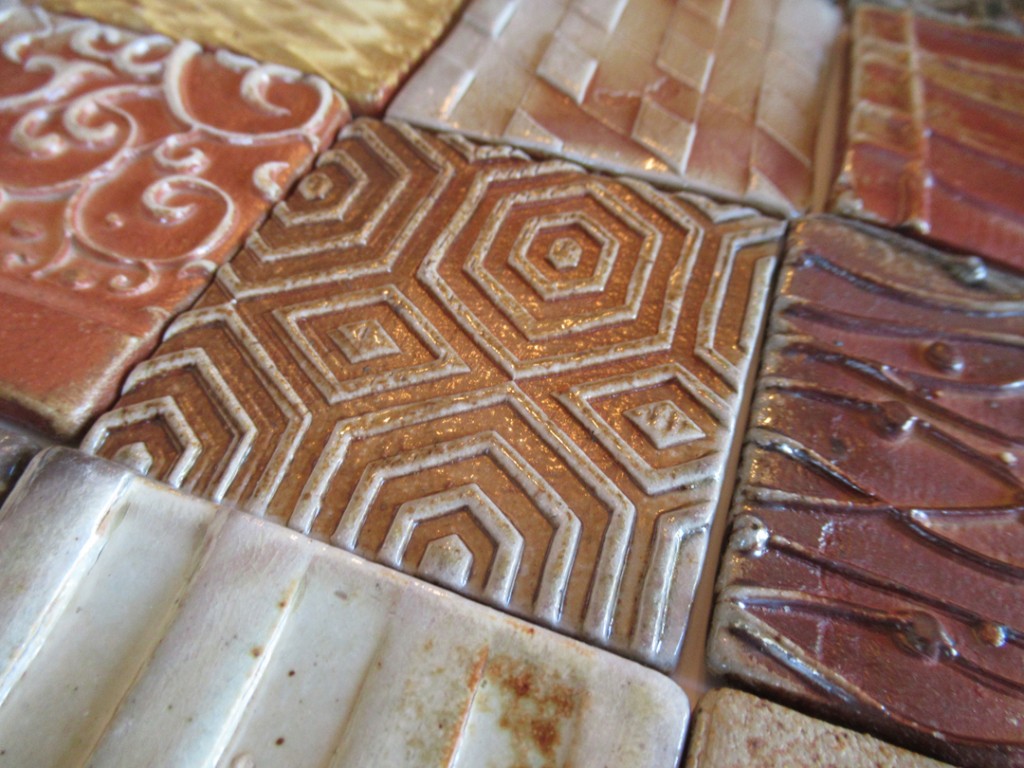

Finally calling the template done… and ready to start installation.
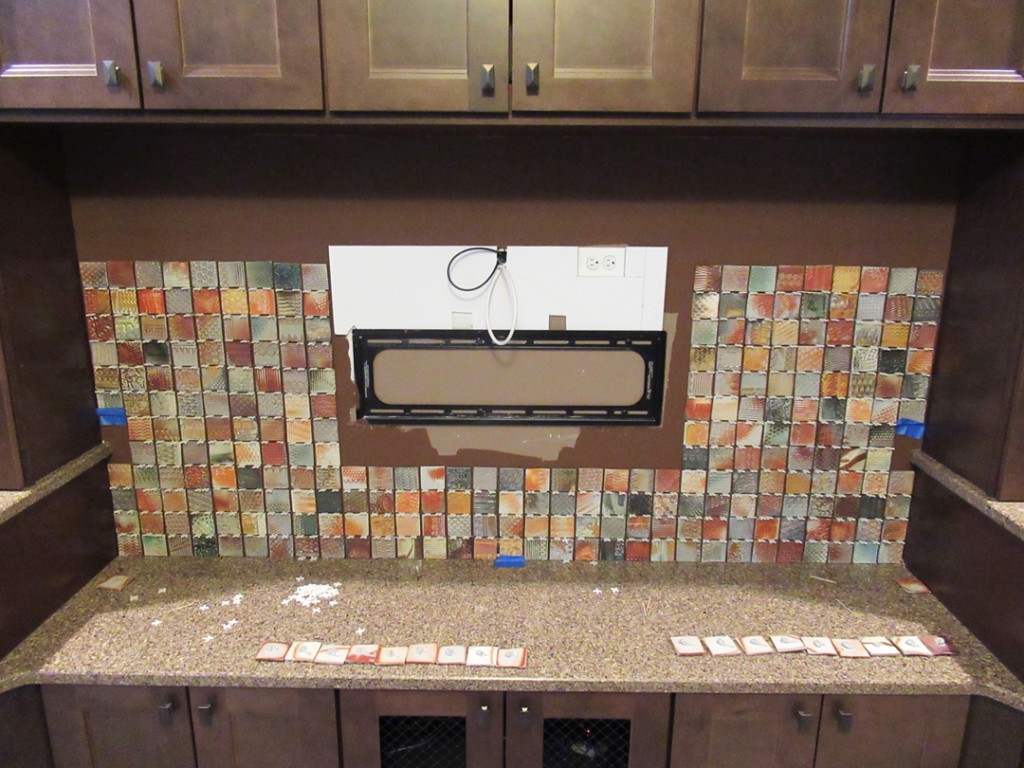
So here’s the bookcase… and our work table all set-up and ready to go!

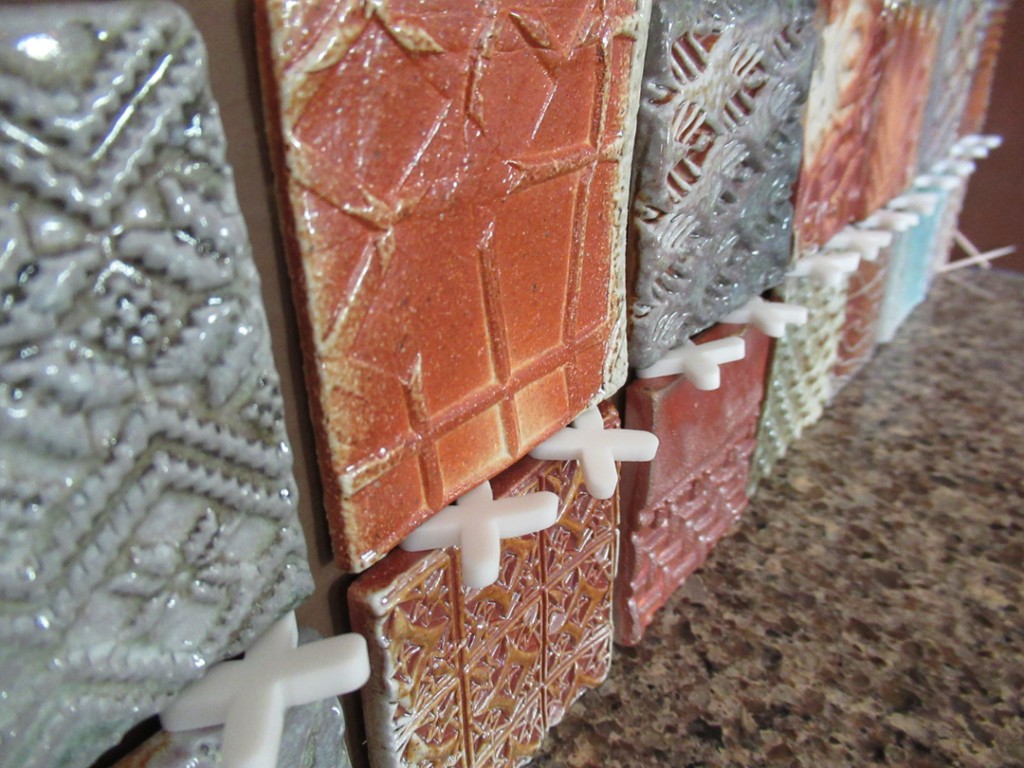
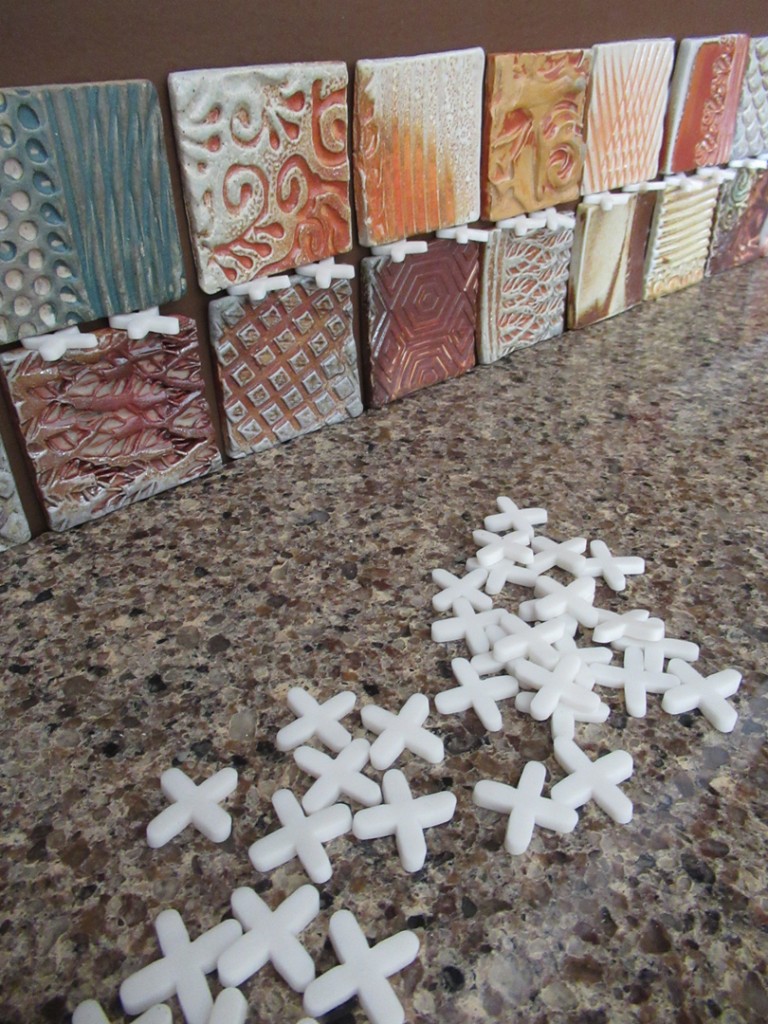
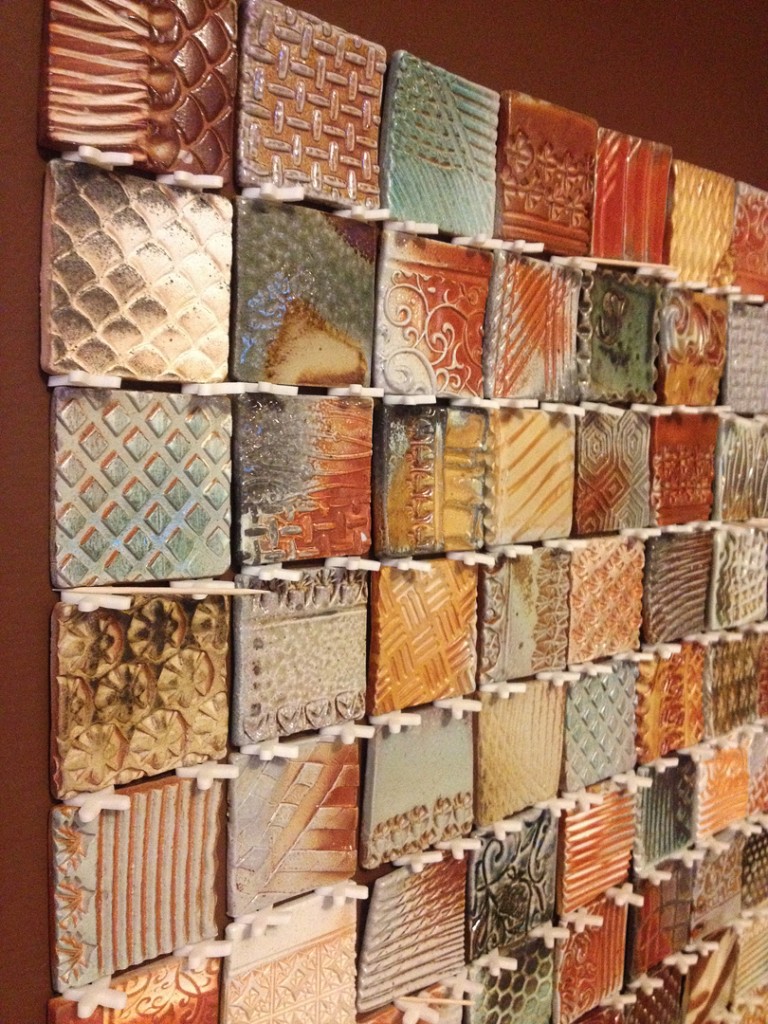
So we started at the bottom, using tile spacers from the hardware store!
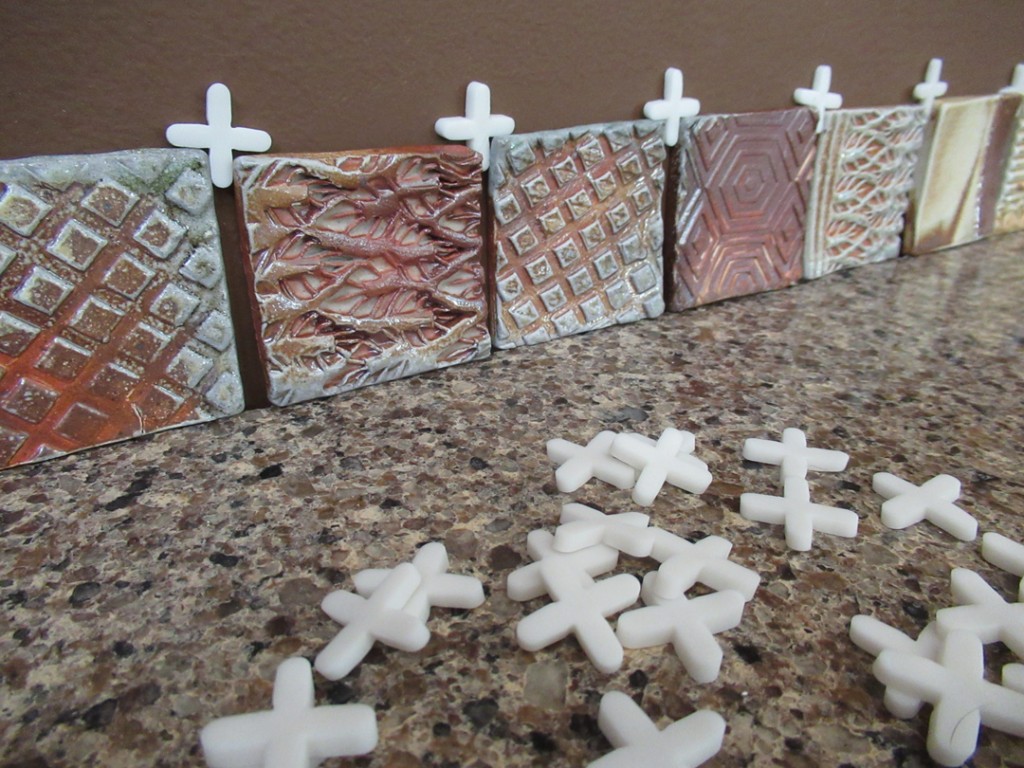
We followed the picture on the bag, as well as our own gut-intuition, using the spacers flat against the wall. But soon realized that THAT wasn’t going to work. After two rows, it appeared that it was going to get tough to pick-out the spacers as the tiles dried to the wall. So we quickly switched to sticking them in between the tiles parallel to the countertop.


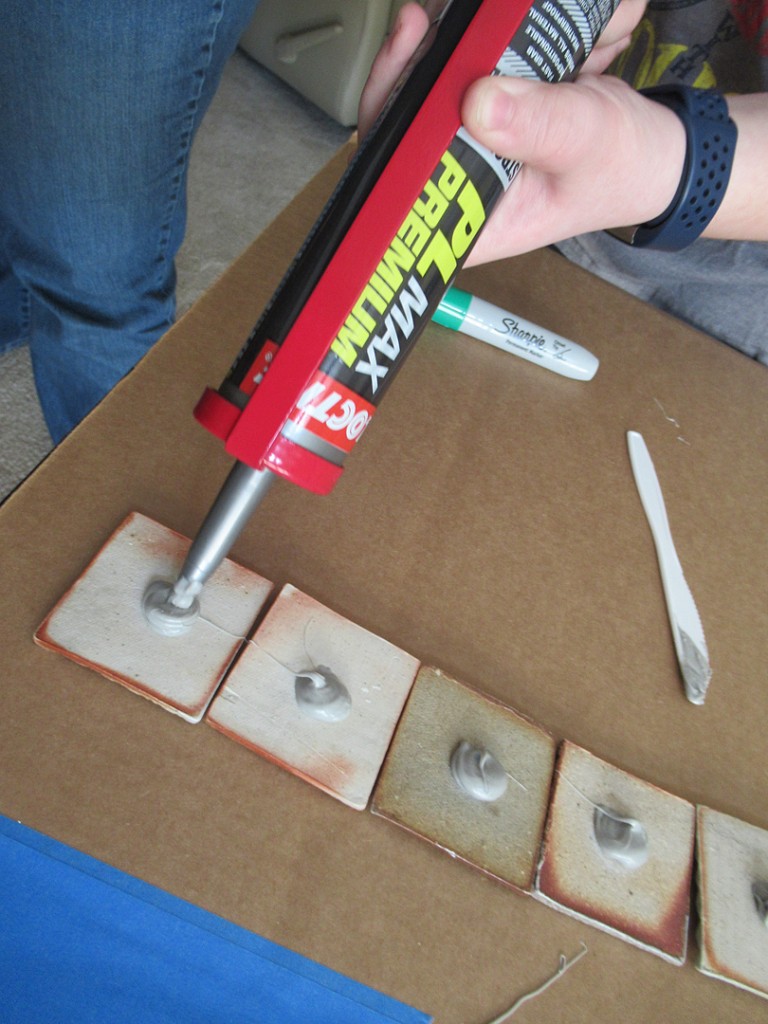
Squirt-by-squirt… gluing them directly onto the wall. We found that it helped if we let the adhesive stiffen up for a few minutes before we squished them to the wall. If we did it too soon they seemed to be a lot slippery-ER.
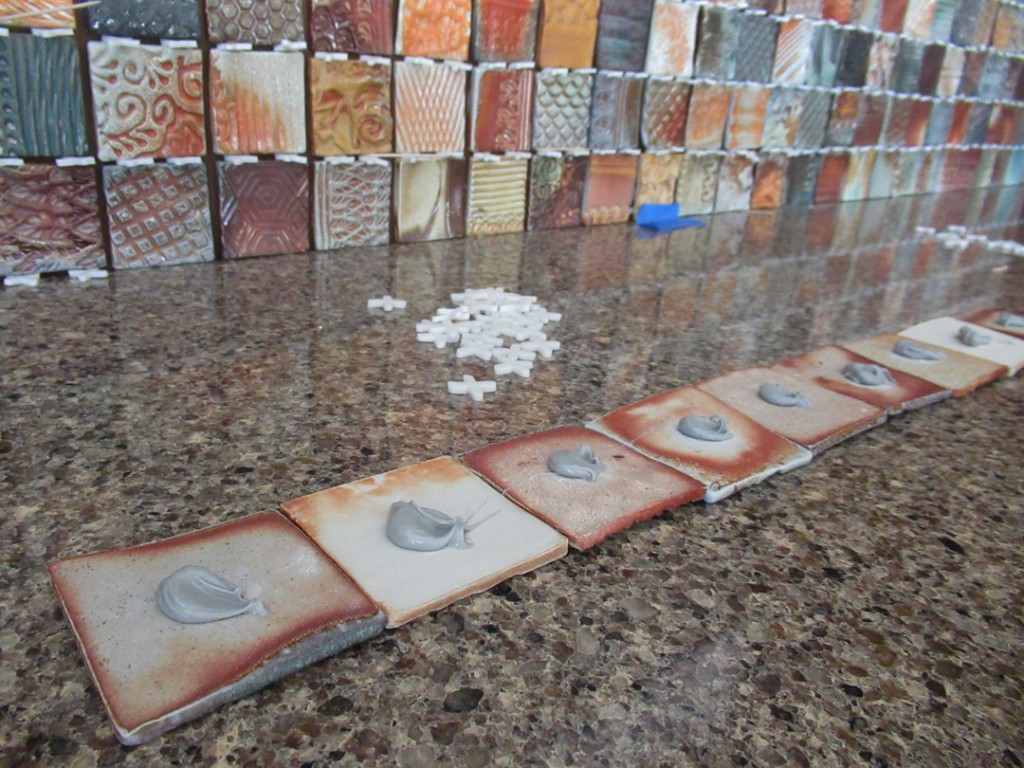
So then we continued… row after row… until we had three done. We decided to take a little “break” to let them set up a bit before the stacked more tiles on these bottom rows. Long ways still to go…
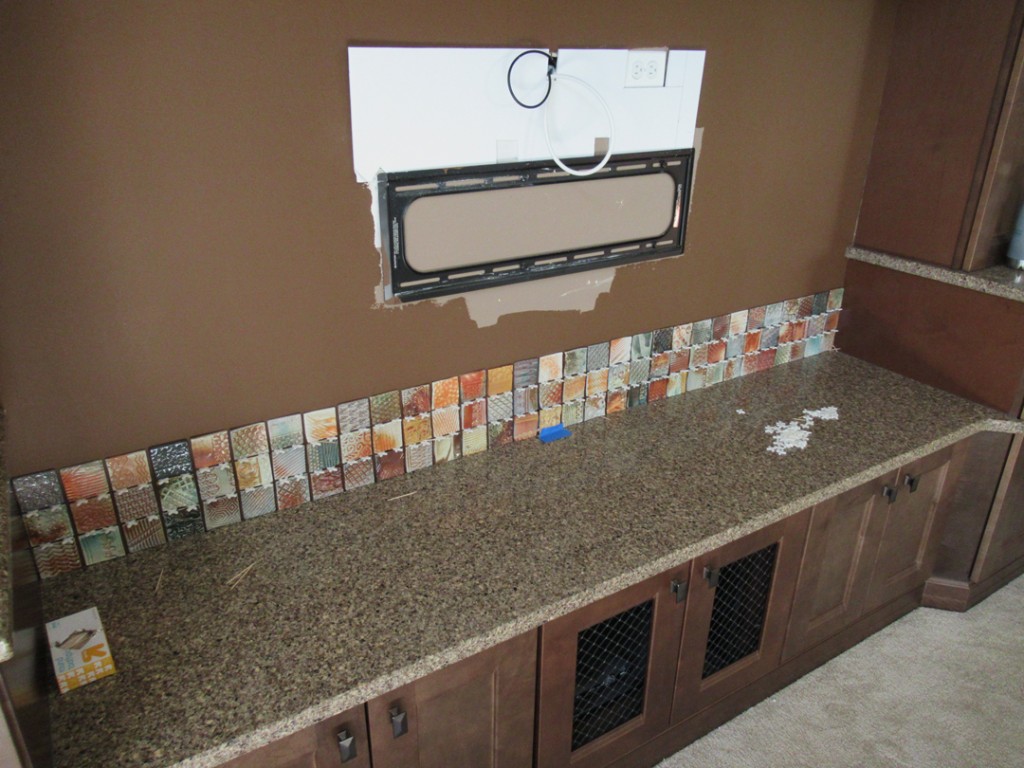


A few more rows and we were up to ten rows! Leaving a space in the middle… space that will be covered by the television when it’s put back onto the wall.

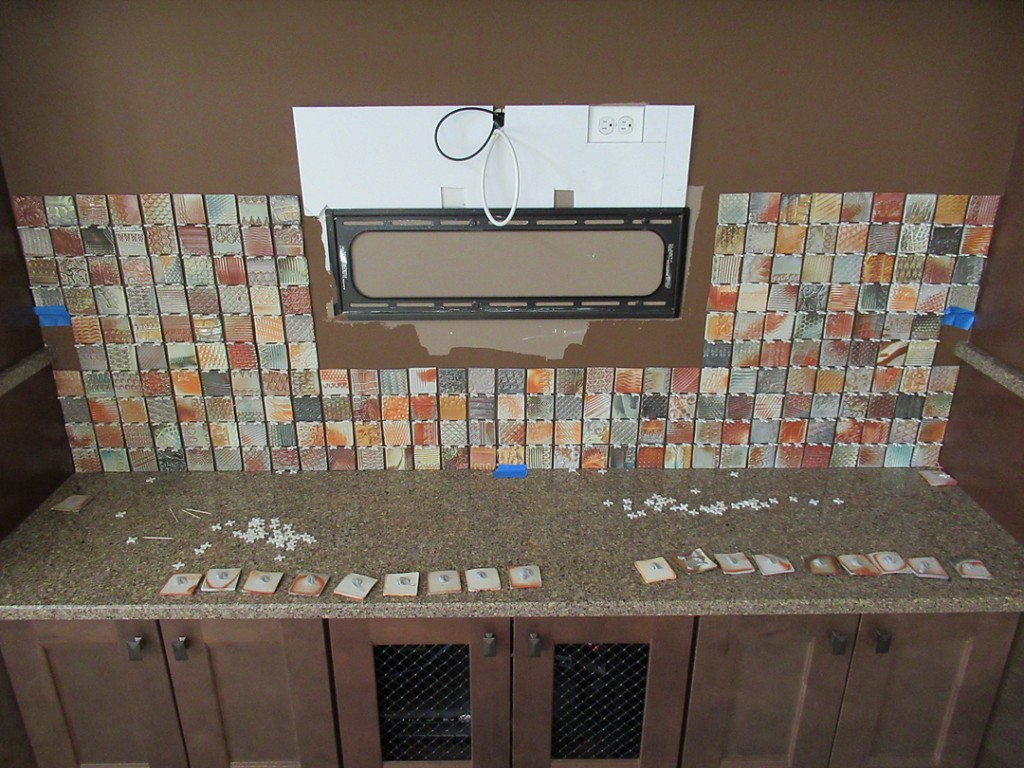
And then we made it to twelve rows! Glue, squish, stick, repeat…
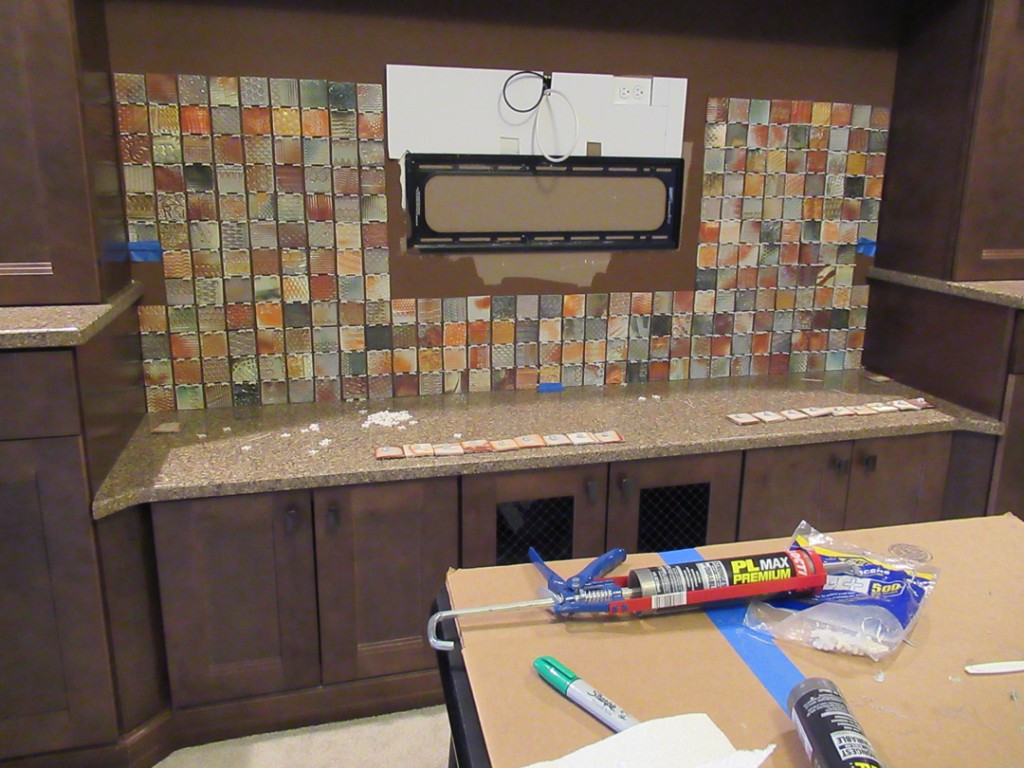
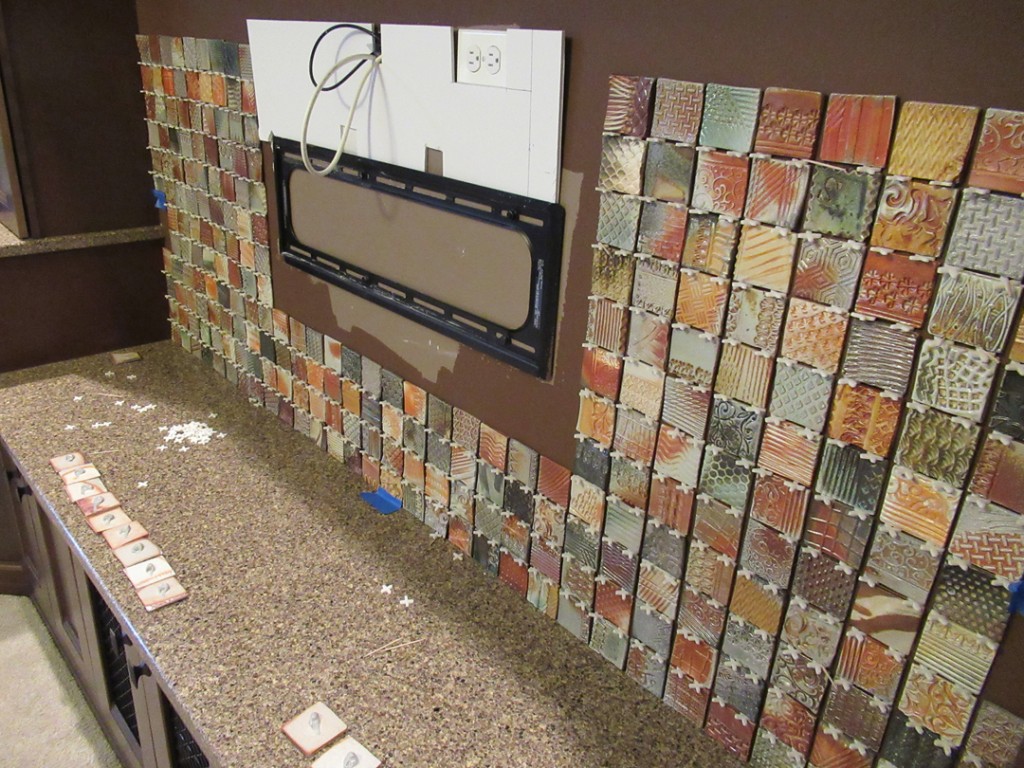
Luckily, I had my niece Taylor there as my more-than-able-bodied-assistant!
She did a wonderful job all say with the installation!


After crossing the span above the “TV” space… with the help of a well-spaced strip of foam core… we finally made it to the top. Well, “close” to the top of the wall. However… not close enough to leave as is… not big enough to squeeze in another tile…


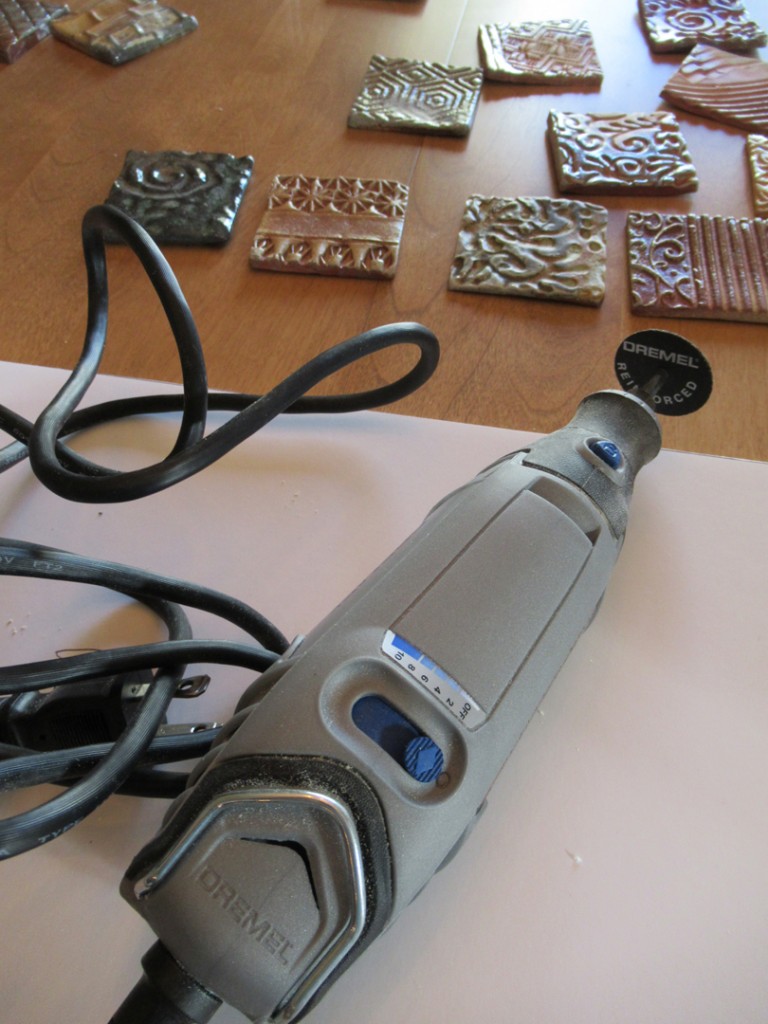
So we ended up cutting a few tiles… some with a Dremel, some with an actual tile cutter!
Let’s just say it wasn’t as easy as I had hoped it might be! We had to do a full row for the top edge, as well as two cut to fit around the granite countertop part way down.
Taylor did a great job putting the finishing touches on the top row,
while I fudged the two to go around the granite counters.
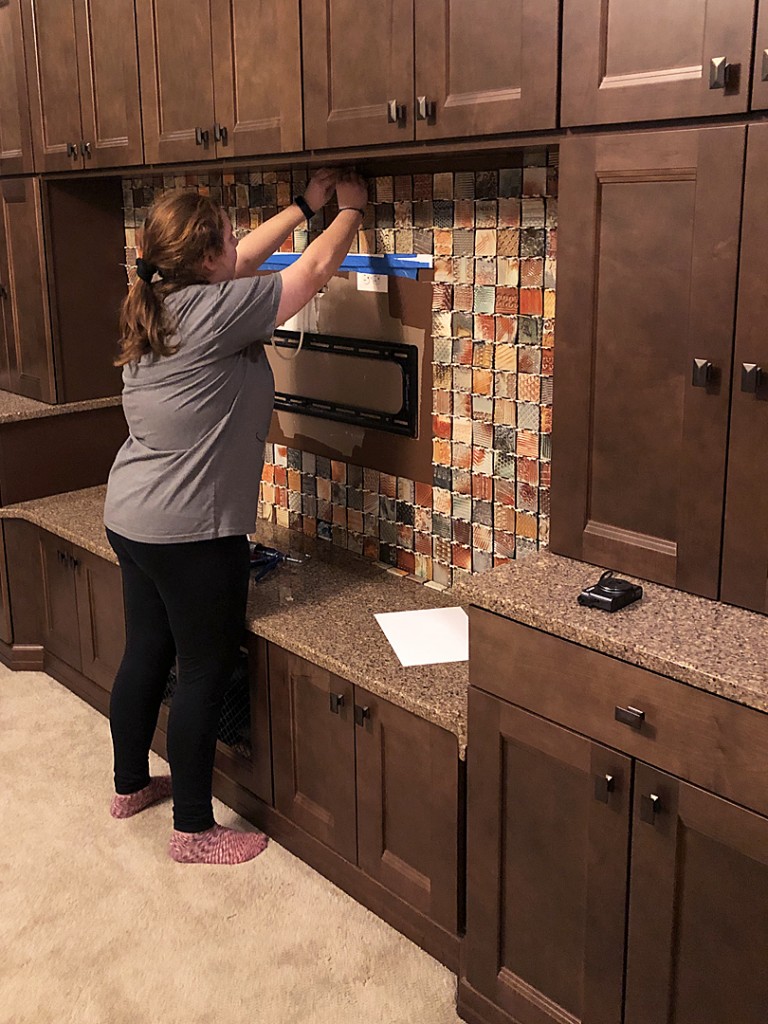

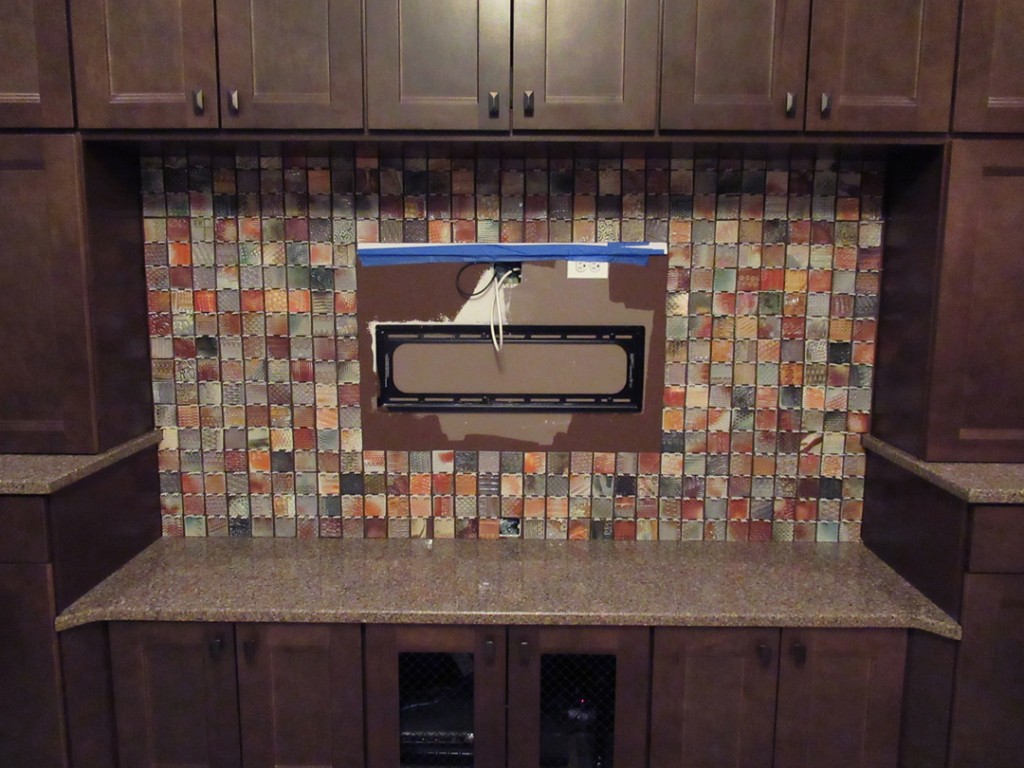


So finally the tiles were up… spacers keeping everything in place. Since all of the tiles aren’t quite “perfect”… we also employed a few toothpicks to help even out the horizontal lines. Look closely…
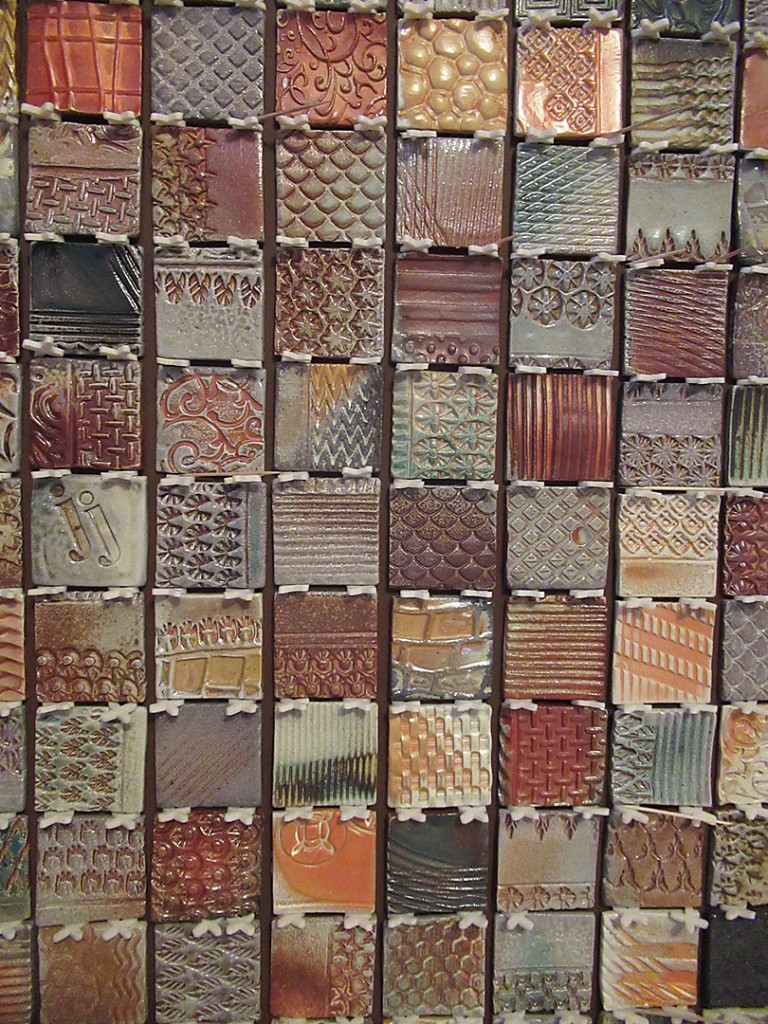
As well as a couple custom-made tiles with initials on them!


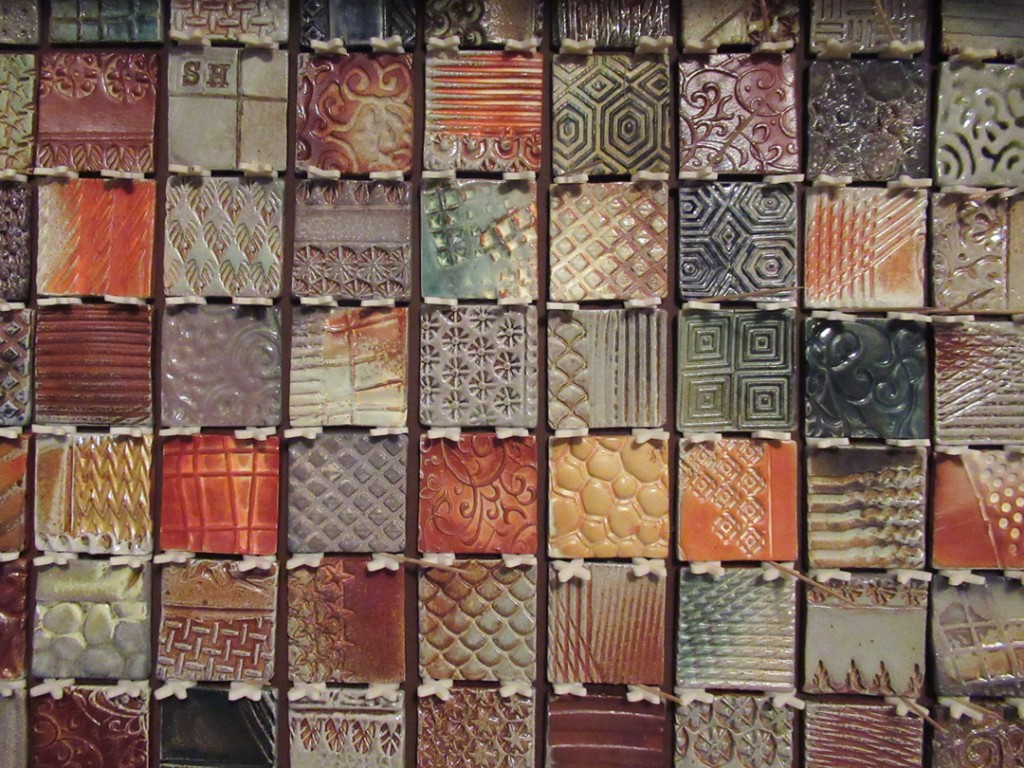

After the tile adhesive cured, it was finally time to pull out the tile spacers & toothpicks.

What a difference it makes when all of that “support material” comes out.
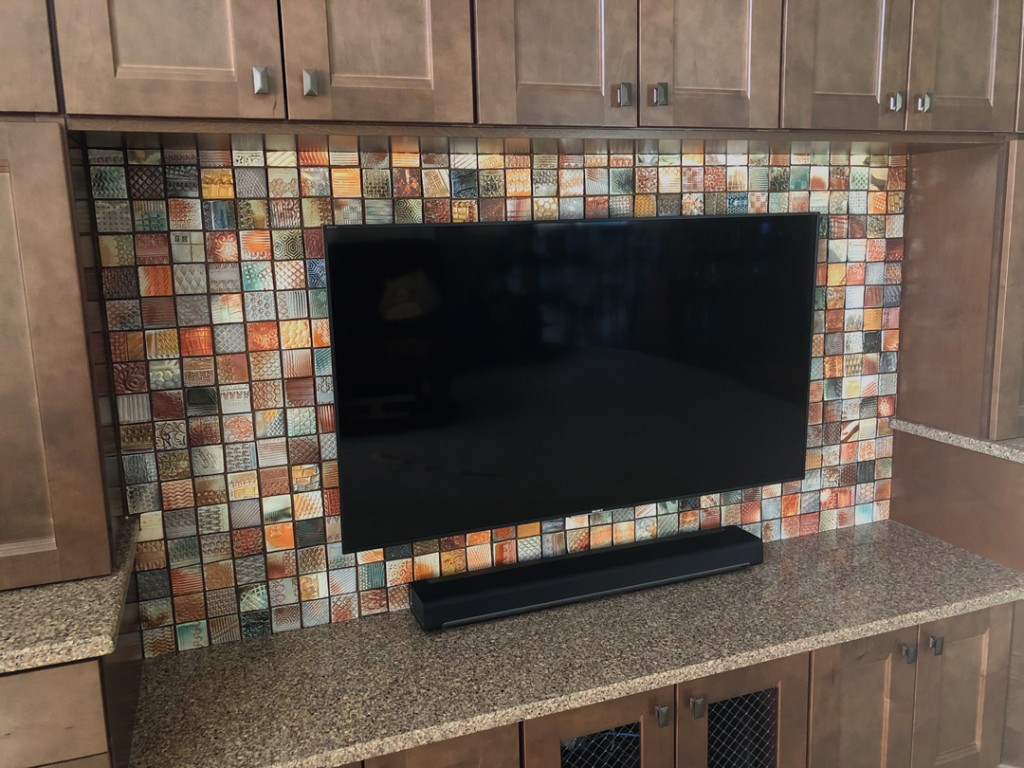
So here’s the finished look… the dark lines between the tiles is merely the painted wall color. There will be no grout… just the “floating” illusion from the paint.
After re-installing the television and speakers along the bottom, the whole project is finally completed. It’s been a long time coming… lots of tiles, lots of textures, lots of soda-firing… and lots of wadding as every tile needed to be wadded before going into the soda kiln!


Thanks to my sister Jen, brother-in-law Scott and niece Taylor for their patience in waiting for the tiles… as well as all of their assistance & patience while we were installing this masterpiece. I hope they will LOVE it for many years to come!!!
Fabulous! A true work of art and love!
Just beautiful! Tile backsplash is on my new years list of to-do’s. On a smaller scale though. Thanks for sharing the process.
Really stunning. Are all the tiles made with the same clay body? I’m imagining if not, they would shrink at a different rate and screw up your calculations. Is that in your kitchen or living room? It’s utterly fantastic. I am a pottery/mosaic artist and have taken on my share of large projects, so I appreciate the effort involved in this wonderful example. Thanks for sharing.
Lovely result was worth the time, effort and tedium!!!
I found your site today – loved reading thru this post!
DONNA –
They’re all “pretty much” the same clay body. They’re all high-fire stoneware of sorts… some stoneware, some B-Clay, some soda clay, and a LOT of reclaimed clay!!! Which is my favorite… FREE!!! And yes, there were a couple that shrunk or warped too much… but that’s why I made a hundred extras or so!!!
Very, very beautiful!!! You should be very proud of this masterpiece!