Last night I taught another beginning wheelthrowing class as a sub for Jayson. He had requested two things… stamping and bubble glazing demos for his students. DONE! Sure, the stamping is the easy one… but the bubbles are more FUN FOR EVERYONE!!!
So we started with a base coat of a single glaze. For my bowl, I went with a shiny white glaze for a good clean bottom layer. Thinking it would be a good clean canvas for the colored bubbles on top.
Once that base layer was dry, I cleaned off the bottom and prepared the bubbles. So we took a small disposable plastic cup, and filled it with maybe a 1/4″ of glaze. I let the student choose, so my bubbles were a shiny purple colored glaze. We added a few drops of DAWN dishwashing liquid and a straw. Stir it up and start to blow some bubbles… like you’re six again! Just don’t inhale!!!
As the bubbles start to accumulate and fill the cup, get ready to “spill” them onto your pre-glazed piece. As the cup overflows with bubbles, just let them gather on the sies of you rpot. We were using a banding wheel so we could easily rotate the pot to get the bubbles all over. A slower steady blowing into the straw seems to get larger bubbles. Forceful fast blowing seems to create smaller bubbly foam.
Once you’ve covered your pot with bubbles, just sit back and watch the magic happen. The bubbles start to pop all by themselves leaving thsi really great pattern of glaze “residue” behind. Leave it as it is… or add more bubbles if you want?!
We decided to go one step further… cause “more is more”, right?... and we added a second layer of bubbles in a different color. So my second layer is a flat blue glaze. If you look closely, you can see the “purple” bubbles made the white pattern, and the “blue” bubbles made the darker beige color. Who knows how this is going to turn out after firing?… but I bet it’s going to be pretty darn groovy!!!

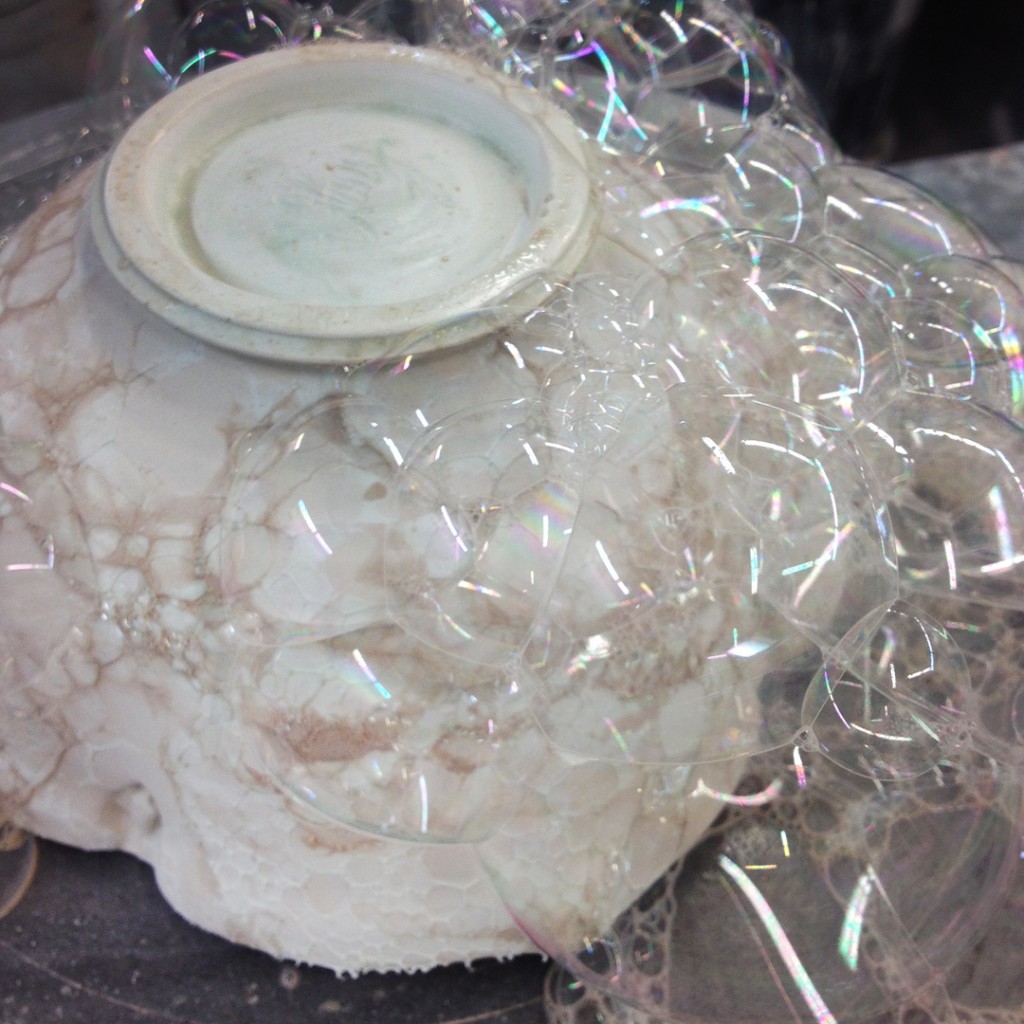
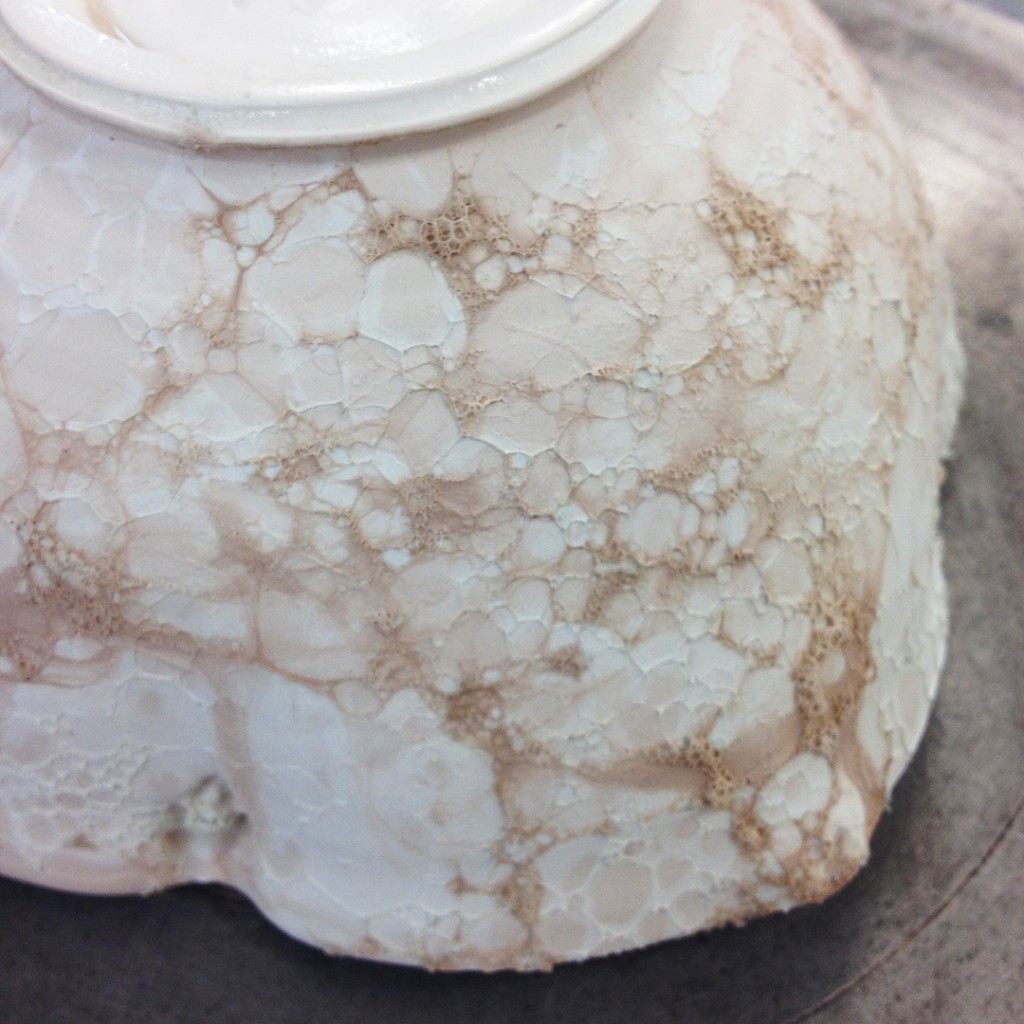
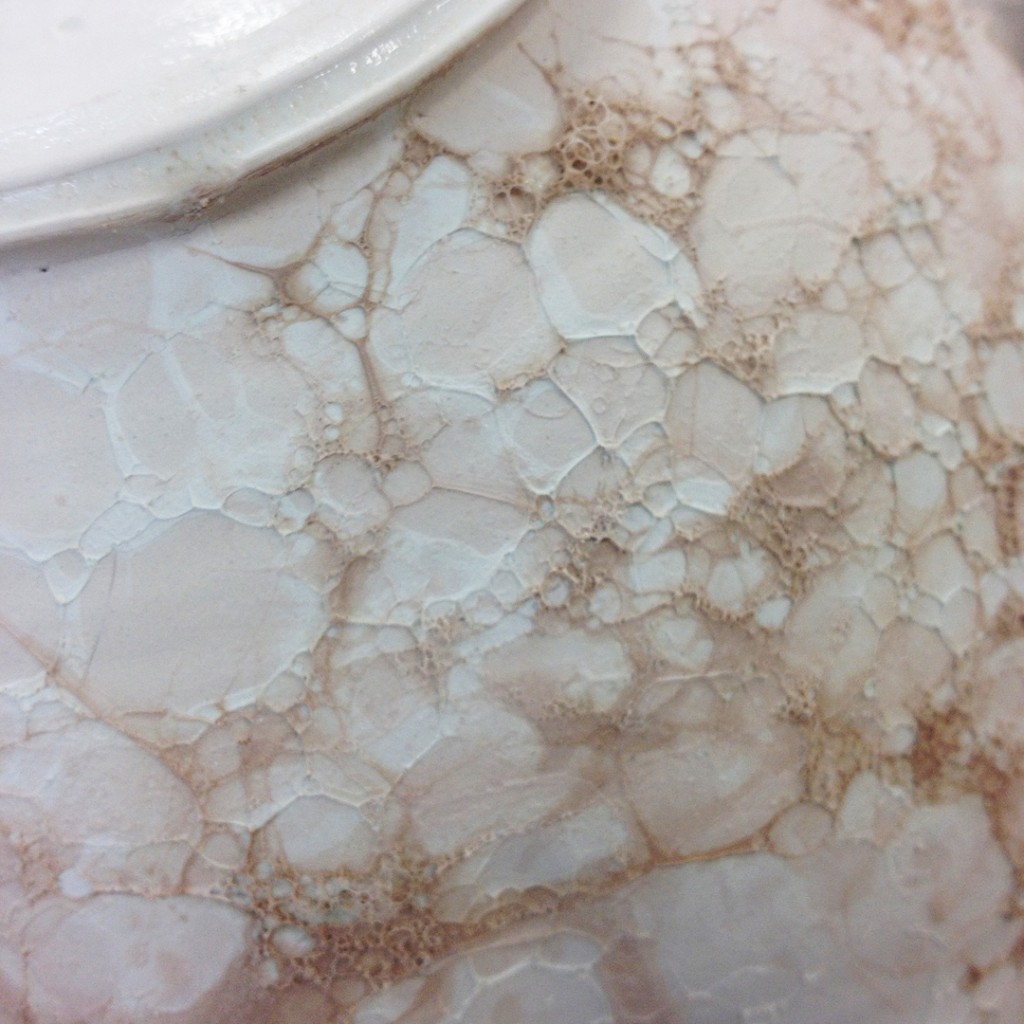
After my demo, some of the students had their bisque ready to go… let the bubbling begin!!!


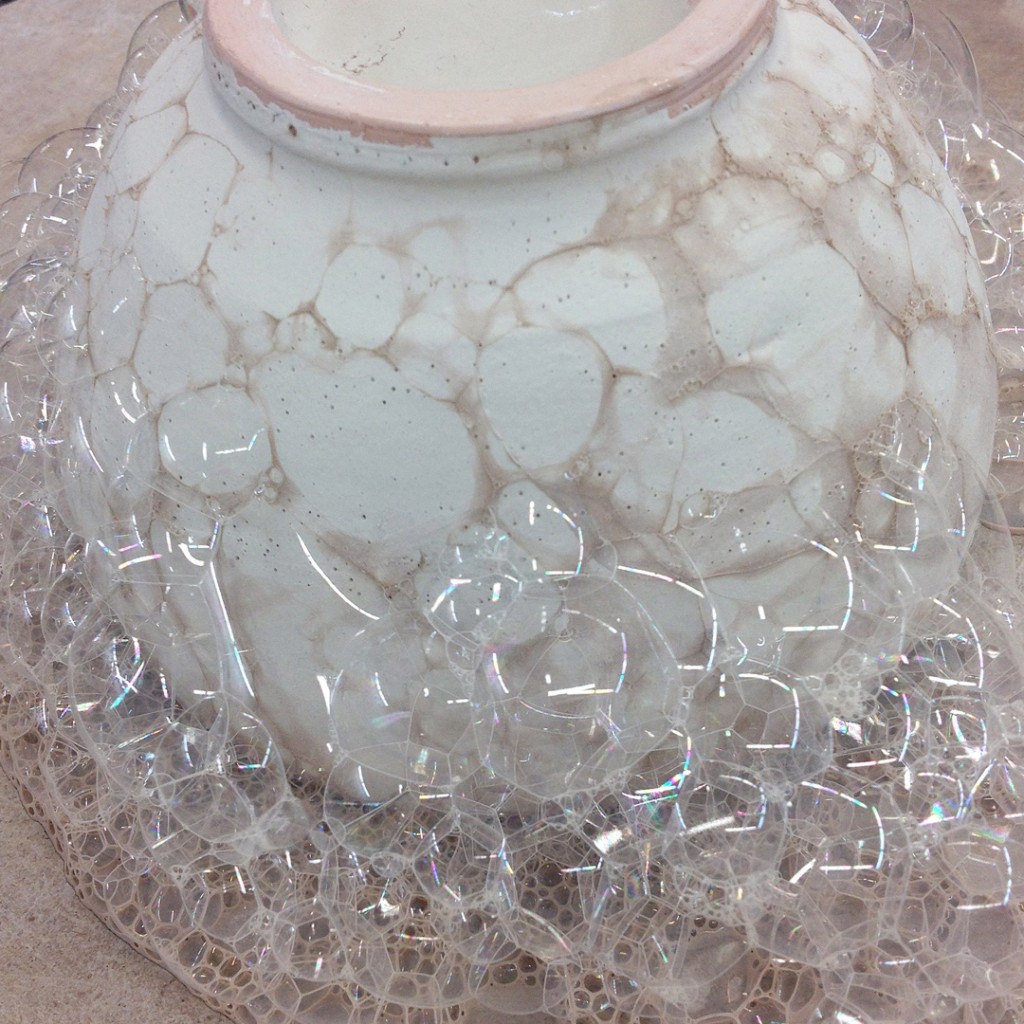
One guy even decided to double-down… errr, triple-down?.. and go for bubble glazing three mugs all at one time! Crazy, right?…. I LOVE IT!!!

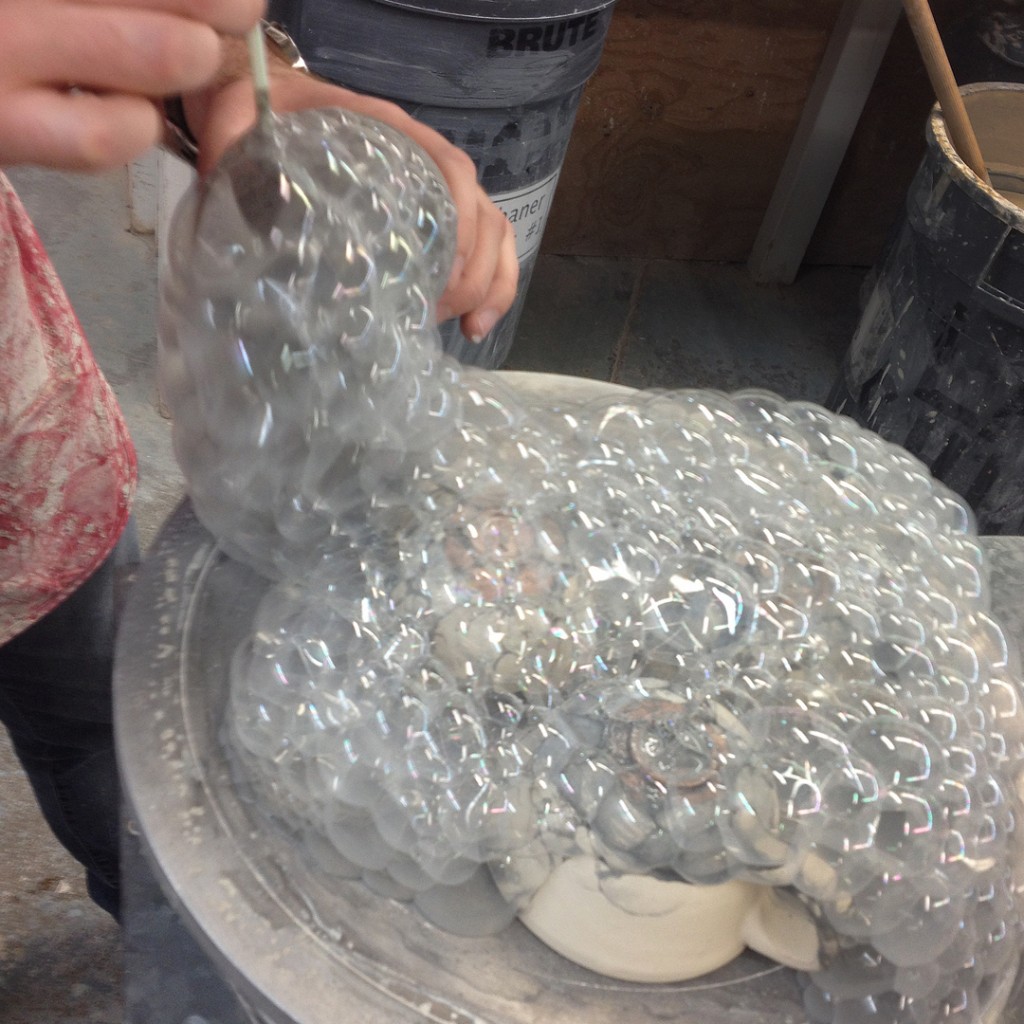
SO he covered all three with bubbly foaming glaze… and you can see how the pattern stats to show up as the bubbles pop by themselves.
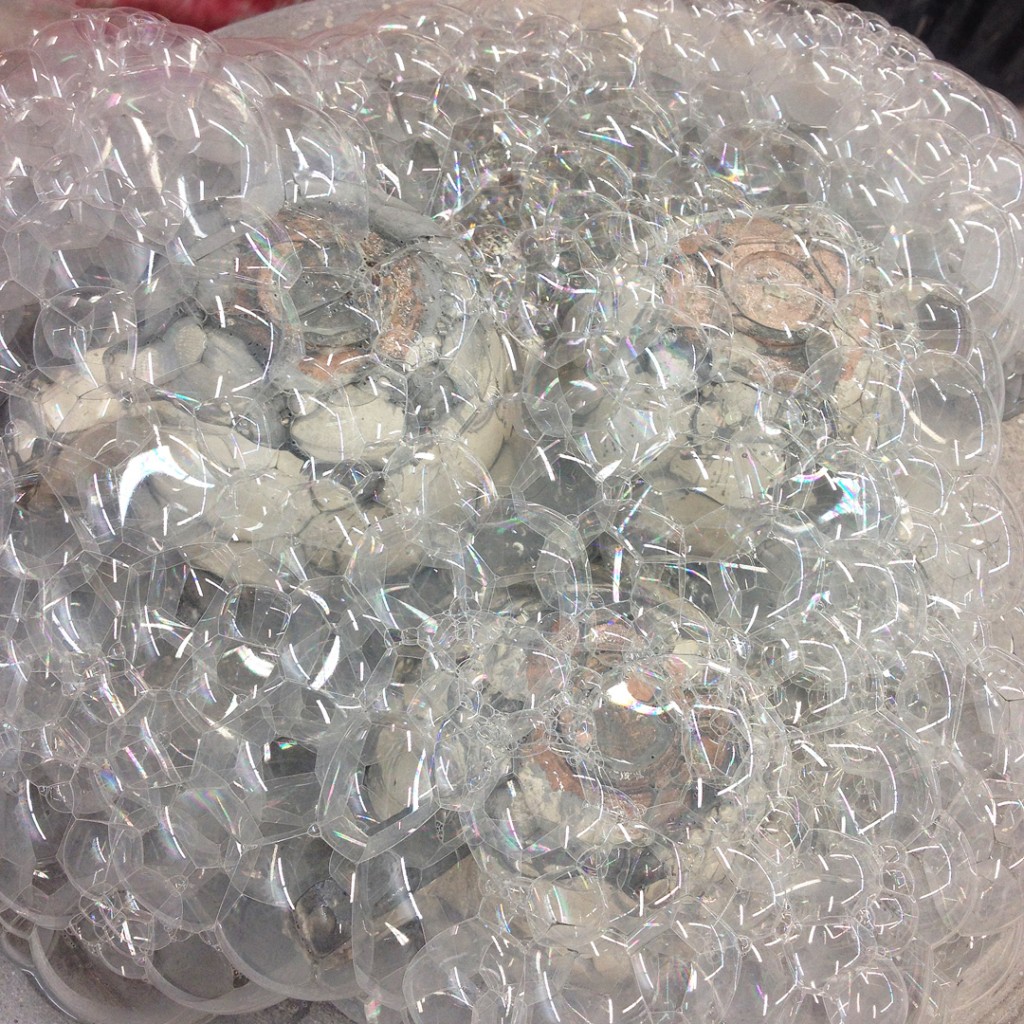
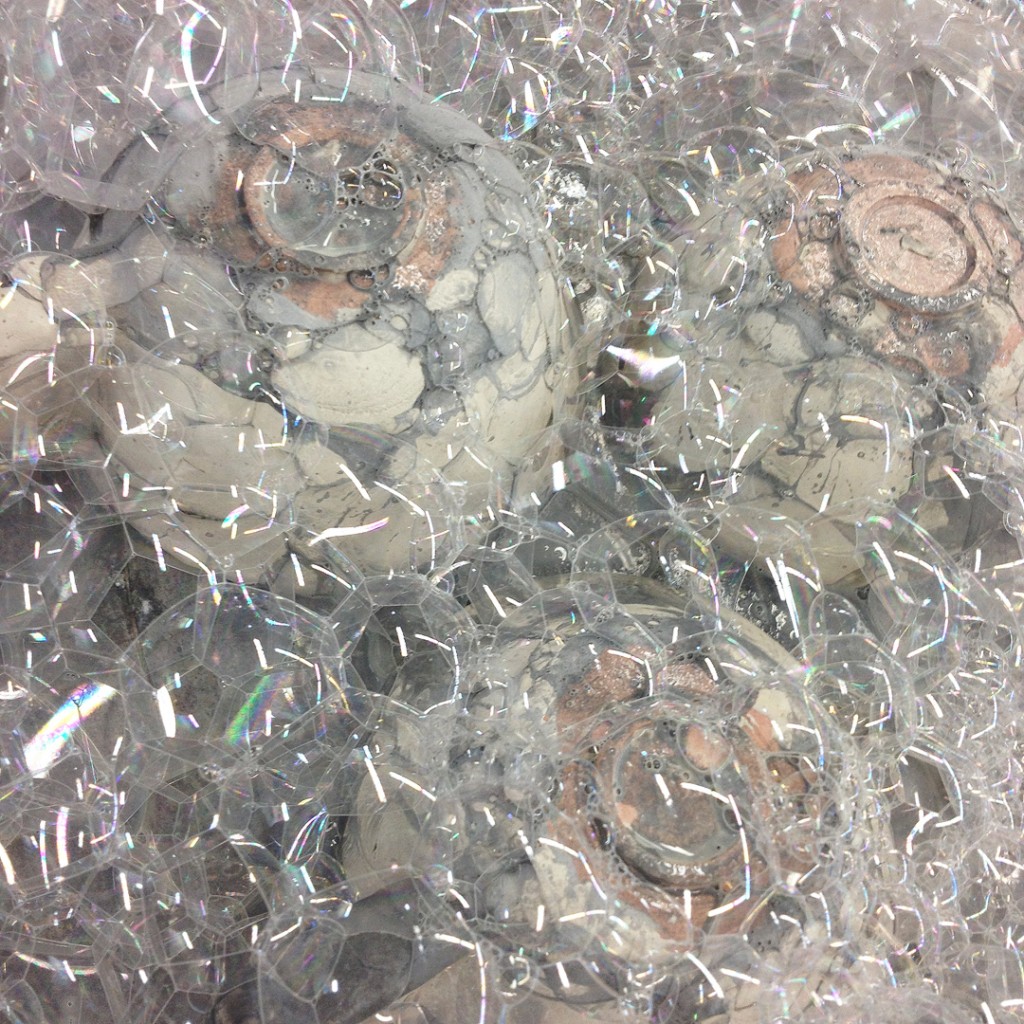
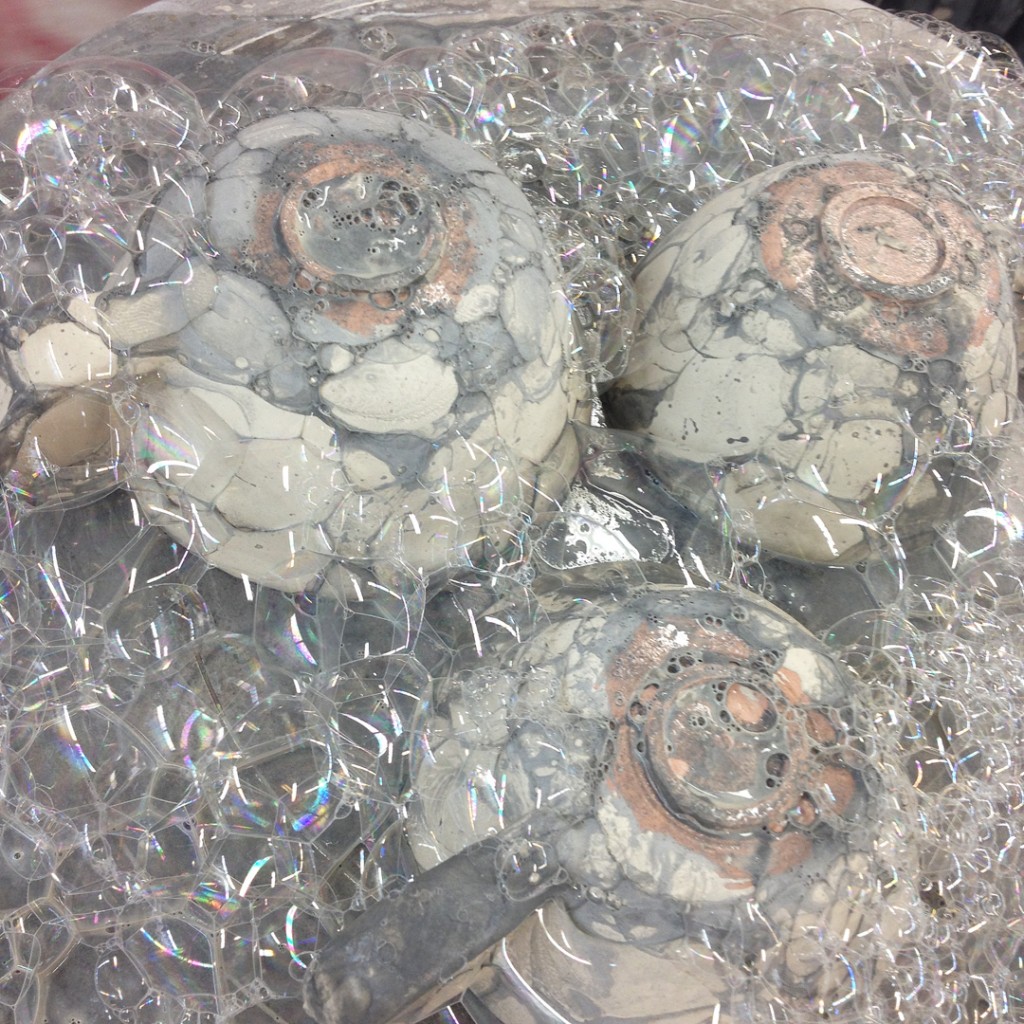
A very random, spider-webby, splattery kind of glaze effect. I hope I get a chance to see these when they come out of the kiln…. so guarantee since this wasn’t my class or my students?! But we’ll see… I’ll keep an eye out for them!

What kind of glazes are you using?brands? And are you using an underglaze? How are the glazes not bleeding together?
HEY ERIN – We’re using our standard classroom glazes. They are mixed by hand here in the studio. They are not commercial brands. And yes, the same trick does work with underglazes as well. The dishwashing liquid is only a “tool” to move the colors and create the webby-designs. The bubble makes the colors move and settle in. The bubbles pop and the glazes dry pretty quickly so they don’t bleed together. It’s pretty easy… and kinda magical. Give it a try!!!