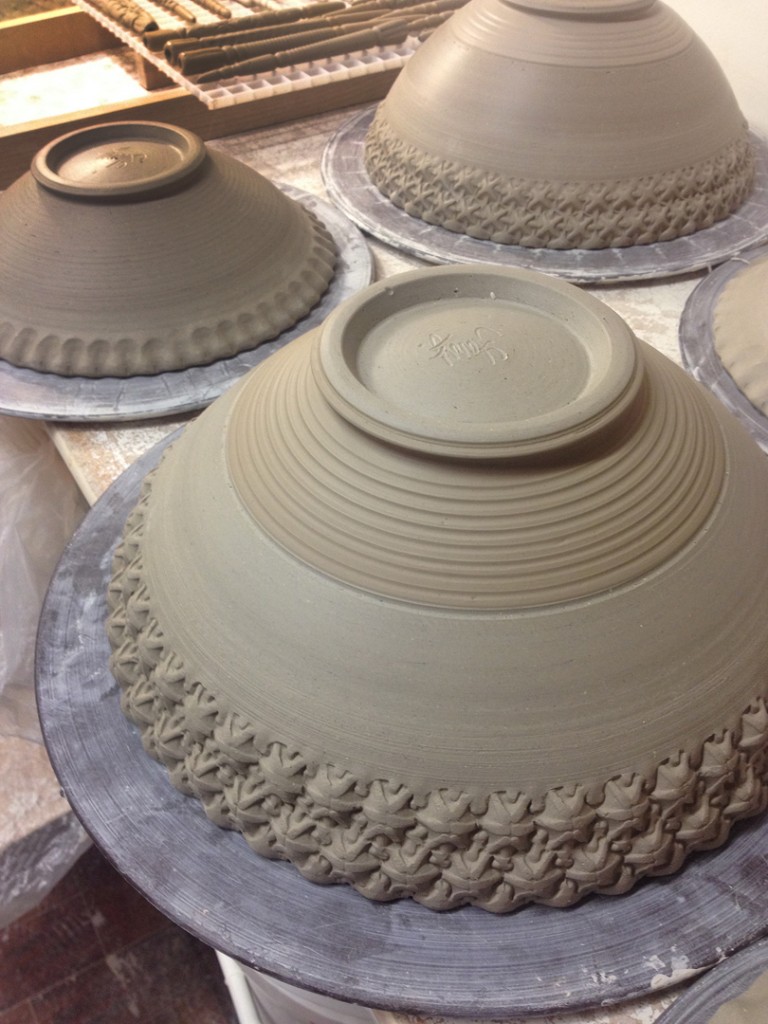
Every session I do this demo mfor my class. I first teach them how to make a “bowl on purpose”, instead of a cylinder gone bad. We discuss the smooth curve inside by using a plastic rib, and not having that “ledge” indentation that you get with a cylinder-gone-bad. After we make it though the first bowl, I send them back to their wheels to try making better bowls on purpose.
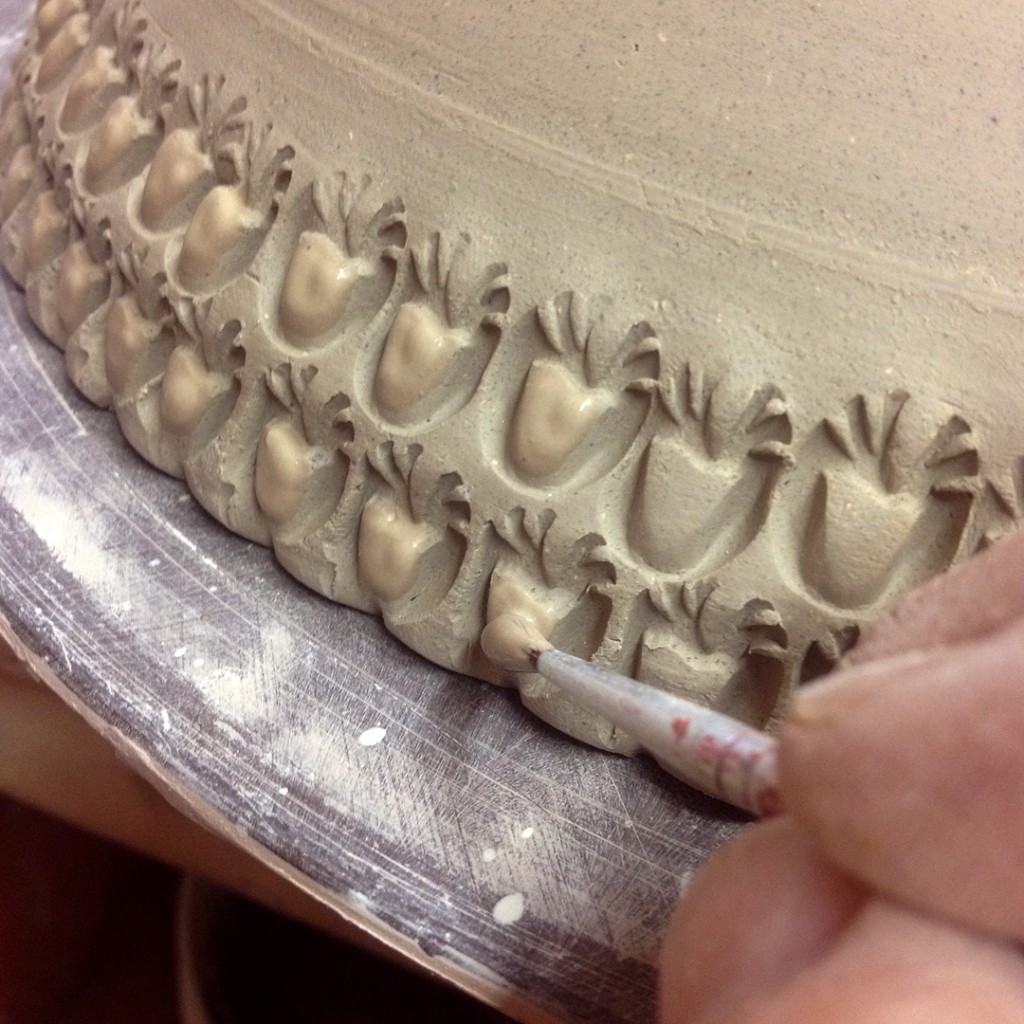
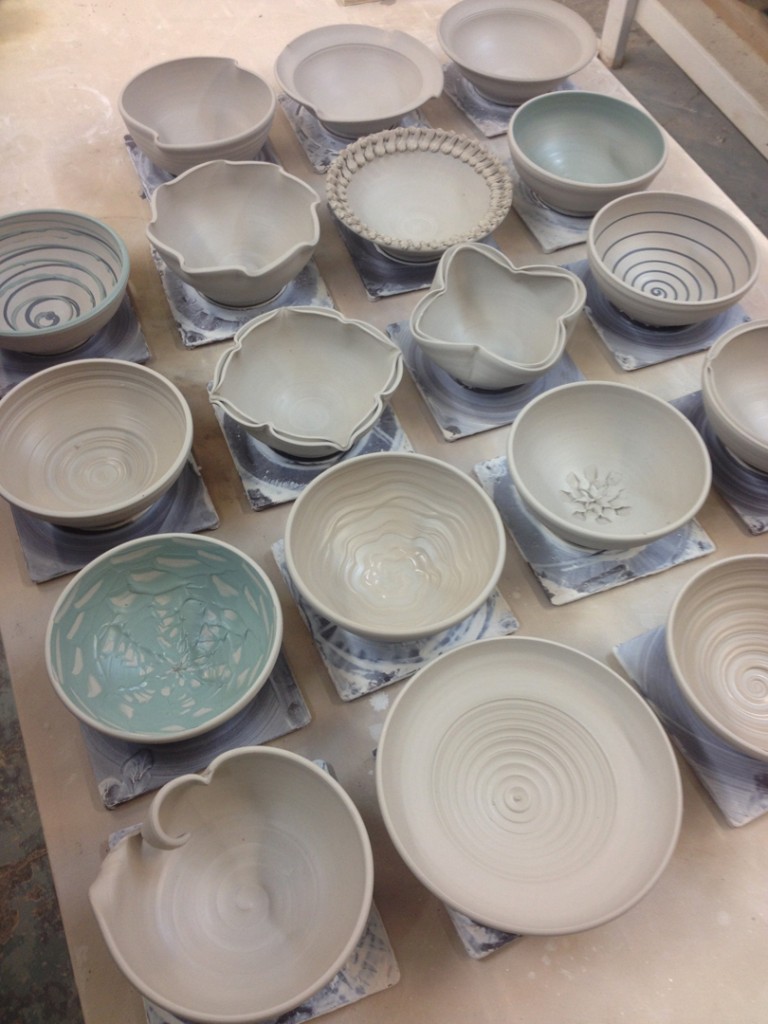
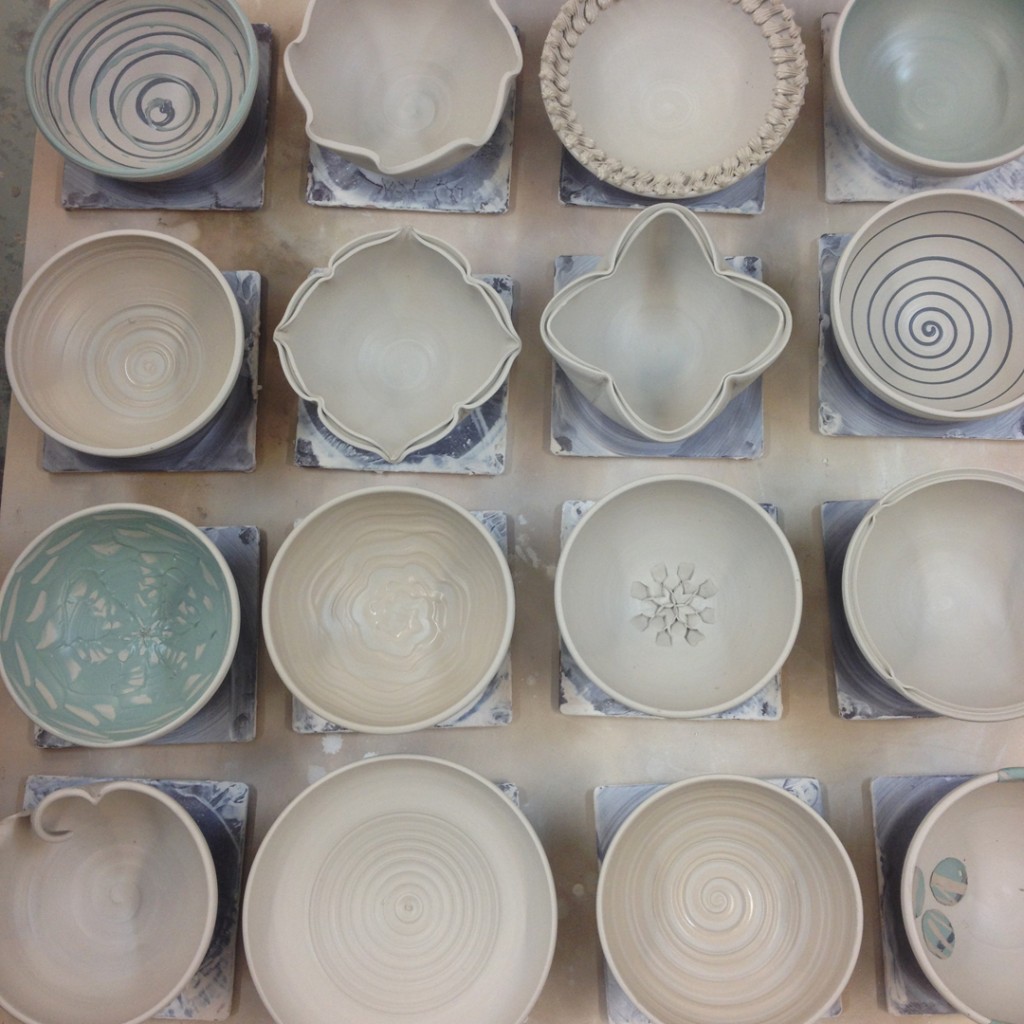
While they’re making their bowls, I continue throwing a bunch of bowls that are “almost” the same. When I get them all thrown, we reassemble at my demo wheel so I can do some quick decorative tricks to make the bowls all different. I try to encourage “playing” with their clay and trying some new tricks. The wheel can make it round, but it’s up to them to make it special. So this time I made nineteen bowls for our demo… all basically the same to start out, but then all different by the end of the demo!
Bowl A – Two flip-twists to make a simple fluted edge.
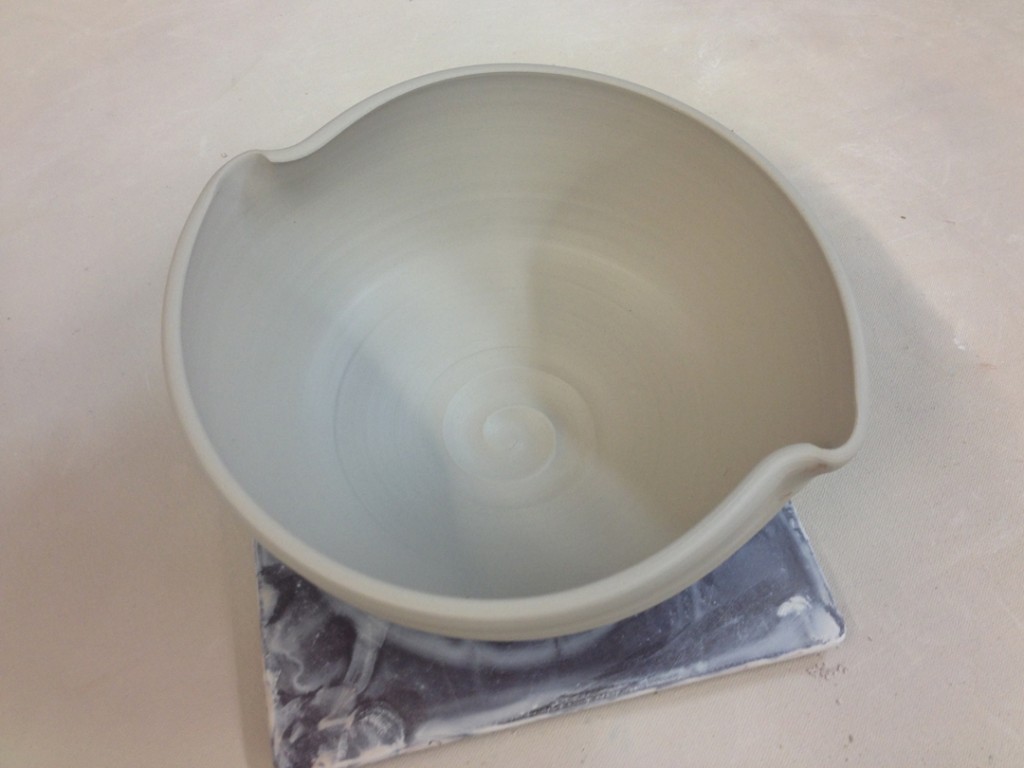
Bowl B – And if two fluted edges are good, eight might be better.
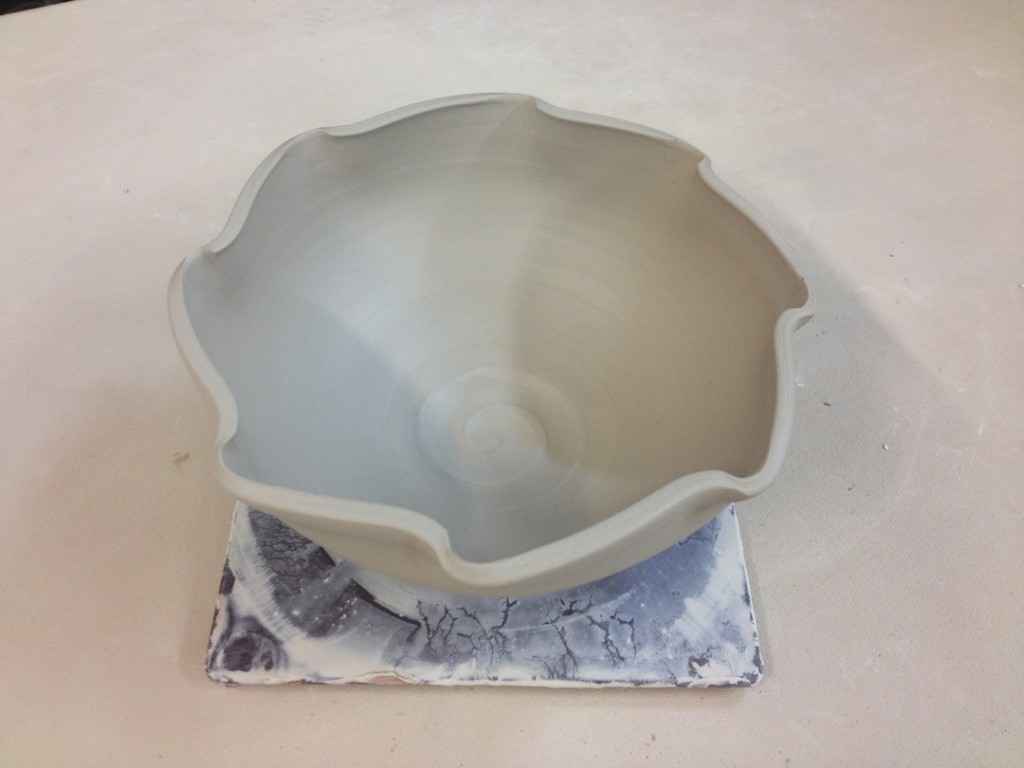
Bowl C – A simple flared out rim.
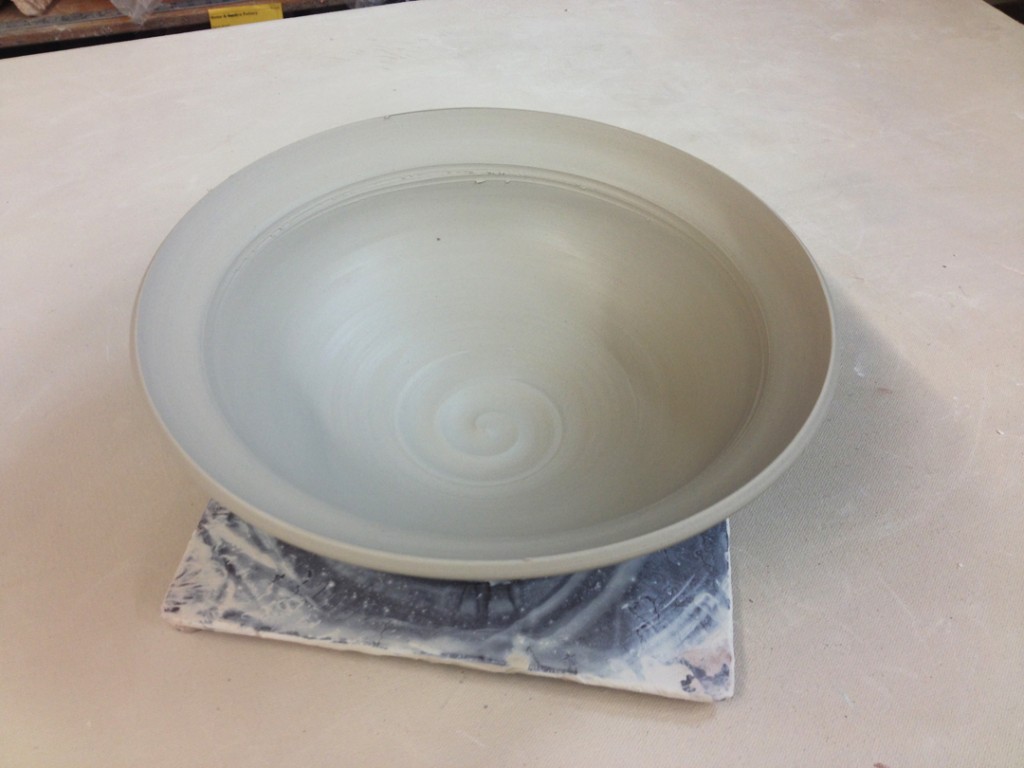
Bowl D – A simple flared out rim with four fluted edges.
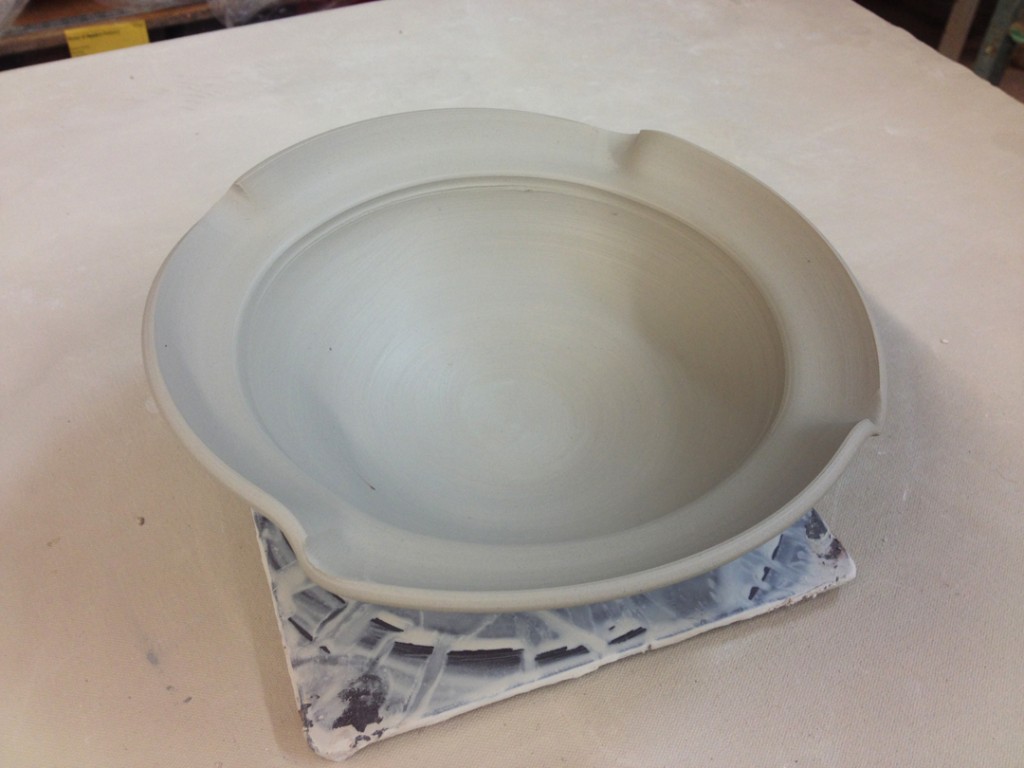
Bowl E – A wide flared out rim with some concentric indentaitons in the center.
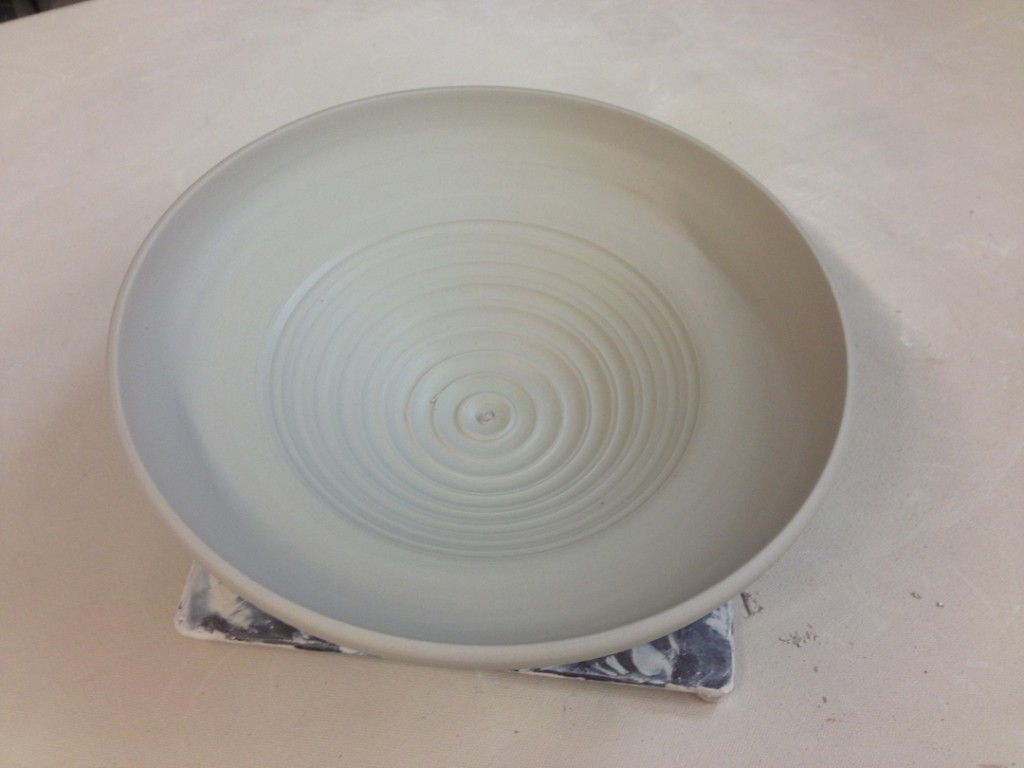
Bowl F – A split rim with four “pinched” accent points.
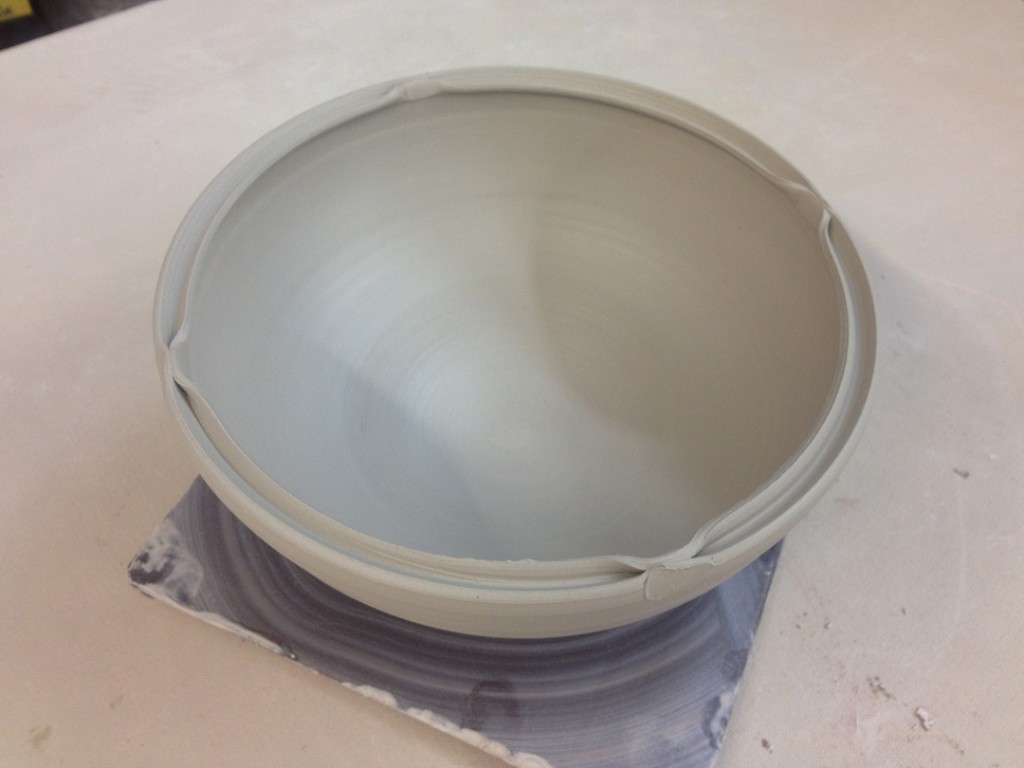
Bowl G – The same split rim with four pinches, but then squished and altered into a new shape. Who says bowls need to be round?
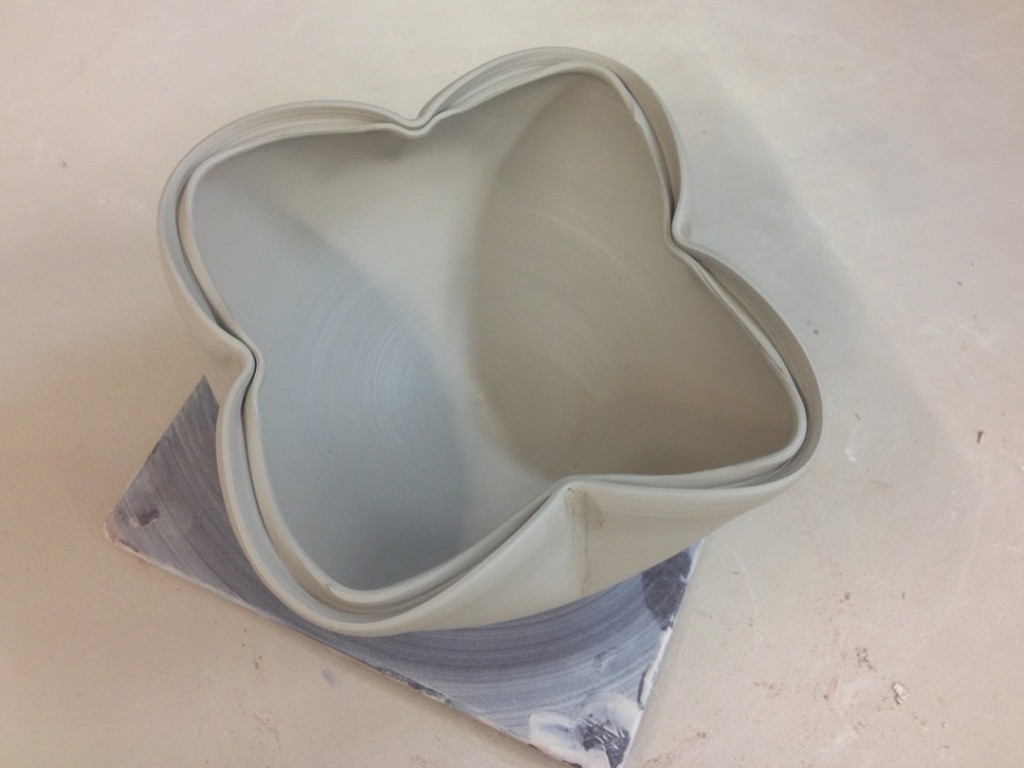
Bowl H – And if altering the shape of a split rim bowl is your thing, take it a bit further by going inwards with four, and outwards with the other four to create a lotus-type shaped bowl.
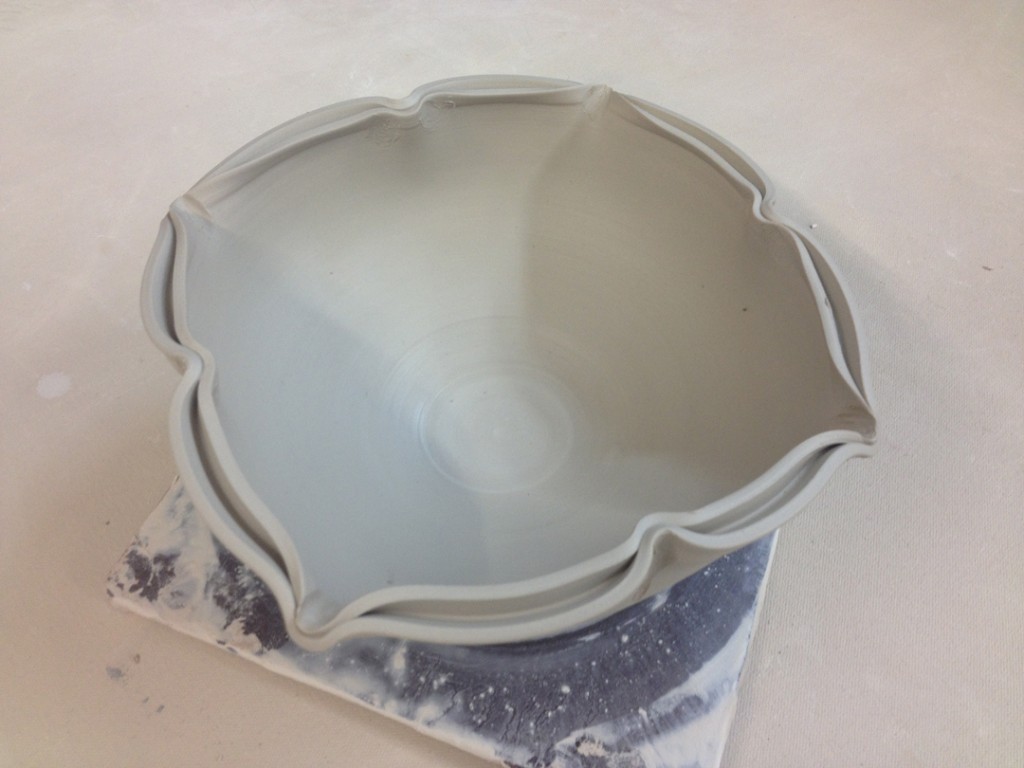
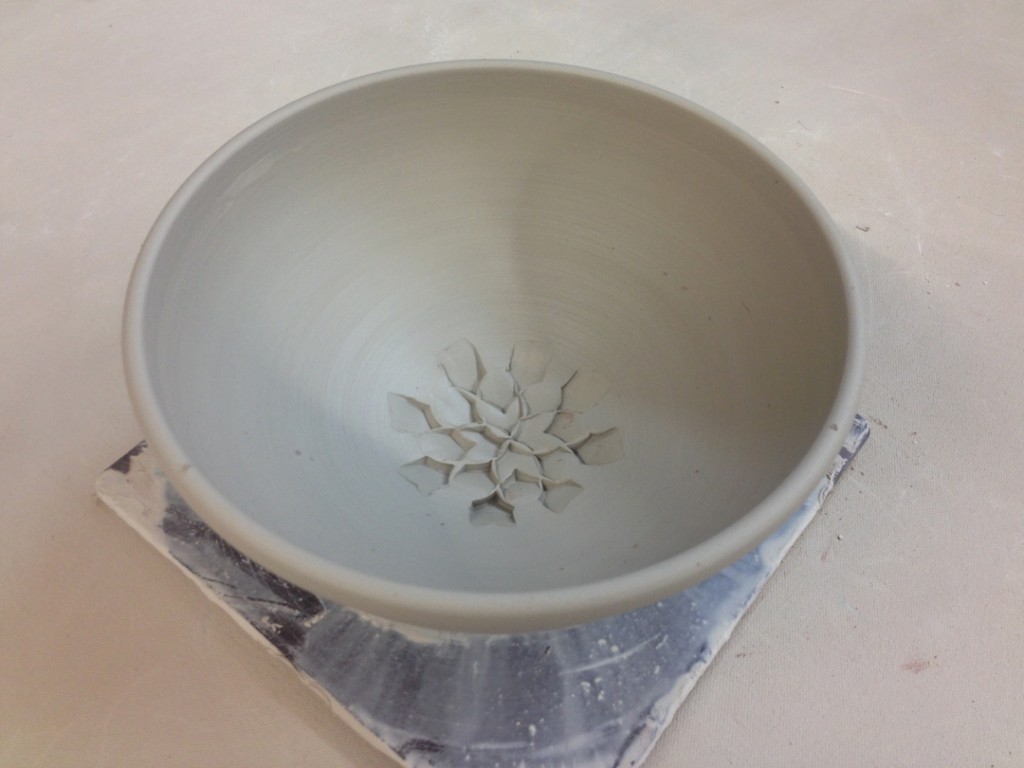
Bowl I – A simple flower indentation using a dragonscale tool.
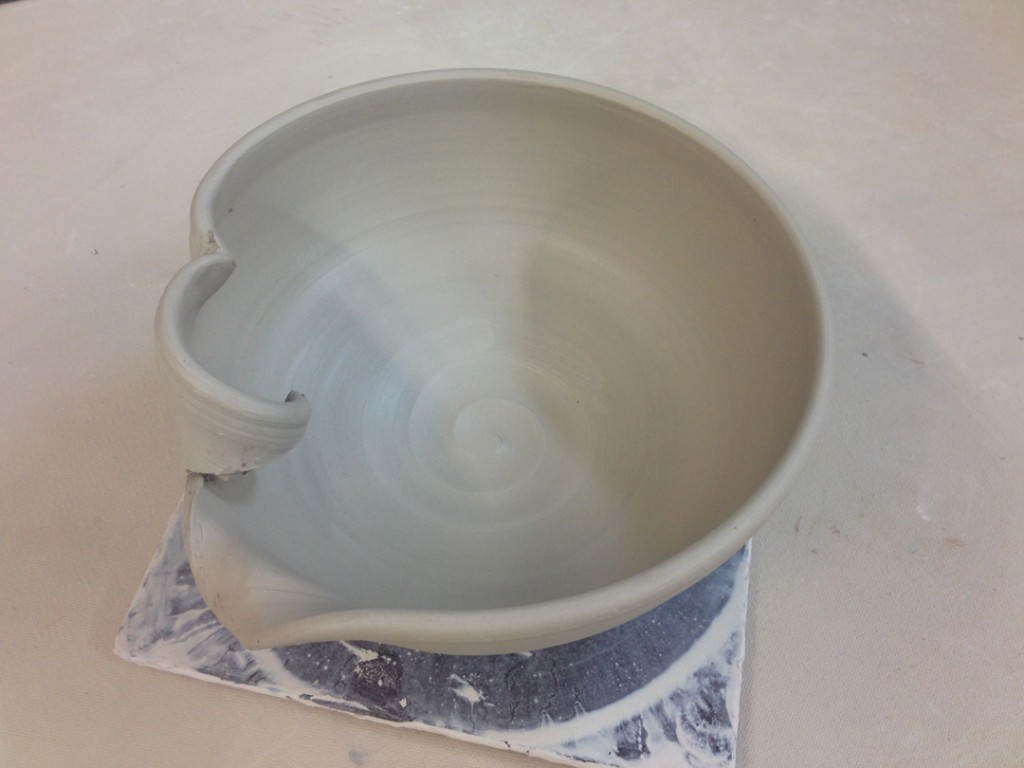
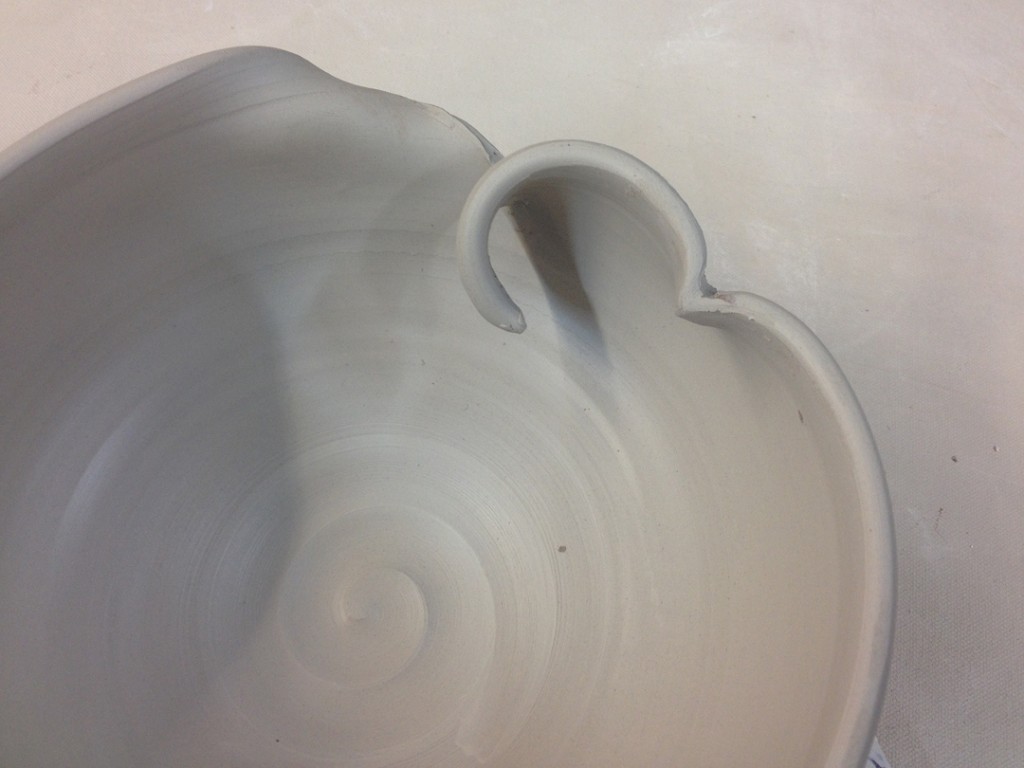
Bowl J – While I was doing the demo, Ryan asked if I ever do any that are asymetrical. I pondered it for a bit… and then came up with this one. I cut it, and then bent it, and rolled it in a bit. Just playing… experimenting… accepting the challenge… and I kinda like what came out of it.
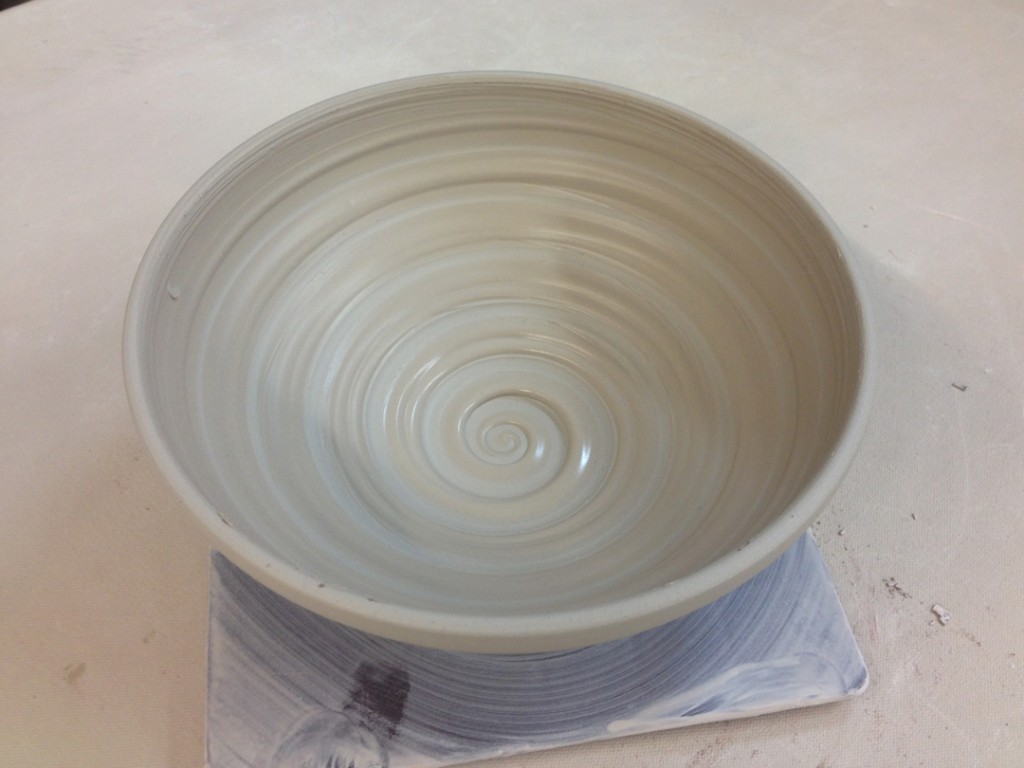
Bowl K – Then we switched to slip decoration as another option. So I painted the entire interior with thick white slip and then dragged a rounded stick through it to get the spiral effect.
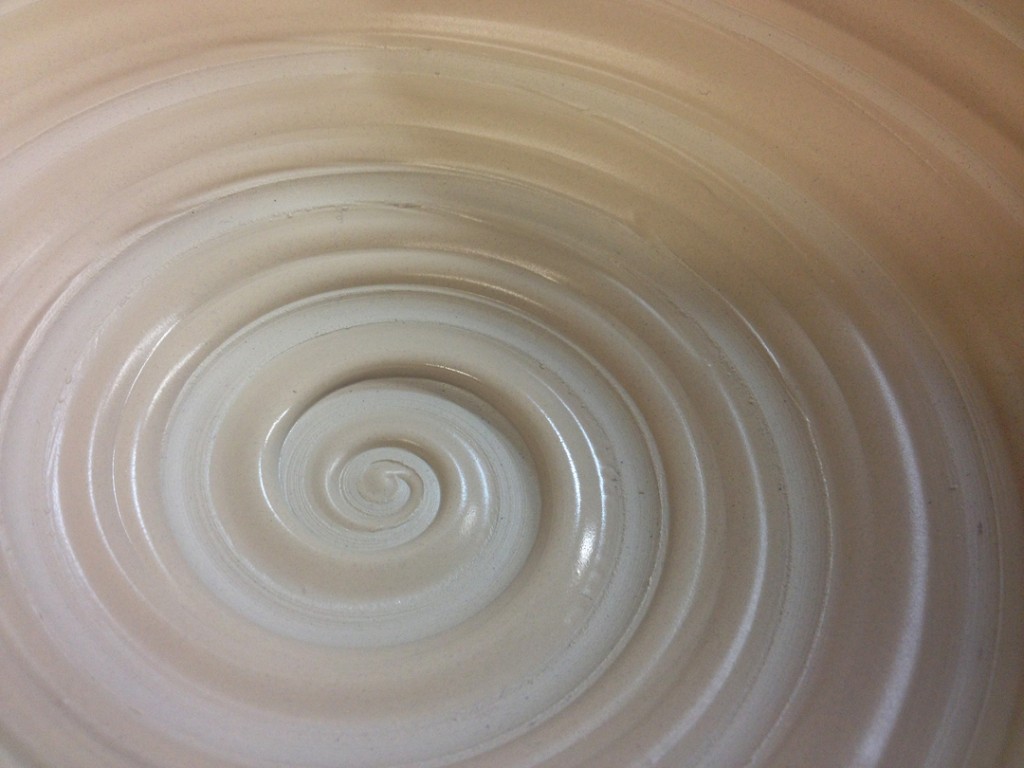
Bowl L – Again, the thick slip is painted in to cover the interior, and then I used the rounded tool to make incised bands. Using slip like this creates a nice color-contrast to the clay body, as well as a bit of a textural change where the grooves are.
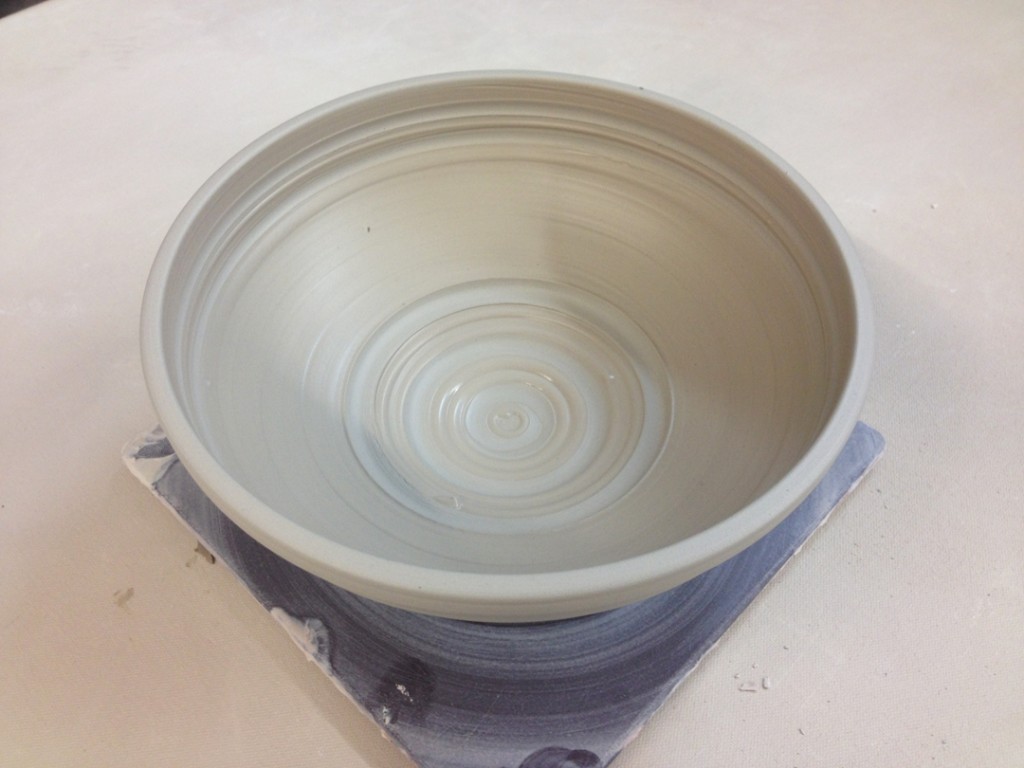
Bowl M – Sure, you can use the rounded wood tool… but you can also squiggle your finger tip through the thick slip. Squiggle, spin and move up all at the same time.
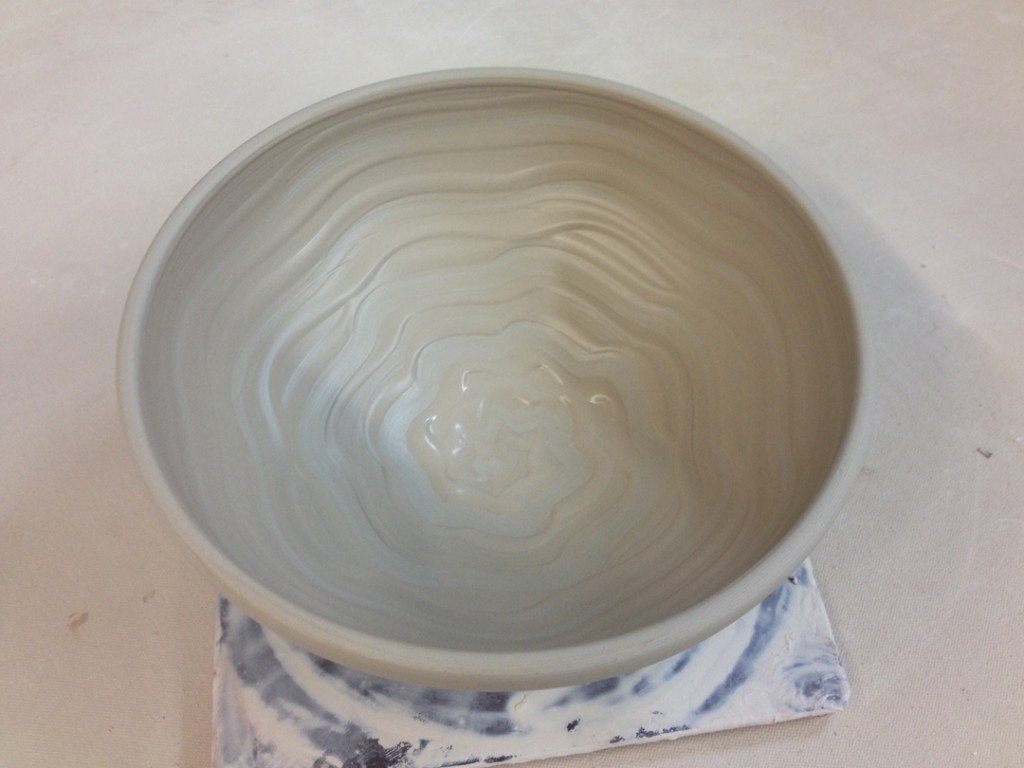
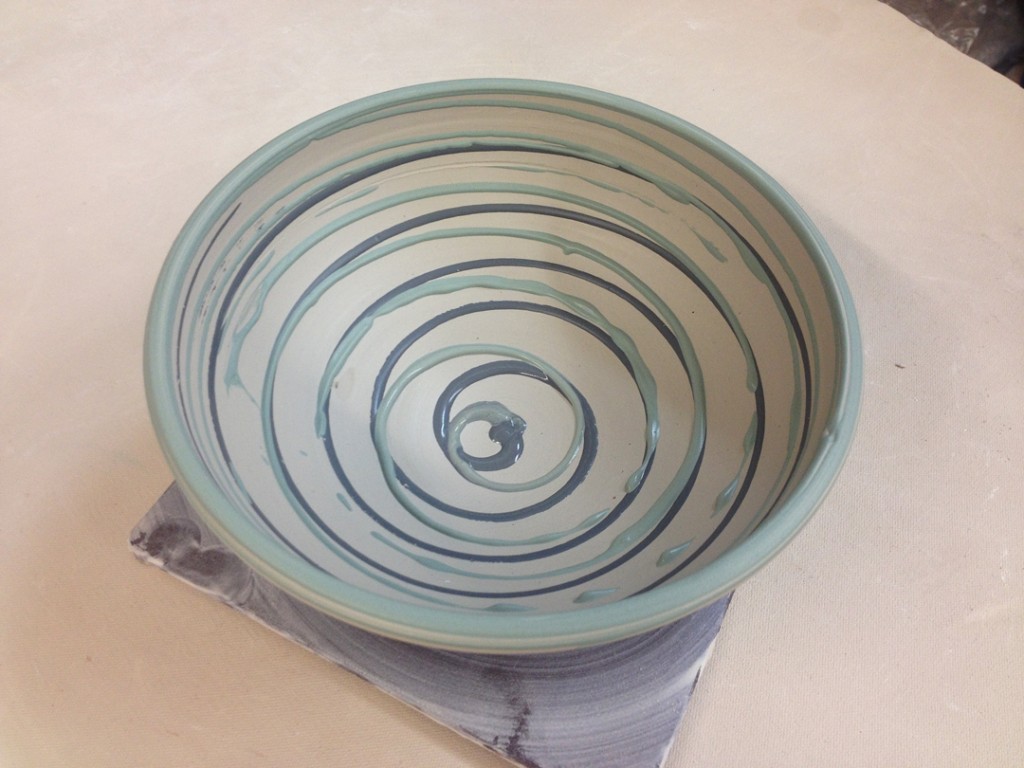
Bowl N – Then instead of covering the entire interior, we filled a small squeeze bottle and squirted out a thin spiral of a contrasting color.
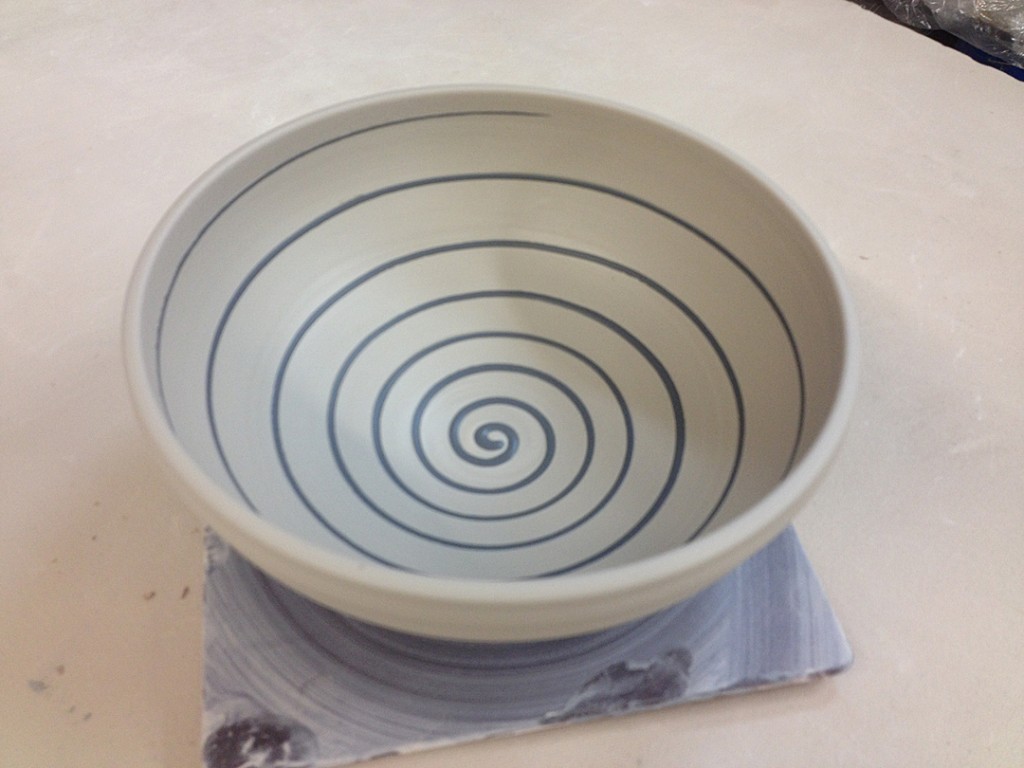
Bowl O – Again, Ryan was right there ready to give me another challenge. And he asked if we could do two different colors of slip spirals… and make one go the opposite direction too!!!
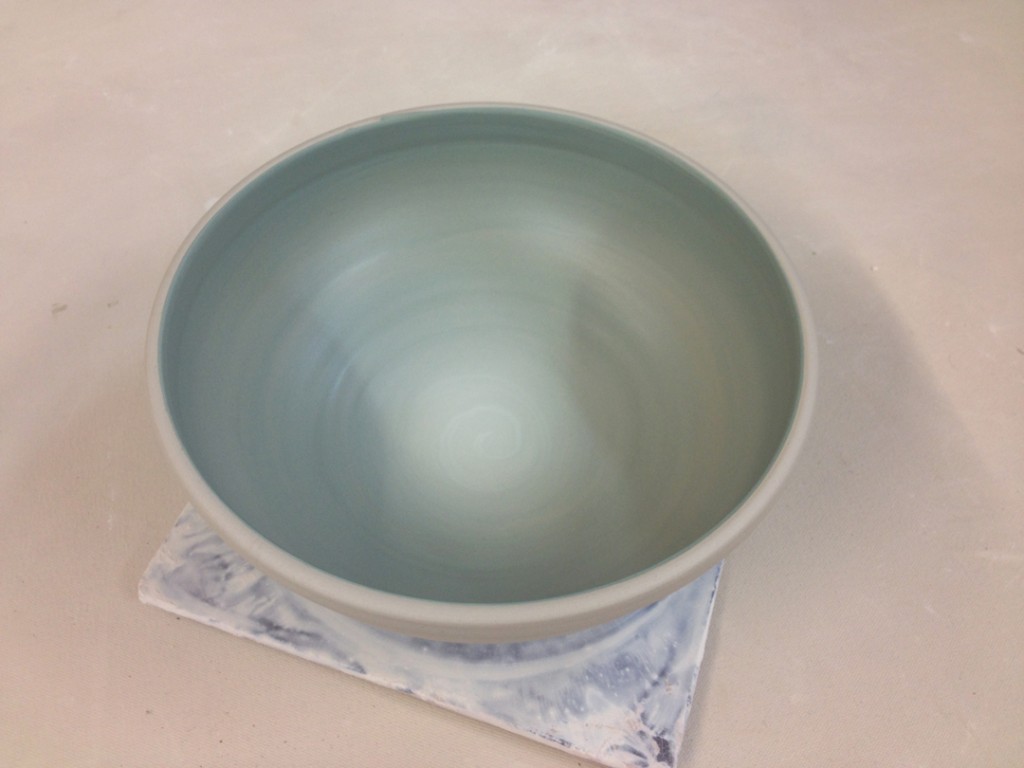
Bowl P – A simple ombre effect with a green slip blended down to a white slip.
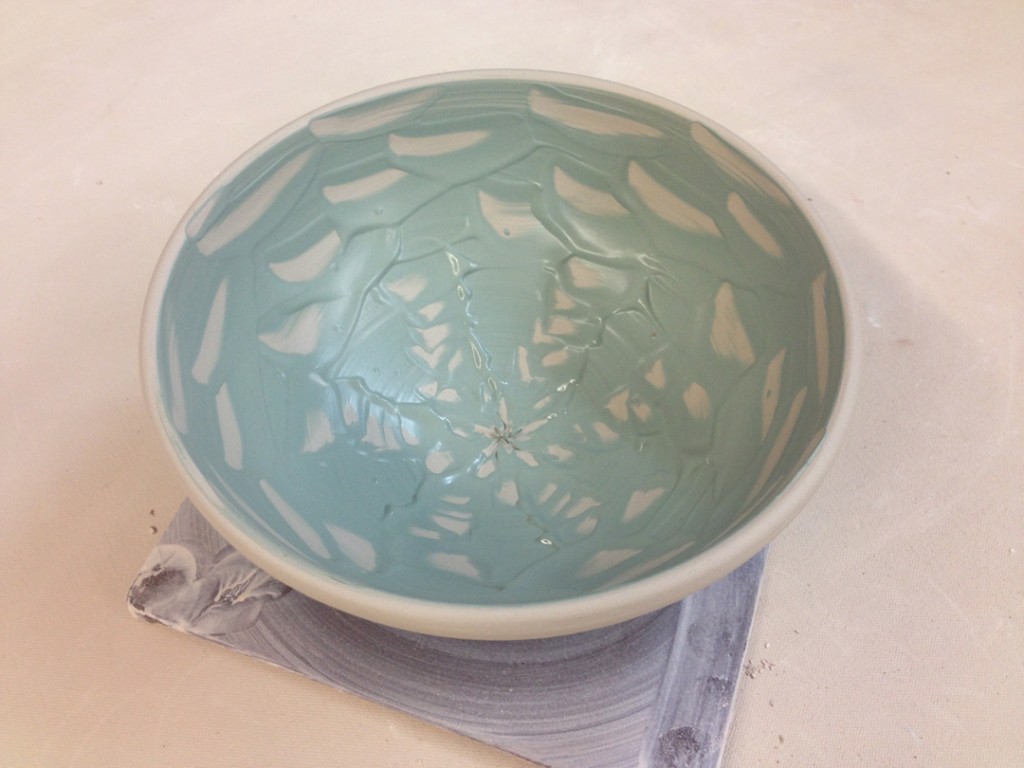
Bowl Q – Then I filled the interior with thick green slip and did a rhythmic chattering technique to create this bowl.
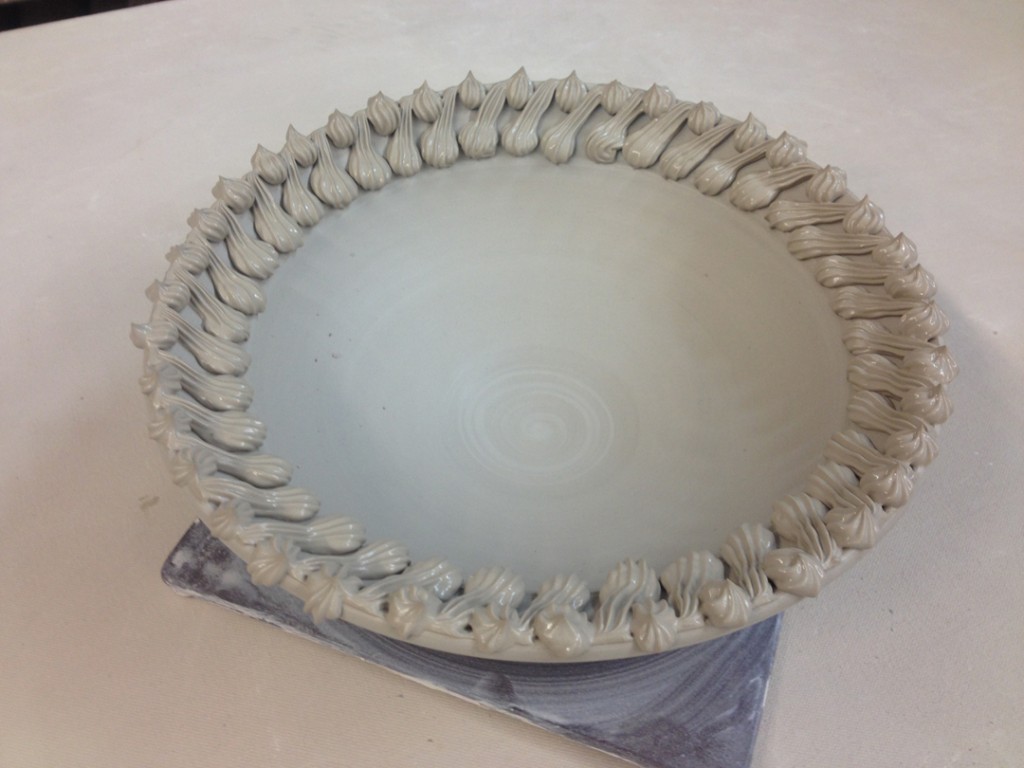
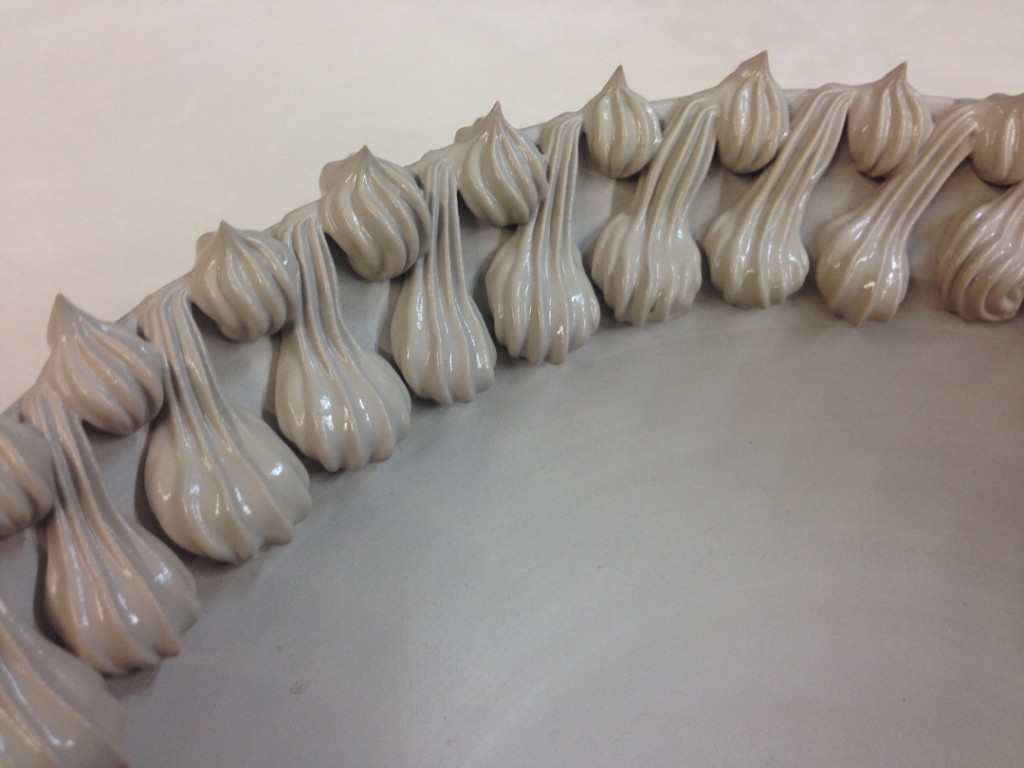
Bowl R – And since slip is just liquid clay, why not use it a bit thicker than normal… in a pastry bag squeezing it through a cake decorating nib. I like the concept… I like the look of it… but I’m still not quite sure that I’ll like the final result. Not quite sure how to resolve the sharp points???
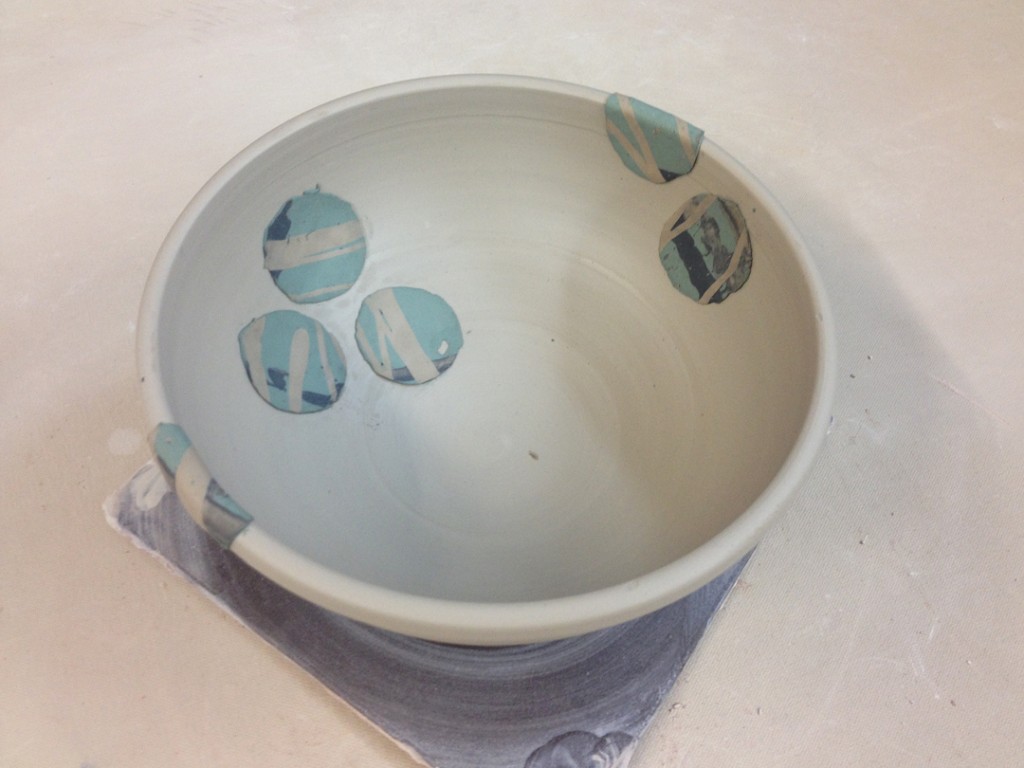
Bowl S – Then we tackled another colored slip trick. I layered some slip on newspaper and transfered it onto the bowl. I started by squeezing some white onto the newspaper. I let it stifffen up for a few minutes and then I squirted on some black lines. When that set-up, I painted over it with a couple layers of green slip. As the news paper draws the moisture out of the slip, the slip stiffens up. I put another piece of newspaper on top and presses it together to flatten it out a bit. When it was stiff enough to move, but still wet, I cut out circles with a small cookie cutter and adhered them to the bowl. Again, not sure that I like this final bowl, but I’m intrigued by the process. I’m thinking a more thoughtful plan might work great on the right form.
So that’s nineteen quite bowl alterations. Remember, they all started out looking the same…. but don’t any more after a few quick tricks. Remember to play with your clay to make it your own! Anyone can make a “round” bowl… now it’s time to make it your own!!!
Save
Save
Save
Save
Save
