So I’ve been playing with a new a new method making a handbuilt lab mug. I’ve made many slab cups before with my Summer Campers, but there were always a few “issues’ I needed to resolve. I’ve never like the flat slab bottom. Nor the untrimmed & unfinished bottom. I also don’t like the “non-round-ness” that a slab cup frequently has. Nor the sharp, freshly cut rim they typically have. So I decided to combine some textured slab handbuilding skills with some wheelthrowing!!! The best of both worlds, right?!
So I start by throwing some simple “thick” discs on a bat. I keep them centered and do not wire them off the bat quite yet.
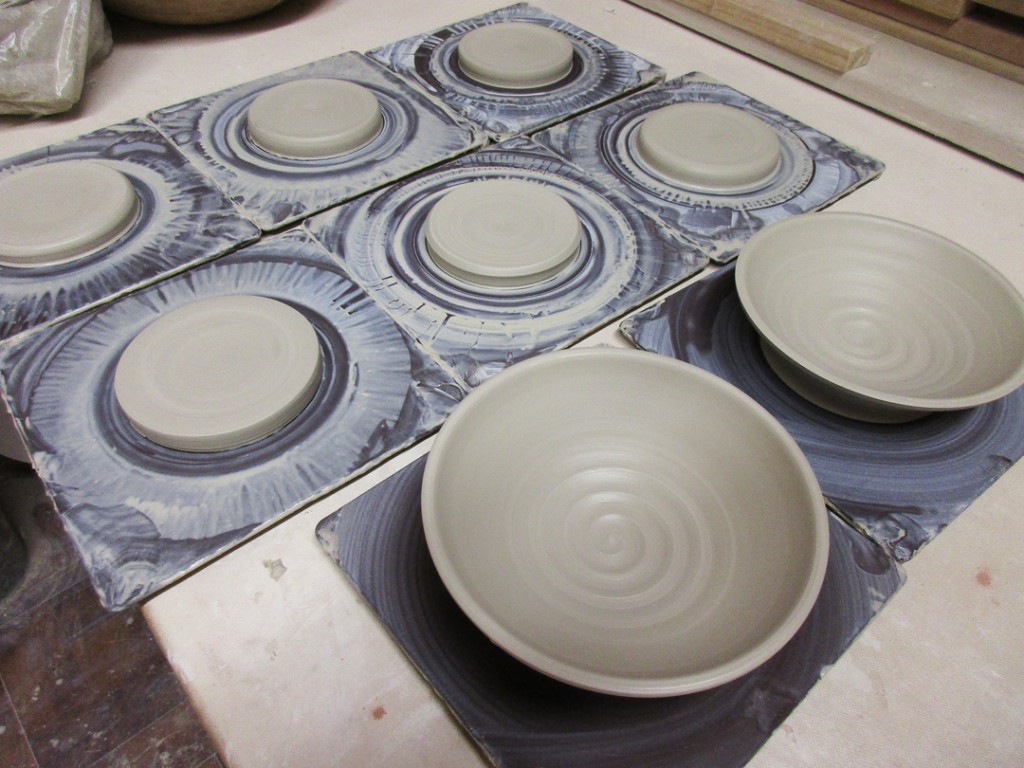
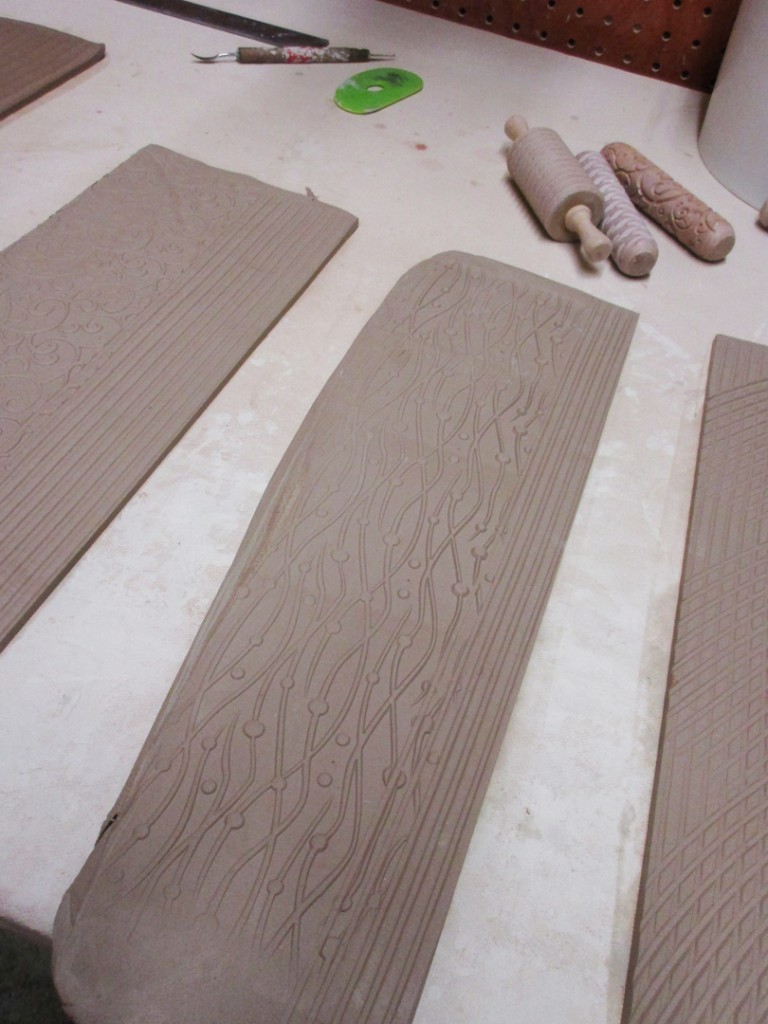
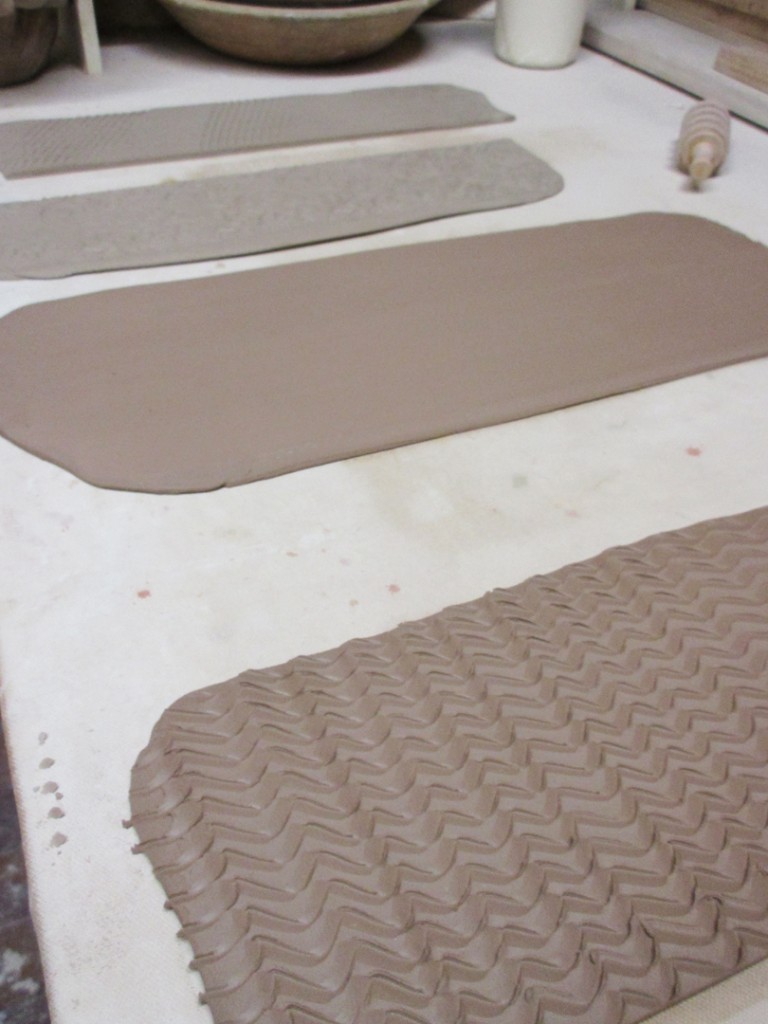
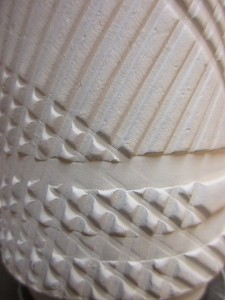
While those set-up, I throw out some slabs on my wedging table. I then use my stamps, some rollers I’ve made, and some great texture rollers from MKM Pottery Tools. After texturing the slab, I cut one of the long edges straight with a ruler.
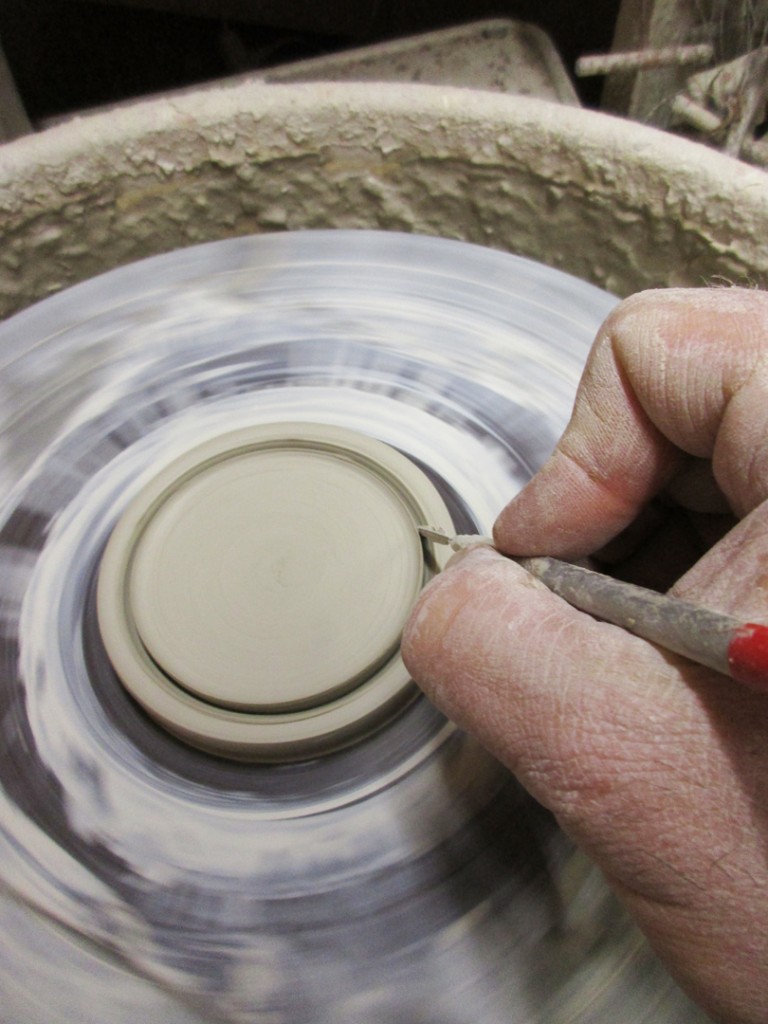
Then I put the bat with the thrown clay disc “bottom” back on the wheel. I use my needle tool to cut it down tho the bottom diameter that I want my cup to be.
Back at the slab, I do some quick scoring along the straight-cut edge.
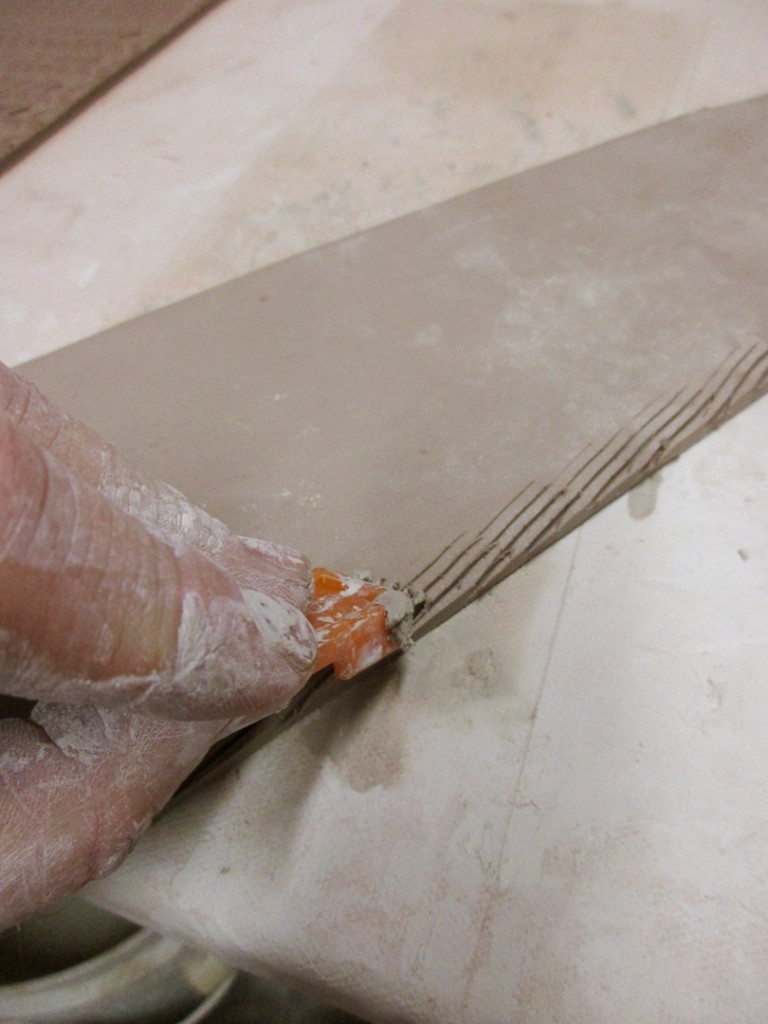
Then I take the slab with that scored edge and carefully wrap it around the base that has also been scored & slipped on the outer perimeter edge.
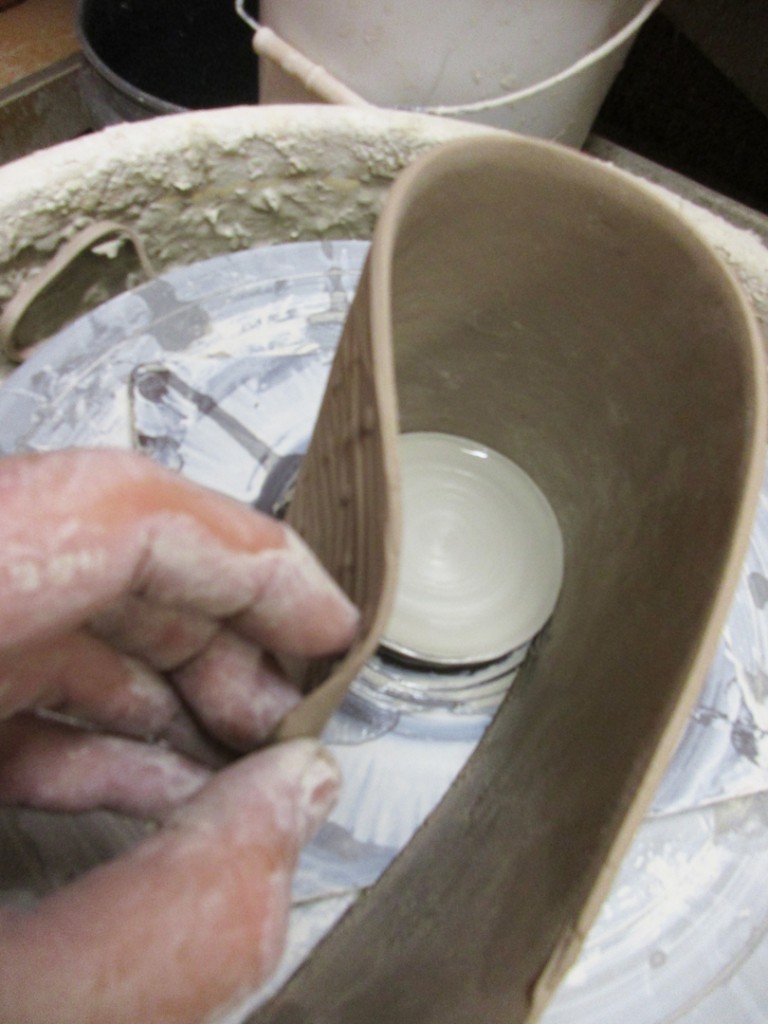
Cut off the excess clay while just a little overlap. Carefully press your edges together to create a nice seam. I like to cut each edge on a beveled angle so that there is more surface area to scratch & attach for a good secure seam.
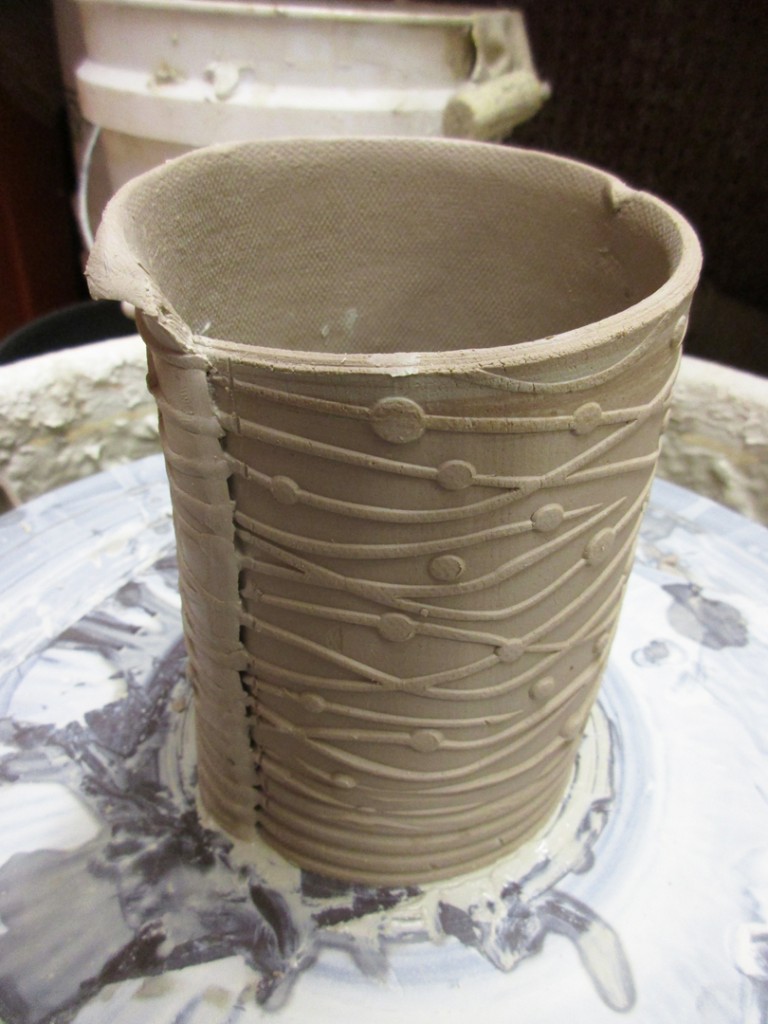
After attaching the slab and closing the seam, you can use the needle tool to cut off the excess on top… determining how tall you want your textured slab cylinder to be. You can also “bulge out” the belly of the cup a bit by pressing outwards from inside while spinning… just don’t touch the outside or you’ll blur the textures.
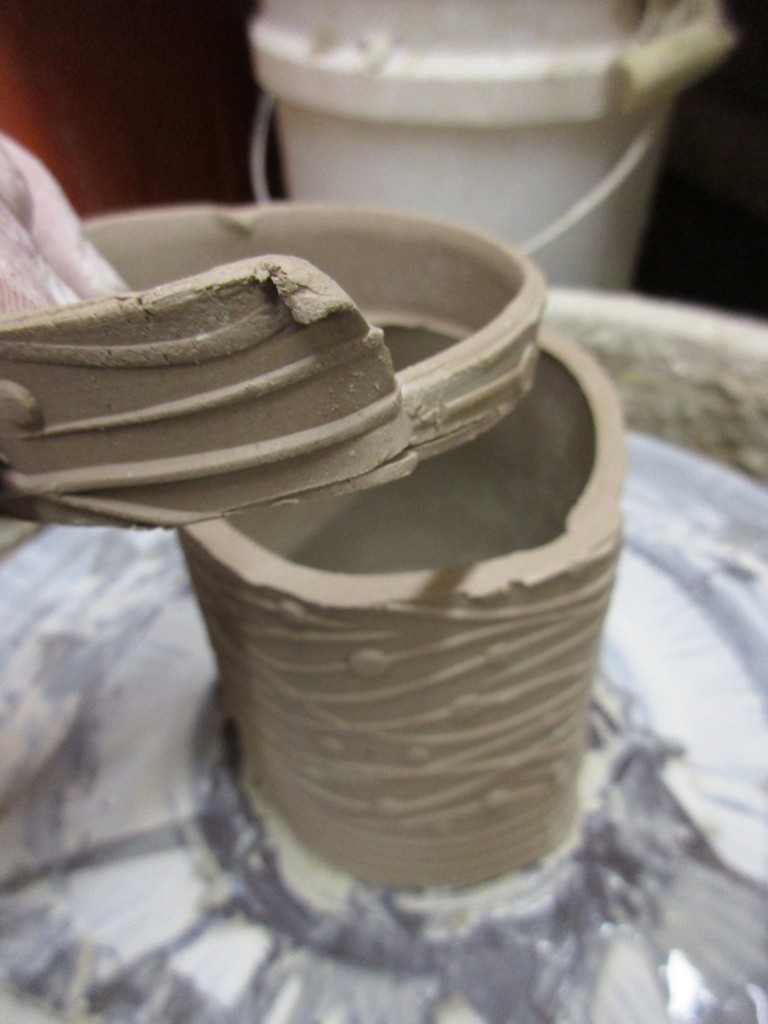
Finish the rim by compressing the edges and making sure it is nice a round. This is a good chance to make sure the cup is nice and round, as well as smoothing out that freshly-cut slab edge. Remember, someone is going to be drinking out of this!
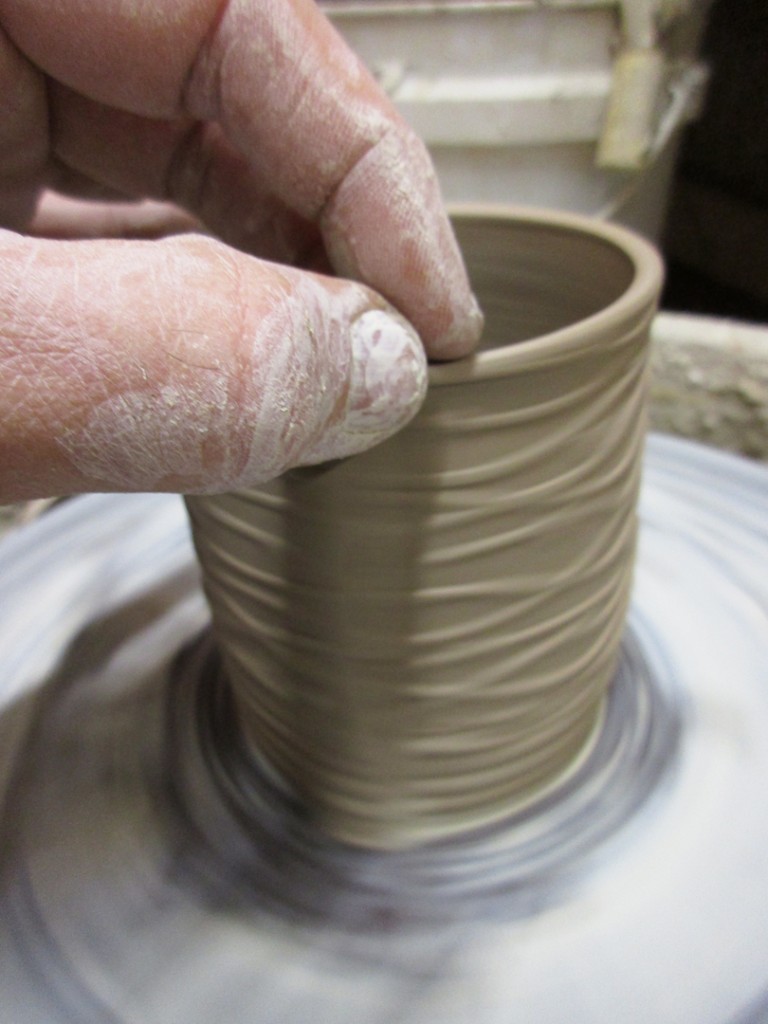
And a little wet chamois to help smooth out the rim… a little wheelthrowing trick!
And thus refining one of my “issues” with handbuilt cups.
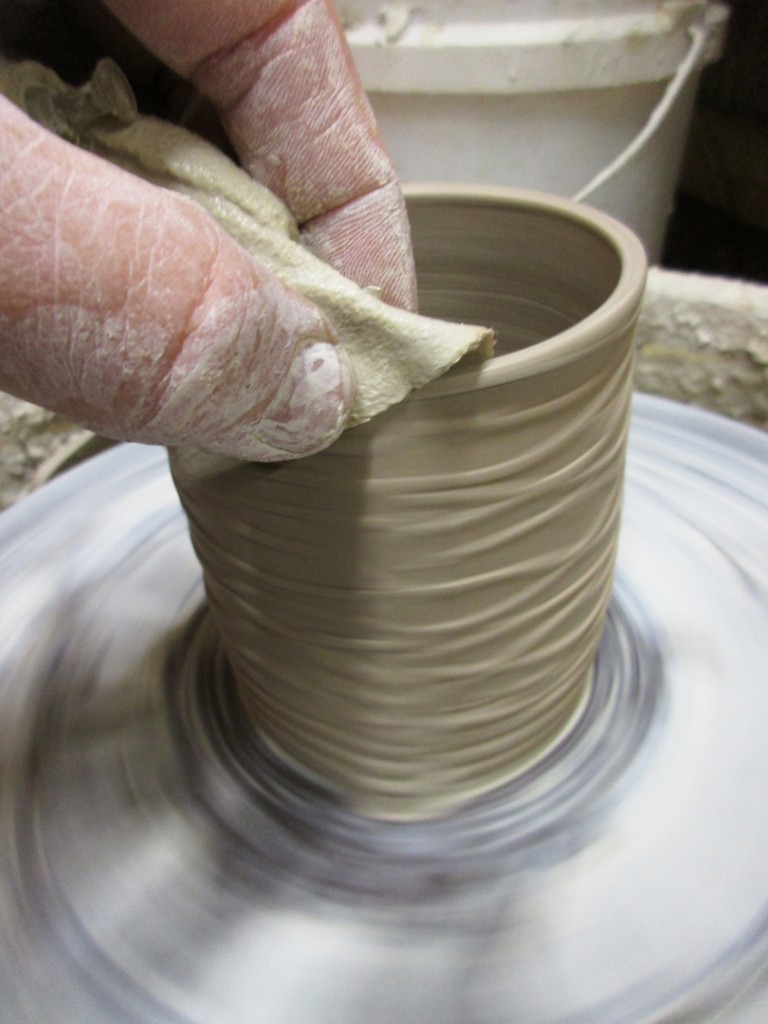
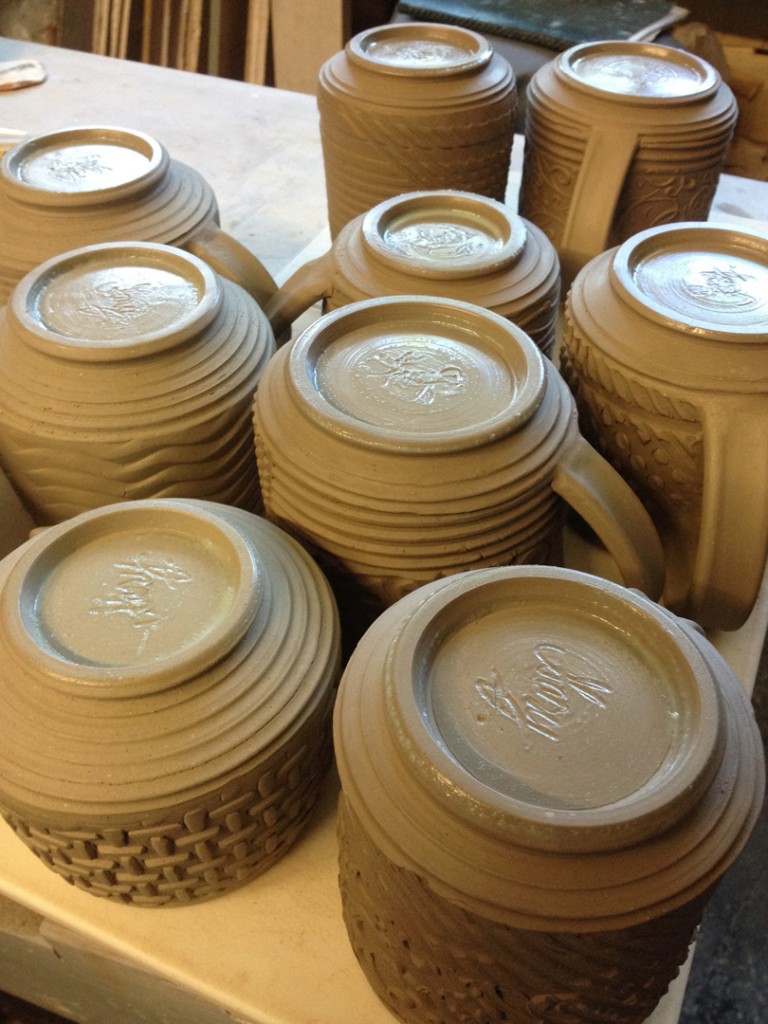
Here are a few different designs of my assembled slab-wheel combo cylinders from a few class demos. Still on the bats, ready to be wired off.

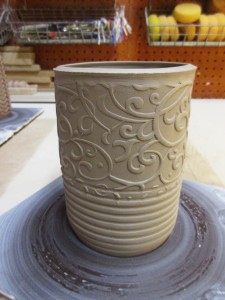
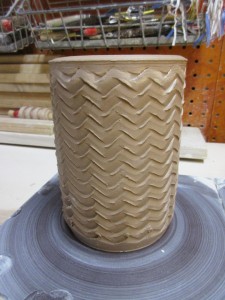
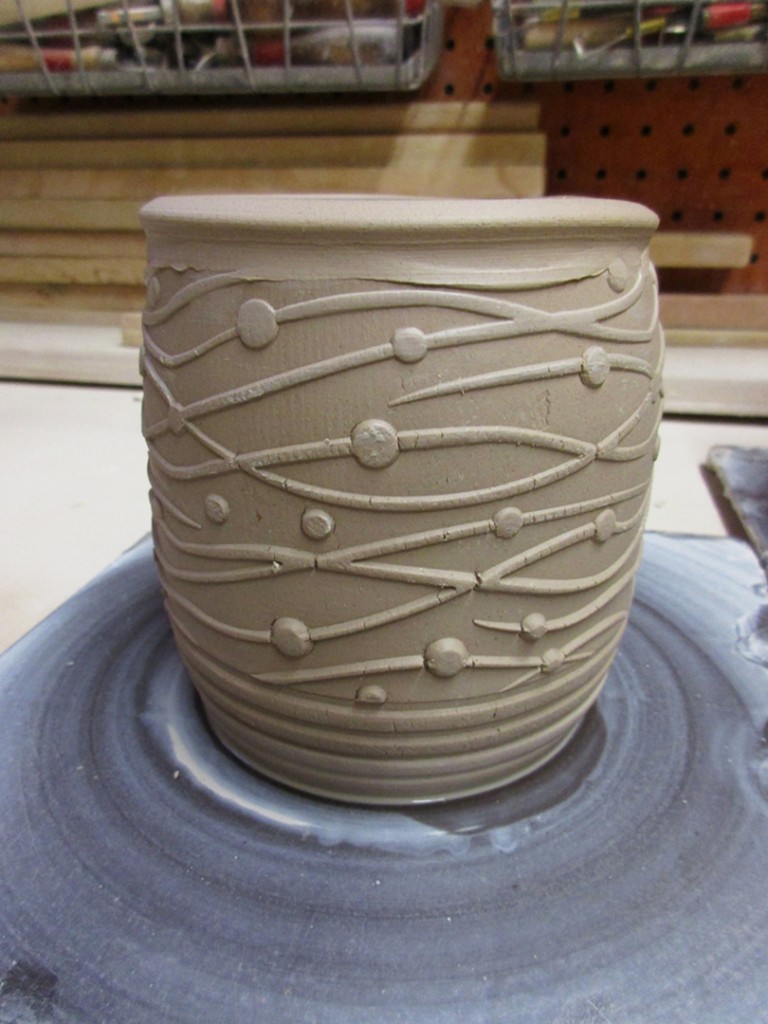
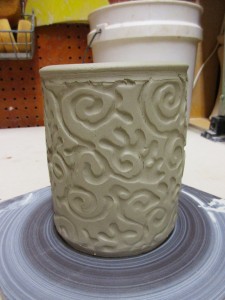
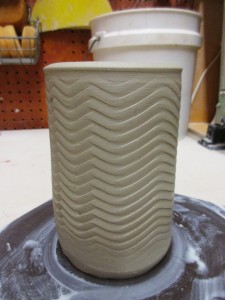
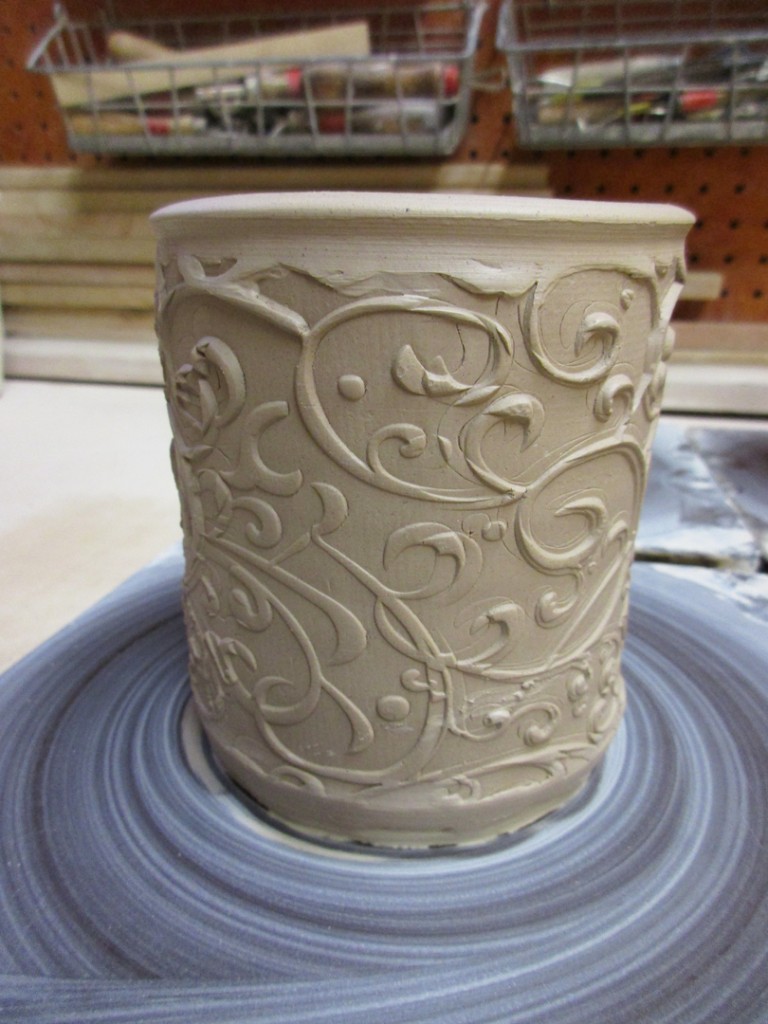
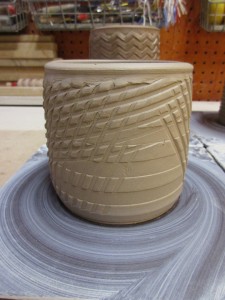
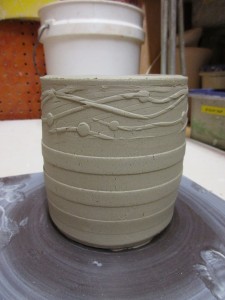
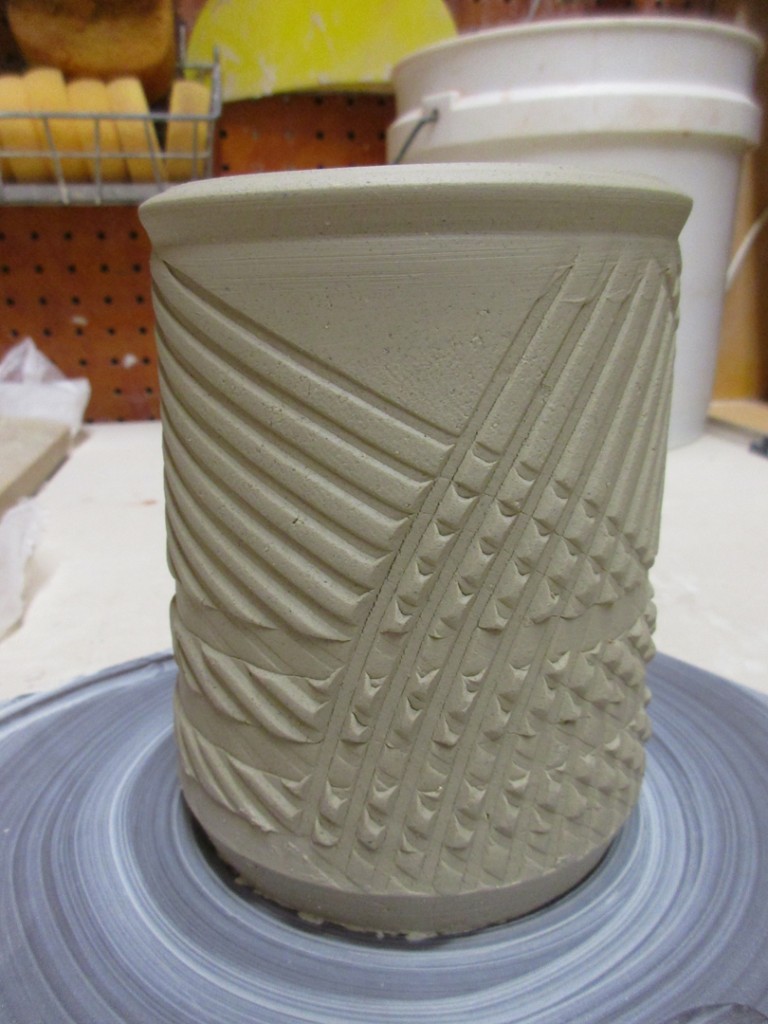

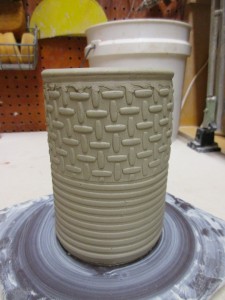
After they’ve stiffened up, usually overnight under loose plastic, I carefully flip them over and begin to trim a nice footring onto the bottom. This is a great chance to give the cup a well-designed foot helping force the “illusion” that it may have been thrown on the wheel instead of handbuilt. After trimming, I make sire to burnish all of my trimmed surfaces to smooth them out, and sign the cup when I’m done.
SIDE NOTE : Have I mentioned lately how much I LOVE my Giffin Grip?!!!
Possibly the best and most useful pottery tool ever… at least in my studio.
Besides my wheel.
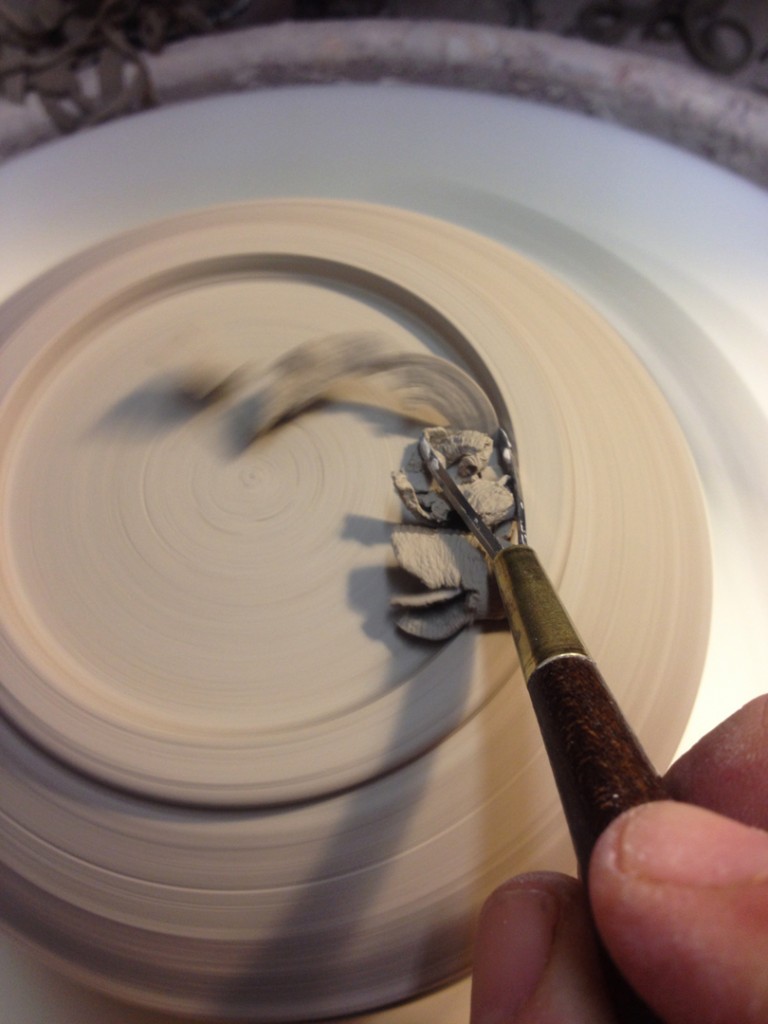
And voila’… another one of my “issues” with handbuilt cylinders resolved. A nice footring.
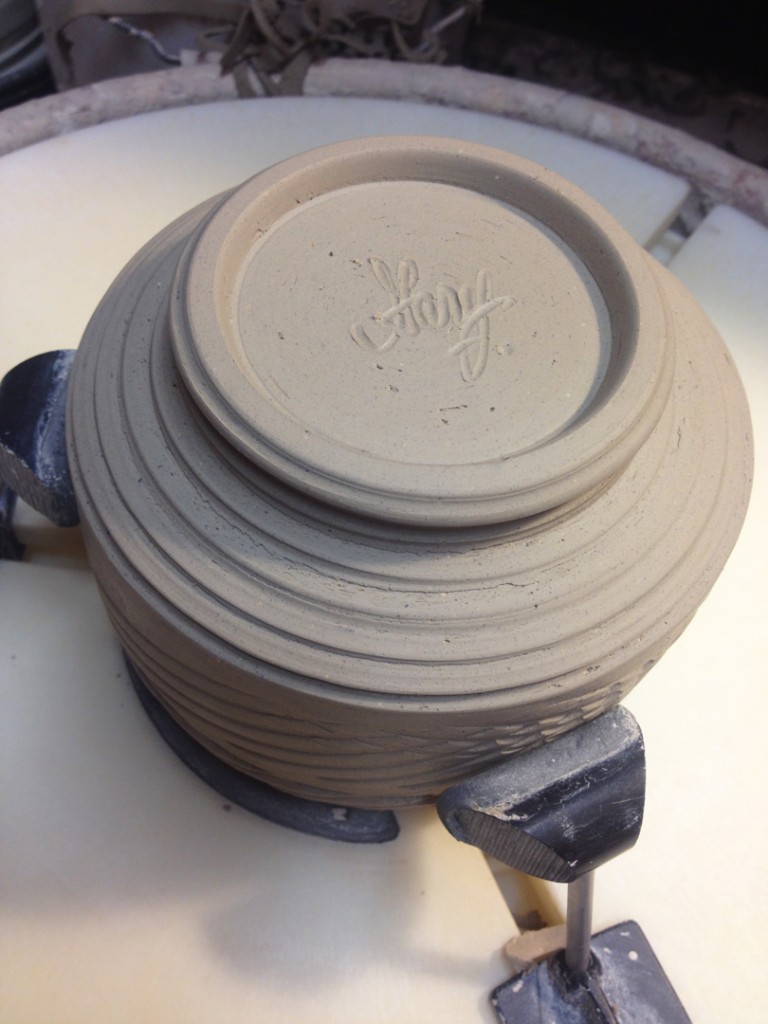
Then I add handles with the same traditional method I use for adding handles to my regular wheelthrown mugs. Little nuggets of wedged clay pulled with a bit of water and a lot of friction!
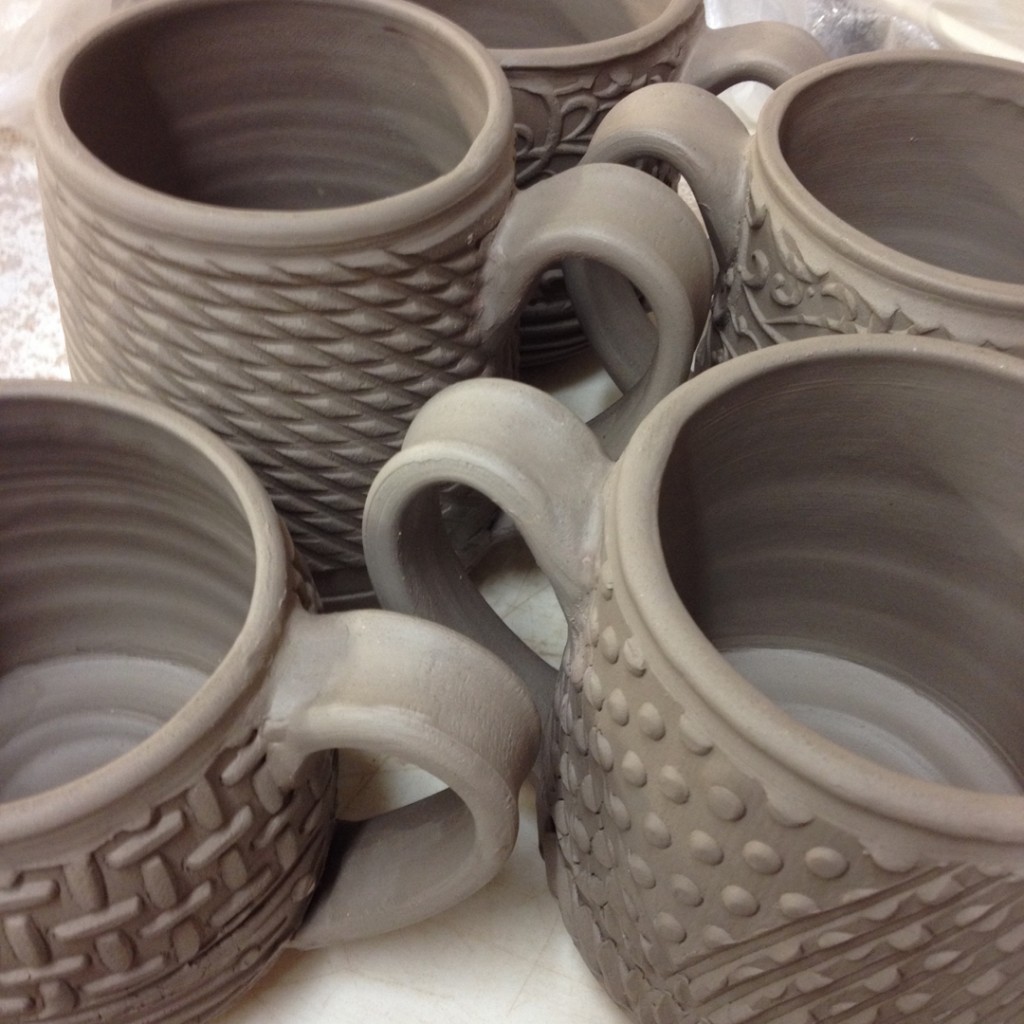
After they’ve set-up overnight under plastic, I wax the bottoms of the mugs.
Why you may ask?… because I’m going to be dipping them in slip, and I don’t want slip on the bottom of my cups… maybe it’s just me.
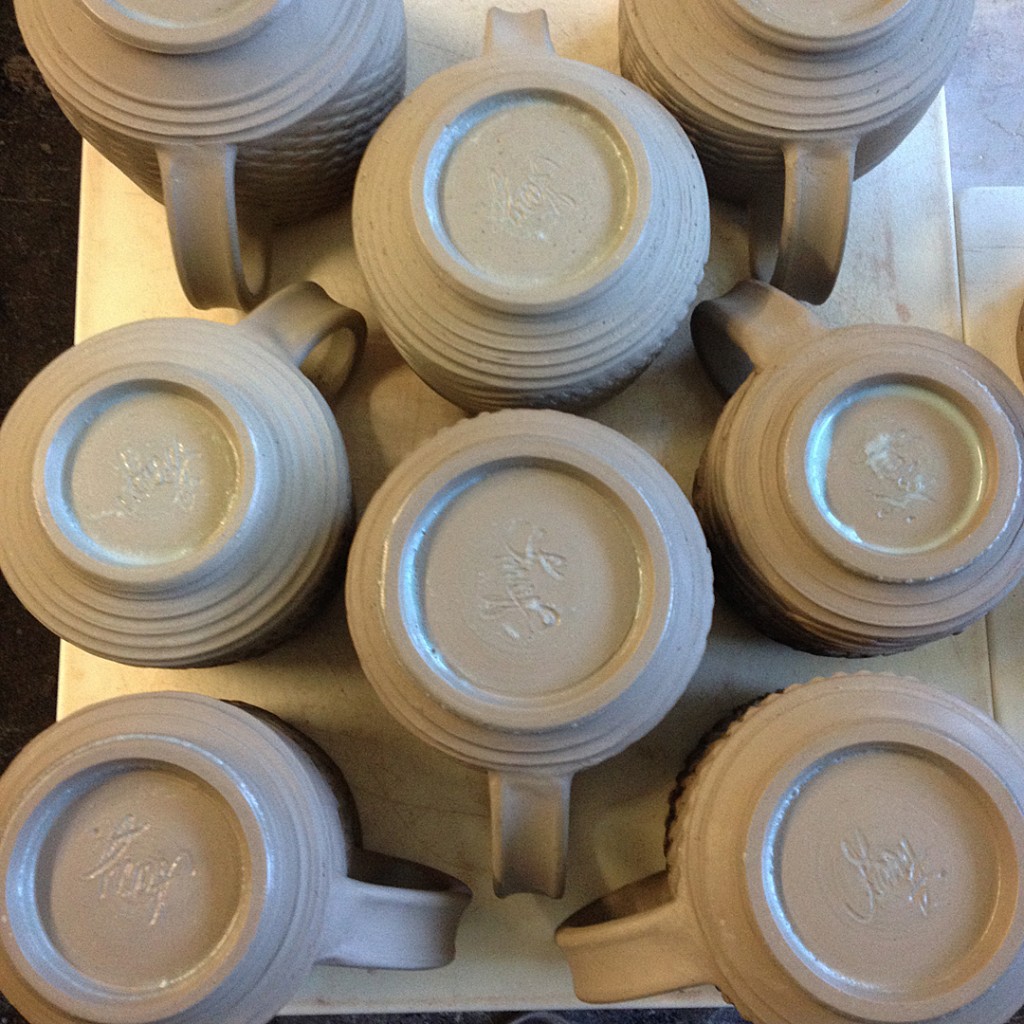
After the wax has dried, I dip the exterior of the pot into a thin flashing slip.
Not only does it give a nice layer of color that will flash & “pop” in the soda-kiln,
but it also sort of cleans up and smooths out some of the seams & edges.
And with the wax… no slip on the bottom of my cups!

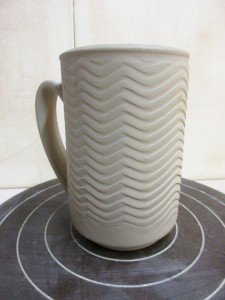
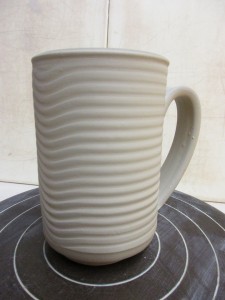
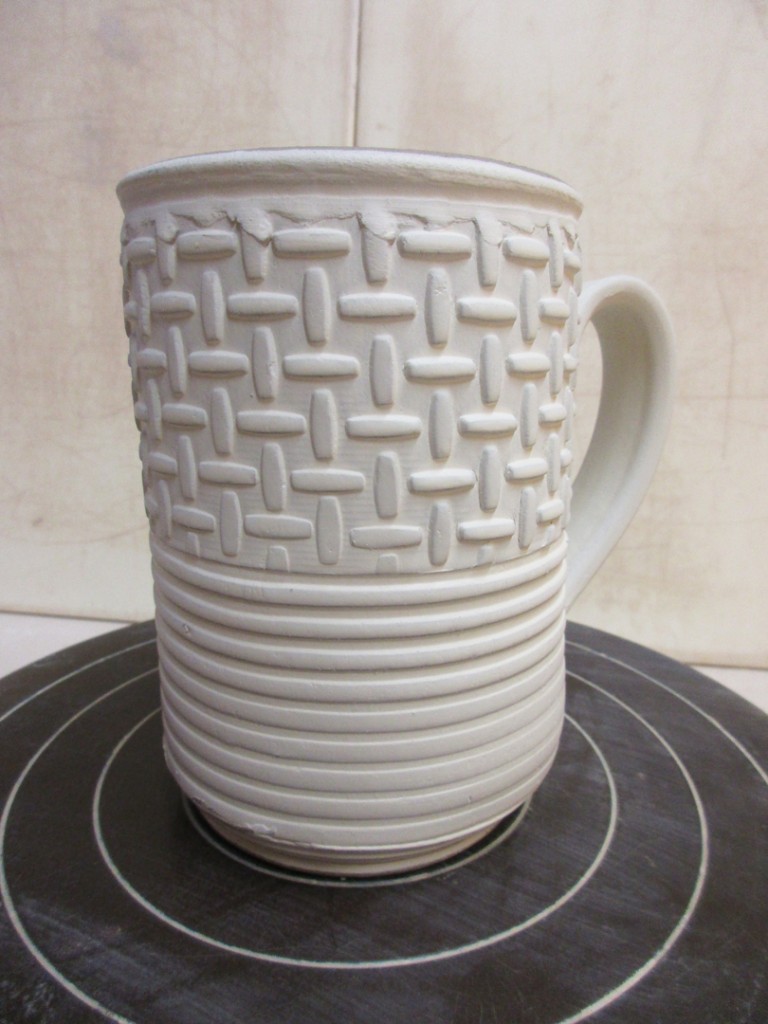
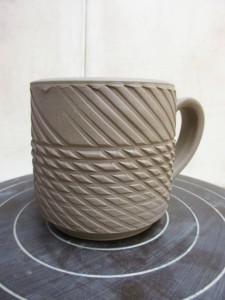
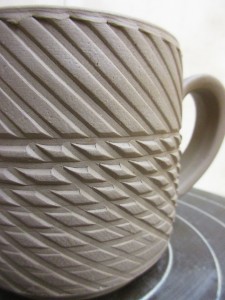
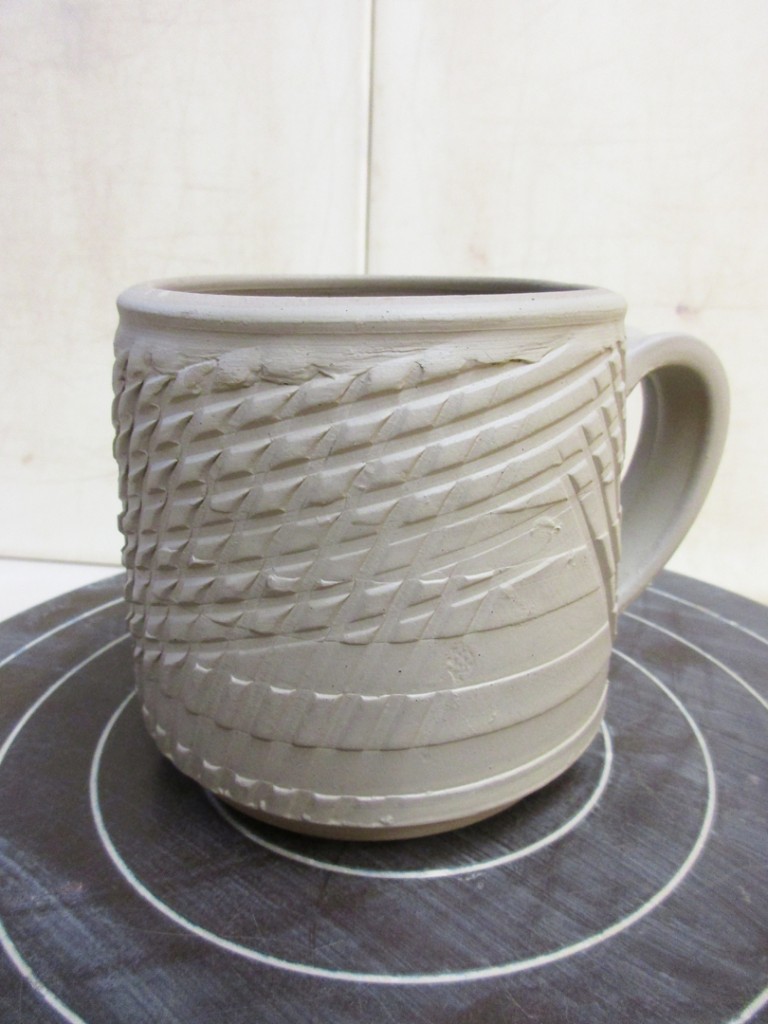
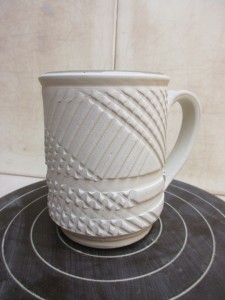
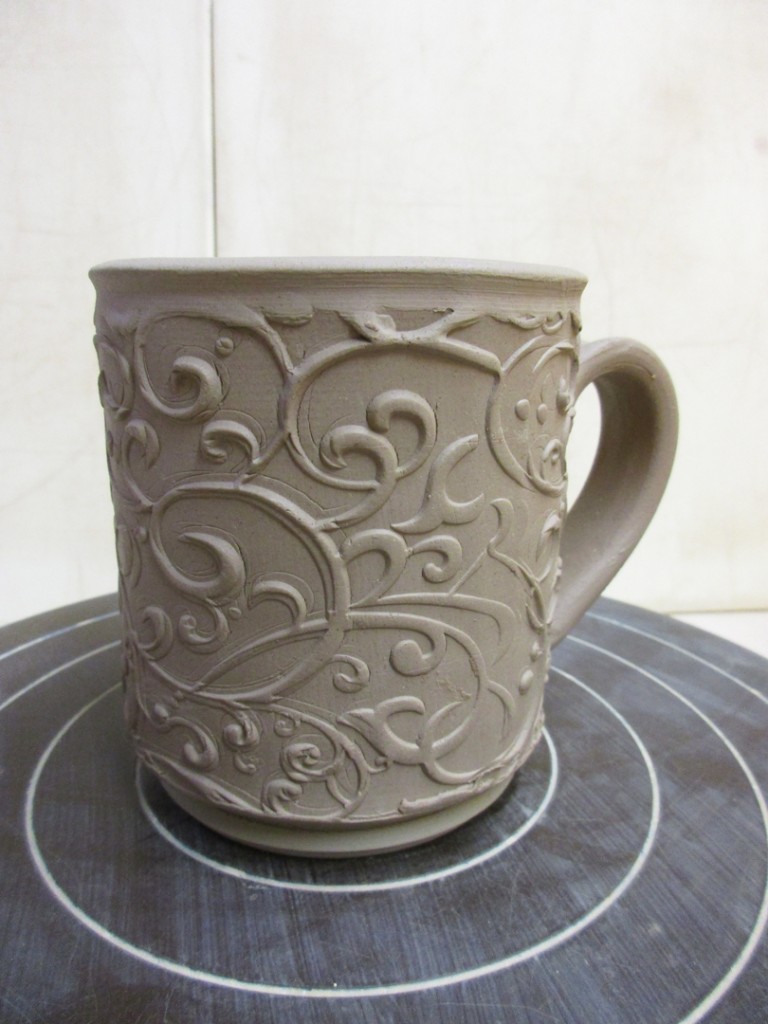
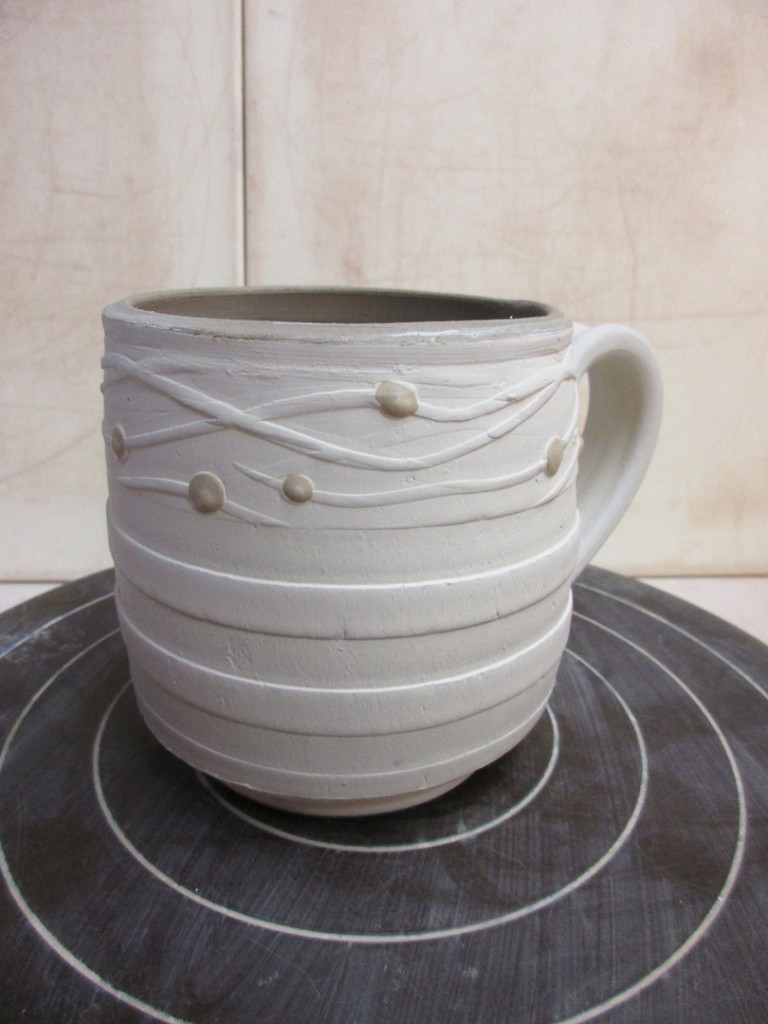
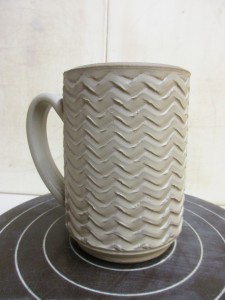
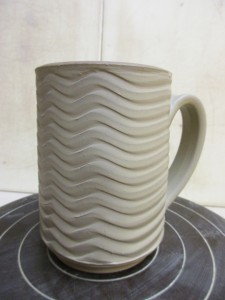
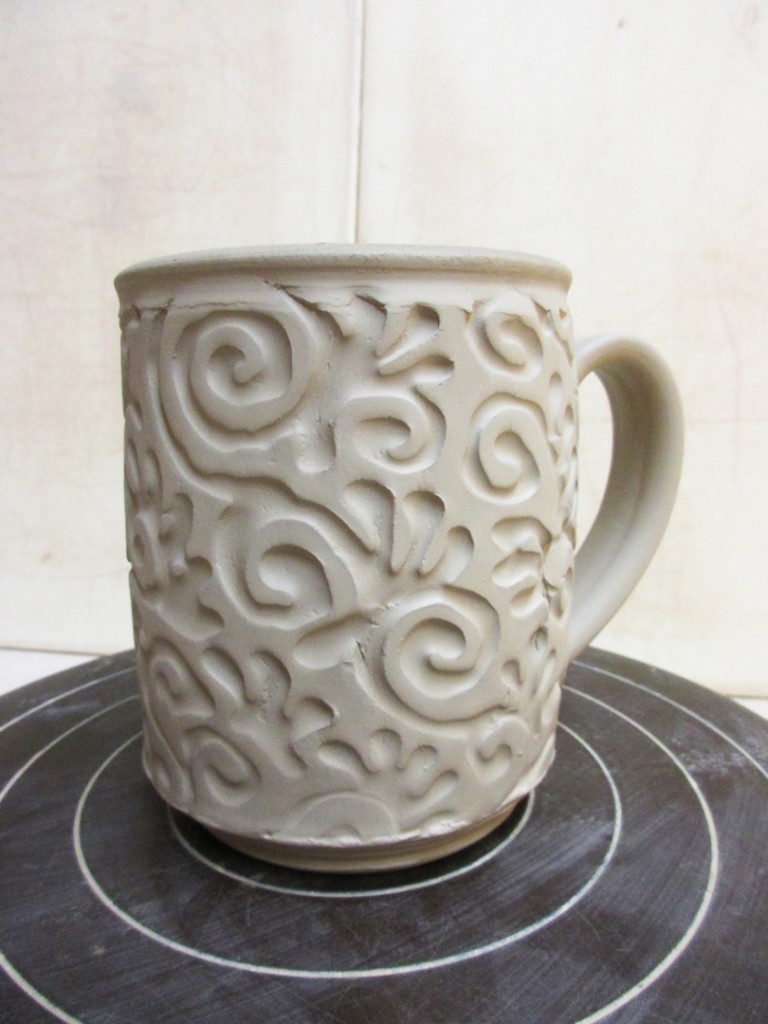
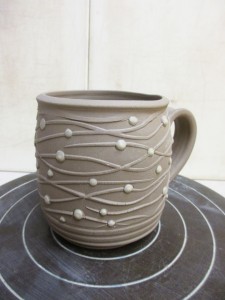

So for now they’re “done” while I wait for them to dry…
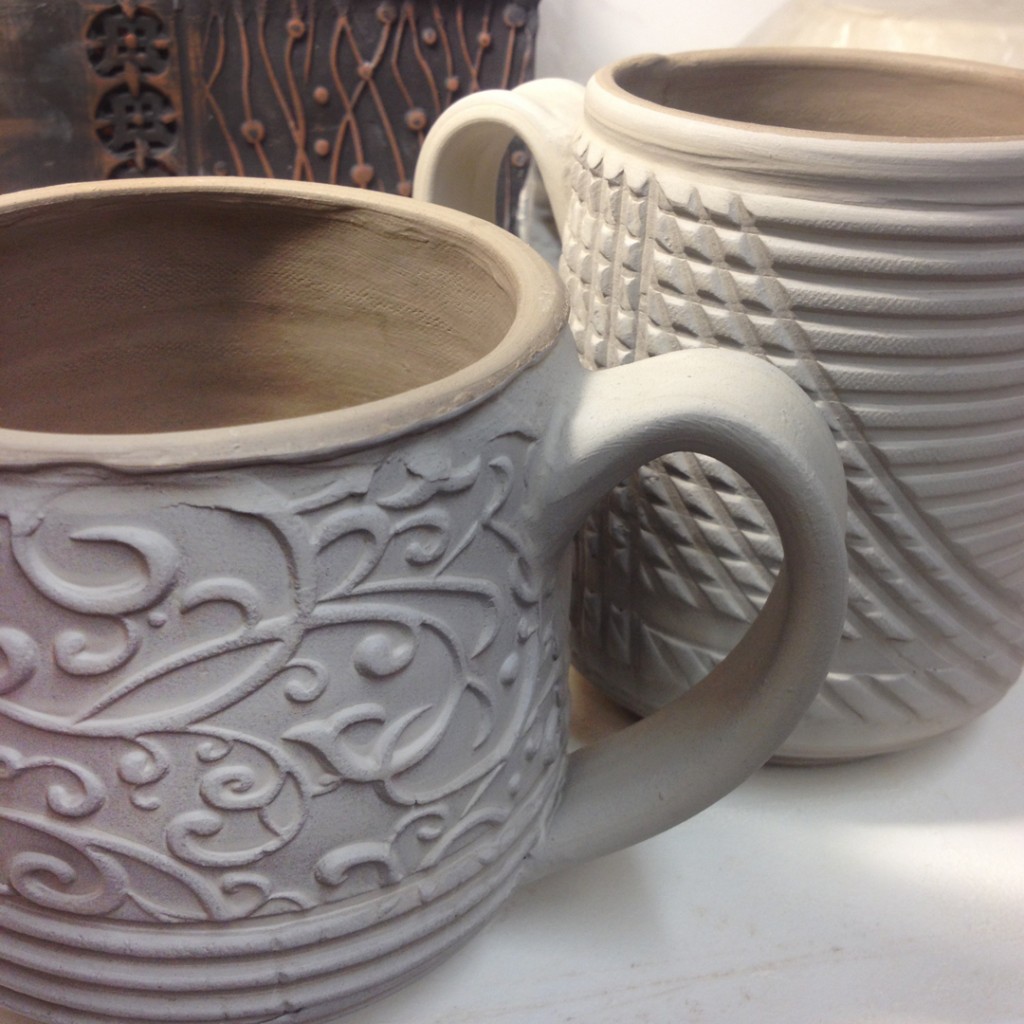
and then be bisque-fired and eventually soda-fired.

Thanks for sharing this tutorial! I will try it out this week.
Thank you so much!! I absolutely love this idea!
Brilliant!!! Thanks for sharing.
Hi Gary!!! Way cool!!! Do you position the handle over the seam or does it matter? I will try this but I’m not a terrific hand builder!!! Smiles! And thanks!
These are great and thanks so much for sharing your method!
HEY DEBBIE – Yes, I do add the handle to hide the seam. I little “creative camouflage” never hurt anything!!! Good luck.
GARY