So the class demo bowls have been “under wraps” in my studio for a few days. But I finally got around to do doing some stamping & detailing. Making the “not-so-basic” bowl demo even MORE not so basic!!!
A quick row of stamps around the edge of a thin flared rim.
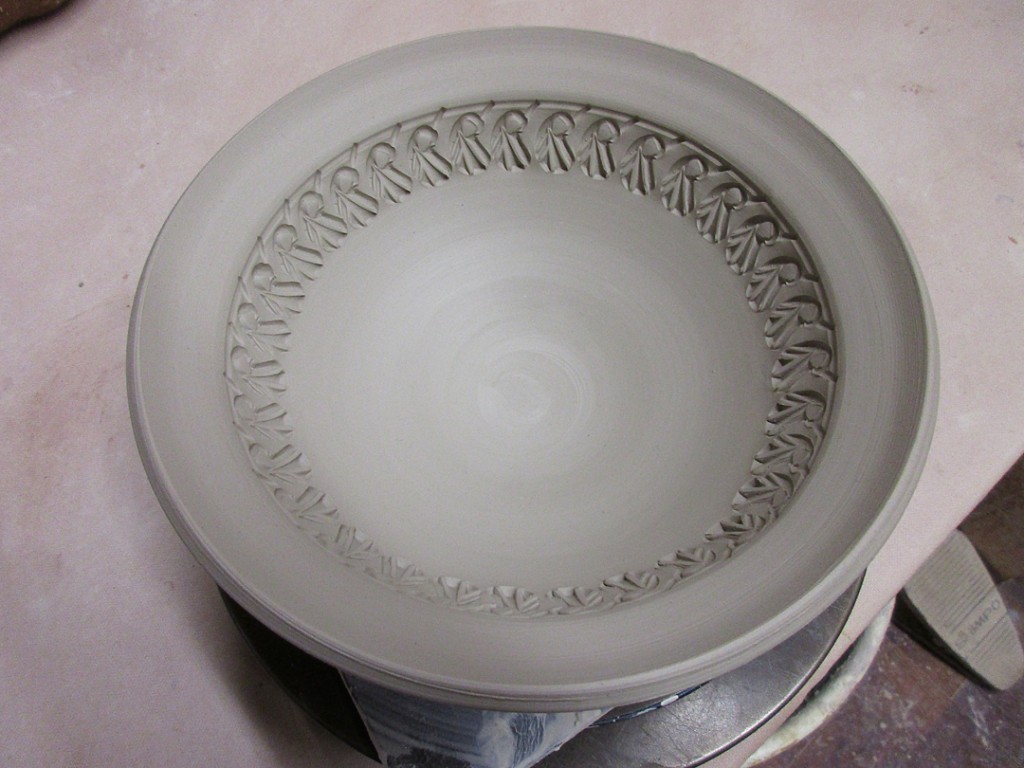
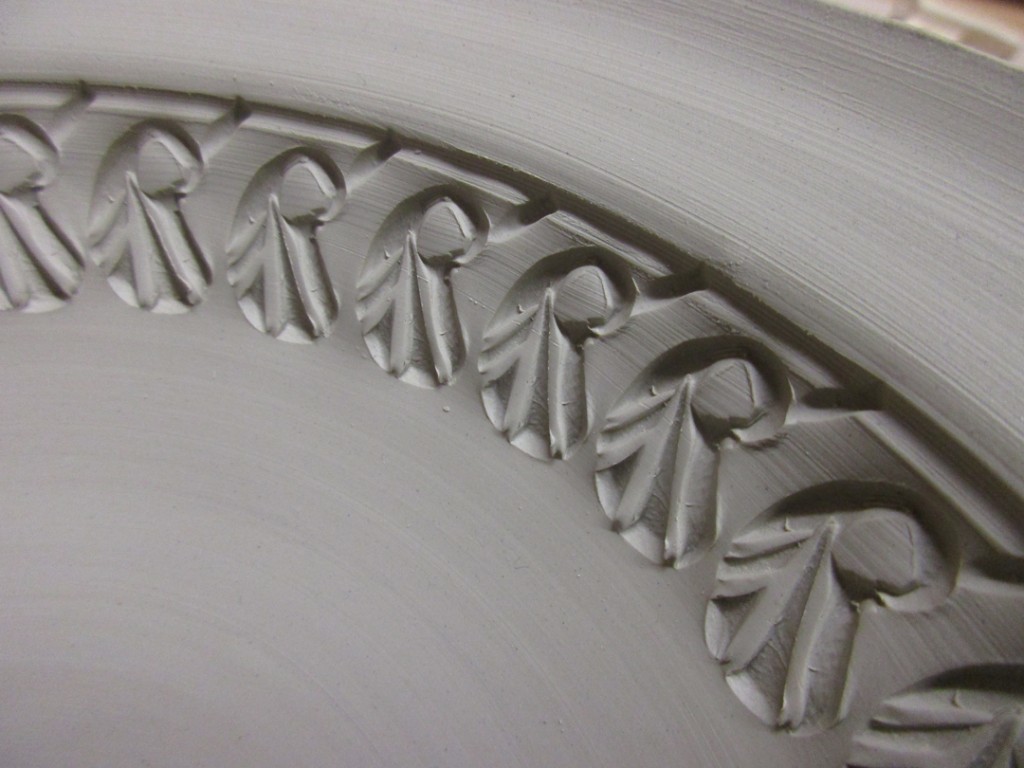
A thinner row of stamping on the smaller section of the bowl.
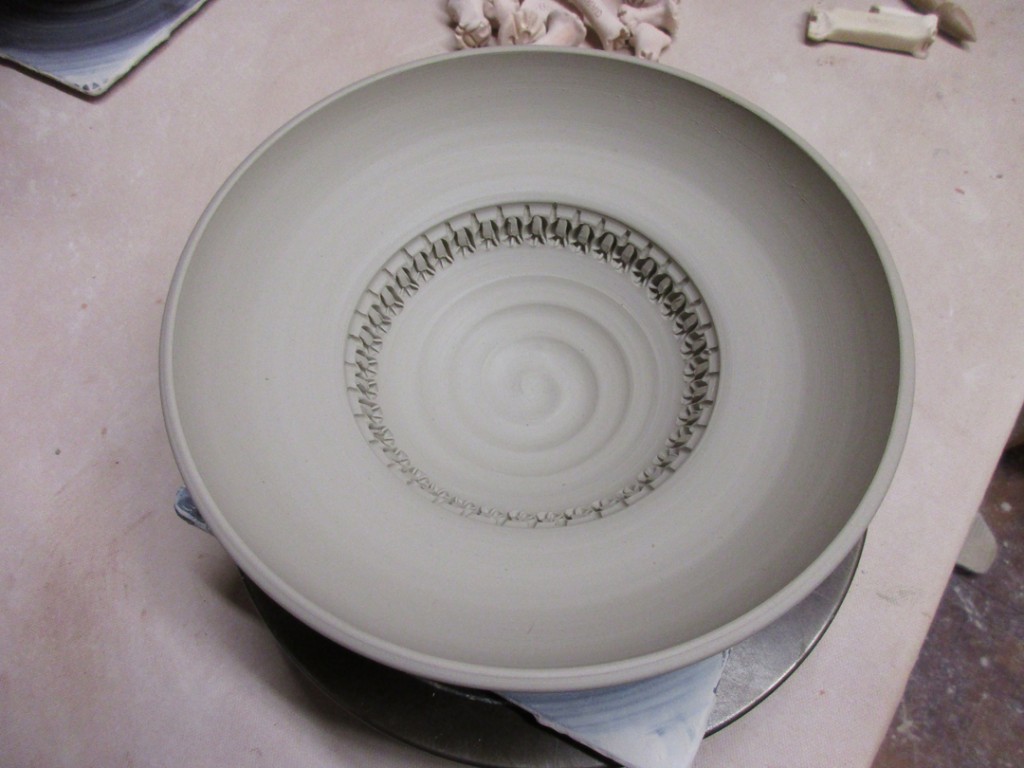
Another row of stamps around the interior of this bowl with a fluted flange.
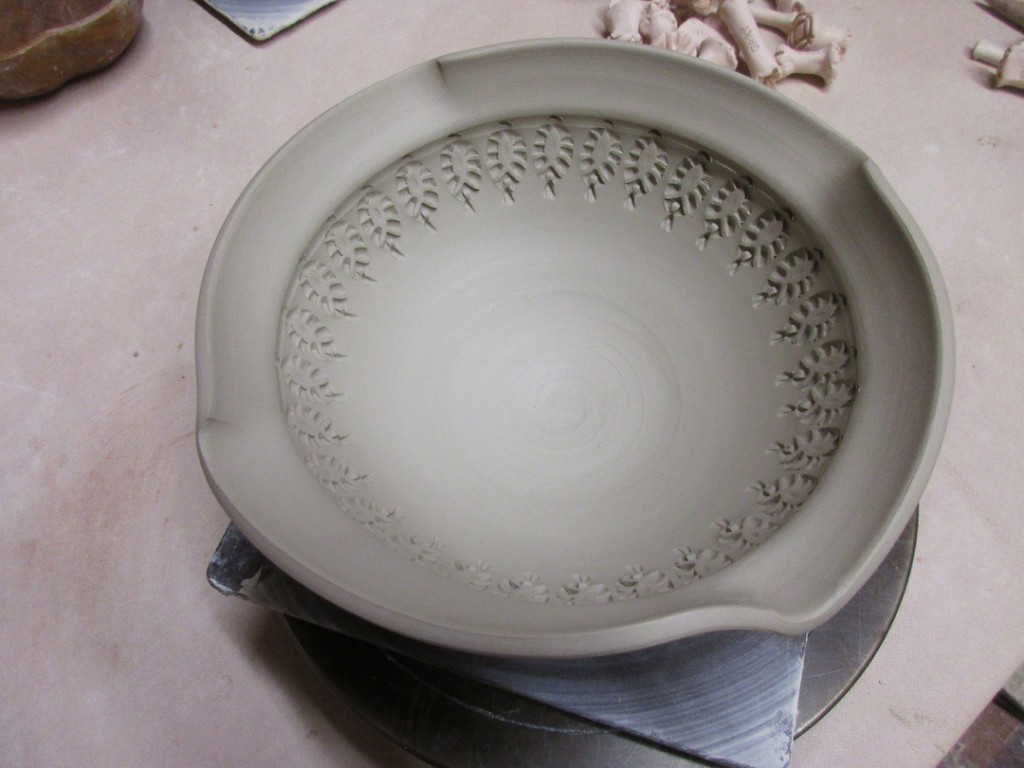

This bowl had two finger-twists… so I decided to stamp HALF, and only half!!!
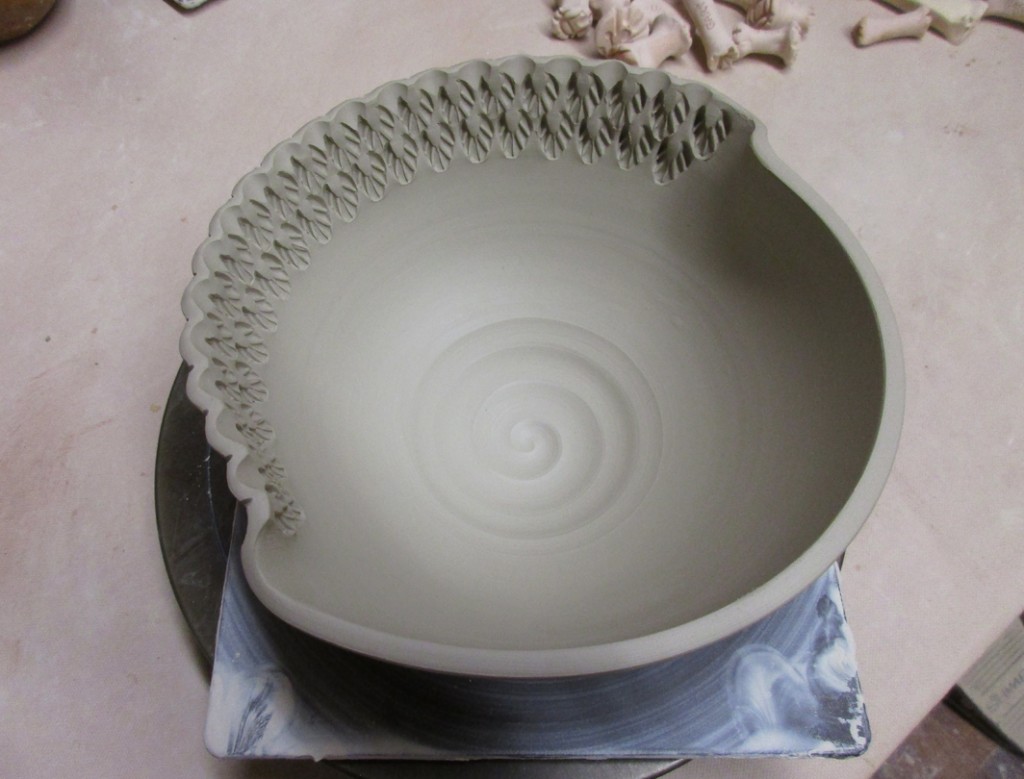
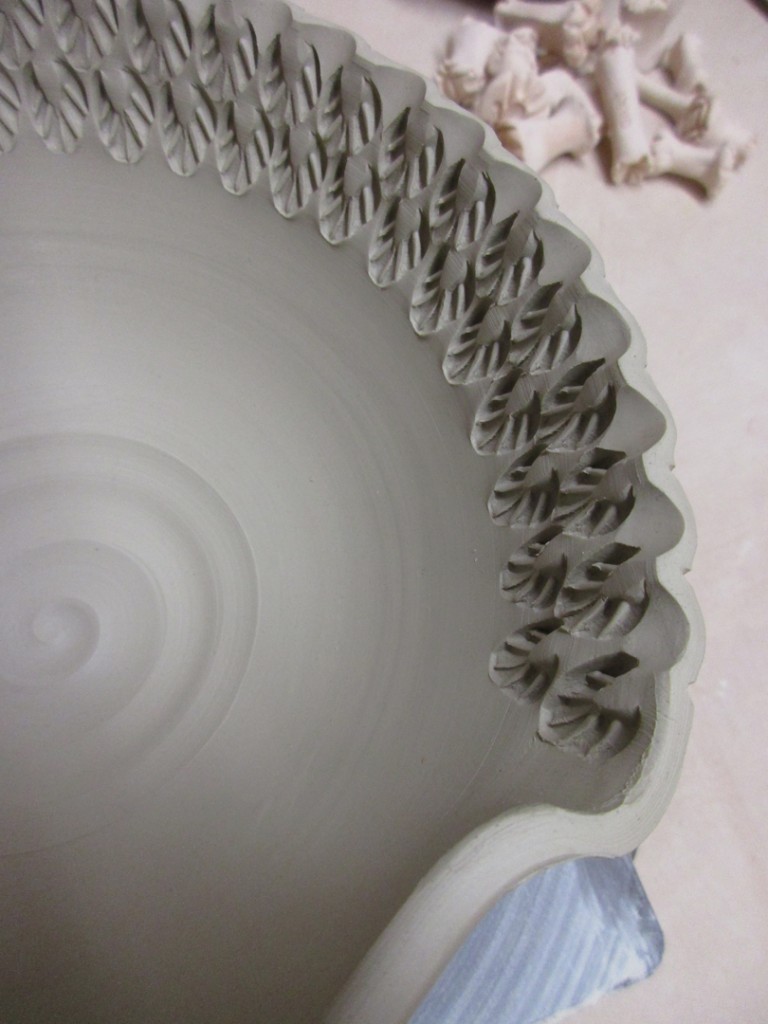
Eight fluted accents… now with angled stamps & little button accents.
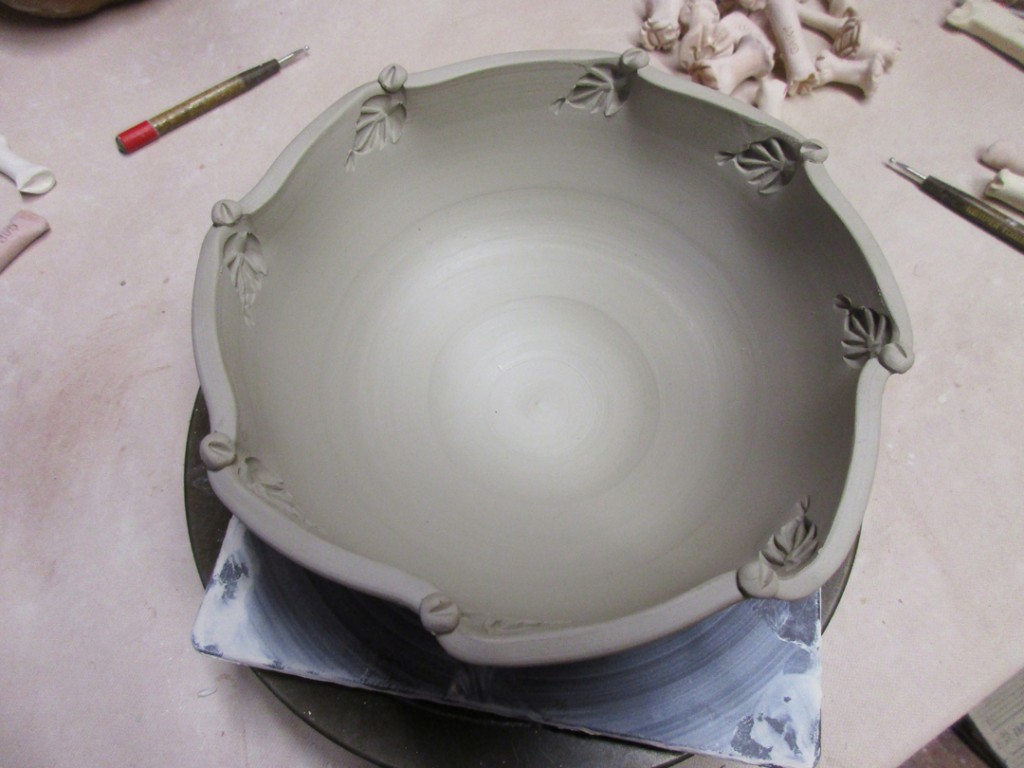
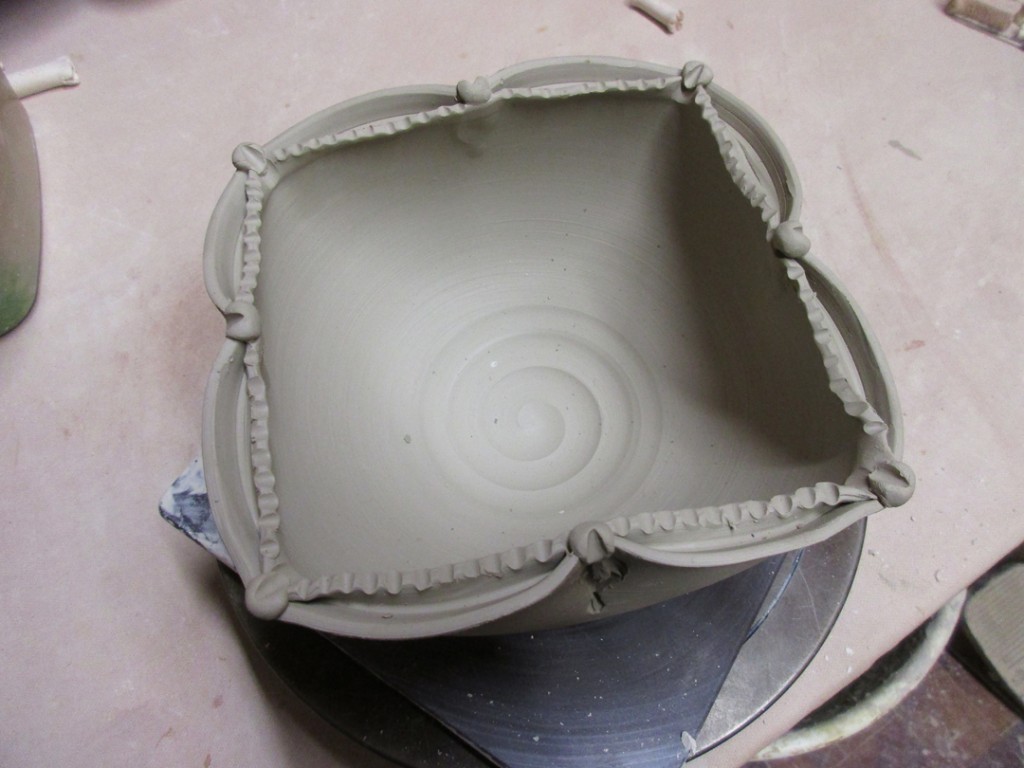
The basic split-rim bowl now has little “buttons” attached where it was pinched back together. You can’t really see it, but there’s also a stamp on the exterior just below each pinch point.
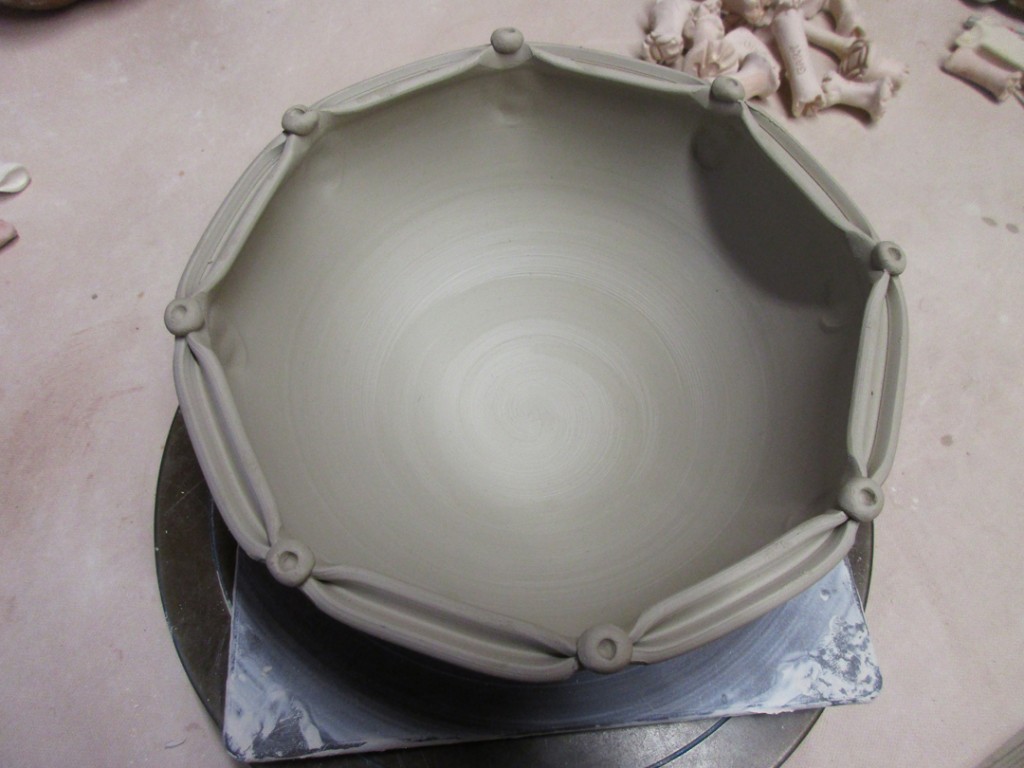
Same deal here… a small stamp on the exterior and “buttons” added at the pinch points.
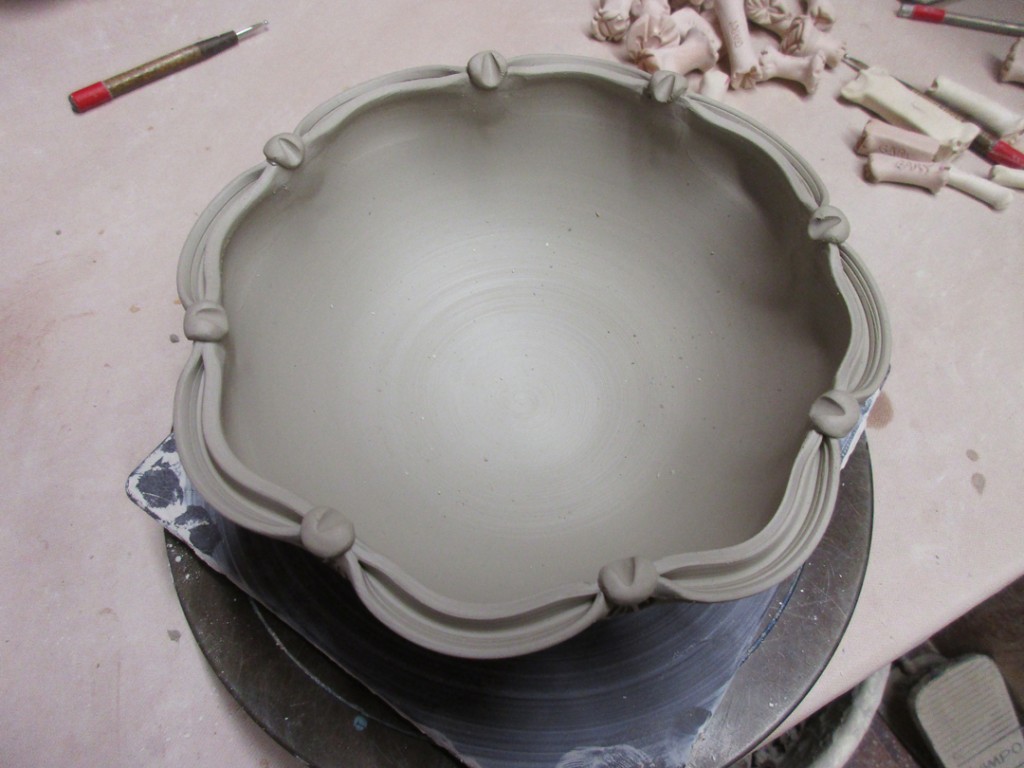
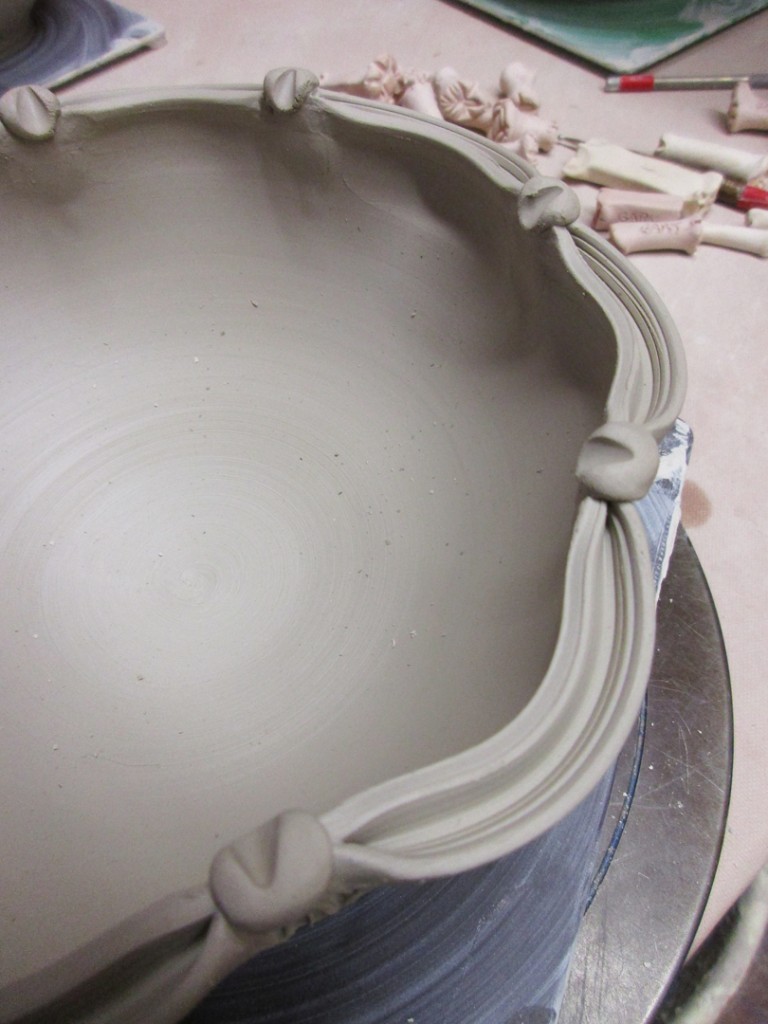
The bowl with the dragonscale “flower” got a simple “grooved” rim.

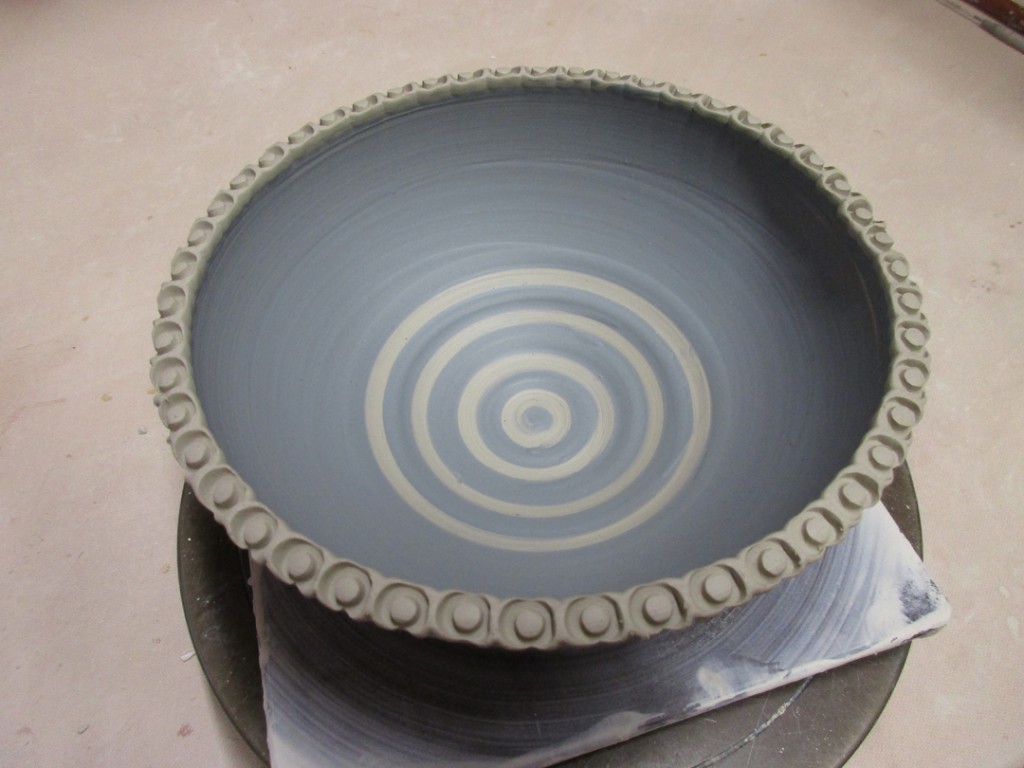
The basic bowl with solid white slip inside got a simple row of stamps along the top exterior.
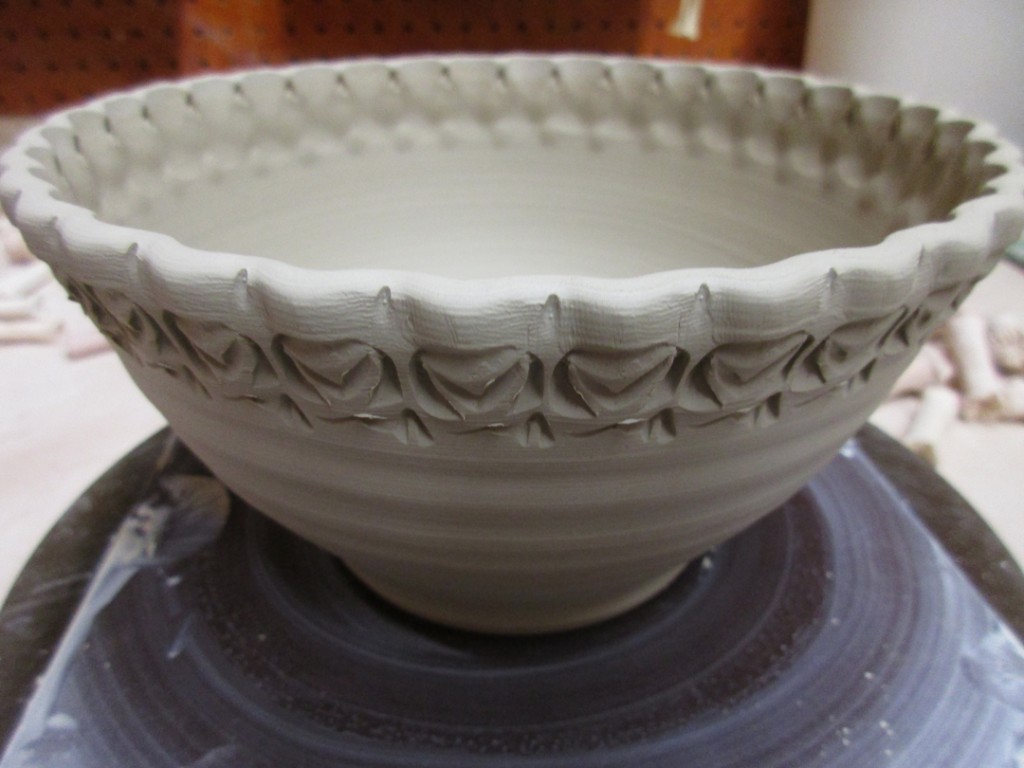
A simple bowl… a simple rim… no longer so simple with a row of stamps!
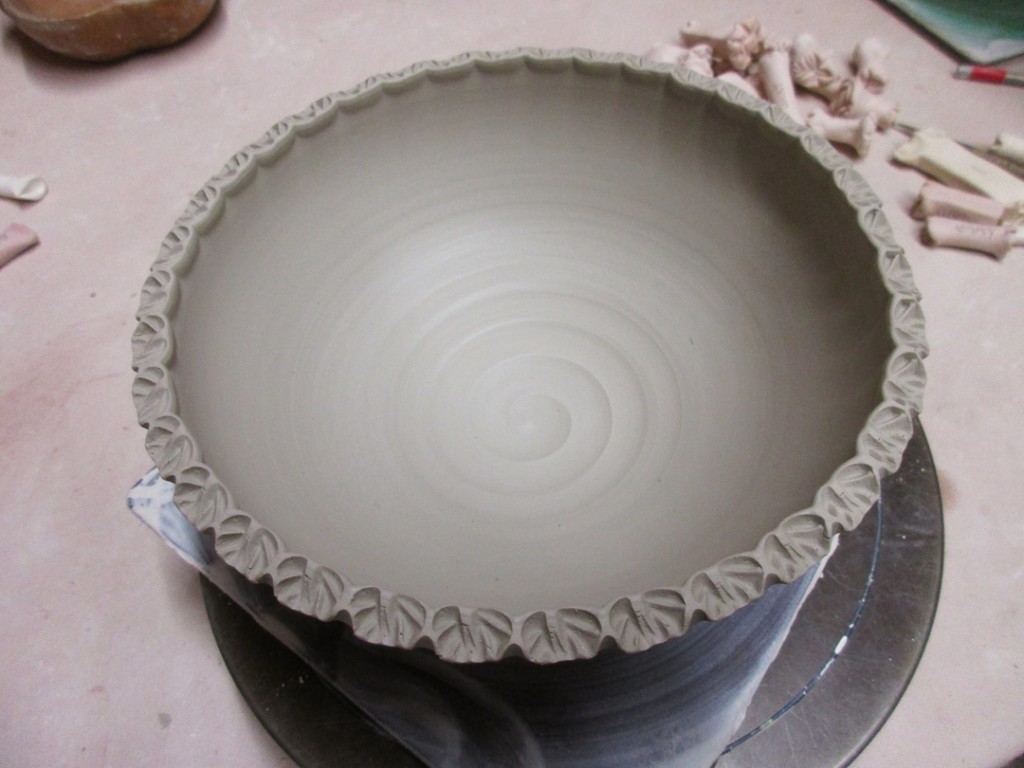
Grooved rim should catch & hold some glazes in a pretty cool way.
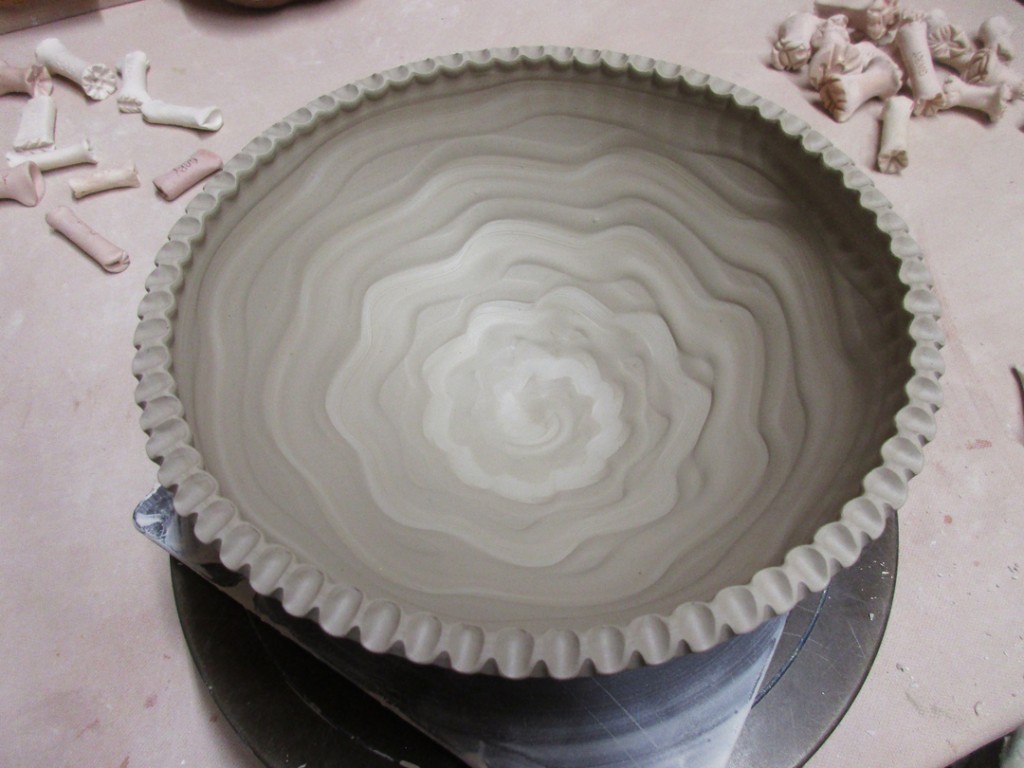
The split rim square has been detailed… but only on the inside is the rims!
With some concentric circles in the bottom, I though circular dot stamps were perfect!
The chattering pattern has a certain “motion” to it… so I tried to accentuate the movement with some angled grooves around the rim.
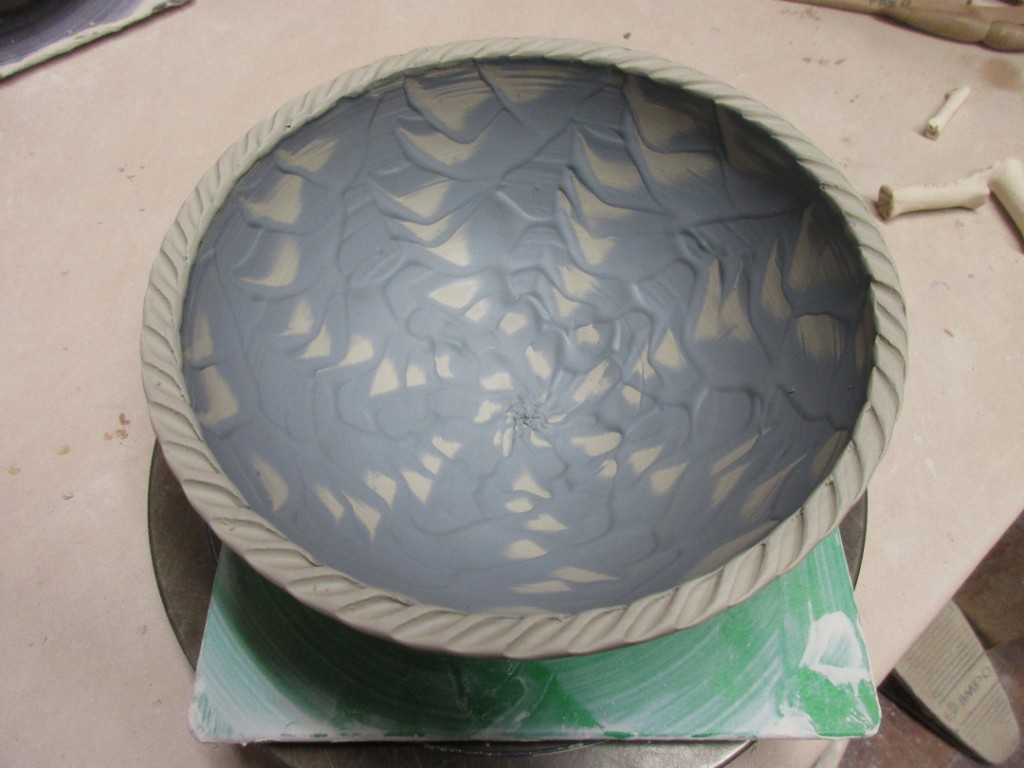
Vertical stripes dragged through the slip are mimicked with the grooved rim.
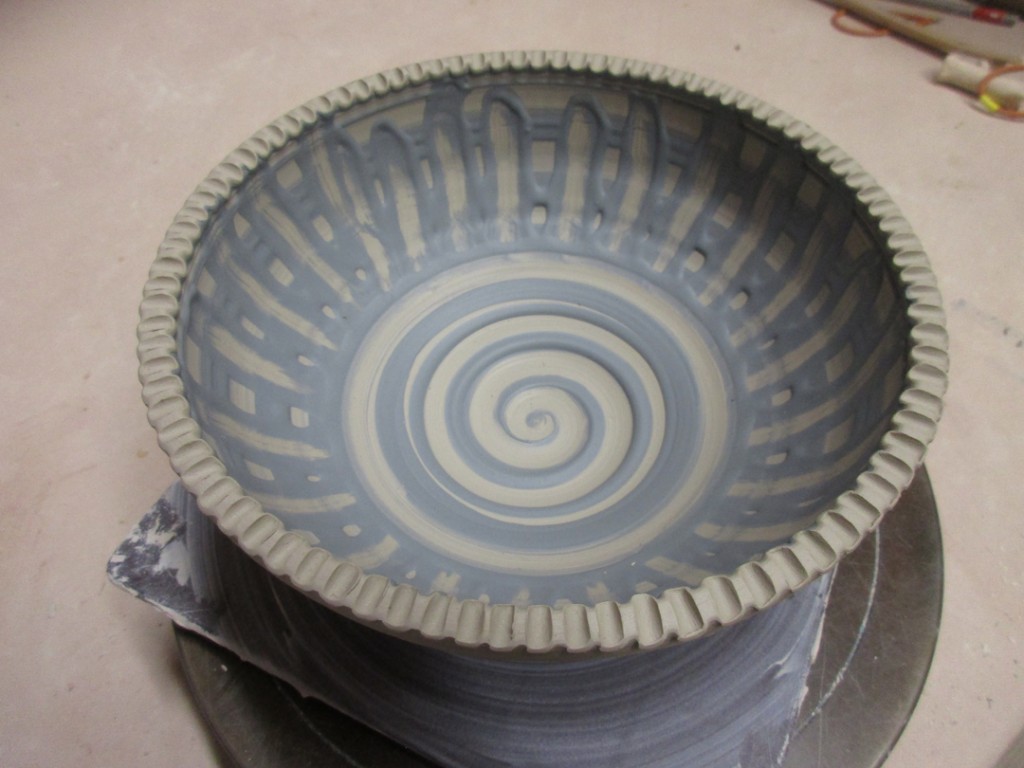
So now they’re drying and waiting to be trimmed. One step closer to done.
just wondering if you pinch the rims right after throwing the bowls…and does the variance in the rim effect the trimming? Thank you so much
HEY REBECCA _ Either way. When I’m making them in my studio, I pinch them right away. For my class demo, the split rim bowls sit out for maybe a half hour before I do the second part of the demo where I pinch them together. I just run a wet sponge over the top edge to re-hydrate a bit before pinching closed. So it works either way!!!