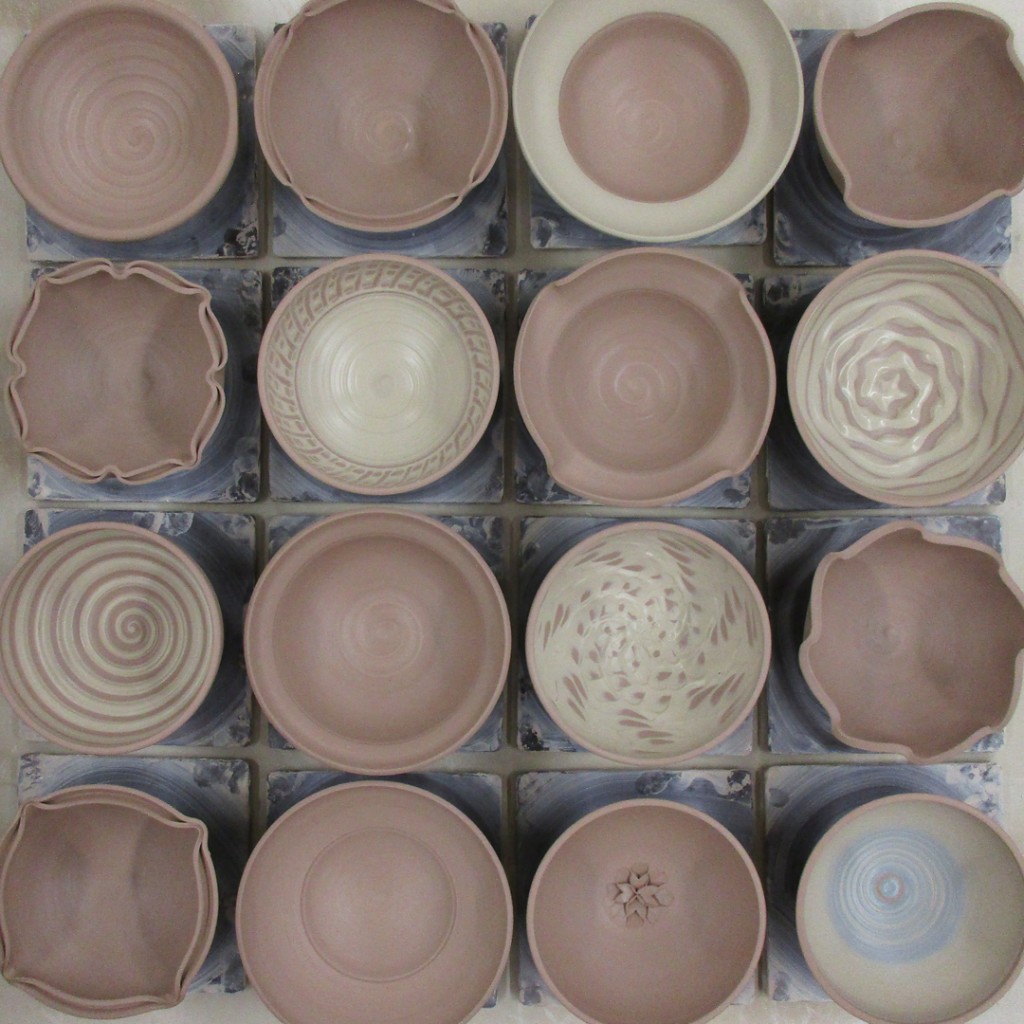
Last night in my pottery class we made a LOT of bowls!!! We started with a demo of how to make a good basic bowl. A bowl on purpose instead of a cylinder gone bad. We talked about gaining control of the clay and having a plan when you start. Sit down at the wheel and know what you’re going to make before you even start centering the clay.
So I threw one bowl for my students… and then “released them” back to their own wheels. While they practiced, I threw 15 more bowls… all basically the same. Simple. Round. Plain. Then we reconvened for Part Two of the evening’s demo.
We discussed the importance of playing with the clay and making it your own. Anyone can make a simple bowl. But making it “special” is a lot more fun. So I went through some quick tricks they can all do to make their bowls a little more fun. And begin to express themselves past the plain, round bowl. And the importance of being diligent and committing to a design. Don’t be tentative… no one likes an “iffy” pot. To start making their bowls with a purpose.
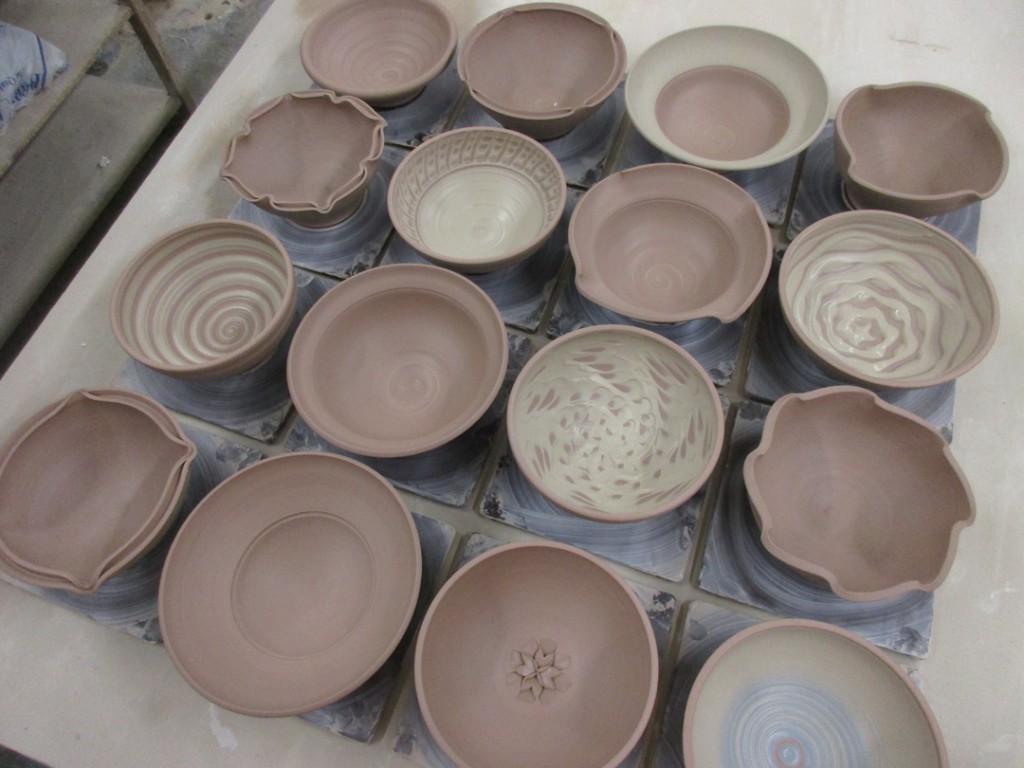

Bowl #1 – Four simple finger twists giving four fluted details.

Bowl #2 – And if four is good, eight flutes might be better.

Bowl #3 – A thin flange flared out to create a wider, decorative rim.
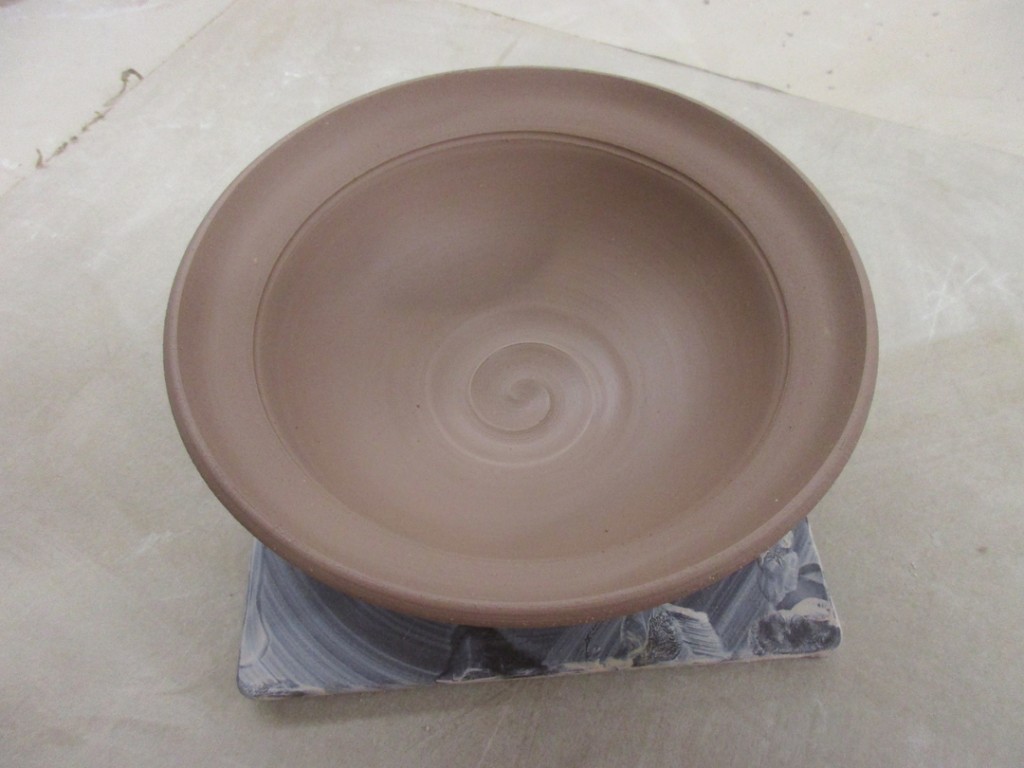
Bowl #4 – And if thin is good, thicker might be better. A wide flanged bowl… kinda like the ones you get at a fancy restaurant. Large bowl with one little bite of food in the bottom.

Bowl #5 – So why not combine the two – flanged & fluted rim.
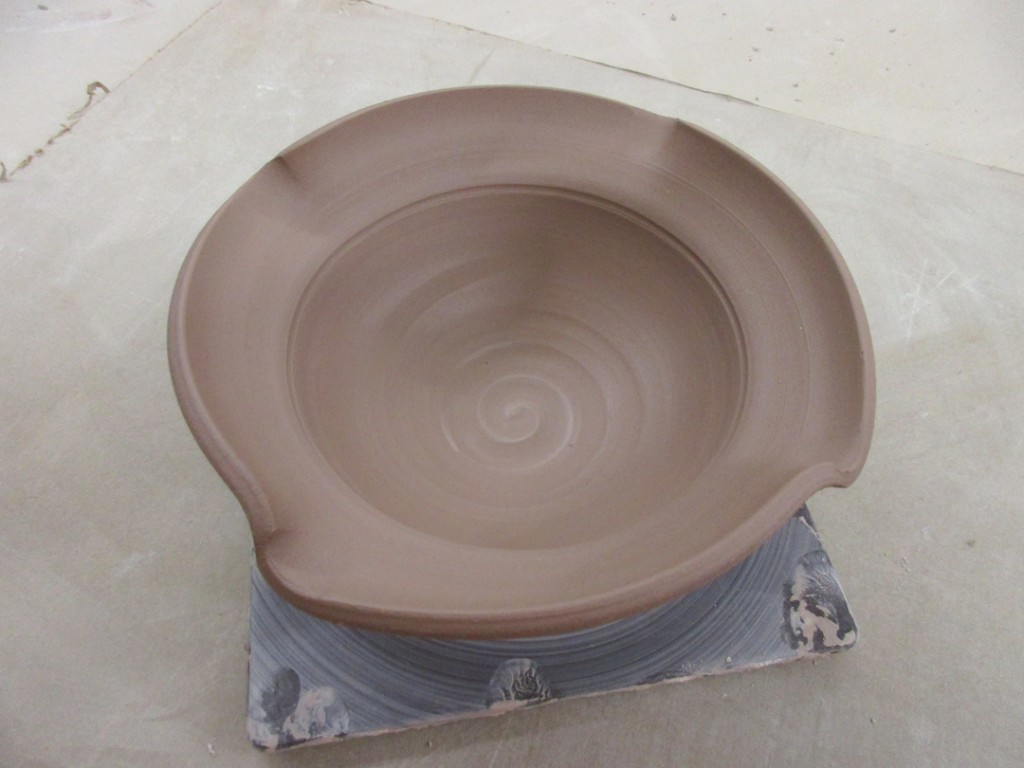
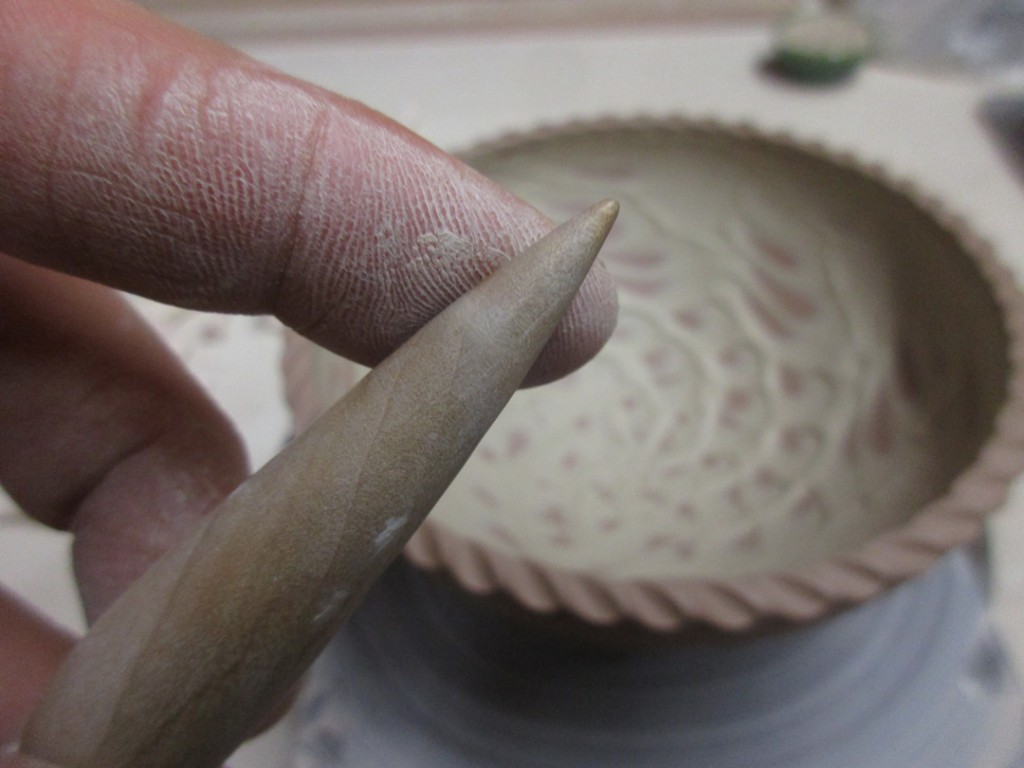
Bowl #6 – A hollow rolled rim to give a bit of visual “bulk” and a grooved spiral.

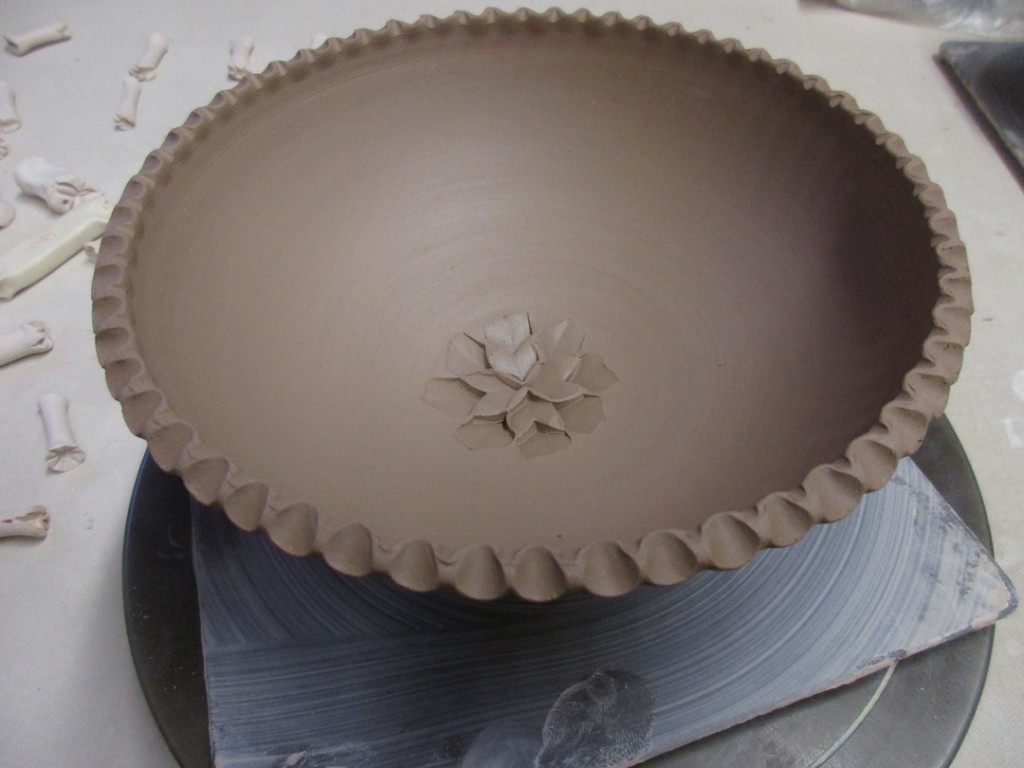
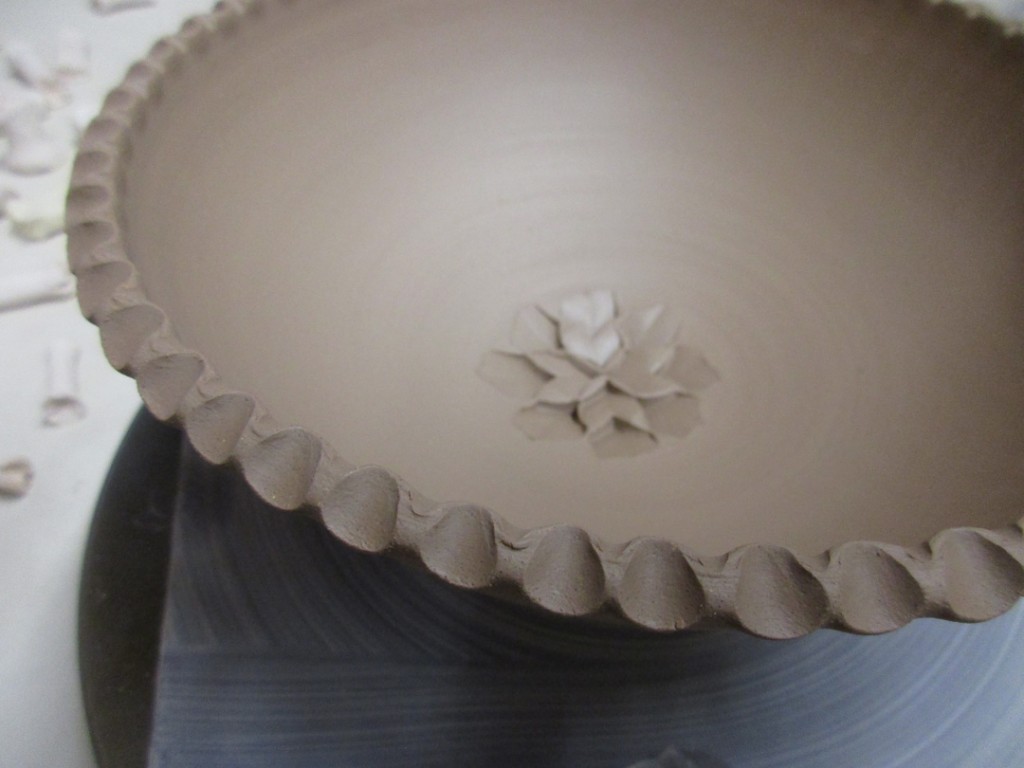
Bowl #7 – A simple flower made in the bottom of the bowl with a dragonscale tool.
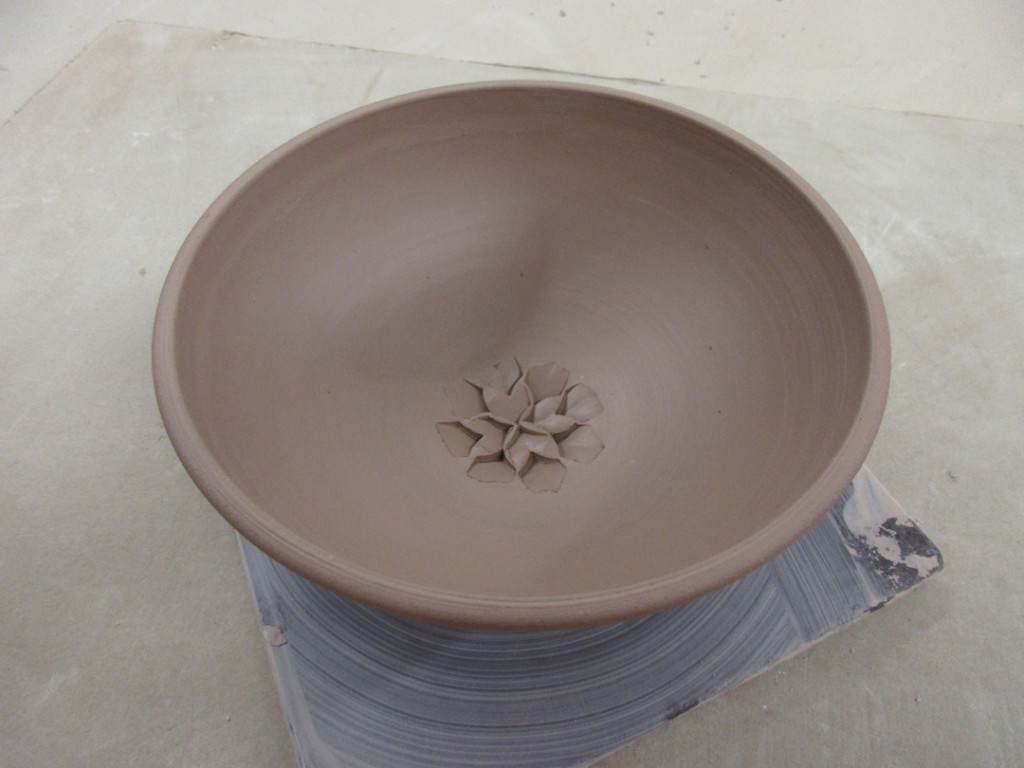
Bowl #8 – A split rim, then pinched back together in four places.
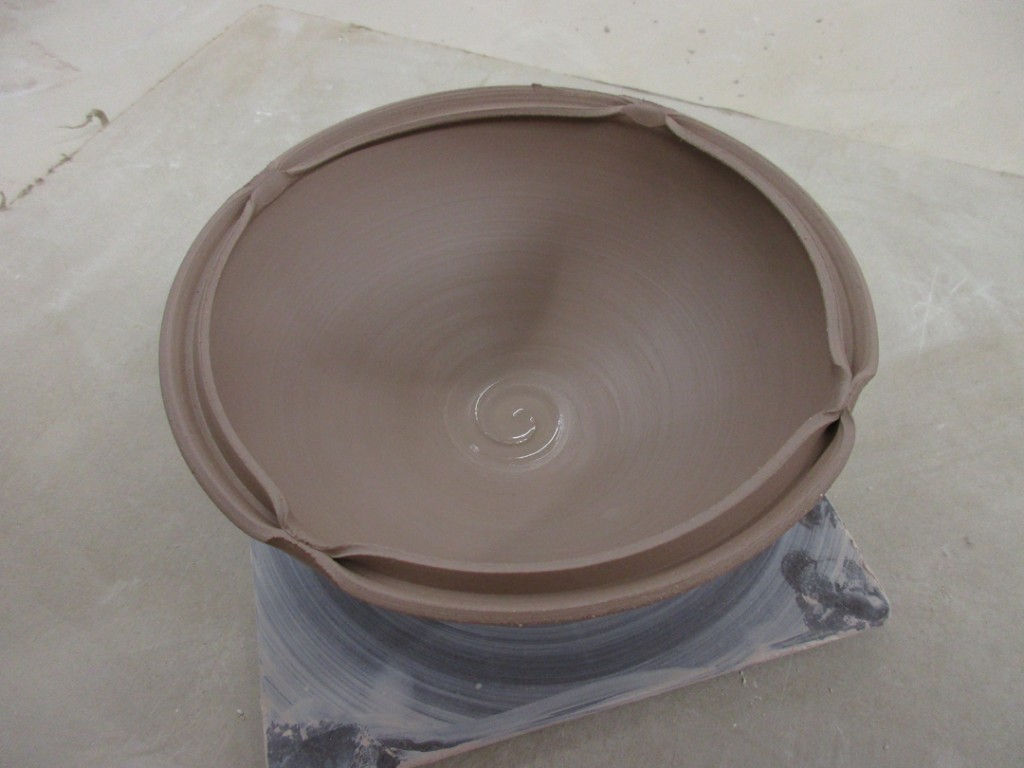
Bowl #9 – A sweet split rim “fluted” out with a round stick tool.

Bowl #10 – Another split rim with four flouted OUTs, and four fluted IN’s!

Then we discussed the fun option of colored slips. Basically a layer of colored clay “skin” that they can paint onto their pots. It’s a quick & easy way to add some flair to the pots. And sure, you can paint them with slip and leave them plain… or…
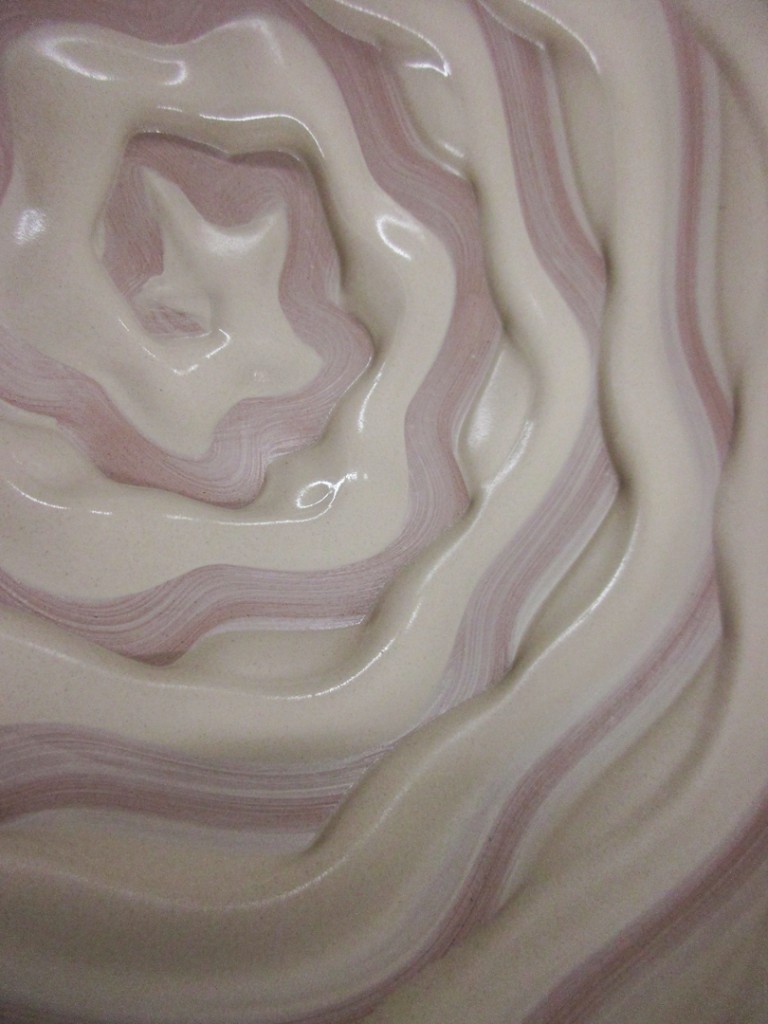
Bowl #11 – A thick layer of white slip and a spiral created by dragging a wood tool through it while the bowl was still rotating on the wheel.

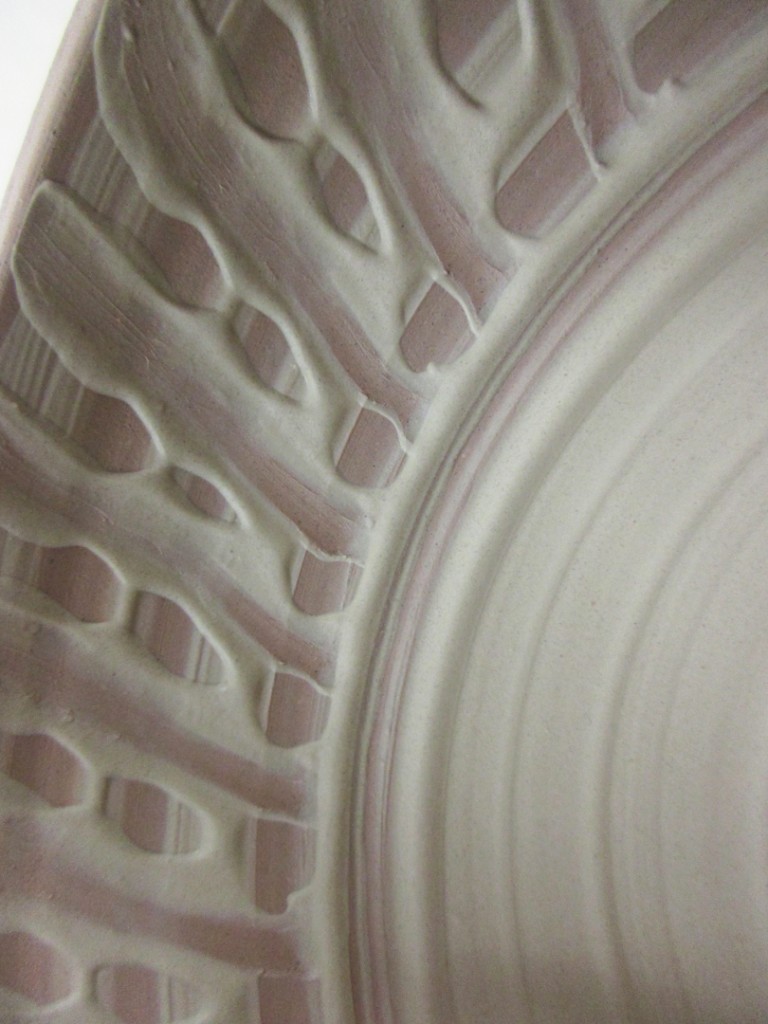
Bowl #12 – Another layer of white slip. A paintbrush spiral in the bottom. Then some horiziontal banding along the top made with a wood tool pressing through while rotating. Then a little “basket weave” pattern by simply dragging through the bands.

Bowl #13 – A little bit thicker layer of slip, maybe double the normal amount, and then some fun finger squiggles… yep, my finger!

Bowl #14 – Another layer of white slip- then some decorative chattering through to reveal the clay color. Chattering is just rhythmic tapping of my rib through the slip while the bowl was spinning.

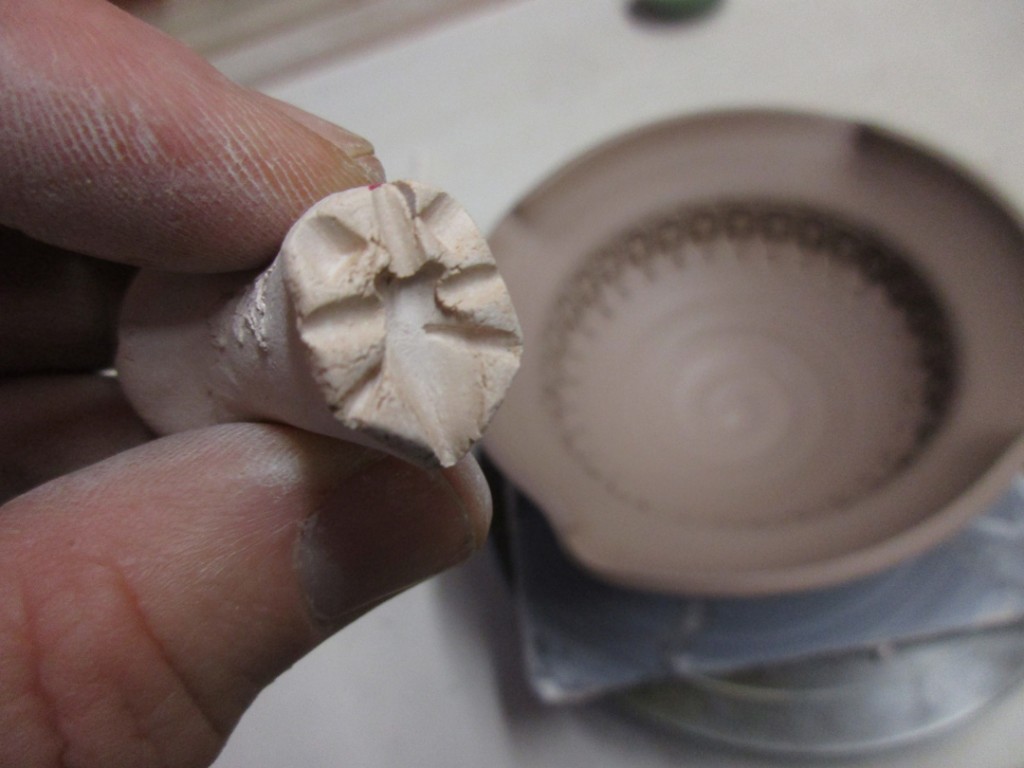
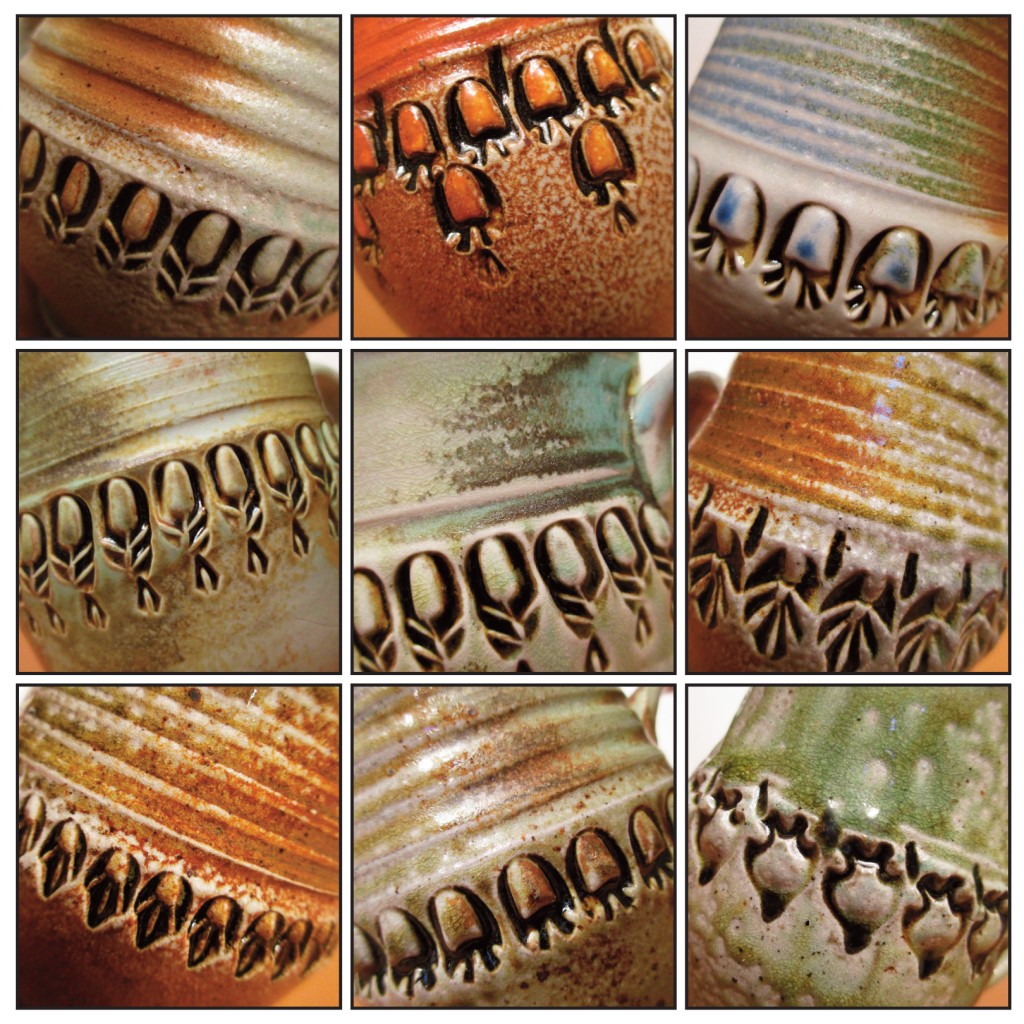
Bowl #15 – The plan here was to make a wide flange, paint it with slip and then do some decorative “fun” on the flange. But my students (err, Catherine) talked me into leaving it as it is for now… and then doing some stamping on the white slip. Their hope is that the stamps would reveal the clay color when pressed in. I doubt that it will. I think the white slip will just press in along with the stamp. But we’ll see…
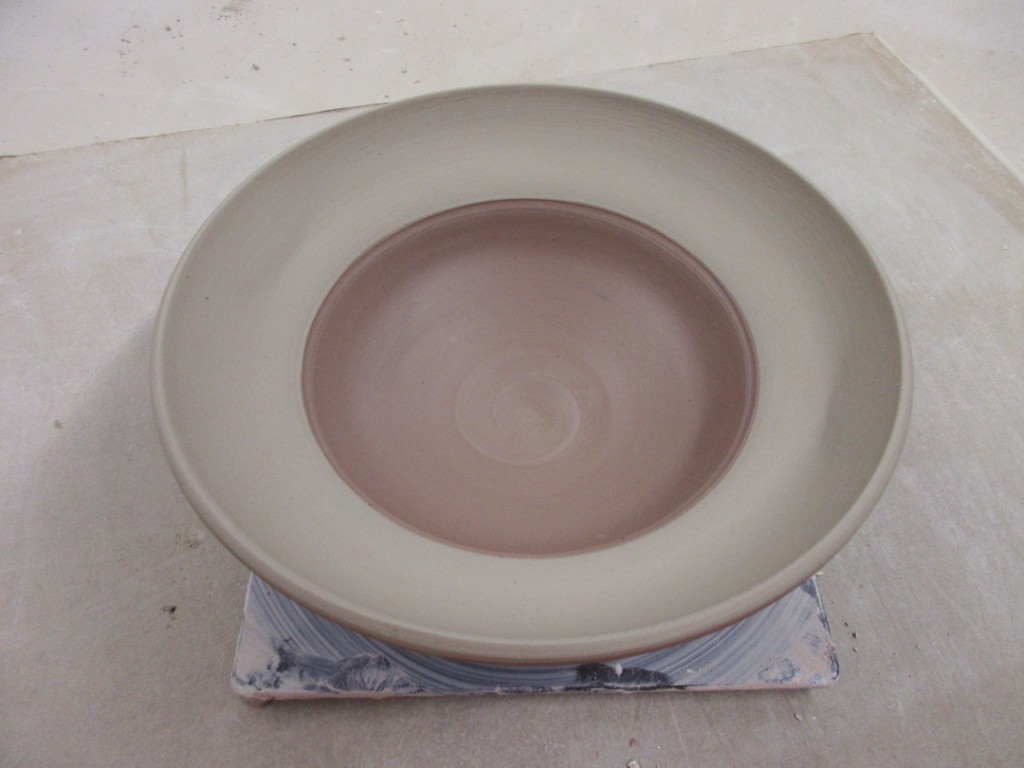
Bowl #16 – A little colored ombre effect by blending two colors.

So for now they’re under wraps in my studio.
Part Three of the demo will happen there when I start stamping & detailing them all a little bit more. I’ll add more photos here as they progress.


