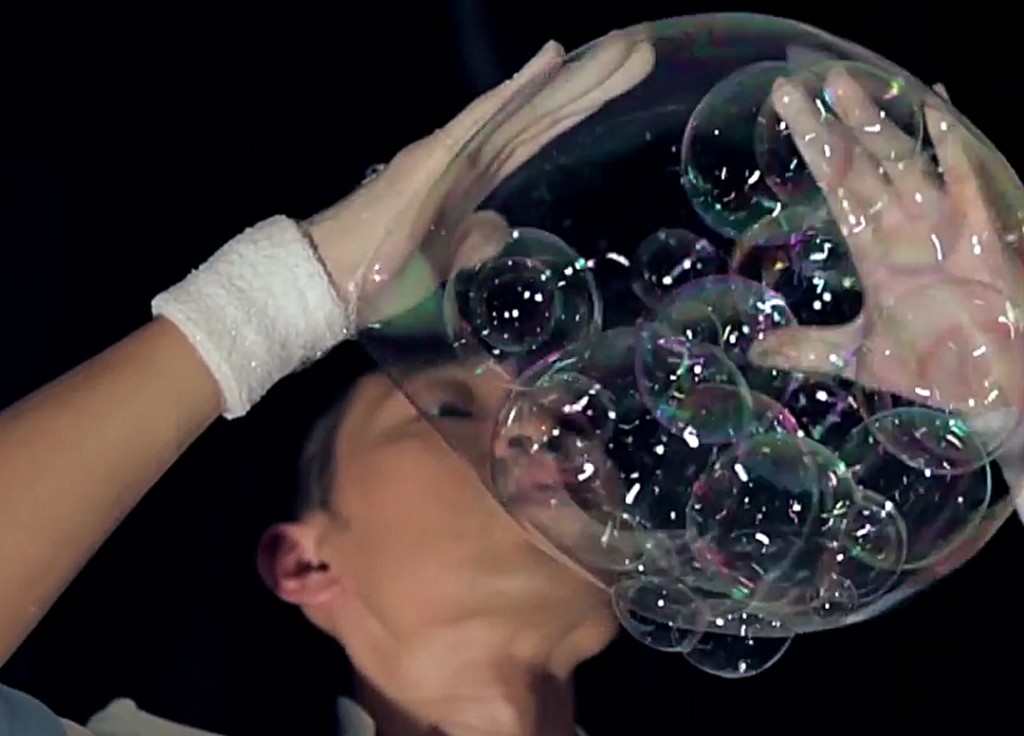
So when there’s a new trick or technique “revealed” at Lillstreet, it takes the place by storm. And the latest craze as I mentioned a few days ago is the “glazing with bubbles” technique that seems to be all the rage. Thanks to Dave & Will for kickstarting the craze. Seems like everyone is doing this technique now… so I figured it was “my duty” to share and teach my students last night how to do it.
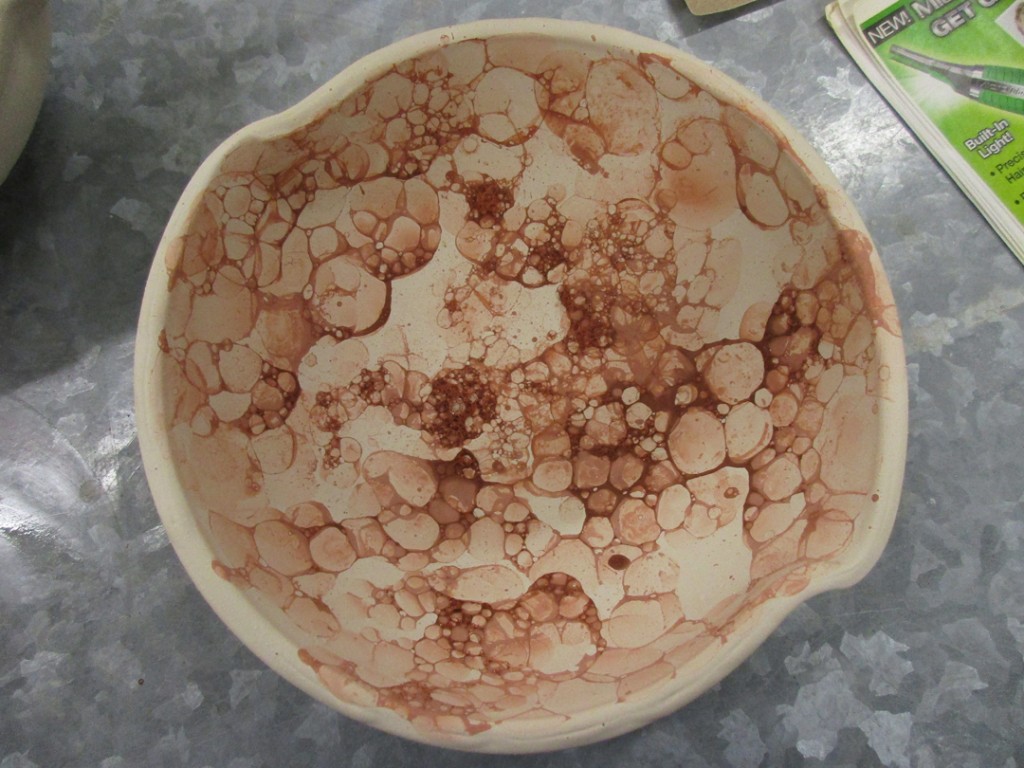
So I had bubble glazed my first demo bowl… and then realized I should be photographing the process to share here on the blog. So here’s the process on our second demo bowl. I start with a good “base” first coat of dipped glaze.
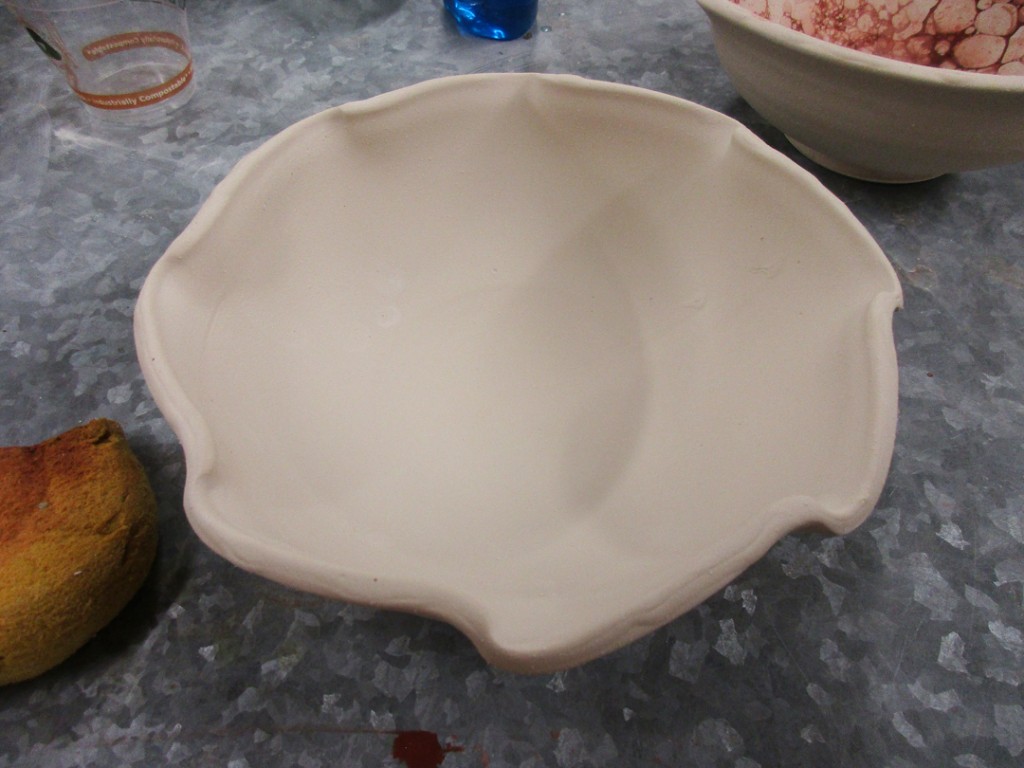
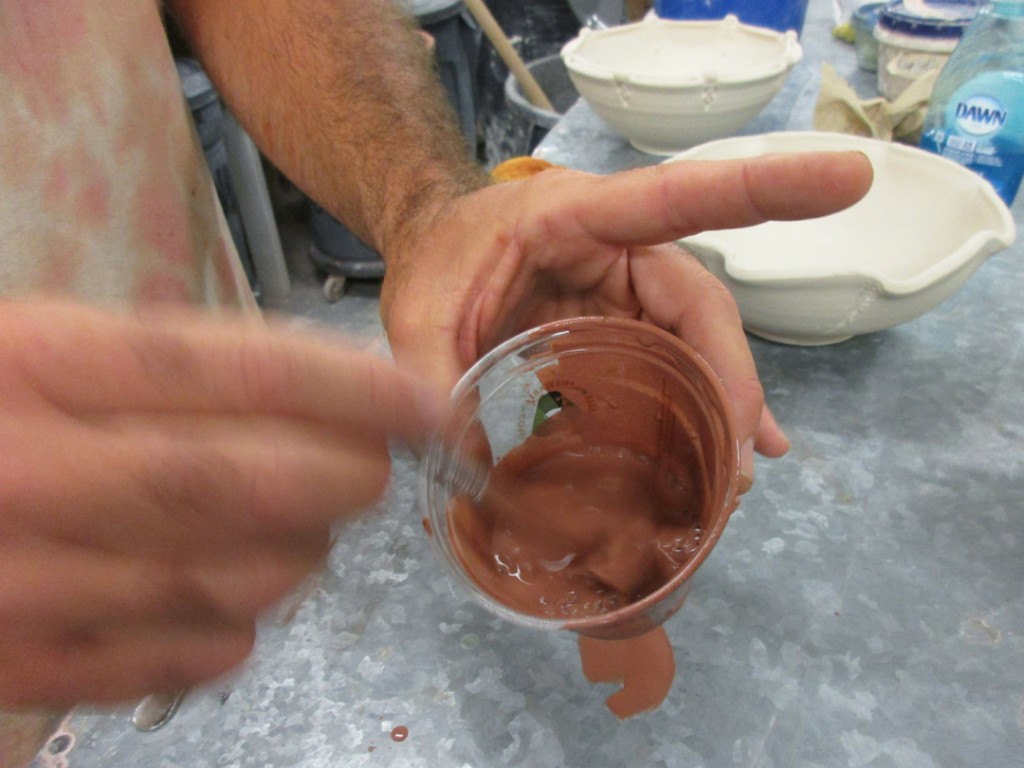
Then we put a little bit of glaze into a plastic cup, and added some DAWN dishwashing liquid.
And then stirred it up. Tough recipe, huh?! We didn’t measure anything!!!

And then blow into the mixture with a straw… or in our case, an empty ballpoint pen casing.

If the bubbles don’t seem to be piling up enough, just add a little more liquid soap.

Blow again… but remember to blow OUT, and to not inhale through the straw. That could get ugly!
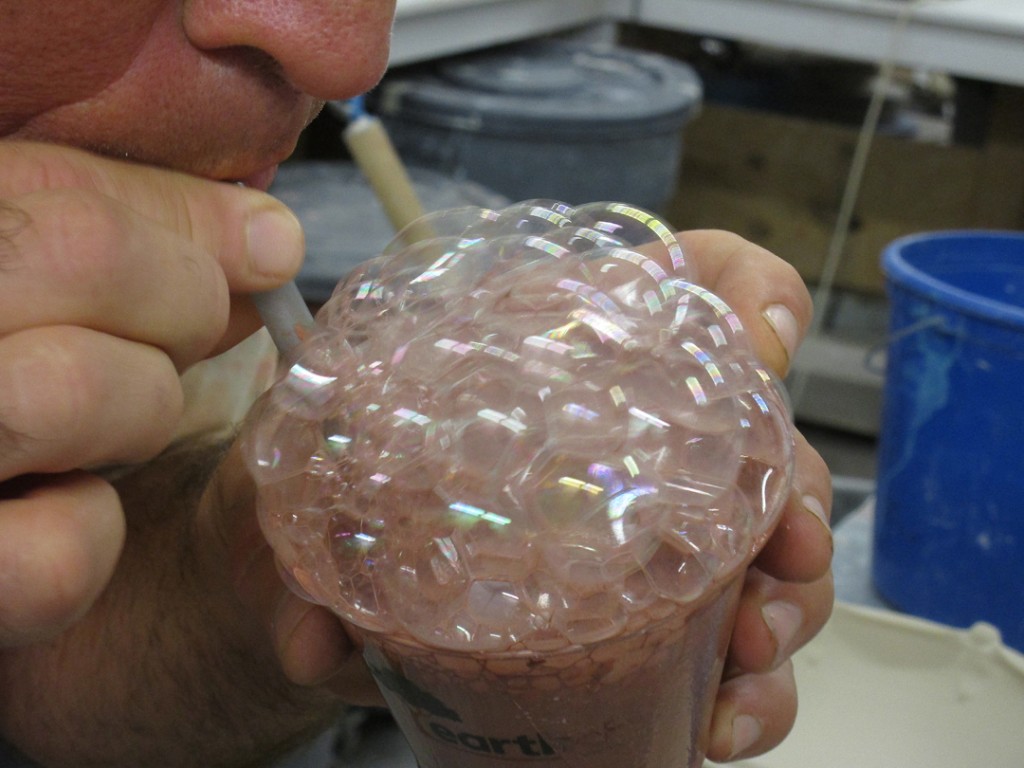
Then once you have a good “head” of bubbles in the cup, scoop them out with your bare hands and place them on your pot. We tried to gently lay them in without popping too many bubbles. Depending on where you’re at in the bowl, sometimes it works to lay, others needed to be pressed on.

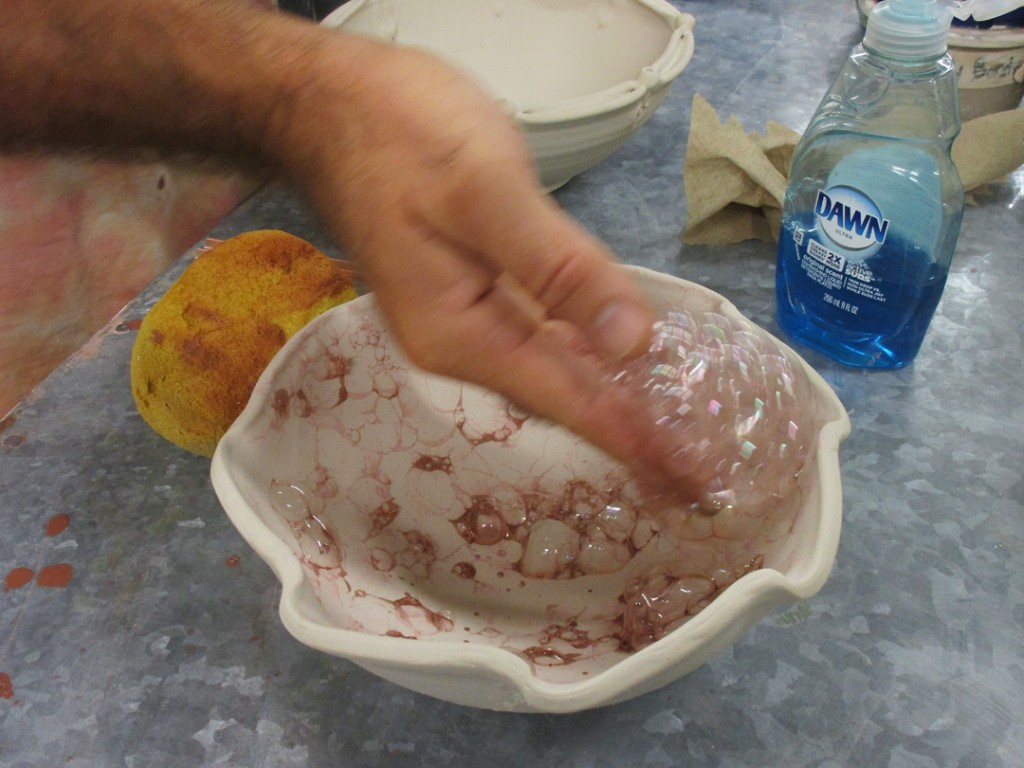
Inside and out… but trying to avoid wet glaze drips at the same time!
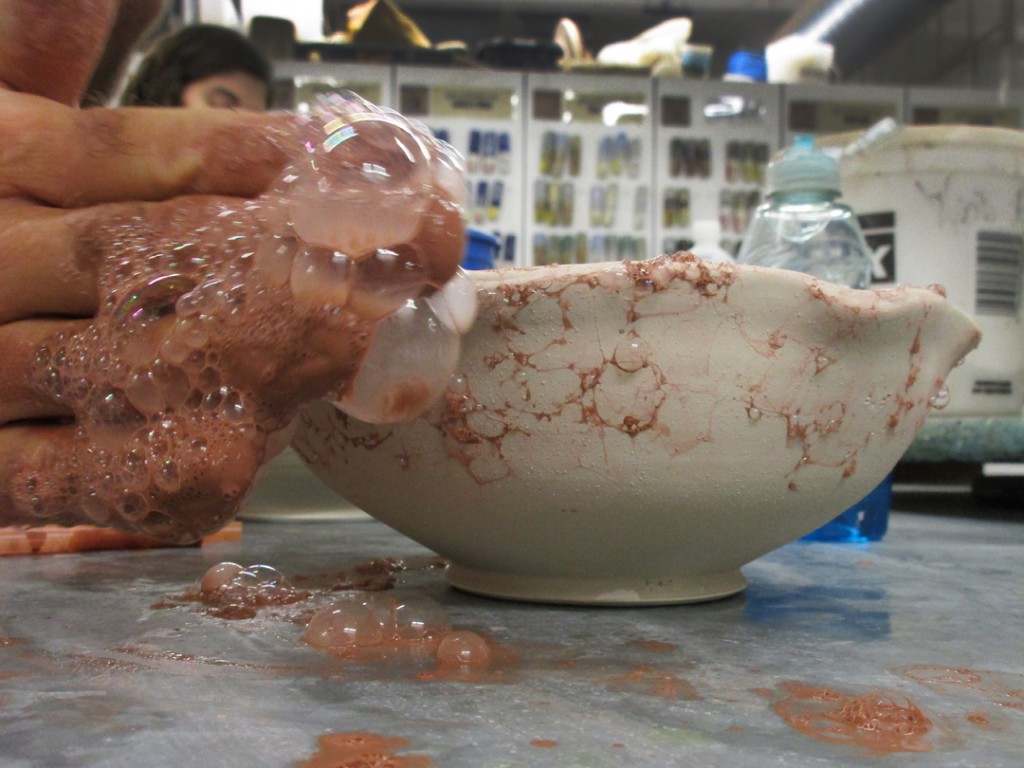
And voila’ …Â a groovy, patterned & textured glaze on the bowl. No telling how many bubbles “should” be put on? How many are too many? It’s all very random. Let’s just hope it turns out okay in the firing?
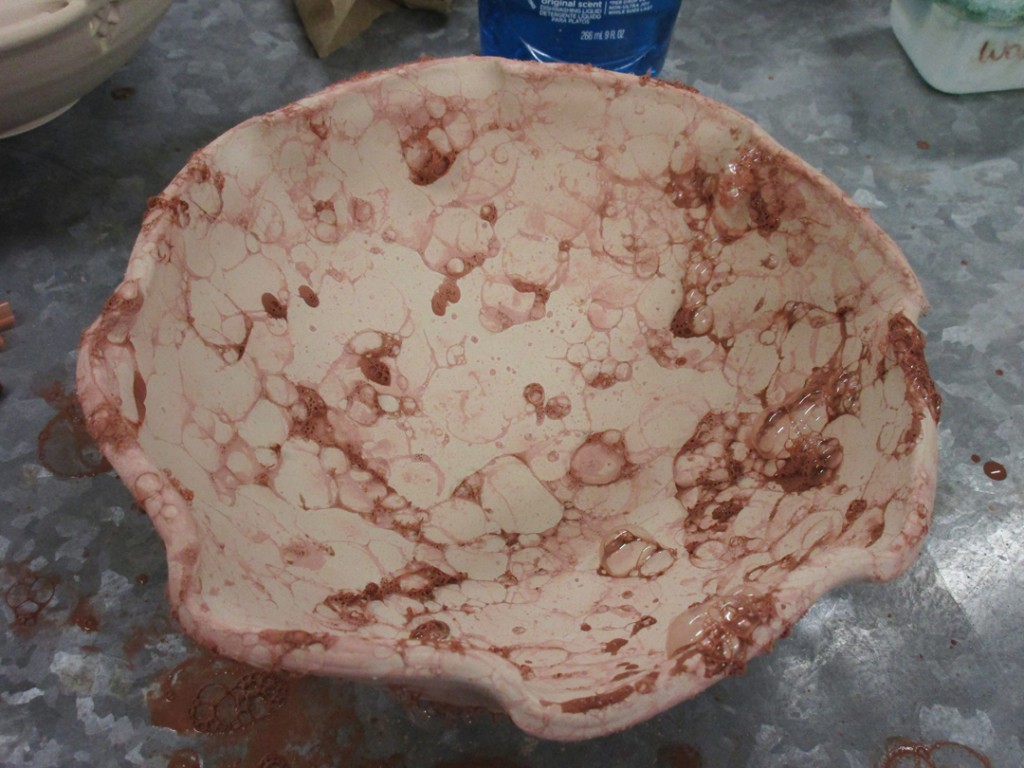
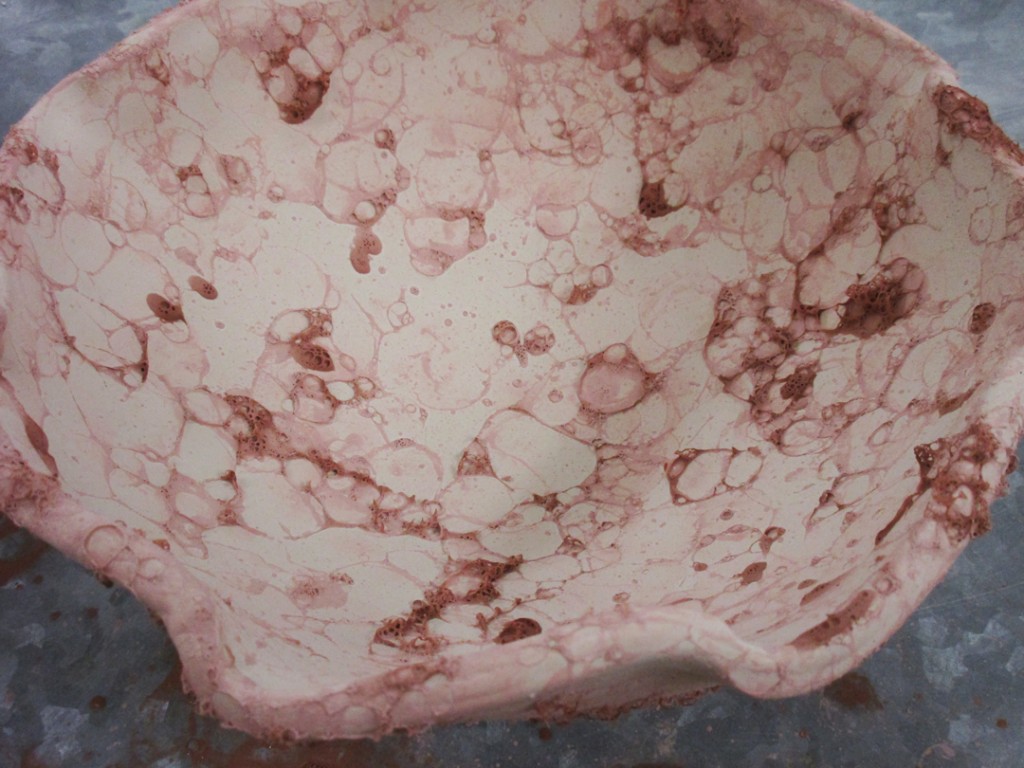
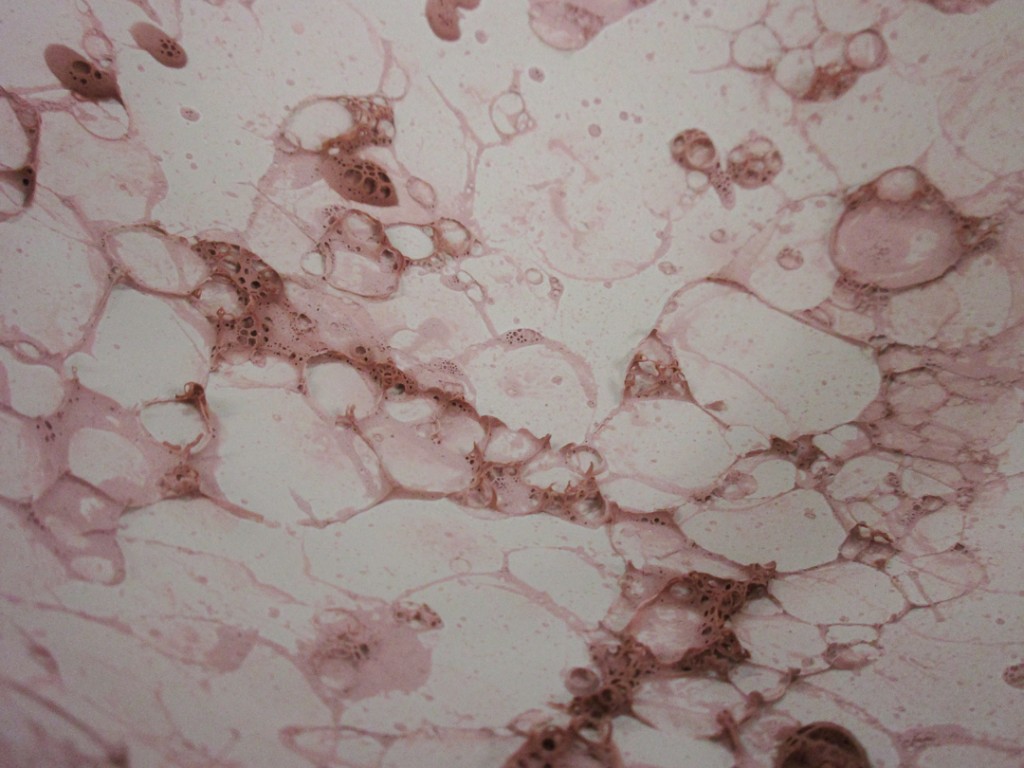
We were kinda on a roll… so we tackled a third one too. Stacey had made a cup of bubbled glaze for her pot, so I just used her leftover liquid on my third demo bowl. Simple enough… blow, bubble, scoop, place. Repeat. The bubbles pop over time and leave a great lace-ish pattern behind.

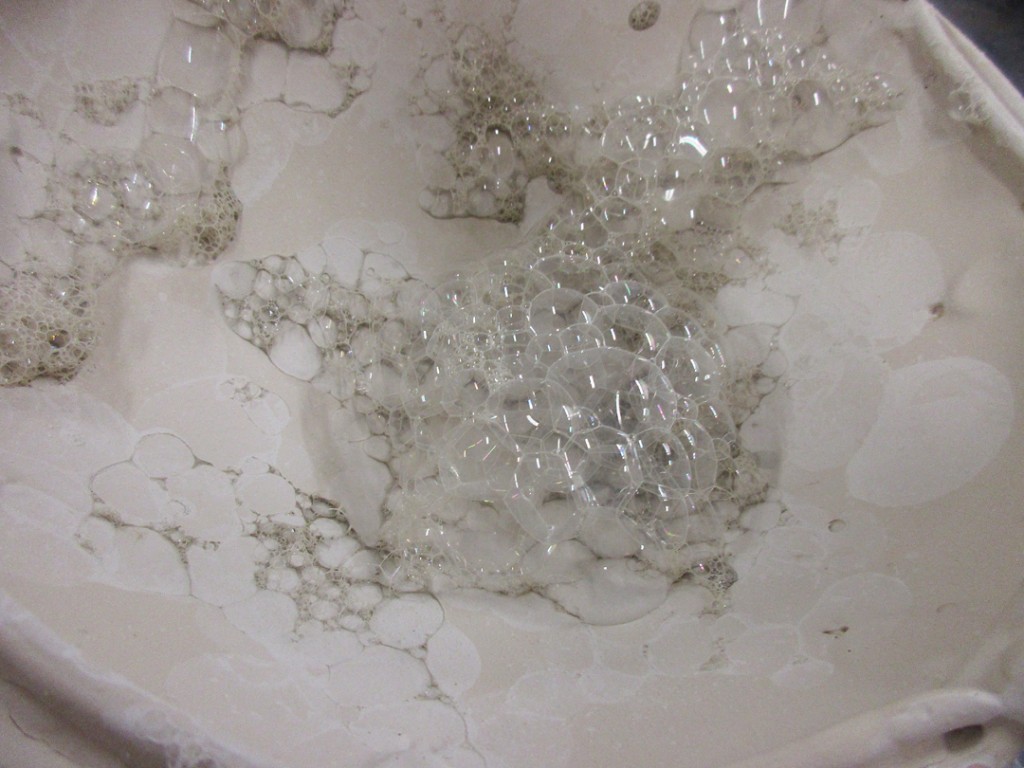

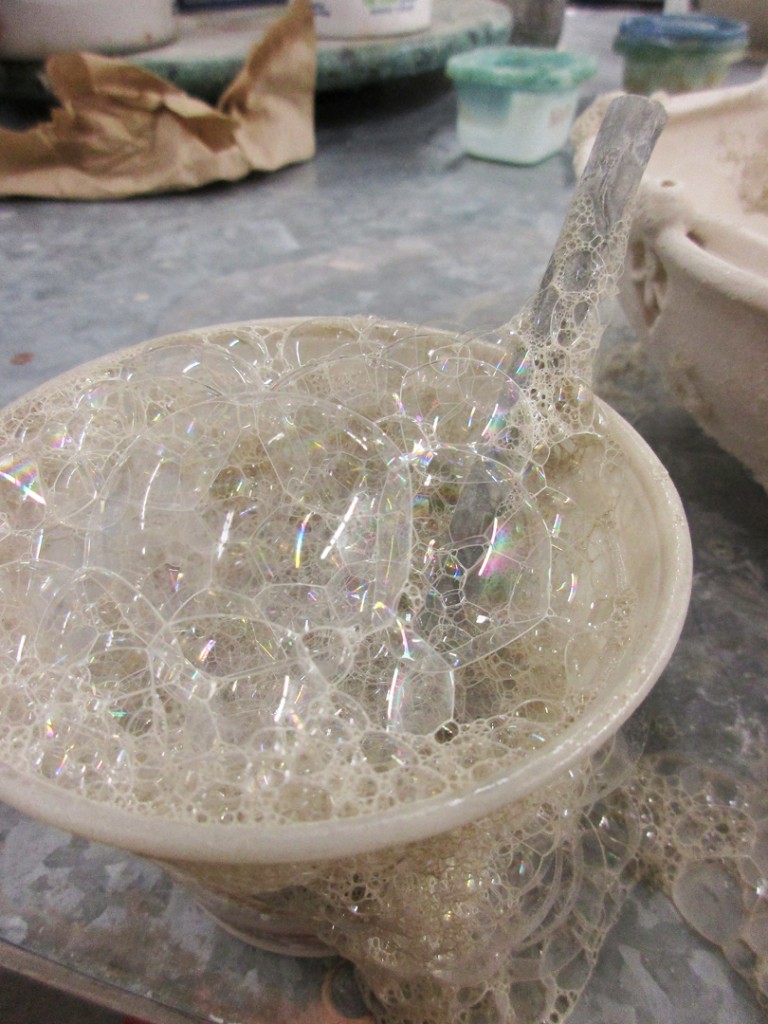
I think we may have added a bit too much soap to this batch… the bubbles were pretty darn thick!
Maybe the thicker the bubble the denser the glaze coverage?! We’ll see!

But we just scooped up the thicker suds and continued placing them on the bowl – both inside and out.
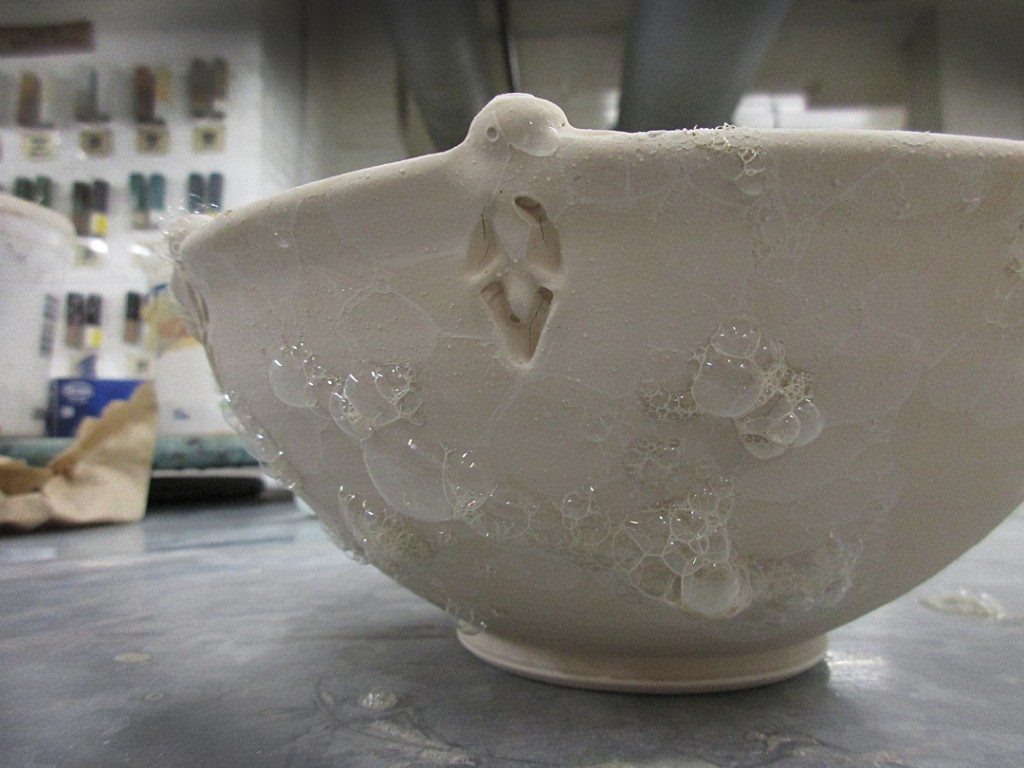
So now I’ve got three class demo bowls glazed with the new bubble process.
Hopefully we’ll get some good results… beautiful bowls… and good photos to post here!
Bowl #1 – Temoku glaze bubbles on top of the base layer of Lau Shino glaze.
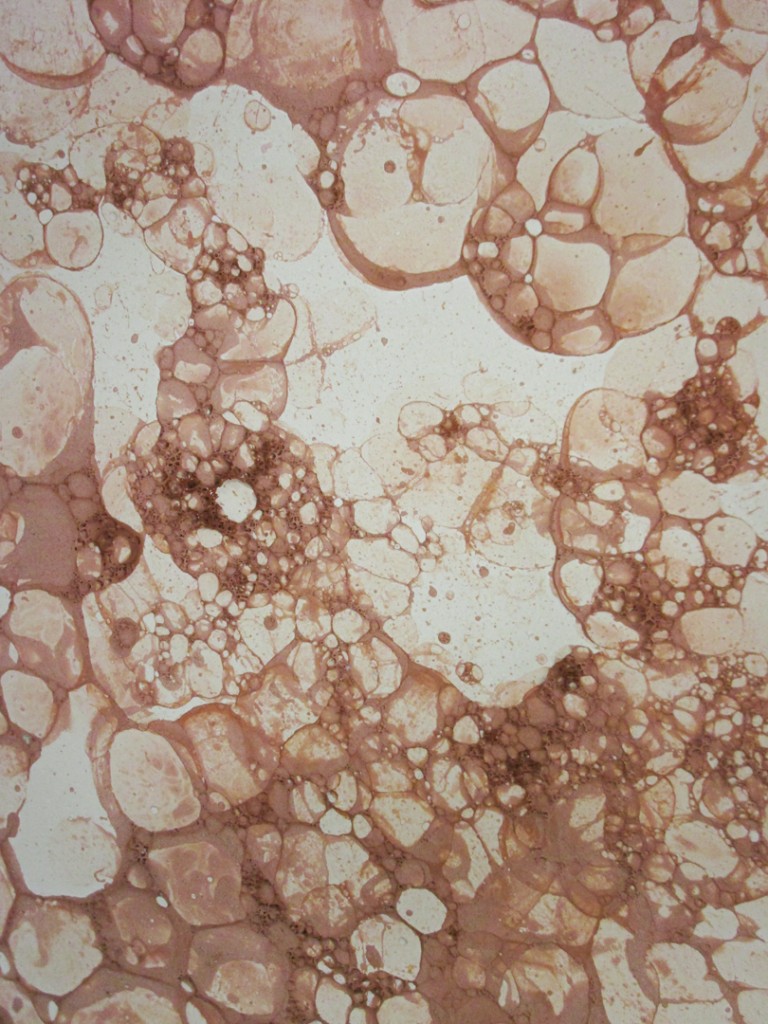
Bowl #2 – Rutile Blue glaze bubbles on top of the base layer of Lau Shino glaze.
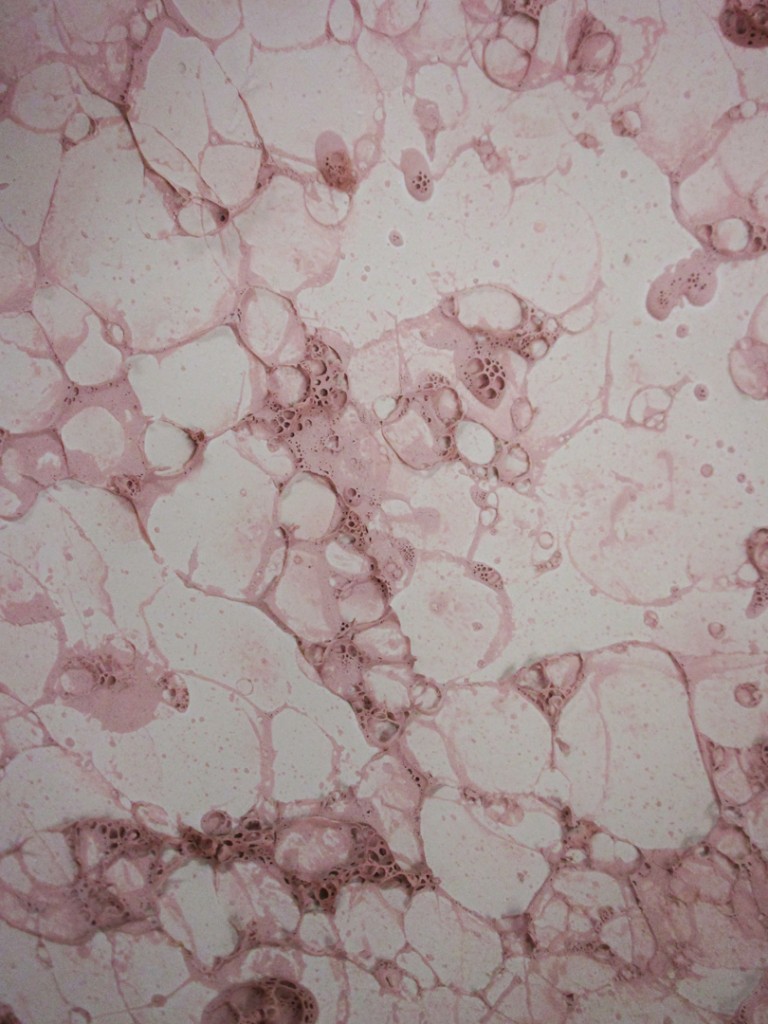
Bowl #3 – Antique White glaze bubbles on top of the base layer of Lau Shino glaze.

Another class glazing demo done and waiting to go into the kiln.
Fingers crossed… photos to come!
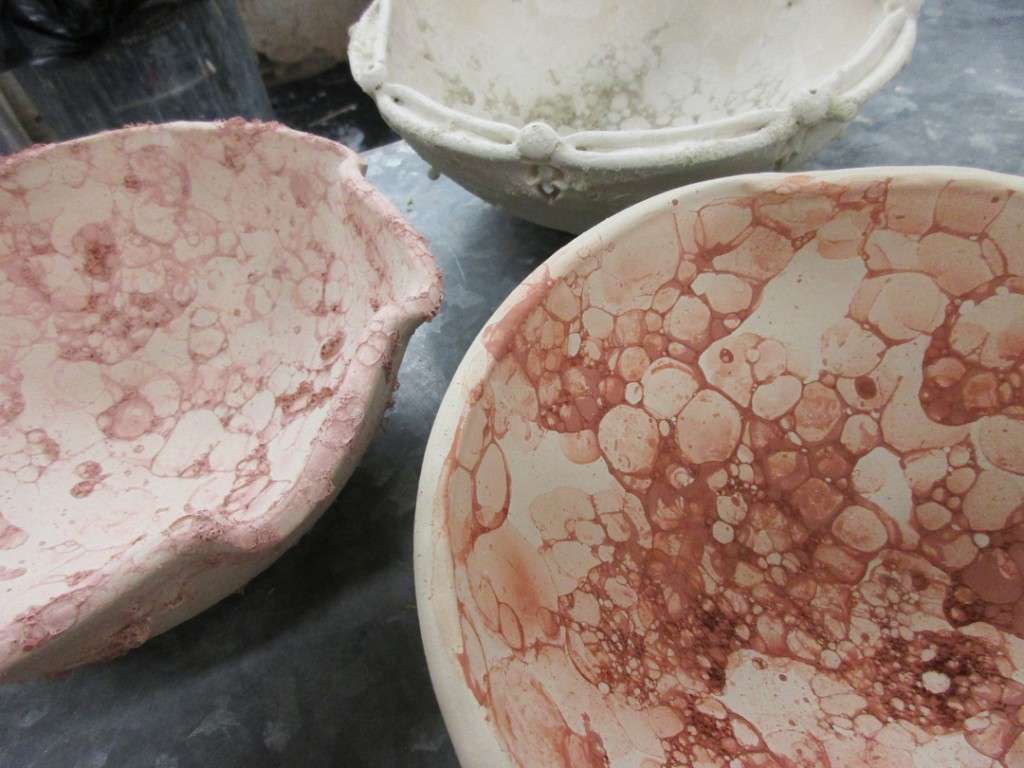
We’ll see how these bowls turn out after the cone 10 reduction firing.
And yes, I will be sure to post photos for you to see the results too!!!


