So when there’s a new trick or technique “revealed” at Lillstreet, it takes the place by storm. And the latest craze as I mentioned a few days ago is the “glazing with bubbles” technique that seems to be all the rage. Thanks to Dave & Will for kickstarting the craze. Seems like everyone is doing this technique now… so I figured it was “my duty” to share and teach my students last night how to do it.
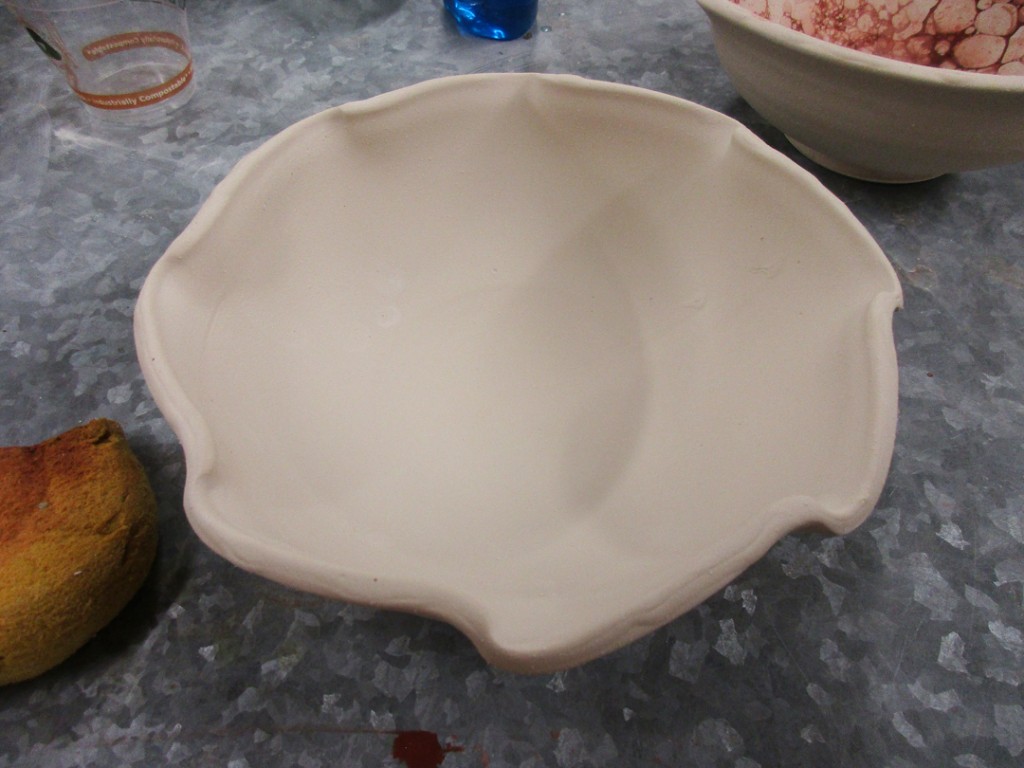
So I had bubble glazed my first demo bowl… and then realized I should be photographing the process to share here on the blog. So here’s the process on our second demo bowl. I start with a good “base” first coat of dipped glaze.
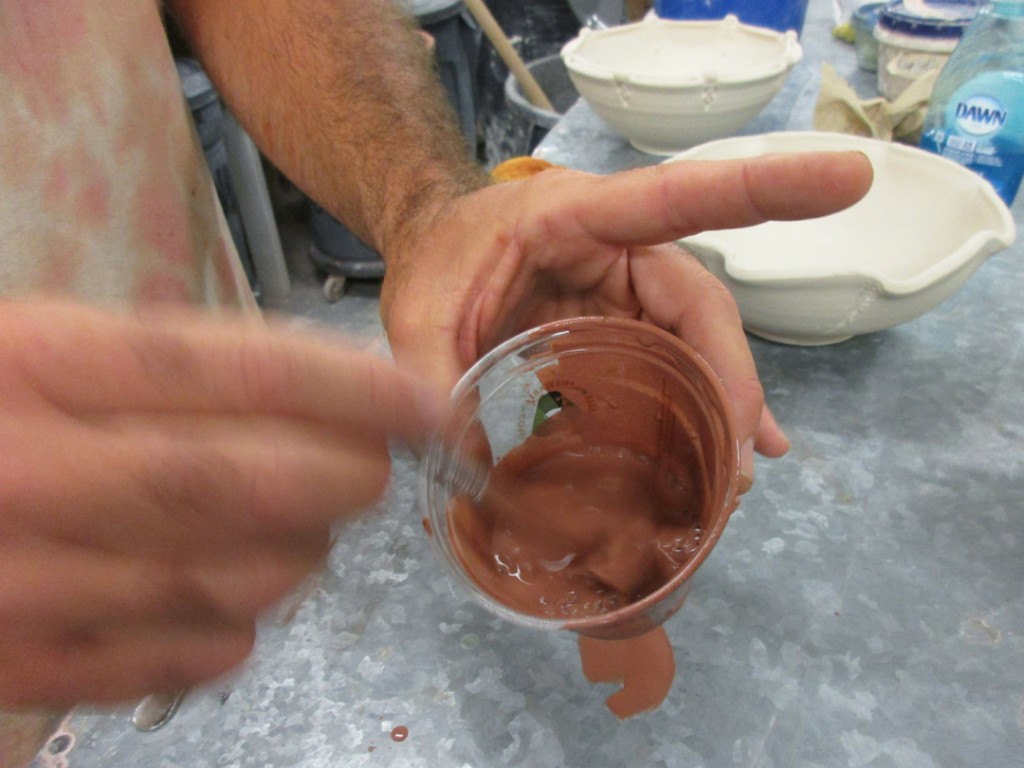
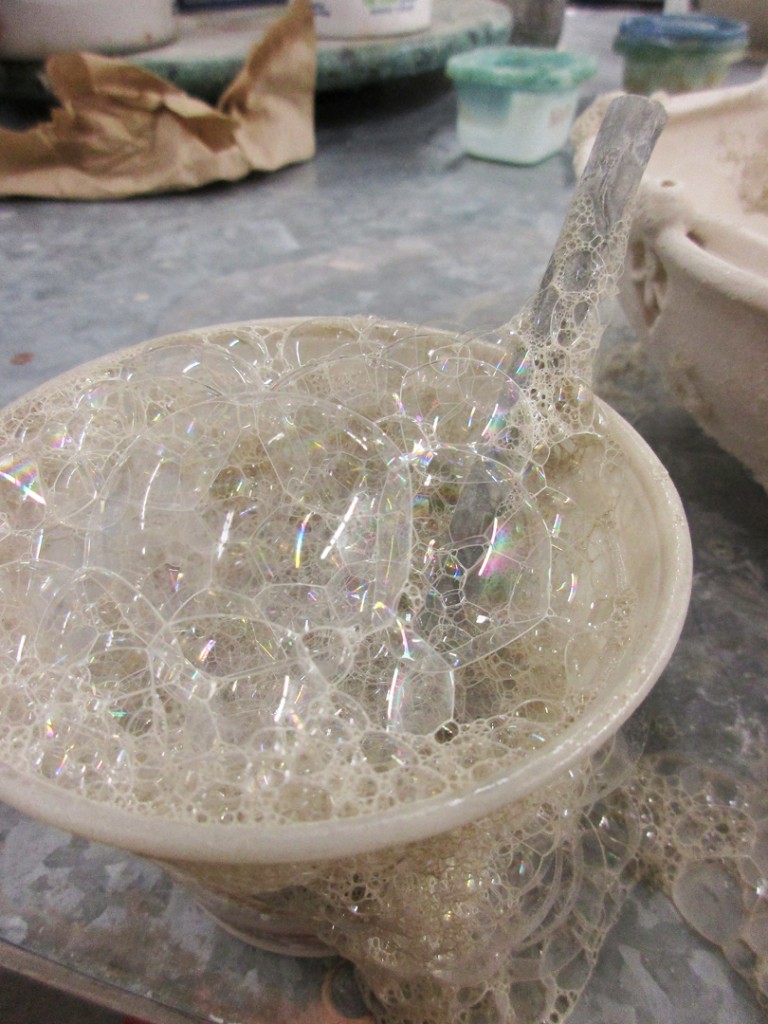
Then we put a little bit of glaze into a plastic cup, and added some DAWN dishwashing liquid.
And then stirred it up. Tough recipe, huh?! We didn’t measure anything!!!
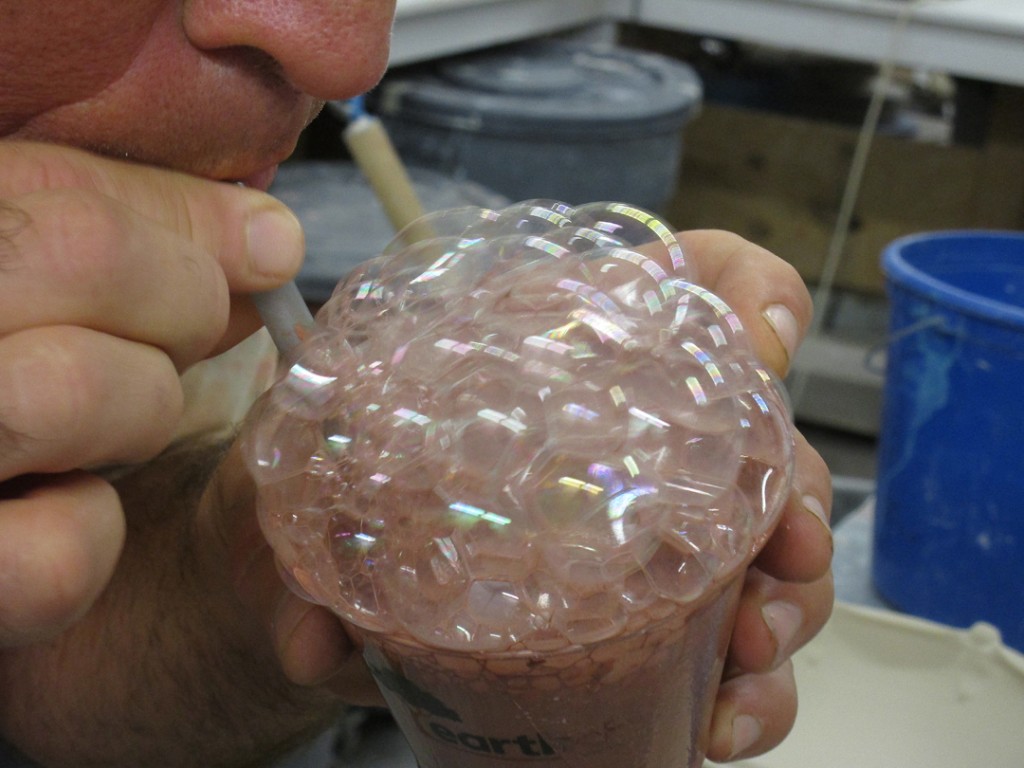
And then blow into the mixture with a straw… or in our case, an empty ballpoint pen casing.
If the bubbles don’t seem to be piling up enough, just add a little more liquid soap.
Blow again… but remember to blow OUT, and to not inhale through the straw. That could get ugly!
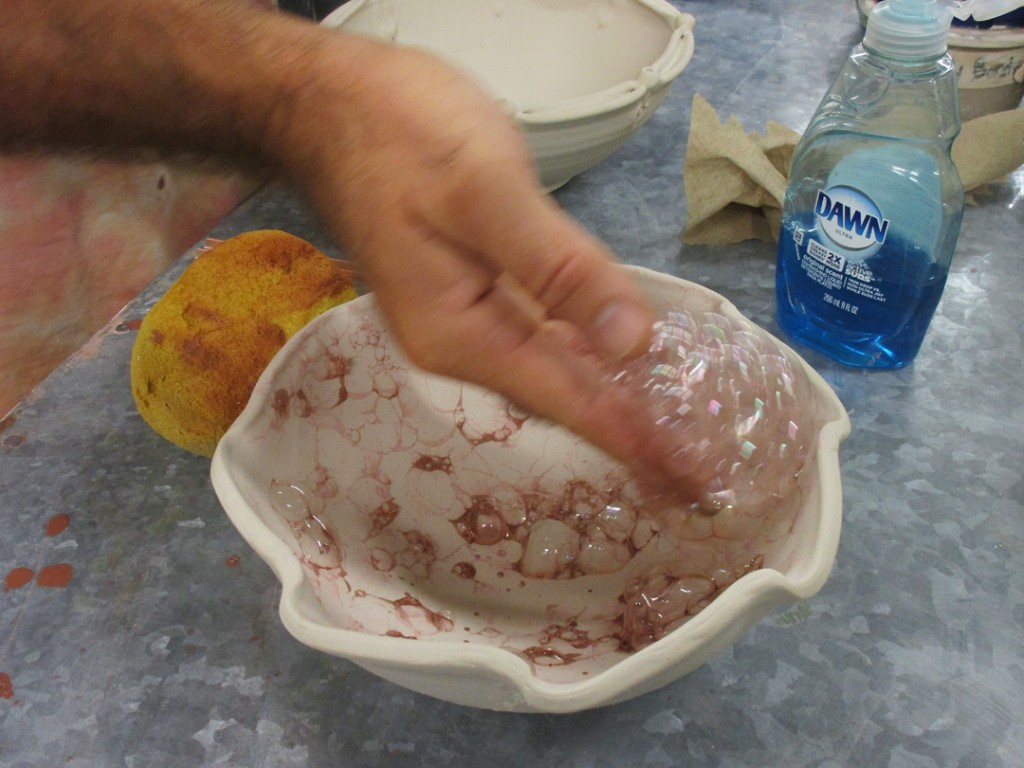
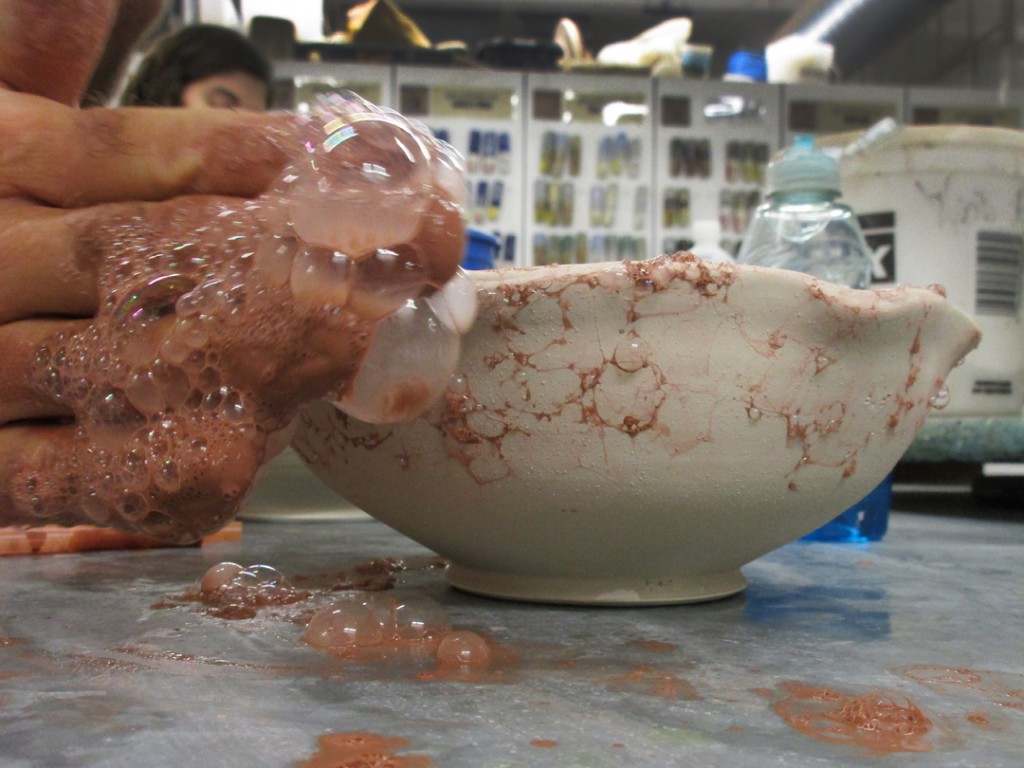
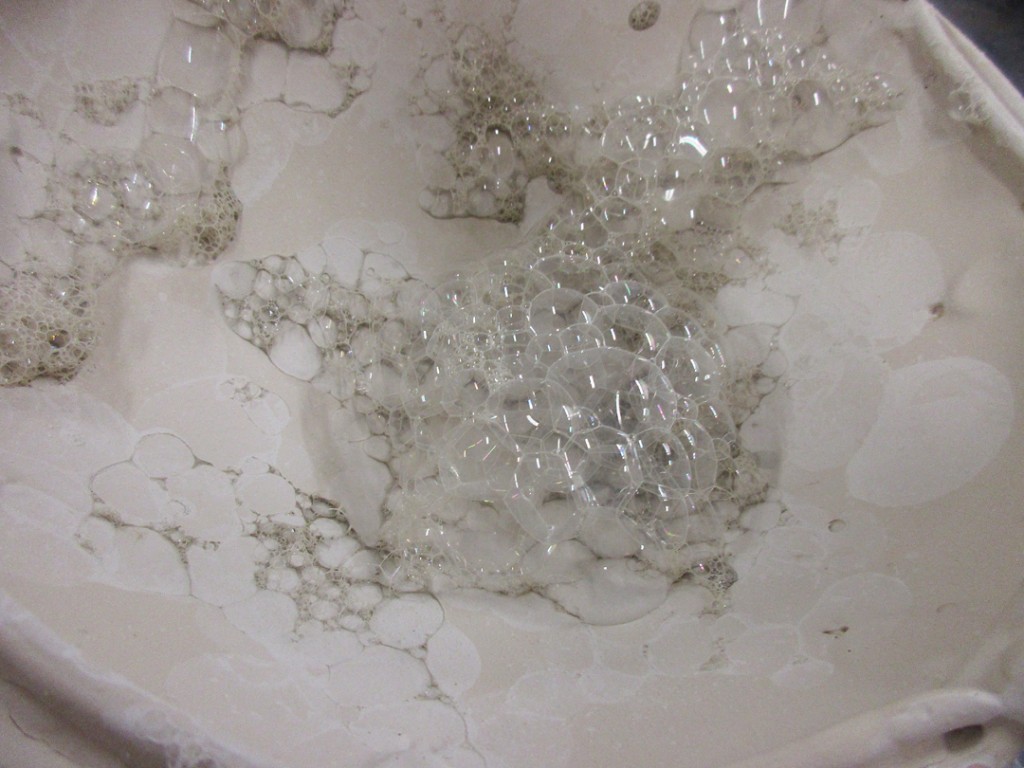
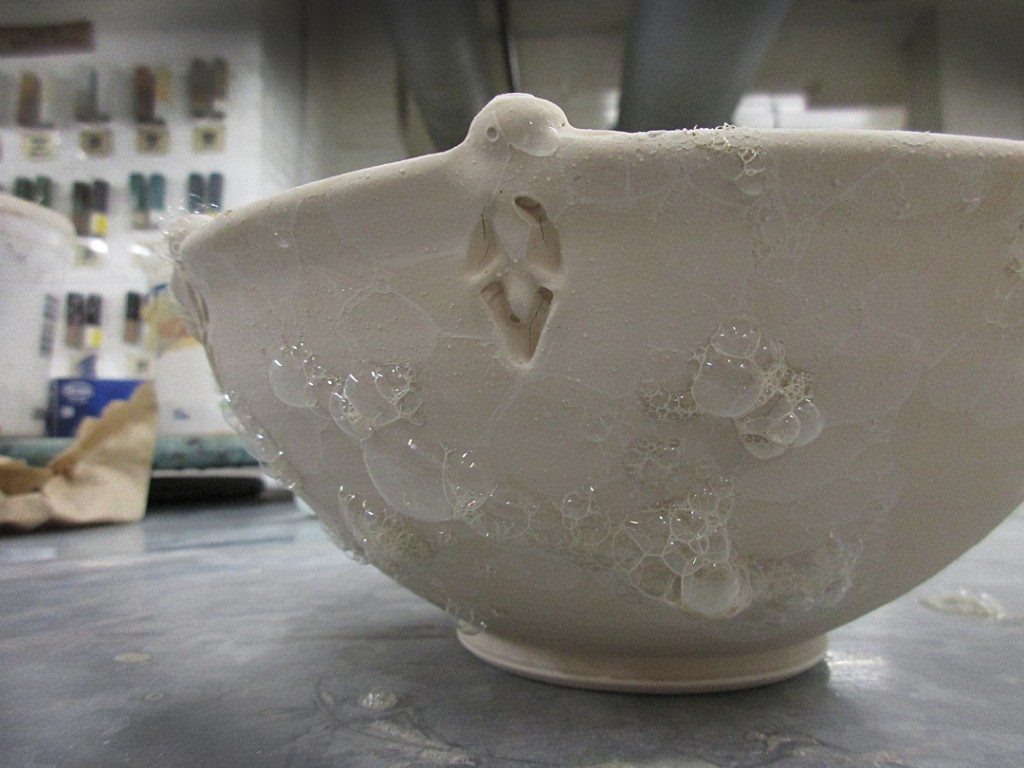
Then once you have a good “head” of bubbles in the cup, scoop them out with your bare hands and place them on your pot. We tried to gently lay them in without popping too many bubbles. Depending on where you’re at in the bowl, sometimes it works to lay, others needed to be pressed on.
Inside and out… but trying to avoid wet glaze drips at the same time!
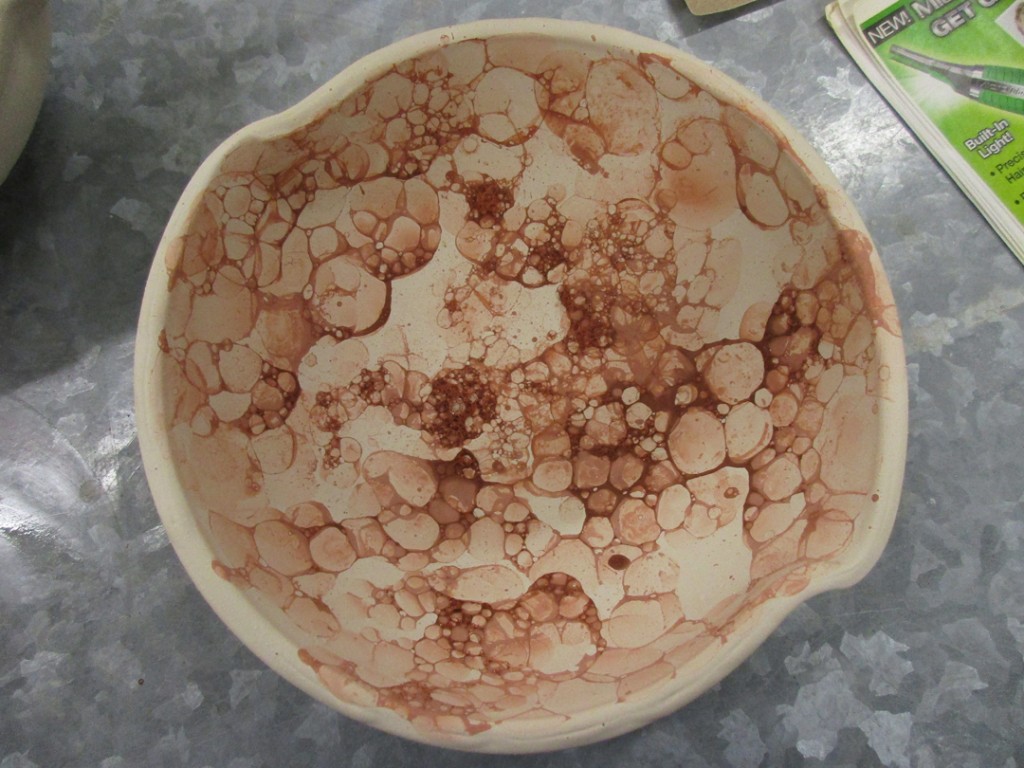
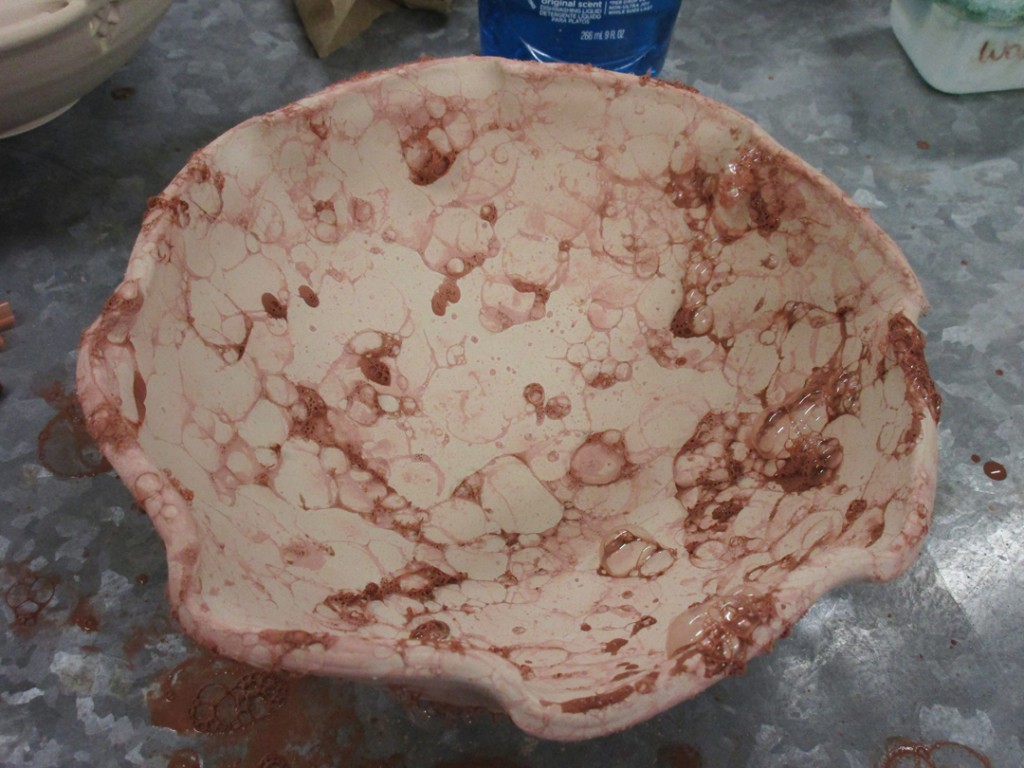
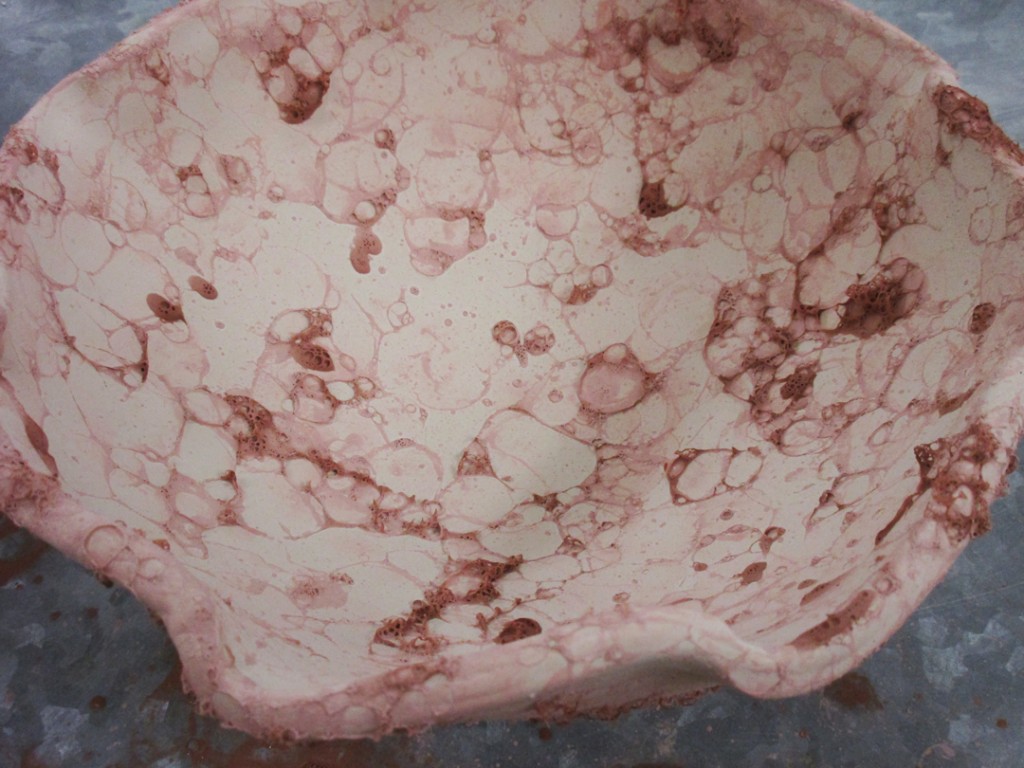
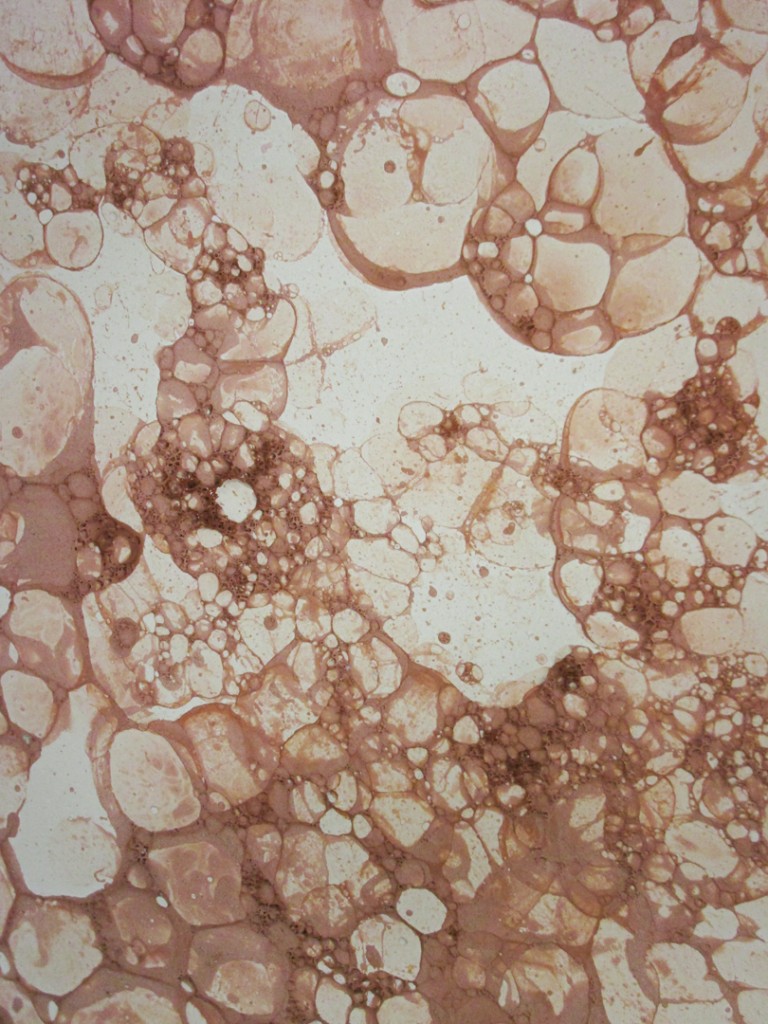
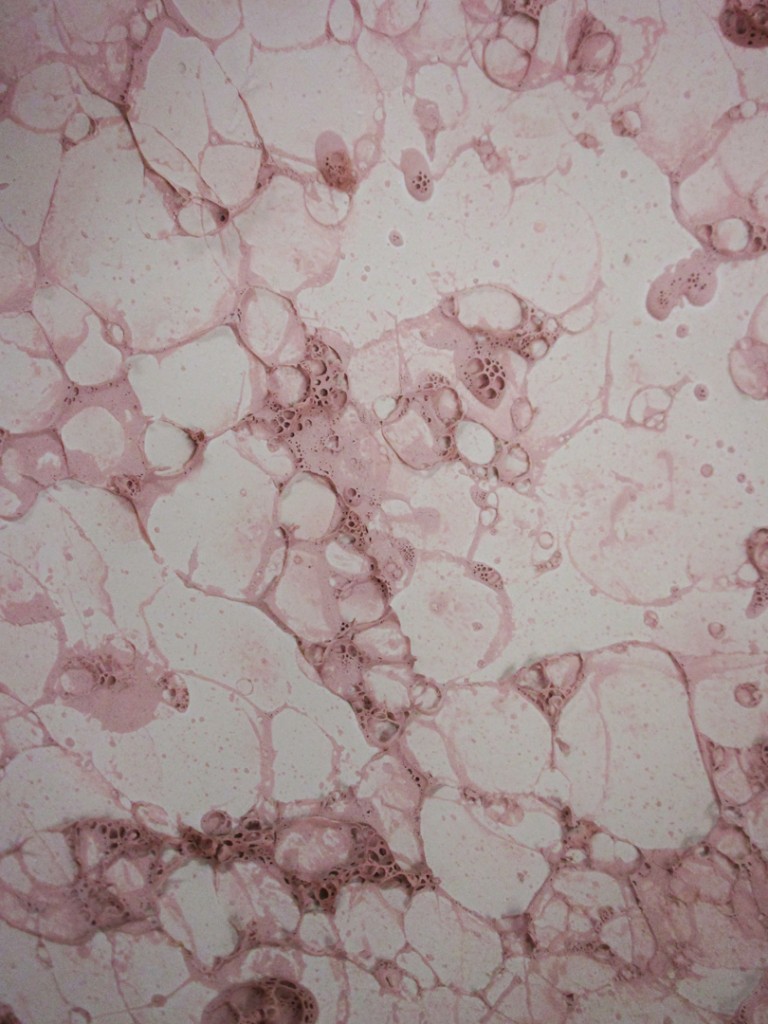
And voila’ …Â a groovy, patterned & textured glaze on the bowl. No telling how many bubbles “should” be put on? How many are too many? It’s all very random. Let’s just hope it turns out okay in the firing?
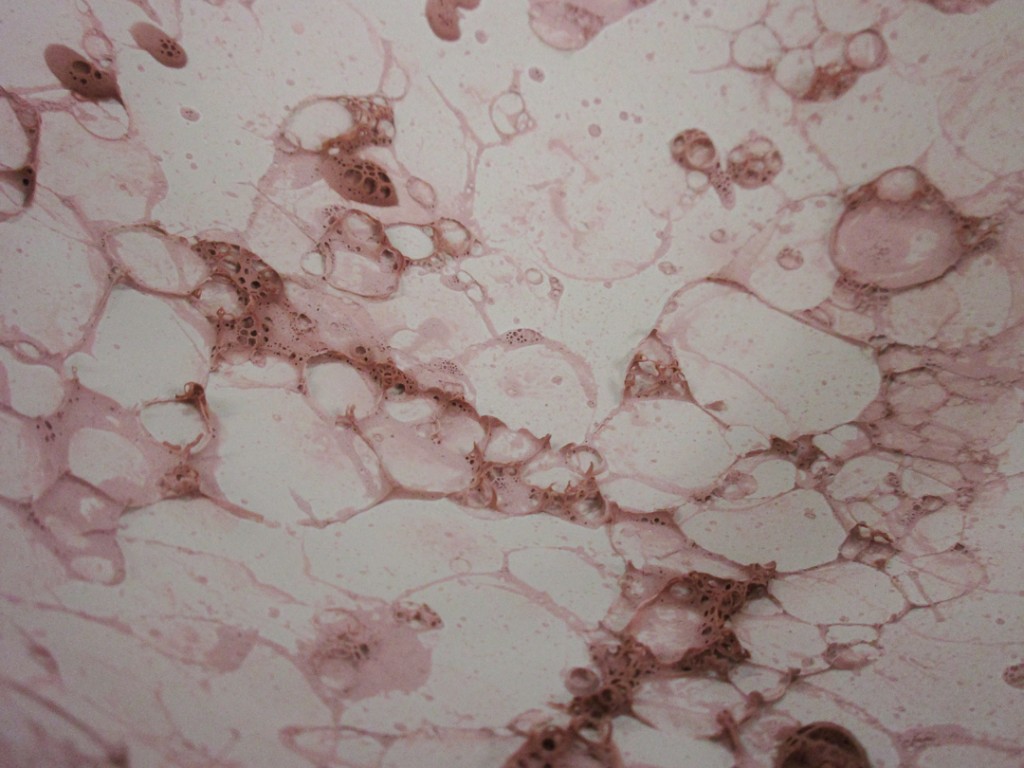
We were kinda on a roll… so we tackled a third one too. Stacey had made a cup of bubbled glaze for her pot, so I just used her leftover liquid on my third demo bowl. Simple enough… blow, bubble, scoop, place. Repeat. The bubbles pop over time and leave a great lace-ish pattern behind.
I think we may have added a bit too much soap to this batch… the bubbles were pretty darn thick!
Maybe the thicker the bubble the denser the glaze coverage?! We’ll see!
But we just scooped up the thicker suds and continued placing them on the bowl – both inside and out.
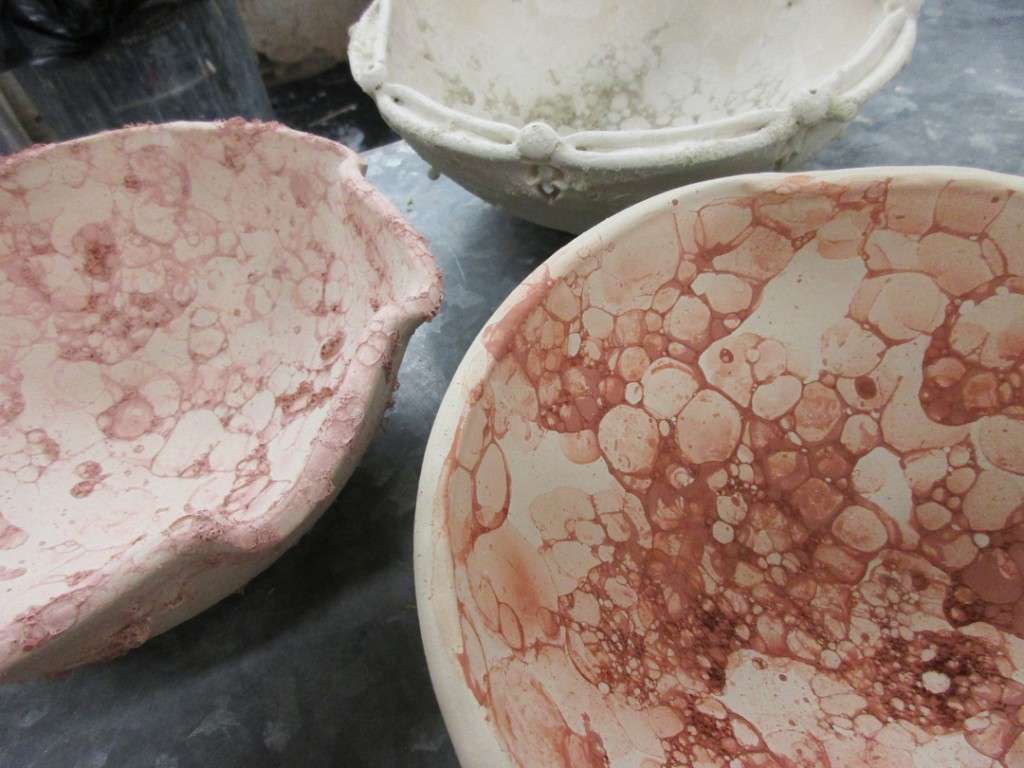
So now I’ve got three class demo bowls glazed with the new bubble process.
Hopefully we’ll get some good results… beautiful bowls… and good photos to post here!
Bowl #1 – Temoku glaze bubbles on top of the base layer of Lau Shino glaze.
Bowl #2 – Rutile Blue glaze bubbles on top of the base layer of Lau Shino glaze.
Bowl #3 – Antique White glaze bubbles on top of the base layer of Lau Shino glaze.
Another class glazing demo done and waiting to go into the kiln.
Fingers crossed… photos to come!
We’ll see how these bowls turn out after the cone 10 reduction firing.
And yes, I will be sure to post photos for you to see the results too!!!








I love your work and your blog! This is very cool. I can’t wait to try it. Thanks for the “recipe.”
Wow, so simple and so different! I will definitely try this. Already, I can imagine the effect of a lighter color on a darker and the reverse.
Thanks!
I can’t wait to see the final results for these!!
Hello I enjoy very much these technique but I would like to know if the peaces can be fired again after the bubbles.thank you. Isabel (Lisboa – Portugal )
ISABEL – Yes. I have my students dip the base glaze layer. And then blow a contrasting layer of glaze bubbles on top. These are fired to cone 10. If you wanted to add another glaze, like a luster, you could indeed fire them again.
Me parece genial esta téccnica. Gracias por compartirla y muy bien explicado.!
GRACIAS MONICA. I’m glad you liked my basic tutorial. Good luck with your lidded ovals!!!
What a simple beautiful decoration. I’m rushing out to try it. Thanks for sharing.
Hola muy buena tecnica, me encanto!! Se hace sobre bizcocho o sobre crudo??…se puede hacer con pigmentos o solo con esmaltes??
Gracias, espero respuesta para hacerla
This is a very nice idea. I love it
Even without knowing the results, I liked the technique already. Bright idea!!!
loved the outcome of such an easy process
thanks
Probaré y mando el resultado. Me encanto. Gracias
Thanks. I look forward to seeing your results.
OR…
Gracias. Espero ver tus resultados.
Bellissimi!!! Could you suggest me a good brand of Glaze? Thank you
Thank You Alessandra –
All of the glazes that I use are made by hand in the studio. Recipes of dry chemicals mixed with water that have been tried & true for years… and a few new ones I keep trying to refine. Unfortunately, I don’t use any commercial glazes… so I don’t really have any good recommendations for you. Sorry.
Thanks for a great idea. Wonder if doing the same with underglazes would work
Yes Sharon… indeed it does work with underglazes as well. Have fun!!!
I tried it on greenware, with Oxside. Works just as well.
Good to know… we were wondering. Thanks for confirming!
Can you just use regular glaze like Potter’s Choice or does it have to be underglaze?
I believe you can do the same “trick” with any kind of glaze, underglaze and probably even thin slip!
Looks fantastic. I use to make bubbles of underglaze on clean bisque then pure over it a transparent glaze.
I like the idea of glaze over another glaze .
thanks
I have been using underglaze can’t wait to try your method thanks great preso also
Thanks Joe