Last night in my Beginning Wheelthrowing class we worked on bowls.
Basic bowls thrown the right way and on purpose… NOT a cylinder gone bad.
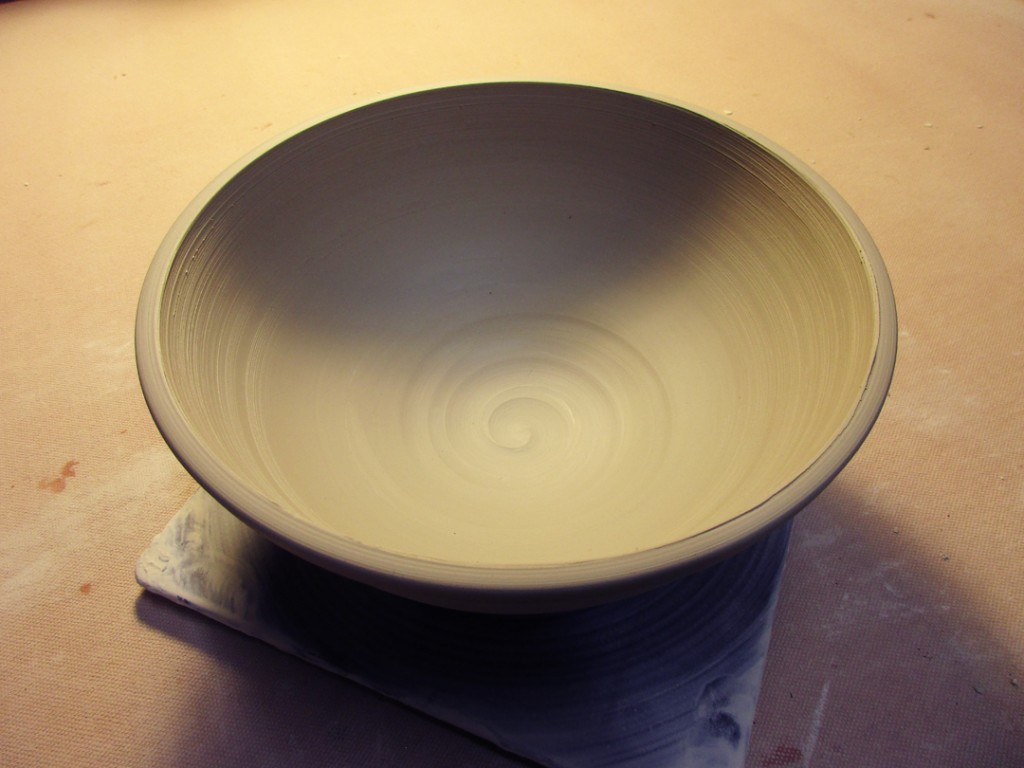
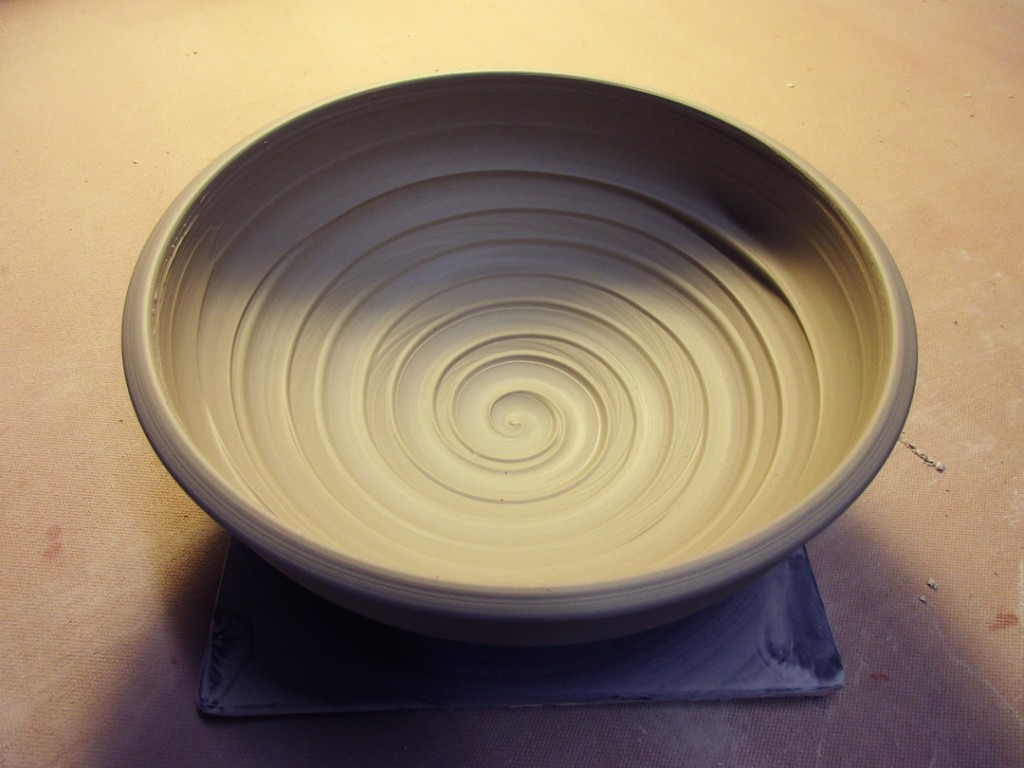
So we did a demo of the basic bowl with a nice round interior using my green plastic rib.
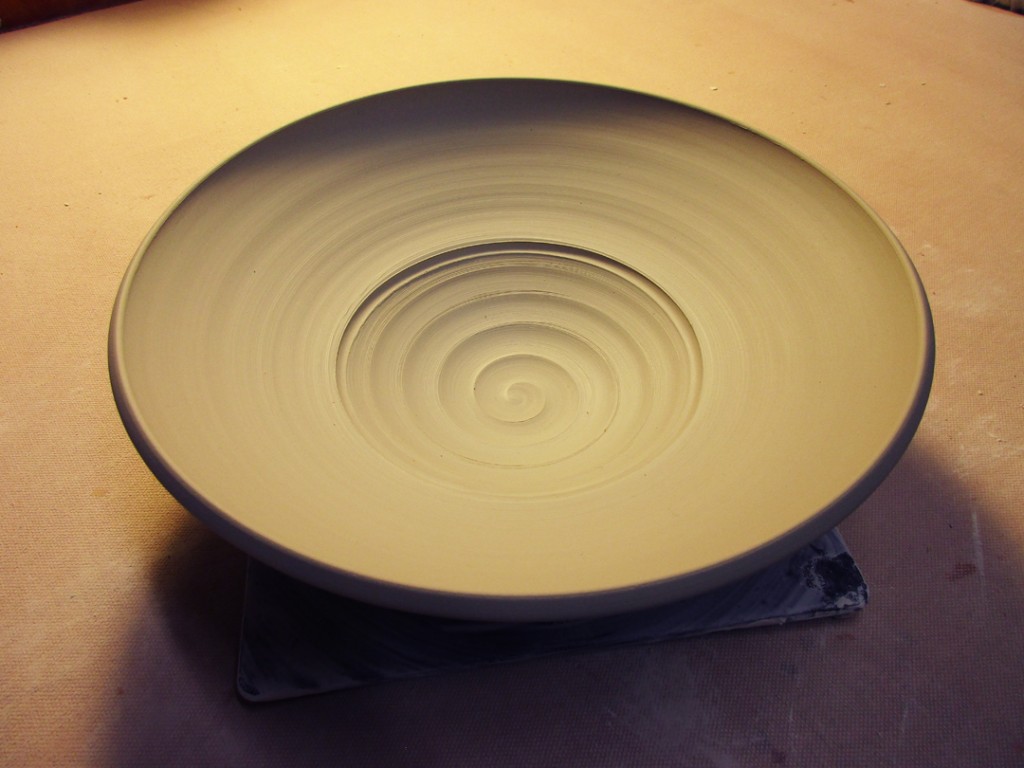
Bowl #1 – Plain
After this first bowl, my students went back to their wheels to keep working. As they were making pots, I continued to throw more bowls. After I had made 15 more bowls, we reconvened by my demo wheel. I then showed them some quick ways to “decorate” their basic bowls to make them “not so basic” anymore!!! We talked about playing with your clay, taking a chance, committing to your alterations and making the bowl “yours.” Just because the wheel makes round pots doesn’t mean that they need to stay that way!!!
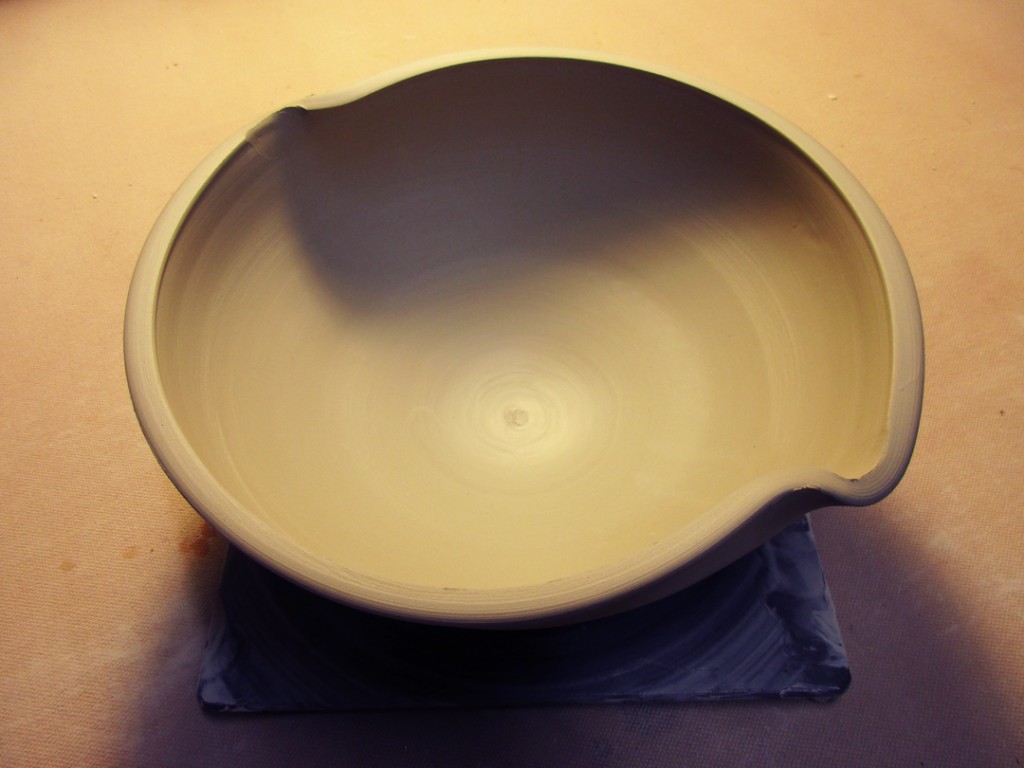
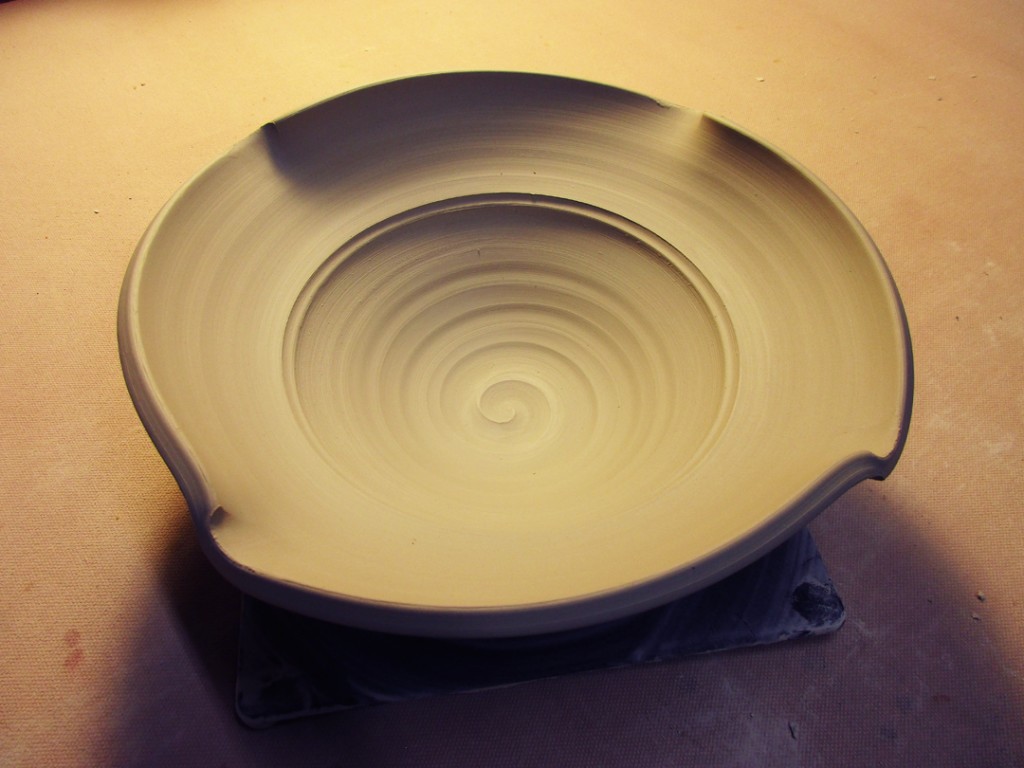
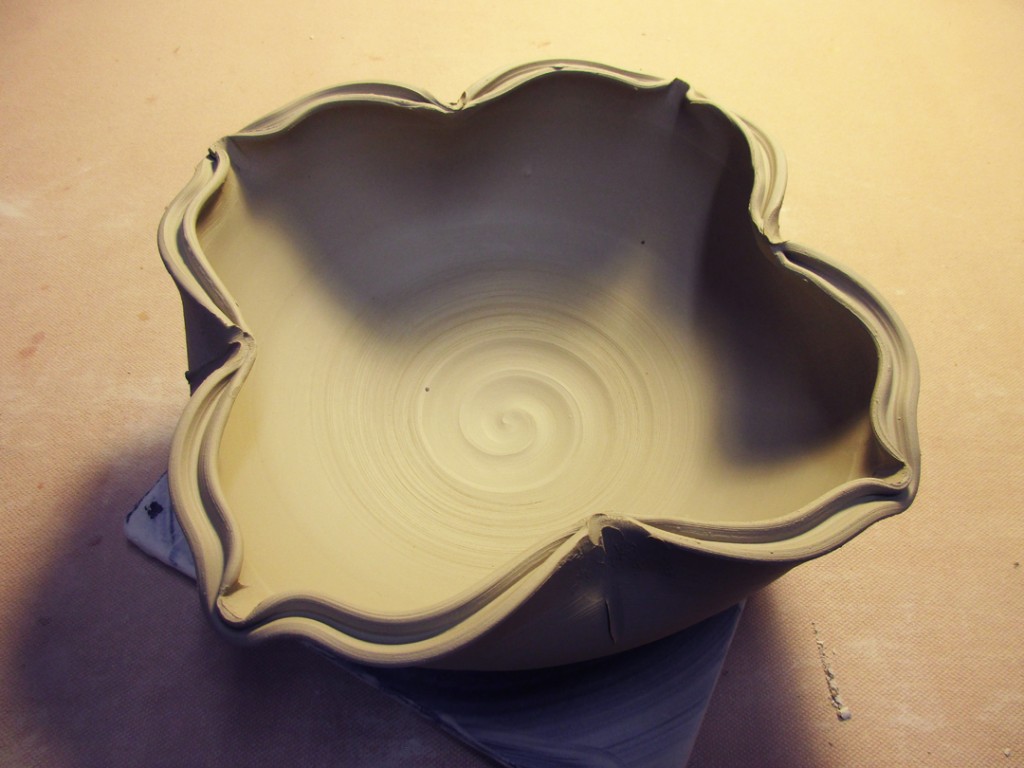
Bowl #2 – Two Twisted Flutes.
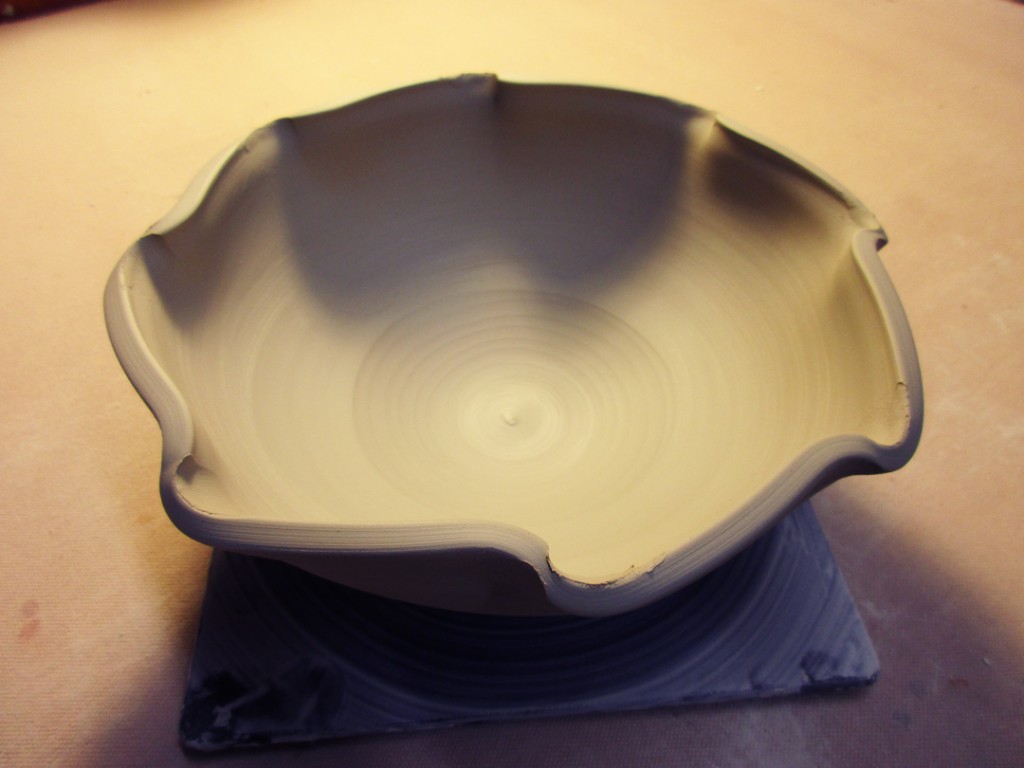
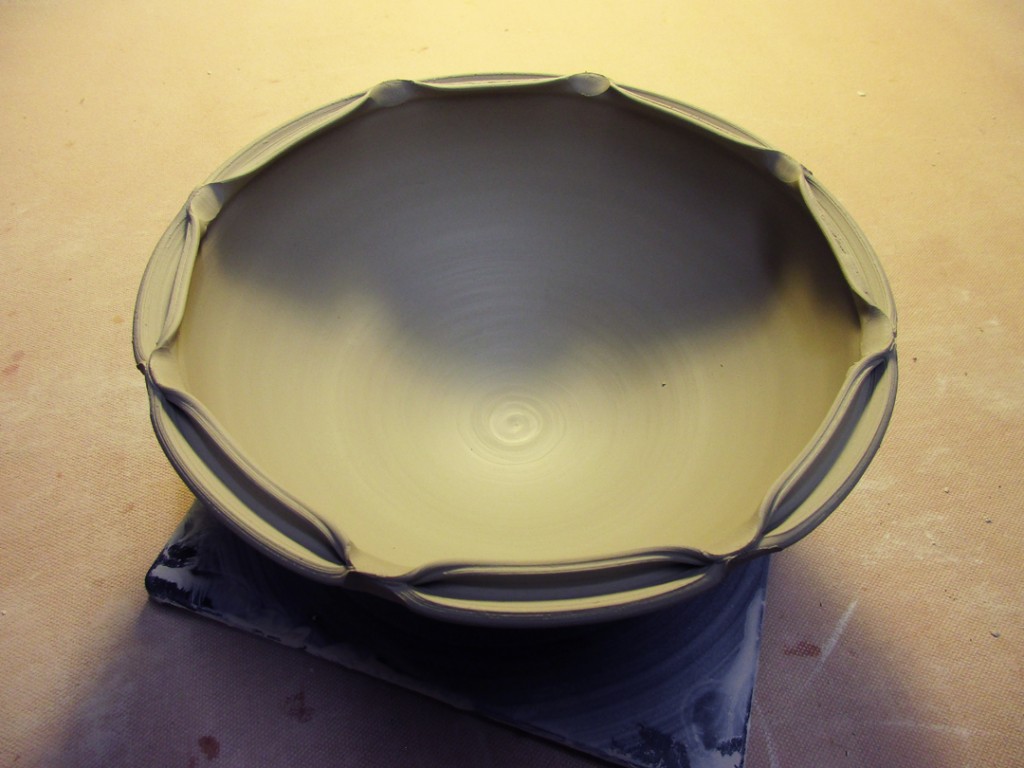
Bowl #3 – Eight Twisted Flutes.
Bowl #4 – Thin Flange bent outwards.
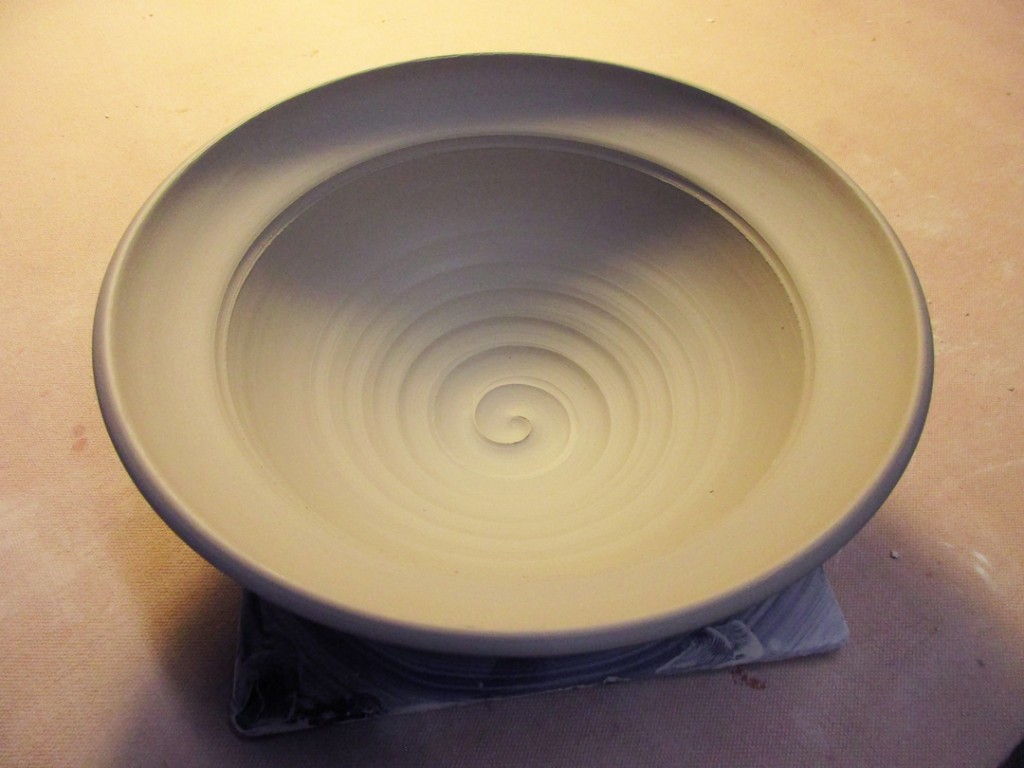
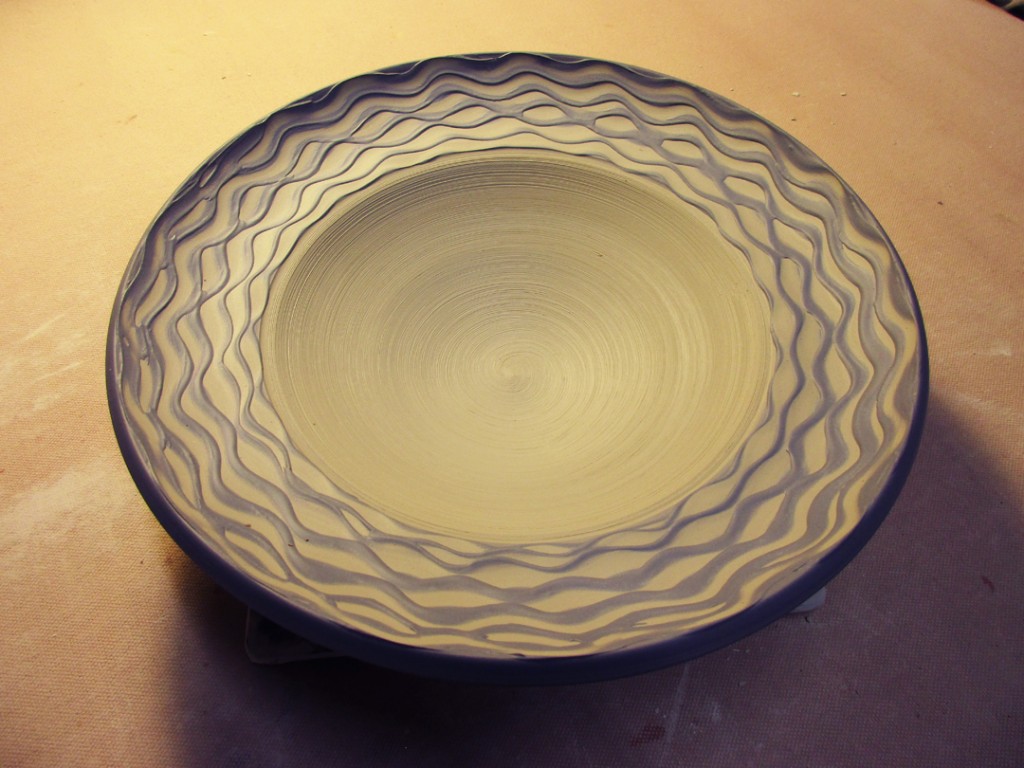
Bowl #5– Wide Flange bent outwards.
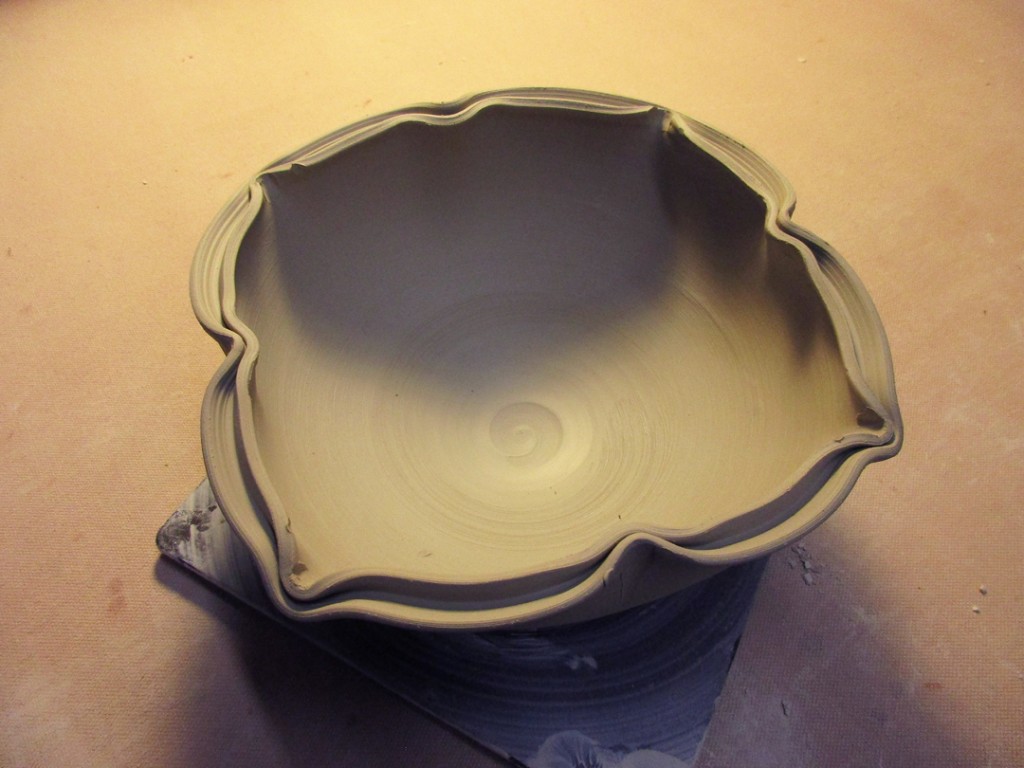
Bowl #6 – Flange and Twisted Fluting.
Bowl #7 – Split Rim with Pinches.
Bowl #8 – Split Rim and Fluted In & Out
Bowl #9 – Split Rim in a Lotus Flower Style
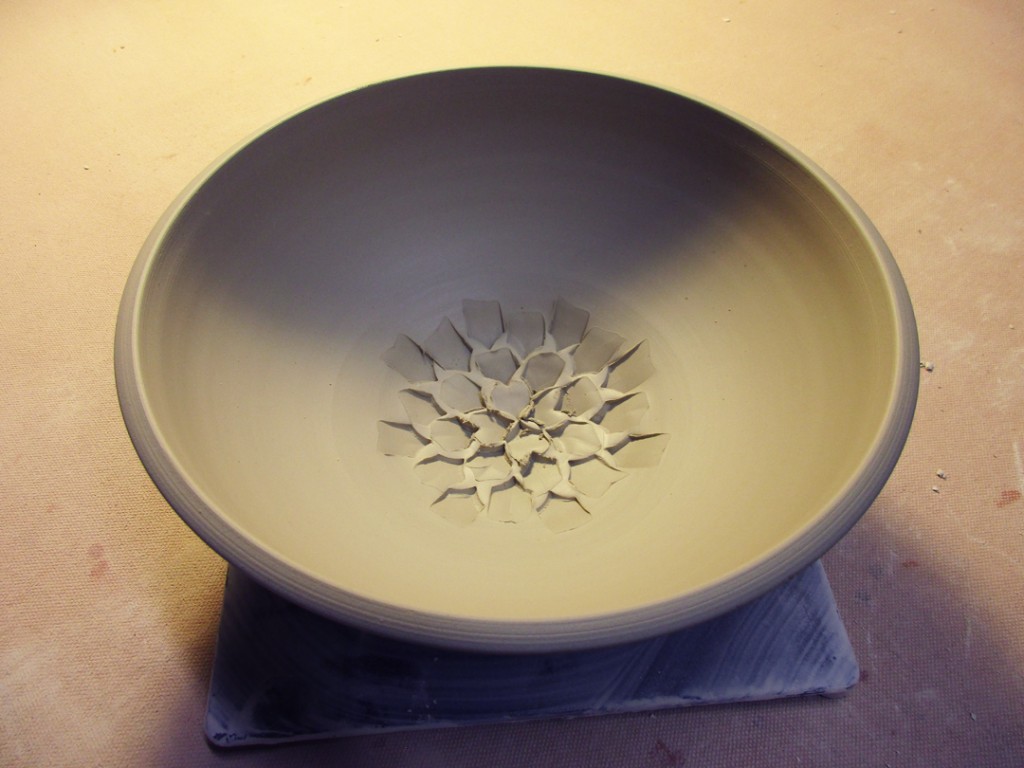
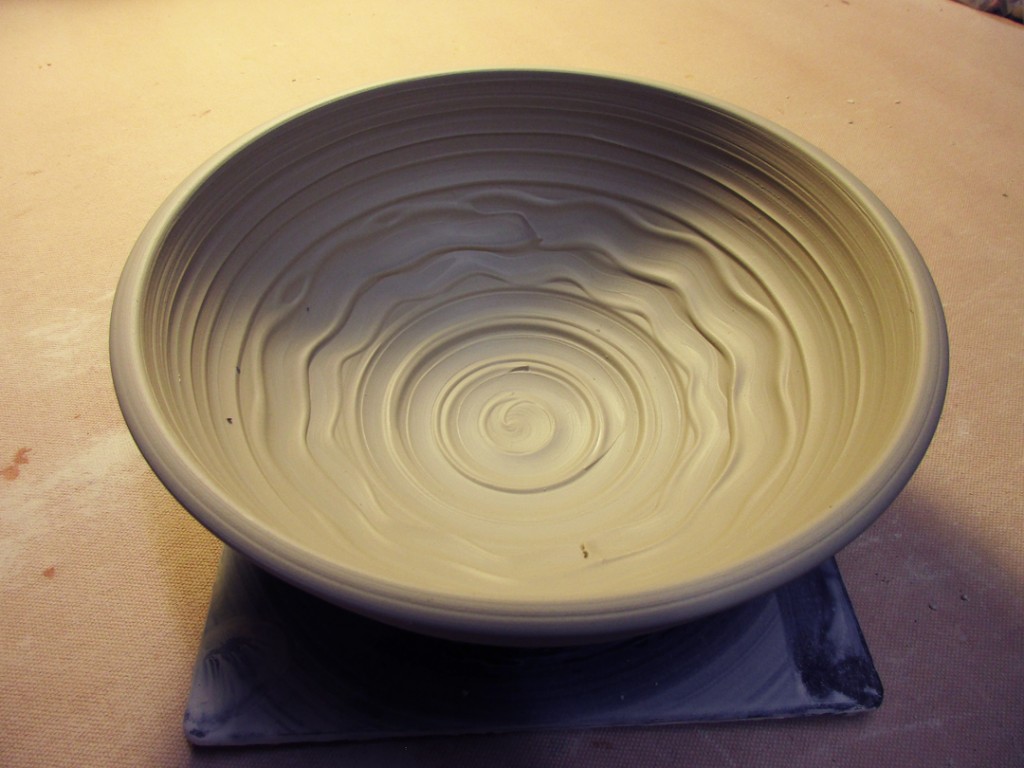
Bowl #10 – Plain with a Flower Pressed in the bottom with a simple dragonscale tool.
Then we started working more with colored slip. For the demo I used thick white slip and thin blue mazzerine. Now looking at the photos, I probably should have used a darker slip to show more contrast to the lightness of the B-Clay. Oh well… next time!!
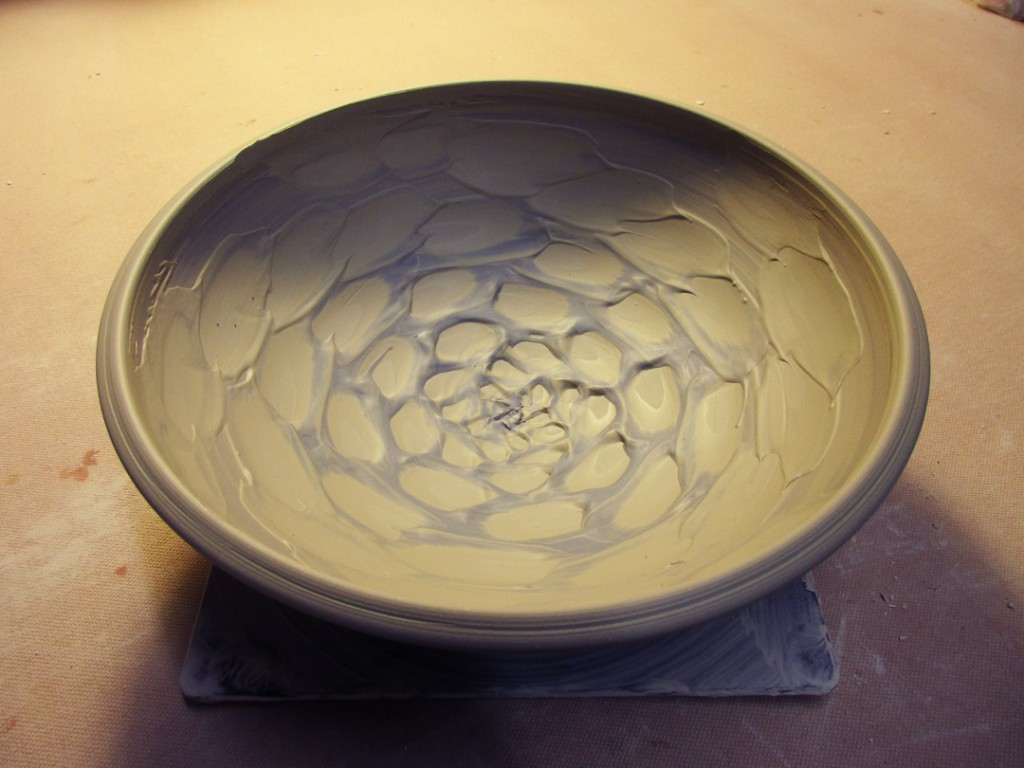
Bowl #11 – White Slip Spiral using the rounded end of my wooden knife.
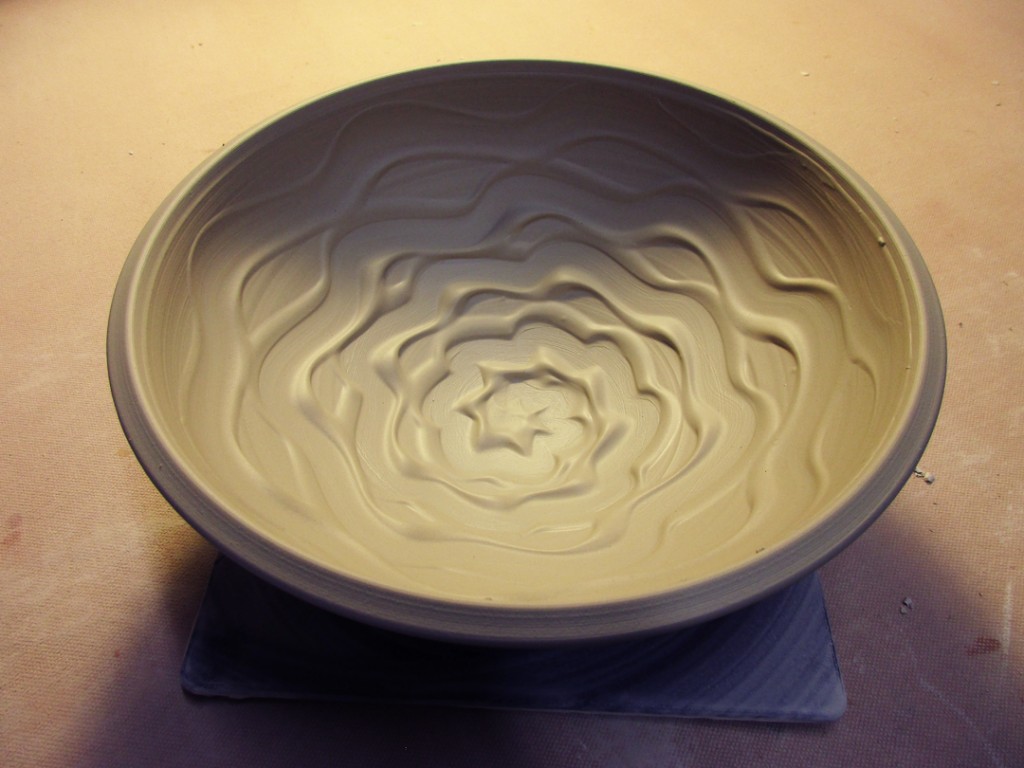
Bowl #12 – White Slip Squiggles with my finger tip.
Bowl #13 – White Slip Banding & Squiggles
Bowl #14 – Blended Gradation Ombre with Chattering Texture
Bowl #15 – Wide Flange with some Mazzerine Squiggles.
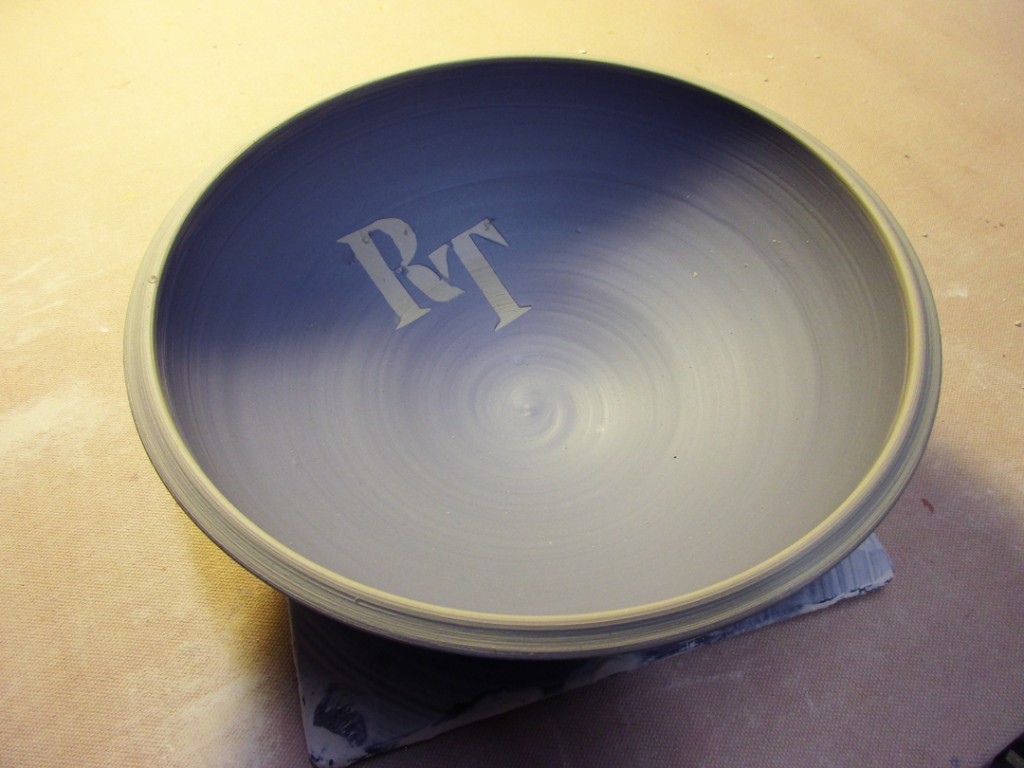
Bowl #16 – Mazzerine Slip with a couple Newspaper Letter Stencils.
So now they are all in my studio under wraps. Covered with plastic so they can dry a bit slowly. I’m hoping that maybe tomorrow night they will be ready for some stamping, detailing & accenting. If so… most like more photos will follow!
No. 6 looks the best but a few are nice as well. Good job!