Last night was my “bowl-making-on-purpose-instead-of-a-cylinder-gone-bad” demo for my Beginning & Advanced Beginning Wheelthrowing Class. It’s my favorite demo every session. I start by showing them how to make a nice bowl with a well-rounded interior. Throwing the bowl on purpose and not allowing it to “just happen.” After I show them how to make that one “perfect” bowl, I send them back to their wheels to practice. Meanwhile, I throw eleven more bowls of a similar size & shape. And then we all regroup at my wheel so we can do some quick alterations.
Some quick “tricks” to make each bowl different from the others.
Encouraging my students to do something fun with their clay, to experiment, to play
and to make it their own. Trying to get each of my students to push it a bit further…
and to have fun with their clay!
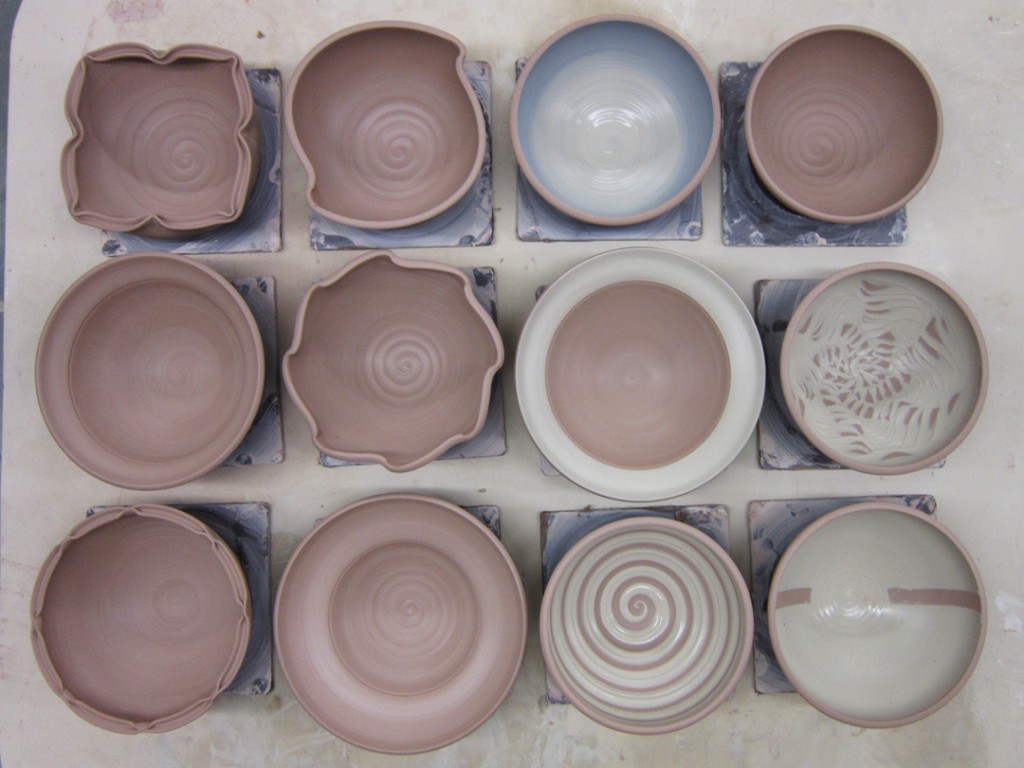
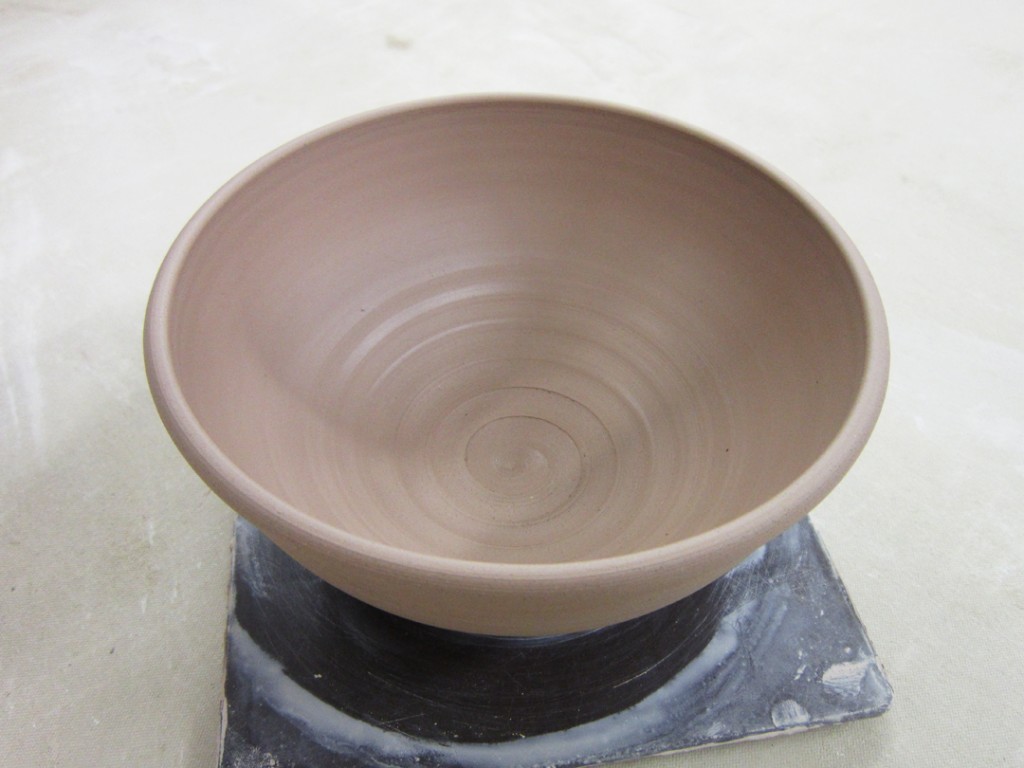
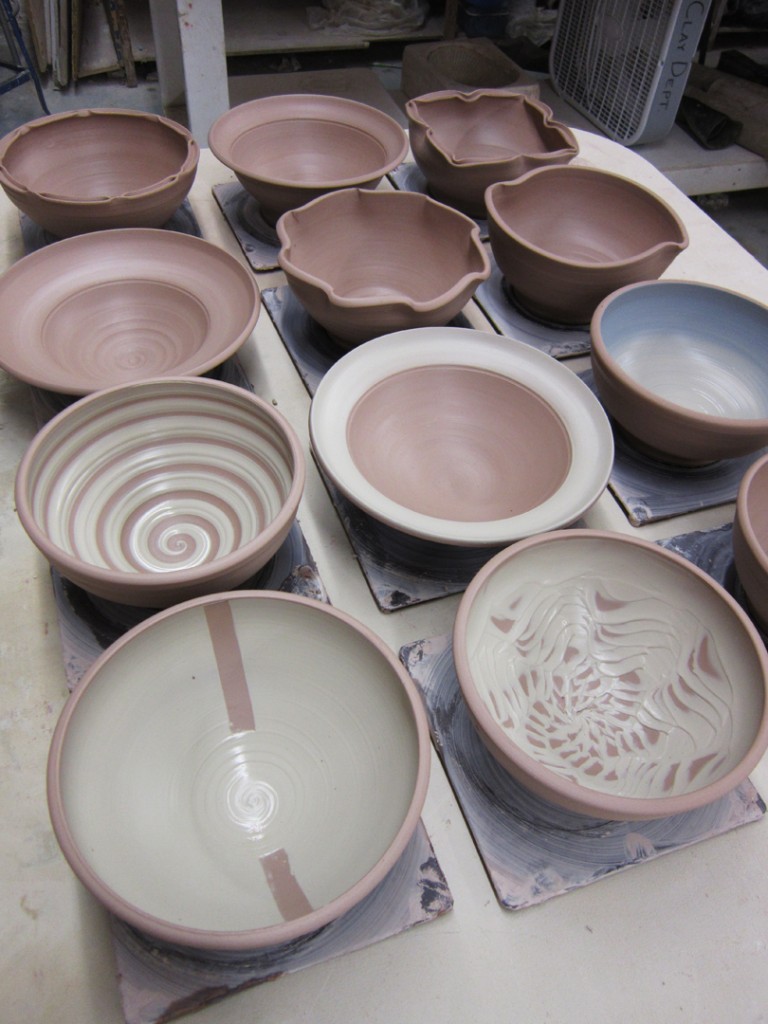
Bowl #1 -The basic bowl. All twelve of them started just like this.
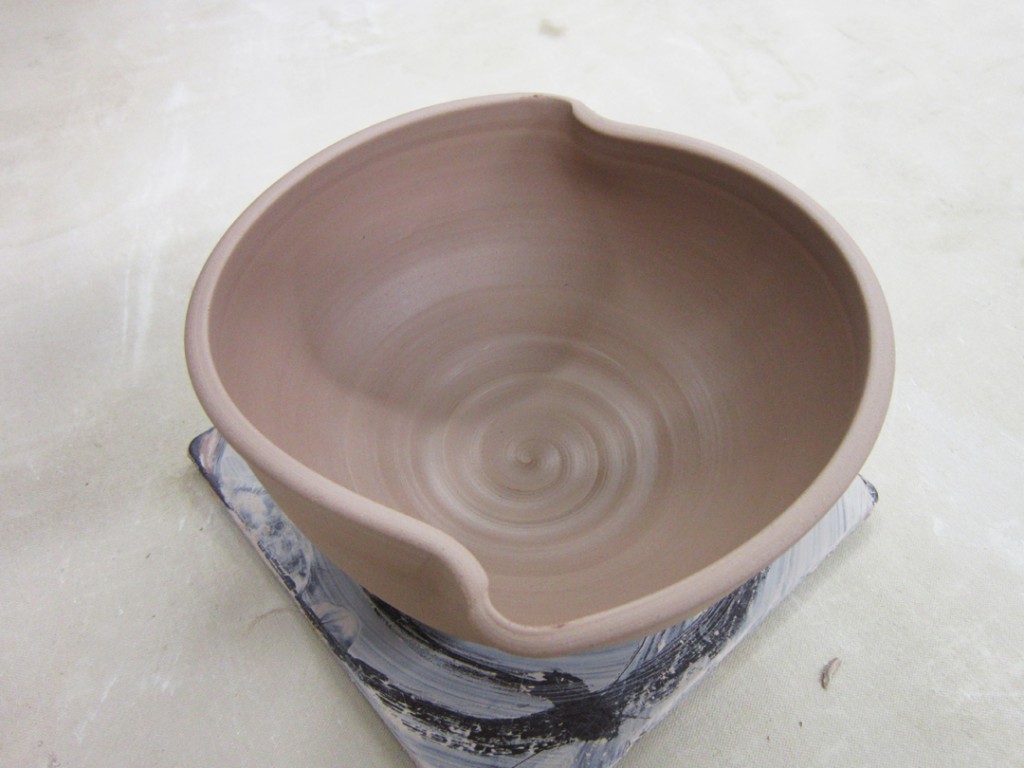
Bowl #2 – Two twisted flutes on opposite sides.
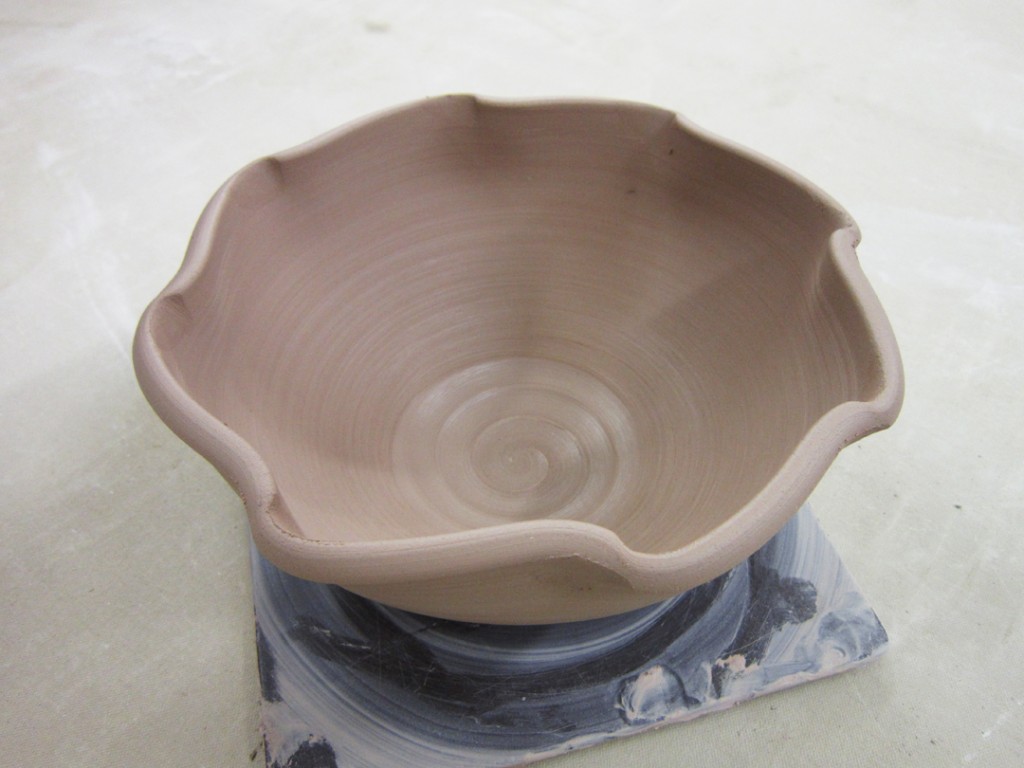
Bowl #3 – And if two flutes are sweet, maybe eight are even sweeter?!
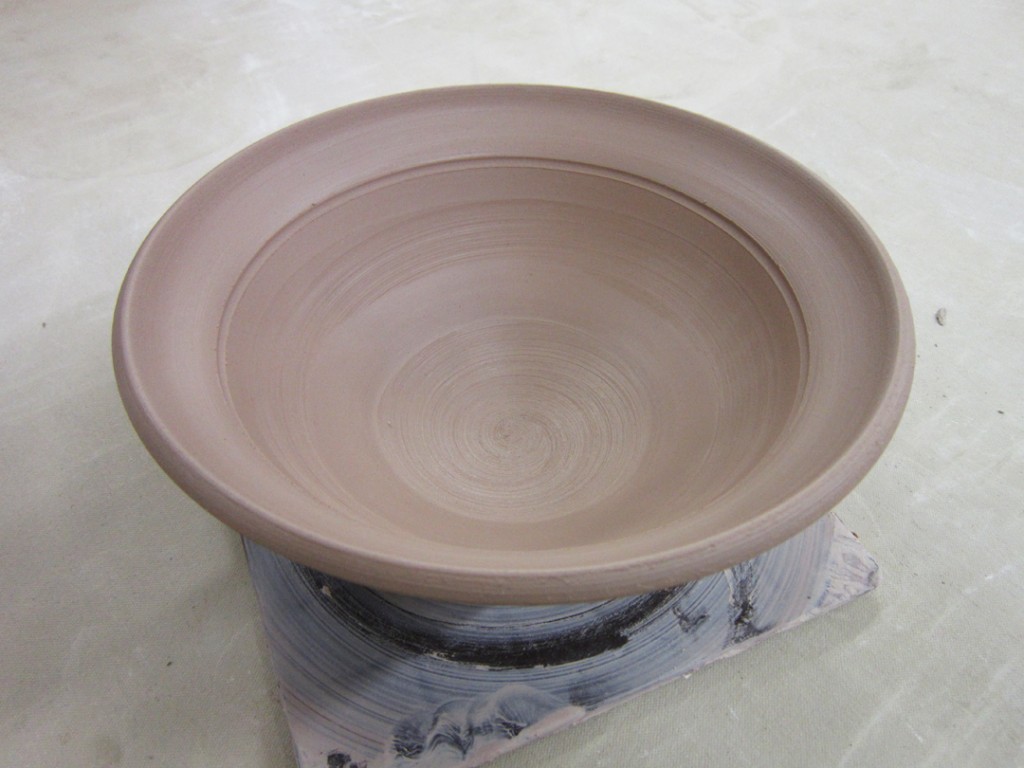
Bowl #4 – A simple flared flange.
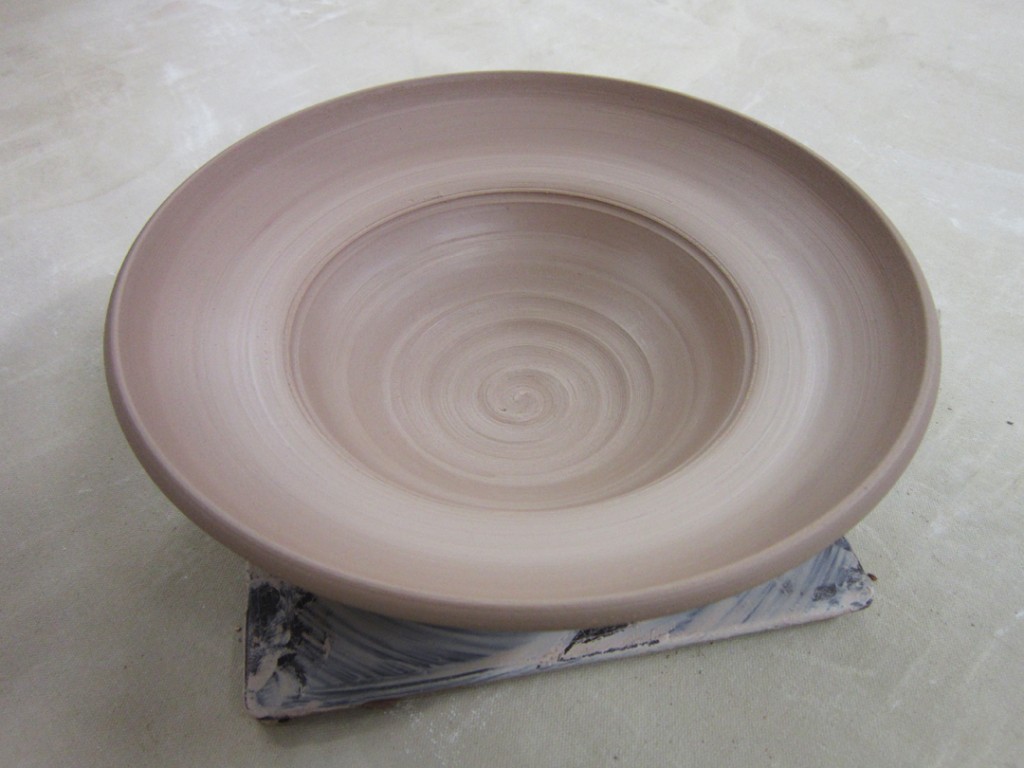
Bowl #5 – And if a little flare is nice, maybe a larger, wider flange is even nicer?
Bowl #6 – A split rim with some pinches around the edge.
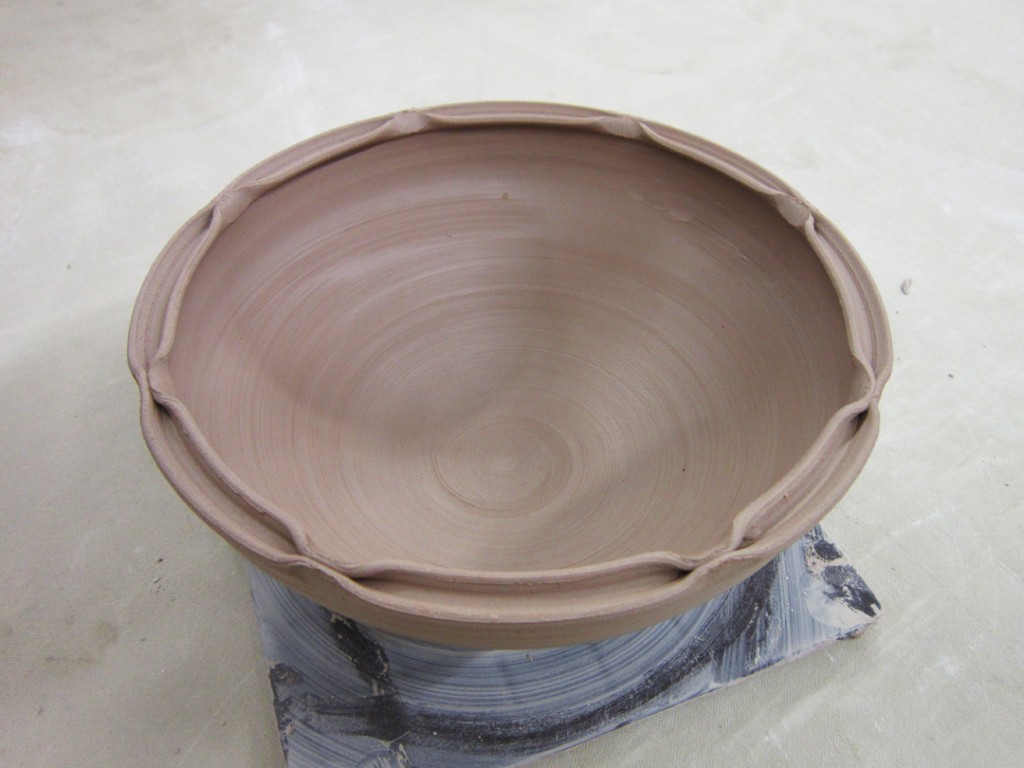
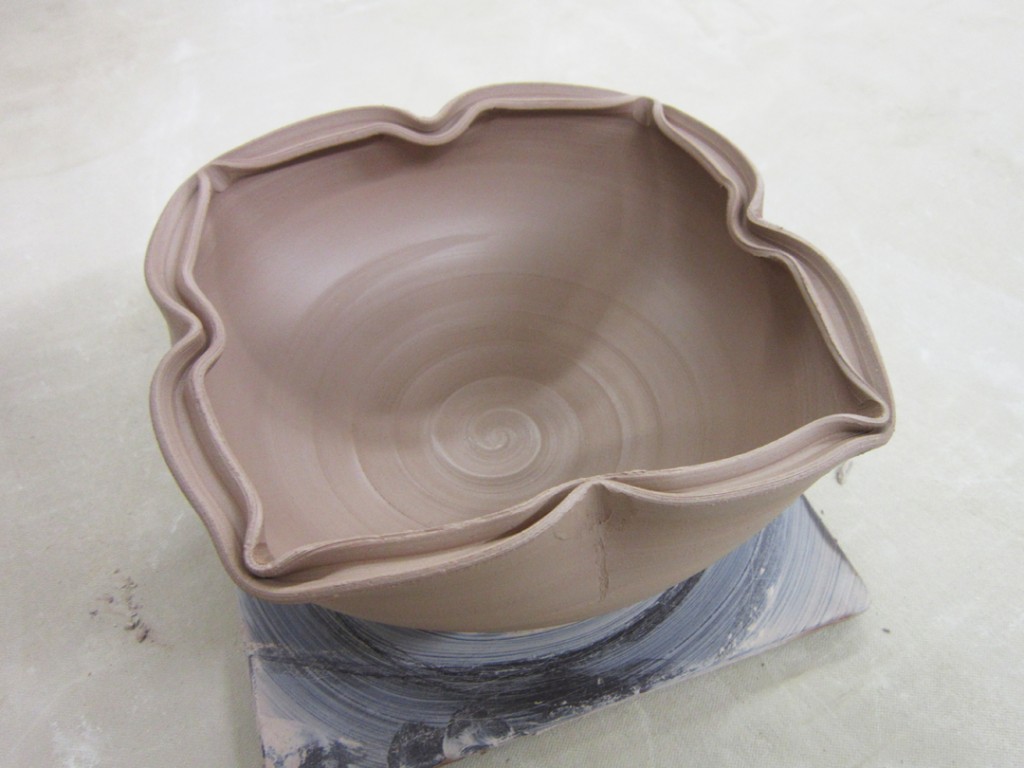
Bowl #7 – A split rim pushed in and pushed out for a lotus-like shape.
And then, once I have them adequately overwhelmed with making bowls… why not throw them all the way over the edge by introducing colored slip?!
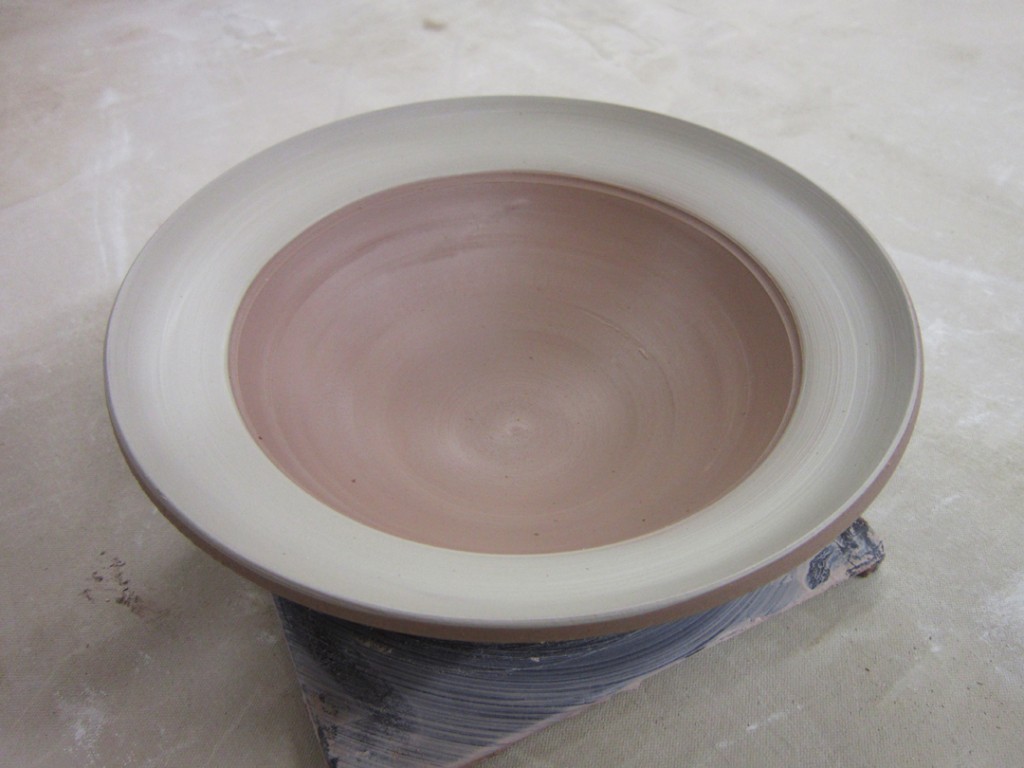
Bowl #8 – White slip on a simple flared flange.
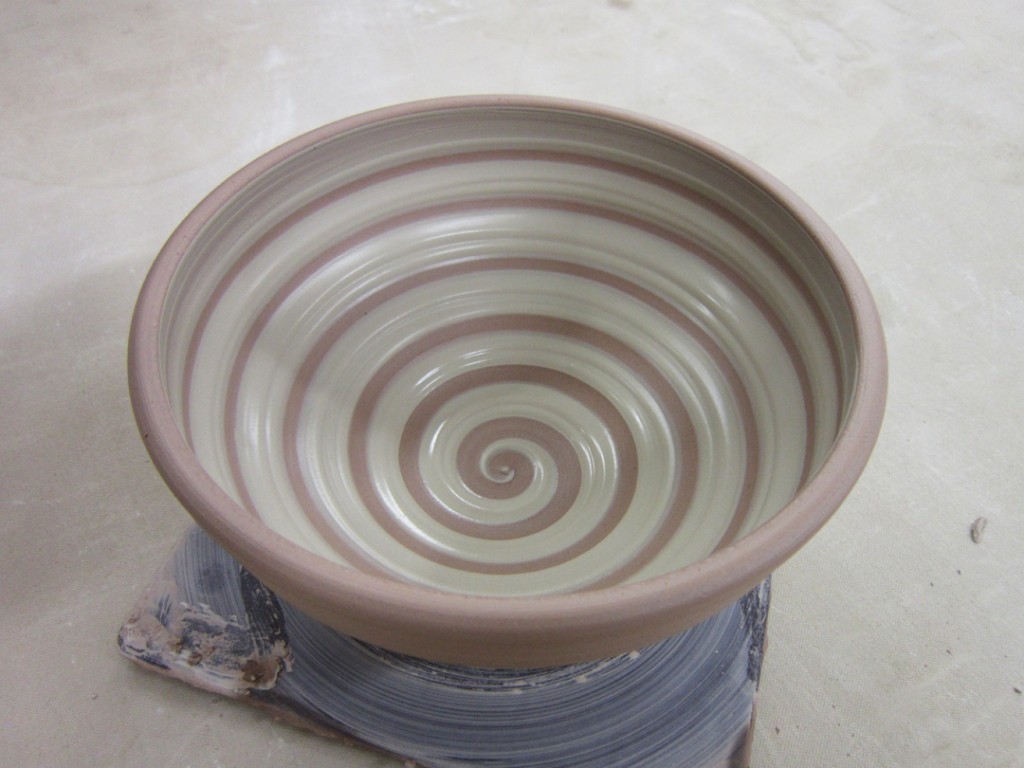
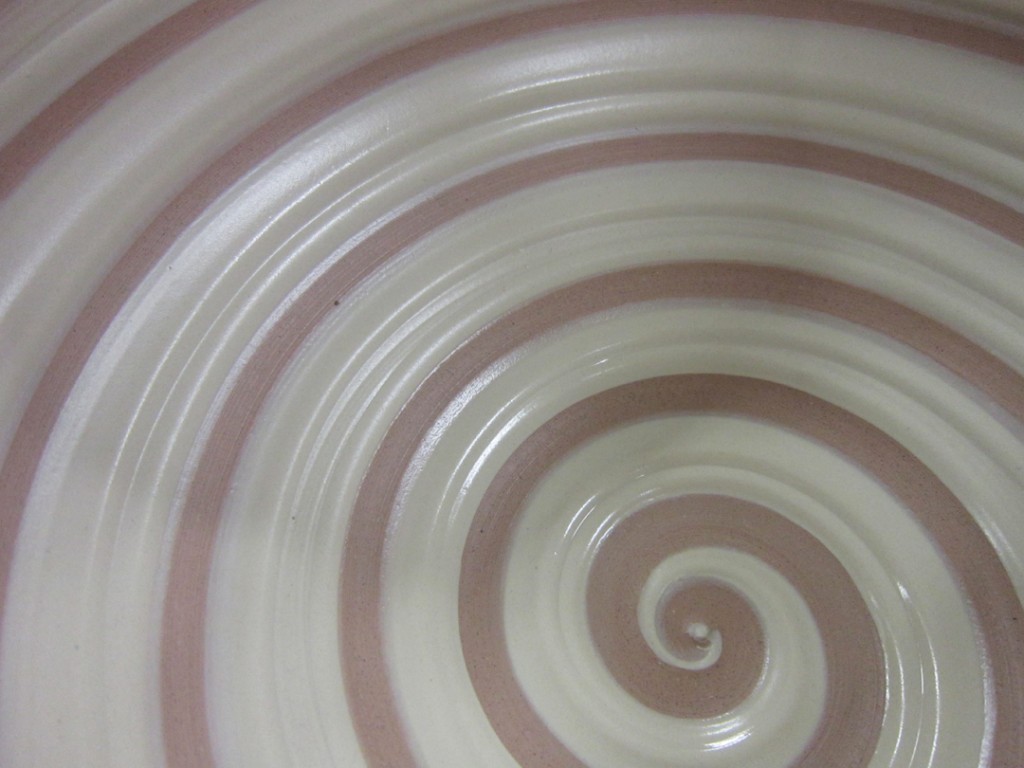
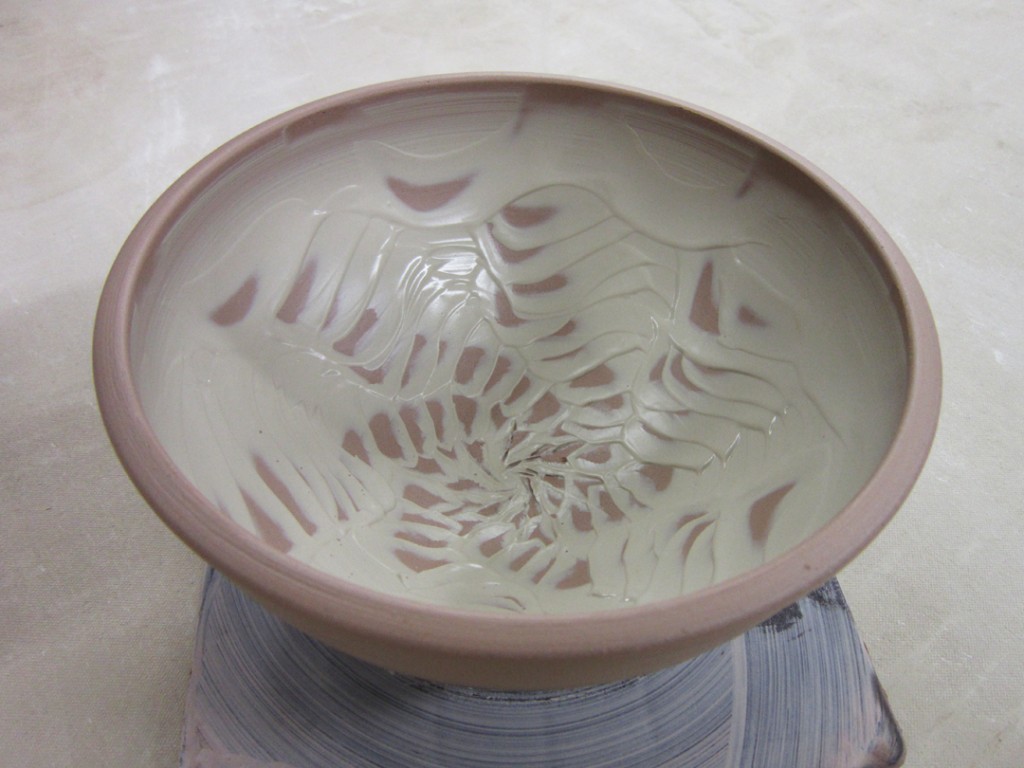
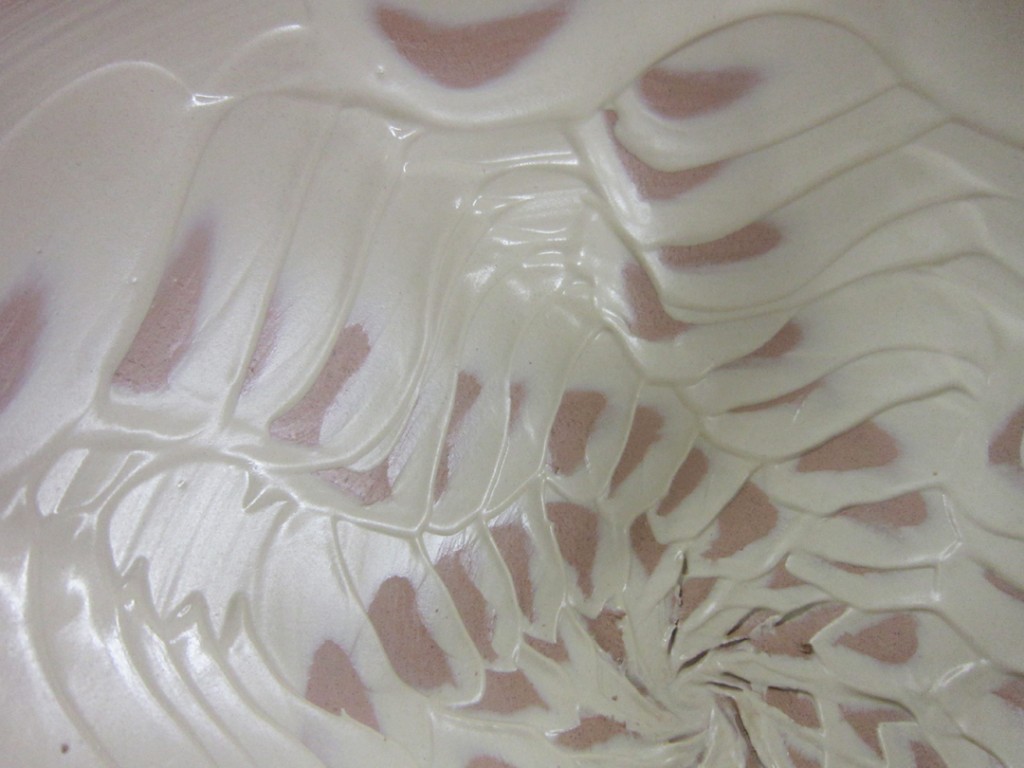
Bowl #9 – A spiral dragged through white slip to reveal a spiral of the clay color using the rounded end of my wooden knife.
Bowl #1o – A chattered pattern by using a rounded edge rib and doing some rhythmic tapping through the white slip while the bowl is rotating.
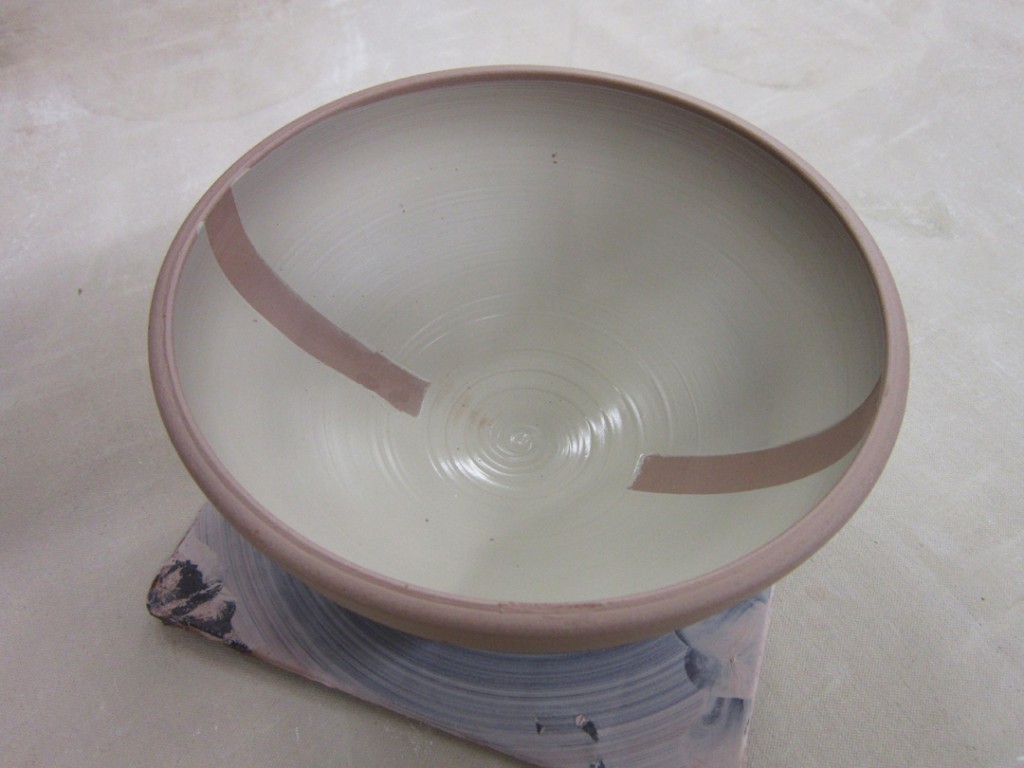
Bowl #11 – A couple simple slices of newspaper used as stencils in the white slip.
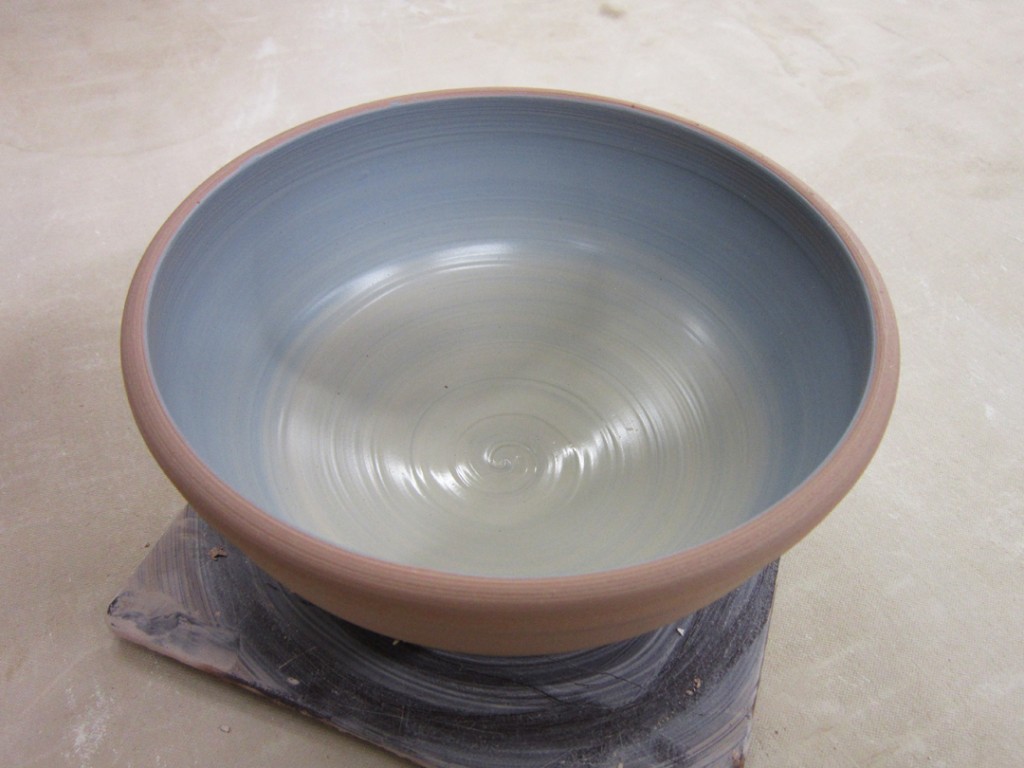
Bowl #12 – A simple ombre blended color gradation using white & delphinium blue slips.
So for now, they’re up in my studio wrapped in plastic. Waiting for them to stiffen up a bit so I can do a little more detailing. Maybe some stamping. Maybe some carving. Maybe some add-on accents. And then at some point… trimming will commence!
