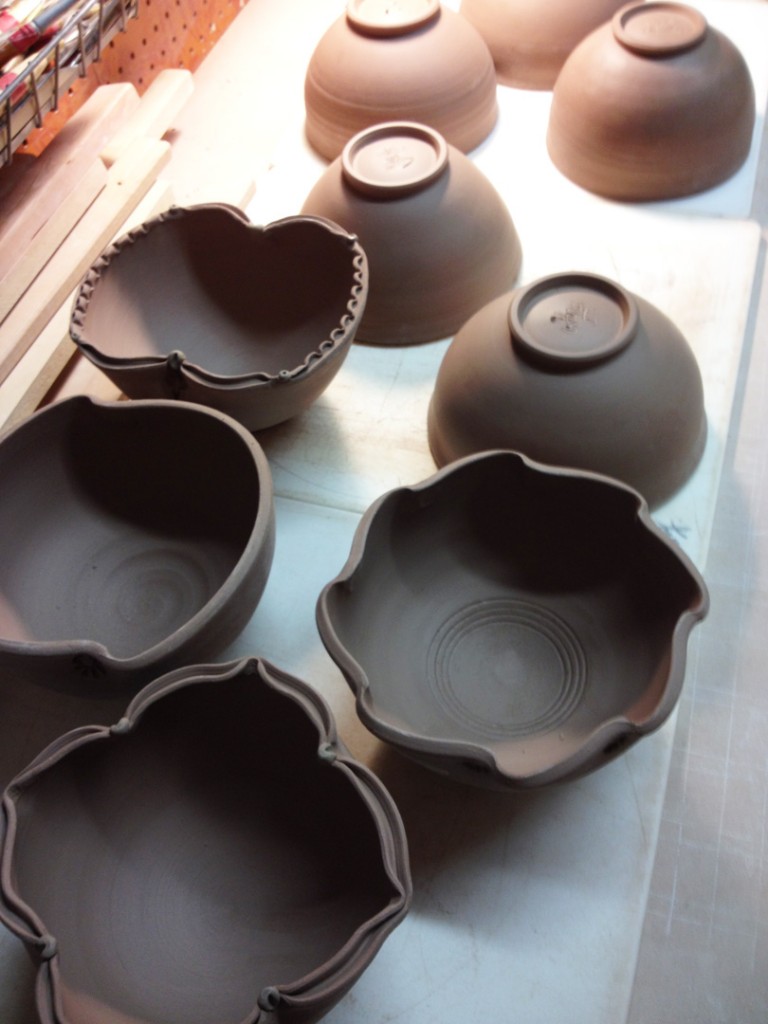
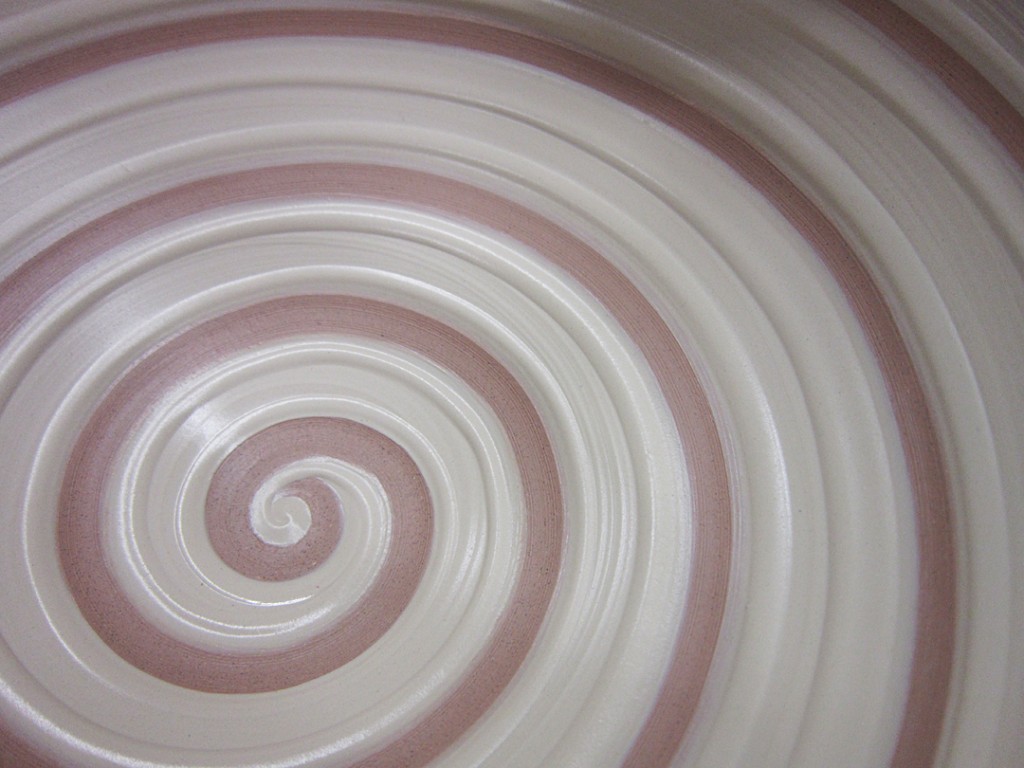
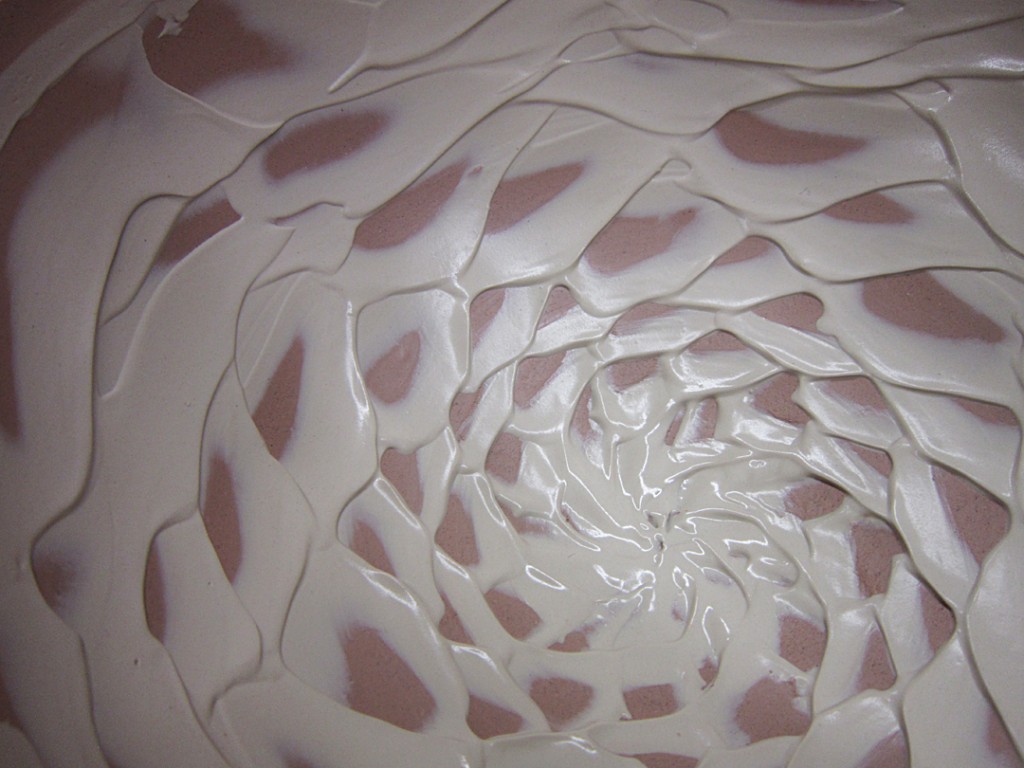
After my class demo last Tuesday night on making bowls, I finally got around to finishing them up tonight. I did a bit of stamping, a little embellishing, and a little refining. I also trimmed all of the bowls so they are set for the night. Drying for the next bisque firing.
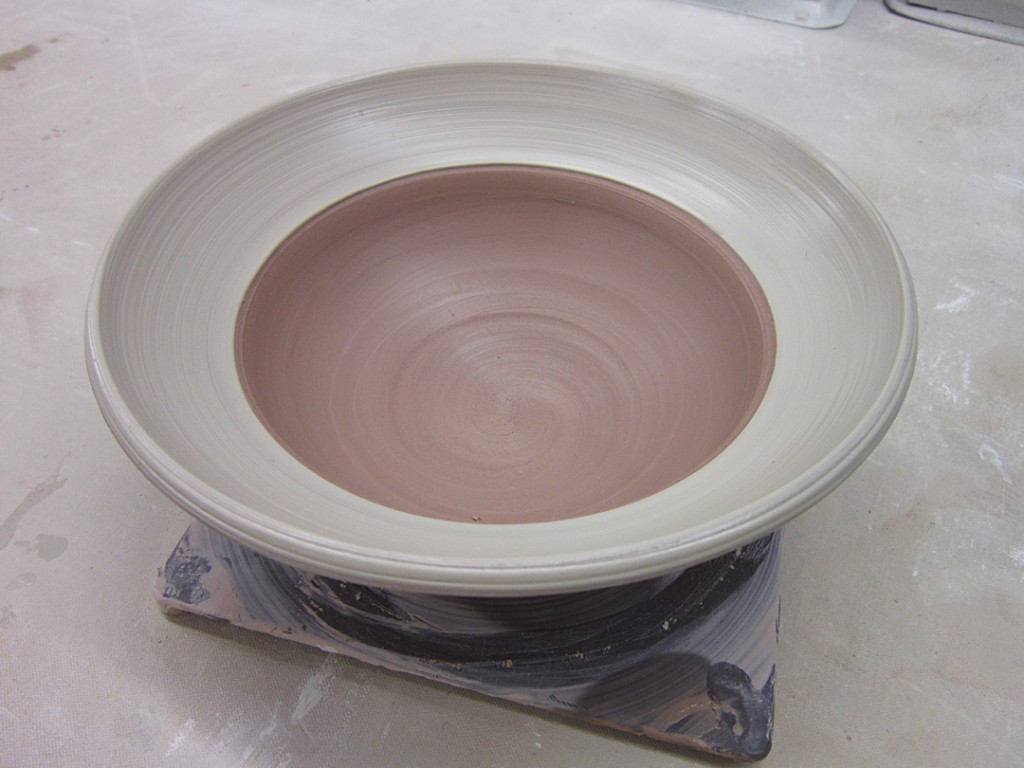
One of the bowls during the demo was a flared out flange with a layer of white slip.
The bowl had dried to leatherhard so I trimmed the bottom first, and then I set into a bit of sgraffito. Now I don’t do this technique too often… but I thought it would be a good example to show my students. By the time I had finished carving it though, I must admit I might “need” to do this a bit more often…
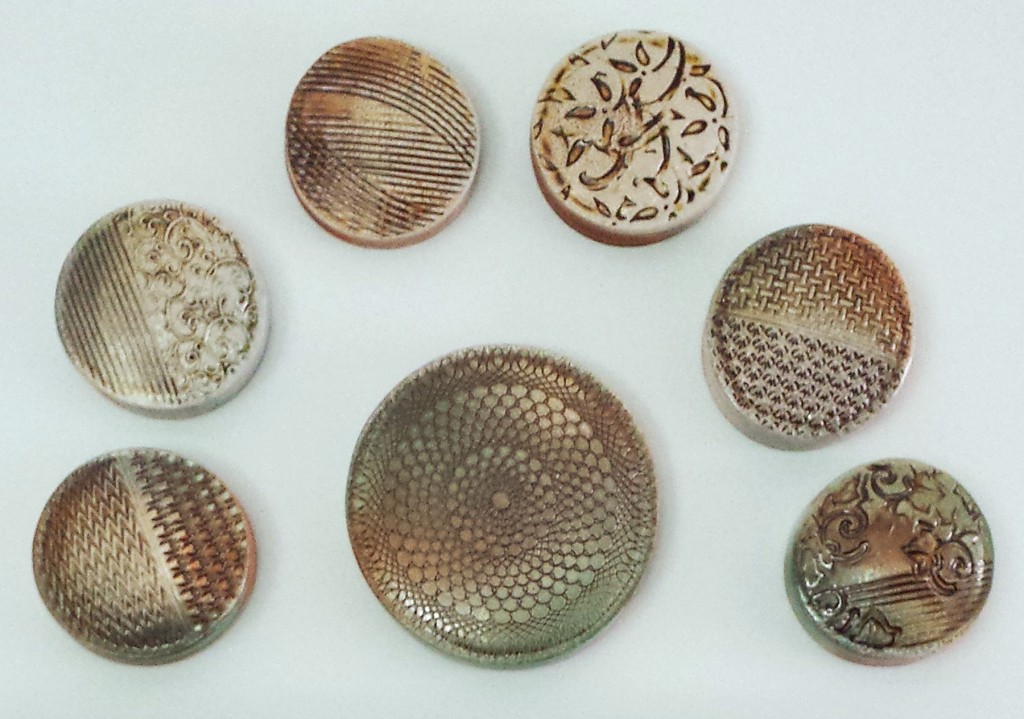
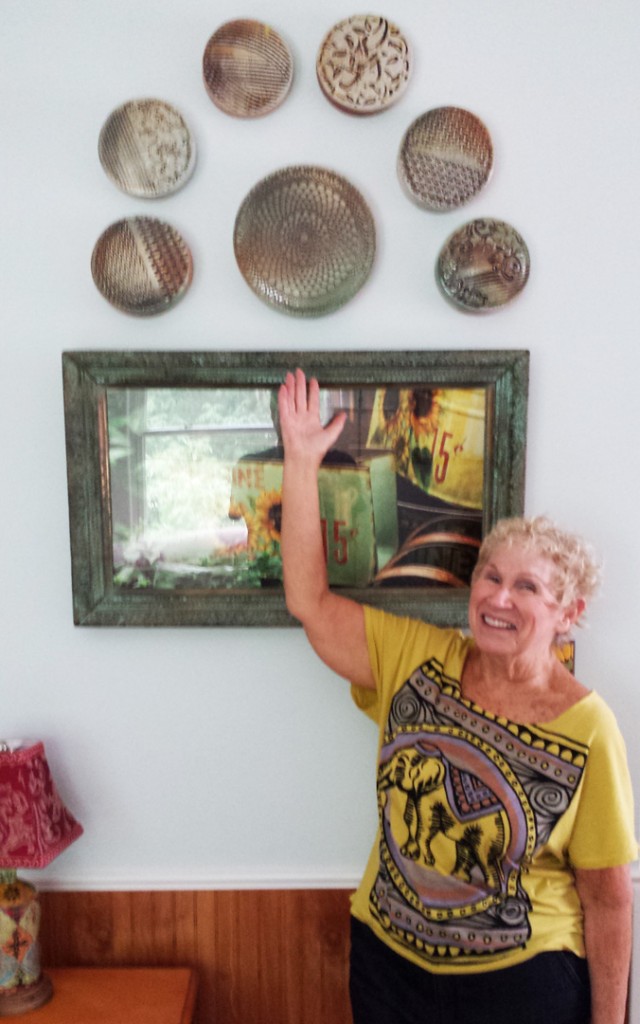
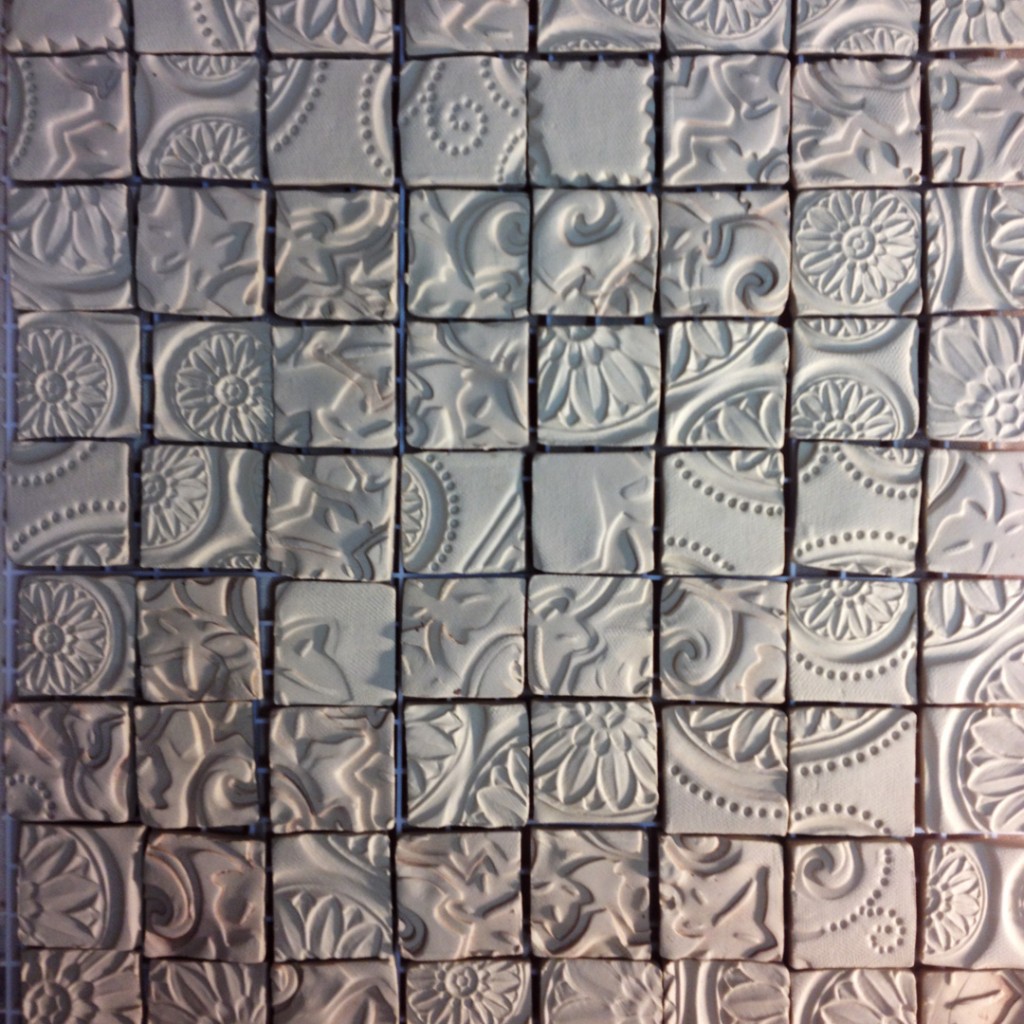
Last Fall I started making these textured wall pillows. Three sizes of textured pieces that can be hung in groups on the wall. It’s been fun watching people do the “mix & match” to make their “perfect” collection. It’s a matter of size, patterns, colors, textures and how they all fit together in a group. Like this grouping here… one large “lacey” one in the center surrounded by six medium ones.
And here’s the lucky Birthday Girl Marilyn!!! Her wonderful husband decided to surprise her with a birthday gift from her favorite potter… ME!!! What a great surprise for her… and for me. It was so thoughtful of him to contact me “secretly” as we worked on her gift without her knowledge. She’s been a dedicated customer and great friend for several years. She’s quite a supporter of the arts… and many of “My Talented Friends.” It was an honor to be part of her big birthday celebration – a surprise gift from her adoring husband.
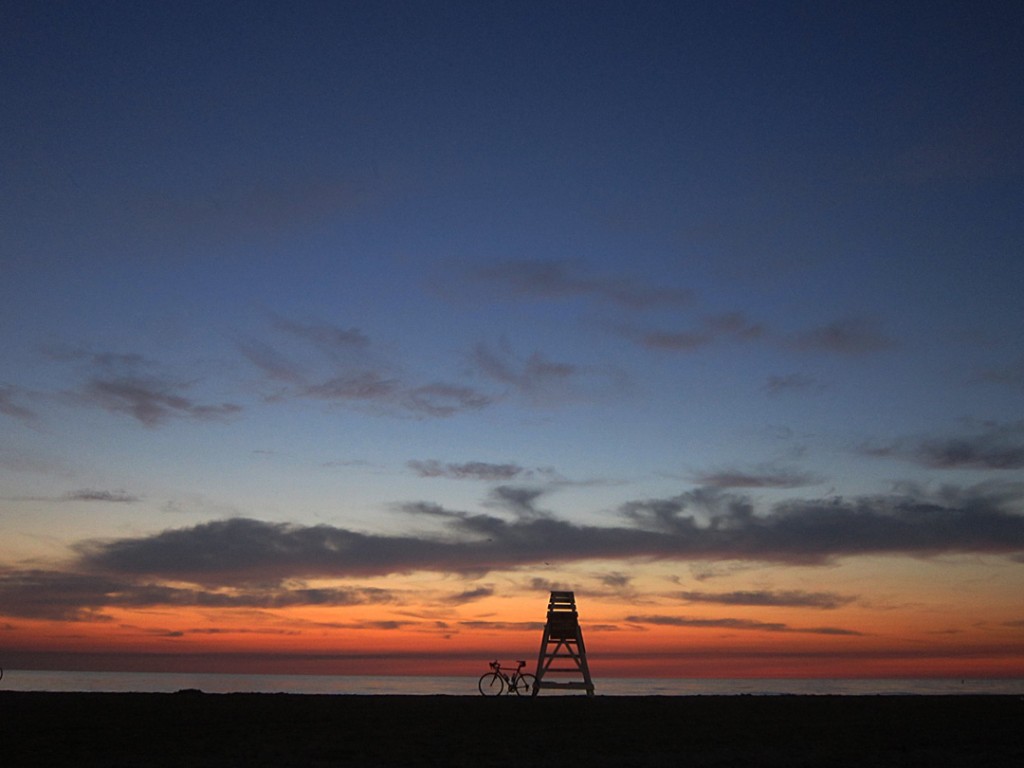
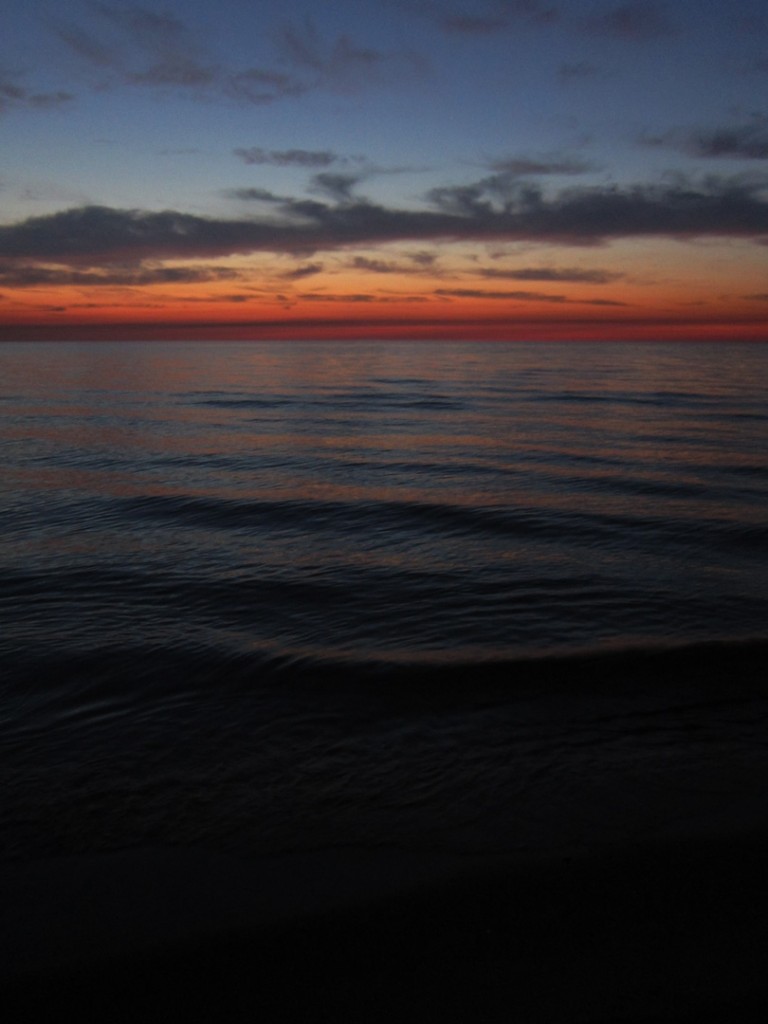
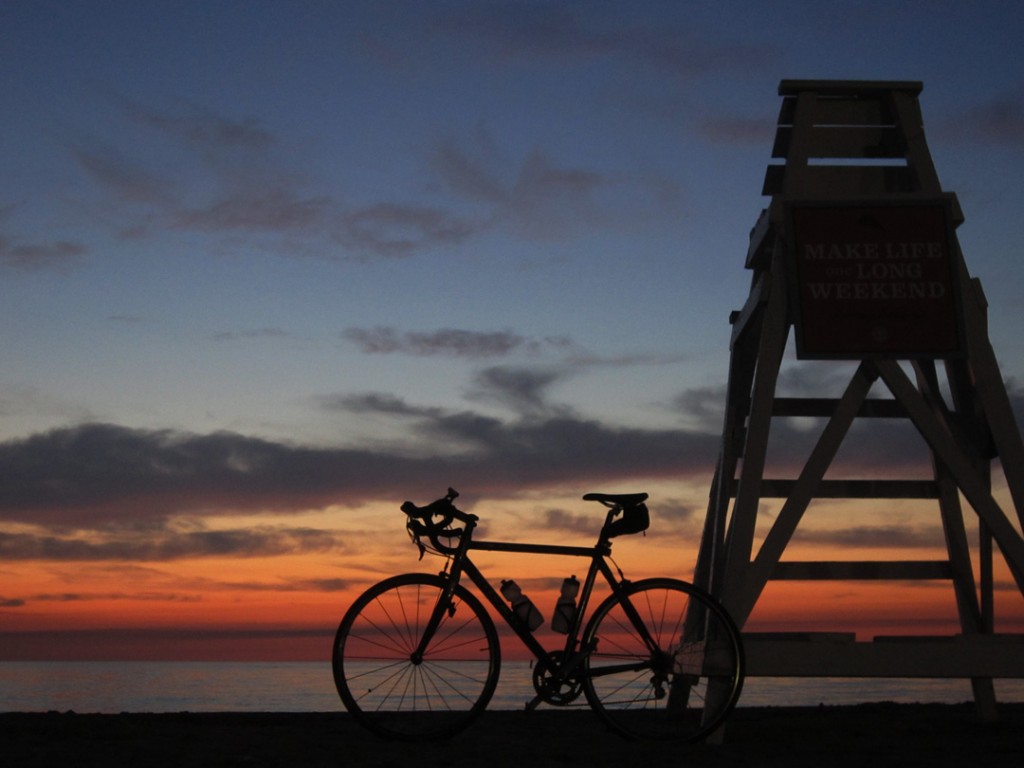
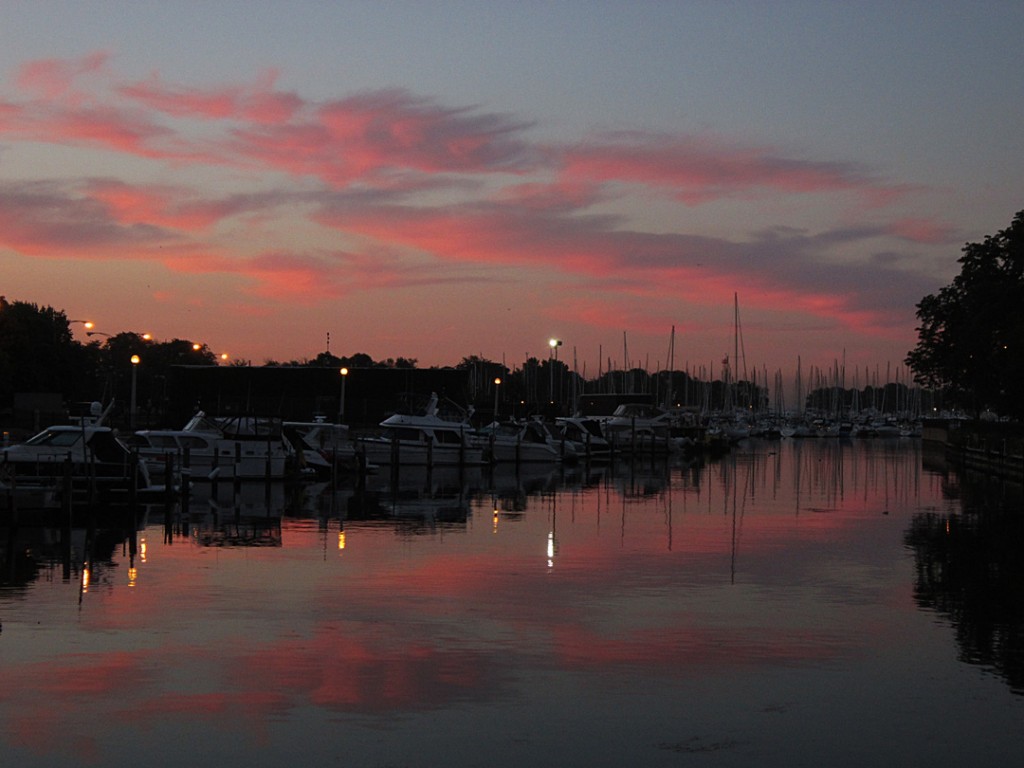
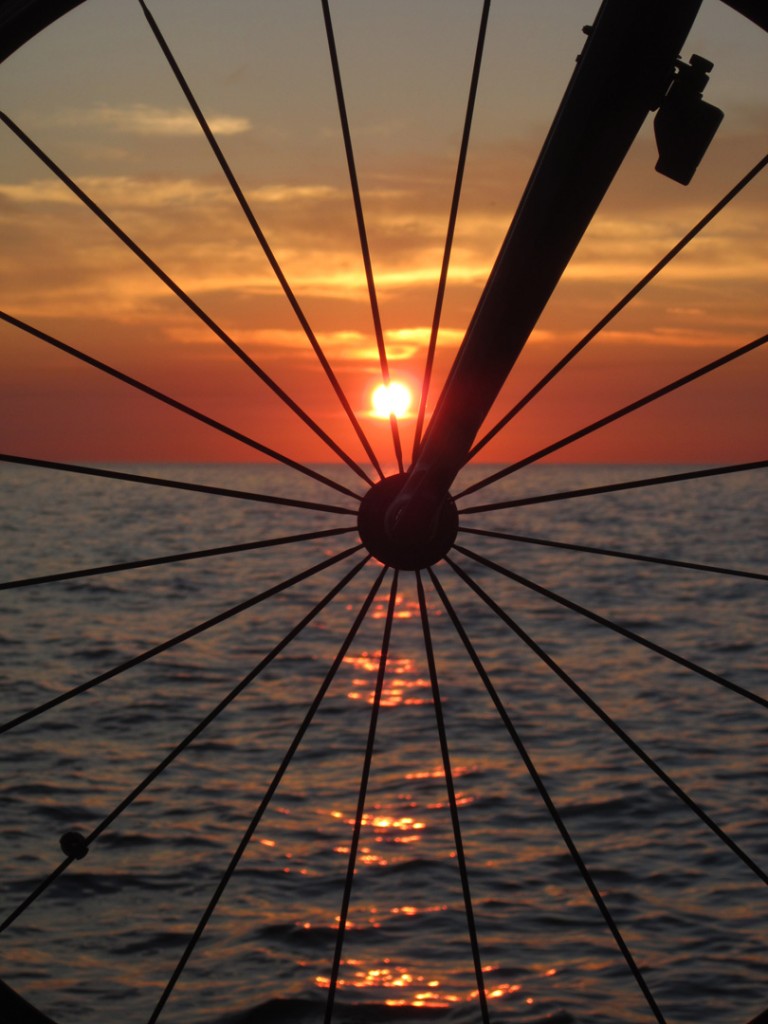
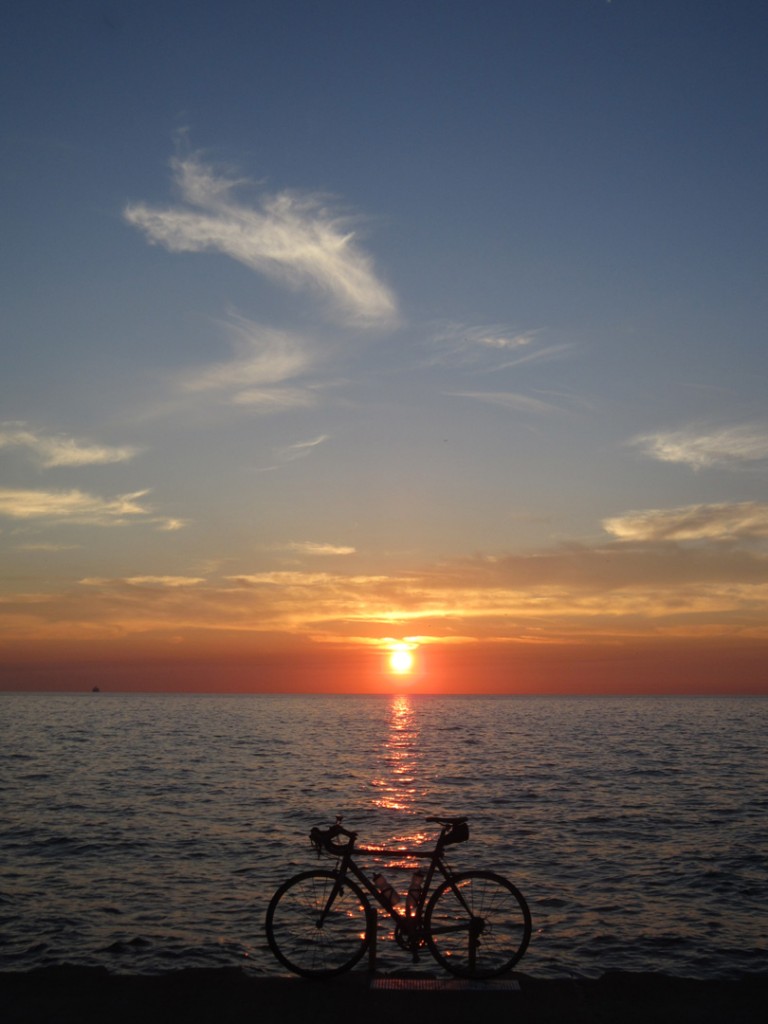
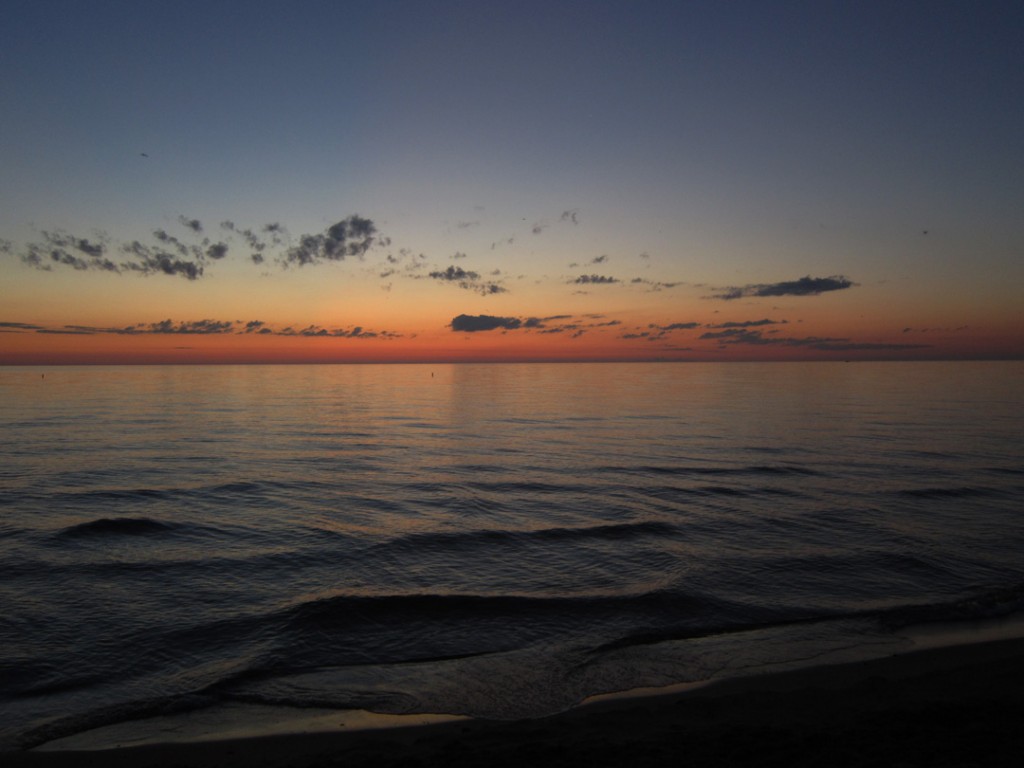
Another dark morning with good sunrise potential. Not nearly as many clouds as “spectacular”…
but more than “remnants.” I was happy to be somewhere in the middle.
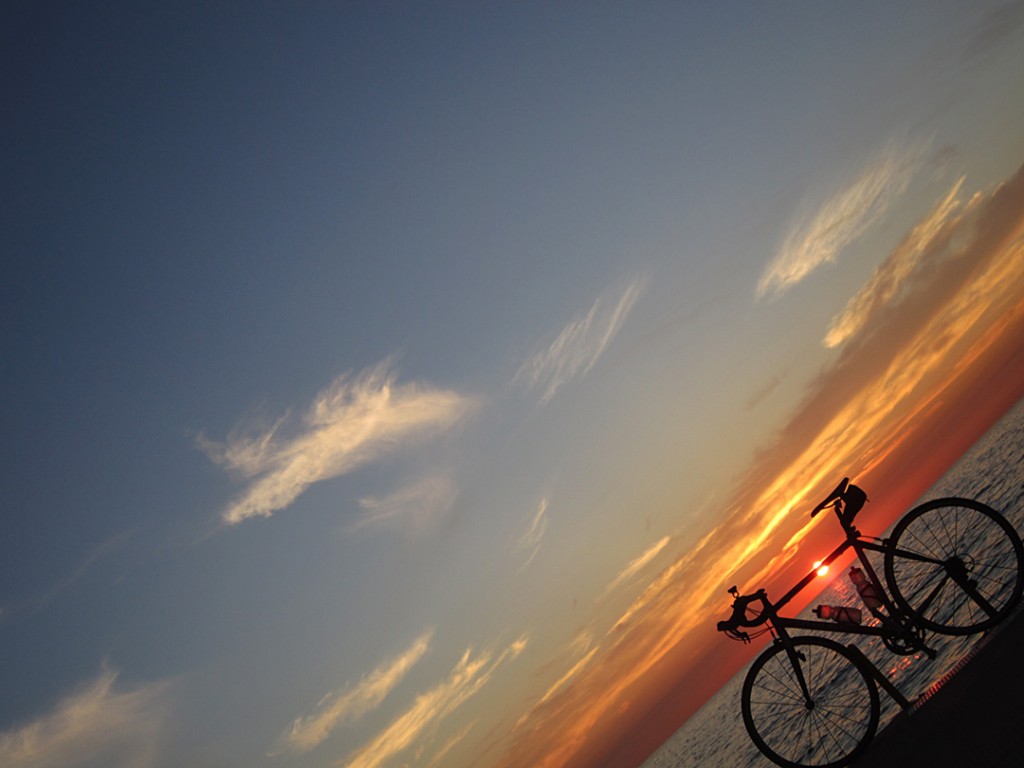
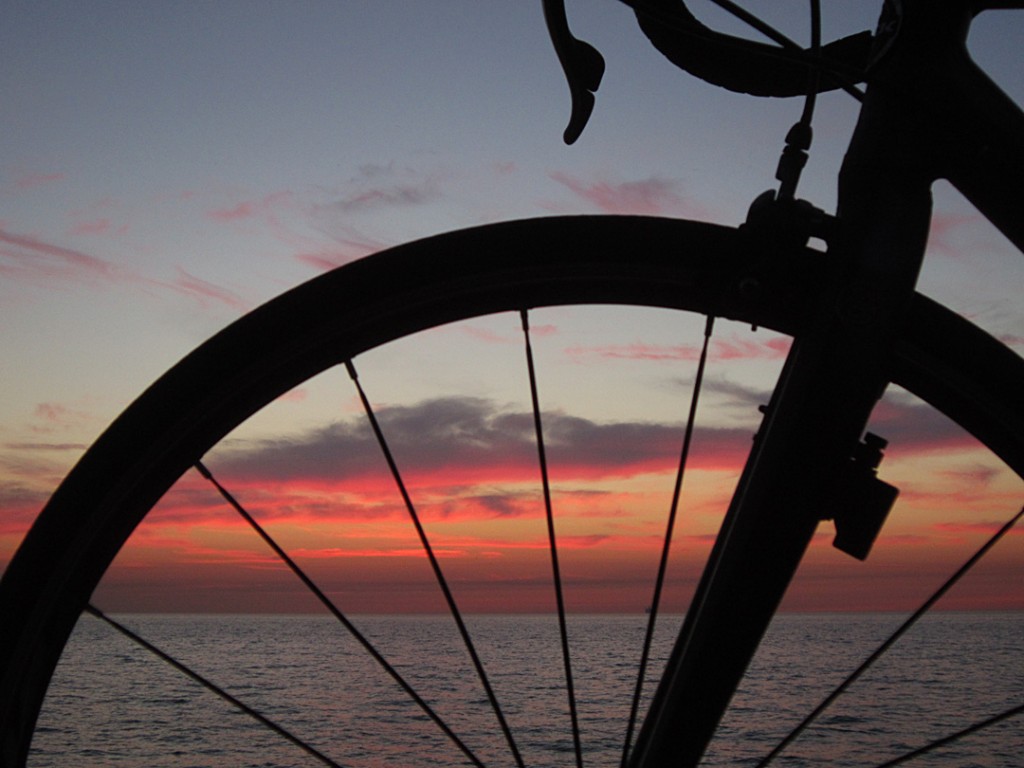
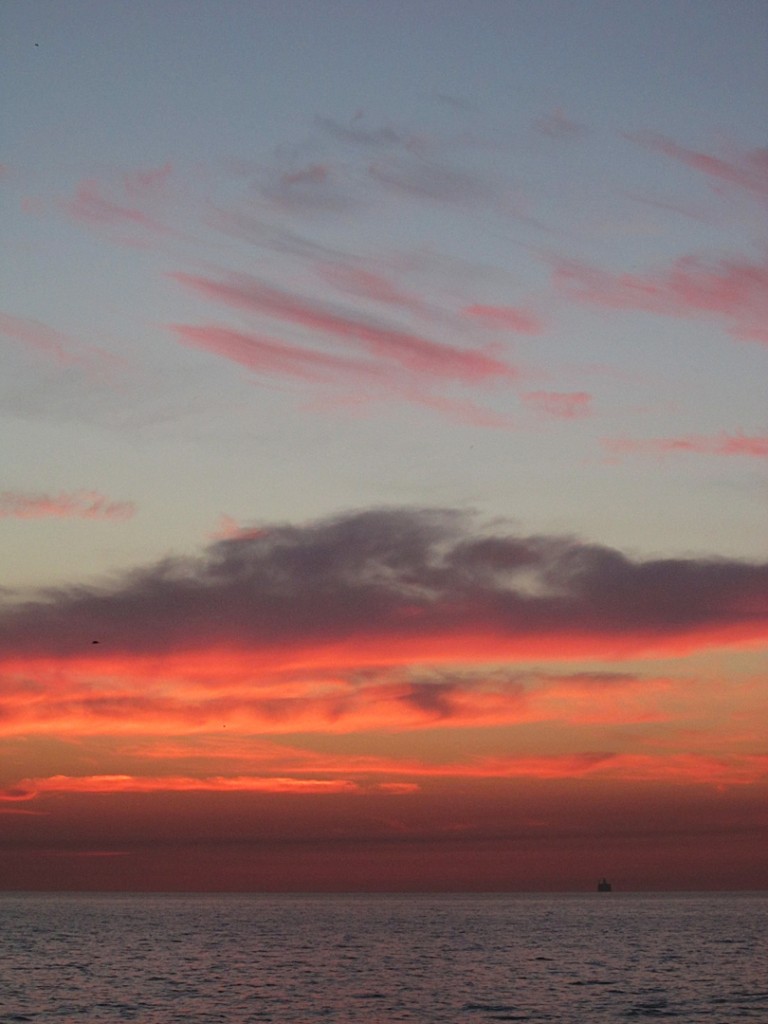
Around Belmont Harbor, the colors were changing quickly.At one end, it was pinks & lavenders… when I got around to the side, it had already changed to golden oranges!
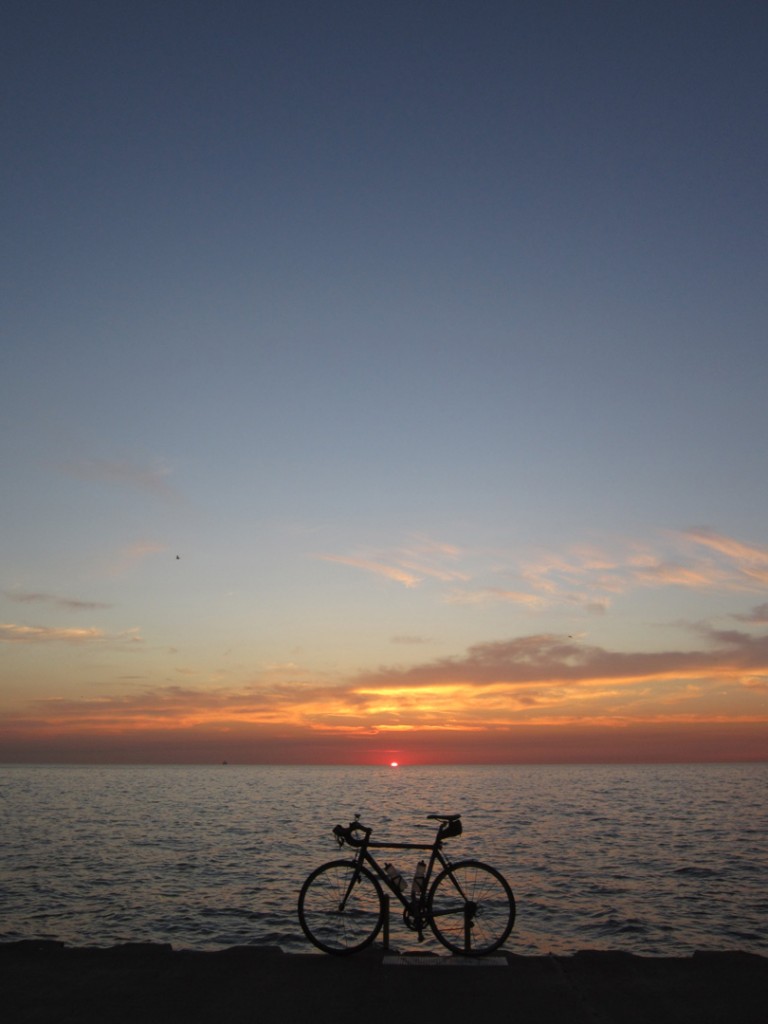
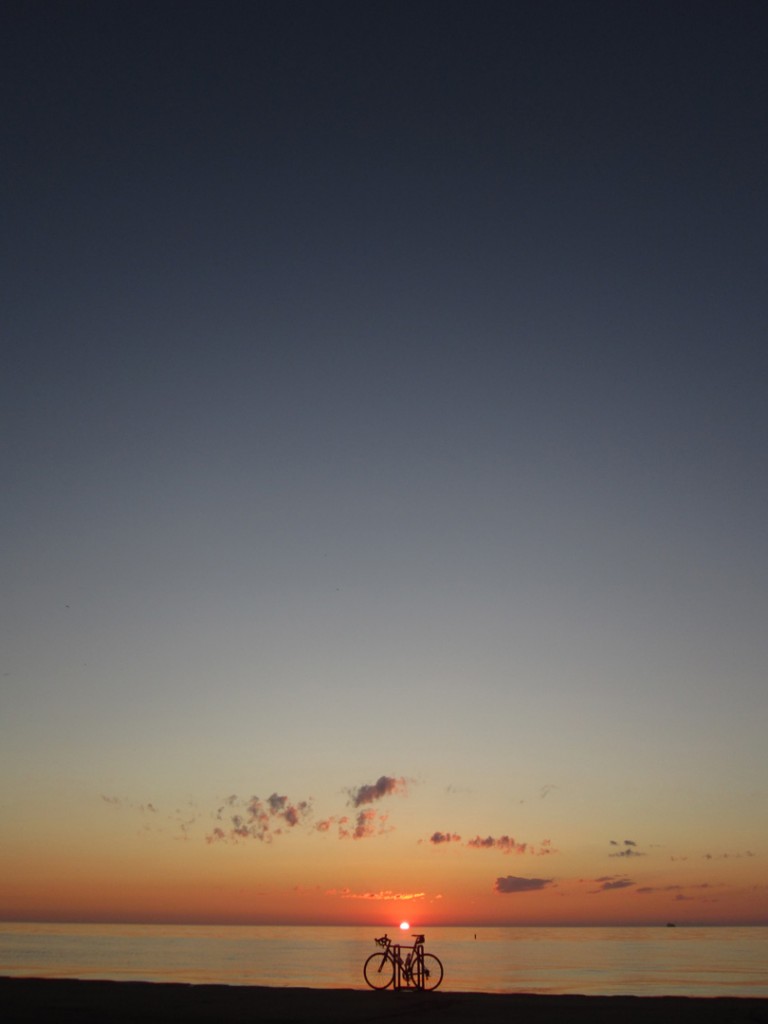
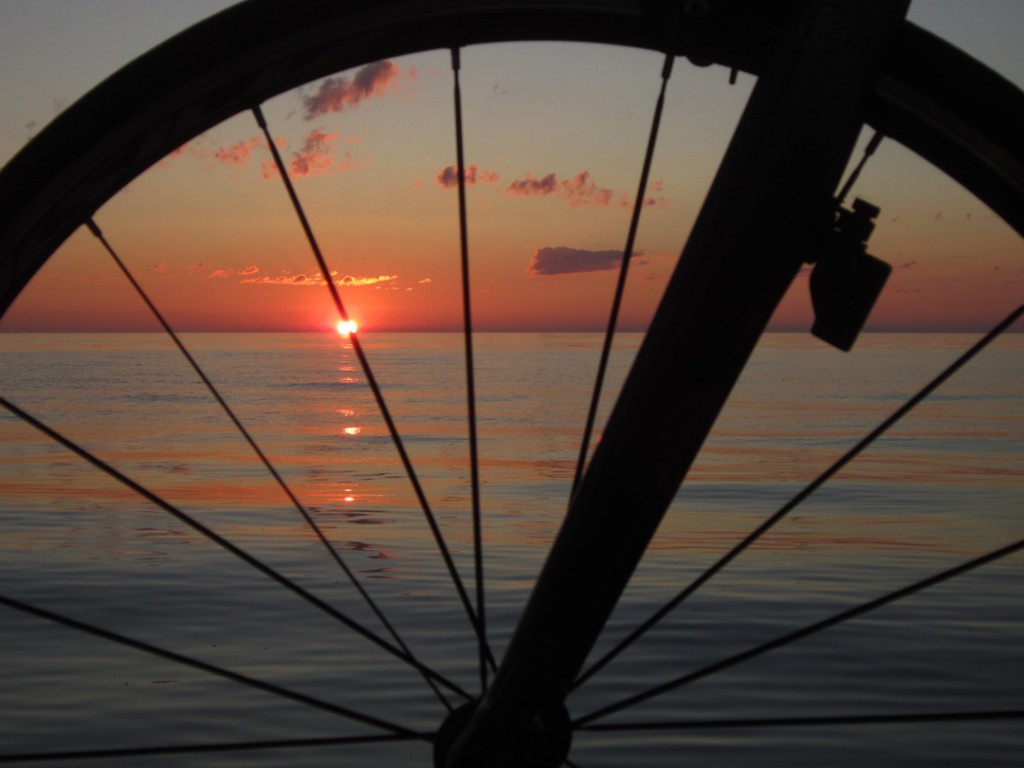
As always, the sun continued to rise.
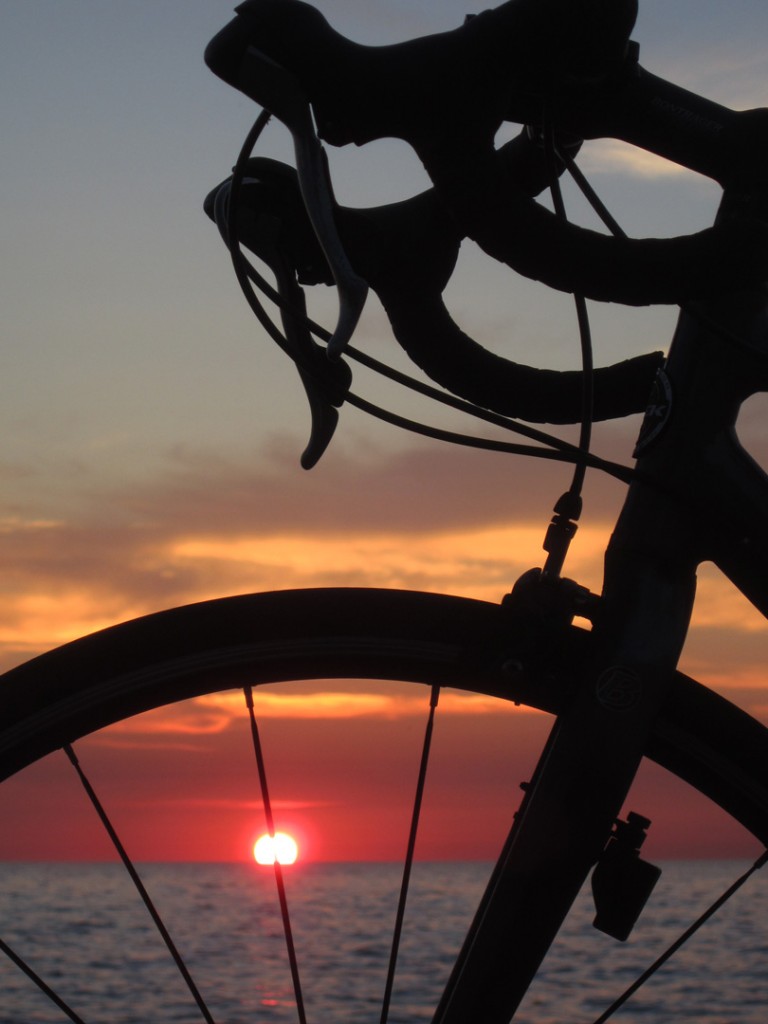
And as always, I couldn’t stop taking pictures. Gotta love a good sunrise!!!
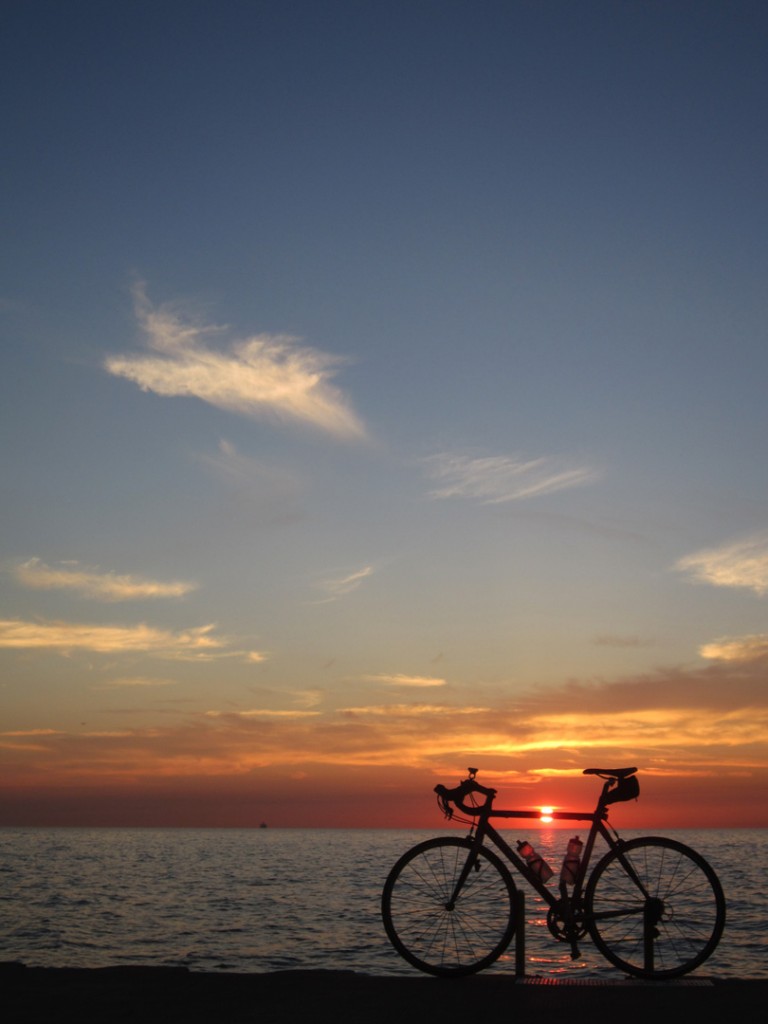
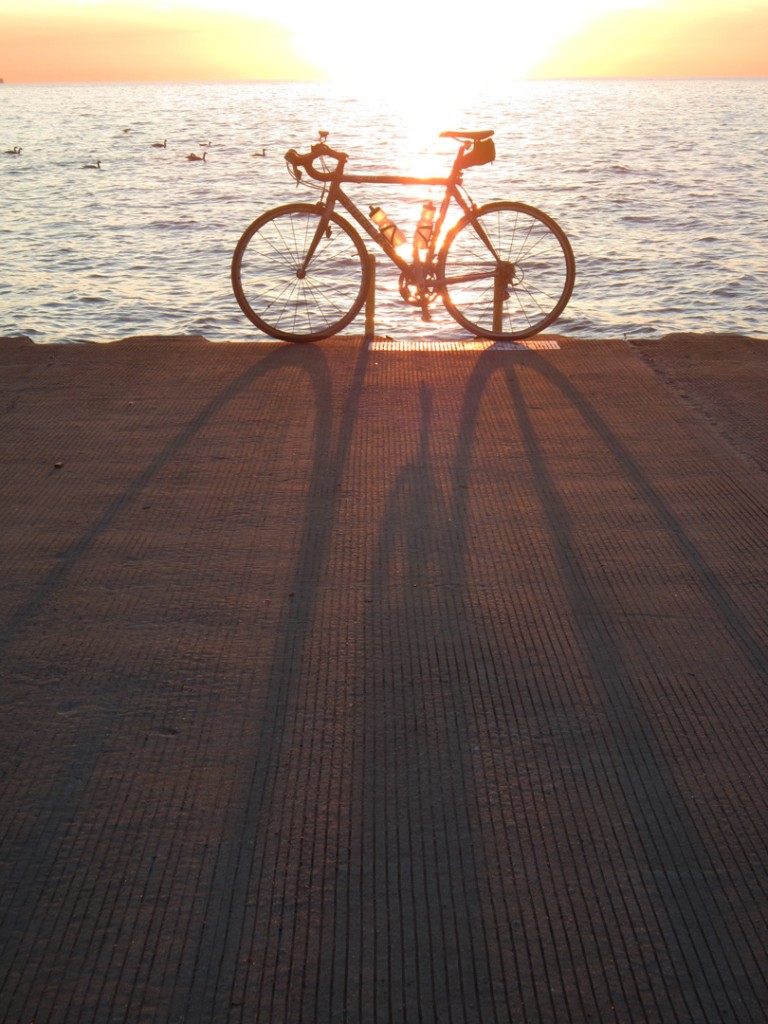
After the colorful sunrise, there was strong sunshine… and a groovy shadow!!!
You know how I love to hear from my blog & Facebook followers. It’s a nice affirmation that someone out there is actually reading my endless ramblings and enjoying my photos. Sometimes you wonder if “anyone” out there is even listening. And then you get a sweet e-mail like this one. And once again, everything is good in the world. Thank you Sonya for sharing a picture from your Special Needs Class. I’m glad I could be an inspiration… your birdhouses look fantastic!!!
Hi Gary,
You sound so enthusiastic and generous in your blog! You also seem to genuinely want to hear from folks that benefit from it. So, I am sending you a picture of some Gary Jackson inspired birdhouses that were made by my special needs adult class. They are super excited about these and can’t wait to get them glazed! One student plans to give her birdhouse to a friend as a bereavement gift (her friend lost her mother recently).
Cheers from Kentucky,
S. Penn
And for those of you who might need a quick refresher, here’s a couple shots of my terra cotta birdhouses from a couple years back. Sadly, I don’t have any currently in my inventory, but this may be a great reminder to make more!!!
Last night in my Beginner & Advanced Beginner Wheelthrowing Class, I showed my students how to throw basic bowls on purpose, instead of a cylinder gone bad. To start by creating the bottom curve of the bowl right from the start. To compress the curve. To avoid that little “stair-step gouge” that happens to a lot of beginner’s bowls.
After I had done the first bowl demo and answered questions, my students then moved on to work on their wheels while I threw eleven more bowls. It was basically a full bag of clay, cut into 12 balls of clay… to become twelve bowls!!! After I finished throwing them all, the class joined me again for Part Two of the demo. My favorite part – where I show them some quick “tricks” to alter & change each bowl so none of them look the same. It’s a fun demo, with the addition of colored slip for some added surface decoration.
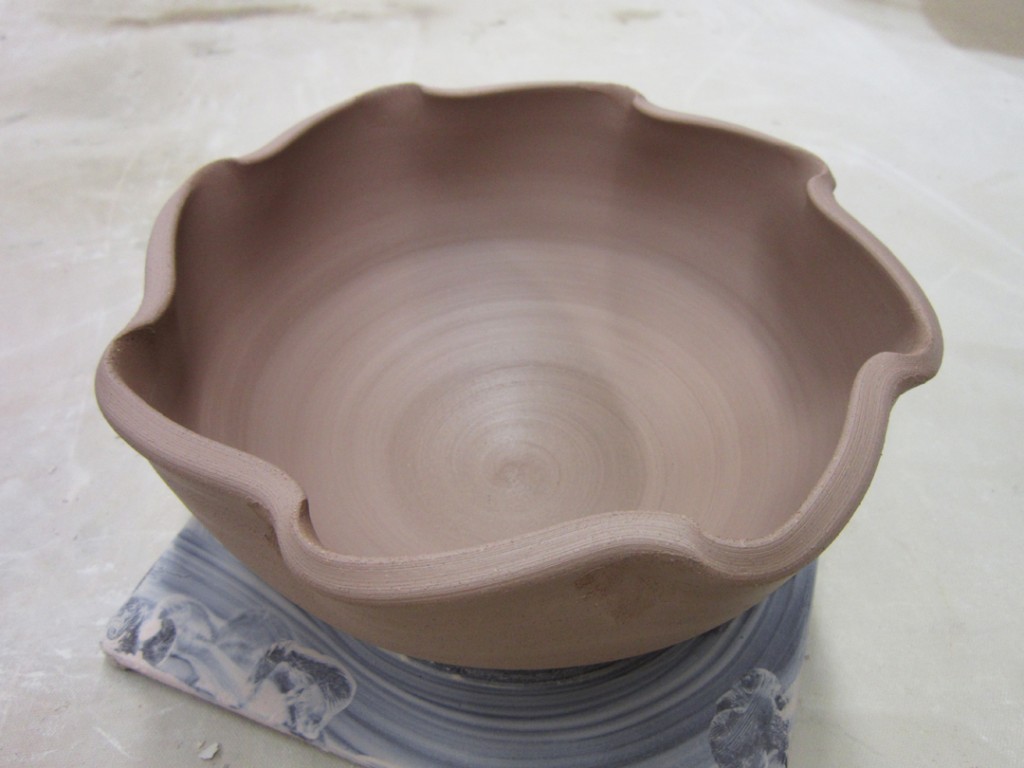
Bowl #1 – Two simple finger twists on opposite edges.
Bowl #2 – And if two twists are good, then eight twists might be better?
Bowl #3 – A simple flange flared out with a little groove line to delineate inside from outside.
Bowl #4 – And if a thin flange is good, a wider one might be even better?!
Bowl #5 – A split rim… pinched in places and then squared off a bit.
Bowl #6 – A split rim pinched in places… then curved in & curved out.
Bowl #7 – A quick slip demo… showing a simple “covering” of white slip to make a two-tone bowl.
Bowl #8 – Some white slip on the flange… waiting to be carved through later.
Bowl #9 – More white slip to cover the inside, then a simple swirl dragged through using the rounded end of my wood knife tool.
Bowl #10 – More slip… and a spiral, and some banding, and some squiggling!
Bowl #11 – More white slip… this time using my green plastic rib to do some chattering through the slip as it is spinning.
Bowl #12 – And if one slip is good, maybe two blended together would give us a nice ombre effect… but then I couldn’t resist another spiral-swirl through the slip!!!
So all twelve of the bowls are now under wraps in my studio.
When they stiffen up a bit, I’ll do some more decorating & refining. Some stamping. Some carving. So more shape altering. And then of course, trimming of a good foot!!! Twelve different bowls… that all started out as a simple round bowl.
