04.22.2014
Categories: production, textures
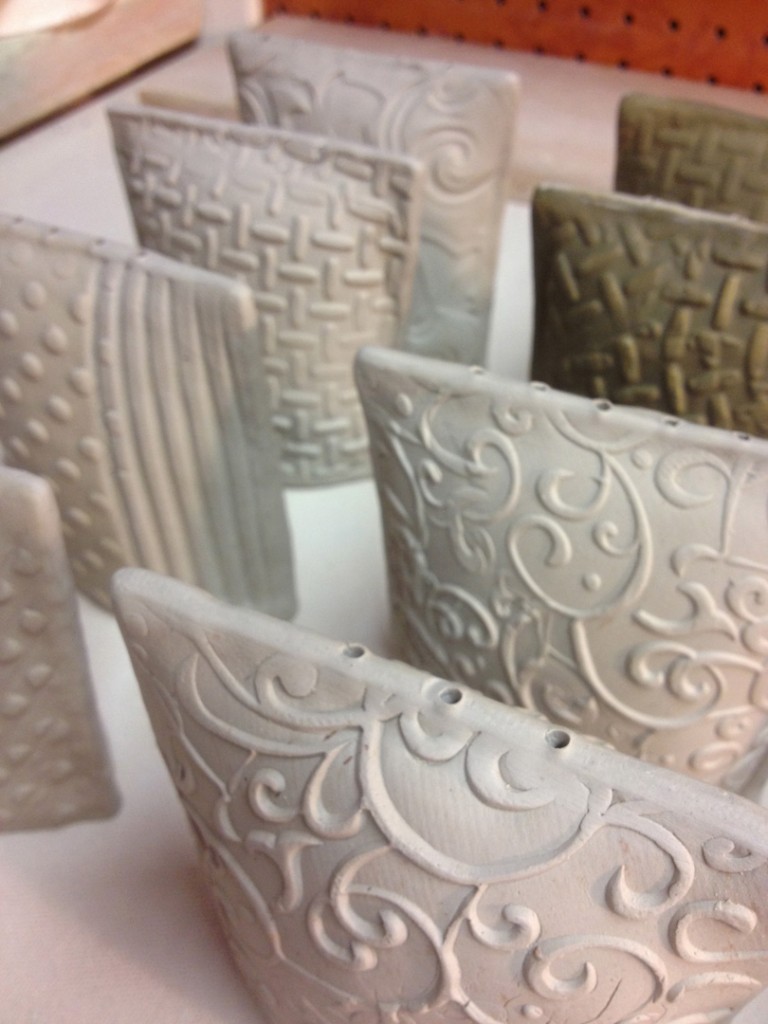
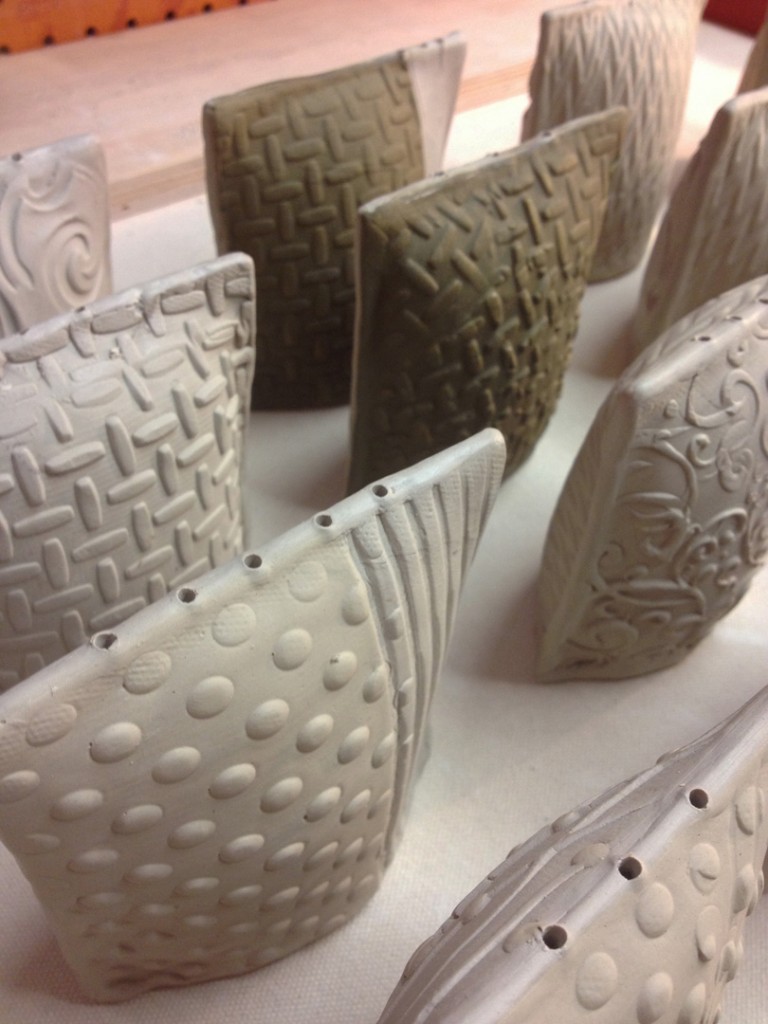
Before class tonight I had a bit of time to add some flashing slips
to my latest batch of salt & pepper shakers.
These are handbuilt with clay slabs… and I call them “textured tile” salt & peppers because they are similar to the textured tiles I make. Just a bit larger, a bit “puffier” and will someday be filled with spices! After class, I drilled the shaker holes with my power drill… and now they’re drying overnight as I’m loading them into a bisque kiln tomorrow night!


Excellent! I am going to work on something similar. Thank you for sharing!
How do you do the bottom and what type a hole you put in the bottom so the spices will fit? Also how did you keep them so smooth when you welded them together?
LAURA – sorry that I haven’t responded faster… hectic holidays all around!!!
The bottom of the shaker is a flat slab that I score & slip and attach carefully. Then I carefully “bump it in” so it’s a bit concave. I use a small round metal tube to punch a hole through the bottom. It’s about a 3/8″ thick. After they’re fired & shrunk, the hole fits a rubber stopper that you can buy at most ceramic supply stores. In fact, many of them sell a “sampler” bag of assorted sizes. I bought one of those to determine which size fits my hole-punching-tool-AFTER-firing. And now I use the same tool and same rubber stoppers for all of my salt & pepper shakers. If you find something that works, stick with it!!!
As for keeping my “welded” sides smooth, the score & slip three sides of the square slabs. I carefully lay them on top of each other scoring-to-scoring. Press them together smoothly & gently. Then I pick them both up at the same time and carefully “open it up” like a pillow case. Once you’ve puffed it up to the size you want, just carefully re-smooth & re-straighten the edges. Does that make sense??? And FYI… I love tat you used the term “welding”… I might need to start using that more myself?!!!
Hi Gary. I have been looking at your beautiful work all weekend and absolutely love the textures you apply to your clay. The salt and pepper shakers are amazing. Can you tell me what size they are? I would love to try making a pair for my parents’ wedding anniversary this year.
Thank you! And thank you for sharing your photos with us all!
LEE – The finished size of the salt & pepper shakers is about 4-1/2″ square after shrinkage & firing. And thanks for the kind words… and I will of course be sharing more & more photos!!! Congrats to your parents on another year together.
Gary,
What a wonderful share. I love the looks of your S&P shakers. These will be easy to give a short class on making a set for the snow-birds when they come to class in the winter. Thank you for sharing.
I have copied your salt shaker idea, and I love the result!!! One question: when they come out of kiln [cone10) I find that the glaze has dripped and filled the tiny shaker holes. Any suggestions and how do you handle glazing?
A lot of people will glaze the shaker and then use a thin needle to tool to scrape out the glaze from inside the holes prior to firing. I find it easier to take a small length of pipe cleaner and insert that into each holes first. Then you can do your glazing as usual. When you’re done glazing, just pull out the pipe cleaners for clean shaker holes. Easy-peezy!